
Call of Duty: WWII Guide Multiplayer Maps and Modes Gibraltar
Hardpoint Tactics
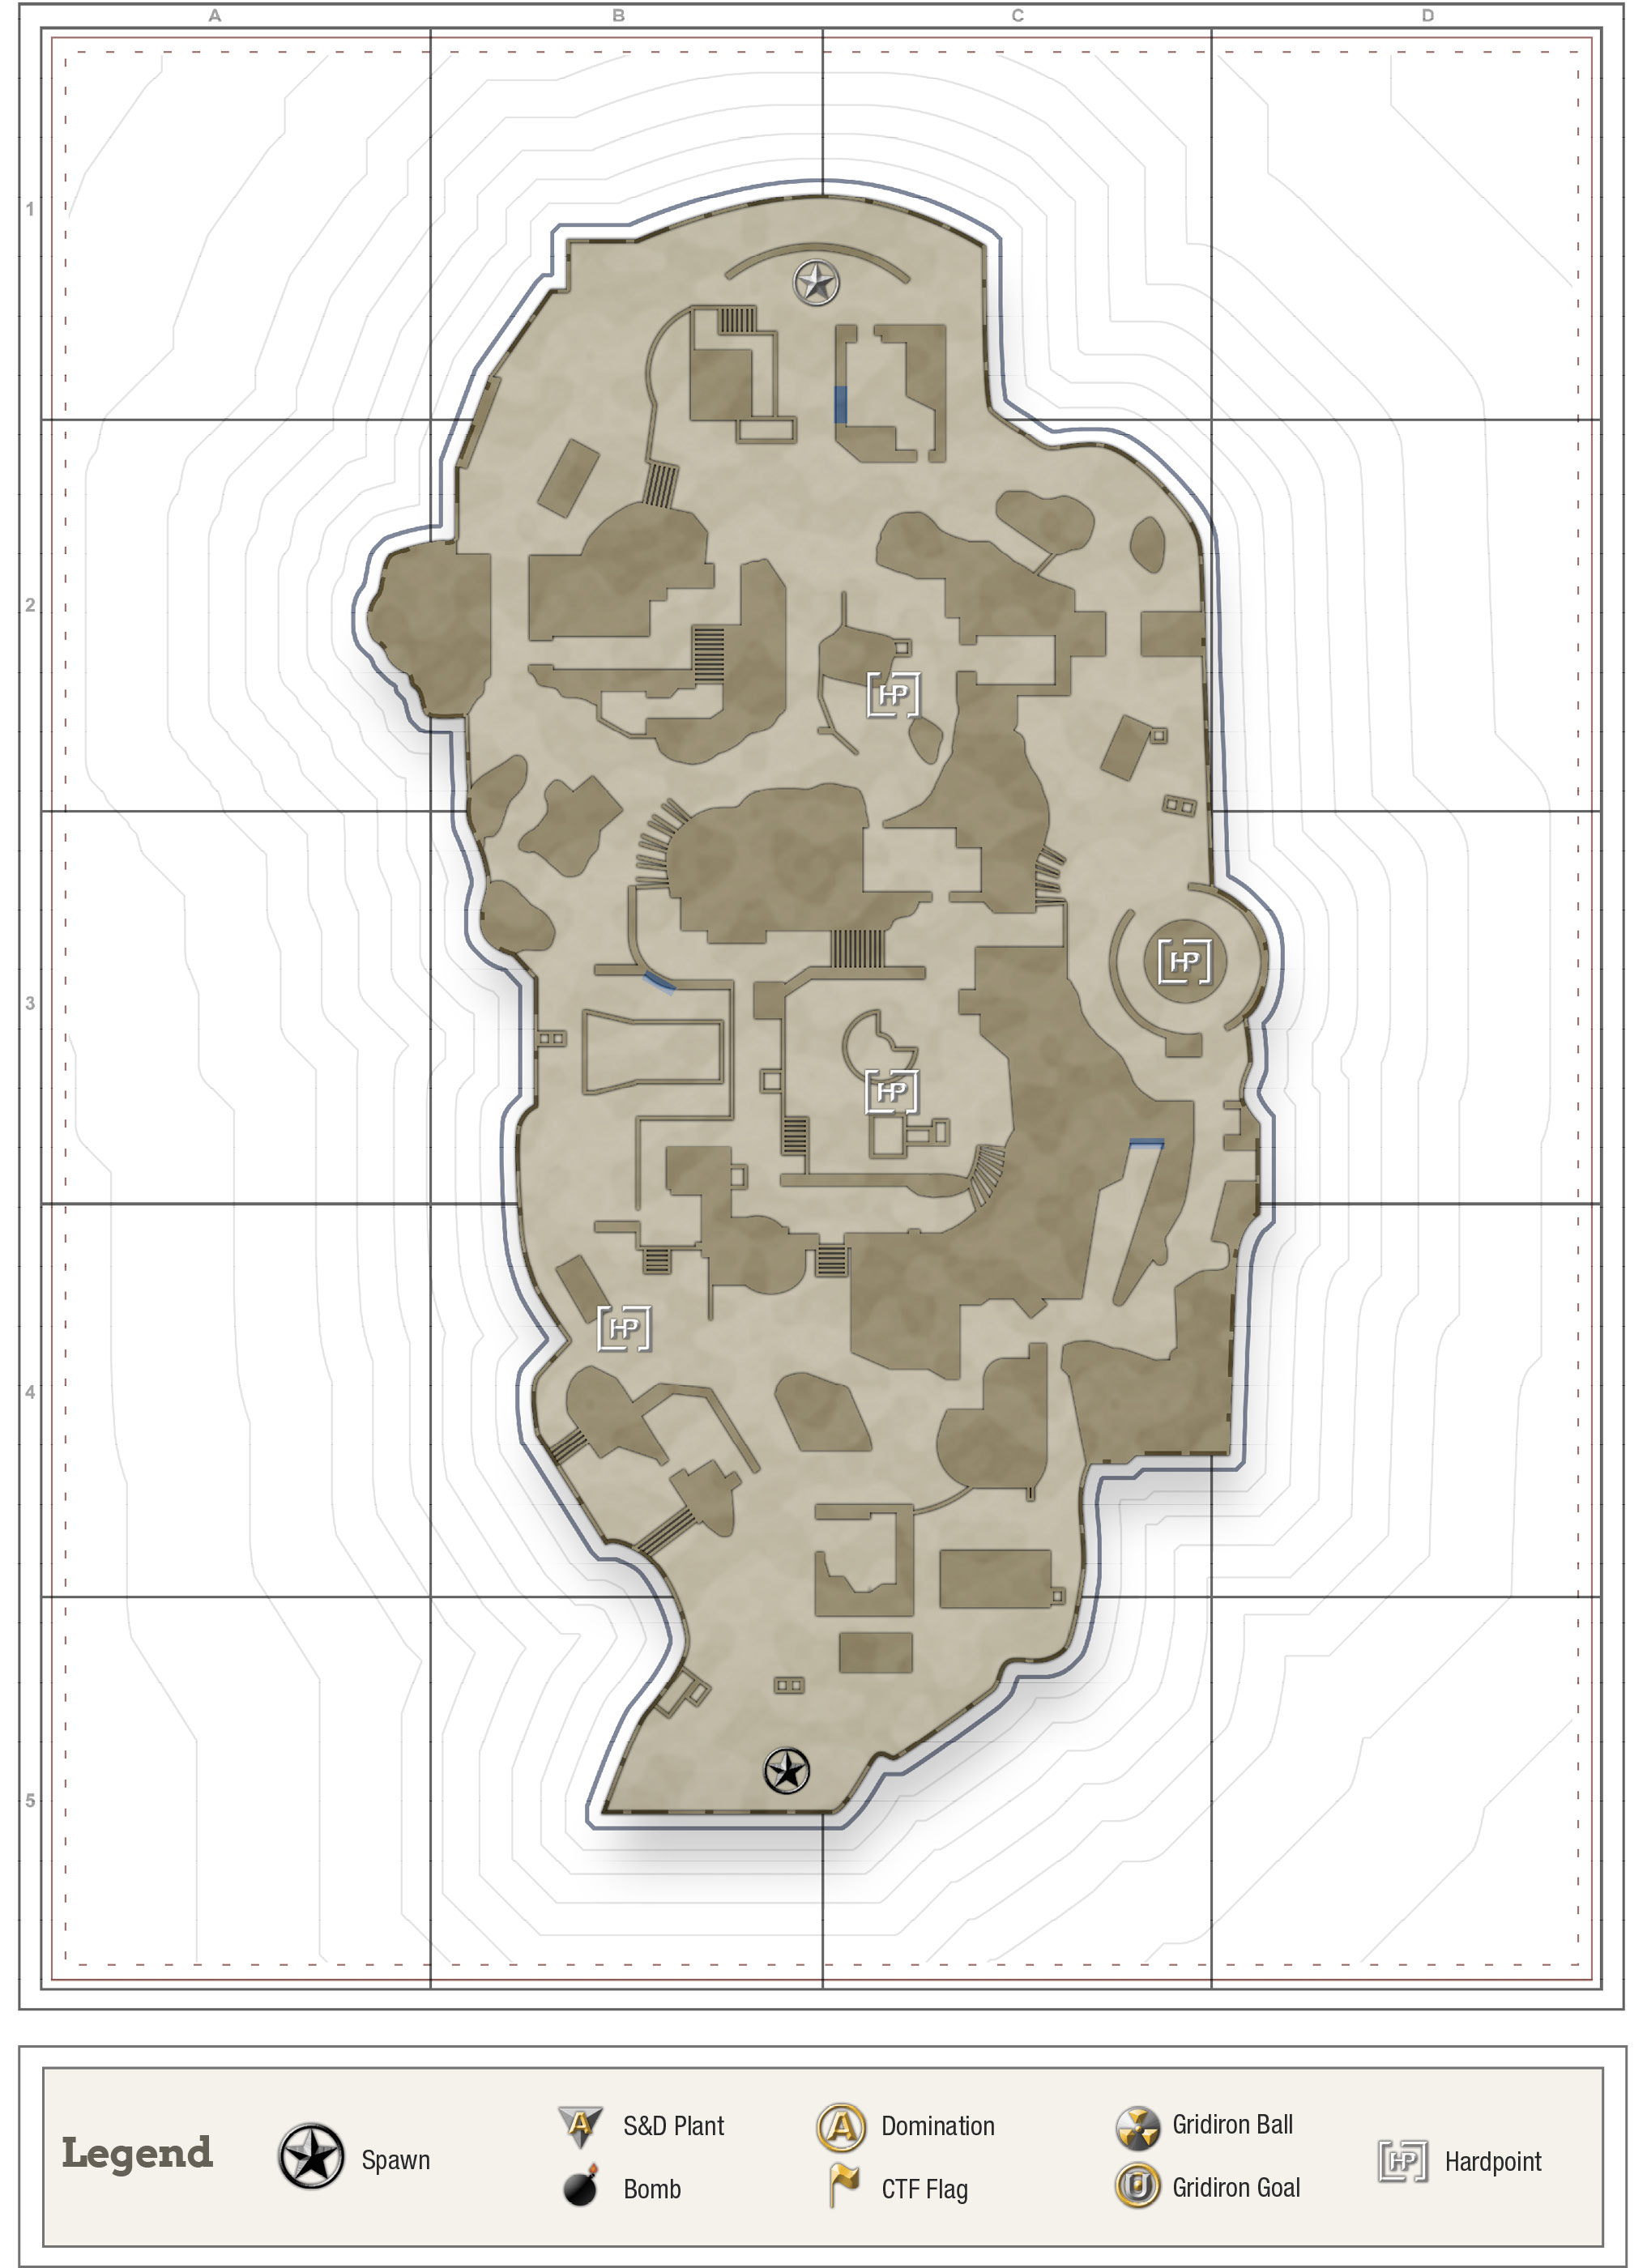
Pit Center Hardpoint

This Hardpoint is massive and brutal to defend. It’s surrounded by high ground and there’s little cover. If the point is in enemy hands, strike from the upper areas. If your team is defending the point, huddle up against the flag platform near the center of the point, as it’s the safest location.
Fort Courtyard Hardpoint

Like in Domination, the yellow barrel is a good spot to defend from, regardless of which side you’re coming from. Watch for attacks coming from Fort Comms Building, or use that building for flanks of your own when the enemy controls the point.
There are plenty of places to flank this point. Utilize them well and the defenders won’t have a chance to hold the point for long.
Castle Road Hardpoint

This point is massive and has a ton of cover. Watch for flanks, but if you huddle up in a corner or behind the vehicle in the middle of the Hardpoint, you’ll cut off a lot of attacks. Watch for attacks from above and stay alert at all times to keep this one firmly in your control.
Use grenades, Scorestreaks, and attacks from above to dislodge the enemy team. It’s not easy to pry this point from the hands of your opponents, but play smart and you’ll have a fighting chance. Just don’t run down Cliff Bridge to reach the point unless you like getting shot.
Turret Hardpoint

This is a brutal point to hold if anyone is in Fort Comms Building or Cave Sniper Nest. You’ll be on the lowest point of one of the lowest points in the map. Stay prone, smoke the point, and keep your eyes up to shoot anyone vaulting in on the point.
If you’re trying to get on the point, the aforementioned Fort Comms Building and Cave Sniper Nest provide an excellent view of the point. You can also use the connecting stairs between Pit Center and Turret as a vantage point onto the Hardpoint.