
Call of Duty: WWII Guide The Campaign Mission 03: Stronghold
Objective: Protect Zussman
Zussman and his crew are down on the street below. You must keep the Germans away from him so he can advance and take out the flak guns. Throughout this section, a circular timer will appear around Zussman’s objective icon. Keep an eye on that semi-circle; if it vanishes, Zussman will die and the mission will end in failure.
Marksman
Earn the Marksman badge by finishing the Zussman sequence without missing a shot. Avoid firing at moving enemies; instead, use careful aim and lots of focus to hit all the targets.
There are six groups:
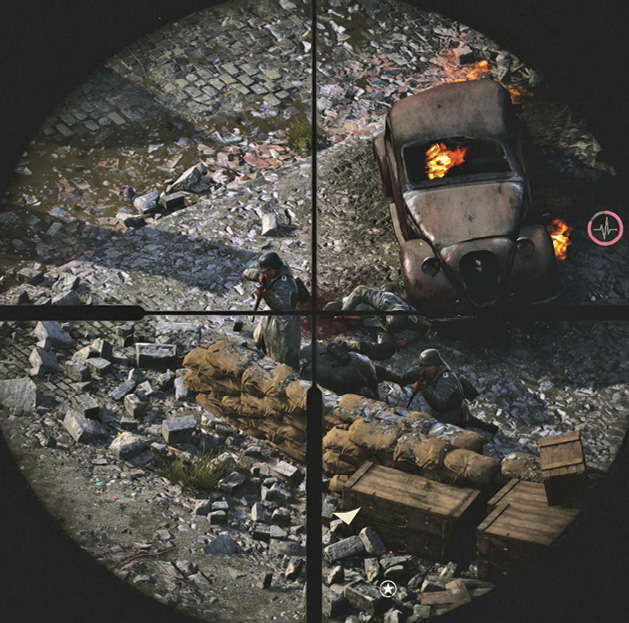
The first group is the Germans behind the sandbags directly in front of Zussman.
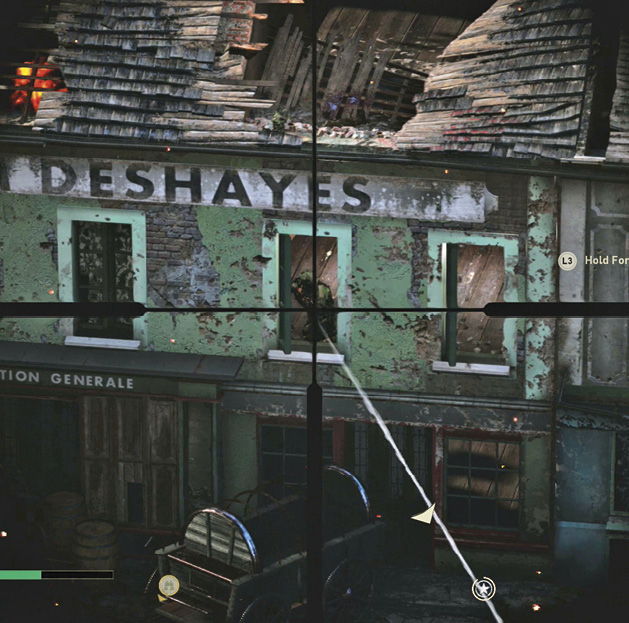
Next, three snipers (dressed in ghillie suits) arrive in the building directly across the square. They emerge from the blown-out holes in the walls and roof. If you have trouble locating them, look for their scope flashes and bullet tracers.
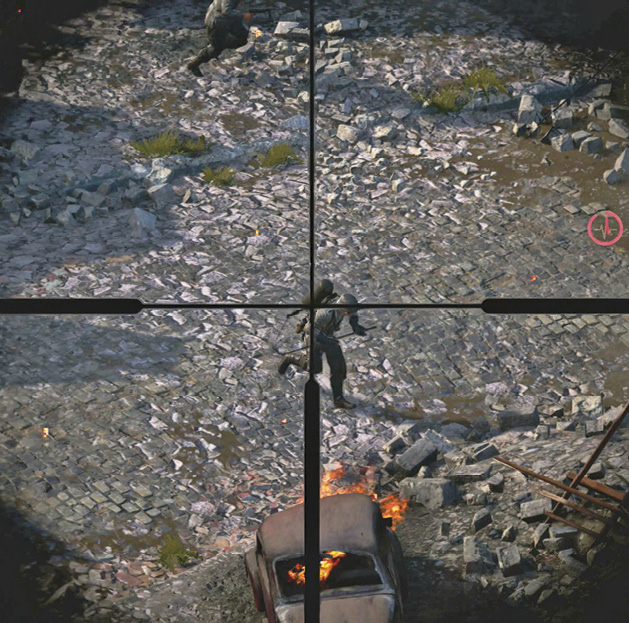
The next group appears from the left, led by a flamethrower enemy. Focus on the Flammenwerfer; it will take at least two shots to bring him down.
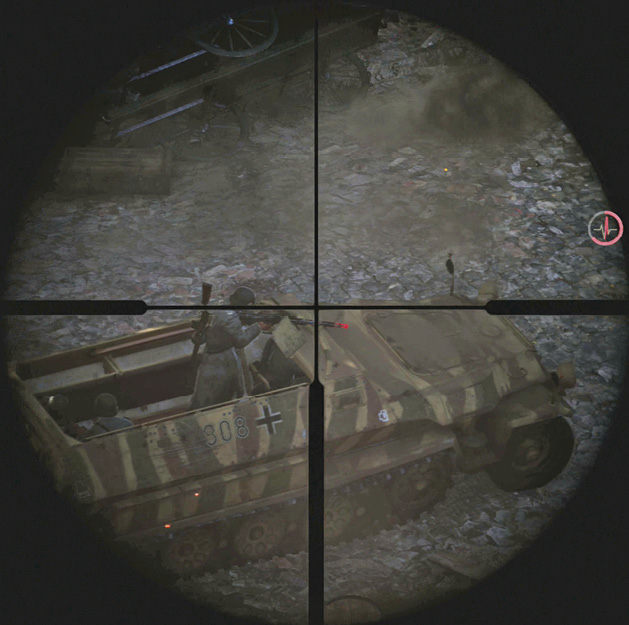
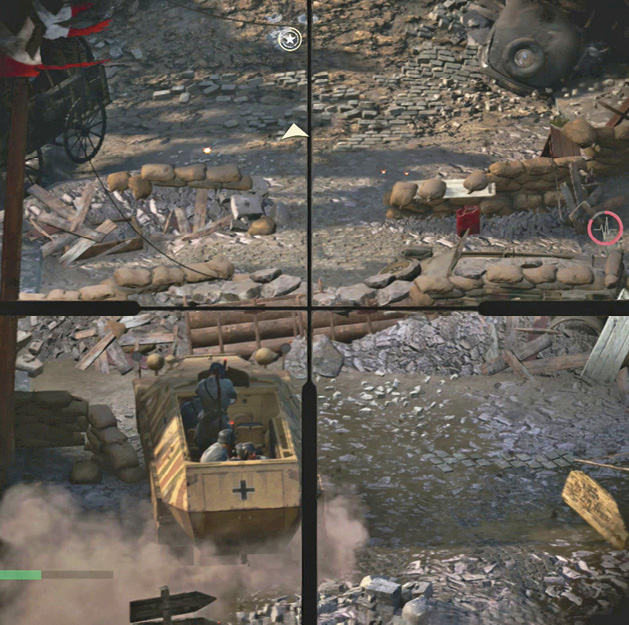
The fourth group consists of two German halftracks and a vehicle, all mounted with machine guns. Focus on the machine gunners and Zussman’s group will take out the rest of the soldiers in the area.
The next group consists of three German soldiers standing on the second floor of the burned-out building further up the street. They fire at Zussman as he advances up the street to the flak guns.
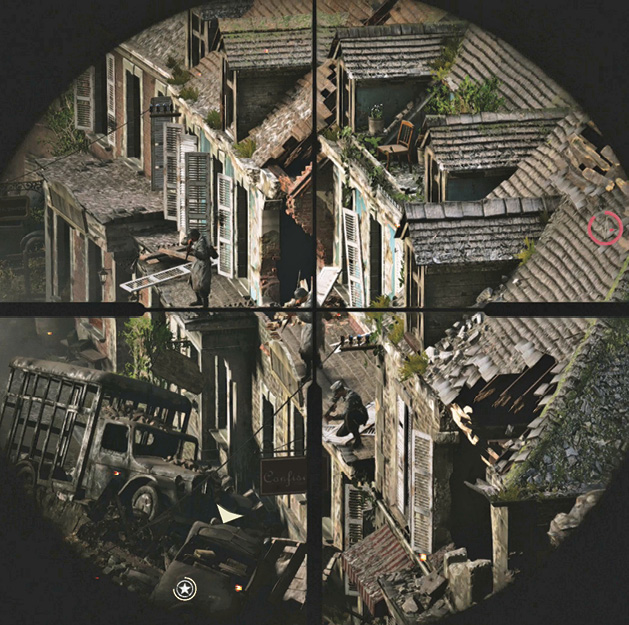
The sixth group has a vehicle and several enemies at the end of the street. Focus primarily on the machine gunner soldiers. After you clear out most of the enemies at the top of the street, a new halftrack arrives at the bottom. Again, focus on the soldiers in the armor and Zussman will finish off the rest.
Objective: Escape the Church
After successfully keeping the street safe for Zussman, step away from the window to begin a quick-time-event sequence. Prepare for another “aim” type challenge to avoid the falling bell.
When you regain control, head down the ladder you climbed to reach the top of the tower. Rapidly press the on-screen button to get out from under the fallen beam. Sprint after Pierson as he moves to escape the church.
Objective: Defend the Area
The Germans have mounted a massive counterattack. Search the ground near Pierson to find a flamethrower; it will be vitally important. There is also an M1 Garand with a grenade launcher, which makes for a good alternate weapon. Note that Stiles’ morale ability will activate around this point in the mission.
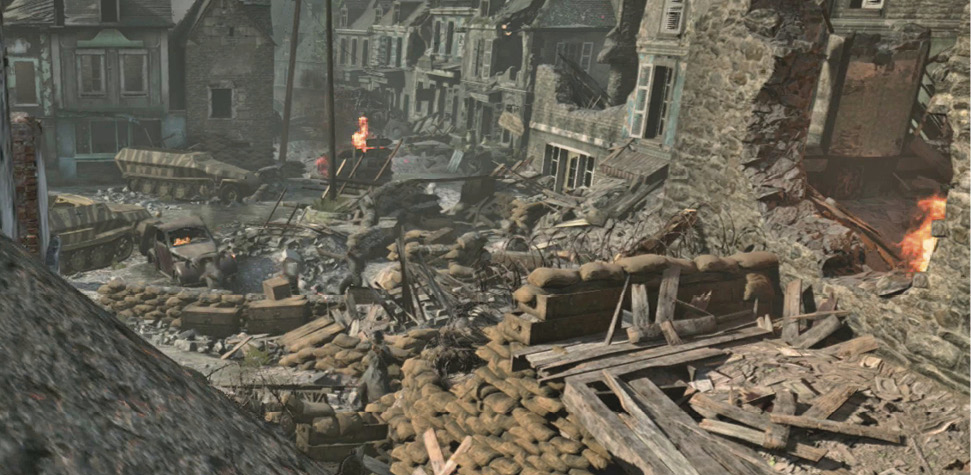
Use a combination of your regular weapon and frag grenades to slow down the German advance coming up the right side. Fire from the cover next to Pierson and back away from the wall when it’s time to reload.
When Pierson yells, “The Krauts are going to try to overrun our position,” switch to the flamethrower and pour fire over the right wall to stop them from getting any further.
You will take damage in this part of the mission. Retreat back to the rear of the area to pick up and use med packs. There are several in the area to keep your stock relatively high.
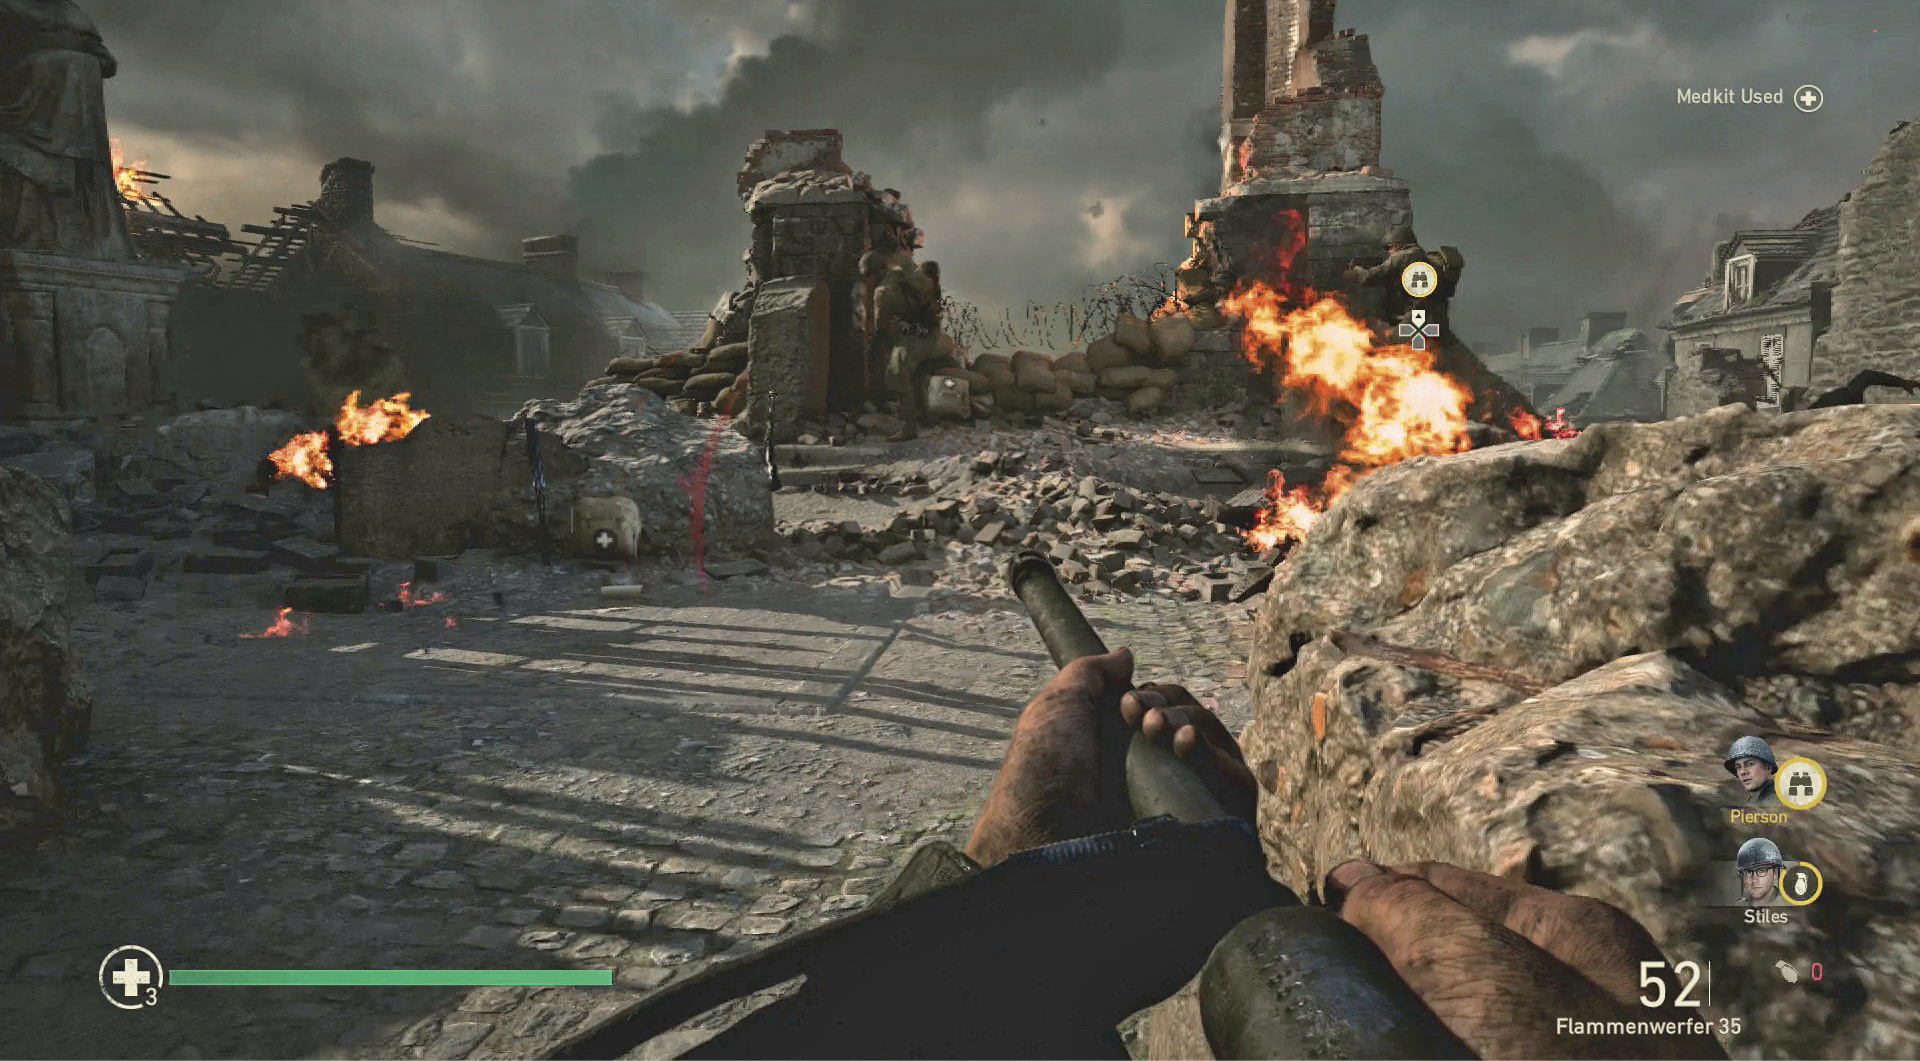
After you stop the initial wave, switch to the left side of the building. At this stage, enemies will regularly charge up both sides. Listen closely to Pierson to figure out which side is in the most danger.
If the enemies start to make it to the upper area, retreat back to some cover at the back of the area to heal up. But don’t retreat for too long; use your flamethrower to push back the advancing enemies. After disposing of all the enemies, you will reach the next checkpoint.