
Call of Duty: WWII Guide Nazi Zombies Walkthrough
Part Two: Explore the Salt Mines
There’s a lot to see in the Bunker’s command room. There’s an M1 Garand weapons locker on the wall on the way in, which is a solid, all-around weapon. The Mystery Box’s initial spawn point is located near the entrance, although it’s easy to miss. There’s a device for constructing weaponry on the level above, near a locked drainage tunnel and the Faustblitz Machine. Also, there’s a blast shield on the floor next to the door to the salt mines. Turn the crank to open the shield for an easy 100 Jolts.

To access the salt mines, use 3,000 Jolts to open the doors to the Morgue and the Laboratory. Inside each wing, you need to find a power switch to reroute current to the Salt Mines’ door. Of the two, the Laboratory is much easier to find. Head through the door, stay to the right, and cut through the room with the projector.
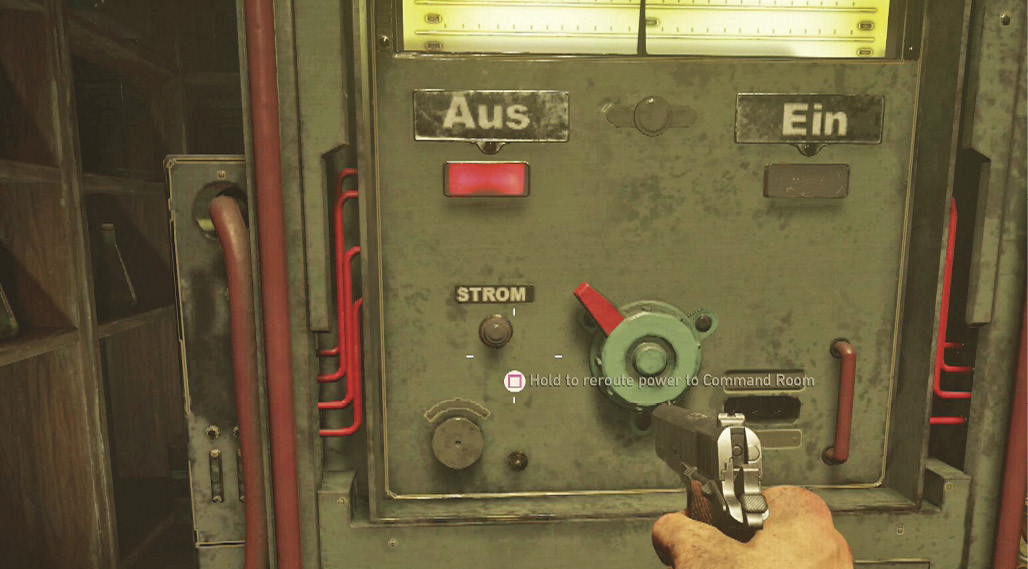

The Morgue’s power switch is a little tougher to find. Walk down the hall until you find the giant electrical capacitor that forms the Morgue’s devastating electrical trap. Cut through it and proceed up the stairs on the left. Turn left again at the top to locate the power switch. Pressing one of the switches starts a timer. You must press the other before that timer expires to power up the door to the salt mines.
With both power switches active, return to the command room and pay 1,250 Jolts to open the door to the salt mines. There are always several Bombers waiting on the other side. If you open the door and back off, at least one Bomber will attempt to chase you.
