Call of Duty: WWII Guide Nazi Zombies Walkthrough
Part Three: The tesla Gun
The salt mines lead to an underground chamber called the Emperor’s Tomb, complete with an old sword stuck into a machine. Investigate it and your character determines that the machine is empowered by the same energy that animates the zombies. You can power it up by killing a dozen or so zombies.
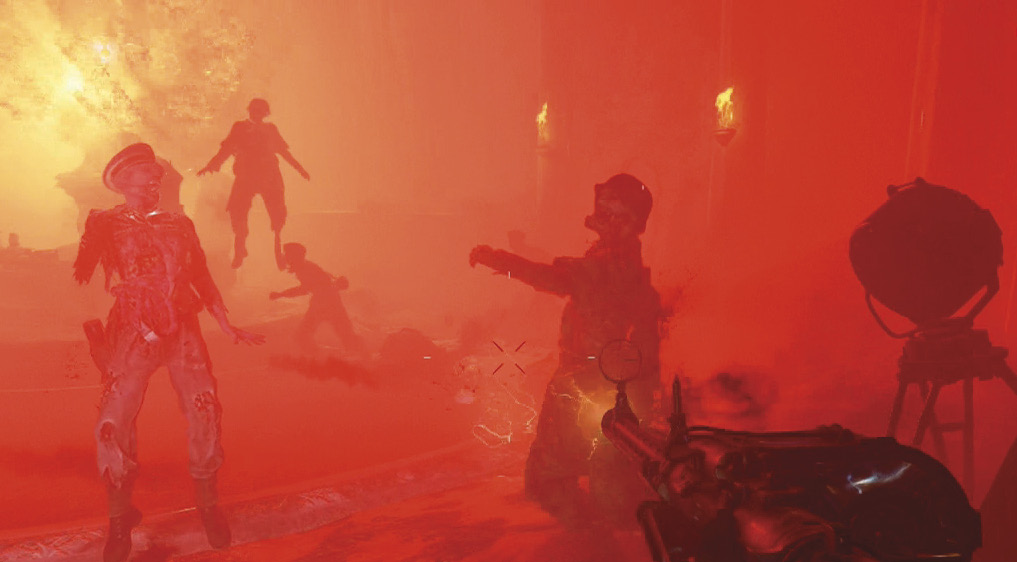

This is hidden a little better, as there are multiple spawn points around the perimeter and the machines’ positioning forces you into close-quarters combat. The safest thing to do in this instance is to engage most of the zombies somewhere else, such as the command room, and slowly lead a handful of surviving zombies down to the Emperor’s Tomb. As long as you don’t get too far ahead of them, you can guide them to a location without getting ambushed by new spawns.
Once the machine has power, the Geistkraft transfer device goes live and is raised into the command room. Once this occurs, locate the big red button on the balcony overlooking the command room, behind the weapon forge. Once the transfer device hits the ceiling, press the button to send it along the overhead track into the Laboratory.
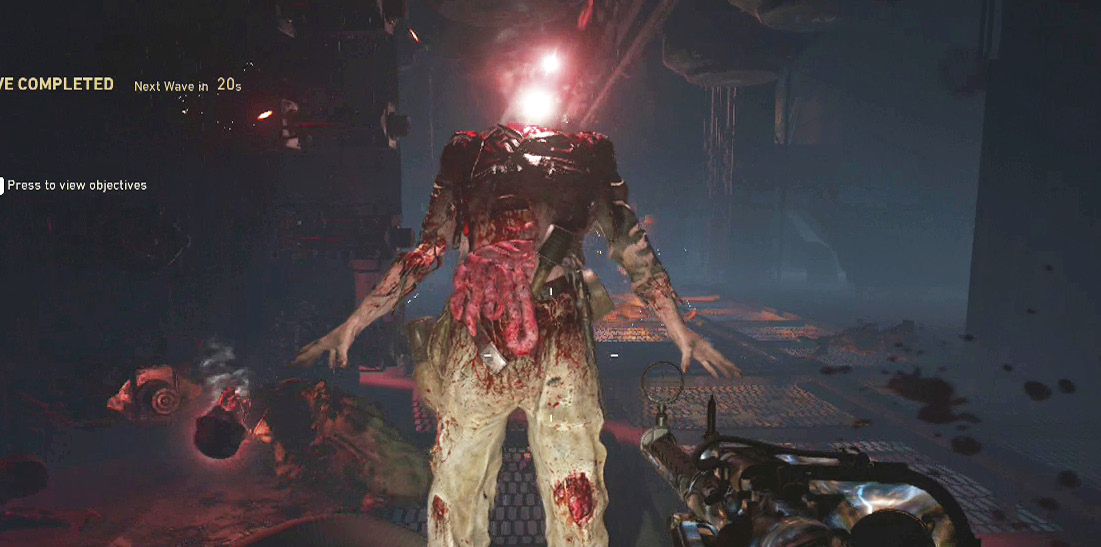
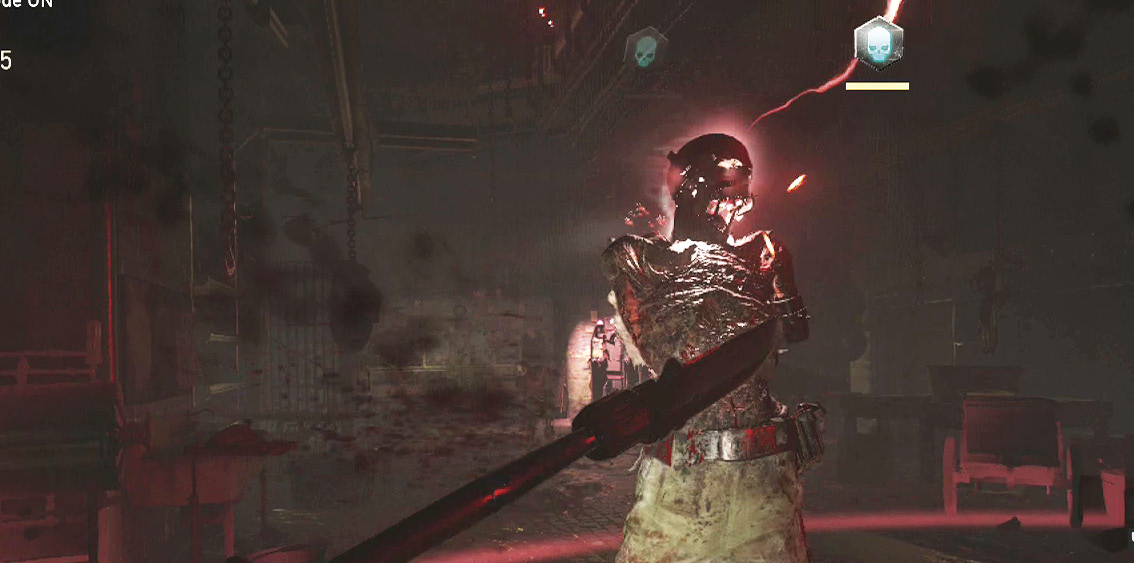
Now things get tricky. You need to power the transfer device by killing zombies near it. The device projects a ring on the floor to indicate the area where the zombies must die. Note, however, that it moves through a narrow, dark corridor to get there. Zombies can spawn in either direction, seemingly out of nowhere, and it’s easy to end up surrounded.
You can make the trip a little shorter by killing zombies while the transfer device is moving. It eventually stops a couple of times along the route if it doesn’t have enough power, but you can speed up the process by feeding it kills while it’s in motion. As with the Emperor’s Tomb, you can make this a little safer by killing most of the zombies in a wave in a safer area, then leading the survivors into the transfer device’s area of effect to finish them off.
At the end of the track, you automatically make the acquaintance of your first Wüstling (if you haven’t seen one already). You must continue to kill zombies in this area to power up another device. This eventually produces one-half of the Tesla Gun. Take it and return to the command room.
Drop off the Tesla Gun part on the weapons bench on the upper level. It takes time for the Geistkraft transfer device to reset, but once it does, it sets off on a route into the Morgue, leading up to a device in the operating theater. It’s not quite as difficult as the Laboratory trip, but it’s still tricky and similar tactics apply. Pick up the second half of the Tesla Gun from the crystallization device.
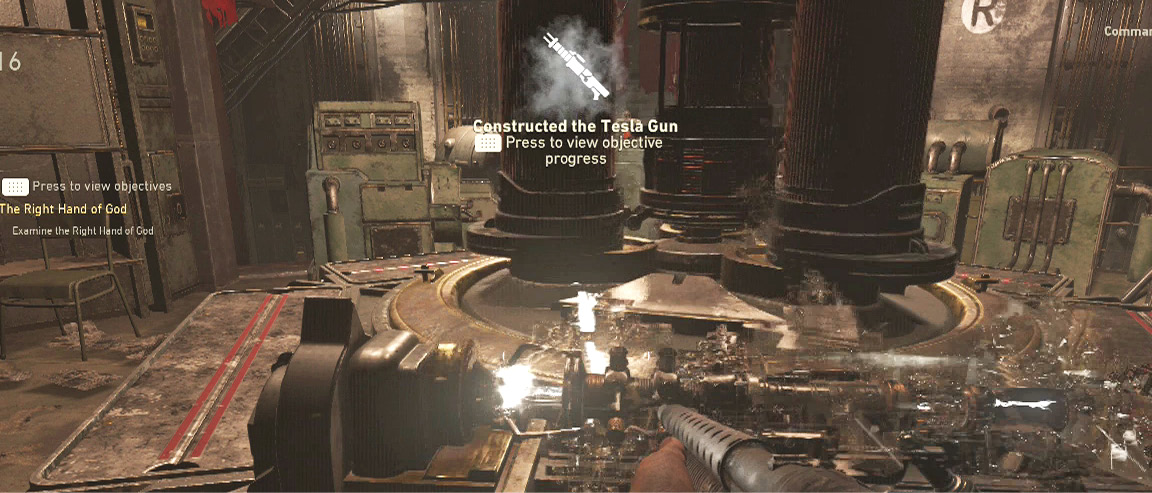
When you return to the command room, you’re guaranteed to run into a Brenner, who’s happily setting the entire room on fire. Dispose of him and then use the weapon forge to build the Tesla Gun. You don’t need to take it right now, but you must assemble it to continue.