
Call of Duty: WWII Guide War Maps Operation Breakout
Overview
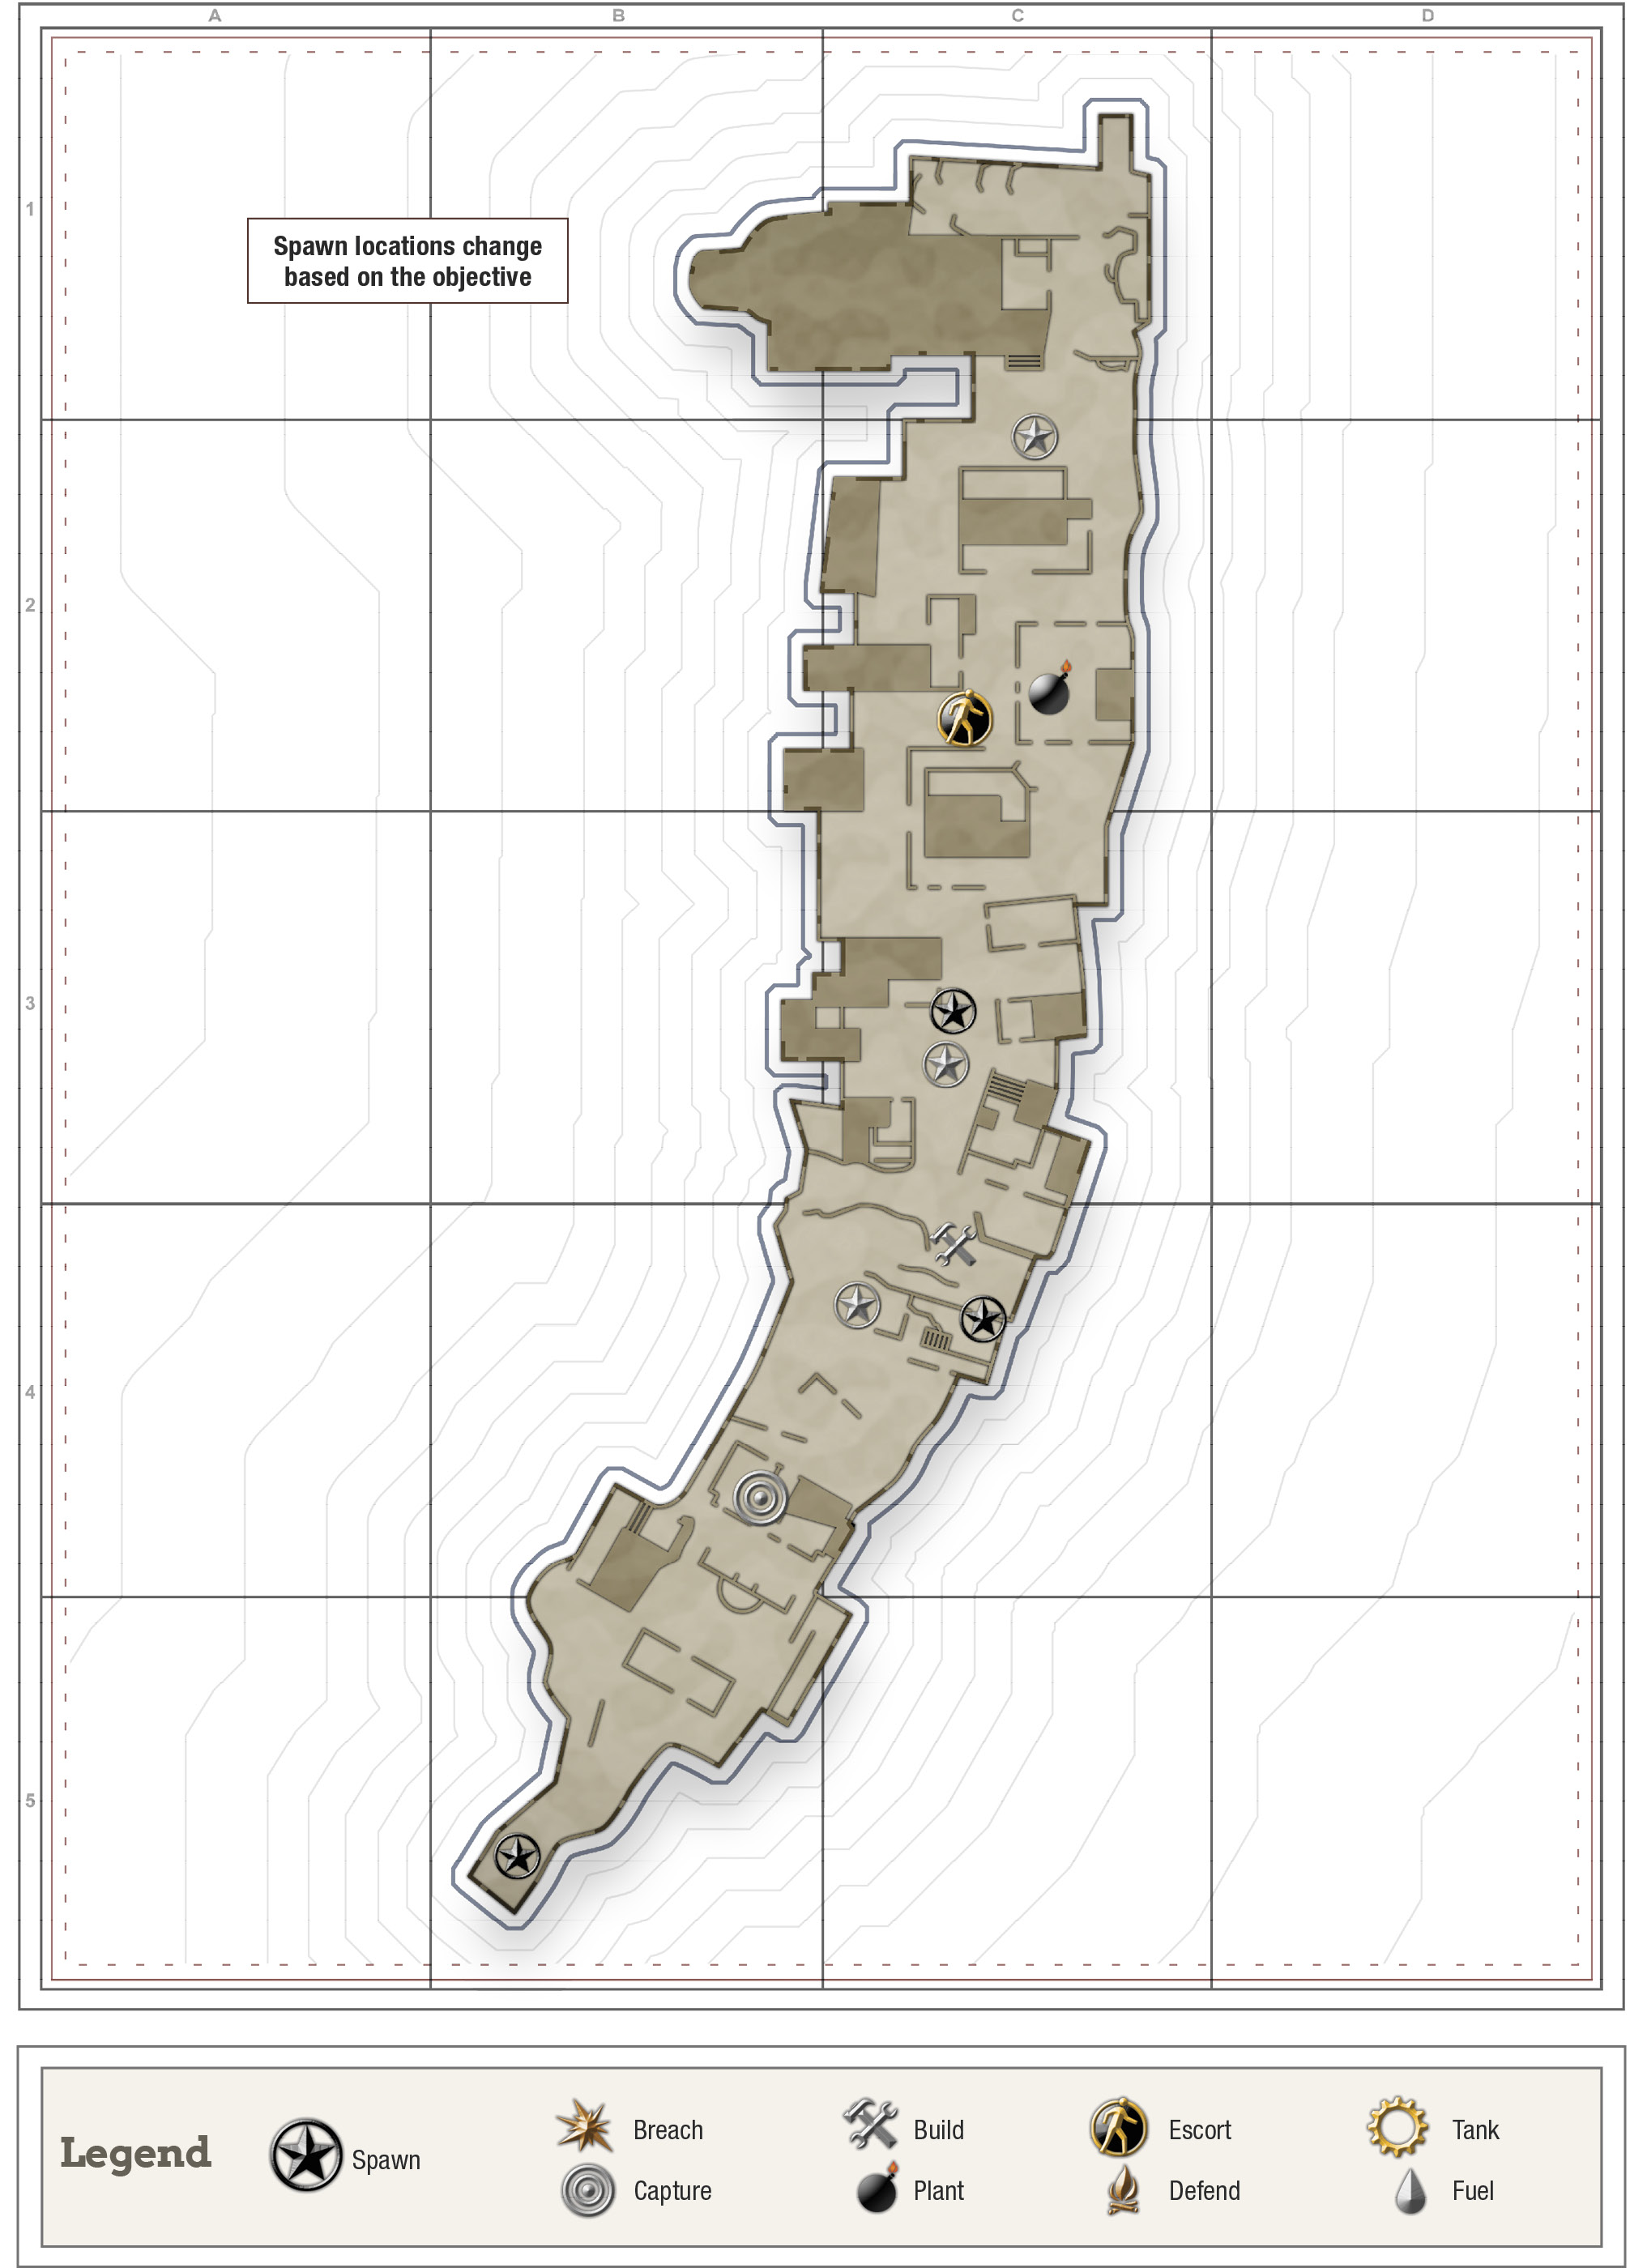
A small village is the stage for a brutal battle. The Allies are looking to destroy the AA guns at the back of the map, which are shooting down their planes.
Capture/Defend the Command Outpost
Objective Time: 4 Minutes
Allies must capture a building while the Axis needs to protect it. There’s a buildable wall facing the Axis spawn point and a buildable machine gun emplacement that faces the Allied spawn point. Progress made toward capturing the objective isn’t reversed, even when there are no Allies on the point. The Axis has a three second respawn timer, while the Allies can respawn immediately.

Ally Tactics
Don’t wait to enter the building. If the Axis gets in and builds the machine gun emplacement facing the Allies’ side of the house, it makes it significantly more difficult to capture this objective.

Use the opening to the right of the front door of the house. The room just beyond the opening is one of the safest spots in the building, which will help you enter without getting gunned down immediately. You’ll need to push up and prevent any Axis soldiers from entering the building in order to capture it, but this side room will help get things started.

There’s a path to the left in front of your spawn point; use it to approach the building without exposing yourself to the machine gun. Utilize the opening in the building’s left wall to get inside and capture the point.

Use the open wall as a flanking route, as the Axis can easily come right through the back window or doorway.
Axis Tactics

Enter the building and go to the buildable machine gun emplacement on the Ally side of the house. Get that machine gun up and the Allies will have a much tougher time approaching the building. There isn’t a lot of cover for Allies on their approach to the building, so use the machine gun to burn the clock down. The room to the left side of the Allied door is a really good spot for the Allies to enter the building, so defend it aggressively. If the Allies can’t get a foothold in the building, they won’t have a chance to start capturing.
Construct the Bridge/Prevent Bridge Construction
Objective Time: 4 Minutes
The Allies must rebuild a broken bridge to press further into Axis territory, while the Axis must stop them. The battle lines divide the two sides of the bridge, so trying to get behind the opposing team is nearly impossible. Both teams must utilize the different vantage points provided by the surrounding buildings and objects in order to successfully complete their objectives.

Any progress made toward building the bridge is permanent and, once the bridge meter has been filled half way, the Allies can jump to the Axis side. Further progress made on the bridge will allow both teams to jump to either side of the gorge. The Axis has a three second respawn delay, while the Allies respawn immediately.
Ally Tactics
The barn just behind the bridge has a buildable machine gun emplacement that overlooks a majority of the Axis’ side of the bridge. Be wary of attacks coming from the building on the right and the balcony on the left (behind the trees on the Axis’ side of the gorge). The balcony can be particularly dangerous due to the trees obscuring your view. Without smoke grenades, this section will become very difficult.

Jump out of the barn onto the barrels below to find a good spot to shoot from with plenty of cover and a great view of the Axis’ side of the bridge. Be conservative with your attacks here, however. While you do have a fair bit of cover, you are still in an elevated position. The enemy team will hone in on you the moment you fire on them.

Shortly after the bridge has started construction, both teams will be able to cross into each other’s territory. Take note that there isn’t a lot of real estate to work with on the Axis side, because the battle lines will prevent you from pushing into any of the nearby buildings. However, it can be a decent way to cause trouble for the Axis while allowing your teammate to continue building the bridge.

Building a little further than the halfway point, the Axis will be able to jump to the Ally side of the bridge. There’s a lot more space and cover for them to work with on your side, so keep careful watch on the bridge to prevent them from crossing.

One last thing to keep in mind: An Axis player using the Airborne Division with a light weapon equipped (notably an SMG) will have the ability to drop into the gorge and use the stairs on the Allied side to get behind you and your teammates. Any other players attempting this will be killed while being out of bounds, but a melee build can just skirt the time limit and begin wreaking havoc on your team, so watch the path to the left of the bridge.
Axis Tactics

The buildings on the left and right sides of the bridge not only provide a good vantage point over the Allies’ side of the bridge (and a fair bit of cover), they also house buildable machine gun emplacements. The Allies only have access to one machine gun emplacement on their side, which is stationed inside the barn directly behind the bridge. If you can prevent any Allies from utilizing this machine gun, you’ll have a much easier time locking them down until the timer runs out.

Once the bridge is developed slightly beyond the halfway point, you and your Axis comrades can jump onto the bridge and fight into Allied territory. You won’t have a ton of room to run about before hitting the battle lines, but you’ll have more than enough to potentially lockdown the bridge and prevent the Allies from completing their objective. Remember: If the Allies can’t reach the end of the broken bridge, they can’t repair it.
If you are a part of the Airborne Division with a light weapon equipped (notably an SMG), run up the stairs on the right side of the gorge below the bridge, make a hard left and get behind the Allies before you’re blown up by the out-of-bounds timer. It’s hard to pull off, so there’s a very good chance you’ll catch your enemies unaware.


Destroy/Protect Ammo Dump
Objective Time: 4 Minutes
Allies need to plant a bomb on an ammo dump and defend it until it blows in order to complete this objective. Naturally, the Axis will need to prevent any bombs from being planted and defuse them.


The ammo dump is in the center of an enclosure that’s not quite as protected as it once was, which lends itself to a lot of strategies involving repairing the broken portions of the wall to suit your strategy. The holes allow the Allies and Axis to structure their defense how they want, but you must contend with the short objective time and constant barrage of attacks from the opposing team. Needless to say, this is likely the most intense objective on the map. The Axis has a three second respawn time, while the Allies respawn immediately.
Ally Tactics
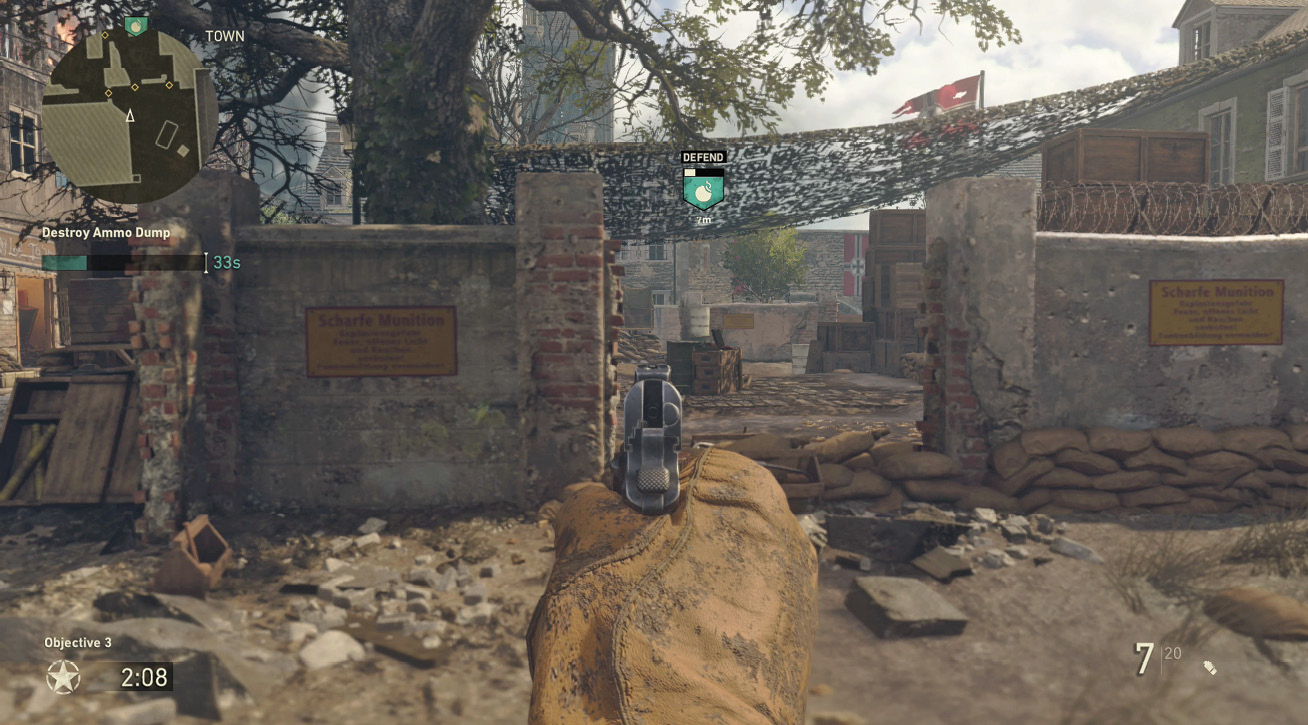
This is a very straightforward, but chaotic fight. You can attempt to seal the holes in the walls to force the Axis out, but odds are the Axis will be bearing down on you, making this difficult to accomplish. Make the attempt if you think it will help given the circumstances of the battle, but it may be better to sit at the back part of the enclosure on your side and shoot Axis soldiers as they enter.
Plant the bomb and fall back. Axis soldiers will have to leave themselves completely exposed if they want to defuse the bomb, which will be perfect for you if you’re in the back of the enclosure.
Axis Tactics
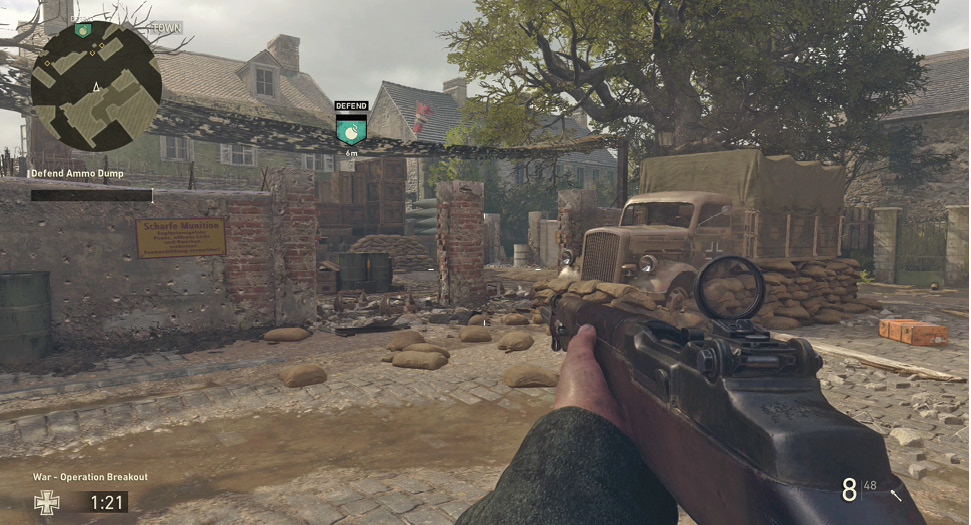
Use the main street to flank the Allies attacking the ammo dump. This objective will usually end up being a complete bloodbath if everyone rushes the ammo dump, so play smart and find ways around it.
If the Allies can plant the bomb, get smoke grenades on the objective immediately—the thicker the smoke, the better. You must defuse that bomb, but you’ll almost certainly be exposed the entire time you’re defusing it. Anything you can do to lower the Allies’ visibility will work wonders in helping you defuse the bomb.
Escort/Stop the Tank
Objective Time: 4 Minutes
The Allies need to walk along the side of the tank, or ride on top of it, in order to escort it to the end of a fixed path. The Axis, on the other hand, must prevent the tank from reaching its destination by dislodging Allies from the tank’s sides and turret seat. The tank won’t move forward if an Axis soldier is near it, which is a strategy both teams should expect to see employed frequently

If the tank is left unattended, it will roll backwards, giving the Axis some ground. Keep in mind there are checkpoints that, once crossed, can’t be uncrossed. If the Allies push their tank beyond each of those lines, that’s as far back as the tank will go from that point forward. The Axis has a three second respawn timer, while the Allies respawn instantly.
Ally Tactics
From a strategy perspective, there is little you can do beyond escorting the tank, since it won’t move unless at least one person is near it. It’s a prudent idea to push up and run interference if the tank already has a couple of Allies on it. However, your job is to hang on to that tank and never let go—at least until you pass the goal line.

While in the tank’s gunner seat, watch out for attacks coming from the sides. The turret is positioned in such a way that it’s extremely difficult to attack enemies who are hugging the tank’s sides. If you see Axis soldiers approaching the tank and you miss your opportunity to shoot them with the turret, hop out and handle them in a direct confrontation. If you wait until they are at the tank, there’s little hope of winning a fight while either in the turret or on foot.
Axis Tactics
Flanking is your best friend in this objective. The trenches directly across from the church are loaded with buildable machine gun emplacements, while the interior of the church is an out of bounds area for the Allies. You can use both of these areas for a last-ditch pincer attack.


The tank isn’t much of a threat and the turret is extremely susceptible to attacks from the side, especially the tank’s left. It’s okay to hide in waiting while letting the tank pass slightly ahead if it means you can get a sneak attack on the Allies guarding it. A direct approach on the tank will likely get you killed. Hit the back and sides of the tank and the Allies will have a much harder time defending the tank.