
Call of Duty: WWII Guide Multiplayer Maps and Modes Gibraltar
Overview
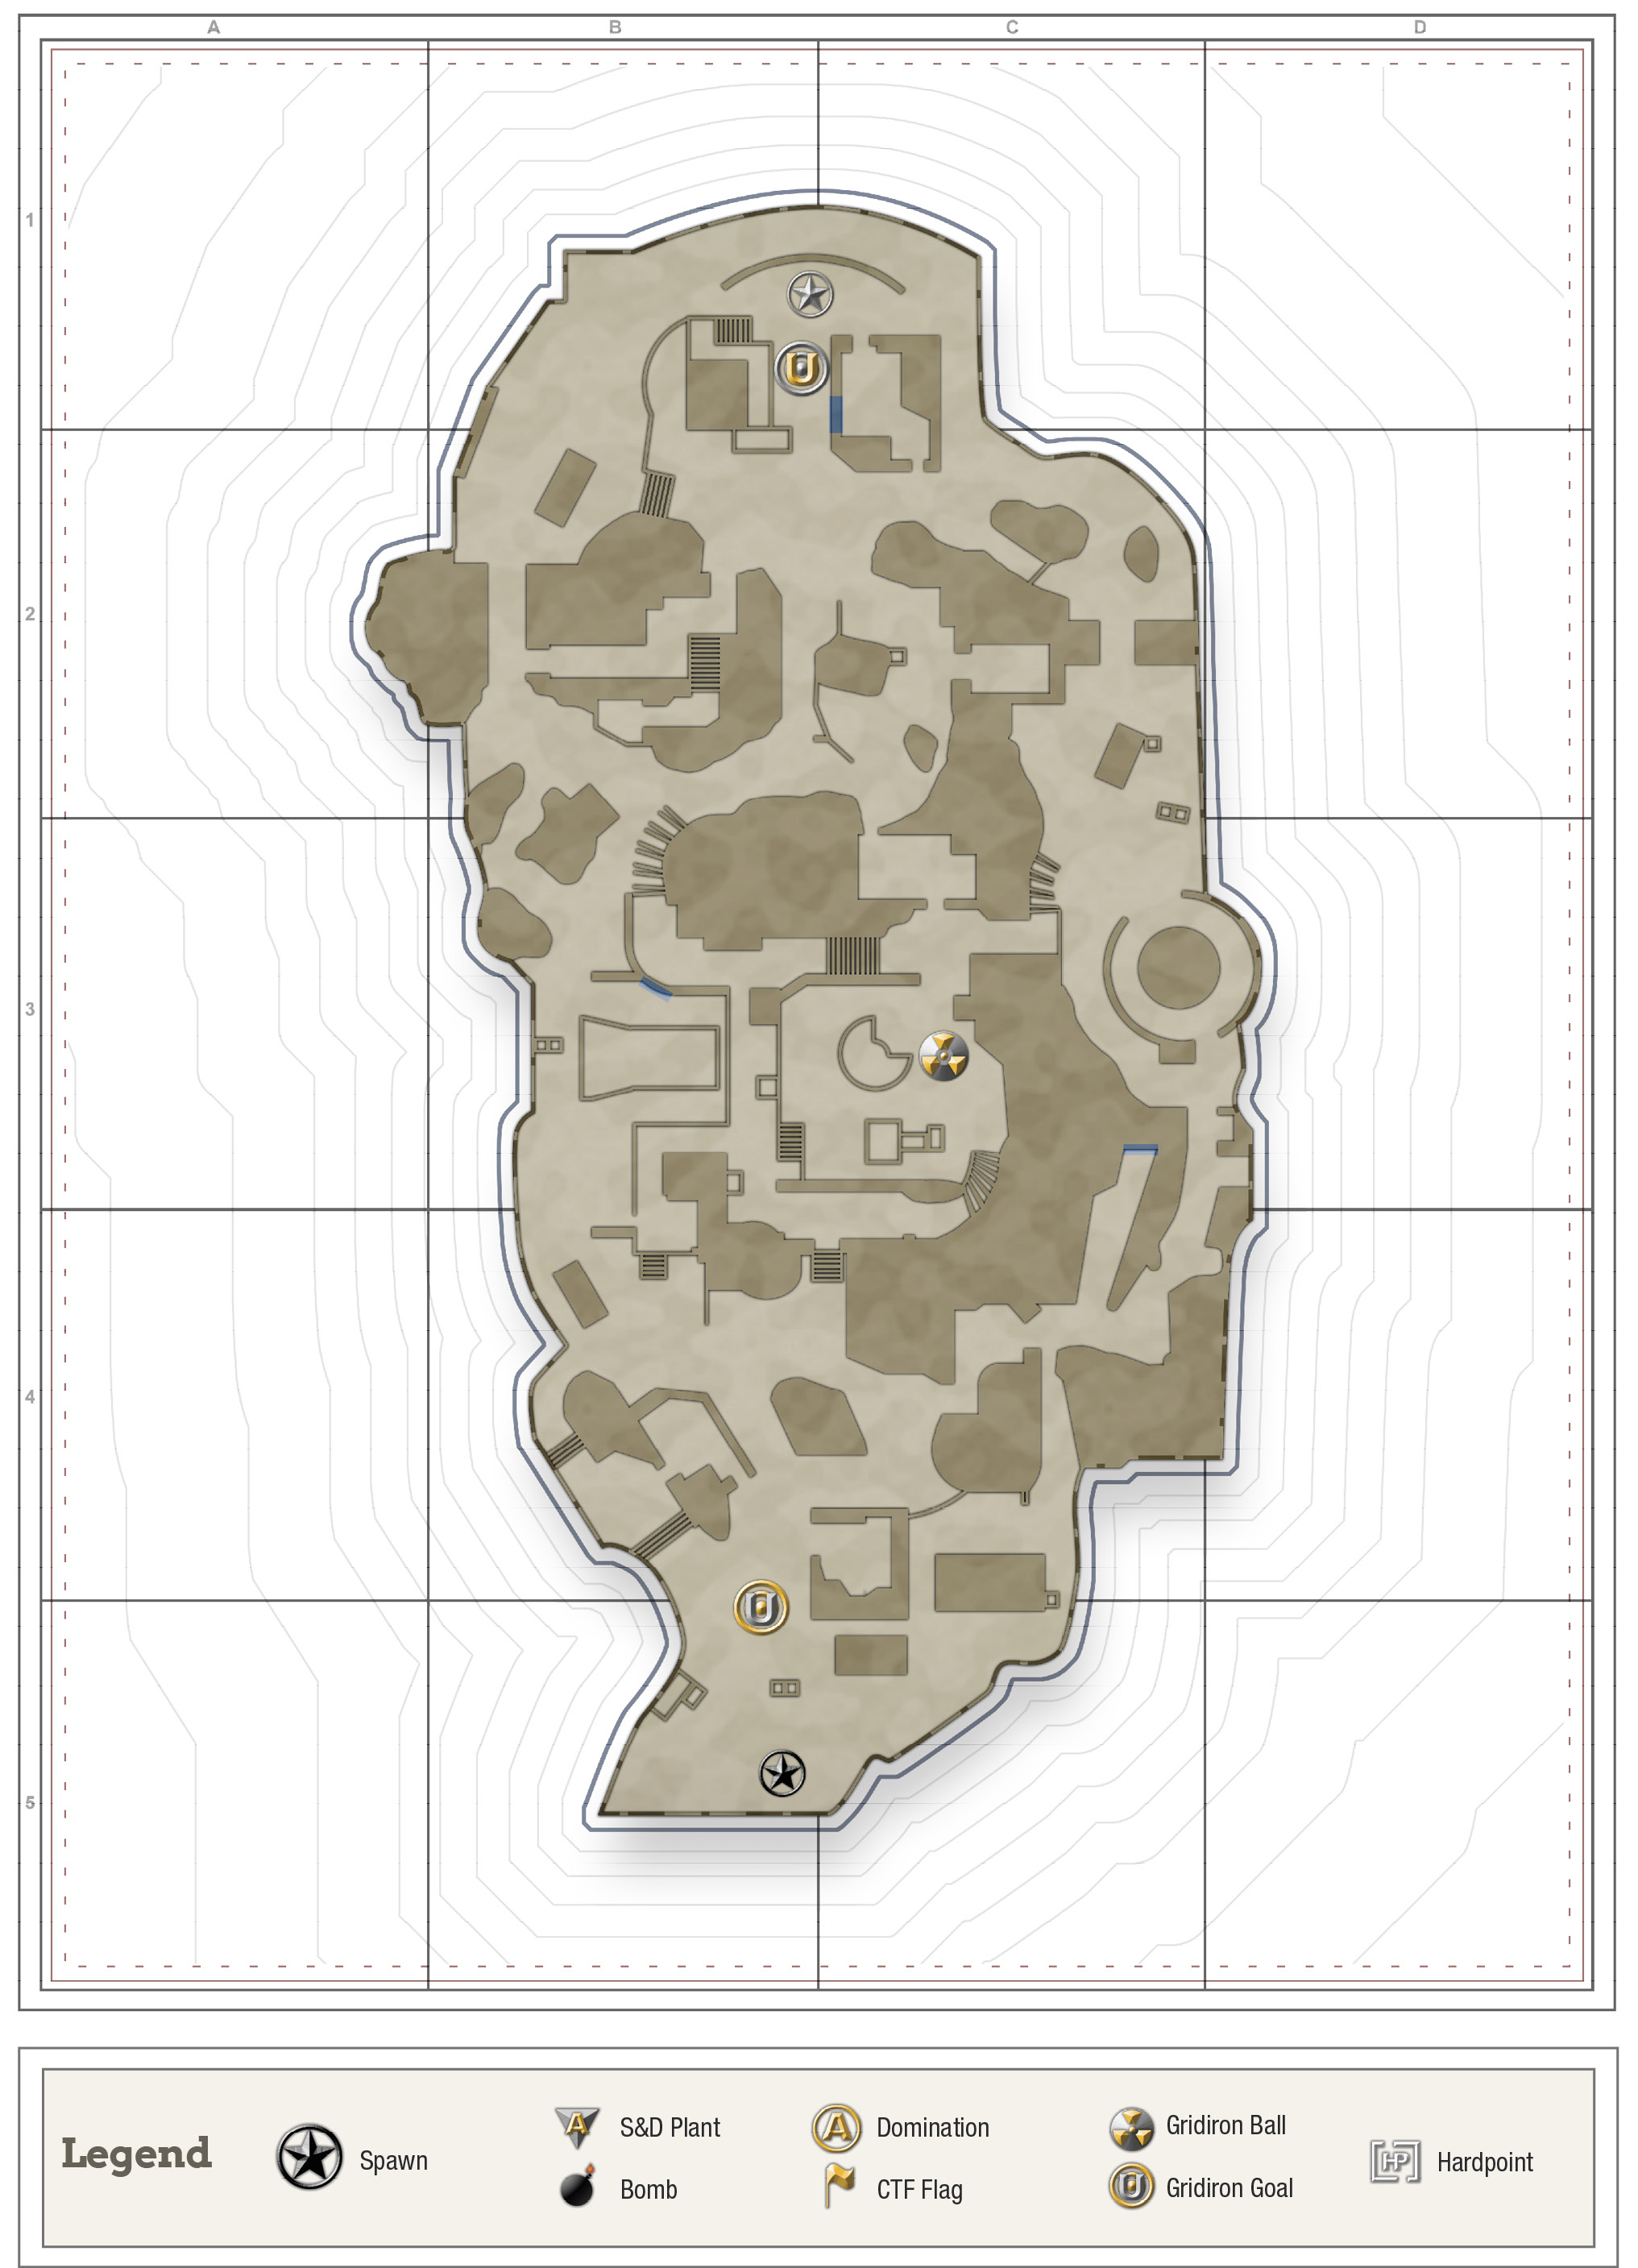
Gibraltar is a cliff-side military base full of flanking paths and cover with a fair bit of verticality. This map is friendly to all playstyles, but favors the creative and bold. Make clever use of the terrain and you’ll run circles around your opponents or take them down at a distance before they even know what hit them.
Mid-Range Loadout Tactics

This map serves mid-range players as much as it does every other player type. Cliff Bridge and Turret can be a bit dangerous if snipers are in the local sniping spots, but you’ll rarely find yourself in a disadvantageous location. Take care in the tunnels and building interiors and try to stick to the outdoor locations.
Short-Range Loadout Tactics

Surprisingly, short-range loadouts are completely viable on this map. The vertical nature of Gibraltar makes it easy to vault, rotate, and generally confuse your attackers. Just stay away from Turret and Cliff Bridge, as those are excellent sniping spots and absolute nightmares for short-range loadouts. Use them only to transition to new areas and never run their entire length. If an enemy sniper appears while you’re running through, chances are you’re as good as dead.

Long-Range Loadout Tactics

This map is positively loaded with perfect sniping spots. The Cave Sniper Nest overlooks Turret, which is a huge open area; you’ll have a clear shot of just about anyone who enters it. Place an S-Mine 44 at the entrance of Cave Sniper Nest to create a perfect, fortified location from which to snipe.

Fort Comms Building, which is stationed on the other side of Turret (directly ahead of Cave Sniper Nest), isn’t quite as defensible as its counterpart, but it’s still a very good spot. Expect counter snipers in one of these spots whenever you snipe from the other one.
The top of the ladder in Fort Rock Turret is a great sniping spot, too. It overlooks Fort Cliff Side, Cliff Bridge, and Castle Cliff. There is a good counter-sniping spot on the north side of the vehicle on Castle Road; use it to take down enemy snipers who have taken Fort Rock Turret.

There are plenty of other sniping spots, but the aforementioned favor sniping more than others. A good sniper will make use of most of this map, so don’t be afraid to experiment and look for new angles. As an added aside, every one of these sniping locations works great as a makeshift LMG nest.