
Call of Duty: WWII Guide Multiplayer Introduction Headquarters
Overview
After selecting Multiplayer at the game’s Main Menu, select Play Online to enter Call of Duty: WWII’s online hub: Headquarters. There are several different NPCs and elements to interact with here and this section covers all of them.
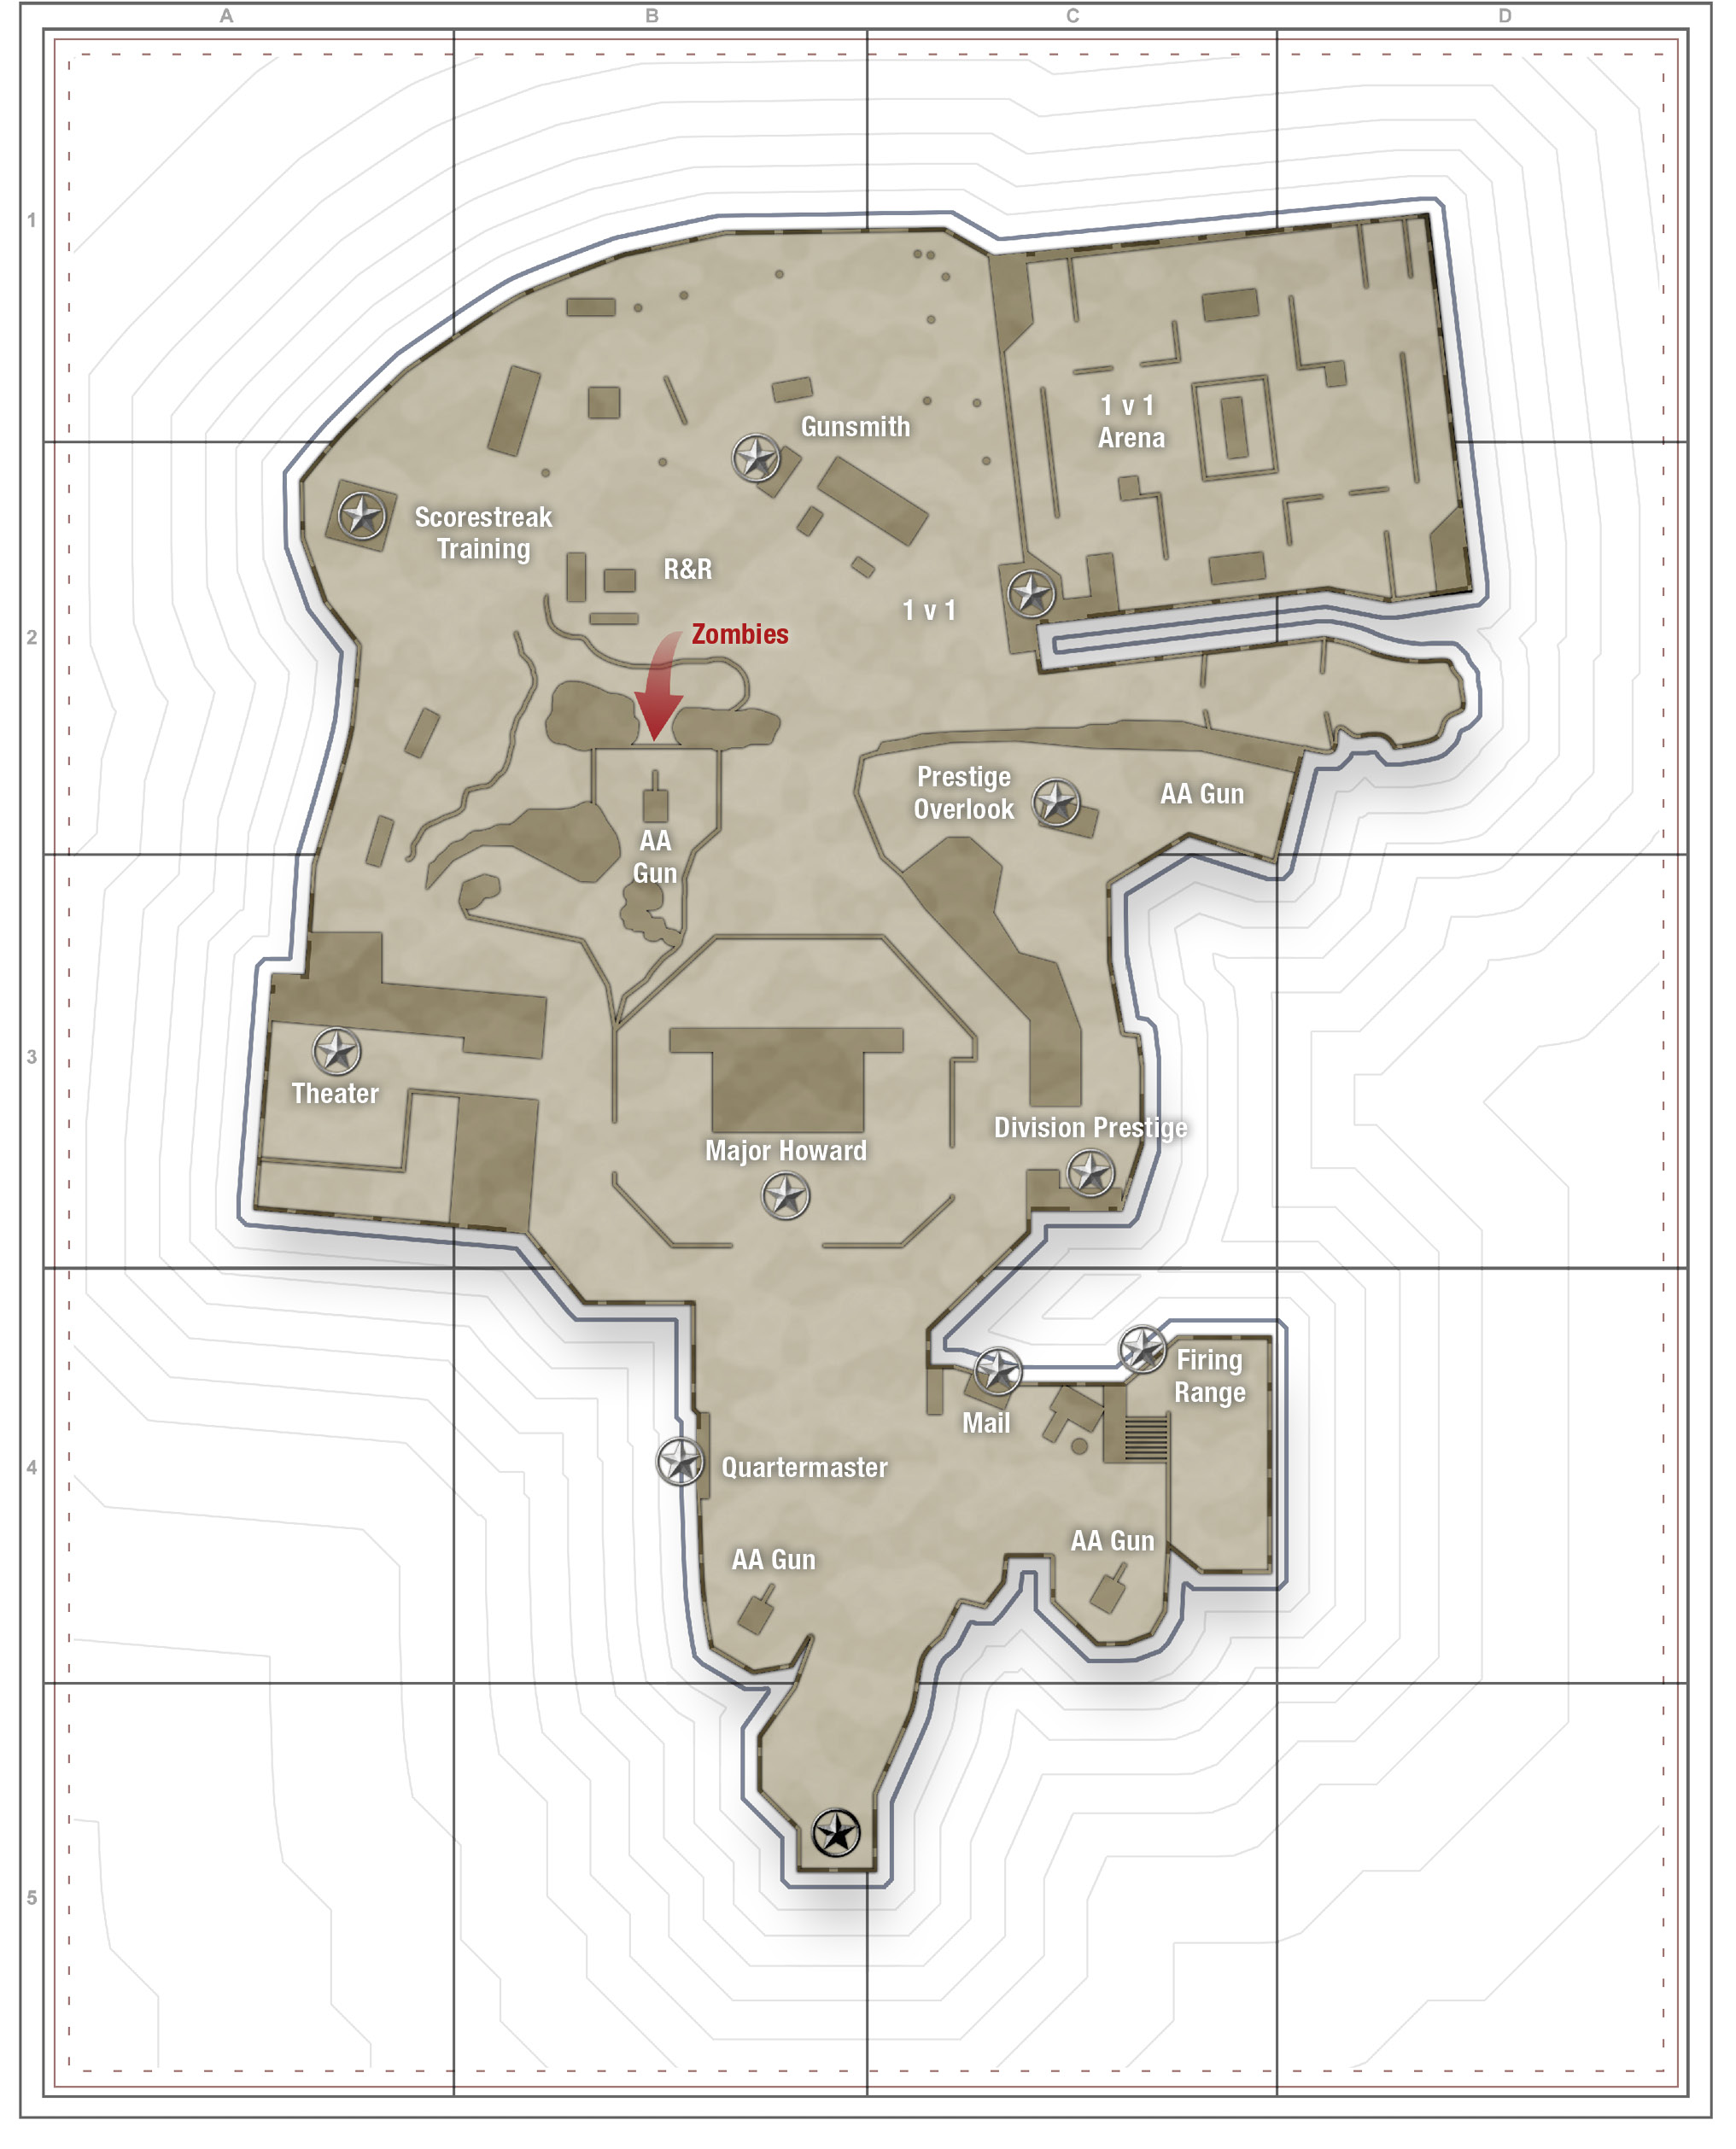
Staging Area
The first place you see in the HQ is the Staging Area. There aren’t a lot of sub-locations here, but they all have something to offer.
Quartermaster


The Quartermaster sells Collection Items and Contracts that can be purchased with Armory Credits. You can also use Armory Credits to purchase Challenges with heftier rewards than what you’d find in the Operations Bunker. To top it off, the Quartermaster also sells new clothing items, tags, emotes, weapon skins and basically anything you need for customizing your character exactly how you want.

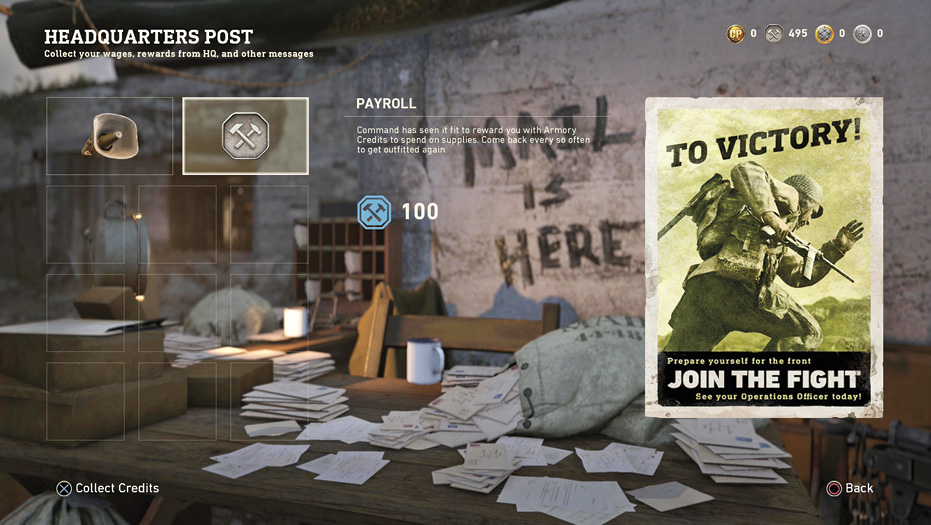
You’ll find your Daily Combat bonus, Payroll. Payroll appears once every four hours and Daily Combat bonus appears once every 24 hours. Make a point to check your mail on a regular basis to bank those Armory Points and retrieve other important parcels.
Career Leaderboard

Take a peek at this Leaderboard to see the overall stats of every player currently in the HQ and, better yet, where you rank among them.
Firing Range

Next, head to the right side of the Staging Area to locate the Firing Range. This is where you can test your weapons and get a general understanding of your time-to-kill with each weapon.

Shooting all of the specific type of targets can make interesting things happen. To finish the “Complete a Firing Range Sequence” Special Order from the Operations Bunker, this is the place to go.
Major Howard
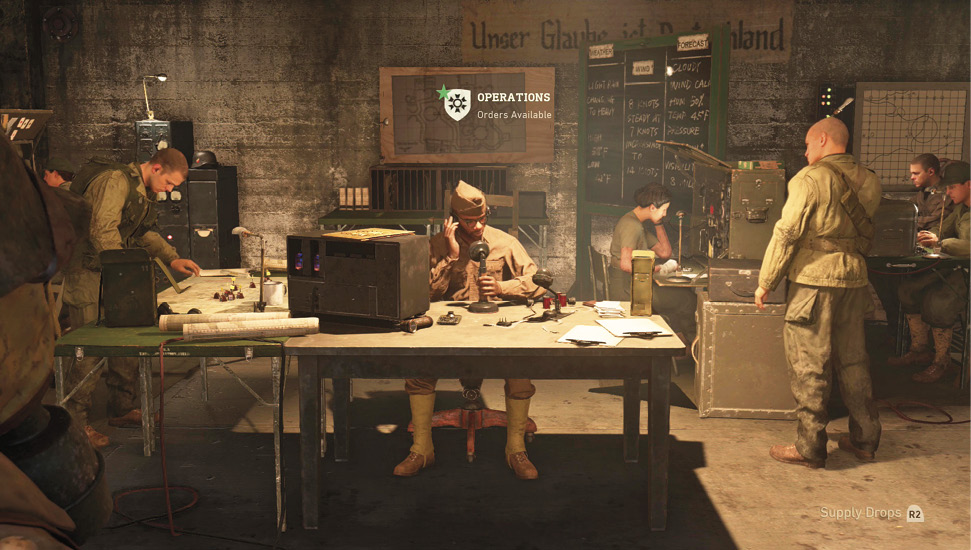
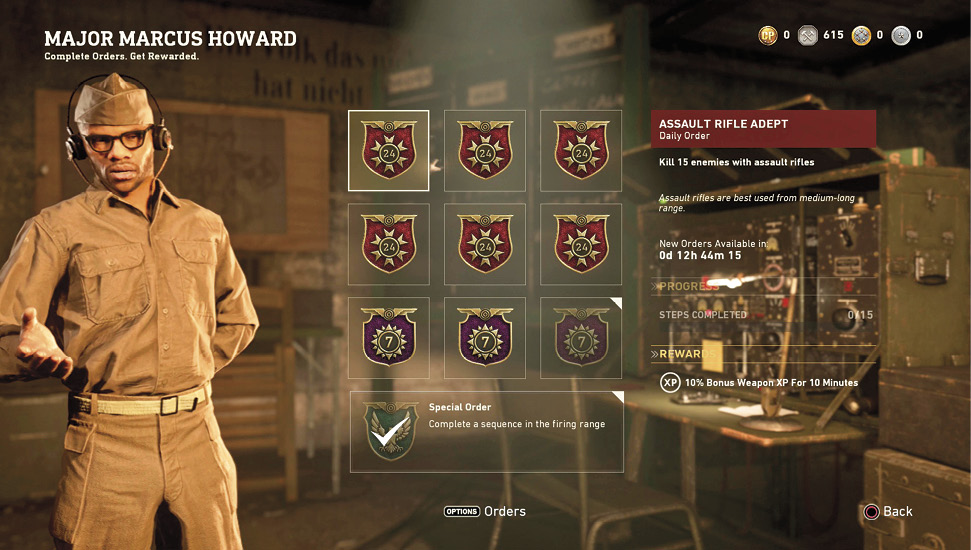
Major Howard, is where Daily, Weekly and Special Orders are found. Completing these Orders results in Supply Drops, bulk XP, temporary XP buffs, and Armory Credits. The tasks you must complete include: getting a certain number of kills during Public or Ranked Matches, receiving Commendations, obtaining a positive K/D ratio in certain Game Modes, among many others. Although it’s not a requirement to complete any Orders, you’ll get a lot of benefit from filling out your Orders queue and completing them.
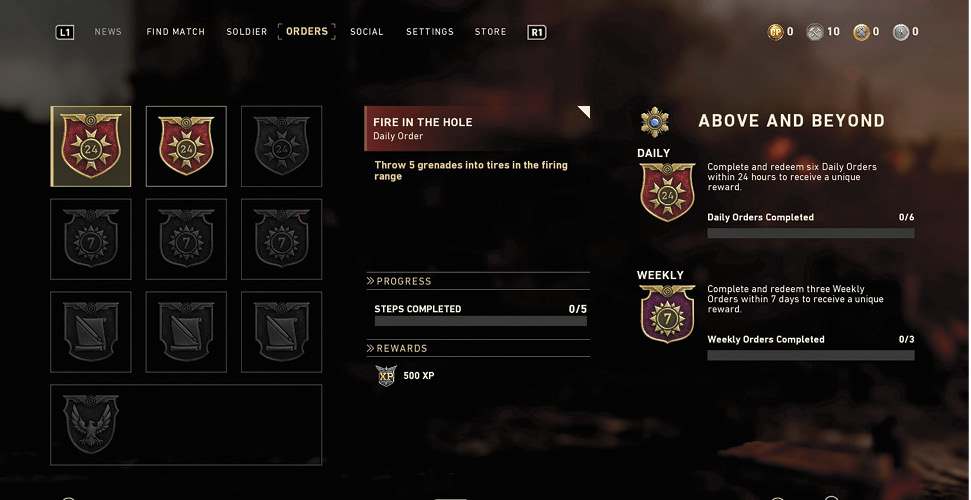
There is a limit to the number of Orders you can have selected at one time. It’s only possible to have three 24-hour Orders, three seven-day Orders, and one Special Order at a time. Make a point to select Orders that are easy to complete, so you can grab more and keep racking up rewards.
Theater
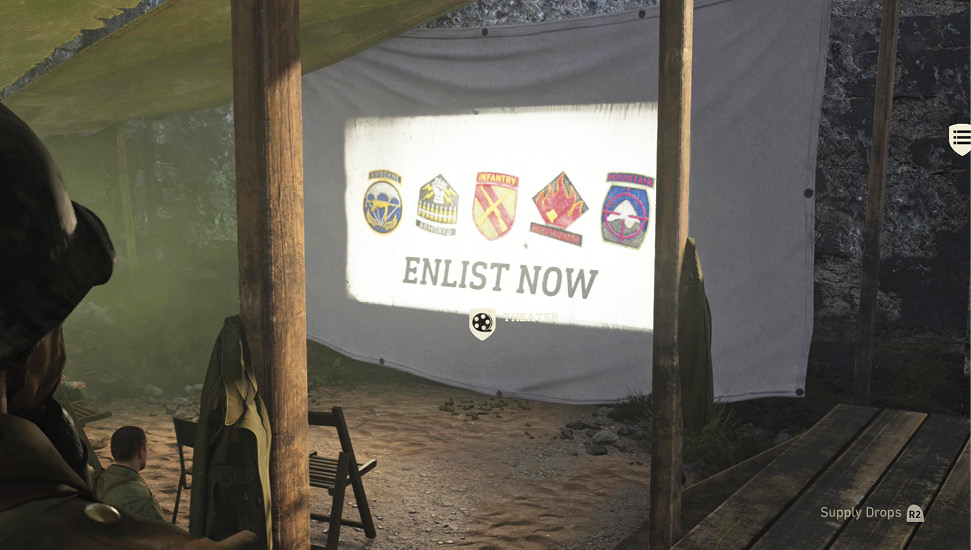

If you’re looking for information on the Divisions, visit the Theater and watch the available videos. There are propaganda videos with updates and information about the game. You’ll also find the Leaderboard for Ranked Play, which you can use to see your standing among your fellow soldiers in the HQ. Theater also contains “Call of Duty on MLG” where there are on-demand videos and live event streams of MLG Call of Duty matches.
The Overlook
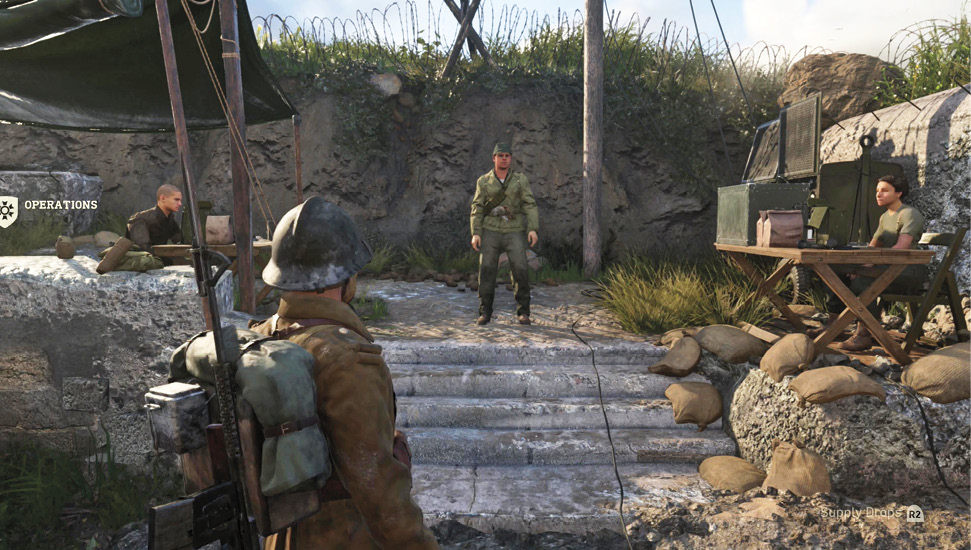

Upon reaching Max Rank, speak to the General in the Overlook to Prestige. The player will receive all of the following rewards when they Prestige.
Level Reset
This resets your Rank back to 1 and your Rank icon changes to match the amount of times you’ve Prestiged. Continue to Prestige to progressively change your icons and show your dedication to the war effort.
Keep Your Progress
With Keep Your Progress, your player rank is always reset to 1. Your Weapon Levels, Division Levels, and Challenge progress are not reset.
Extra Class Slot
True to its name, select Extra Class Slot to receive an additional Class Creation slot. If five slots feels a bit too narrow, this is definitely an option to keep in mind.
Access to Prestige Rewards
You’ll be granted access to Prestige-only rewards (like the Prestige icon, calling card, helmet and class slot) and Challenges when selecting this option.
Division Prestige
You won’t find this option at The General, but it is in The Overlook. Look for a board to the right of the guard who typically bars your path to The General. Interact with the board to get the chance to Prestige your Division progress.
Beach
You’ll likely spend a fair amount of your HQ time on the Beach, which has several different kiosks, leaderboards, and other elements with which to interact.
1v1
When arguments can’t be settled with discourse, the only other option is the most sacred of duels: 1v1. Thankfully, Headquarters has just the location to facilitate 1v1s. The 1v1 Leaderboard is located on the right side of the Beach (if the ocean is directly ahead). This is where you can enter the queue to do battle in a small obstacle course for 1v1 supremacy.
Once two players have queued on the 1v1 Leaderboard, they’re taken to the Weapon Ban screen. Three weapons appear on-screen; each player must choose one weapon each to ban. The remaining weapon is the weapon both players must use during the battle. The first player to reach three kills, or the highest number of kills by the time the timer runs out, is the winner. The winner stays in the queue and appears on top of the bunker overlooking the obstacle course, ready for any and all challengers to try and dethrone him or her.


Scorestreak Training
If you’re curious about how a specific Scorestreak functions, but don’t want to wait to actually use it, visit the Scorestreak tower on the left side of the Beach. You can choose from a list of all available Scorestreaks and use them right away on enemy AI.

Zombies

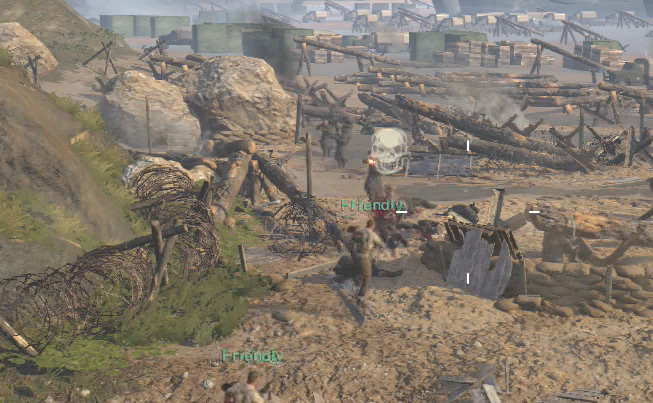
There’s a path leading deep underground at the base of the bunker in a tangled heap of rebar and shredded concrete. Talk to the soldier down there to join the fight against the undead horde. Upon doing so, you’ll leave the HQ and enter the Zombies menu screen.
Gunsmith


The Gunsmith is the place to go to Prestige your weapons. Players can only Prestige their weapons if they have leveled them all the way up. Prestige 1 players can show their clan tag, while Prestige 2 players can show the number of kills they have with that weapon.
War

If you’re in the mood for some War (the Game Mode, not the real deal), proceed to the War Leaderboard at bottom of the Beach. You’ll also find the War rankings for every player currently in the HQ. See how you stack up with your friends and those nearby.
Domination Leaderboard

Like other Leaderboards, the Domination Leaderboard also shows the players with the highest scores for this specific game mode.
Team Deathmatch Leaderboard

You can also take a look at the Leaderboard before activating it to see which of those currently in the HQ are top of the charts and which ones are in need of more practice time.
Division Prestige Vendor
This is where you can Prestige your Division once you have leveled it up enough. Division Prestige 1 grants a unique weapon and a Basic Training. Prestige 2 grants a unique, animated calling card. Prestige 3 grants a unique uniform, while Prestige 4 grants a unique weapon variant.
HQ Flak Gun Event
Every now and then, a warning will flash on-screen to alert you to an impending Axis attack on the Allied HQ. There are four AA gun emplacements scattered around the HQ; use them to fight off the attackers.


An Allied air transport will dump its cargo that Axis forces will attempt to destroy in mid-air. Hop into one of the AA gun emplacements, aim up, and fire at any aircraft with a red outline to protect the cargo until it reaches the ground.

Once the cargo hits the ground, you have approximately 10 seconds to retrieve the contents. If you don’t collect the cargo before time runs out, the cargo disappears. Collecting the cargo, on the other hand, results in Armory Credits for everyone who participates..
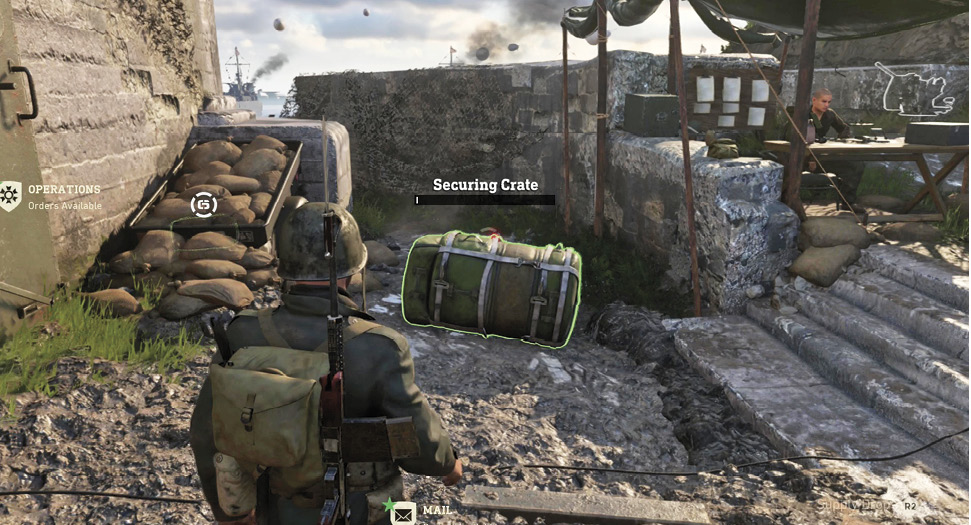
The HQ Flak Gun Event occurs every half hour, so don’t ignore it when the warning appears on-screen.