
Call of Duty: WWII Guide Basic Training
Welcome, Private!
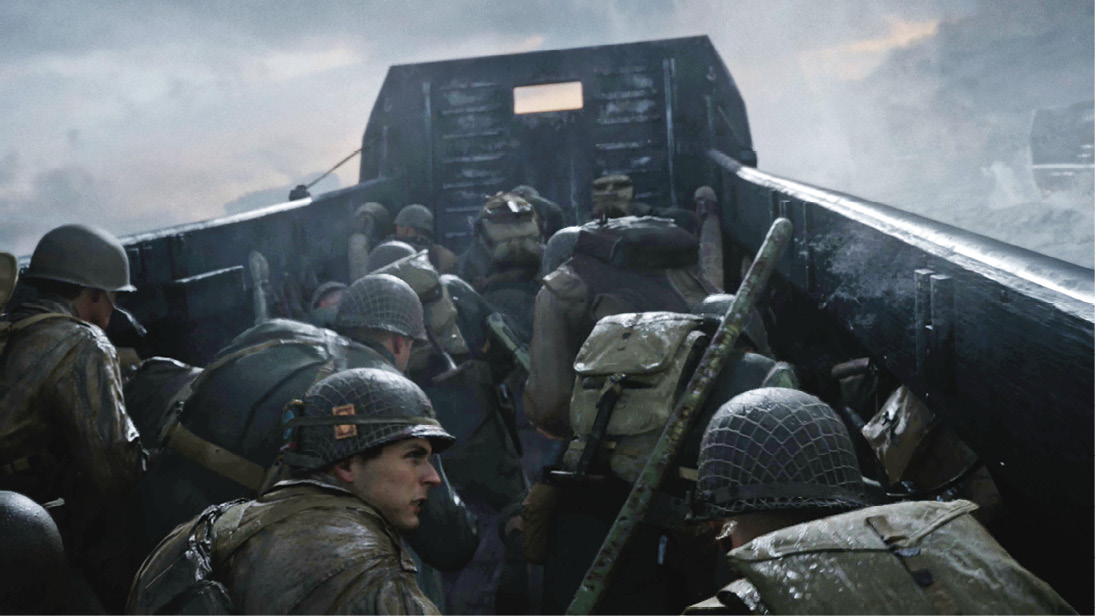
This chapter covers the gameplay basics for both new players and returning players to the franchise. While the setting of Call of Duty WWII is drastically different than the last few Call of Duty games (since World at War), you will find that the gameplay is largely familiar if you have played Infinite Warfare or Black Ops 3 as many of the HUD elements and game physics are identical to the last two entries in the franchise.
If you are a Call of Duty veteran, then go ahead and skip ahead to the section titled “Advanced Tactics” to get a summary of the new features in this version of the game.
The Basics
Movement
The most basic action you take in the game is movement, however, it is also key to your survival. When you move normally, you move at a decent clip. When you press left and right on the movement analog stick, it strafes (sidesteps) your character to the left or right. To turn and face a different direction, you must use the look analog stick. This all sounds confusing on paper, but you should pick it up quickly once you try moving around in the game.
In addition to normal movement, you can sprint for short bursts. Press the Sprint button to begin sprinting. Generally, you can only sprint forward, however, you can control your general direction by looking to the left or right. Sprinting quickly exhausts your character, so after a few seconds of sprinting, you must rest before you can perform another full-length sprint.
You also have the ability to jump (simply press the Jump button). Since Call of Duty WWII is a realistic game, jumping won’t save you from getting hit by gunfire. In the single-player campaign, it is primarily used for resetting your character’s stance and climbing over obstacles.
Stance
In addition to movement, you can also change your character’s stance by pressing the Crouch button. Stances are important for utilizing cover. You also may need to change stance to get through some obstacles in the campaign. There are three stances.
- Crouch: This is the best stance for normal combat. It reduces the chance you will get hit, but still enables you to move at a decent speed. It is also vital to utilize Crouch when taking a stealth approach. Crouching allows you to quietly approach an enemy.
- Prone: Go prone by holding down the Crouch button for about a full second. The prone position is best when sniping or attempting to hit an enemy at long distance. Being in this position drastically increases the accuracy of all weapons, but it is most effective when using rifles and heavy machine guns. When prone, you can barely move so it’s not the best position to take when there are enemies nearby.
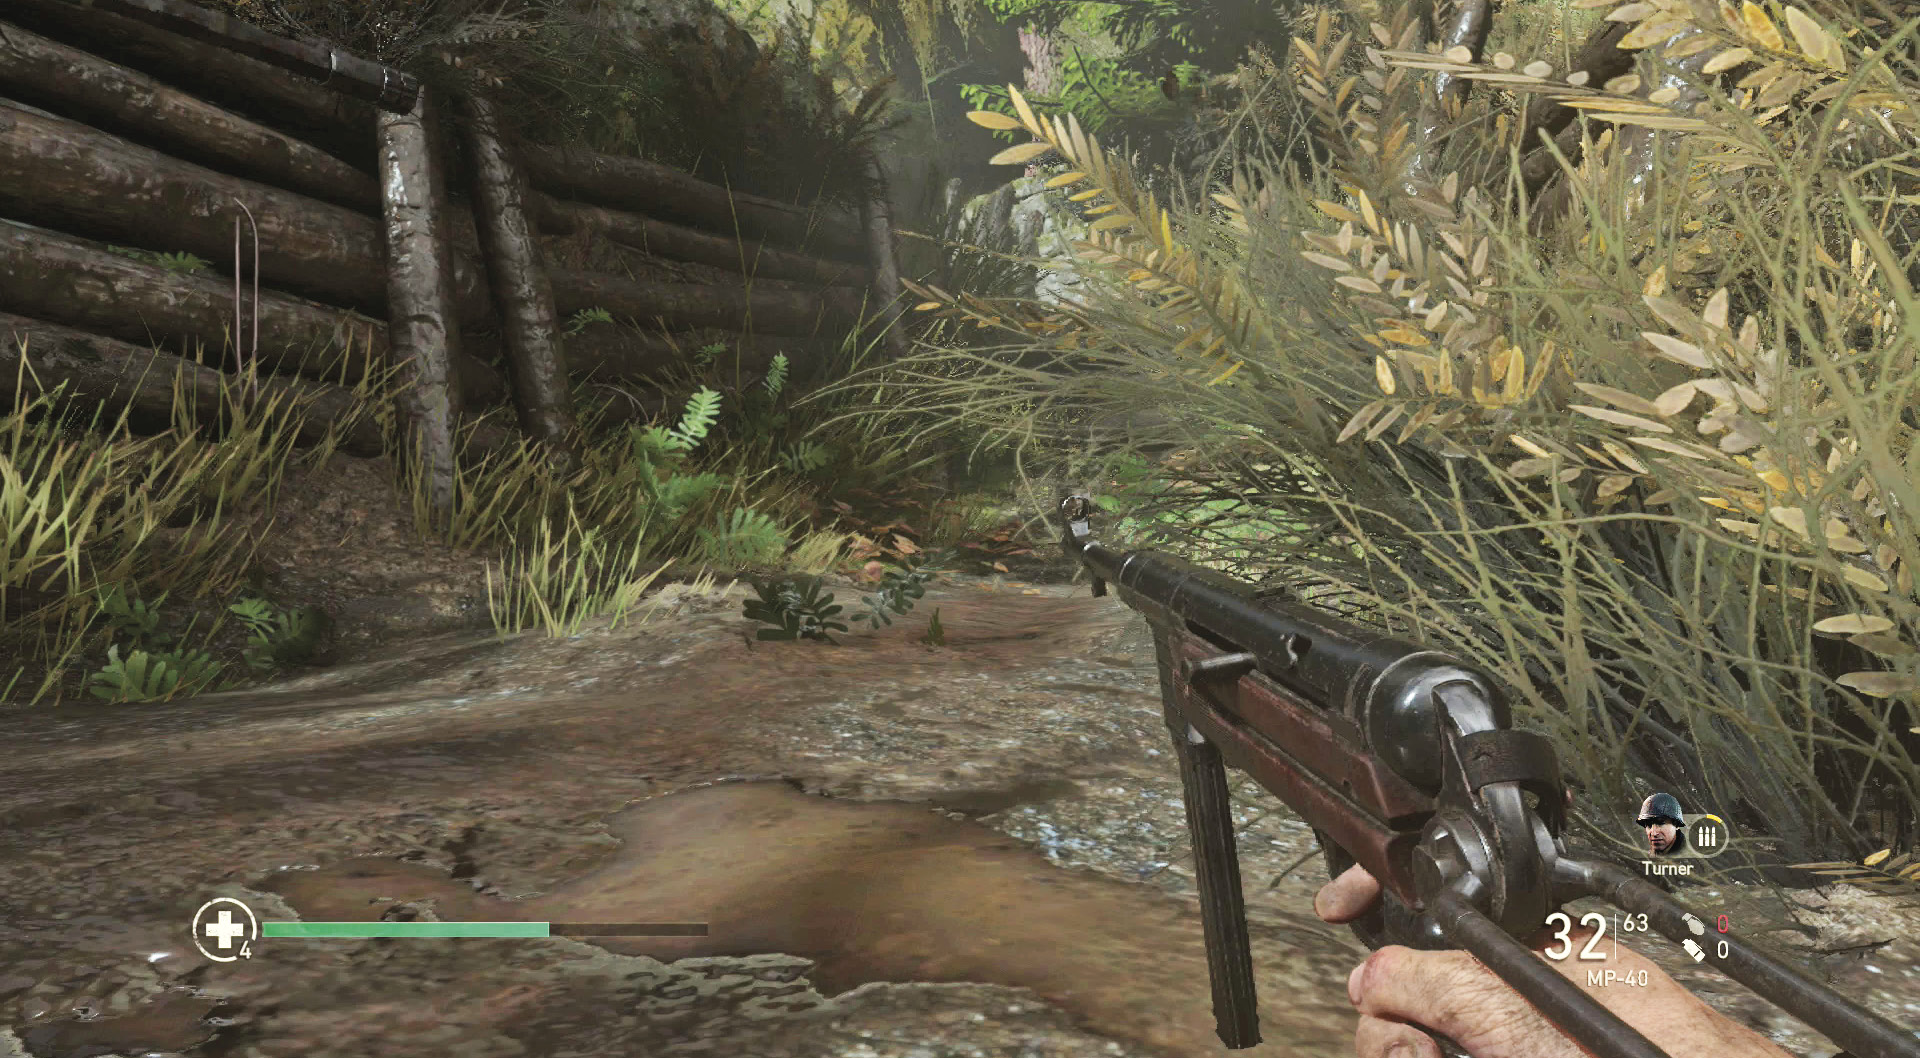
- Stand: This is the game’s “normal stance.” You can return to this from a crouch or prone position by pressing the Jump button.
Weapons
While moving around is great, movement alone won’t let you survive the European campaign! You need weapons, ammunition, and lots of it! But first, there are some core concepts to understand when engaging in gun battles.
Aim Down Sight
Every weapon can be used in conjunction with the Aim Down Sight button. This button is the key to firing accurately and ensuring you kill an enemy before he kills you.
Firing without Aim Down Sight is called “firing from the hip.” When using this technique, however, your gunfire is extremely inaccurate. This should only be done in emergency situations in which the enemy has snuck up on you at point-blank range.
In all other situations, you should use the Aim Down Sight button to ensure you are getting the most out of your precious ammo. Your accuracy will increase exponentially by doing so.
Cover
You won’t make it off of Omaha Beach if you don’t quickly learn the concept of cover. Whenever you take damage from an enemy, stop what you are doing and immediately find cover. If the enemy can hit you once, you are standing somewhere where he can hit you again.
But cover isn’t only for defense. When firing at an enemy, always prioritize finding nearby cover first. If you happen to miss, that enemy will return fire and he might be a better shot than you!
Not all cover is made equal. Soft cover (like wood) can be shot through, so avoid using tables and other wooden structures for cover. Don’t forget that soft cover works both ways. If you locate an enemy hiding behind a wooden door, shoot right through it with a powerful weapon to take him down!
Weapon Types
Understanding which weapon to use in each combat scenario is the key to surviving the campaign. Each weapon belongs to a basic category of weapons that share characteristics.
Rifles
Rifles, which come in many shapes and sizes, are the “default” weapons in Call of Duty because they are the most versatile. Rifles can inflict high damage (particularly when you can score a headshot) and are very accurate at medium and long range. Although they aren’t quite as good at scoring headshots as a sniper rifle, a rifle shot to the head will kill most enemies.
Sniper Rifles
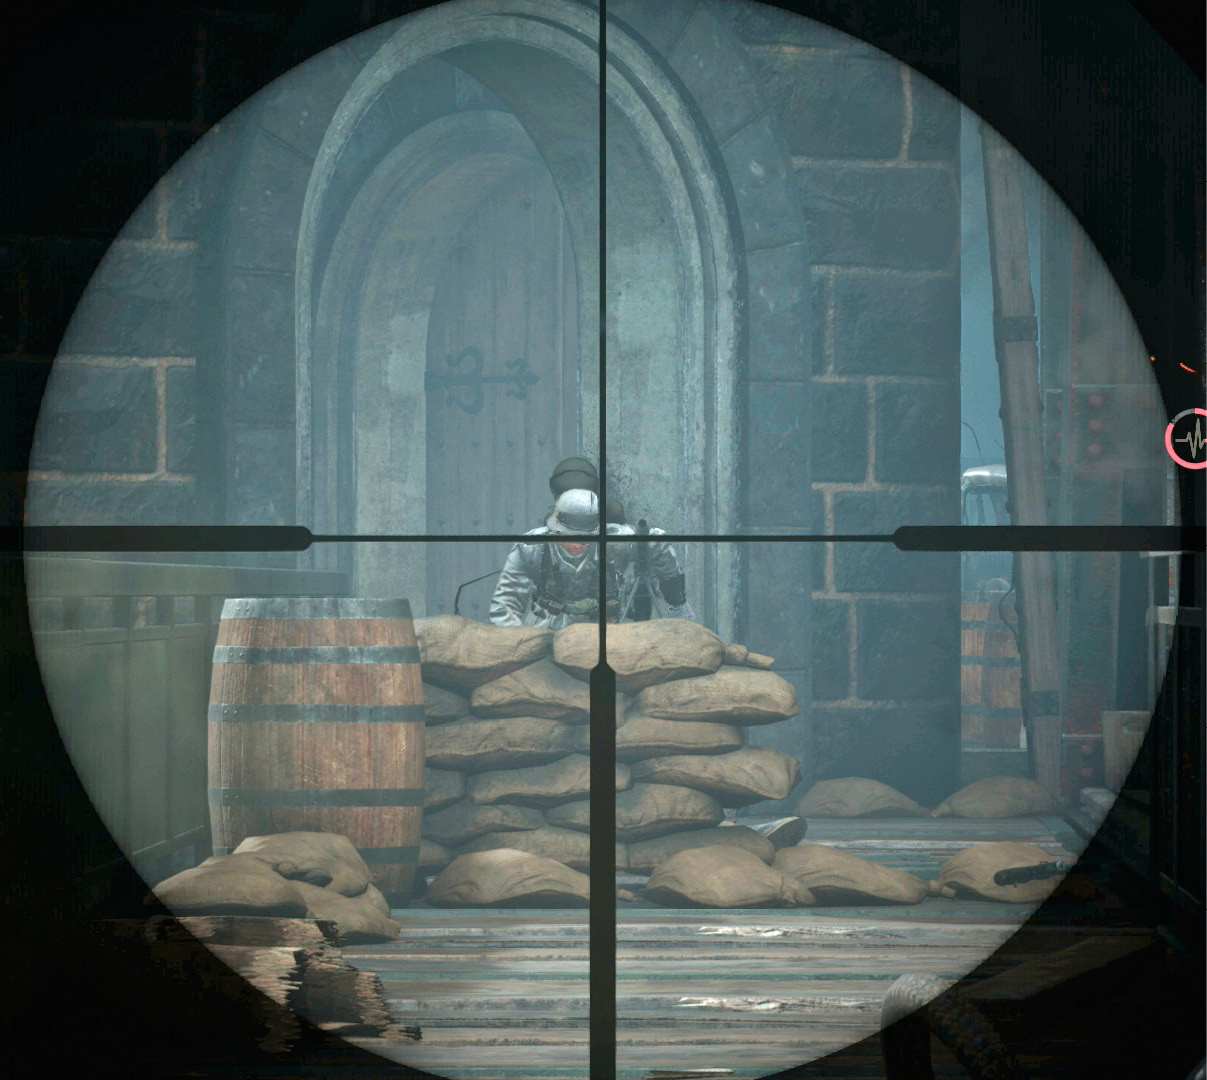
Sniper rifles perform similarly to regular rifles, but since they are fitted with a scope they can’t be as effective without stopping and aiming with the scope. Sniper rifles have extra long range, capable of killing enemies from extreme distances.
Additionally, when using a sniper rifle, you can use a special Focus ability. Focus slows down time, making lining up headshots from a scoped view even easier. Focus only lasts for a few seconds, though, so make sure to start it only once you have an enemy in your sights.
Submachine Guns
Submachine guns, or SMGs, are fully automatic weapons that can be fired “from the hip” more effectively than any other type of weapon. When used with Aim Down Sight, the range of the weapon improves. It won’t score headshots at long distance, but picking off enemies at long distance can occur as long as you fire in bursts.
One challenge with SMGs is that they blow through ammunition extremely quickly. You can alleviate this problem by sticking to enemy SMGs like the MP40. Finding enemy ammunition is much easier than trying to find an ammo depot or saving up a squad ability.
Shotguns
Shotguns are somewhat rare to find in the single-player campaign portion of the game. They are only effective at short range. In the campaign, although shotguns are a little less effective than SMGs and rifles, they are still a good go-to option in a pinch.
Light Machine Guns
The next category of common weapon found in the campaign are Light Machine Guns, or LMGs. LMGs can generally be found at Axis and Allied hardpoints, emplaced in a window. You can tear any of these guns out by mounting up on it and following the on-screen instructions to take it off.
LMGs have huge ammo clips and you can carry massive amounts of ammunition for them. However, they have extremely long reload times. The most effective way to use a LMG is from a crouched or prone position at medium to long distance (and from behind cover to avoid incoming fire.)
Handguns
The only time handguns are used in the campaign is when you start a level with one as your alternate weapon (or in some quick-time sequences). During the scripted sequences, be sure to use Aim Down Sight to score headshots. Movement speed for Hanguns is similar to SMGs. These two classes are faster than others, though.
Grenades
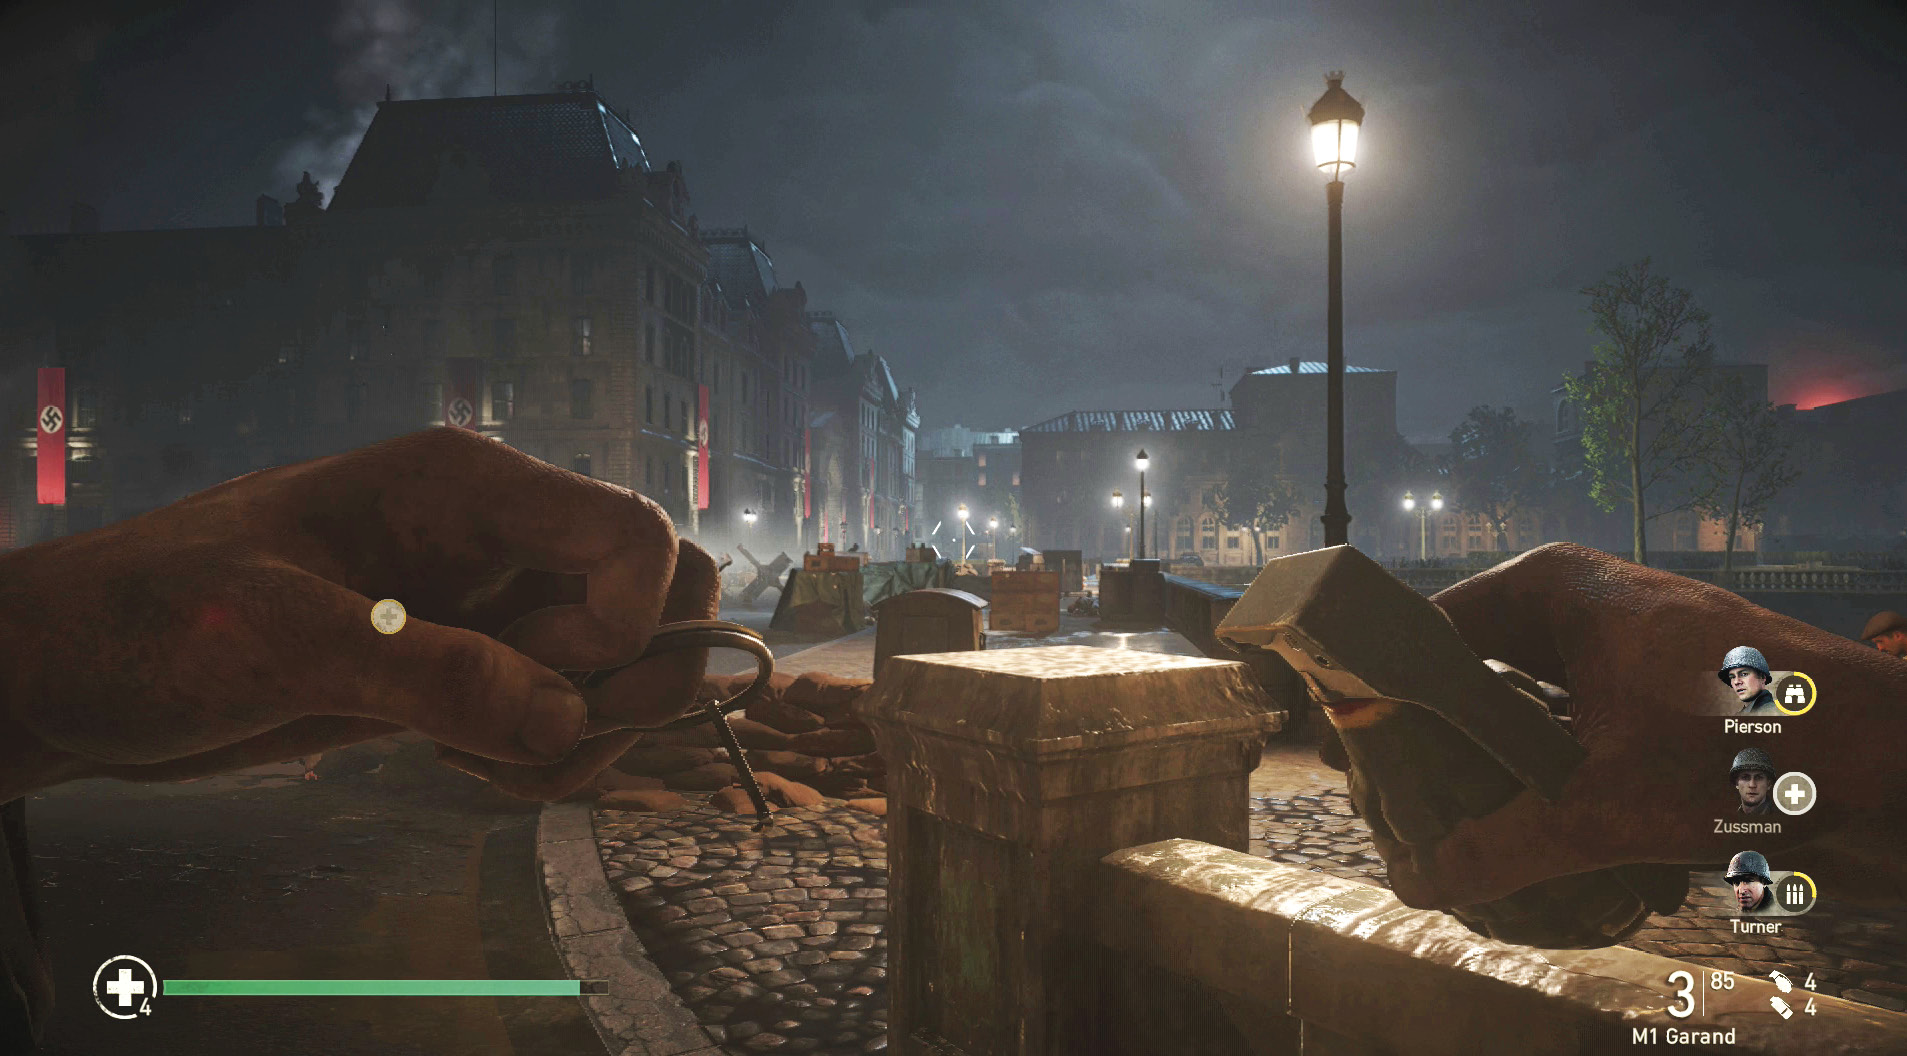
Another weapon in every soldier’s arsenal is the classic frag grenade. Frag grenades are tossed in an arc at the enemy and detonate after about five seconds. Enemies in Call of Duty WWII are clever and will avoid a grenade if at all possible. A way to ensure your grenade hits its target is to “cook” it before tossing it.
You cook a grenade by holding down the Lethal Grenade button before throwing it. Until you are confident in the timing of a grenade toss, count to three and release the grenade. Generally, this will not allow enough time for the enemies to evade the impending grenade blast.
Frag grenades can also be used tactically. Enemies will reliably run from cover if you toss a grenade in their direction. This is an excellent way to kill several tough enemies. Be ready to pick them off when they emerge from cover.
Tactical Grenades
The only tactical grenade in the single-player campaign is the smoke grenade. This is bound to a different button than the frag grenades. Smoke grenades are useful when cover is needed, but you are in an open field. Tossing a tactical grenade buys some time to run to cover and evade incoming enemy fire. Note, however, that smoke grenades cannot be cooked.
Enemy Grenades
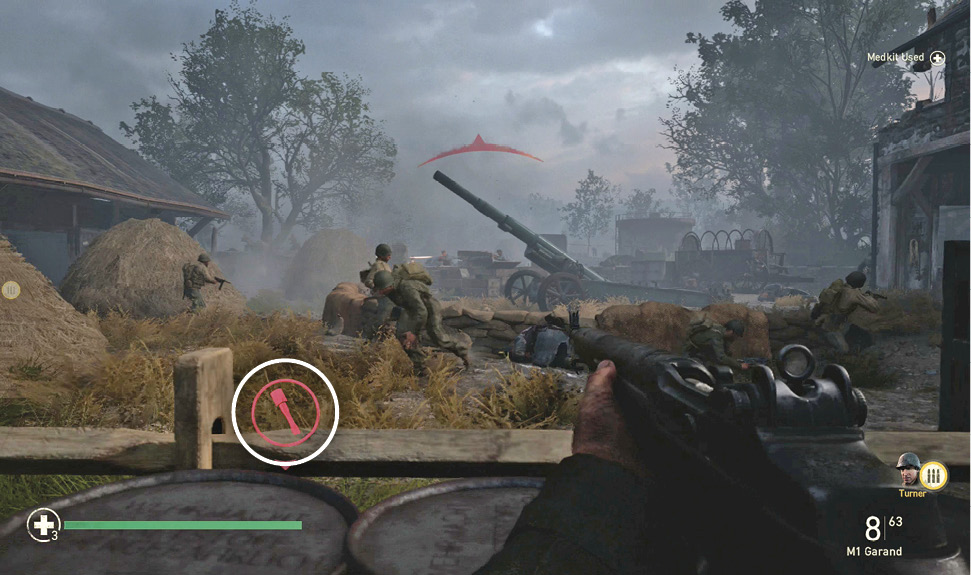
You’re bound to have an enemy grenade fall at your feet at some point during the game. If you react quickly, it’s possible to survive a situation like this. When a frag grenade is in range and at your feet, a red grenade icon appears on-screen pointing you to the grenade’s location.
Walk toward the grenade and press the Frag Grenade button to toss it back at the enemy. Enemies rarely cook grenades (even on the harder difficulty settings), so there’s always a chance to return a grenade.
Instead of tossing back a grenade, you can also evade it. Do this by moving away from the grenade and attempting to find cover between your location and the grenade’s location. You know you are safe from a grenade when its icon turns a creme color on the in-game HUD.
Special Weapons
The last category of weapons is for weapons like rocket launchers and flamethrowers. Each of these weapons has unique characteristics, which are discussed when you access them in the campaign walkthrough.
Ammunition
In the single-player campaign, you can carry two normal weapons at any given time. Some LMGs, specifically the MG42 and M1919, can be added as a third weapon. When using Turner’s squad ability, LMGs like the MG42 and M1919 get two clips of ammo, but you do not receive any ammo for the Flamethrower.
HUD
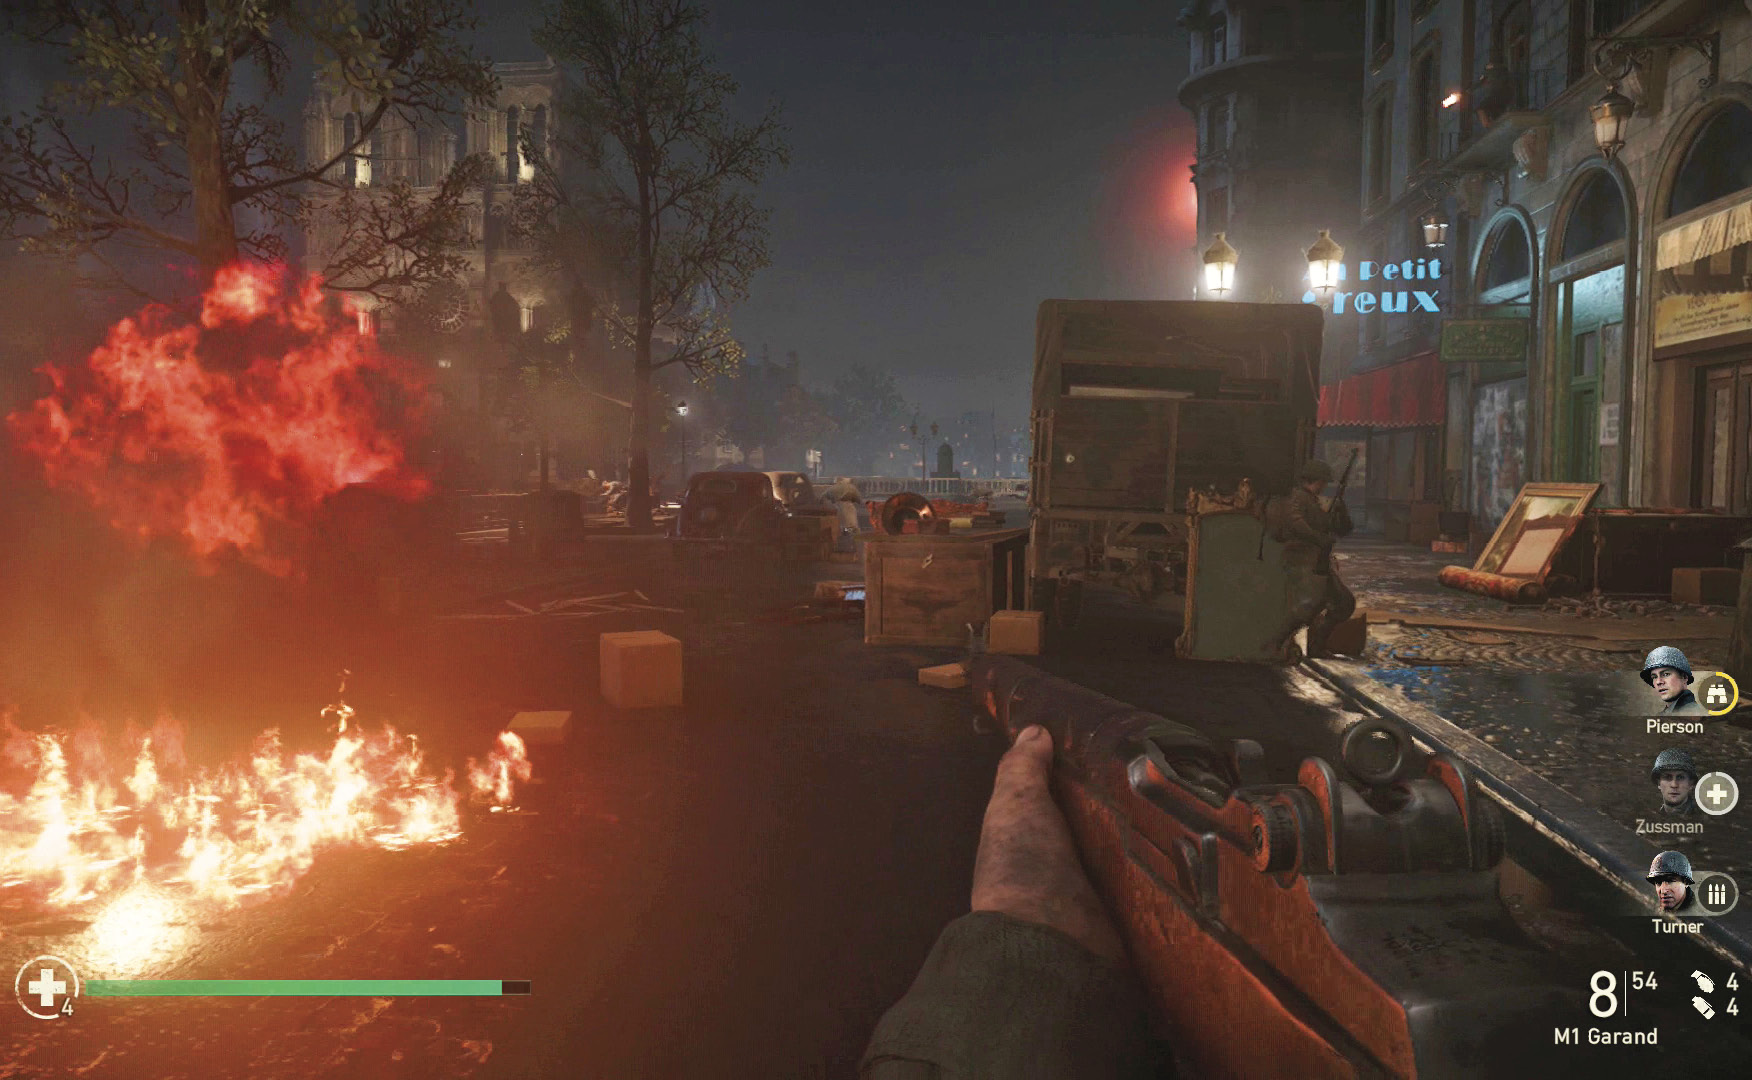
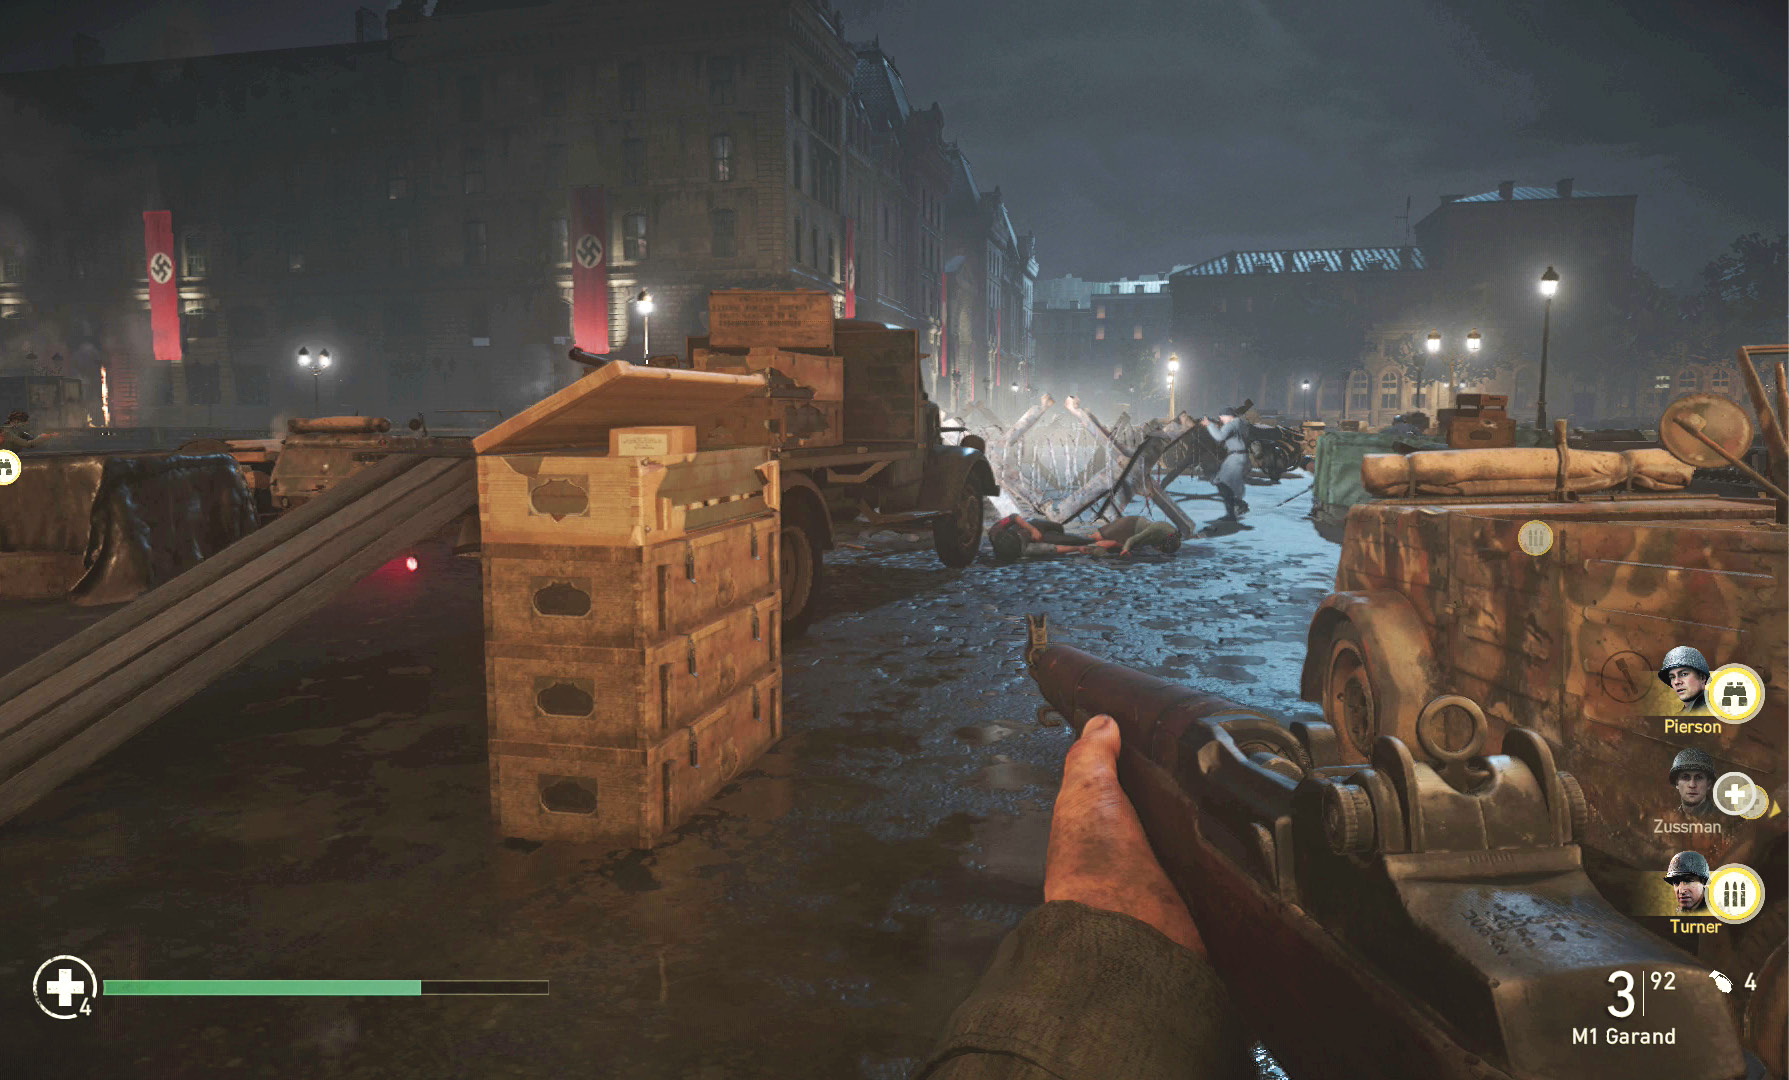
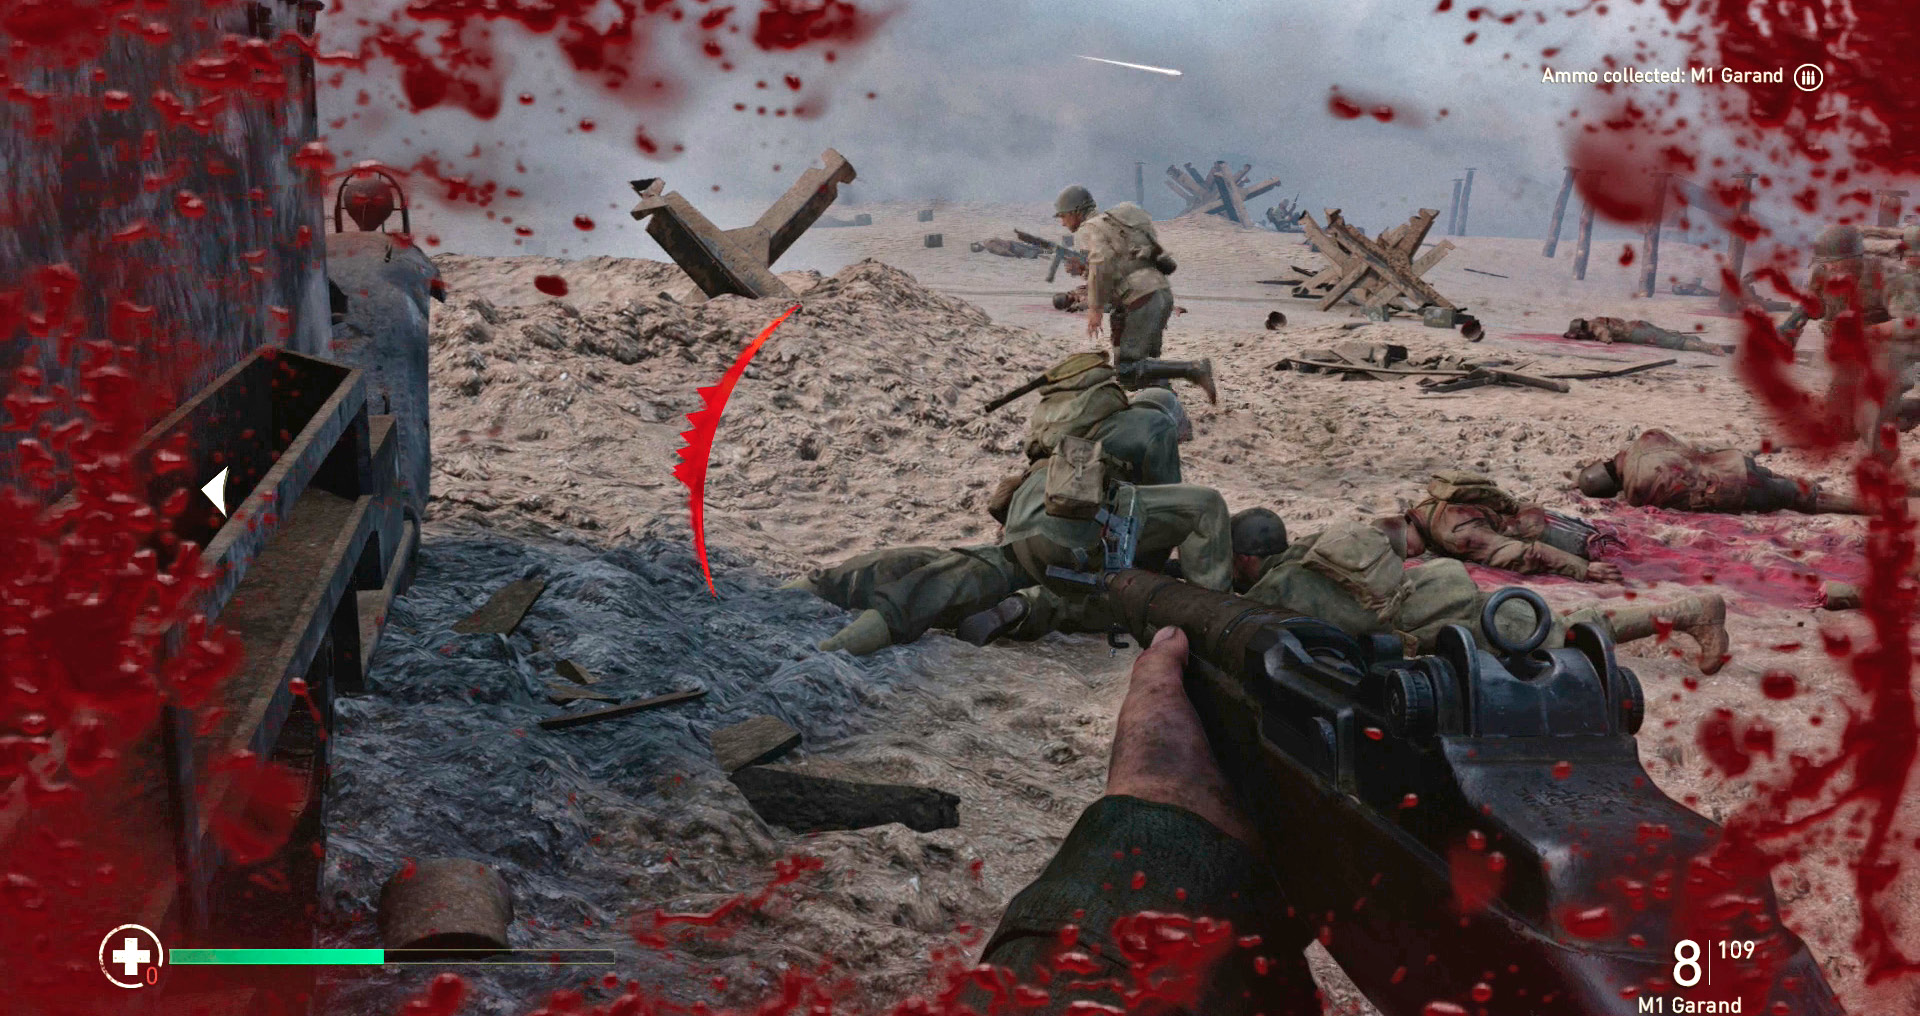
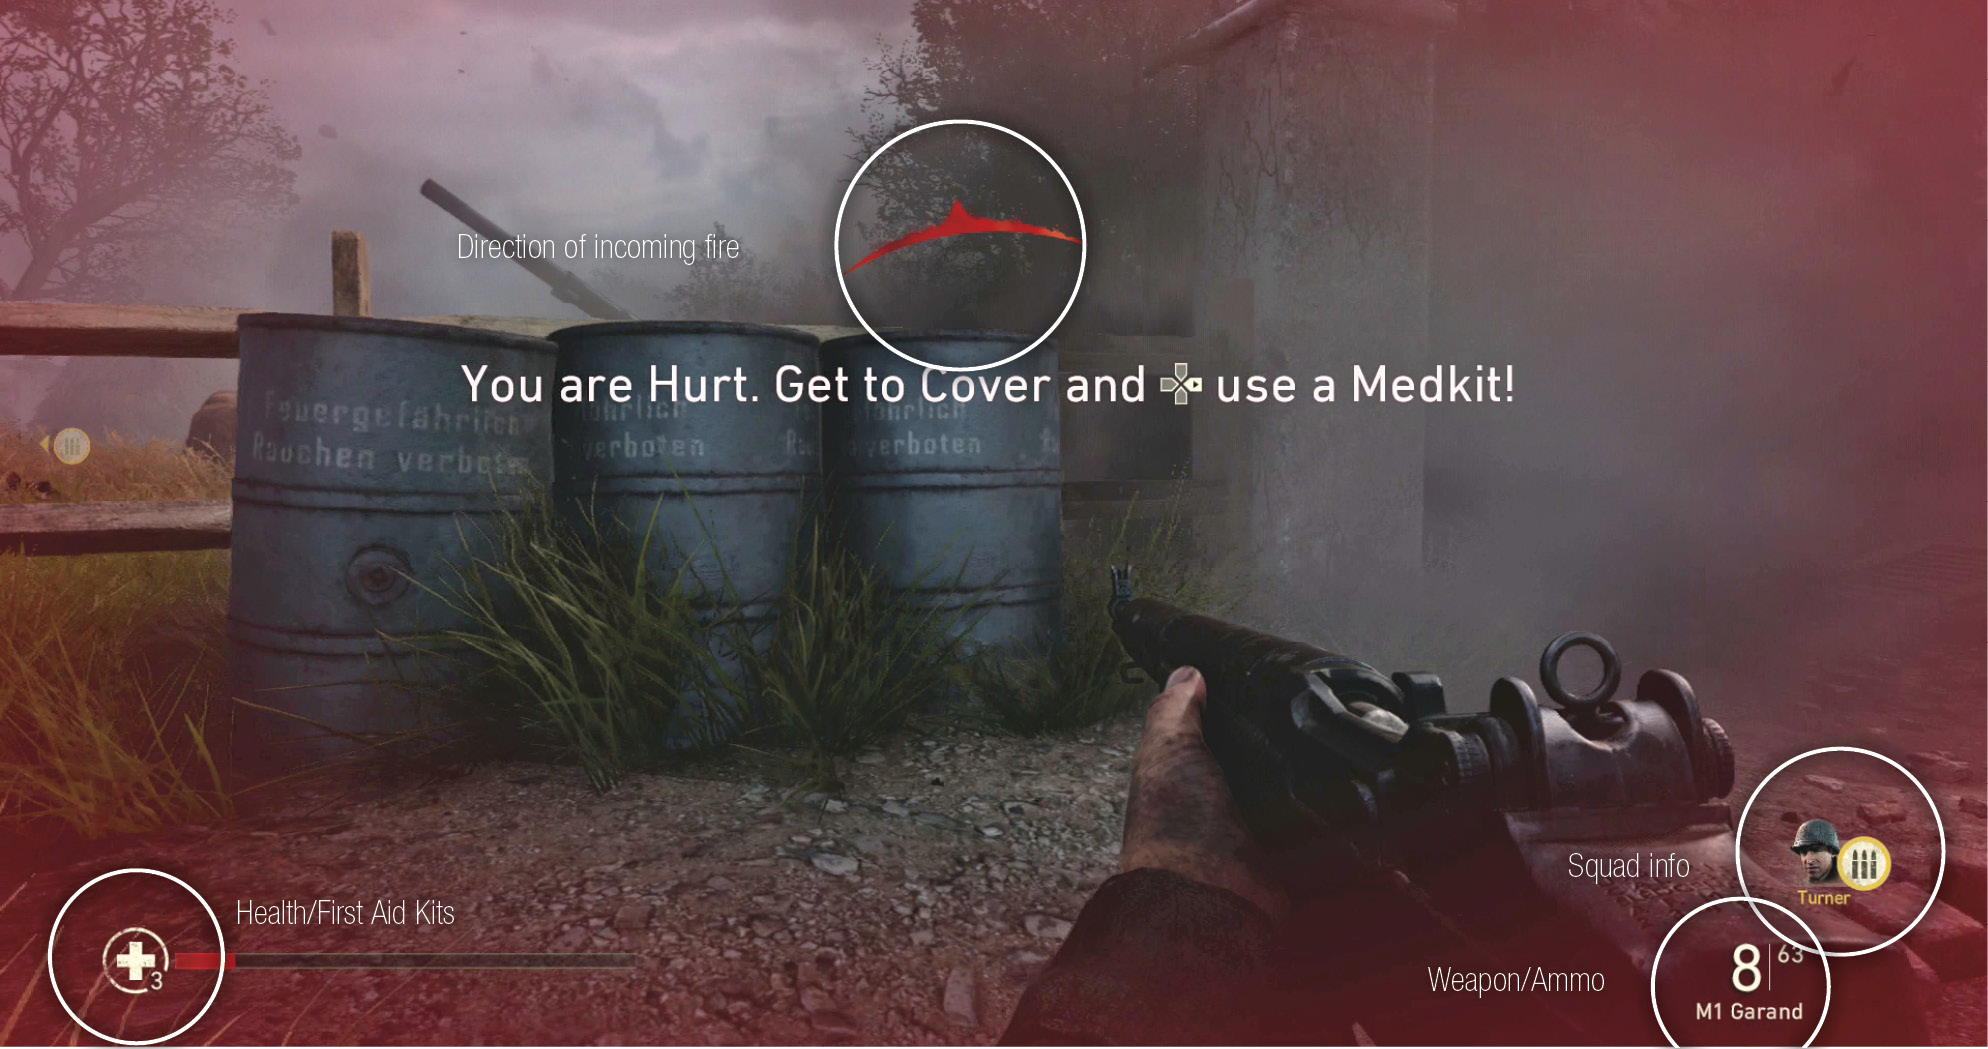
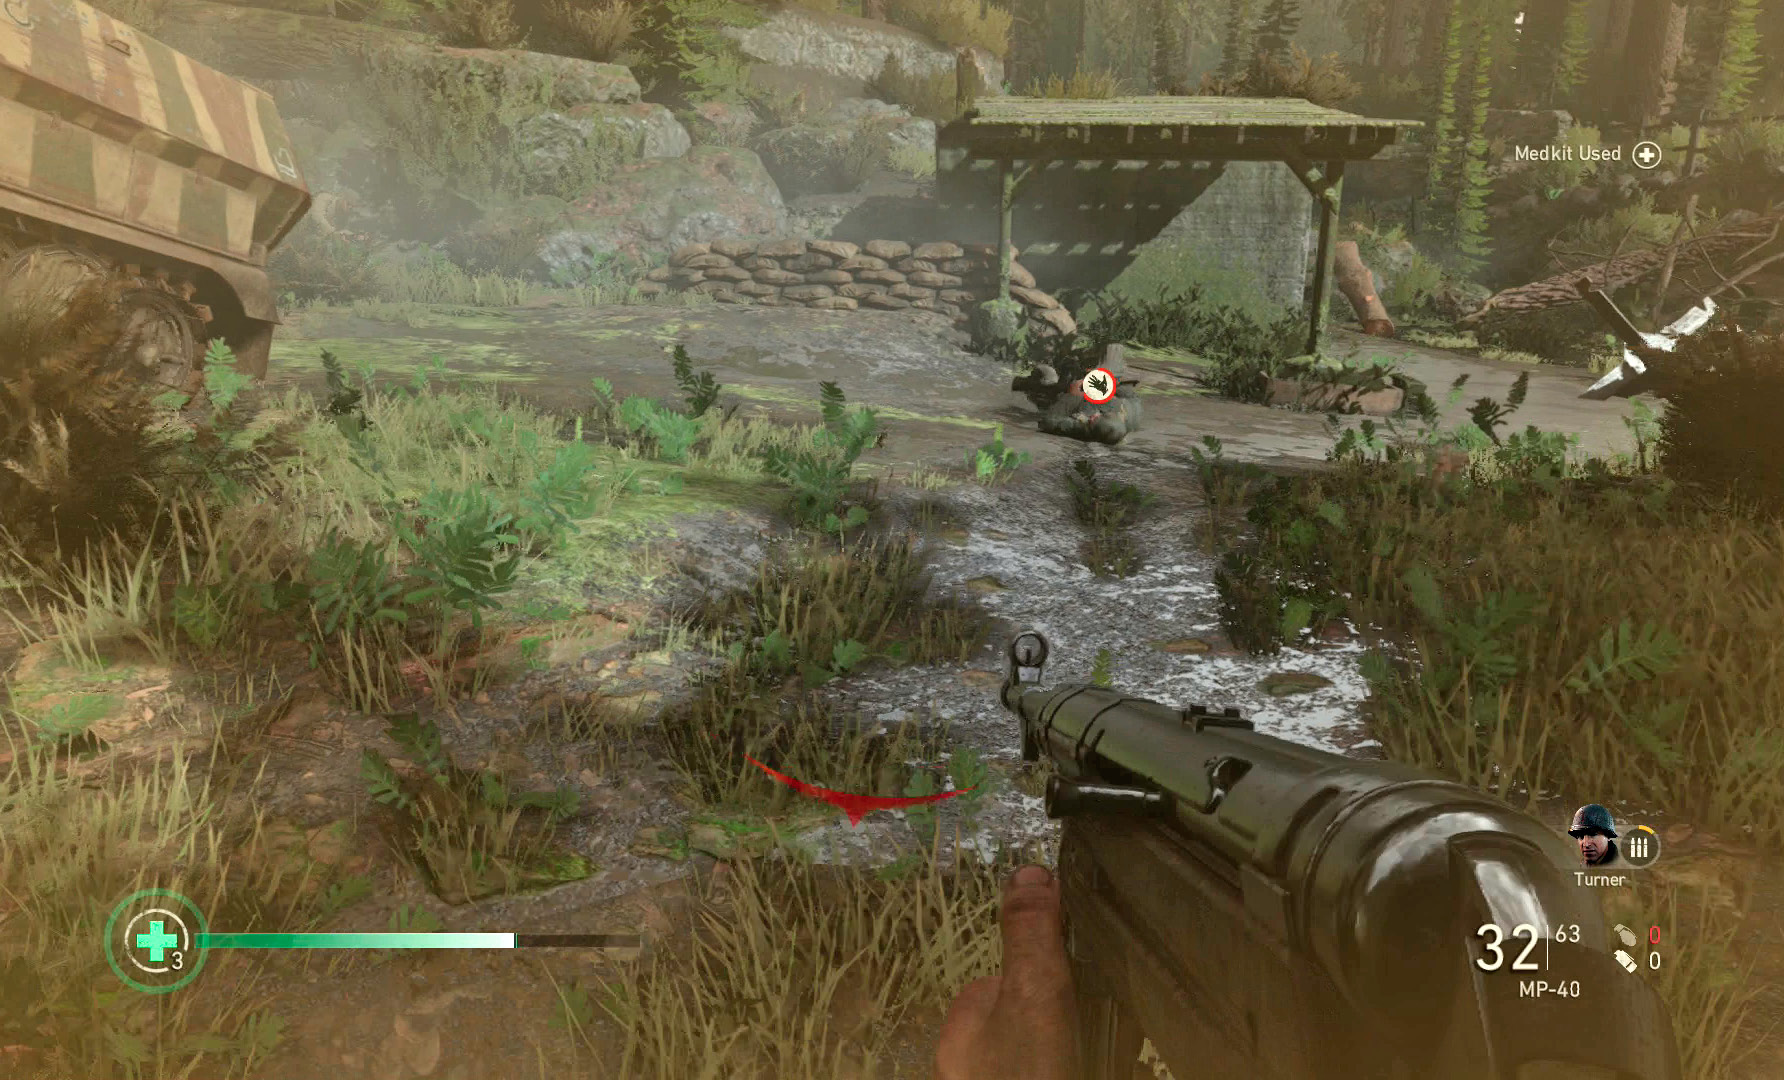
The HUD, or Heads Up Display, provides vital information inside and outside of combat. The bottom-right of the screen shows information on your weapon. The name of the weapon, the ammunition in your current clip, and the total ammunition for that weapon appear here. Just above your weapon info is your squad info. This indicates what main characters are in your squad and any special abilities in your possession. The center of the screen displays damage when you are hit. This wide, red arrow also points in the general direction of the incoming fire. In the following screenshot, the direction of fire is coming from ahead and slightly to the left. The center of the screen can also display special messages like warnings about health. The bottom-left of the screen displays your current health. The number in the bottom-right of the first aid icon is the number of Health Packs in your inventory.
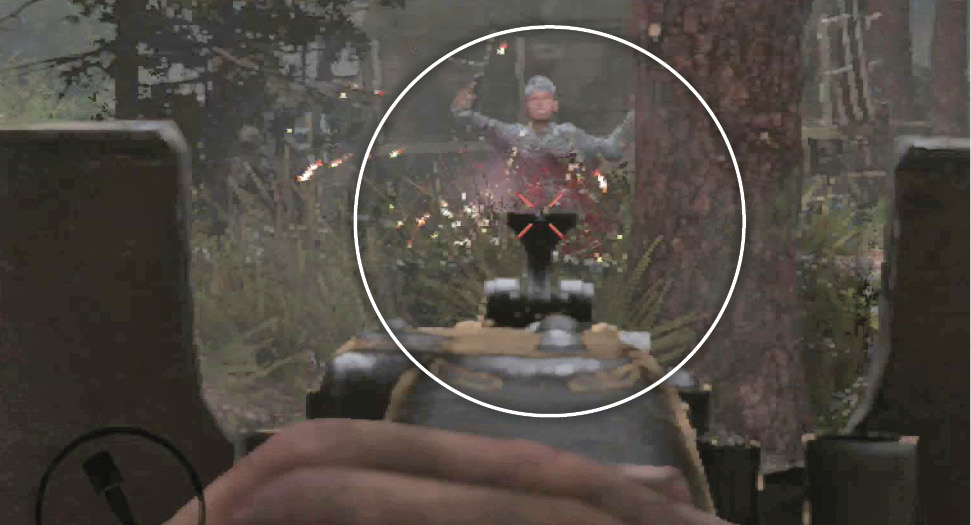
Finally, and most importantly, the center of the HUD screen shows enemy damage. If you hit an enemy, but don’t kill him, you will see a white hash in the middle of the screen. (Note that these marks do not appear on-screen for Veteran difficulty.) If you hit an enemy and kill him in the process, you will see a red hash. This is vital for determining if a shot was successful, or if you need to move to get a better angle on the enemy.
Objectives
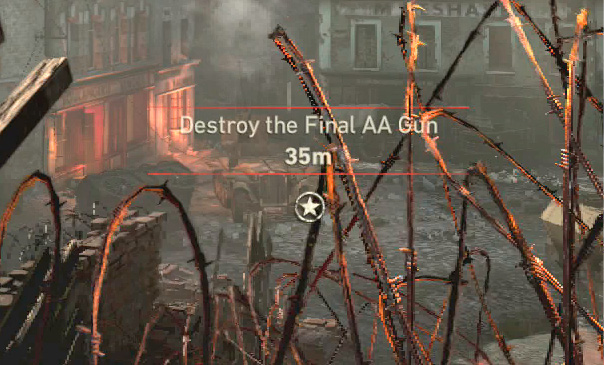
At every point in the game, you will have an active objective. Almost all active objectives are marked with an Army star to indicate the general direction of the objective. If you press the Objective button, the screen will de-saturate and the objective will be highlighted on-screen with an arrow pointing in the proper direction.
If the objective location is unknown, or it covers an unspecified area, it is possible you may not have an active objective star on-screen. If this occurs, pause the game to read your current objective. After doing so, you can reference the walkthrough for guidance on how to access the next section of the level.
Subtitles
It’s wise to turn on subtitles when you first start the campaign. This ensures you get the messages from your squadmates, even if their voices are drowned out by battlefield noise, or you wander away from them on the map. Subtitles automatically appear on-screen when you are interacting with a character who speaks French or German.
Game Difficulty
There are four difficulties in the campaign: Recruit, Regular, Hardened, and Veteran. On the harder difficulties enemies toss more grenades, use cover more effectively, and fire more accurately. Additionally, your character has less health and can take much less damage. Finally, enemies can also survive more melee hits on the harder difficulties. On Recruit, it usually takes two melee hits to finish the job against an enemy with full health. It’s possible to get a one-hit melee kill on Recruit when an enemy is low on health, the player has a bayonet on their weapon, or if the player performs a silent kill.
When selecting a difficulty, err on the side of harder. If the game is too difficult, you can always lower it by changing it in the menu. Those who choose Veteran mode will be rewarded with a bonus achievement/trophy (Distinguished Service) by completing the game. The walkthrough in this strategy guide is based on playing the game on Veteran difficulty.
Advanced Tactics
First Aid Kits
A new feature in Call of Duty WWII is first aid kits. In other Call of Duty games, your character’s health would fully replenish after avoiding damage for a few seconds. In this game, however, you always have a set health amount and the only way to replenish health is to use a first aid kit.
These kits are littered around the battlefield in allied encampments or delivered by squadmate Zussman. Use a first aid kit by pressing the on-screen indicator.

When used, first aid kits heal about half of your life. You can only carry a maximum of four, so if you are low on health and find one, use it to max out your carrying capacity.
Squad Abilities
As a member of the Big Red One, you are rarely alone in Call of Duty WWII and you must depend on your squad to survive. This is exemplified by the game’s new Squad Abilities. Abilities are unlocked when you perform Heroic Actions or kill enemies; the morale meter on the outside of the squadmate’s icon will fill. Each squadmate has one special ability:
- Zussman: Provides first aid kits.
- Pierson: Highlights all enemies in an area for a short period of time. Additionally, when active, his ability allows you to focus with any weapon. Normally, focusing can only be done when using sniper rifles.
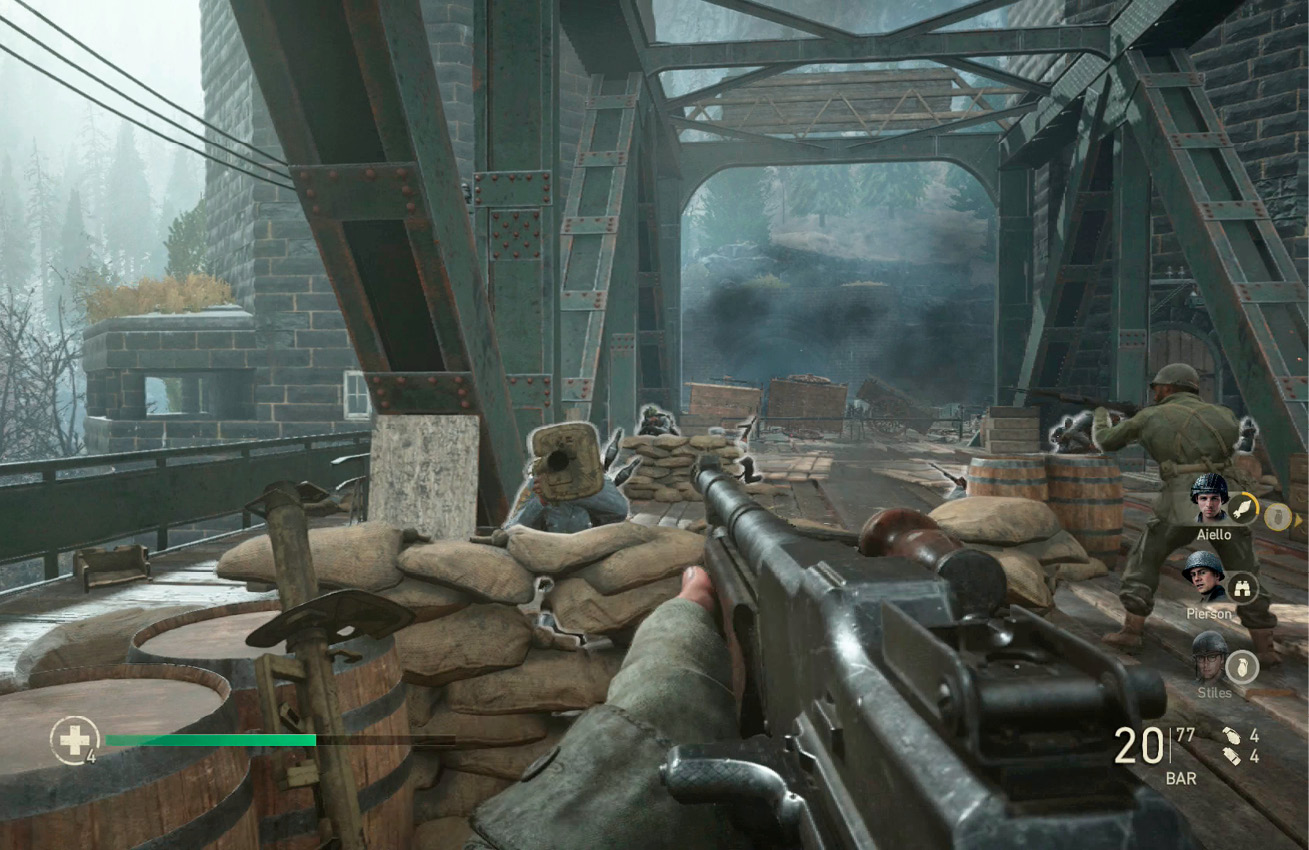
- Turner: Provides extra ammunition for your character’s equipped weapons, including rocket launchers!
- Stiles: Refills your lethal and tactical grenade counts.
- Aiello: Gives you a special smoke signal grenade. Toss it on the battlefield and, a few seconds later, the battlefield will be pummeled with Allied mortar fire. Make sure your allies don’t get hit with one of these grenades, as it will end the mission!
Each squadmate’s ability is only available on certain levels. You can tell if the ability is active by checking your HUD for that ally’s portrait in the bottom-right corner of the screen.
Once you have enough morale to activate an ability, approach the appropriate squadmate and press the on-screen indicator. Your squadmate will immediately stop what he is doing and toss you the appropriate item (or, in Pierson’s case, highlight the enemies on the battlefield.)


 Stealth
There are several sections in the game that require stealth tactics that require you to quietly move through an area without being detected. When in a stealth zone, all enemies will display a stealth meter above their heads. When the meter fills, it turns red, indicating you have been spotted. Once spotted, you only have about a second to quietly dispose of the enemy before he sounds the alarm.
You can avoid getting caught by an enemy by staying in cover, remaining crouched, and moving slowly. When killing an enemy, rely on silenced weapons. Regular weapons will immediately alert everyone in the area of your presence. Additionally, if you can sneak up behind an enemy, it’s possible to score a stealth kill.
If you kill an enemy and another enemy spots the body, they will not immediately raise an alarm. Instead, they will investigate the body. This provides an opportunity to kill them before they can sound the alarm. Be careful, though, as enemies in this state are much more perceptive than normal and will spot you if you attempt to approach them directly. Keep your distance and use a silenced weapon.
Heroic Actions
Heroic Actions are exceptional feats you perform on the battlefield. There are three types of Heroic Actions:
- Combat Save: If you see an Allied soldier struggling against an Axis officer, attack the enemy to save the Allied soldier.
- Medical Save: If you see a hand icon on the battlefield, you can attempt to save a soldier from his wounds. Approach the soldier and “Activate” him to drag him to safety. A safe spot will be highlighted on your HUD.
- Enemy Surrender: At set points in the single-player campaign, enemies will recognize they’ve lost the battle and surrender. Use Aim Down Sight with your weapon to order them to submit. If you avoid shooting these enemies, you will be rewarded with a Heroic Action.
Quick-Time Events
At various points in the campaign, time will slow down and you will need to quickly perform a special action. These actions can vary from jumping out of the way of a deadly obstacle to setting the primer on an explosive device. Usually the button presses and actions performed in these events do not change, so even if you fail, you can immediately retry the action.
Mementos
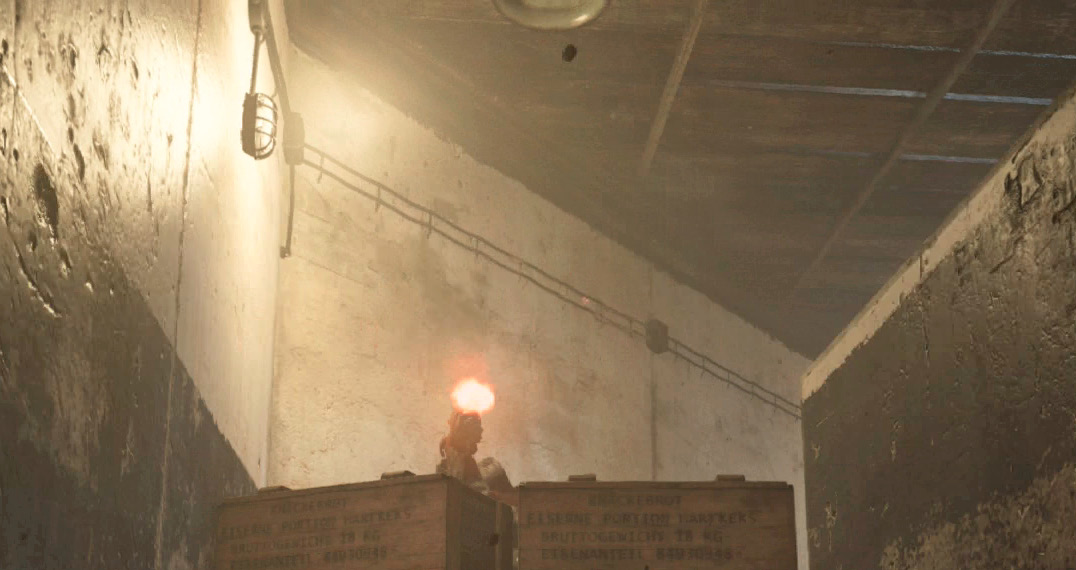
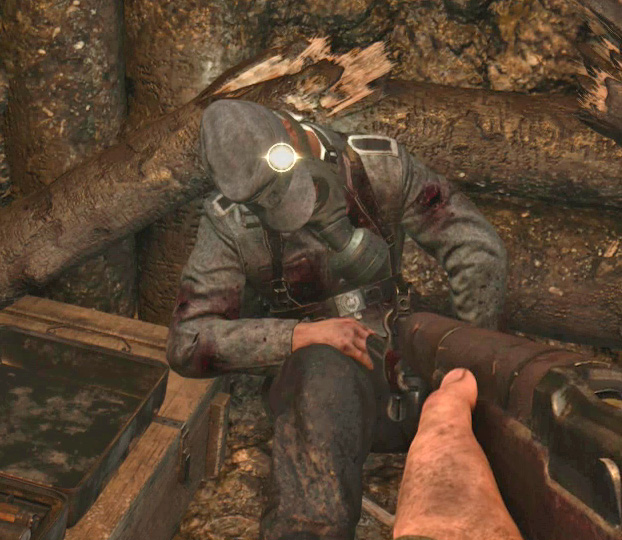
There are three mementos to find on every level. Mementos come in many forms and can vary from a Nazi knife to a decorative Stein. You know you are looking at a Memento if it is glowing. These mementos are hidden in various places on the maps. You can find help on where to locate these collectibles in the walkthrough chapters.