
Call of Duty: WWII Guide Multiplayer Maps and Modes Pointe du Hoc
Domination Tactics
Point A
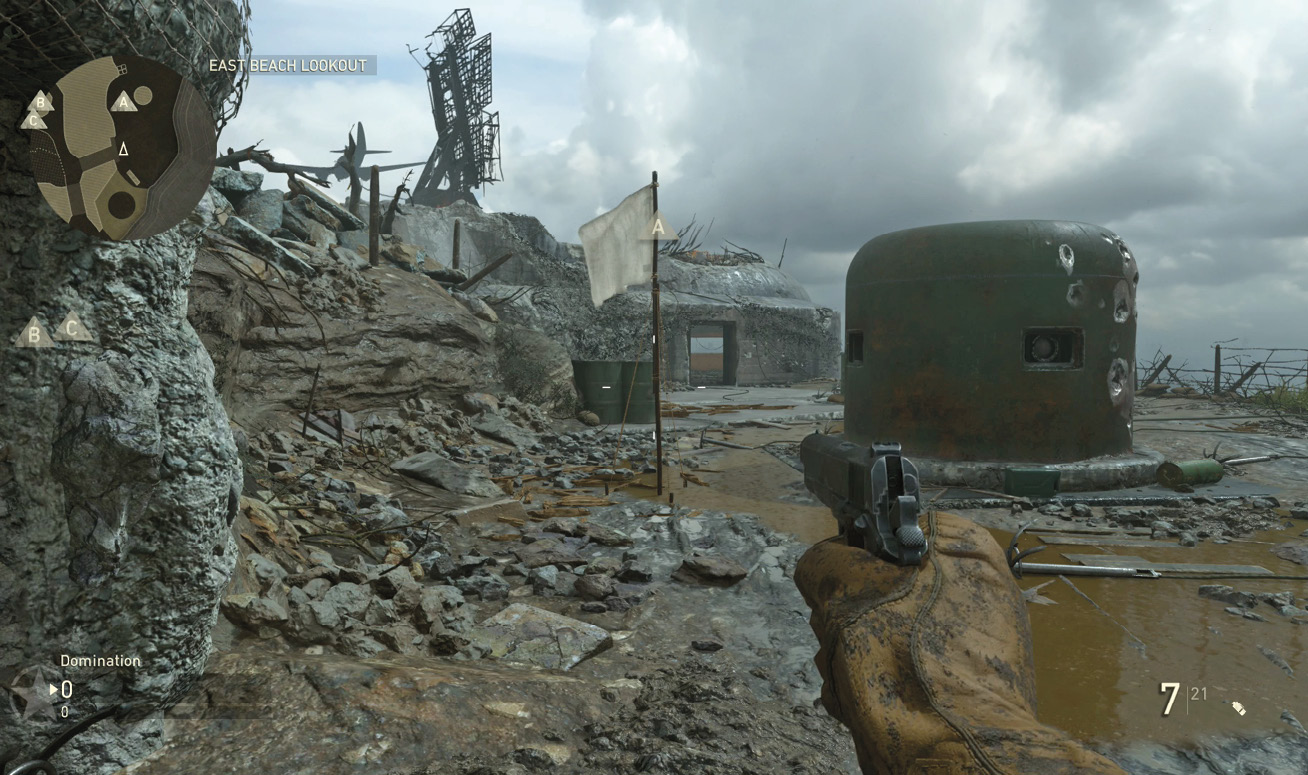
Approaching this point from Tunnel or East Bunker is ideal, but you can also make your way around the point and use the gun emplacements as cover while maneuvering up to the point. Whatever path you choose, make sure to stay close to the gun emplacement while taking the point to protect yourself from gunfire coming from all sides.
Point B
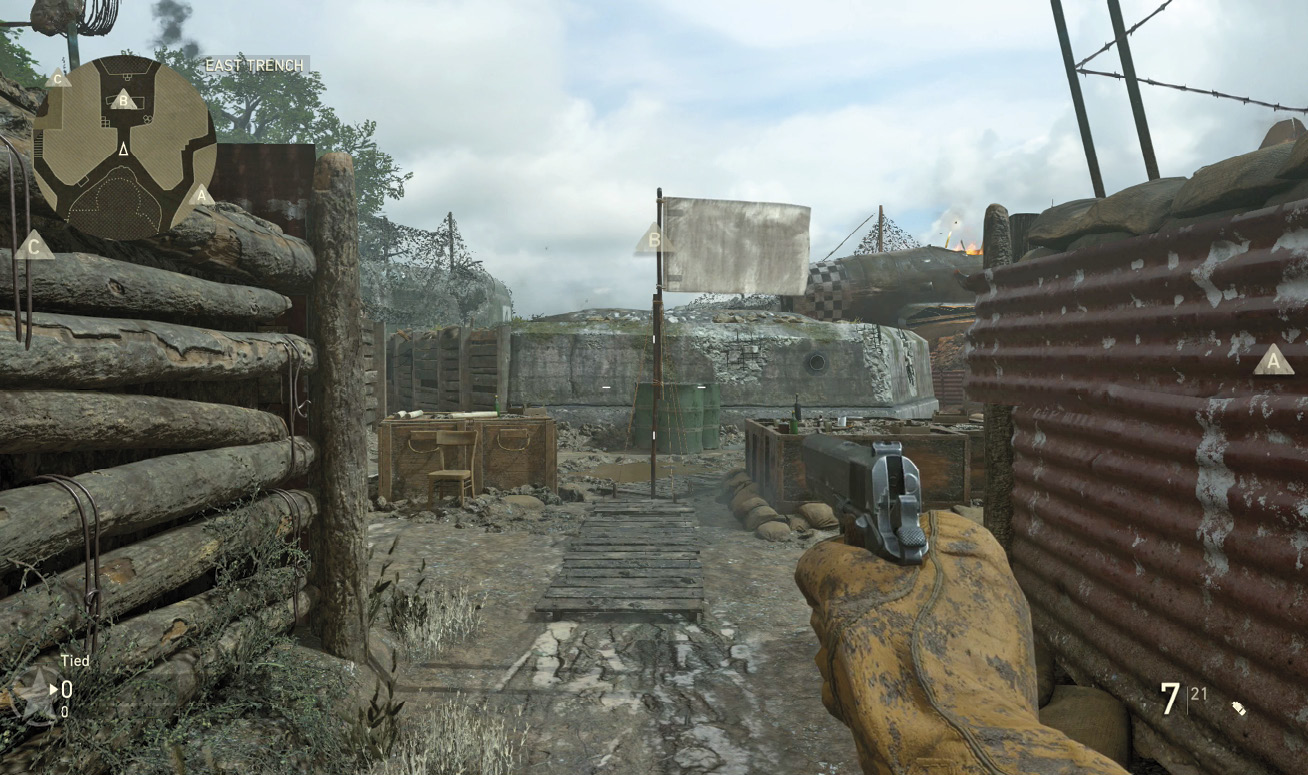
The more you play objective-based modes on this map, the more you’ll learn about how difficult Trench Center is to defend. There isn’t a lot to hide behind here; at least, not a lot that isn’t easily flanked by the myriad of ways to enter this area. Your best bet is to capture the point and pick a corner from which to defend. If the point isn’t in your team’s possession, toss in some grenades, and try for a cheeky flank by approaching from the West Trench Battery.
Dislodging defenders off of this point isn’t hard, but holding it certainly is. Success on this map and mode is almost certainly going to come down to how well you hold your starting point and your ability to take their starting point. Holding Trench Center is a consolation prize in the long run. That doesn’t mean trying to take it is a bad idea, but don’t sink all of your efforts into this one point.
Point C
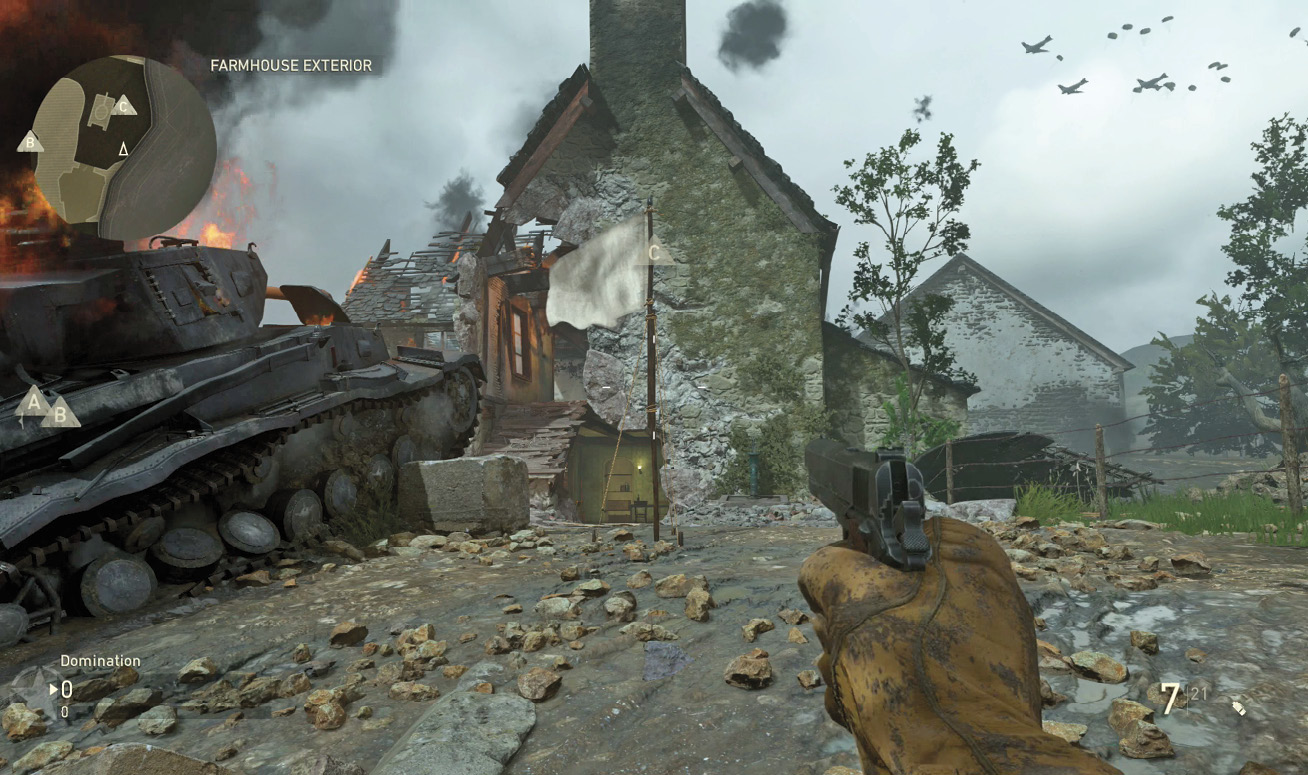
Don’t push directly up the eastern side of Farmhouse Exterior if you can help it. There’s not a lot of cover and you’ll have to worry about enemies firing from the windows on the second story of Farmhouse. The northwestern side is a much safer route to take to the point because of the busted tank and the limited cover inside the house.
If you’ve taken the point, you can head up to the eastern second-story window and fend off pushes coming from Barn, but this is a point better defended with teammates.