
Prima Games eGuides
primagames.com Browse Redeem a code Help
Call of Duty: WWII eGuide
Sign in My Guides

Sign in or create an account

We'll email you a link. No password needed, and if you don't have an account yet, the link makes one.

By creating an account or signing in, you agree to our Terms of Service and Privacy Policy.

Have a password?

Had an account on the old eGuides site, or a code from a printed guide? Help and troubleshooting

Sign in with a password

By signing in, you agree to our Terms of Service and Privacy Policy.

Check your email

A sign-in link is on its way. It works once and expires in 15 minutes. Open it and you're in, with an account if you didn't already have one.

Contents

  • Multiplayer Maps and Modes
    • Game Modes
    • Aachen
      • Overview
      • Domination Tactics
      • Hardpoint Tactics
      • Capture the Flag Tactics
      • Search & Destroy Map
    • Ardennes Forest
      • Overview
      • Domination Tactics
      • Hardpoint Tactics
      • Capture the Flag Tactics
      • Search & Destroy map
    • U.S.S. Texas
      • Overview
      • Domination Tactics
      • Hardpoint Tactics
      • Capture the Flag Tactics
      • Search & Destroy Map
    • London Docks
      • Overview
      • Domination Tactics
      • Hardpoint Tactics
      • Capture the Flag Tactics
      • Search & Destroy Map
    • Gustav Cannon
      • Overview
      • Domination Tactics
      • Hardpoint Tactics
      • Capture the Flag Tactics
      • Search & Destroy Map
    • Carentan
      • Overview
      • Domination Tactics
      • Hardpoint Tactics
      • Capture the Flag Tactics
      • Search & Destroy
    • Flak Tower
      • Overview
      • Domination Tactics
      • Hardpoint Tactics
      • Capture the Flag Tactics
      • Search & Destroy Map
    • Gibraltar
      • Overview
      • Domination Tactics
      • Hardpoint Tactics
      • Capture the Flag Tactics
      • Search & Destroy Map
    • Pointe du Hoc
      • Overview
      • Domination Tactics
      • Hardpoint Tactics
      • Capture the Flag Tactics
      • Search & Destroy Map
    • Sainte Marie du Mont
      • Overview
      • Domination Tactics
      • Hardpoint Tactics
      • Capture the Flag Tactics
      • Search & Destroy Map
  • Multiplayer Introduction
    • Overview
    • Movement
    • Making a Class
    • Scorestreaks
    • Combat
    • Firing Range
      • Overview
      • Primary Weapons
      • Attachments
      • Secondary Weapons
      • Lethal Equipment
      • Tactical Equipment
      • Basic Training
      • Scorestreaks
    • Divisions
      • Overview
    • Headquarters
      • Overview
  • Achievements & Trophies
    • Single-Player Campaign
    • Multiplayer
    • The Final Reich
    • Platinum Trophy
  • The Campaign
    • Mission 01: D-Day
      • Overview
      • Under Deck
      • D-Day
    • Mission 02: Operation Cobra
      • Overview
      • Objective: Reach the AA Gun
    • Mission 03: Stronghold
      • Overview
      • Objective: Clear the Church
      • Objective: Protect Zussman
      • Objective: Destroy the Final AA Gun
    • Mission 04: S.O.E.
      • Overview
      • Objective: Stop the Train
    • Mission 05: Liberation
      • Overview
      • Objective: Search for Officer Fischer
      • Objective: Place Explosives on North Gate
      • Objective: Place Explosives on South Gate
      • Objective: Assault the Garrison
      • Objective: Defend the Garrison
    • Mission 06: Collateral Damage
      • Overview
      • Objective: Use the Field Phone
      • Objective: Reach the Theater
      • Objective: Clear the Square
      • Objective: Reach the Hotel
      • Objective: Secure the Hotel
      • Objective: Help Aiello Start the Truck
      • Objective: Find Anna
      • Objective: Return Anna
      • Objective: Defend Your Position
    • Mission 07: Death Factory
      • Overview
      • Objective: Defend the Bridge
      • Objective: Eliminate the Enemy Mortar Camp
      • Objective: Find Your Squad
      • Objective: Find the Assembly Point
      • Objective: Capture the Mill
      • Objective: Defend the Mill
    • Mission 08: Hill 493
      • Overview
      • Objective: Capture the Hill
      • Objective: Destroy the Artillery
      • Objective: Disable the Tank
    • Mission 09: Battle of the Bulge
      • Overview
      • Objective: Protect the Convoy
      • Objective: Protect the Bombers
      • Objective: Destroy the Tanks
    • Mission 10: Ambush
      • Overview
      • Objective: Ambush the German Transport
      • Objective: Infiltrate the Airbase
      • Objective: Provide Overwatch for Pierson
      • Objective: Rescue Zussman
    • Mission 11: The Rhine
      • Overview
      • Objective: Assault the Bridge
      • Objective: Secure the Tower
      • Objective: Follow Pierson
      • Objective: Secure the Second Tower
      • Objective: Capture the AA Gun
      • Objective: Rally With Your Squad
  • Basic Training
    • Welcome, Private!
  • Introduction
    • Welcome back to World War II!
  • Foreword
    • Glen, Michael, and the Sledgehammer Games Team
  • War Maps
    • Overview
    • Objectives
    • Operation Breakout
      • Overview
    • Operation Griffin
      • Overview
  • Nazi Zombies
    • Introduction
    • Characters
    • Loadouts
    • Power-Ups
    • Scoring & Jolts
    • Blitzes
    • Arsenal
    • The Zombies
    • Walkthrough
      • Overview
      • Part One: Open the Bunker
      • Part Two: Explore the Salt Mines
      • Part Three: The tesla Gun
      • Interlude: The Upgrade Machine
      • Part Four: The Right Hand of God
      • Part Five: The Left Hand of God
      • Part Six: The Voice of God
      • Part Seven: Defeat the Panzermorder
    • Gameplay, Tips & Strategies
      • Overview

Call of Duty: WWII Guide › The Campaign › Mission 06: Collateral Damage

Objective: Reach the Theater

Tank Controls

The tank controls quite a bit differently compared to other gameplay aspects. Use the same analog stick to control the tank, however, movement is constrained by the tank’s position. It can take some time to turn your tank around. Keep an eye on the tank position graphic at the bottom of the screen. Use this image to visualize how your tank can move.

The Look analog moves the tank turret. Tank movement is always relative to the turret position.

The tank has two weapons: the main cannon and the machine gun. The turret is extremely powerful and effective against heavy armor, but it takes several seconds to reload. The machine gun is good for killing any unarmored infantry. It does overheat quickly, so it’s better to fire it in bursts.

Historical Tip:Sherman Tank

The mainstay of the U.S. Army tank force in WWII, the M4 Sherman Tank was known for its speed, cost, and reliability but not its hull strength. Initially deployed on the African theater by England early in the war, the tanks were battle-proven across Europe.

Although the Sherman tanks performed well against early Panzer tanks, the German’s rapid development and deployment of the heavily-armored Panther and Tiger tanks made it the underdog on the battlefield at the time of the Call of Duty WWII campaign.

Use the tank’s machine guns on the fleeing infantry. While moving down the street, watch the buildings at the end of each street as Panzer-equipped German soldiers appear in the blown-out windows. Use the tank’s heavy cannon to destroy the structures to ensure infantry don’t get any easy shots on the convoy.
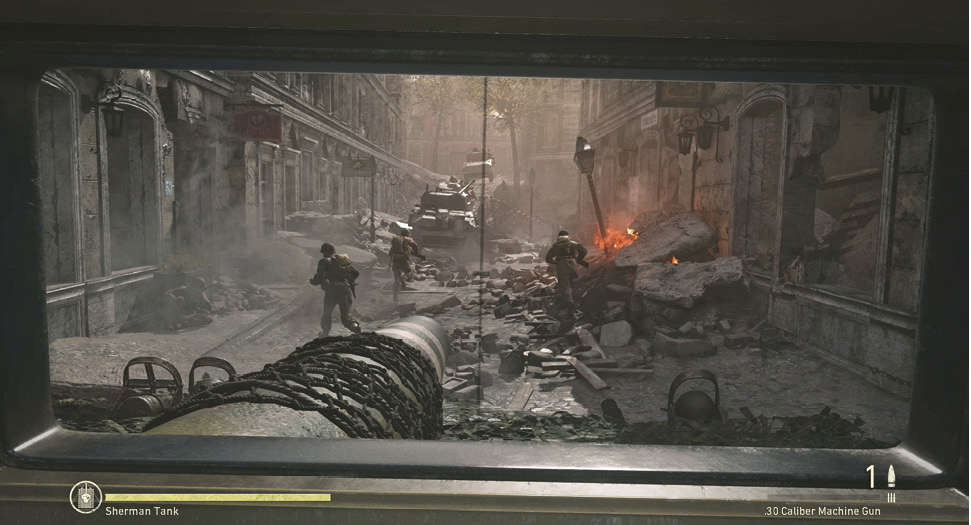
Keep your eye on the building to the left as your convoy continues forward. More Panzer soldiers will appear on the second and third floors; use the machine gun to eliminate this threat.

The buildings on the other side of the street are now full of rocket launcher enemies. Blast the windows using the tank’s cannon and clear any survivors using the machine gun.
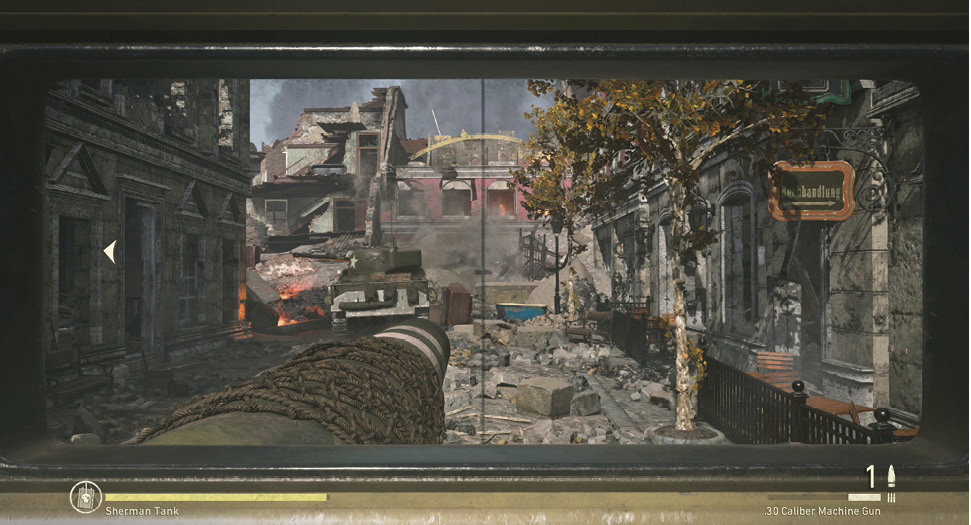
Be sure all buildings are clear before going any further. There is one last wave of enemies just around the bend; they’re holed up in the far building to the left. Blow up the building and roll down the street after your lead.

Damage Control

The key for this section is to avoid taking damage. There is no way to “heal” or “repair” the tank, so if you take too much damage early, it can make checkpoints later in the level more difficult.

If you find yourself at the bad end of a couple of rockets, use the “Last Checkpoint” feature in the pause menu to reset the game and try to clear the section again.

The German defenses in this part of the street are light. One lone machine gunner cuts into your tank around a bend. Take him out and keep up with the convoy. After rounding the last corner, a massive German Panzer tank arrives and blows up the lead Sherman tank.

Panzer Battle

It’s time for a tank battle with the Panzer! The Sherman’s cannons are no match for the front armor of the enemy tank. You must flank the tank by navigating around the buildings and get behind the Panzer.
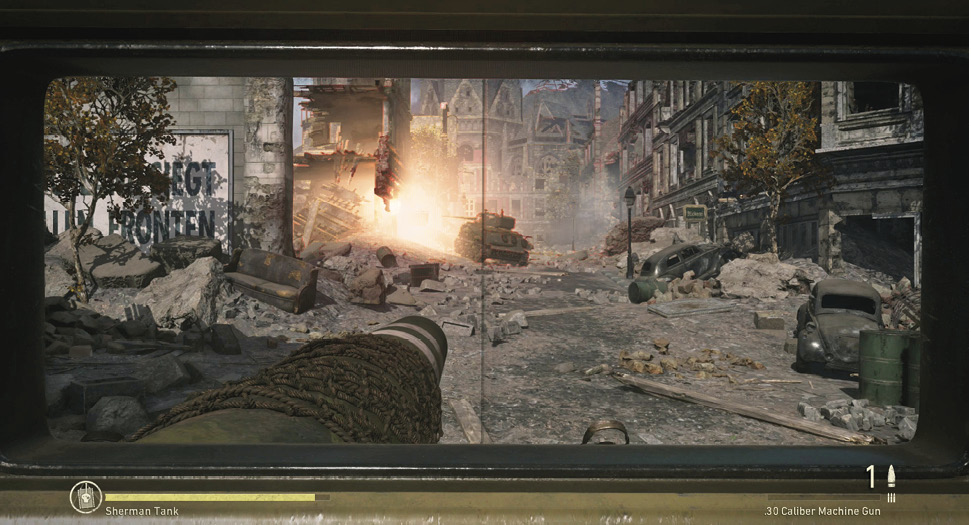
As soon as the lead Sherman goes down, drive your tank as fast as possible through the street to the left. Gun it all the way to the back of the area, then circle back to where your ally went down. This should put you in a position behind the Panzer. Unload on the Panzer using the tank’s cannon until it blows up.
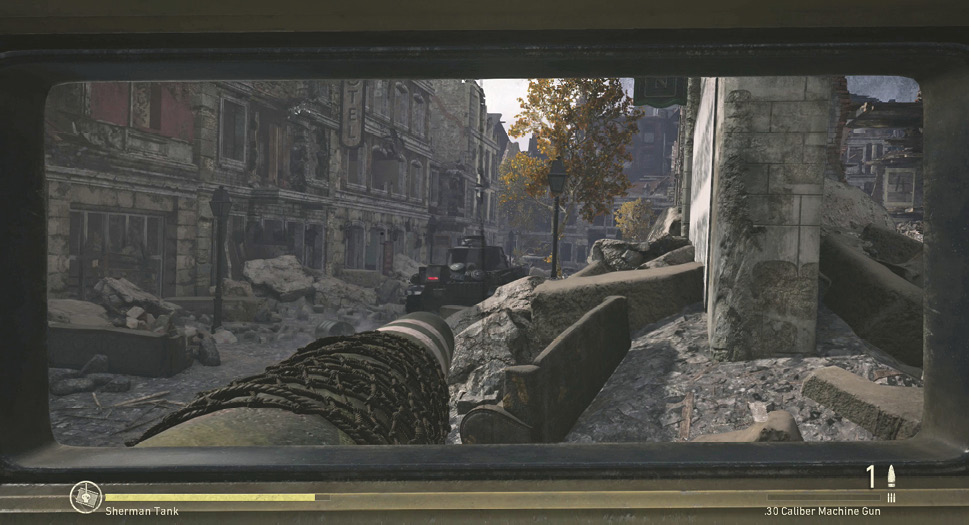
The Lights of their Eyes

If you see the Panzer’s headlights, you know you’re facing the front of it. Immediately retreat!

With the first tank down, proceed to the “Climb” objective indicated on the HUD. Approach cautiously, though, as it’s a trap!
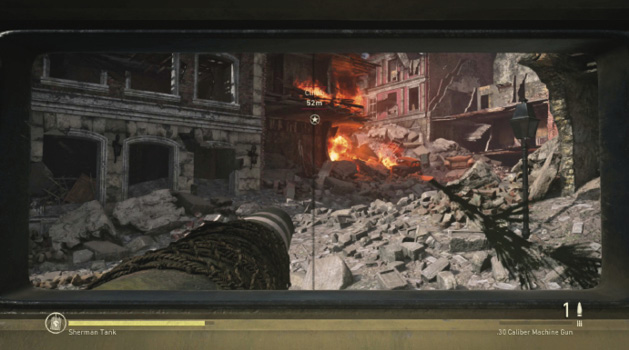
As soon as the Tiger tank busts through the building, retreat to the central area. After doing so, return to the area where your ally was destroyed. There are two Panzers in pursuit. Use the Sherman’s better maneuverability to execute the same trick used on the first Panzer: sneak up behind the tank and unload your cannon until it blows up.

Avoid going back to the “Climbing” area. Patrol the buildings and try to locate a tank moving away from your tank. Don’t open fire unless you have a good bead on the tank’s rear. After hitting the tank once, it will quickly turn to face your tank. Try to unload two shots, but if you miss or graze the tank, you may need to retreat between the buildings and try again.

Your tank’s crew are excellent spotters, which makes it easy to be aware of the position of the enemy tanks via on-screen objective indicators. Press the Objective button to see the direction the tank is moving. Always head to the back of the tank’s direction to ensure you approach from the rear.

Try to avoid taking potshots at the tanks from a long distance. Although it’s quite possible to score a lucky hit, the cannon’s accuracy will make it more difficult to get a direct shot. Additionally, firing from a distance allows the Panzer to turn and fire its own shots. Try to sneak up close to the tank so you can get off two direct hits and finish it off.

Staying Alive

Try to avoid losing more than half your tank’s hull damage when getting through this section. You will need a good amount of health to survive the upcoming assault.

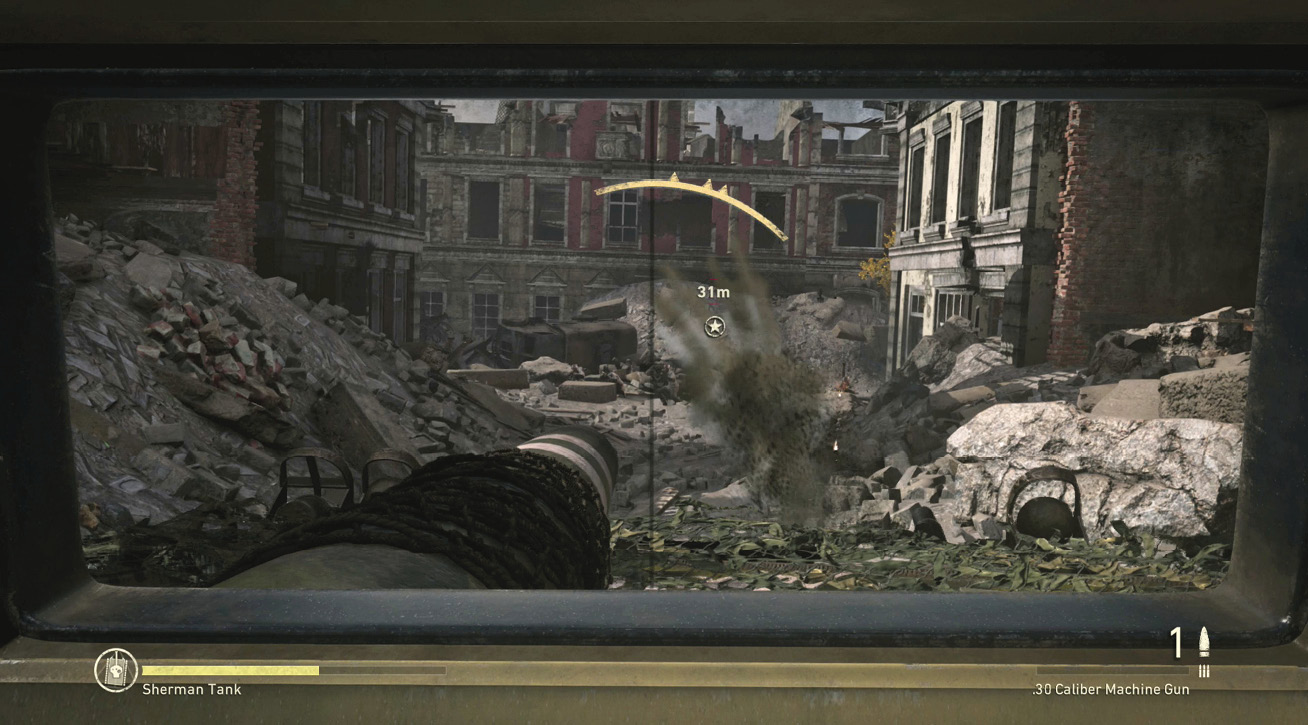
With the third tank down, it’s time to move in and help Daniels’ squad. Roll to the hill indicated by the objective marker and cautiously climb it. A large number of infantry are on the other side. They have a MG42 and a couple Panzerschreck soldiers. Blast their position with a cannon shot, then follow up with the tank’s machine gun. Daniels’ position is around the next corner.
Keep reading with a free account

The first 3 sections of Call of Duty: WWII are open to everyone. An account opens the rest of it, and every other guide in the archive. It's free, and there's nothing to buy.

Bought guides on the old Prima Games site? Your account and every guide you own moved here, so there's nothing to buy again. Sign in.

Create a free account Or browse our free guides

PreviousObjective: Use the Field Phone NextObjective: Clear the Square