
Call of Duty: WWII Guide Multiplayer Maps and Modes London Docks
Domination Tactics
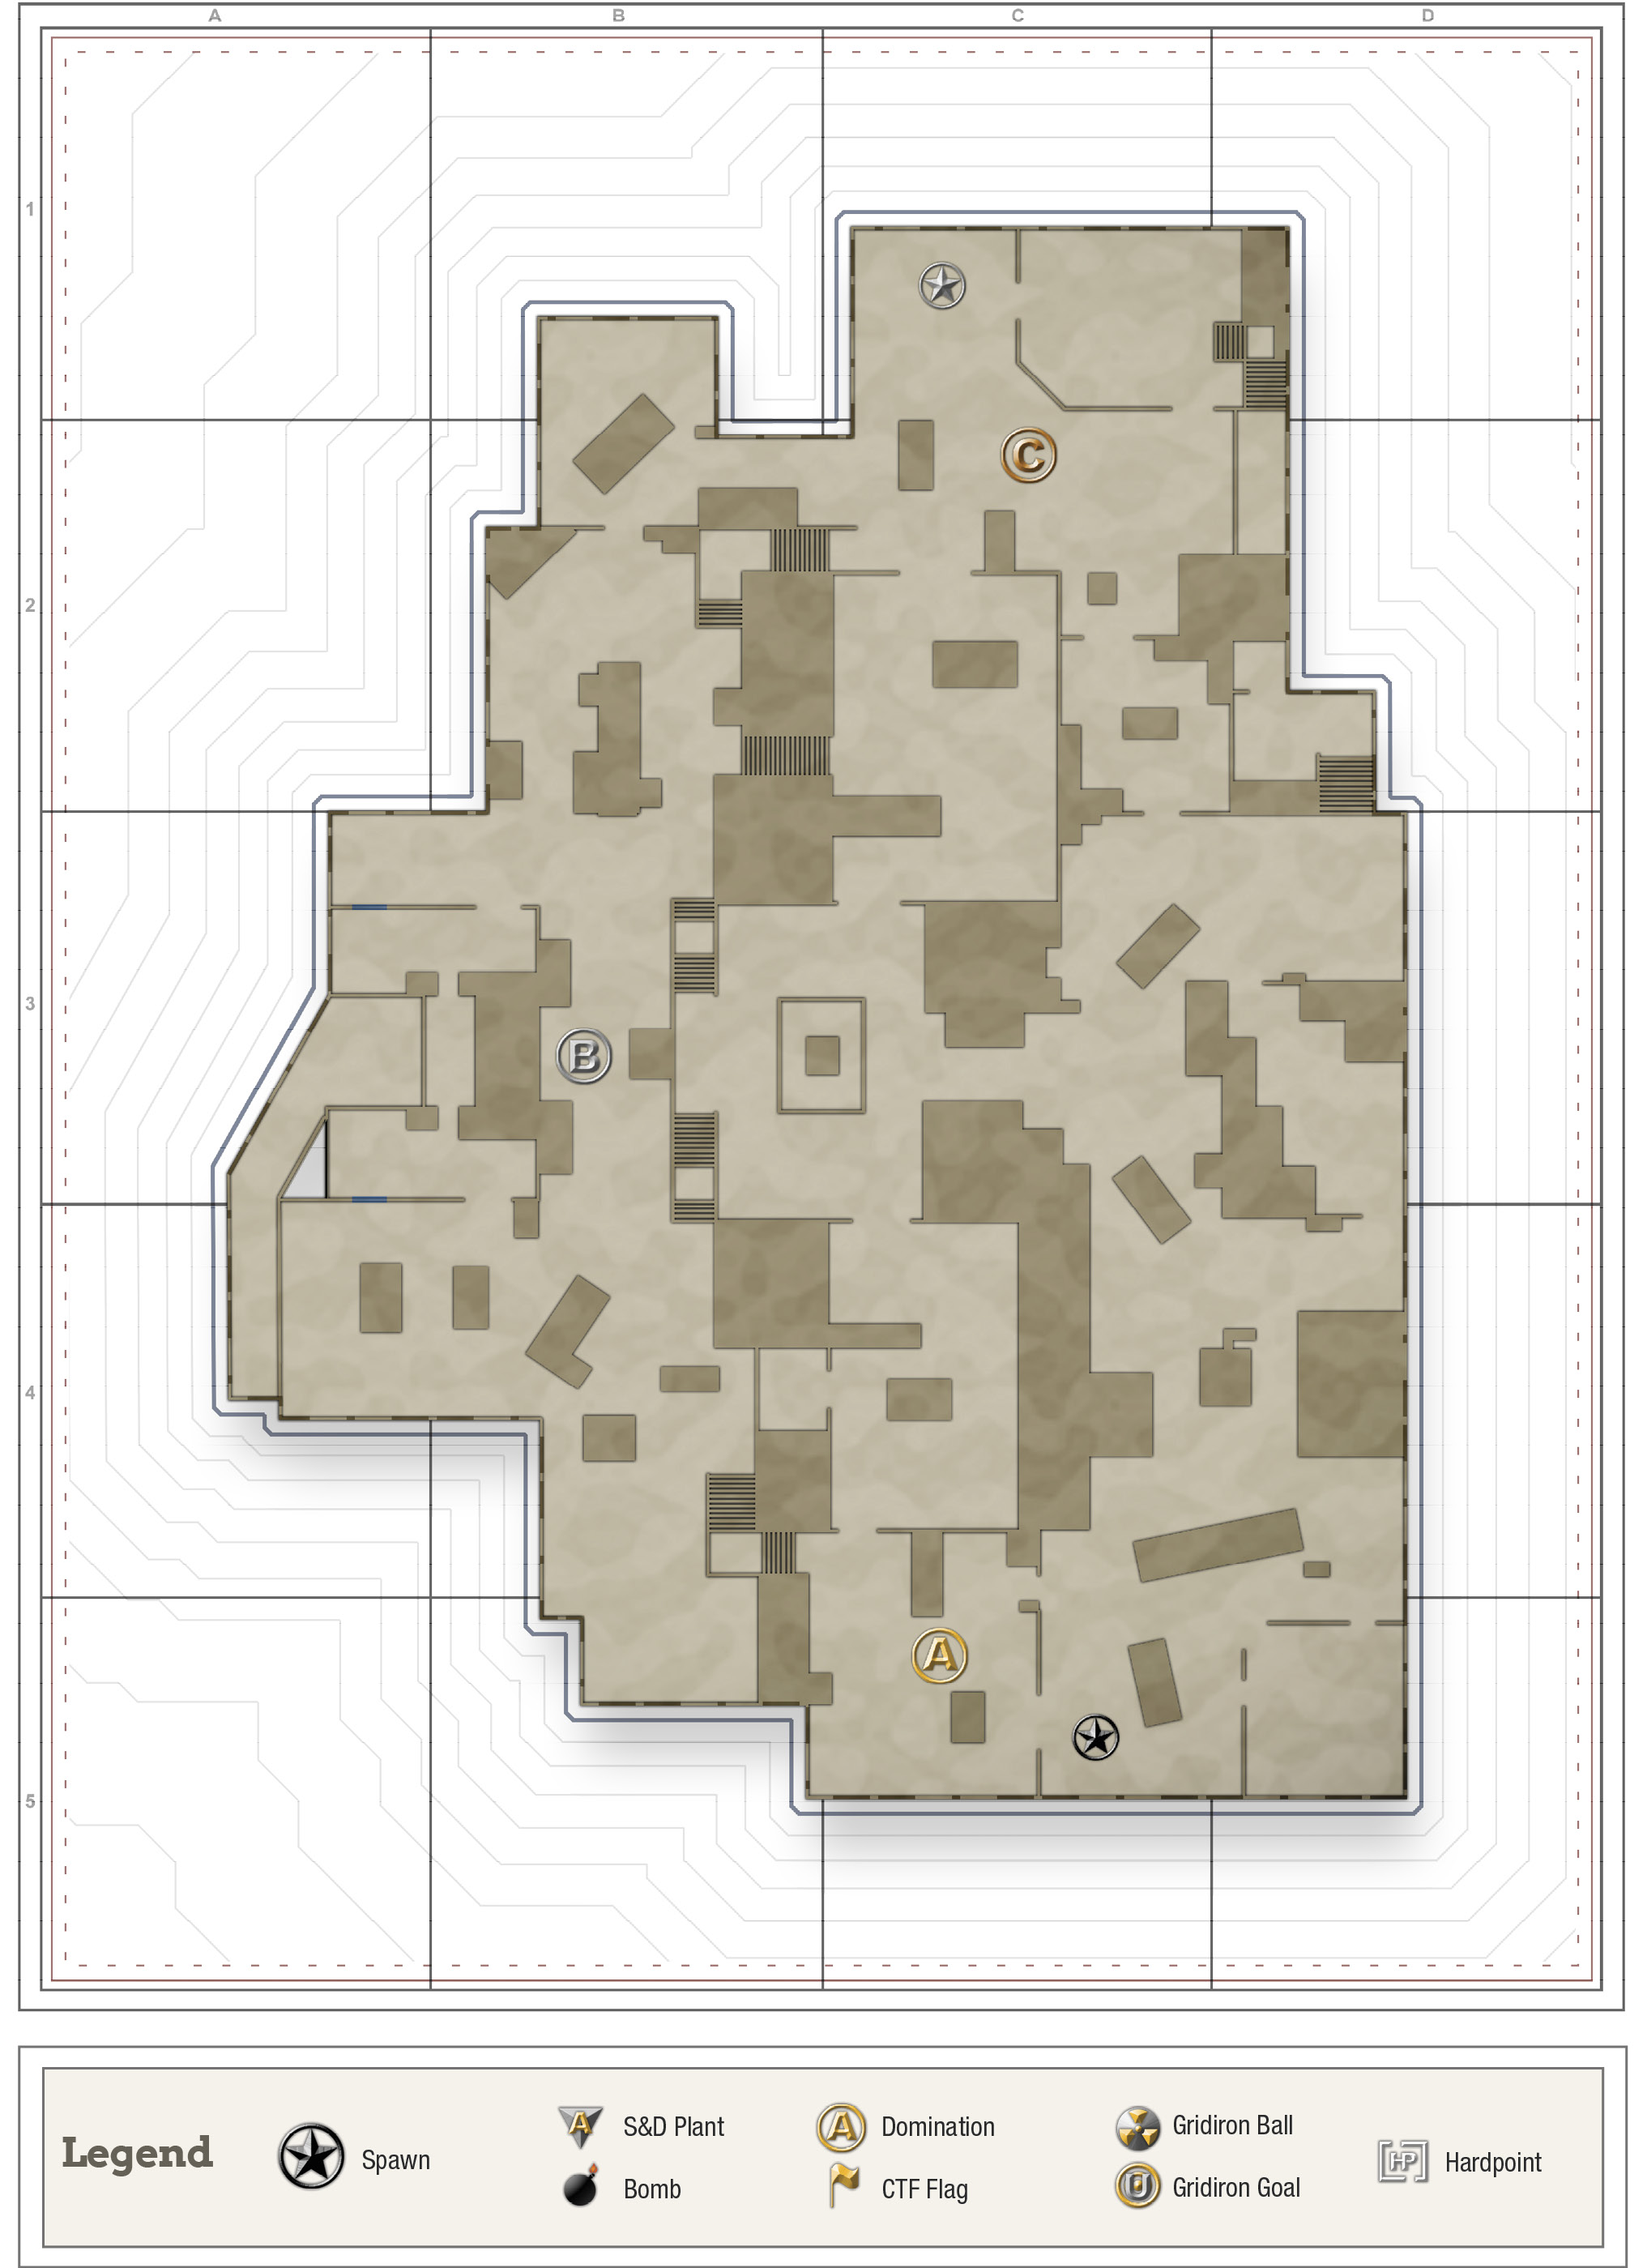
Point A

There aren’t a lot of great defendable spots on this point. A fence and some brick walls enclose the entire location. You’ll need to watch for sneak attacks coming from the fence opening leading to the Docks, but you’ll be relatively safe outside of that.
While capturing the point, pick a side of the boxes closest to the point and prepare for attacks. Once the point has been captured, grab a corner and use it to defend the location.
Point B
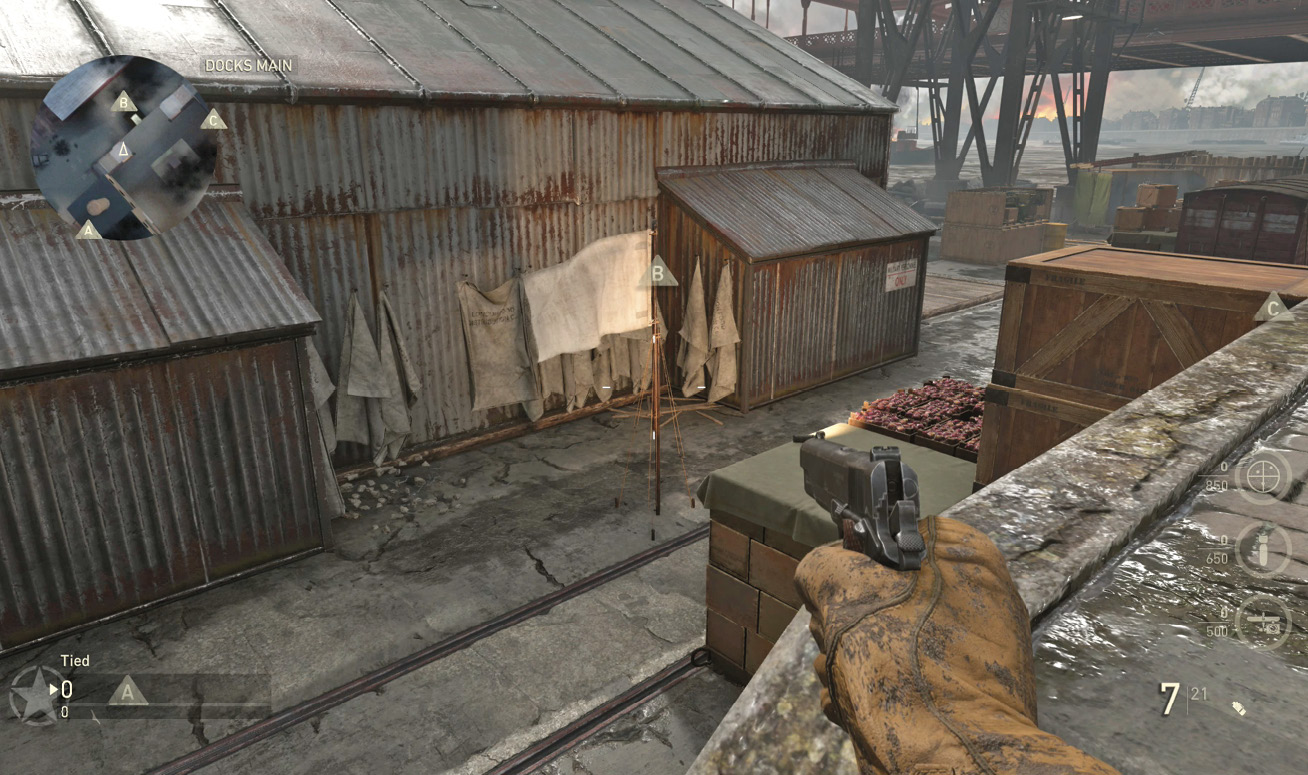
You’ll find Point B in the center of Docks. The boxes next to the point provide decent cover, but are completely exposed to attacks from behind. You’re better off huddling up against the corners of the warehouse next to the point. Watch out for attacks coming from the Statue (the plaza at the top of the stairs, adjacent to Point B), but you won’t have to worry about sniper and other enemies attacking from the extreme ends of the docks.
If you’re attacking defenders on the point, the Statue provides an excellent location to flank from. Even chucking a Satchel Charge or grenade will kill or scatter defenders.
Point C

This point is completely exposed. There is very little cover and tons of ways to reach it. It’s also quite easy to defend if you can take it. Just back off into the nearby tunnel while wielding a mid or long-range weapon, wait for some poor sap to try and take the point, then go in for the kill.
As for attackers, the best you can do is clear out the enemies and try to use the car (or huddle up next to the end of the wine barrels) while trying to make a play for the point. It’s one that’ll be extremely difficult to take alone and you will need to sweep the area clean before you attempt to take it.