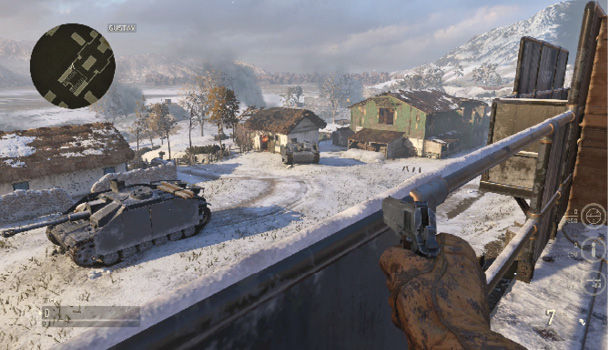
Call of Duty: WWII Guide Multiplayer Maps and Modes Gustav Cannon
Overview
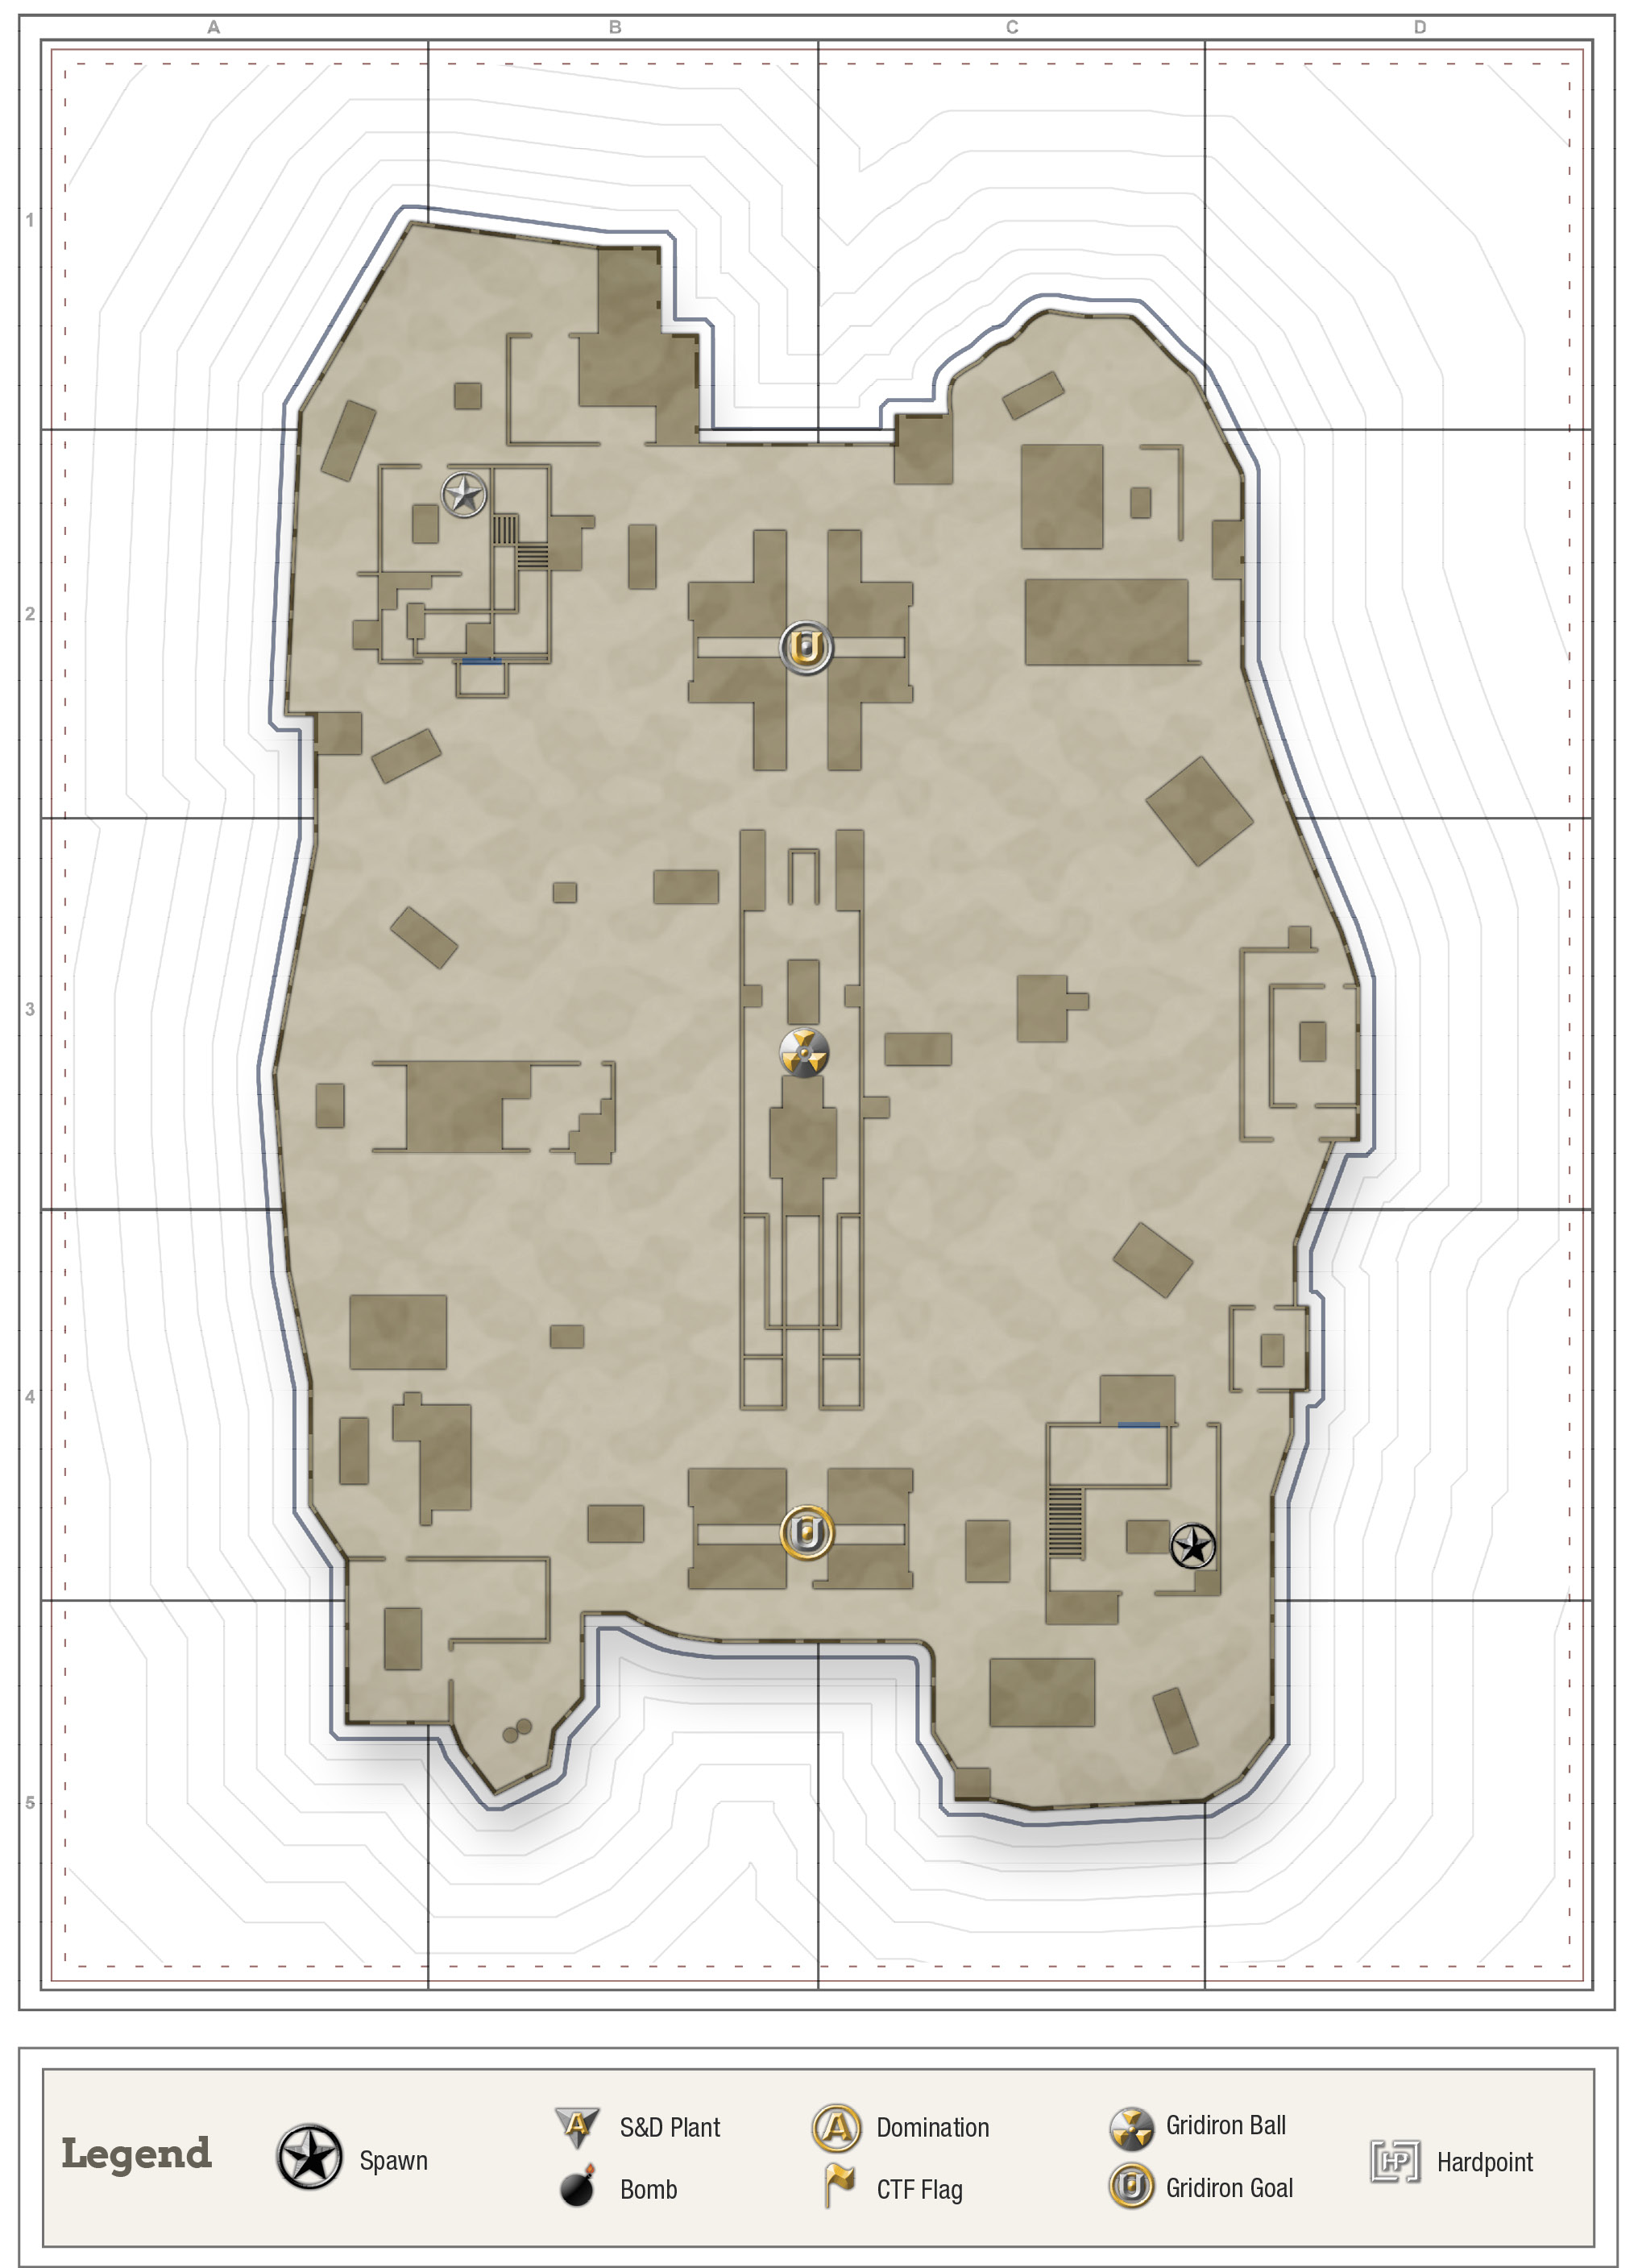
A small, devastated village transformed into a railway for a massive cannon called the Gustav. Those who hold the Gustav will have a marked advantage in most game modes. This map doesn’t have the most favorable conditions for short-range players, but mid and long-range players will find a lot to love.
Mid-Range Loadout Tactics

Mid-range players will have the run of this map. While the open fields make for a dangerous environment for shotguns and SMGs with limited firing range, the hills and buildings are spread out perfectly for a mid-range weapon. Just avoid getting on top of the hills, running alongside the Gustav, and never enter the Tank Grounds. It has next to no cover, no escape routes, and is on top of a hill.

The Gustav won’t be your friend whether you or an enemy is on it. Although it will provide a nice overlook, mid-range weapons won’t be as effective. If a particularly large cluster of enemy snipers congregate up there, it’s worth trying to uproot them, but otherwise try and keep some cover between you and any line of sight a sniper might have on you.
Short-Range Loadout Tactics

This map is not particularly friendly to short-range loadouts. It’s mostly open with a ton of overlooks for snipers. Anyone using a weapon beyond a shotgun or pistol will have a marked advantage against you in a head-to-head fight.

If you insist on using a short-range weapon, we suggest you stay on the west side of the map. Most of the east side is open, especially Tank Grounds—stay away from Tank Grounds! When on the west side of the map, never go on top of the hills or alongside the cannon. Stay on the lower paths and weave in and out of the houses. If an enemy sees you at a distance, pull back and find another route. You can try to re-engage if the enemy moves in a little closer, but retreating is always an option. It’s better to pull back and start the fight fresh on more favorable terms than to give the enemy another kill.

Long-Range Loadout Tactics
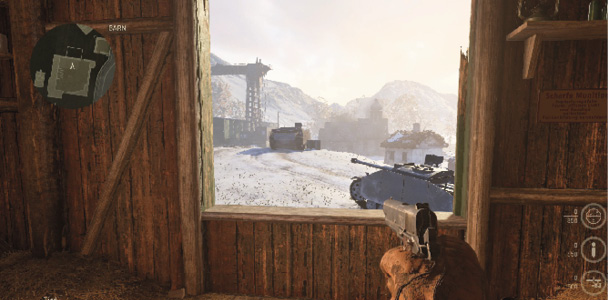
The Barn has a great overlook of nearly half the map and there’s very little cover for enemies to hide behind, aside from the hills and a couple of tanks. If you’re planning on making the Barn your home, plant an S-Mine 44 at the bottom of the stairs to fend off attackers. Make sure you keep a close watch on the Gustav, however. It’s an excellent sniping spot that provides a clear view of most of the map, including the Barn’s window.

The Farmhouse (on the opposite corner of the map) has another excellent overlook, but it’s a much shorter one compared to the Barn’s. You won’t see nearly as much action as you would in the other locations, however, so don’t plan on staying long.
Gustav (the cannon) is a good spot for long-range loadouts. You’ll have a near-perfect view of most of the map and plenty of room to move if an enemy player gets wise to your sniping location. The biggest threats come from counter-snipers and anyone who charges up the front or back entrances of Gustav. There’s plenty of cover to hide behind if you’re getting counter-sniped, but there’s not a lot of space for a direct firefight. If an enemy player with a mid or short-range weapon manages to get onto the Gustav, they’ll almost certainly have the advantage in a firefight, so guard the Gustav as much as you revel in its bounty of sniping locations.