
Shadow of the Tomb Raider Guide The Journey Chapter 9: City of the Serpent
Stop Dominguez
Phase 1
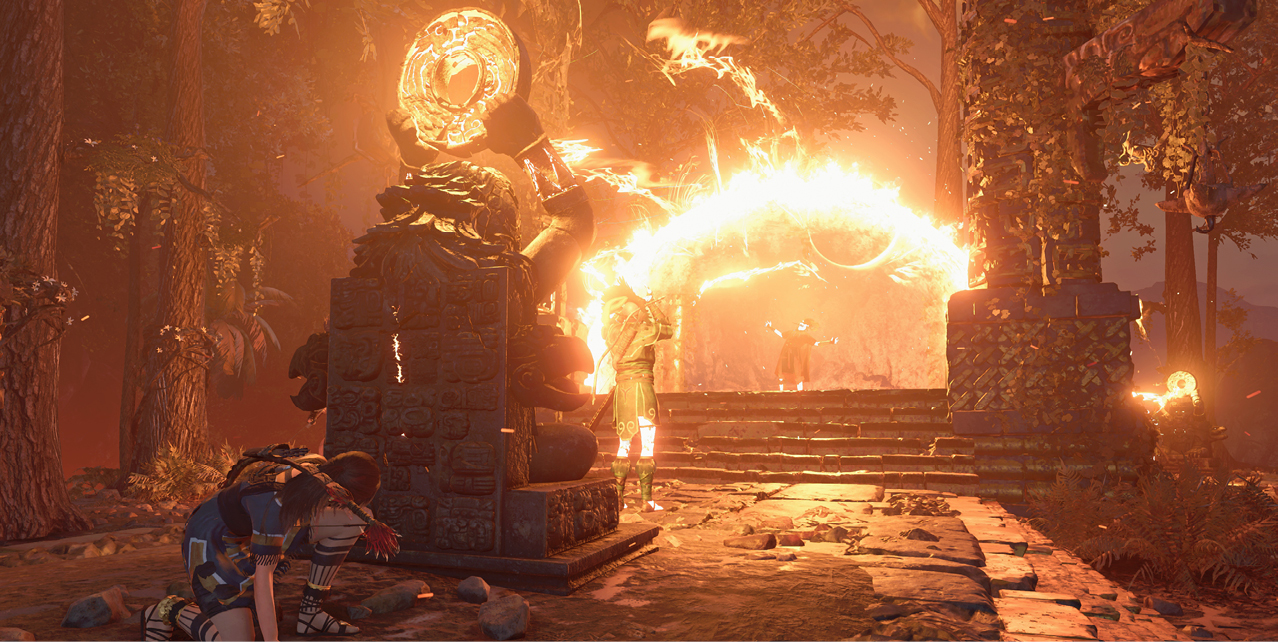
Dominguez is protected by a shield, as he draws power through three Kukulkan warriors and the statues they are bound to. Neither Dominguez nor the warriors can be attacked at the moment. By destroying the back of a statue, the attached warrior is released, and is joined by a couple of soldiers.
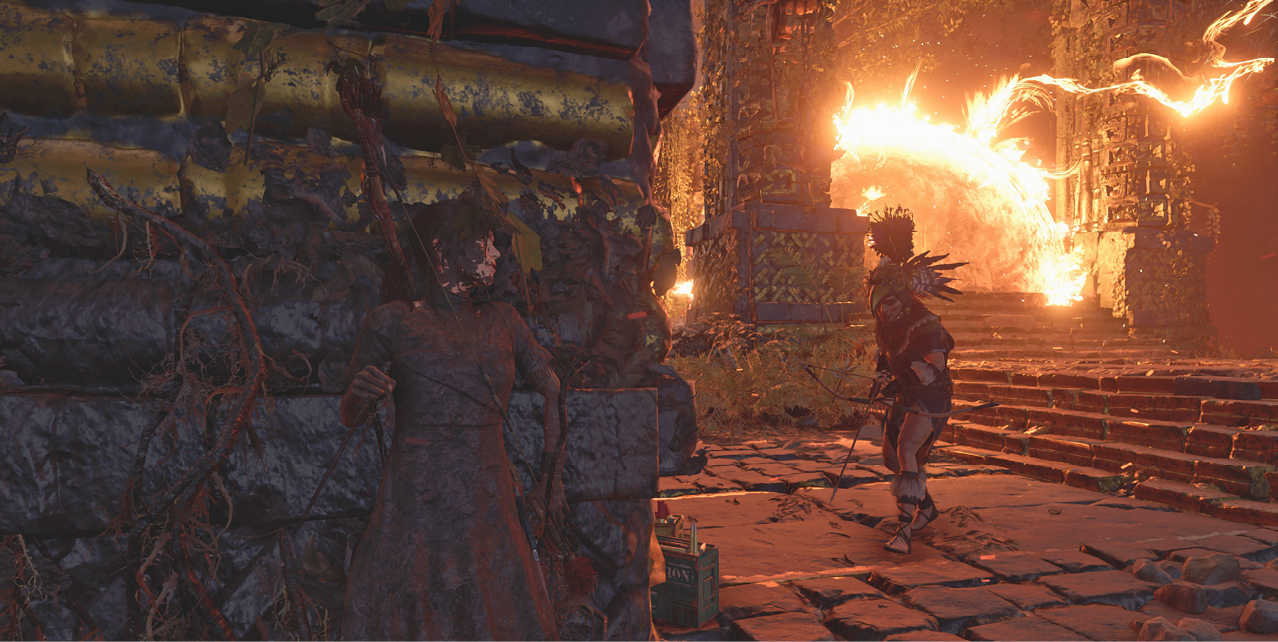
Bushes, vegetation walls, and mud-covered walls allow you to escape and hunt the warriors stealthily. Six climbable trees allow you to attack from above. Be careful along the outer edges. While you can’t step off, it is possible to jump over the ledge and enemies are able to knock Lara off the side.
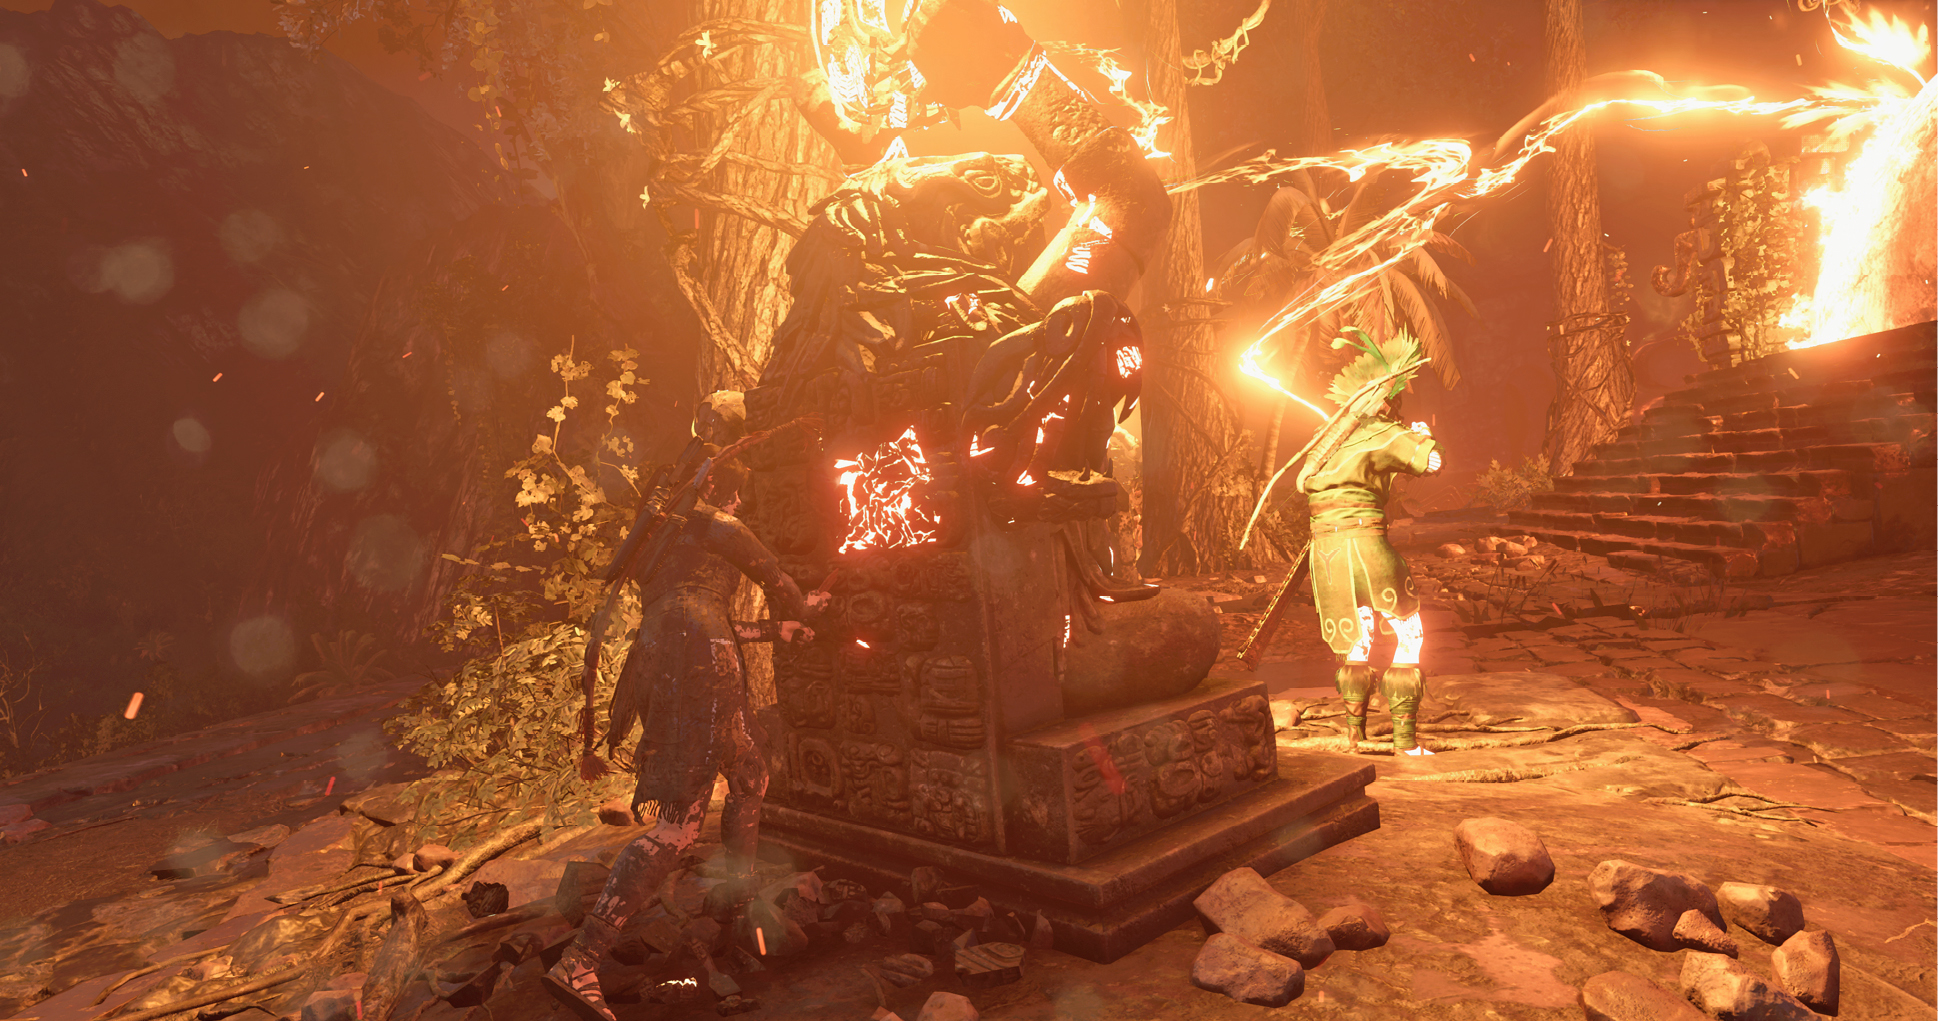
The enemies are susceptible to all of your special ammunition and Puma Feints. It is not necessary to defeat the enemies before destroying the next statue, but you may need to fend them off while doing so.
Phase 2
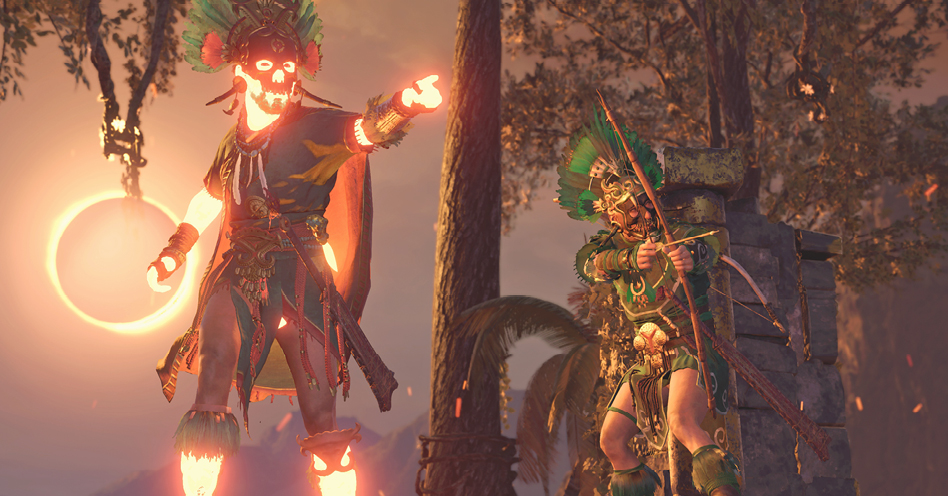
Once the backs of all three statues have been destroyed, Dominguez comes after Lara with sword drawn. He is shielded and unable to be damaged at first. You must create instability in his new powers by shooting him. Try to stay at distance while pelting him with weapon fire, keeping him within view. Once the shield has absorbed enough damage, it becomes unstable. He is particularly susceptible to fear arrows and flare rounds.
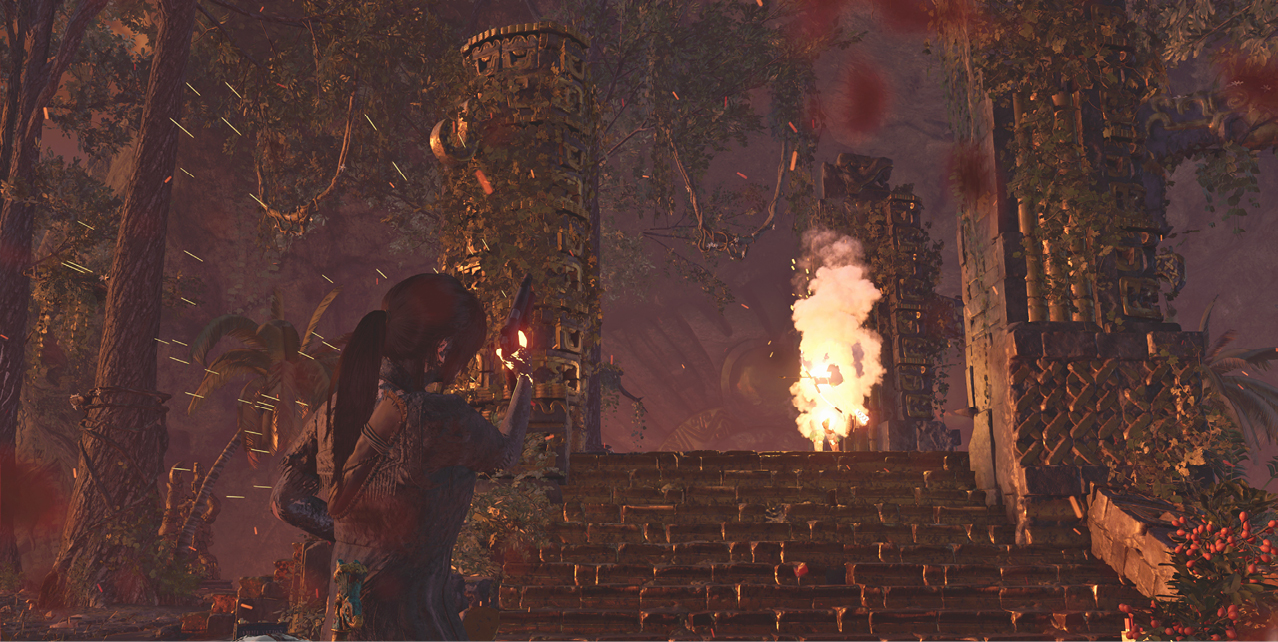
At this point, he is vulnerable to a takedown—indicated by energy emenating from the boss. Quickly move in and stab Dominguez. If you do not reach him in time, you must repeat the process. With the first takedown, Lara gains the dagger. Each successful takedown weakens the boss’s hold on the power of Kukulkan.
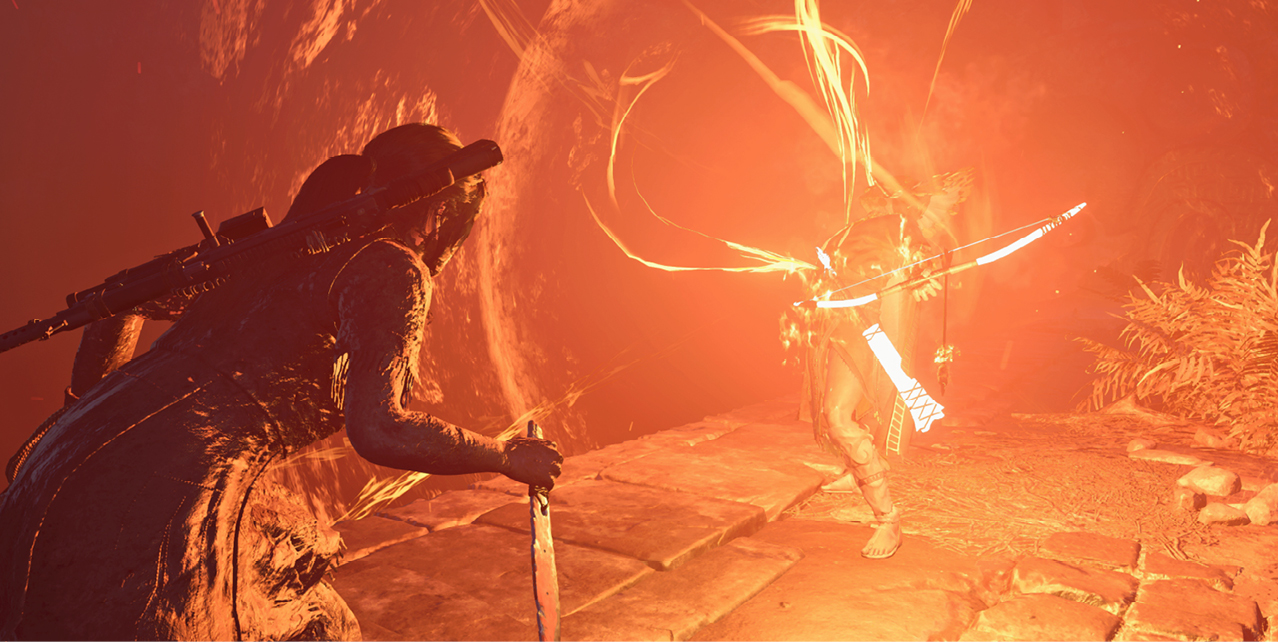
More Kukulkan warriors join the fight, so pick them off as you move around the environment. Concealment vegetation and trees can be used to gain stealth attacks on your opposition, but it gets tougher to pull off as the fight progresses. Red explosives are available during Phase 2, which can be used to pick off warriors or damage Dominguez’s shield.
When Dominguez gets close, he attacks with the sword, which has great range as fire emanates from the weapon. Evade this maneuver as you would any melee strike, staying well out of range to avoid taking damage from the fire. From distance, he shoots fire arrows. Steer clear of the areas that continue to burn.
Phase 3
After three takedowns, Dominguez loses his mask and gains the ability to teleport to the player. Evade when you see the flash of light to avoid a possible attack. Because of this ability, stealth techniques are much harder to utilize. The boss teleports to the player if he loses sight of Lara. This includes if she is in tree branches.
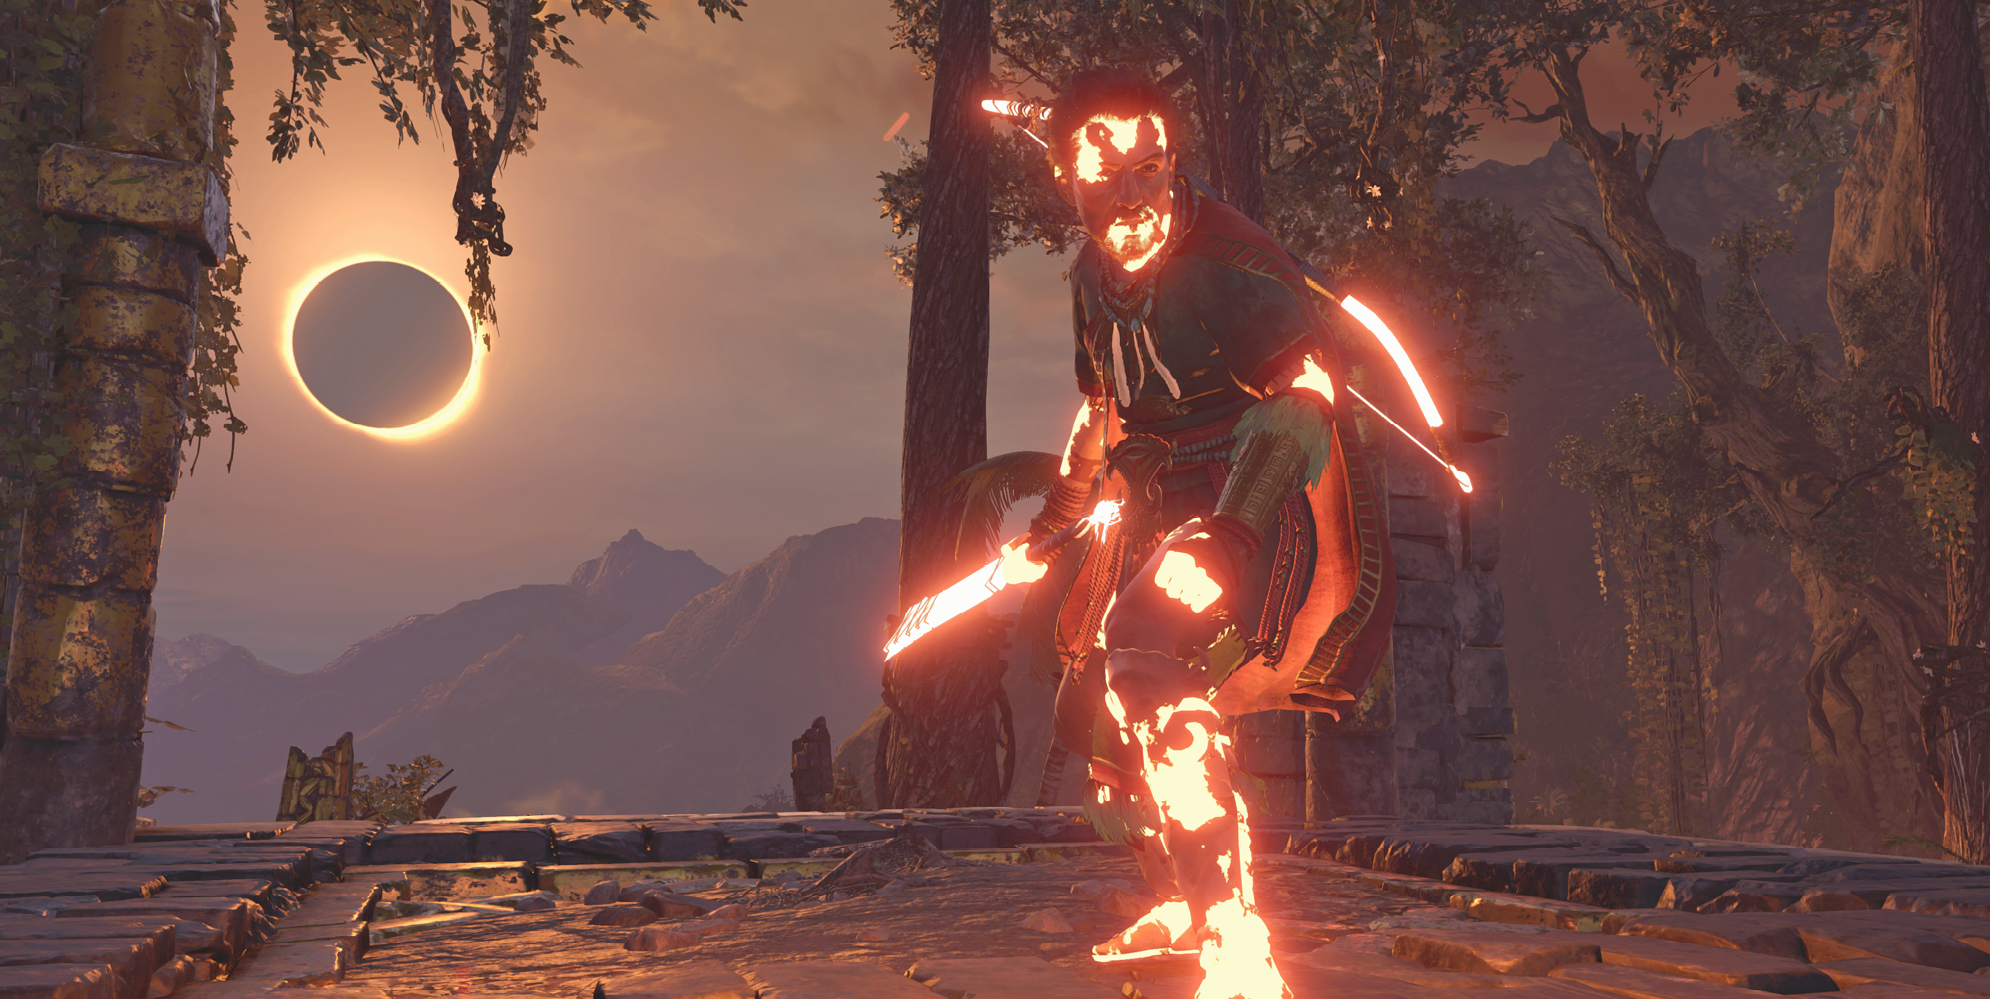
Treat this phase just like the second. Stay on the move and keep the boss in sight. Don’t forget to heal and collect the resources whenever possible.
Continue to weaken the boss until he falls and quickly move in for a knife stab. Three successful takedowns finishes Dominguez off.