
Shadow of the Tomb Raider Guide The Journey Chapter 4: Hidden city
Paititi
Region Summary
|
|
|
|
|
|
|
|
|
|
|
|
|
BASE CAMP |
CHALLENGE TOMB |
Mission GIver |
Challenge |
TREASURE CHEST |
Crypt ENTRANCE |
RELIC |
Document |
Mural |
Survival Cache |
Monolith |
|
11 |
3 |
11 |
6 |
3 |
5 |
28 |
42 |
23 |
34 |
7 |


 Main Story Objectives

- Find the Hidden City
- Meet Unuratu
- Search for the Silver Box
 Side Missions
 Side Missions
 Skill of the Player - Dice with the Dead
 Skill of the Player - Cast Out
 Draw Weight Heavily - The King’s Horn
 Draw Weight Heavily - Hearts and Minds
Challenges
 High Diving: Make five dives.
 Keep Calm and Carrion: Gather three condor feathers from nests.
 Dropping Decimals: Grapple three quipus.
 Changing the Weather: Pull down five frog totems.
 Speaker for the Dead: Uncover four crypt secrets.
Challenge Tombs (Skill)
 Temple of the Sun (Hoatzin’s Hunger)
 Path of Battle (Sip’s Quiver)
Crypts (Treasure)
 Chuki, the Weaver (Vestige: Manko’s Boots)
 Ollanta, the Potter (Vestige: Greaves of Six Sky)
Merchant 1
| Item | Type of Item | Cost (Gold) |
|---|---|---|
|
Satchel |
Resource Pouch |
2600 |
|
Rucksack (requires Crow’s Hoard skill) |
Resource Pouch |
3500 |
|
Knife Upgrade |
Weapon Upgrade |
2900 |
|
Medicine |
Resource |
90 |
|
Perception Plants |
Resource |
90 |
|
Focus Plants |
Resource |
90 |
|
Endurance Plants |
Resource |
90 |
|
Salvage |
Resource |
120 |
|
Eagle Feather |
Resource |
150 |
|
Condor Feather |
Resource |
150 |
|
Jaguar Hide |
Resource |
150 |
|
Black Powder |
Resource |
150 |
|
Black Wolf Hide |
Resource |
300 |
|
Albino Capybara Hide |
Resource |
300 |
|
Empress Jaguar Hide |
Resource |
300 |
Merchant 2
| Item | Type of Item | Cost (Gold) |
|---|---|---|
|
Serpentwood Bow |
Bow |
4200 |
|
Atlatl |
Bow |
5800 |
|
Hunter’s Quiver |
Quiver |
2200 |
|
Adventurer’s Quiver (requires Crow’s Hoard skill) |
Quiver |
3800 |
|
Vestige: Mantle of Six Sky |
Outfit Upper |
5600 |
|
Vestige: Kantu’s Boots |
Outfit Lower |
6900 |
|
Arrows |
Ammo |
60 |
|
Fire Arrow |
Special Ammo |
300 |
 Path to the Hidden City —
Swing Around the Cliff Face

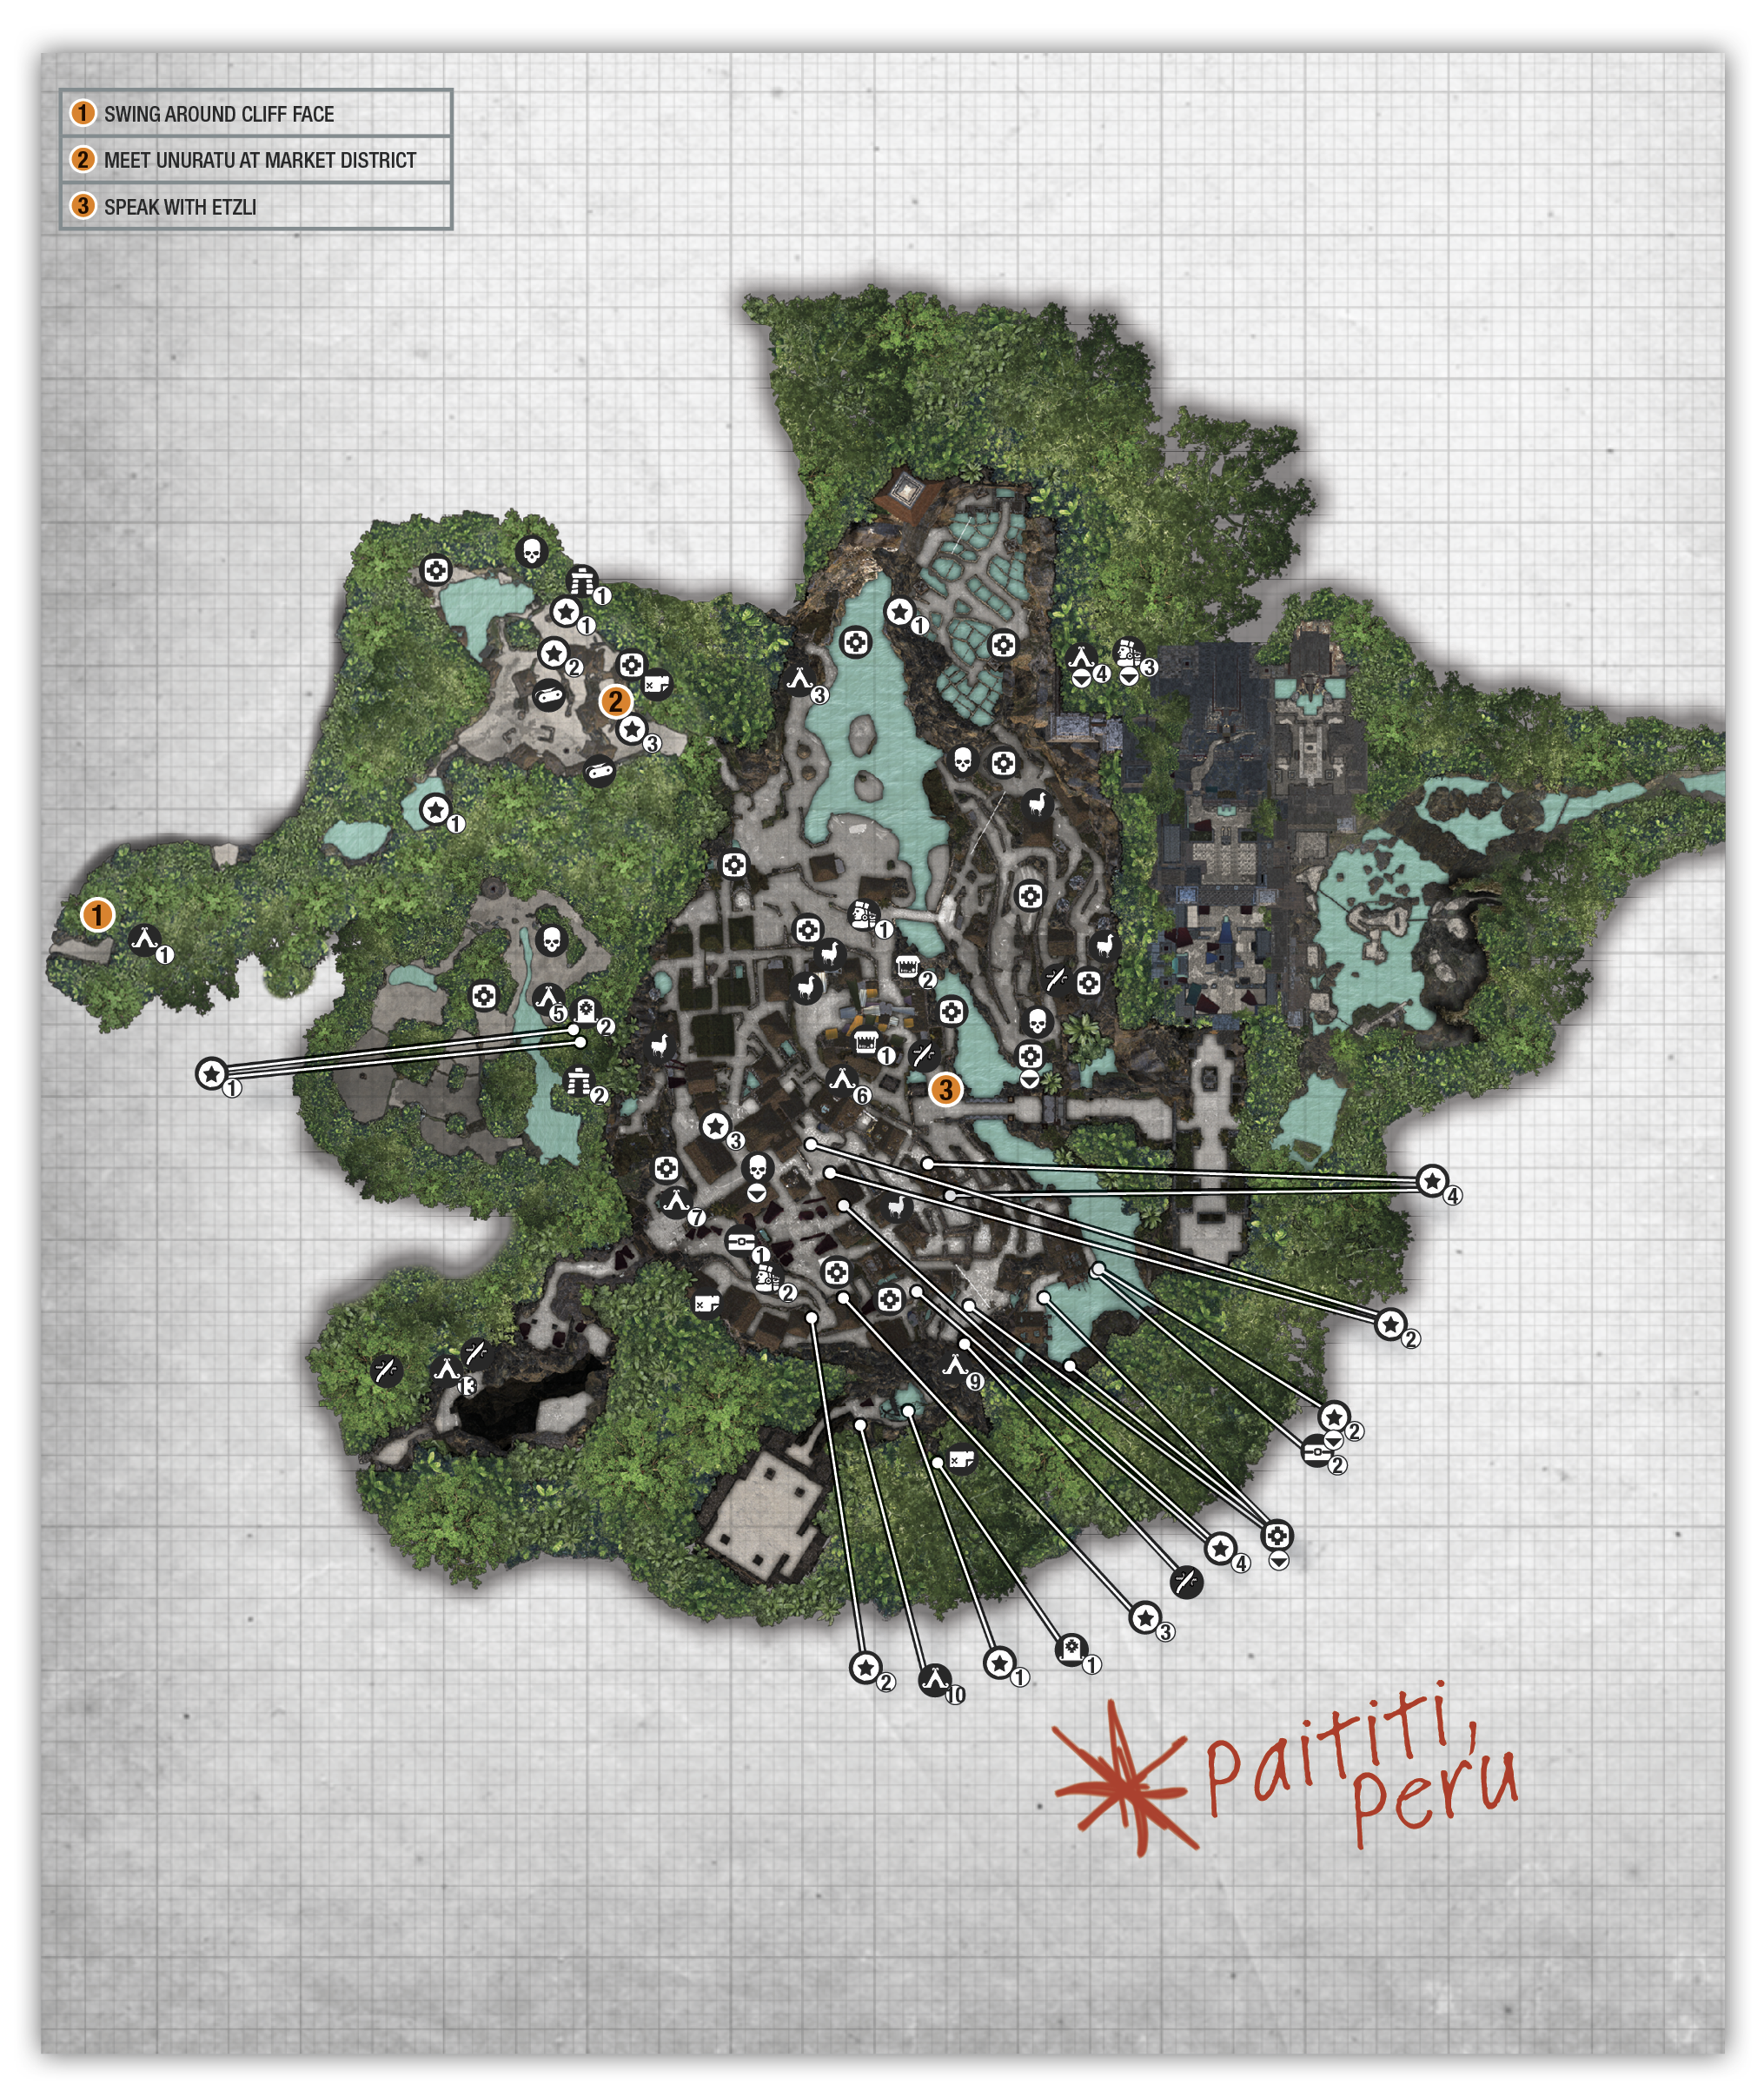
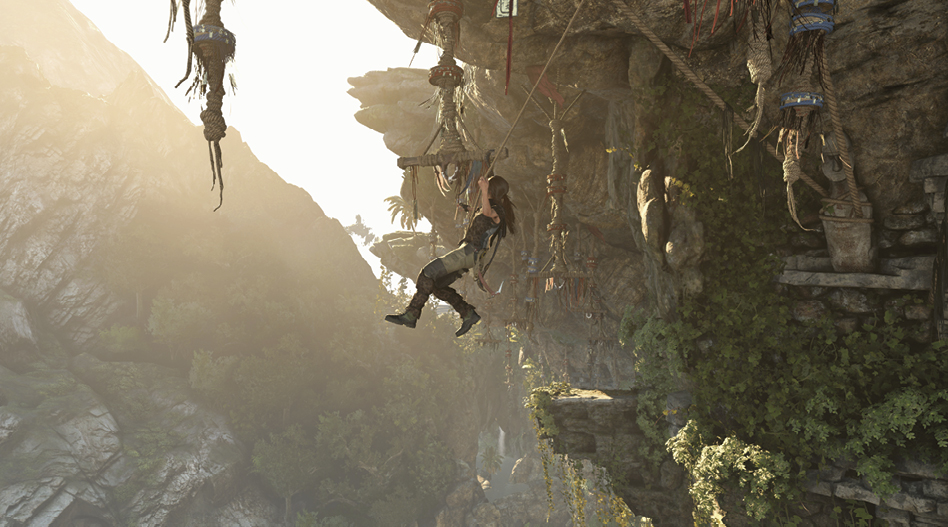
You’ve arrived at the eastern edge of the Hidden City region, though a cliff face stands in the way of your reaching the city. You must swing on the quipus (1) affixed to the overhang, jumping from one to another until you reach stable ground. Throw the Grapple Axe when you’re close to the next swing to grab on.
Leap off the jutting rock and throw the axe to grab the first swing. Your momentum sends you toward the second hook; jump and immediately fling the axe to grab on. Turn right before making the third jump, then continue straight ahead to the fourth hook, then to a rock platform.
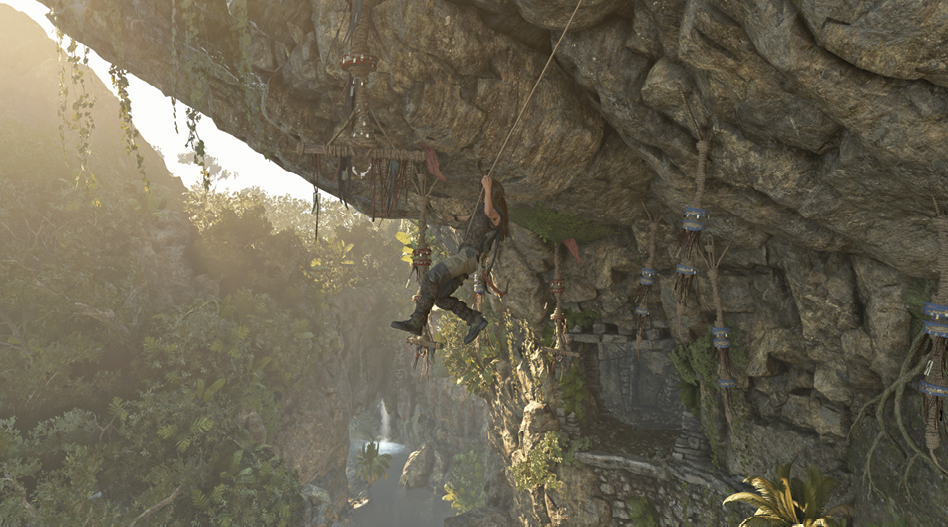
A second set of swings leads you straight ahead, but this time you must watch for quipus that dislodge from the overhang. Jump to the nearest hook and allow Lara to swing forward and then back. Adjust slightly to the left and leap to the second. Continue ahead to the third, which comes out of the rock when pulled. Prepare for an immediate jump to the fourth swing. Continue to the final hook and then to the rocky ledge. Run through the tunnel and swan-dive off the wood platform into a body of water far below.
Find the Serpent with the Silver Eye
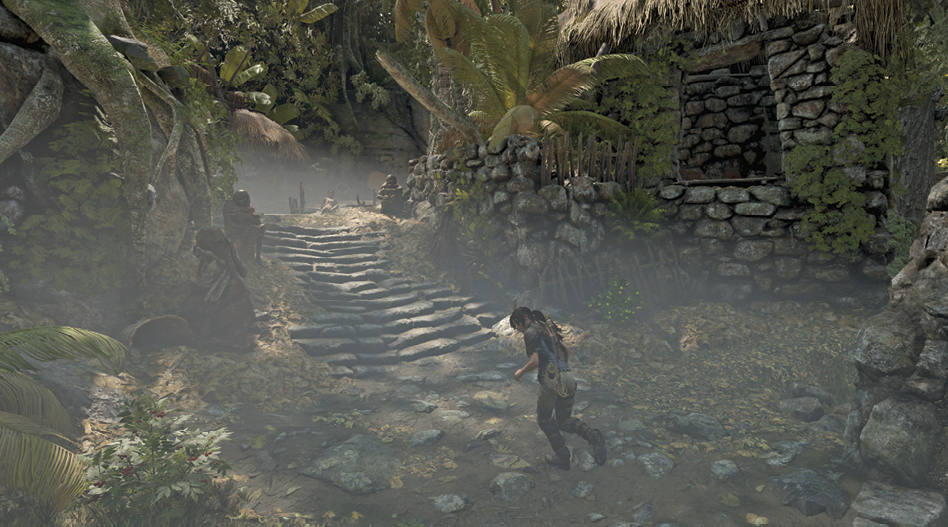
Exit the water and follow the trail into an abandoned village. This is a great opportunity to fill up on resources, including hides from rabbit and llamas in the area. Numerous collectibles can also be found nearby. To continue the story, locate the steps opposite from where you entered the area to find a trapped boy (2).
The Hidden City —
Join Unuratu in the Market District
Welcome to Paititi, the Hidden City. There’s much to do in the village. Side missions, challenges, two challenge tombs, and another crypt are now accessible. Uchu, who guards Jonah, has a special side mission for you. Two Merchants, numerous Artifacts, and more items are also available. All of this is optional and available throughout much of the game. Refer to the appropriate sections of this chapter for locations and walkthroughs. Upper Paititi is inaccessible at the moment, but you will return—allowing you to finish the region at that point.
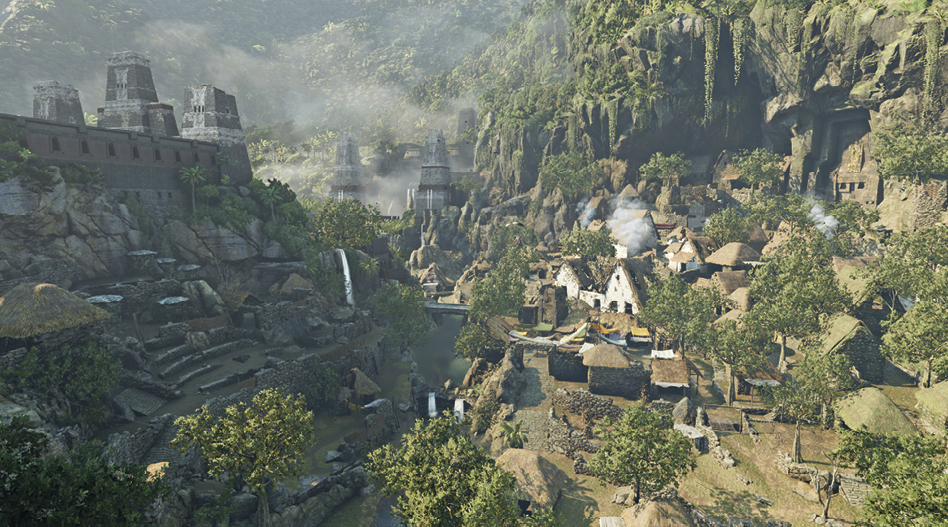
When you’re ready to move on in the story, find Unuratu just across the river, in the Market District (3). Cross the bridge at the bottom of the hill or swim across the river, then head left until you find her. A photo of Dr. Dominguez is added to your Artifact collection after the scene plays out.
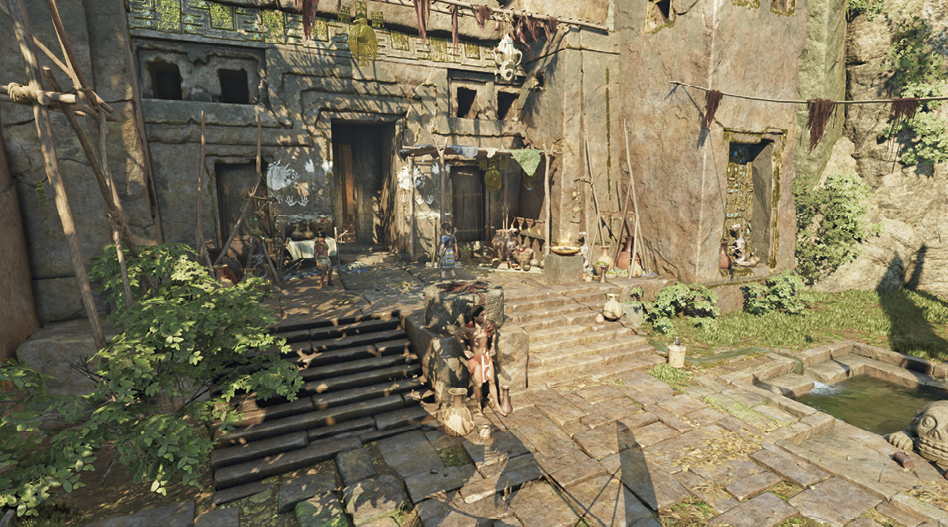
Find the Silver Box of Ix Chel
Next, talk to Etzli outside a temple in Lower Paititi, then squeeze through the narrow opening. Search for valuables as you pass through the various rooms of the temple. At the third chamber, jump off the left side of the ledge and swing to the craggy wall. Rappel down and swing to the path on the right.
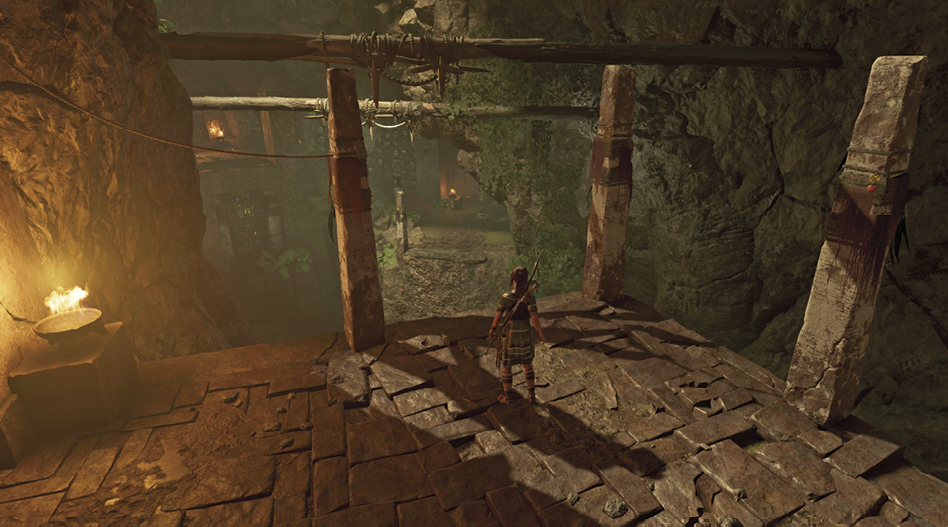
Between the two pillars, leap forward and throw the Grapple Axe at the metal hooks to reach the Belly of the Serpent Base Camp. If you’ve upgraded your knife, cut the nearby braided rope to collect more valuables. From the Base Camp, climb the stairs, move through the tunnel, and squeeze through the narrow opening on the far side of the next room to reach the Belly of the Serpent.