Shadow of the Tomb Raider Guide The Journey Chapter 2: Peruvian Jungle
Flashback
Flashback

Croft Manor
Location: Croft Manor, 142 Abbingdon Road, Guildford, Surrey, England, AL9 5NQ
 Brave Adventurer — Enter the Castle

 01 document

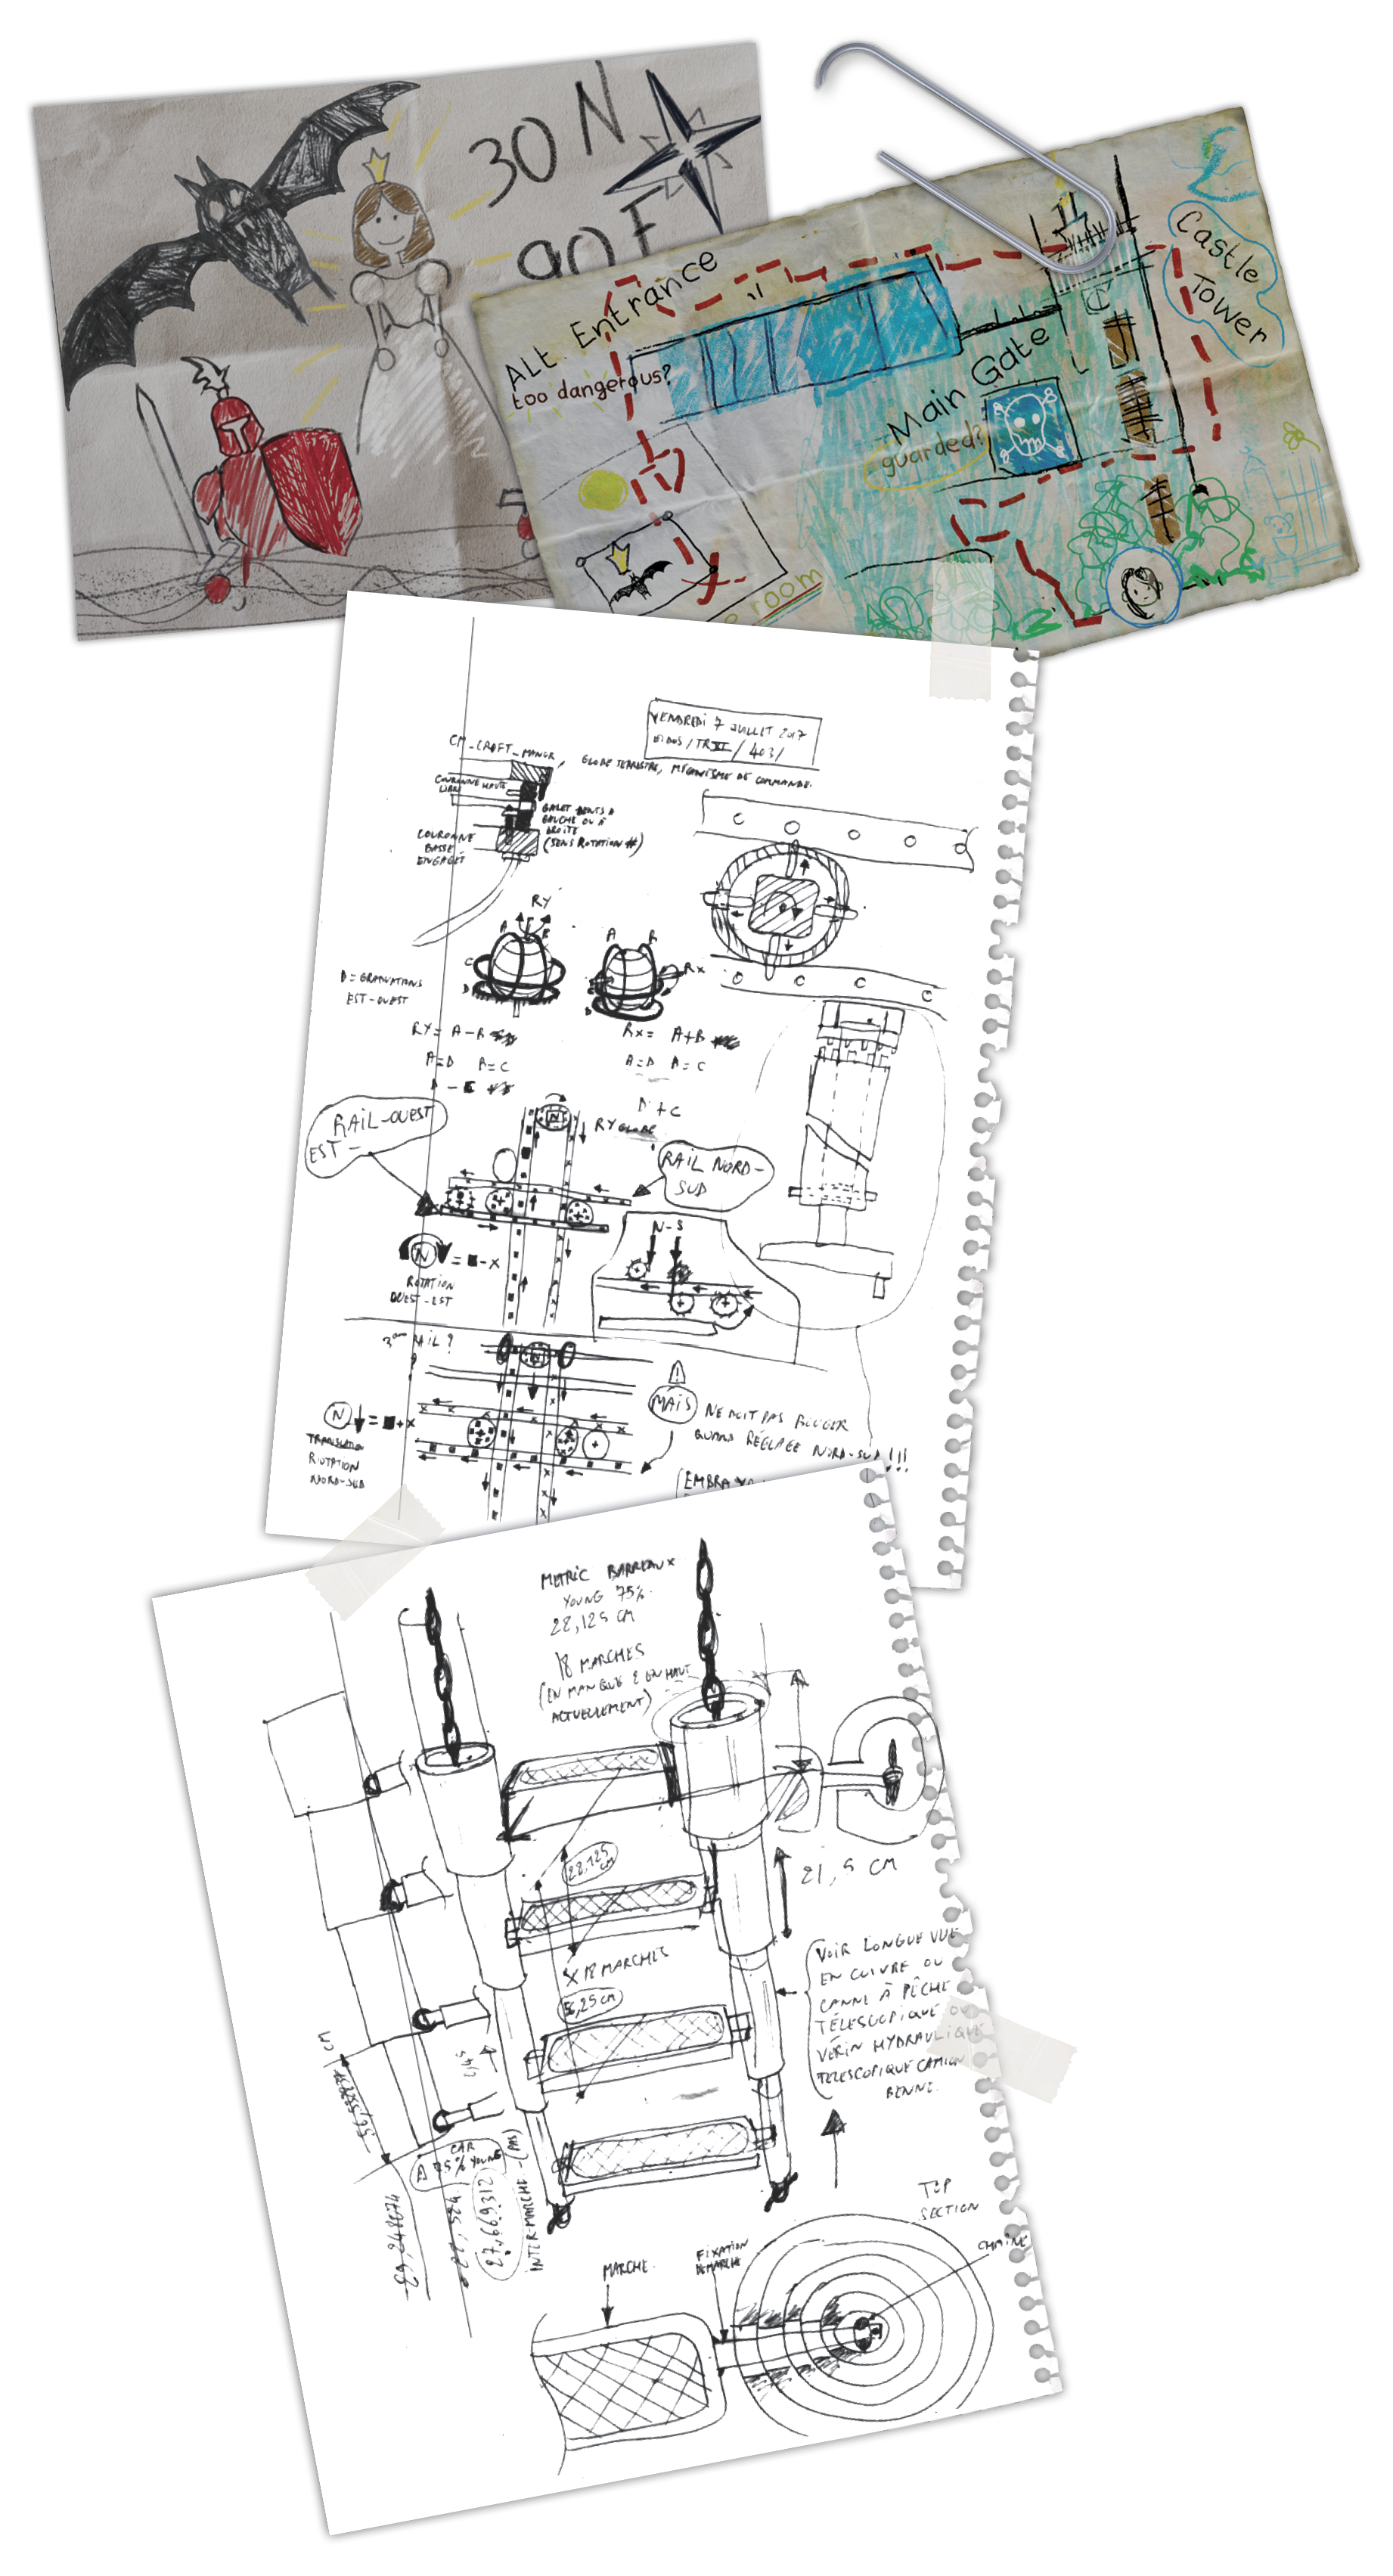
Hand Drawn Map
- Dialect: N/A
- Nearest Camp: N/A
Automatically obtained as soon as you take control of young Lara.
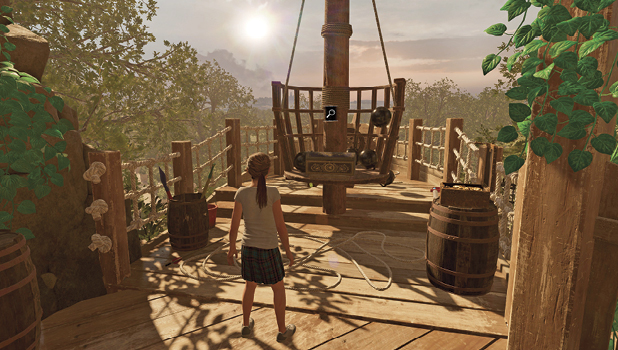
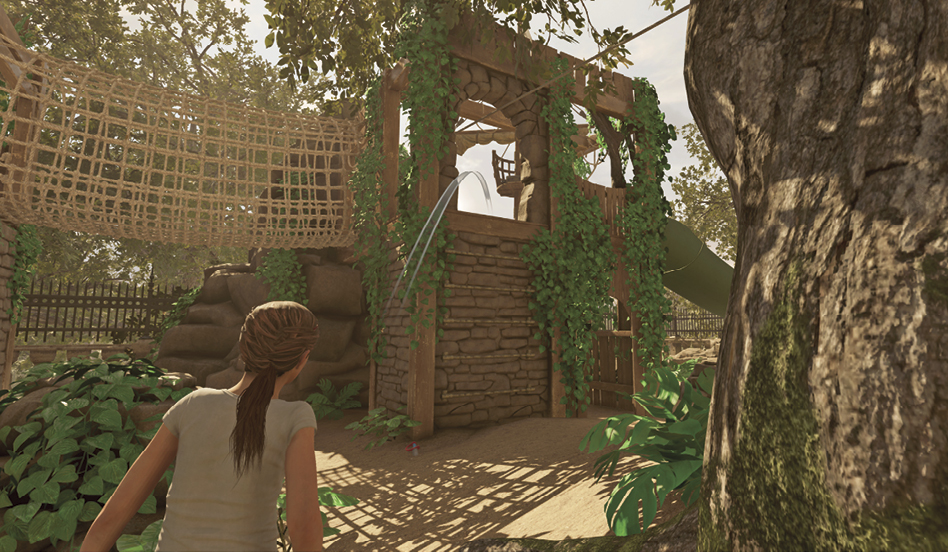
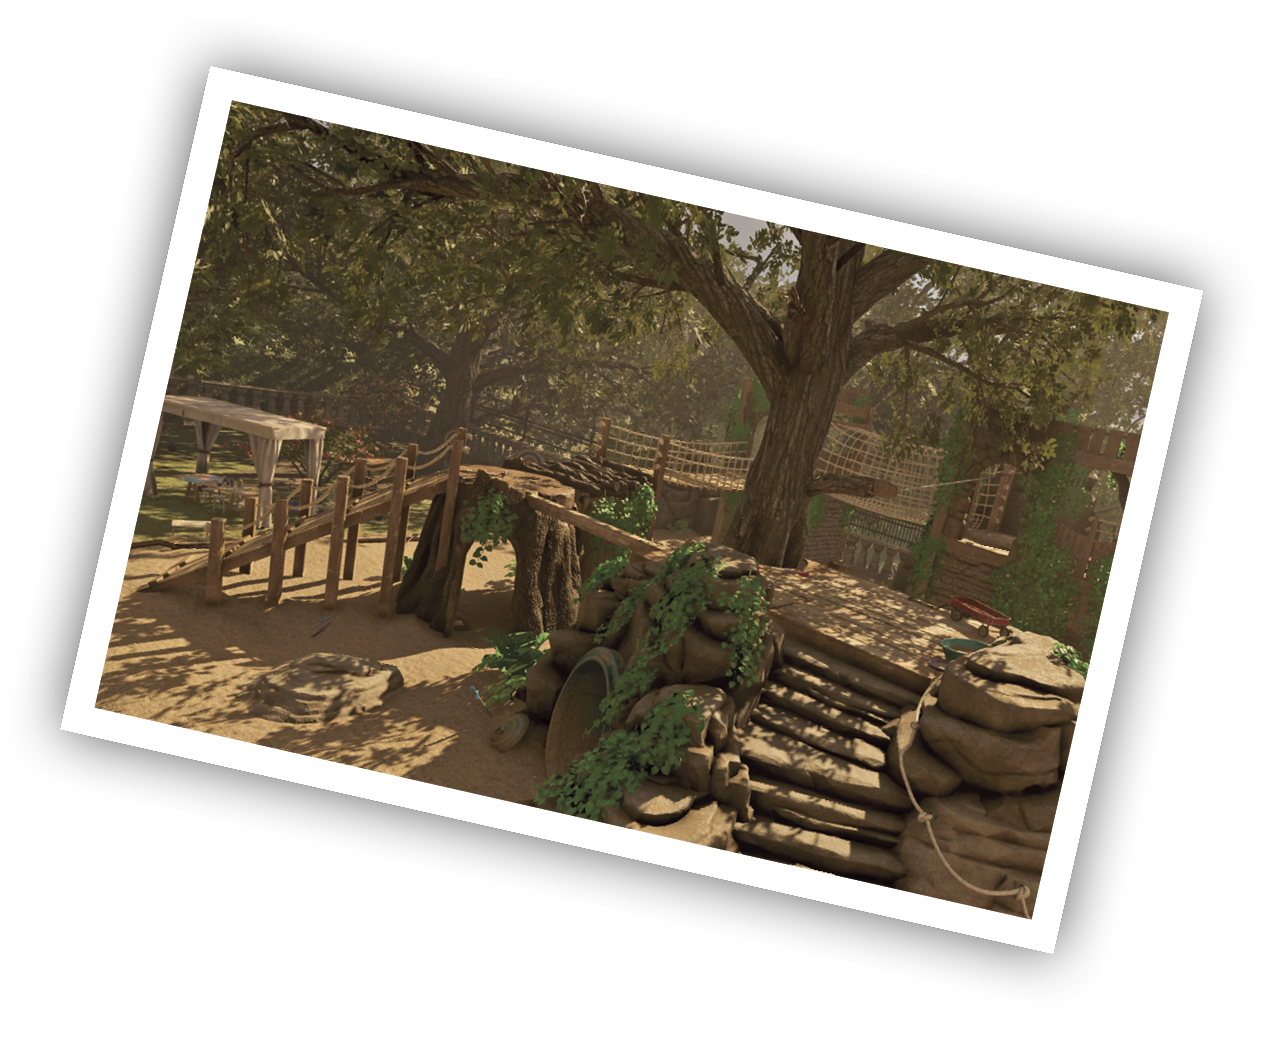
Artifacts can be found around the big trees in the picnic area, throughout the playground, and next to the red wagon. Pick up one of the black balls and heave it onto the play pirate ship, near the crow’s nest.
Toss a second ball in the same area. Climb up to the ship and throw two balls into the crow’s nest, if not already there. This gives you access to another relic.
 01 Relic

Family Photo
- Dialect: N/A
- Nearest Camp: N/A
By bringing down the crow’s nest with the weighted balls, Lara will be able to access a chest with this “relic” inside.
02 Relic
White Queen
- Dialect: N/A
- Nearest Camp: N/A
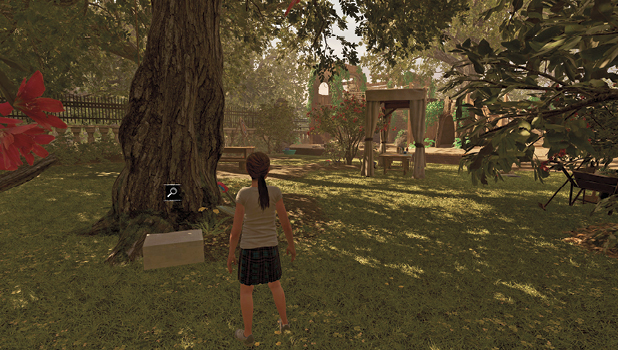
Found in the far corner away from the mansion and play area, near the archery set.
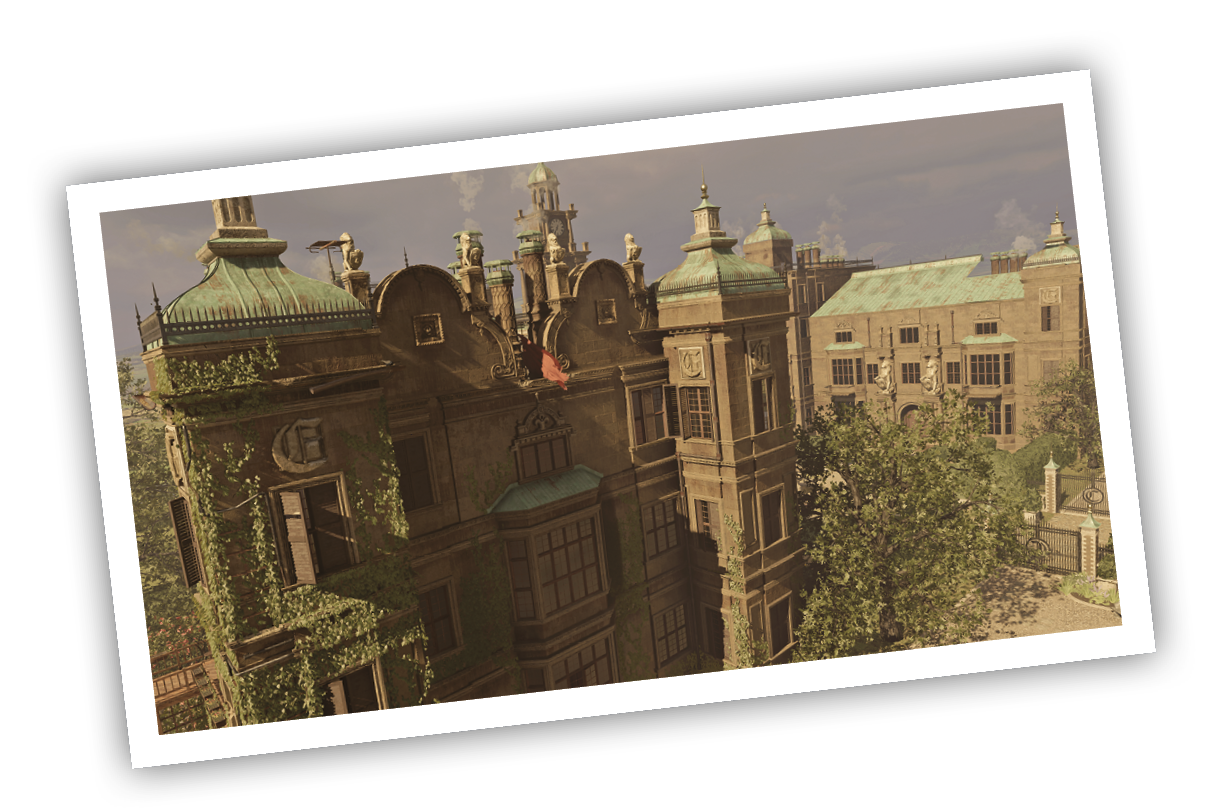
02 document
Letter to Winston
- Dialect: N/A
- Nearest Camp: N/A
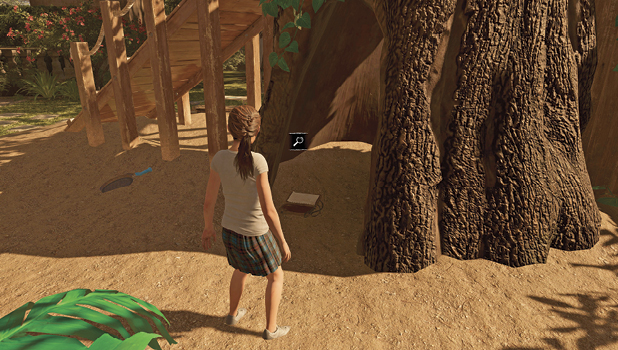
Found inside the hollowed out tree in the front garden, before Lara ascends the mansion walls.
03 document
Letter from Winston
- Dialect: N/A
- Nearest Camp: N/A
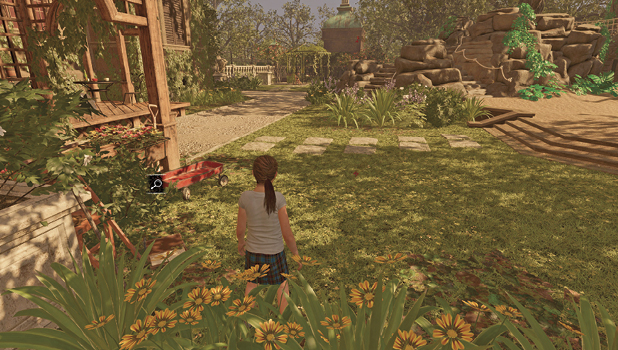
Found by the bushes at the front of the mansion, near a red wagon.
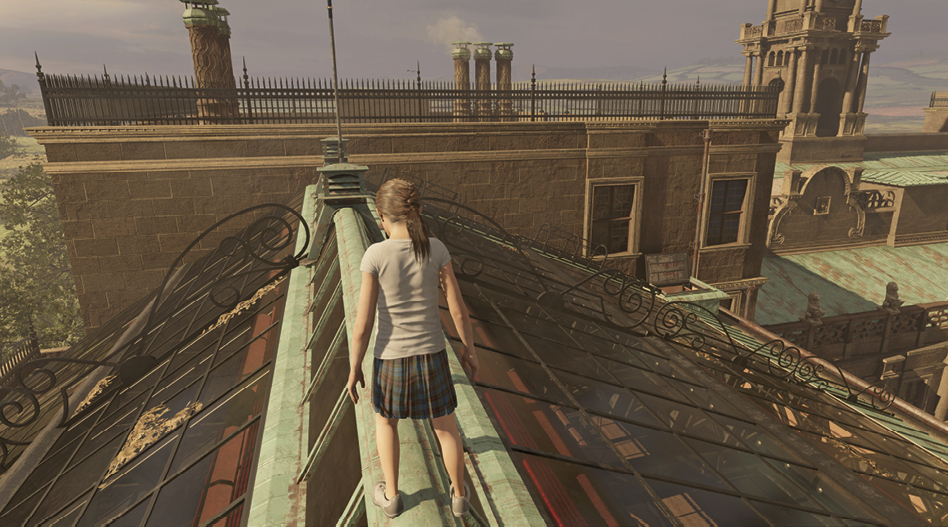
At the objective beacon, climb the lattice tunnel to the side of the manor, walk past the open window, and climb the trellis next to the wall. Make your way around to the right and up until you reach the open shutter. Continue up the “C” and shimmy along the gutter to the right.
Back on the side of the manor, climb up and right until Lara climbs onto the roof. Squeeze through the parapets, climb the ladder, and carefully tightrope straight ahead until descending to the right. Move inside, and open the next door to reach your destination.
04 document
Engimatic Clues
- Dialect: N/A
- Nearest Camp: N/A
Automatically obtained upon entering the White Queen puzzle room.
Free the White Queen
Run over to the globe on the far side of the room, where two cranks control the longitude and latitude. Turn them counterclockwise until 30° N and 90° E are inside the circle. This lowers a ladder on the far side of the room. Climb it and search to the left to find a Document. Run to the far side of the balcony, and turn another crank clockwise until the bat’s wings are completely unfurled.
05 document
Letter to Contractor
- Dialect: N/A
- Nearest Camp: N/A
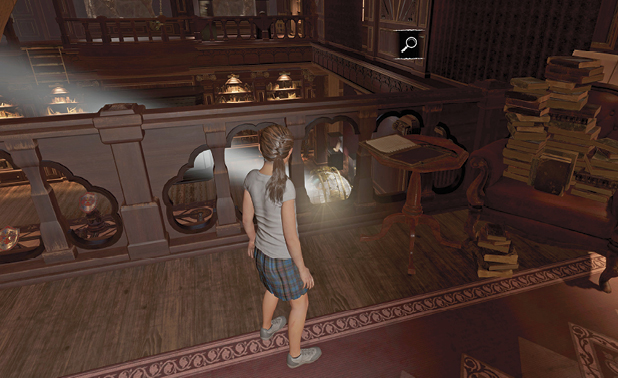
After setting the coordinates in the globe, this document can be found to the left upon climbing the newly lowered ladder.
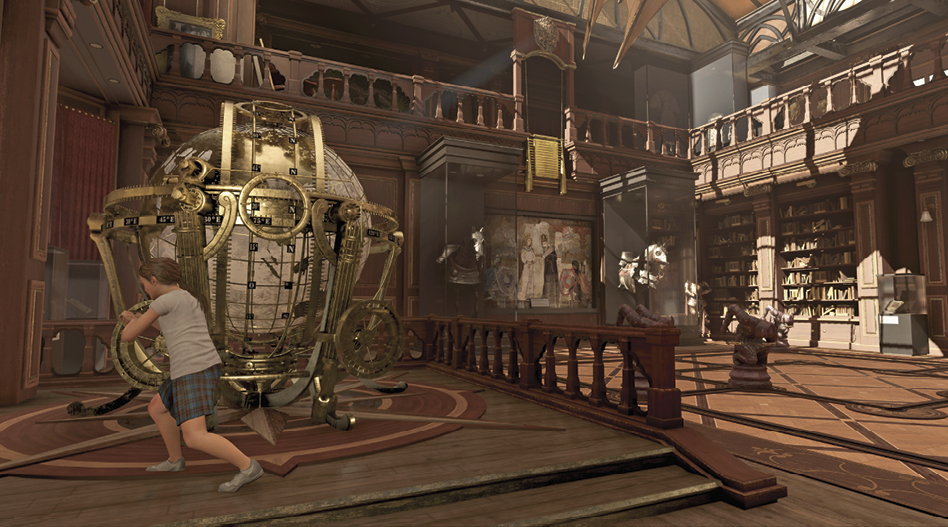
Now you must move the two shielded guards into position to reveal the White Queen. Move them so that the light reflects onto the shields on the wall. It doesn’t matter how you get the pieces into their correct positions. The soldiers without shields can go anywhere, even between the circles. Here’s a quick solution:
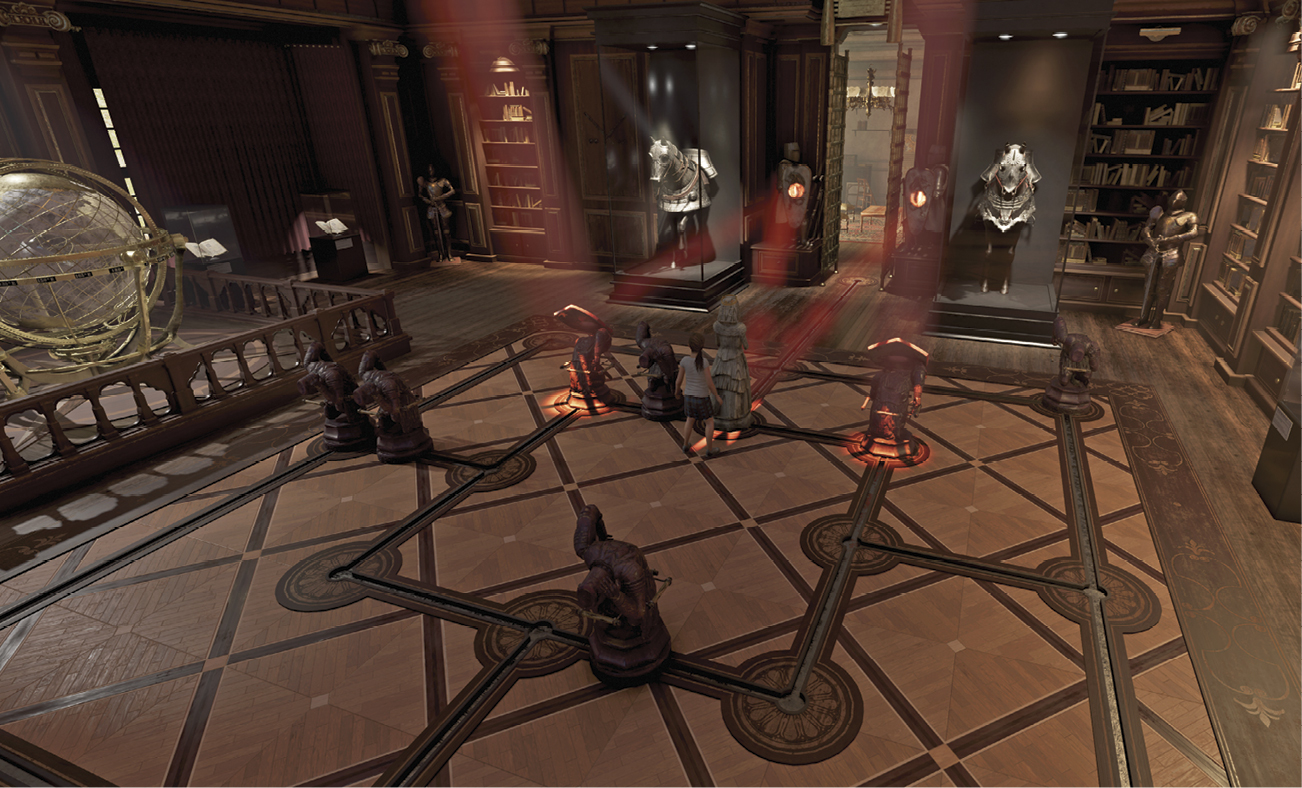
- Move the piece closest to the entrance forward two spots.
- Next, move the three inner soldiers out of the way, between the nodes. The next closest to the entrance goes right; move the piece on the left side of the inner square left. Move the one in the corner of the inner square right.
- Now you have a clear path to move the back shielded guard into the far-left corner of the inner square.
- Finally, pull the White Queen so that it stands between the two guards, revealing the Forbidden Tomb. Step inside to complete the flashback.