
Shadow of the Tomb Raider Guide The Journey Chapter 4: Hidden city
Hidden City - Crypts
Location: Abandoned Village
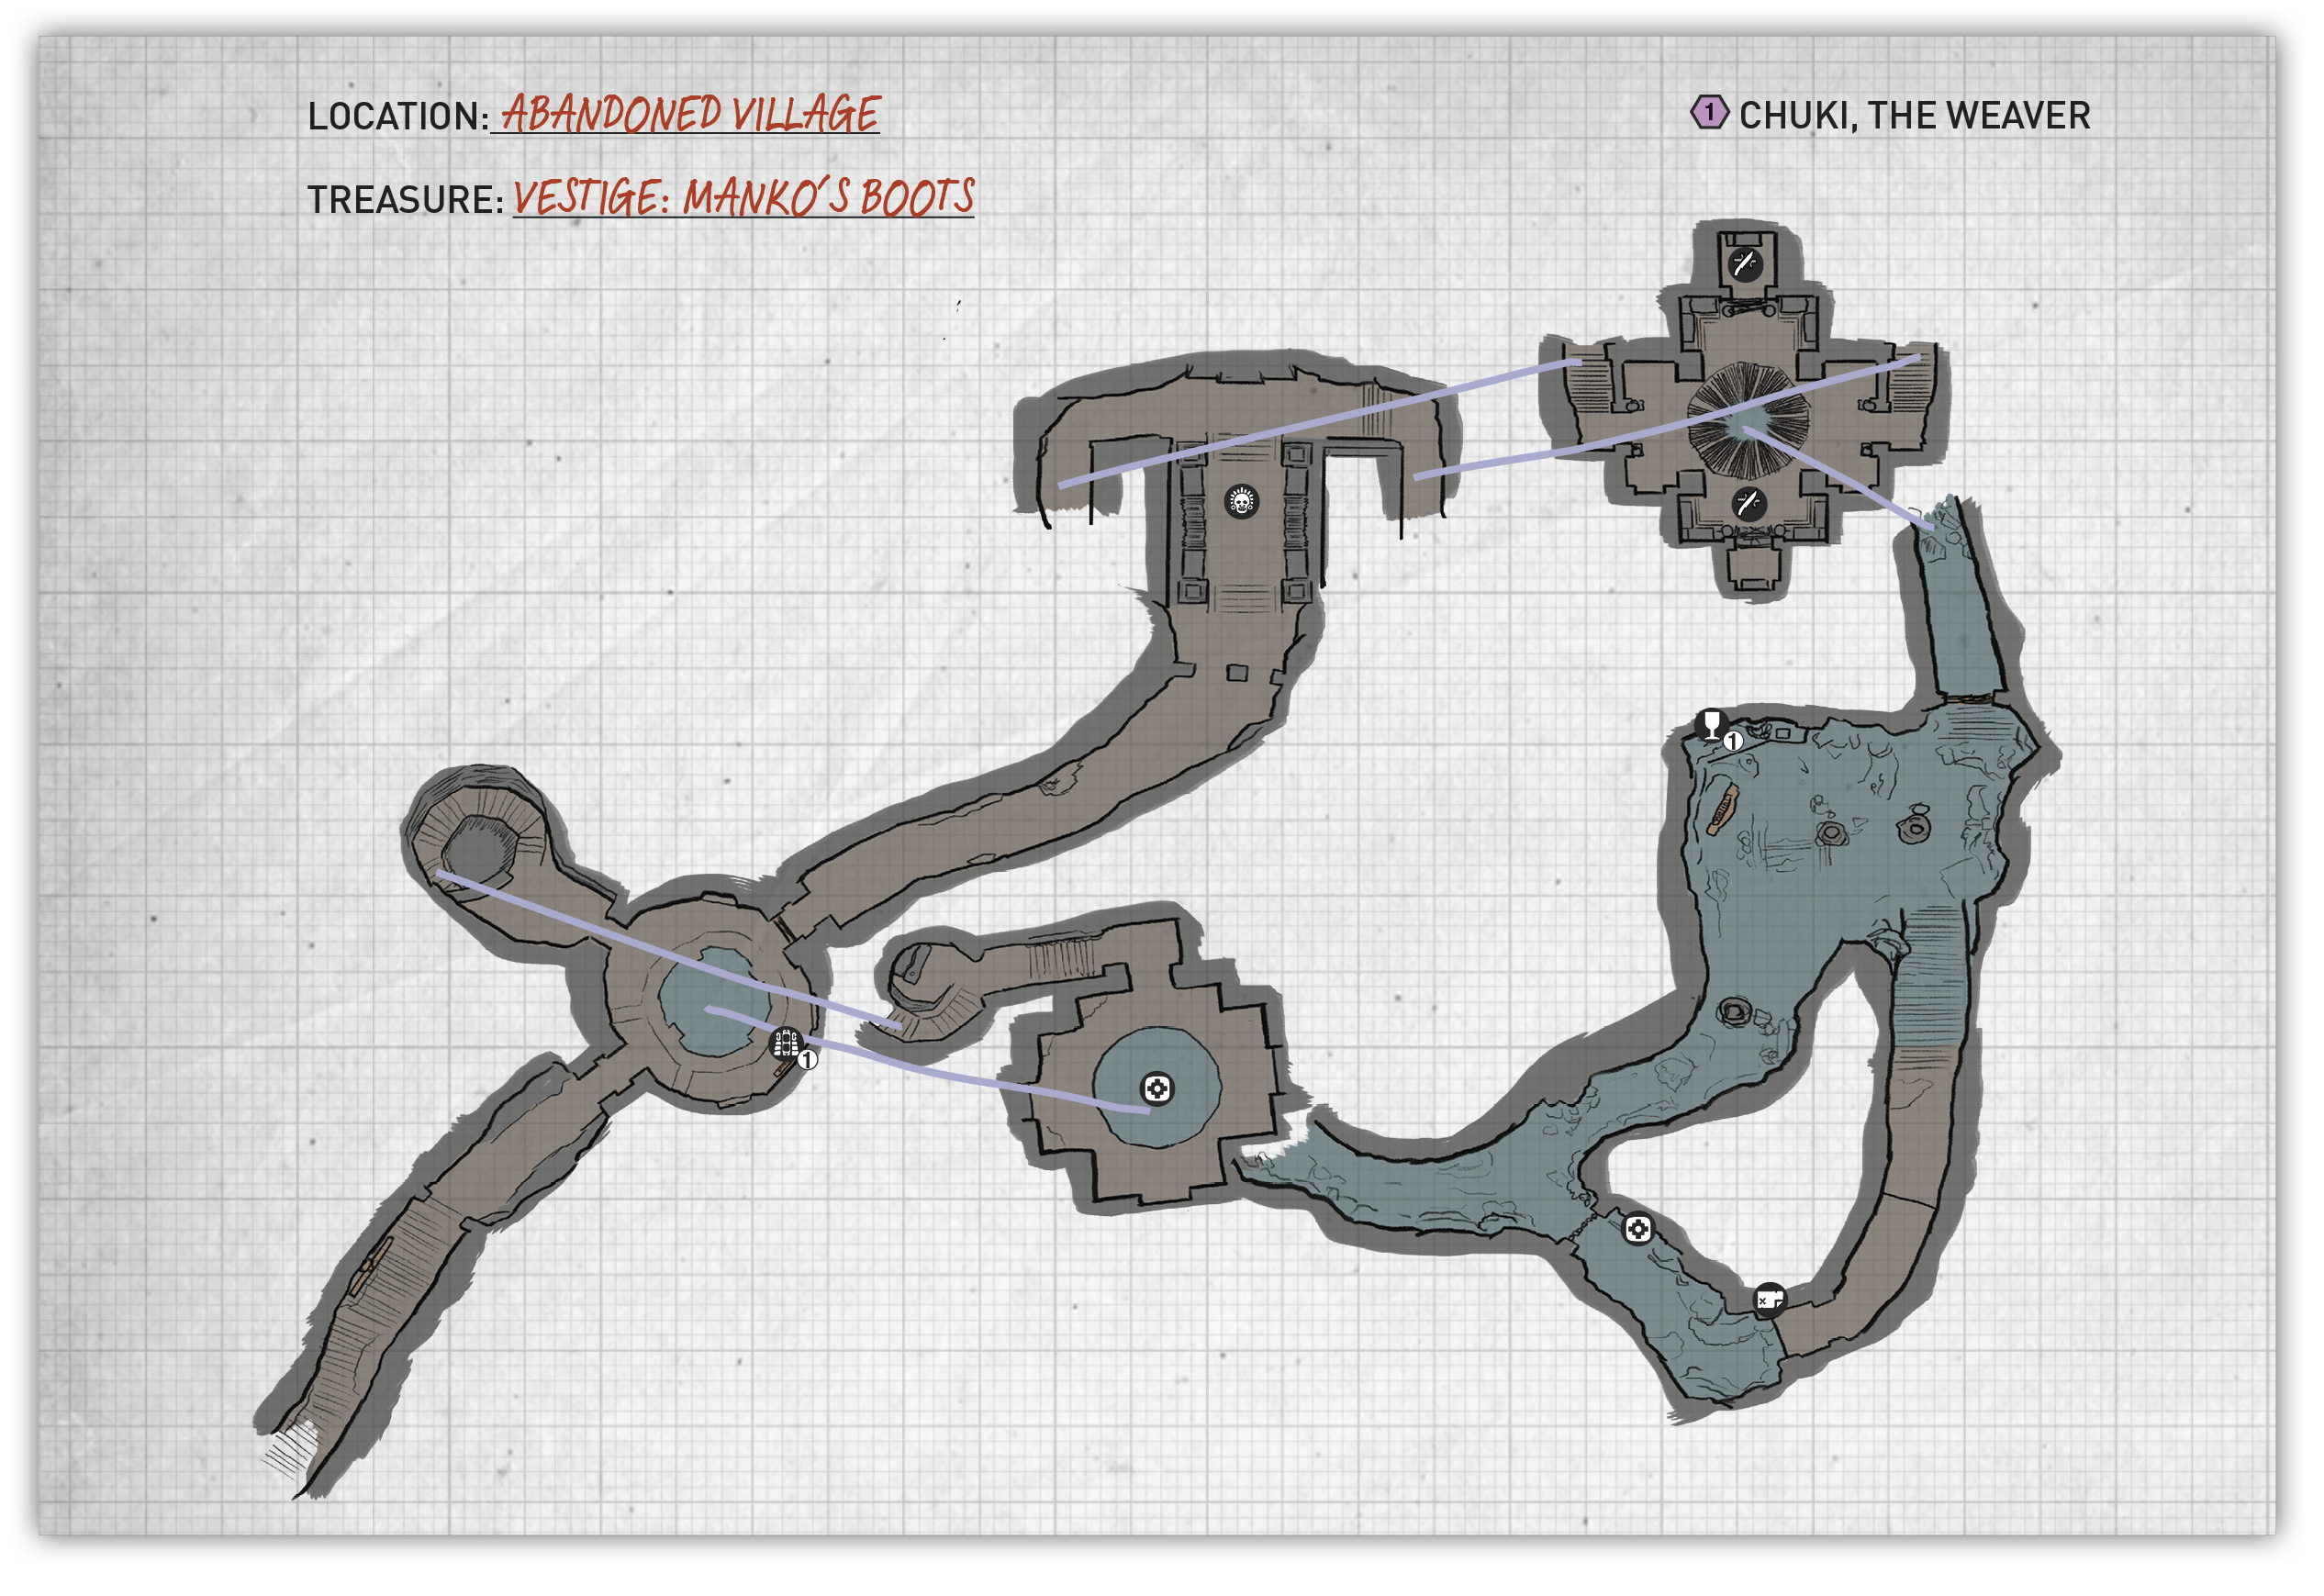
Access the Crypt
The first crypt is available at the start of the region, just north of the abandoned village. Follow the trail north to find a doorway to the lake. Scramble up the stone wall on the right and step up to the next ledge. Tether a rope between the coil above your head and another across the water. Slide down the rope, scramble up the wall, and jump right to the craggy wall. Leap across the gap and continue up to a cliff.
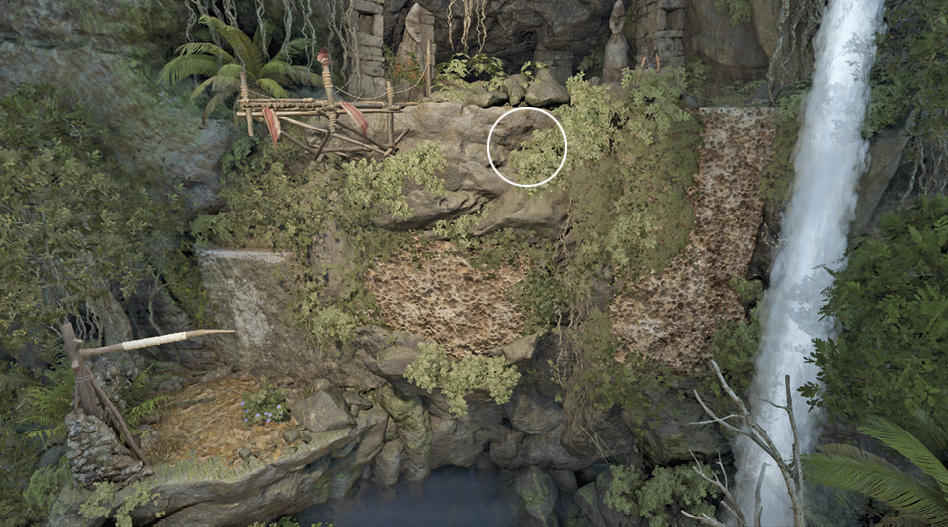
Find the Sarcophagus
Enter the cave and follow the tunnel to a circular chamber, careful to avoid the trap at the bottom of the steps. Examine the Mural on the right before moving on. From here you can drop through the hole to progress farther into the crypt, but rare resources are available at the bottom of the spiral staircase.
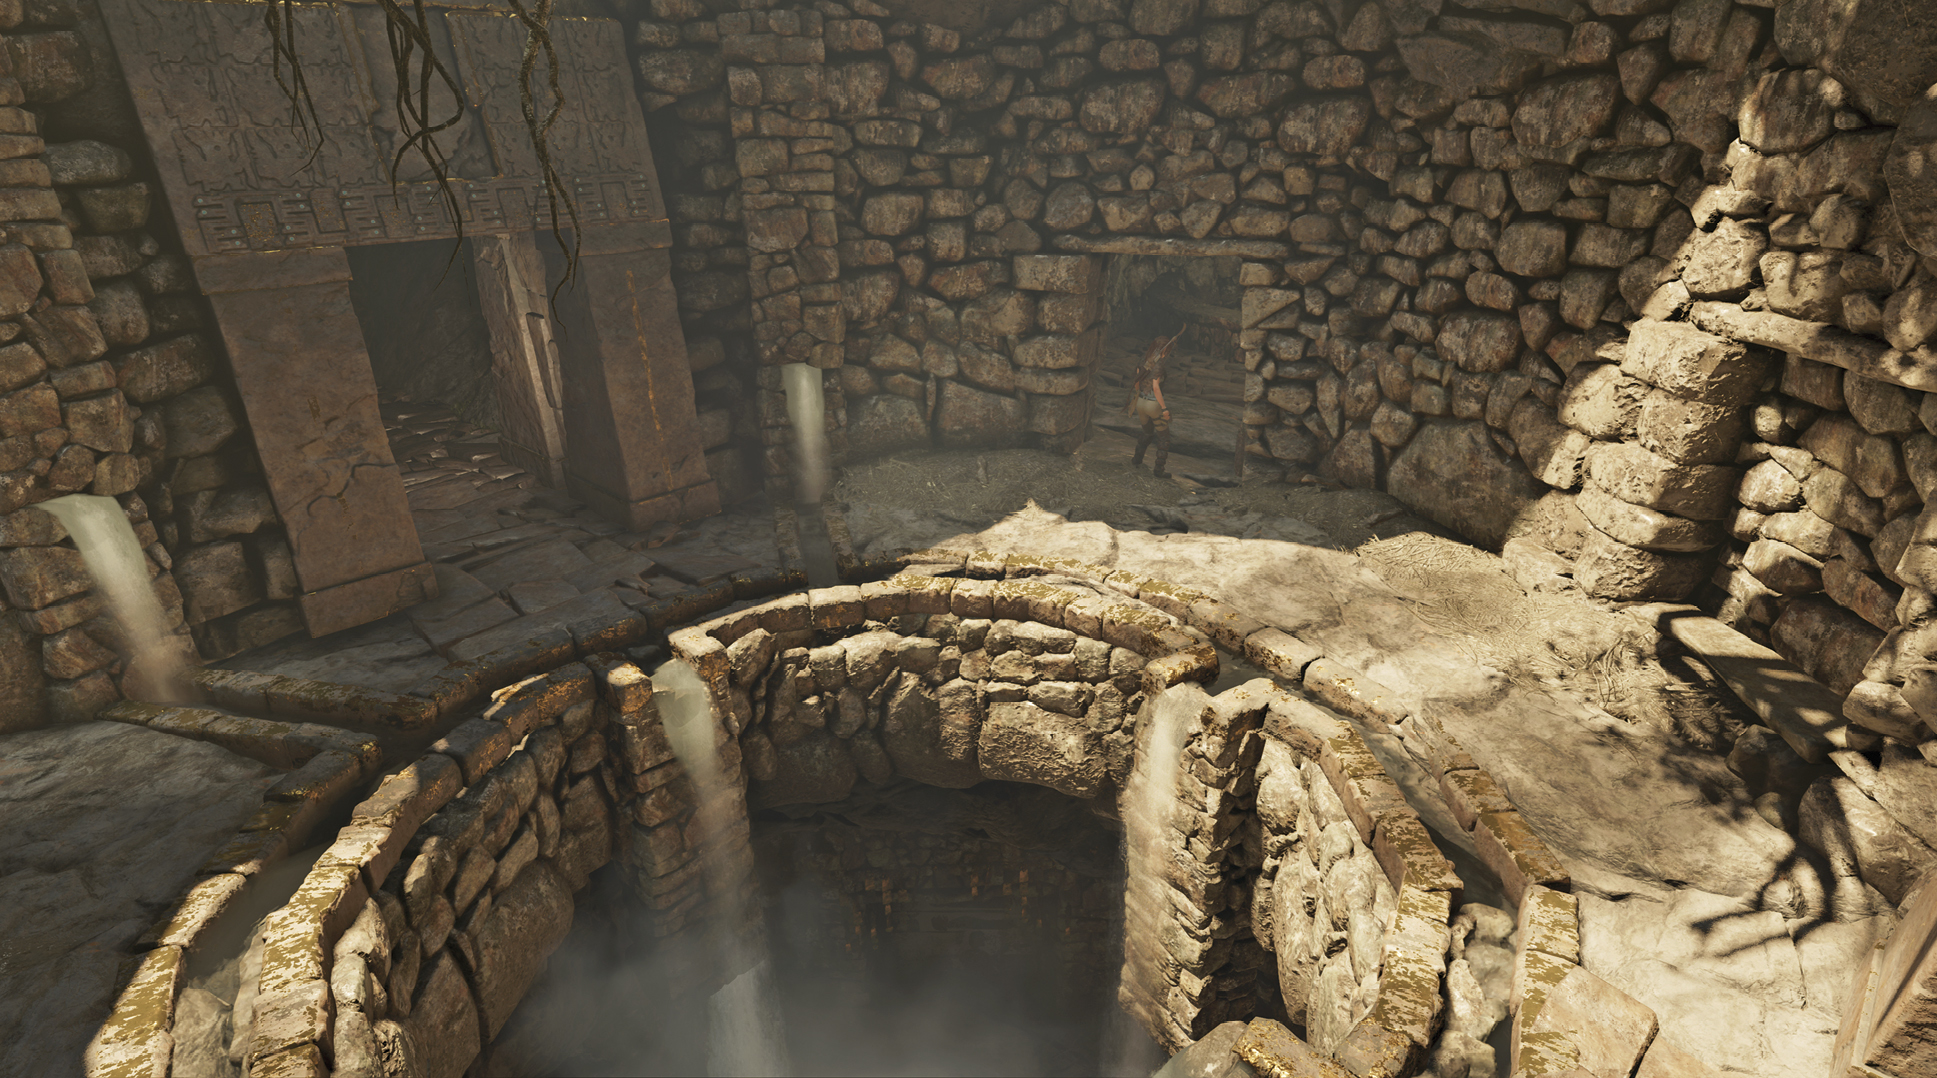
Dive straight down, then squeeze through the narrow crevice. Grab breaths at the two trapped-air locations, and collect valuables as you follow the water tunnel. Just after the second trapped air, follow the steps to the right and search the area before interacting with the pry barrier on the left. Continue to fast-swim through the tunnel.
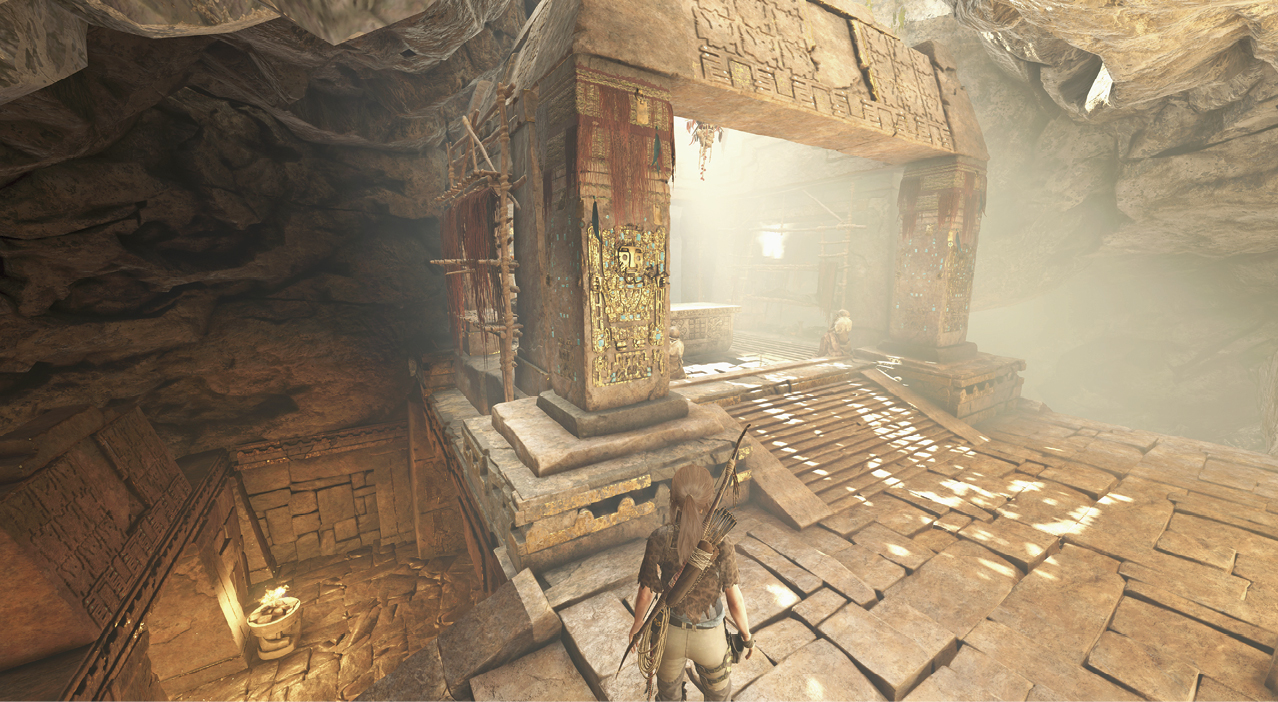
At the spiral staircase, surface and climb out of the water. If you have a Reinforced Knife, two braided-rope barriers block access to more valuables. Find the steps on either side of the room, climb up to the sarcophagus, and loot the treasure.
Exit the Crypt
Follow the path beyond the sarcophagus, and use a rope arrow to pull down the obstruction. This takes you back to the first room of the crypt. Exit through the tunnel and swan-dive off the wood platform for the “High Diving” challenge.
Location: Paiyiyi Wlderness, Above Challenge Tomb
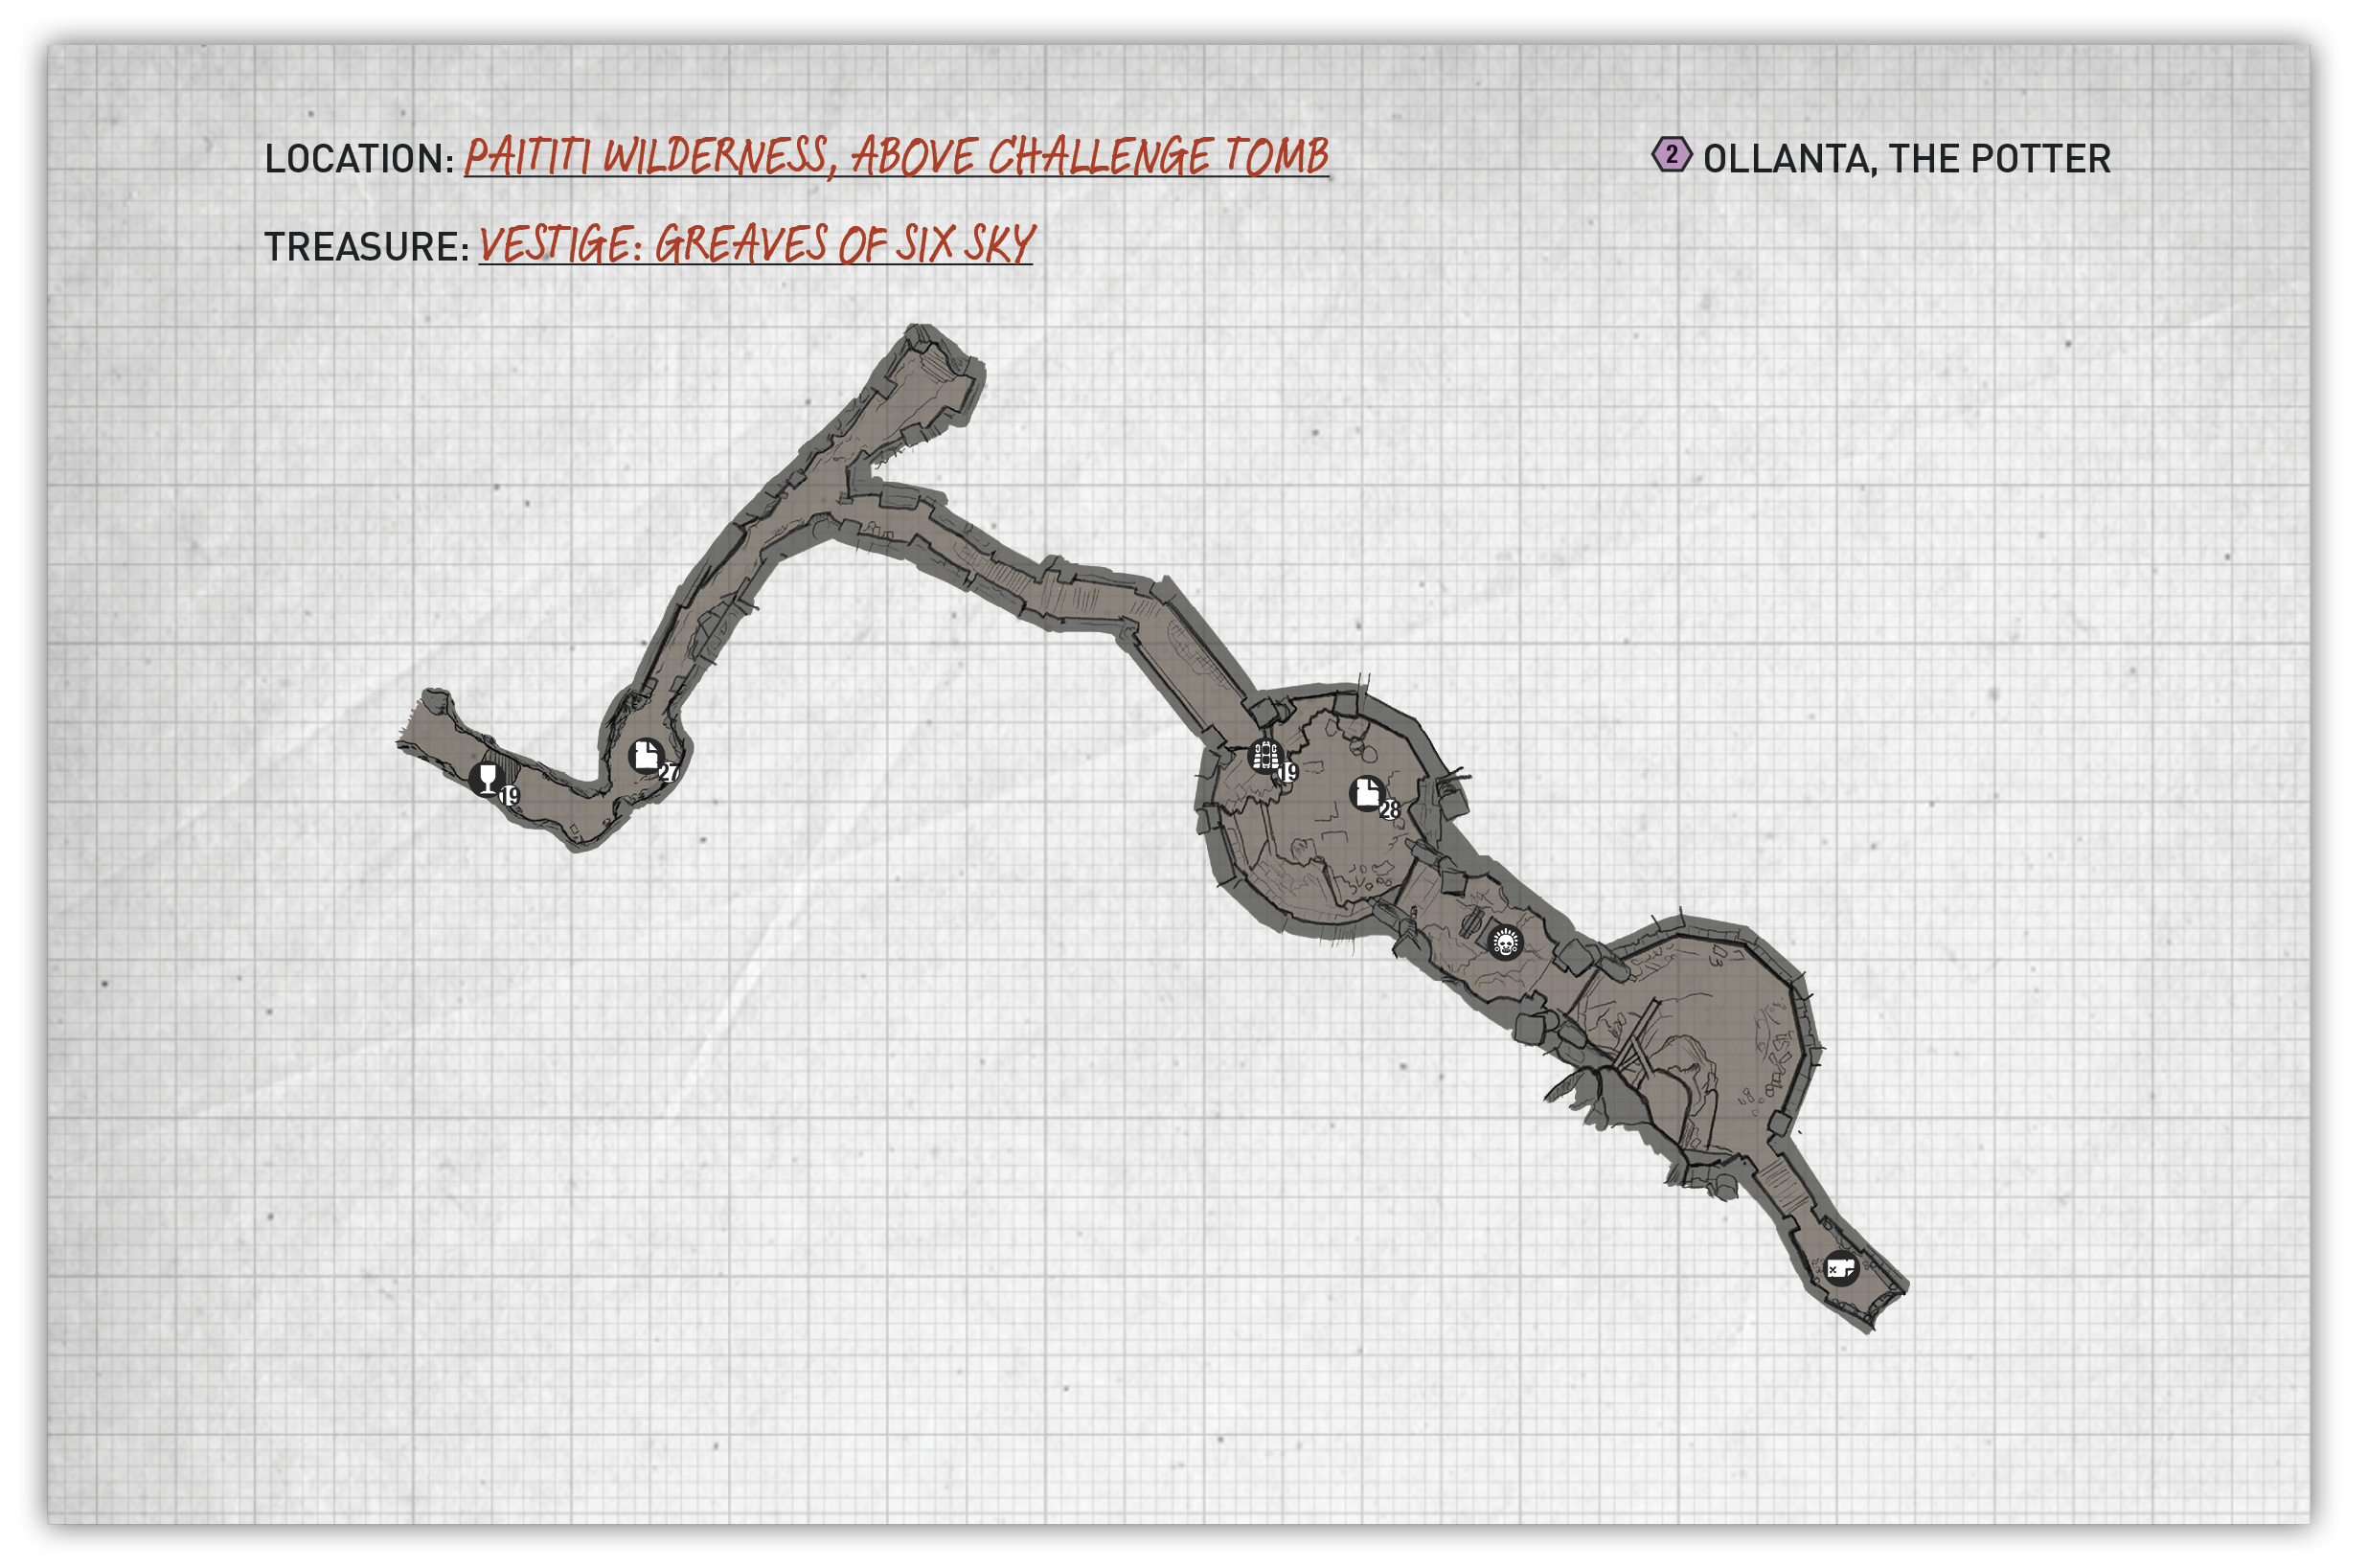
Access the Crypt
From the Wild Jungle Base Camp, located in the Paititi Wilderness, follow the water left to a plunge pool.
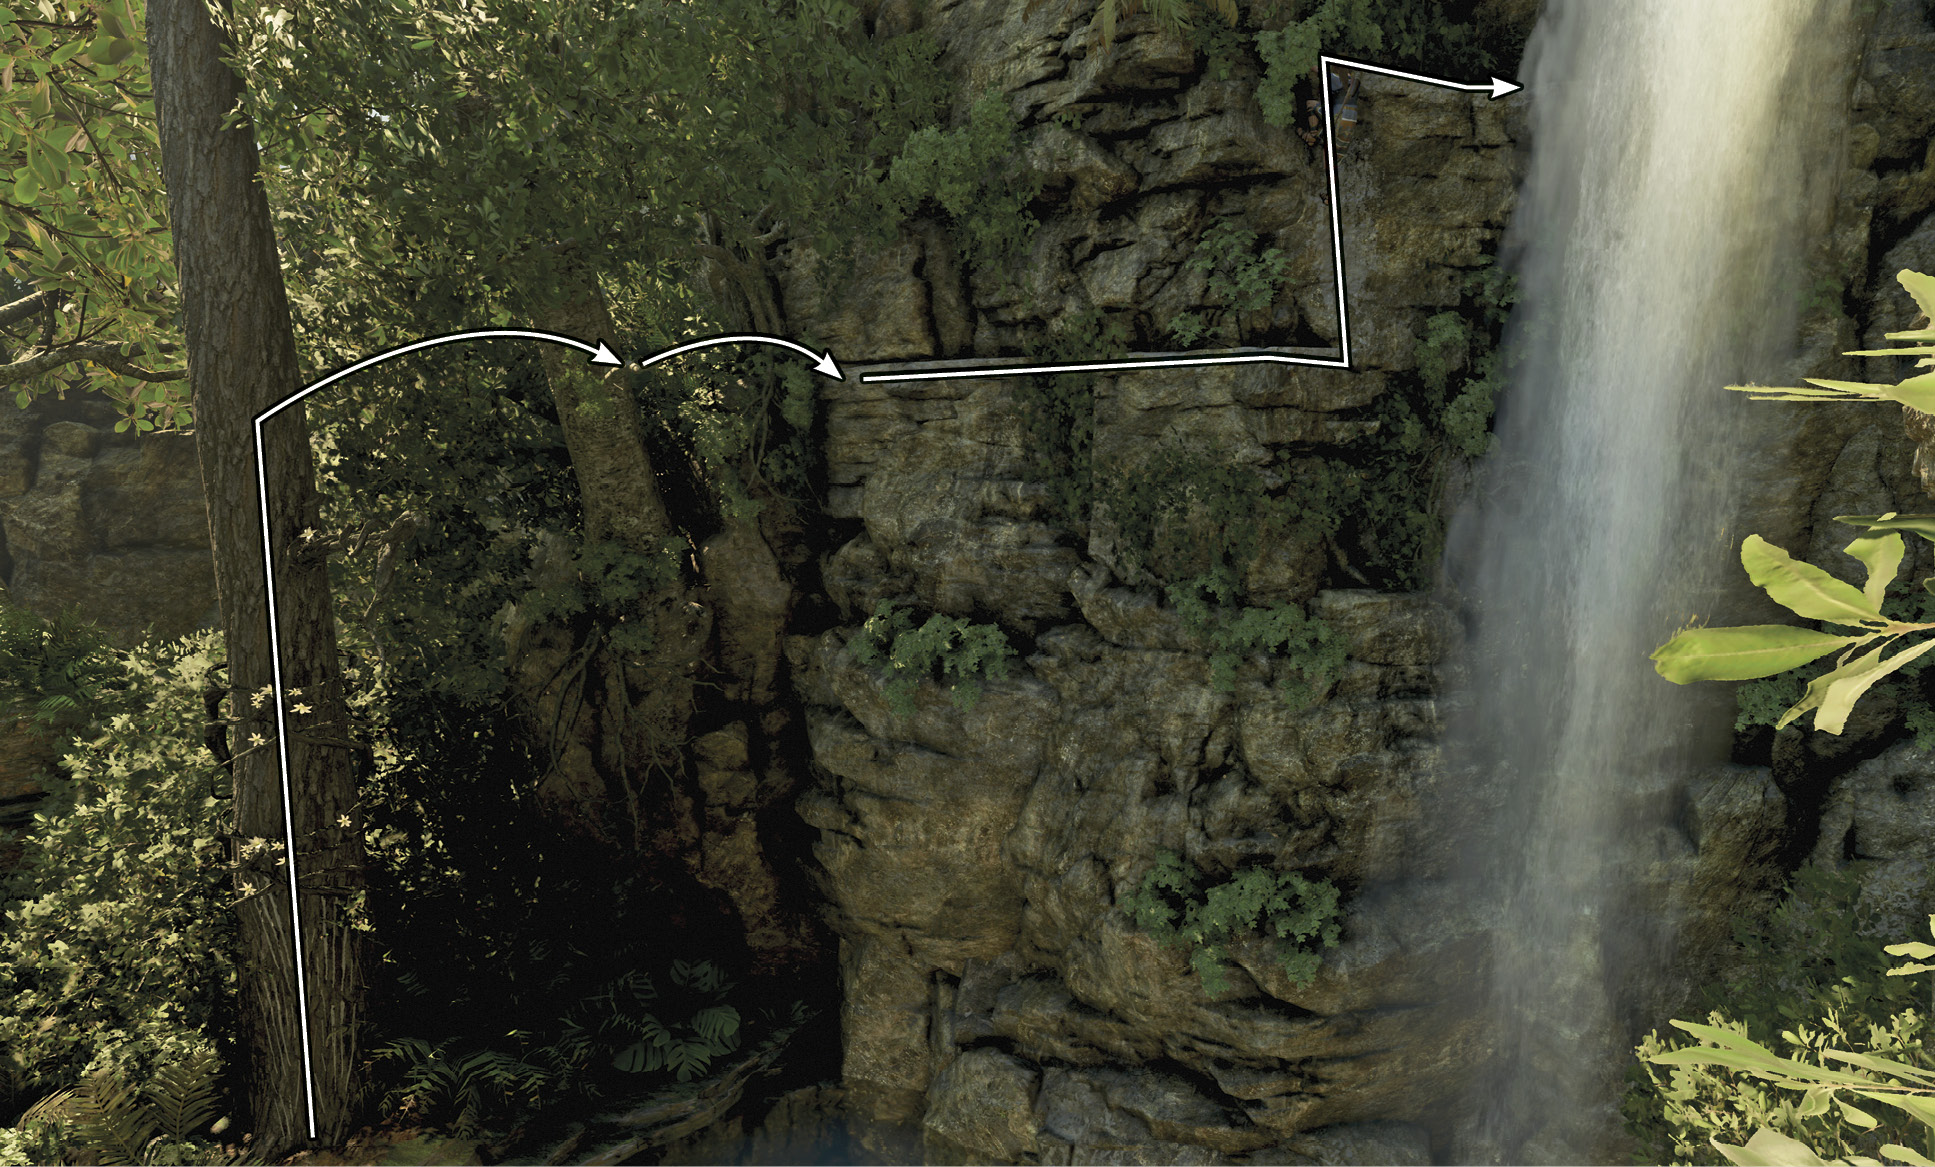
- Climb up the tree on the left to the branch, and swing over to the narrow shelf on the cliff face. Shimmy and jump to the right until you’re around the corner.
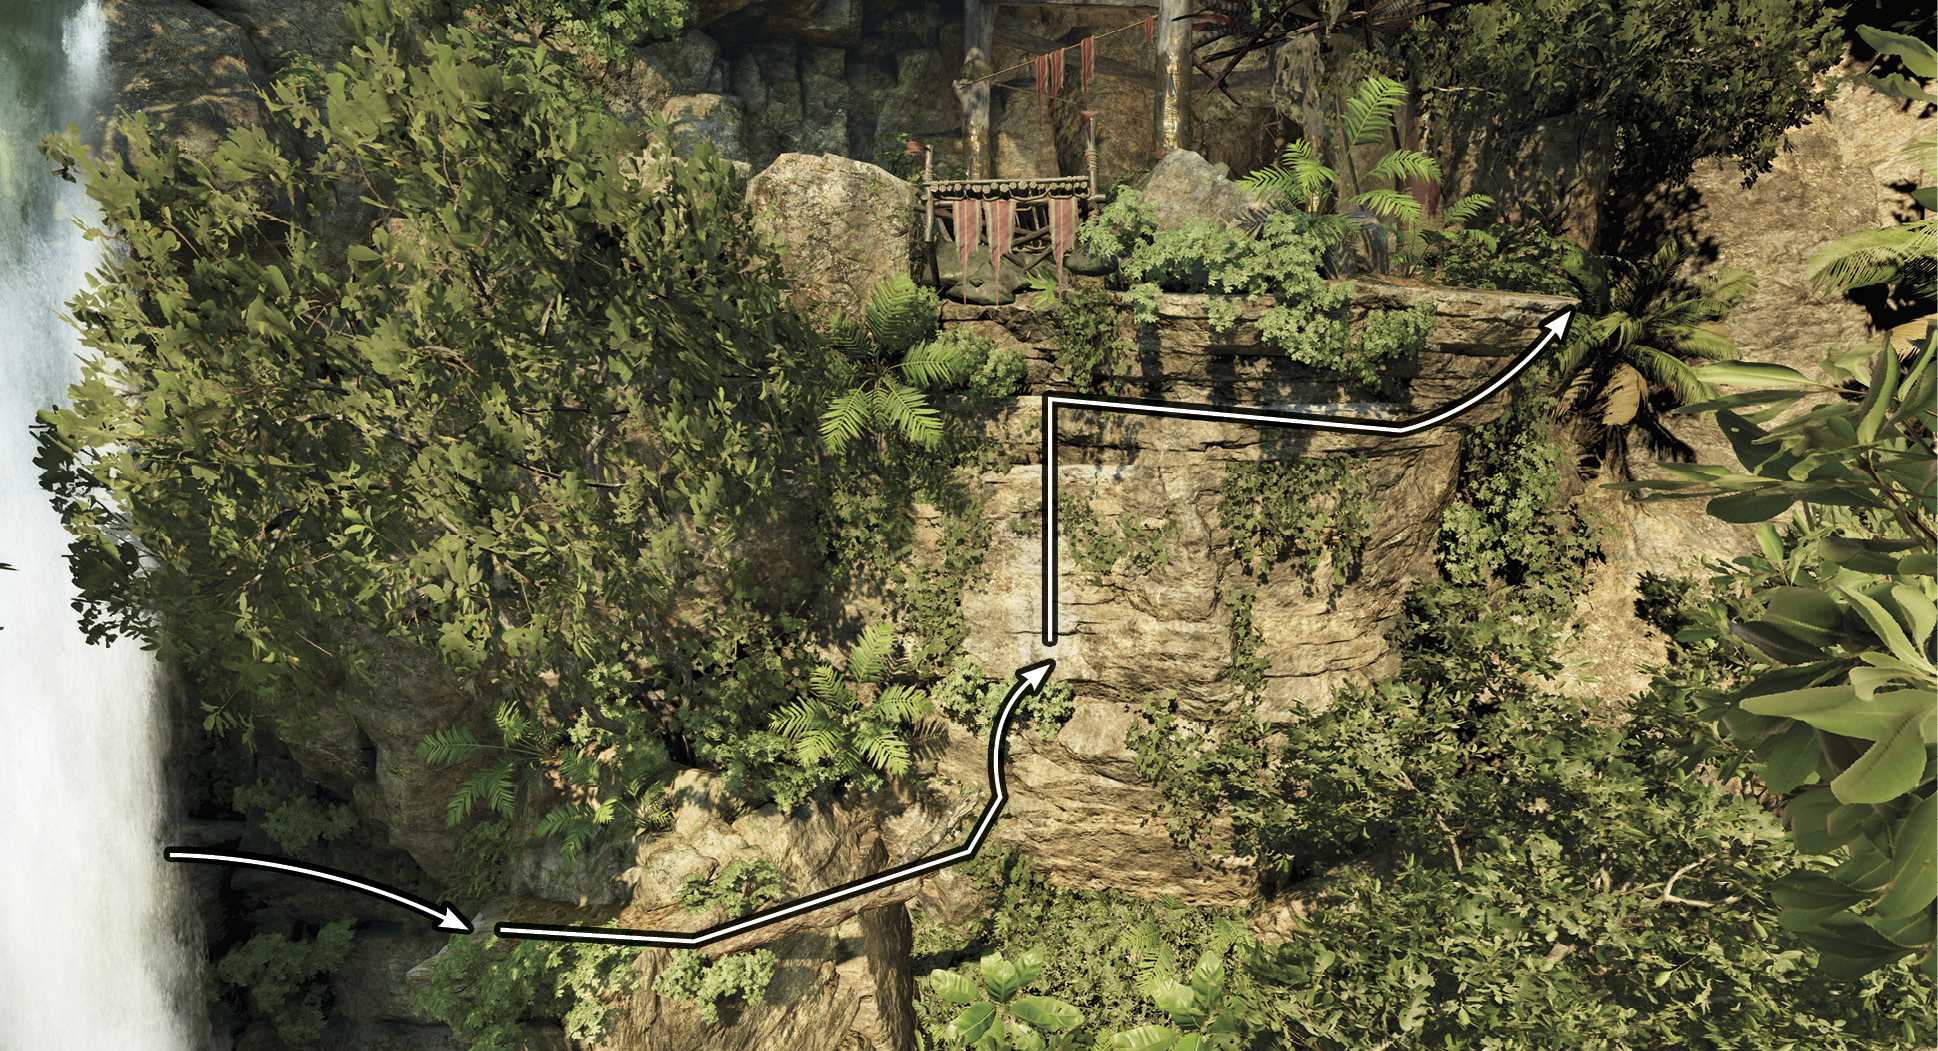
- Wall-scramble up to the next ledge and go right until you can climb onto the walkway.
- From the next cliff edge, make a big leap to the next landing. Be sure to grab on if Lara slips.
- Tightrope to the end of the limb. Scramble up the cliff face, then climb up and right to the crypt entrance.
Find the Sarcophagus
Be careful as you run through the cave; a portion of the ground gives way to a spike trap. Keep an eye out for collectibles throughout the crypt. Squeeze through a narrow opening, then scramble through the short tunnel. Search the room ahead for valuables before following the right corridor into a tall chamber.
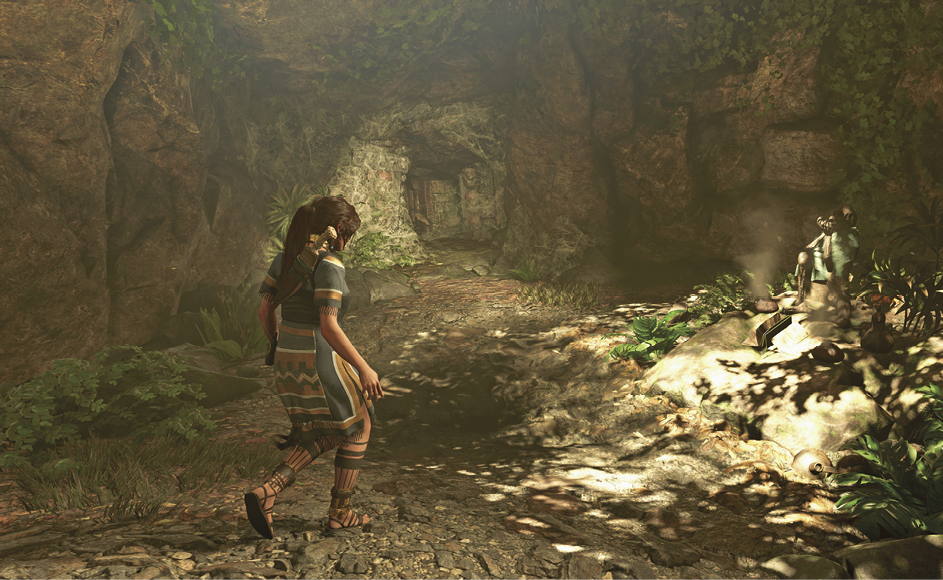
The sarcophagus is visible through the doorway ahead, but it’s inaccessible from your location. Drop all the way down to the ground, examine the Mural, then bust through the weak wall.
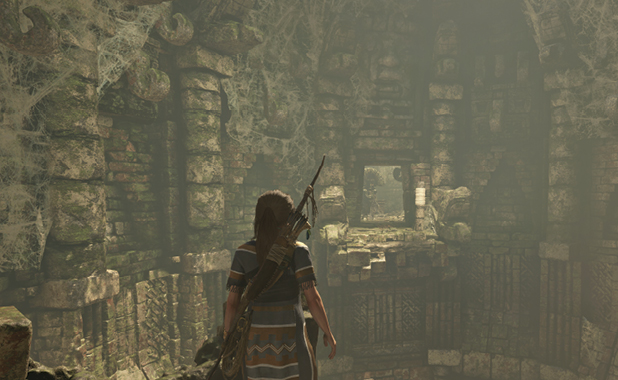
Jump straight out over the spike trap and throw the Grapple Axe. This swings you over to the next doorway; pull up before falling to your doom. Descend the stairs straight ahead and search the room.
Return to the previous room. Scramble and climb up the left wall to reach a high rock platform. Walk out onto the beam and leap to the doorway. Loot the sarcophagus before approaching the doorway beyond.
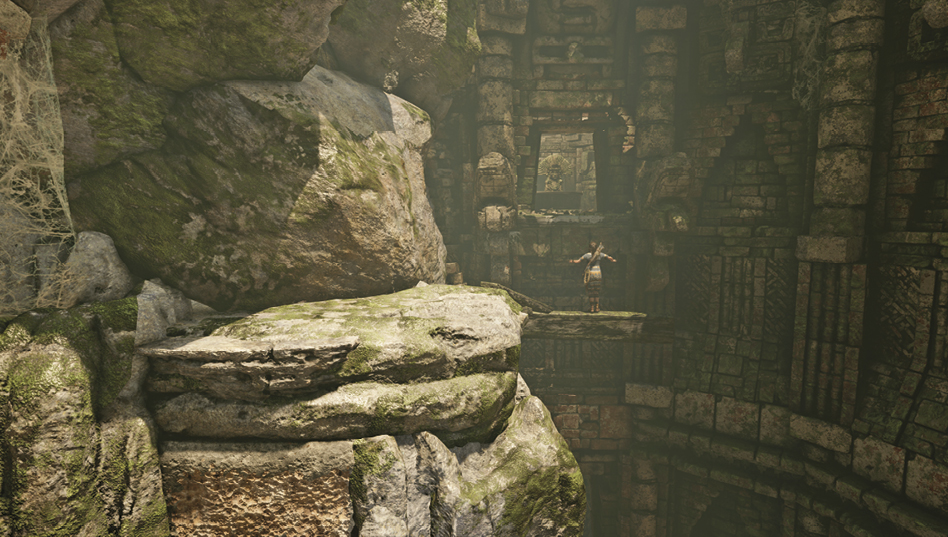
Exit the Crypt
Tether a rope between the post and the coil ahead. Crawl across the rope and exit the crypt the way you came in. Be sure to dive off the wood platform for the “High Diving” challenge.