
Shadow of the Tomb Raider Guide The Journey Chapter 8: Mission of San Juan
Mission of San Juan - Side Missions
1. How Sweat the Sound
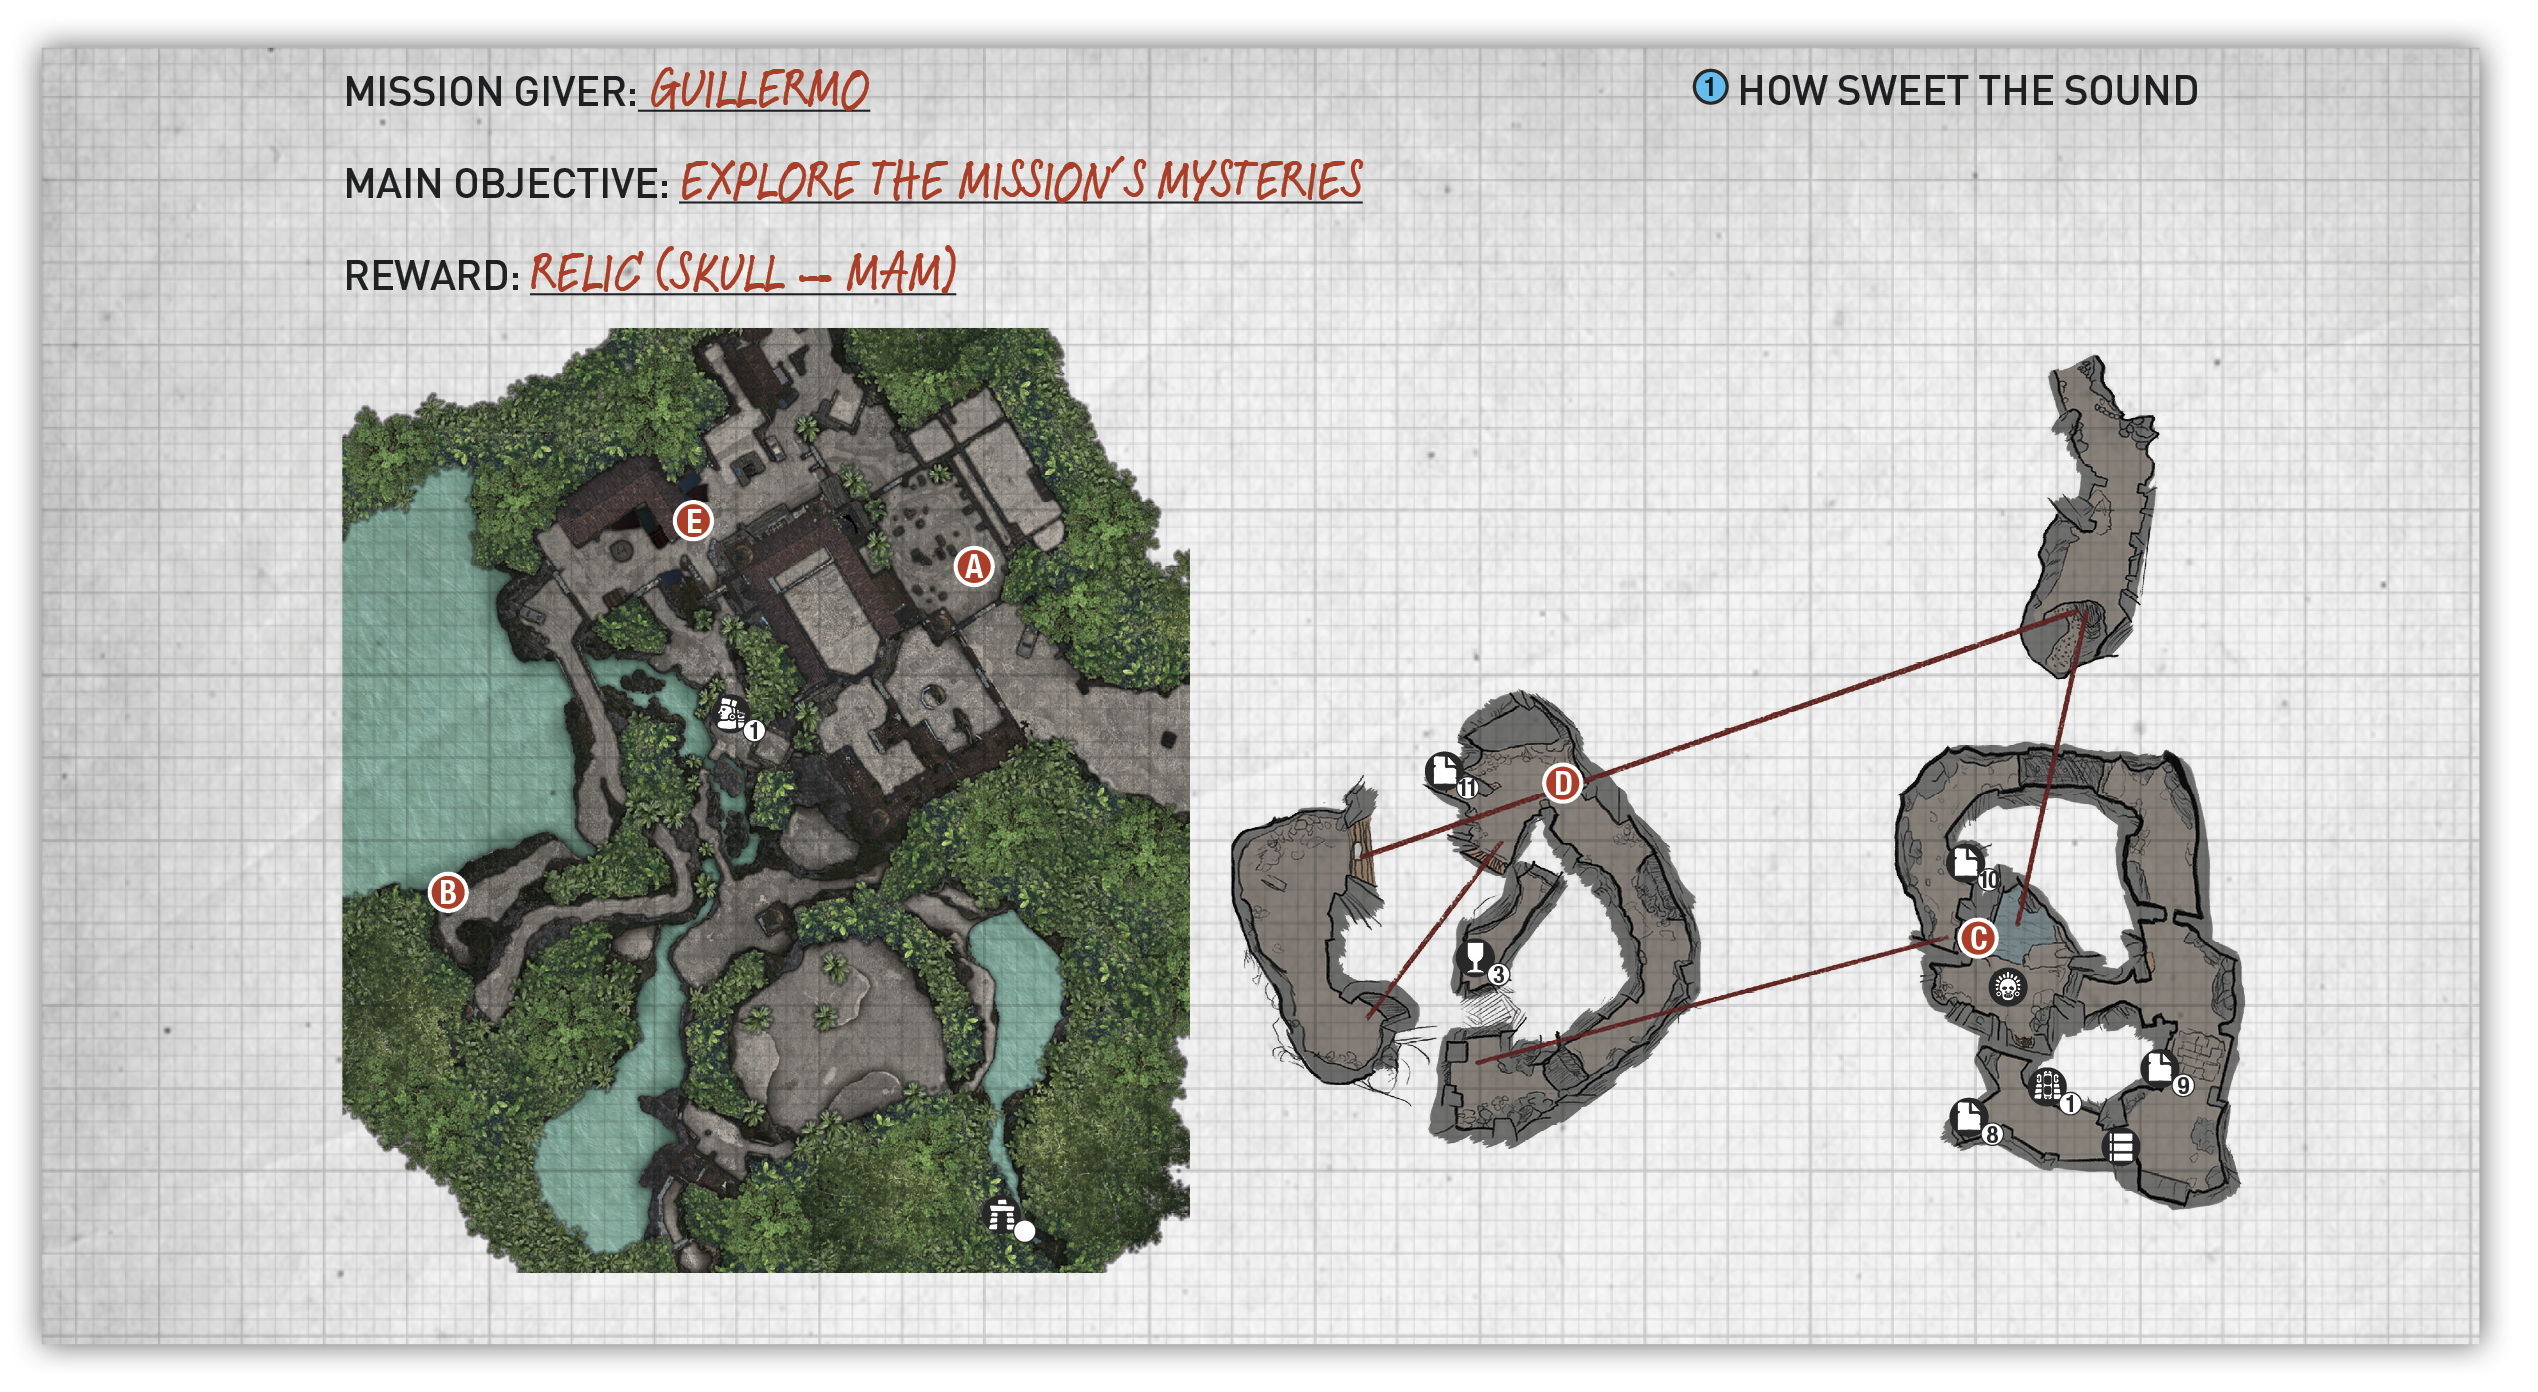
After speaking with Sara upon your arrival at the mission, talk to Guillermo, who stands nearby. Your first objective leads to the cemetery, which is next to the story objective from Sara. Talk to the old woman near the back of the cemetery.
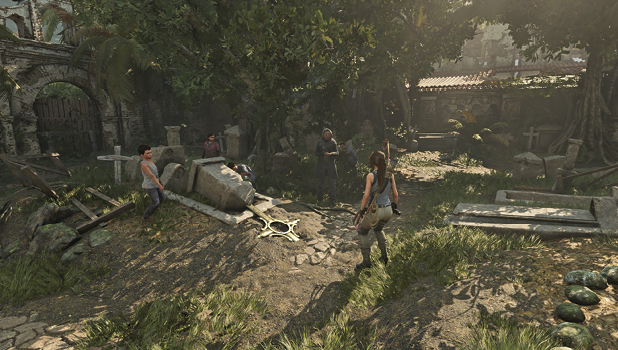
Next, talk to the children. Search behind the well opposite the library entrance and dig up the treasure. Return to the children and give them the treasure.
Speak to the old woman again to stand the tombstone upright. Interact with the tombstone and take note of the cross on top. Crosses similar to this one lead you to your next objective; looking through each one points toward the next.
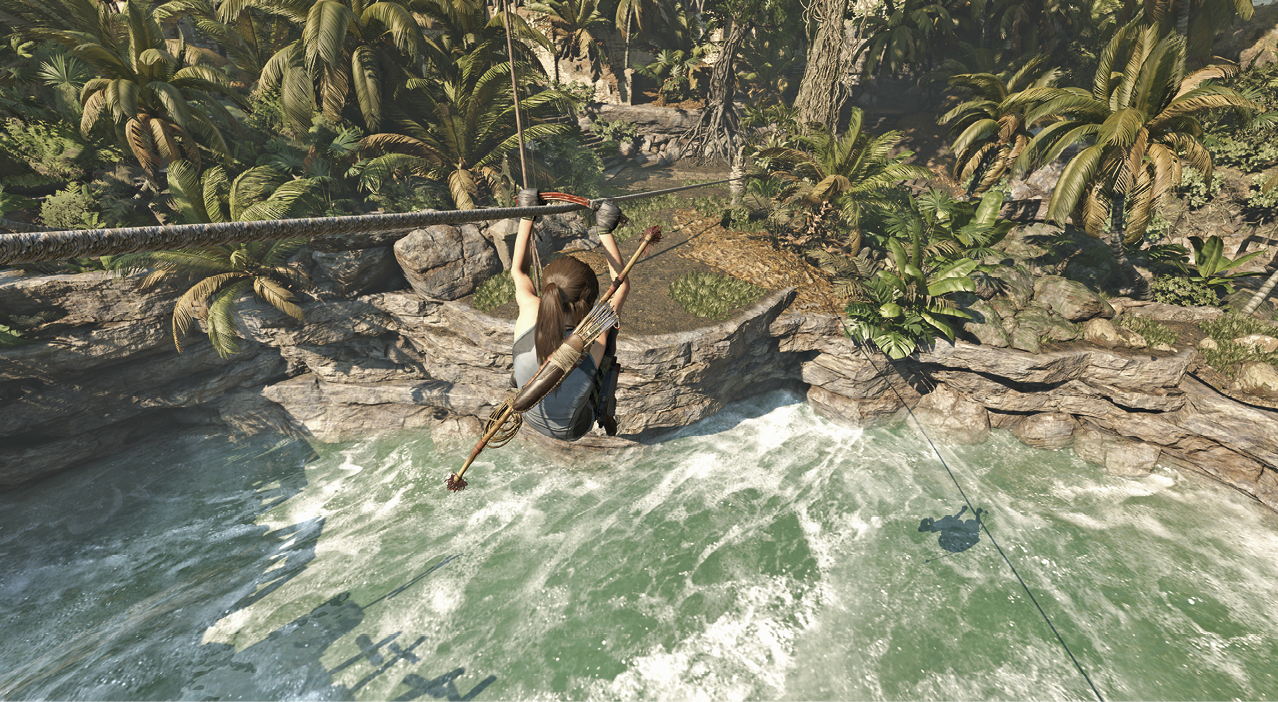
Eventually, they lead you down to the river, near Guillermo. Tether a rope from the pole to another coil on the far side of the ravine and cross it. Note that you can also reach this location by following the bridge you originally arrived on.
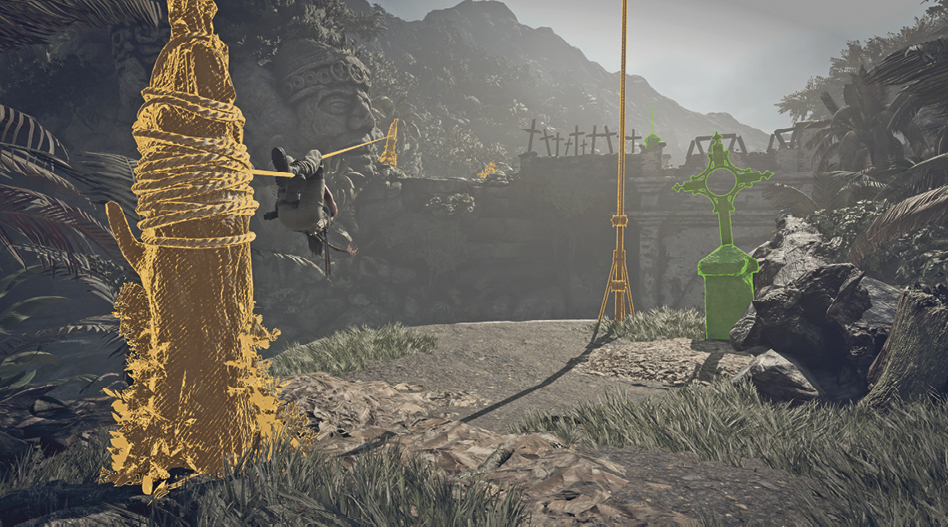
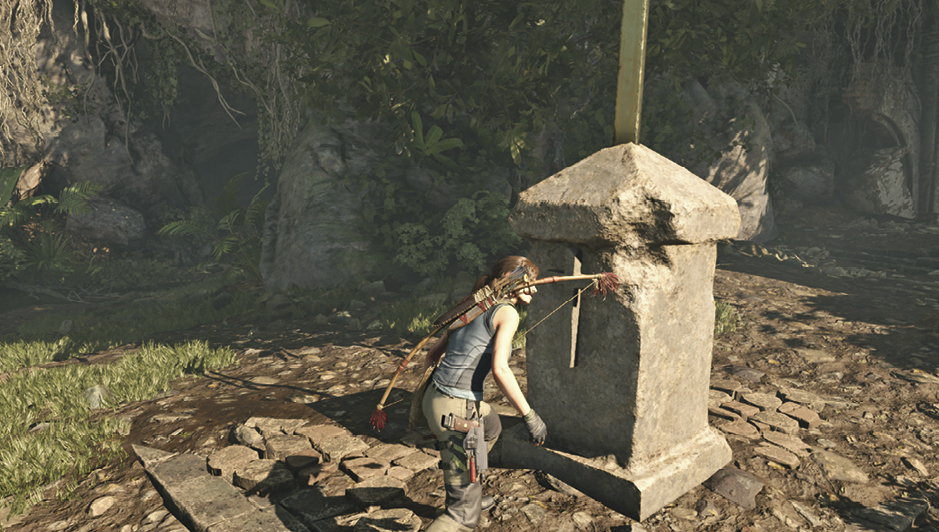
Cross the road and follow the right cliff edge, over a gap, and to the final cross (B) at the far end. Press the small cross on its base to open a gate ahead. Move inside and hop over to the craggy surface. Rappel to the lower level, scramble through the tunnel, then drop into the next hole to splash down into a pool of water. Exit the water and speak to Isabela (C), who lies on the ground to the right.
After talking to Isabela, loot the sar cophagus next to her to score the lone crypt treasure in the region.
Now you must climb back out of the crypt, which requires finding another route.
- Crawl through the small opening to the left to reach a corridor. Search to the right first, but watch out for the collapsing floor. Quickly scramble or jump clear of the trap.
- Next, head left and squeeze through the crevice. Keep your eyes peeled as you exit the crypt, as a number of valuables litter the path. Around the next turn, leap toward the metal hook above and throw the Grapple Axe. This sends you to the next ledge or craggy wall.
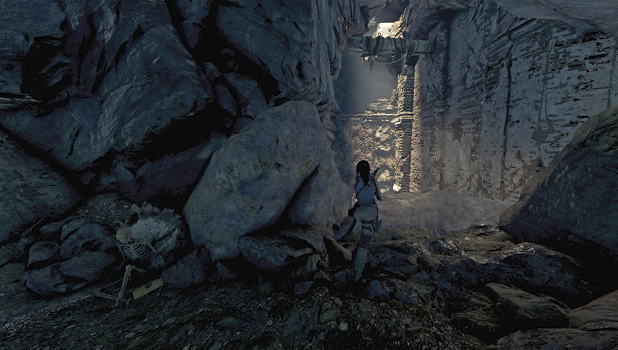
- Follow the trail to a dead end and climb to the floor above. Before continuing forward, leap across the gap on the left and search the small room.
- Back in the previous corridor, turn left and leap across the trap floor. Scramble through the short tunnel before triggering a new type of trap (D). Lara automatically pulls out her handgun. Aim for the stone block and shoot to avoid being taken out.
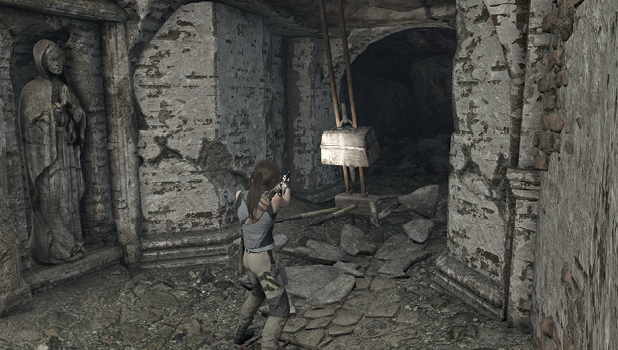
- In the next room, push the switch in to open the gate on the left. Be sure to search a small cubbyhole on the right before moving on.
- Step into the archway, jump toward the hook, and swing to the far ledge. Follow the trail back to the right. Equip the bow and rope-pull the slabs of wood down.
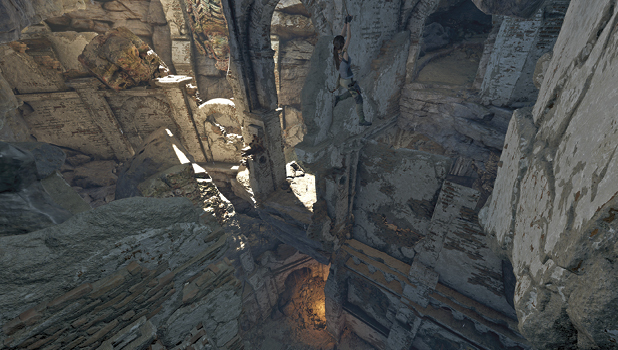
- Jump to the craggy surface on the right, and follow it up to the ledge. Shimmy right and climb up to the floor.
- Scramble through the tunnel, climb the ladder, and exit the ruins. Return to Guillermo by way of the bridge or rope over the river, and speak to him.
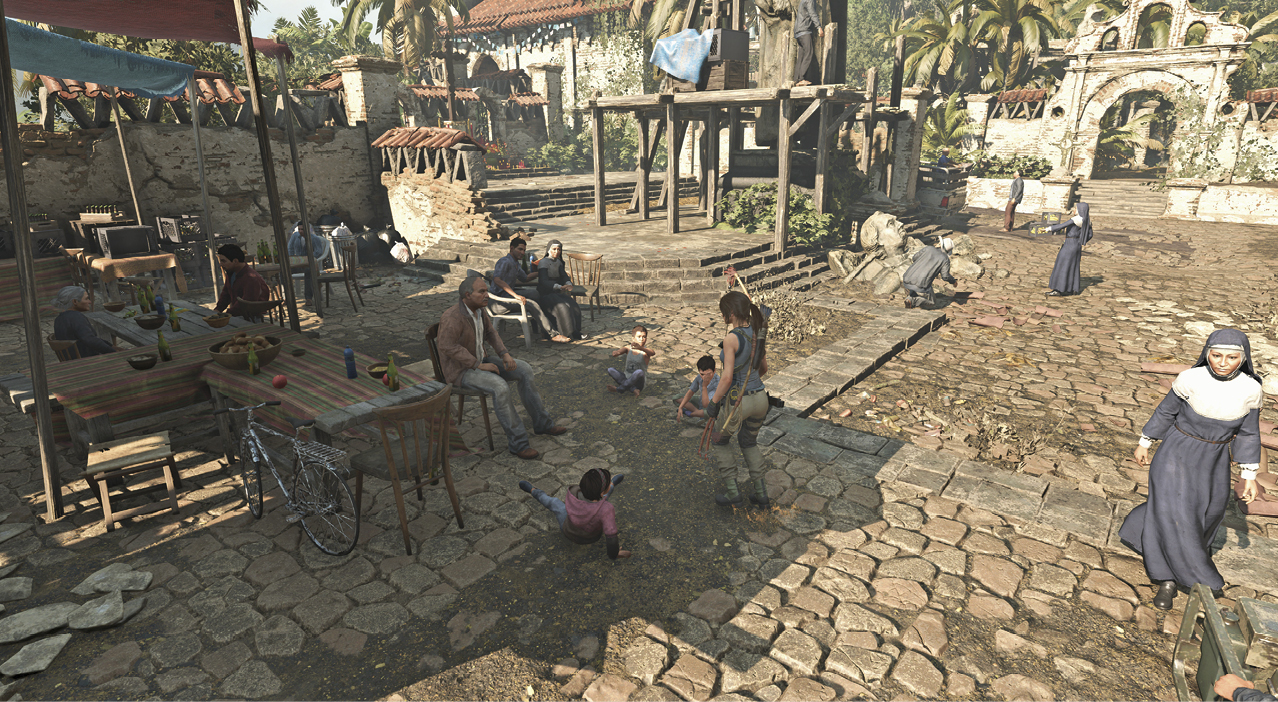
Speak to Manu, who’s behind the Merchant, talking to a group of children. He asks that you find the entrance to the challenge tomb southeast of the mission.
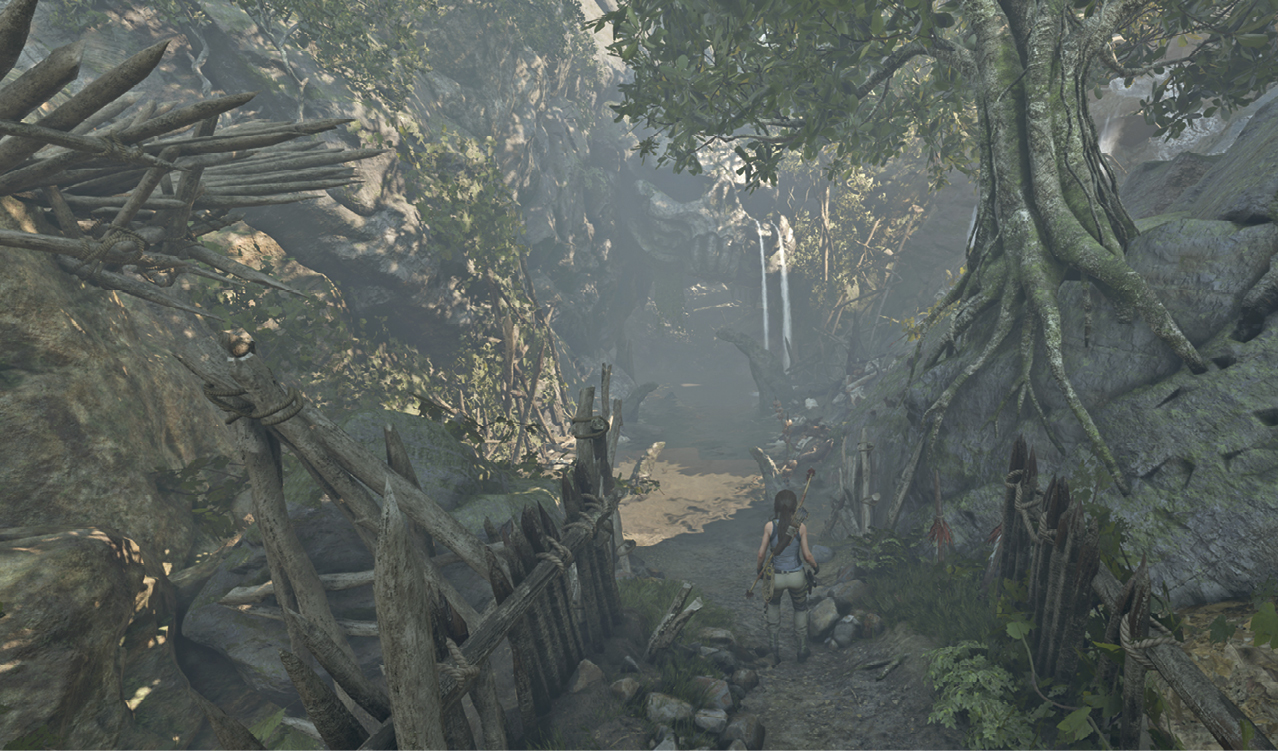
From the Mission of San Juan Base Camp, head east and cross the log bridge to find a pond. Jump in and swim south to the far side, taking care not to get too close to the eel. Follow the muddy trail to the right, and hop over the tripwire to avoid a trap.
The next objective of this side mission requires that you find the codex inside the tomb.
Refer to the Thirsty Gods Challenge Tomb in the next section for a walkthrough of the tomb.
Return to Manu at the mission to report what you found and complete the side mission.