
Shadow of the Tomb Raider Guide The Journey Chapter 6: Return to Hidden City
Return to Hidden City - Crypts
Location: Near Kukulkan Prison
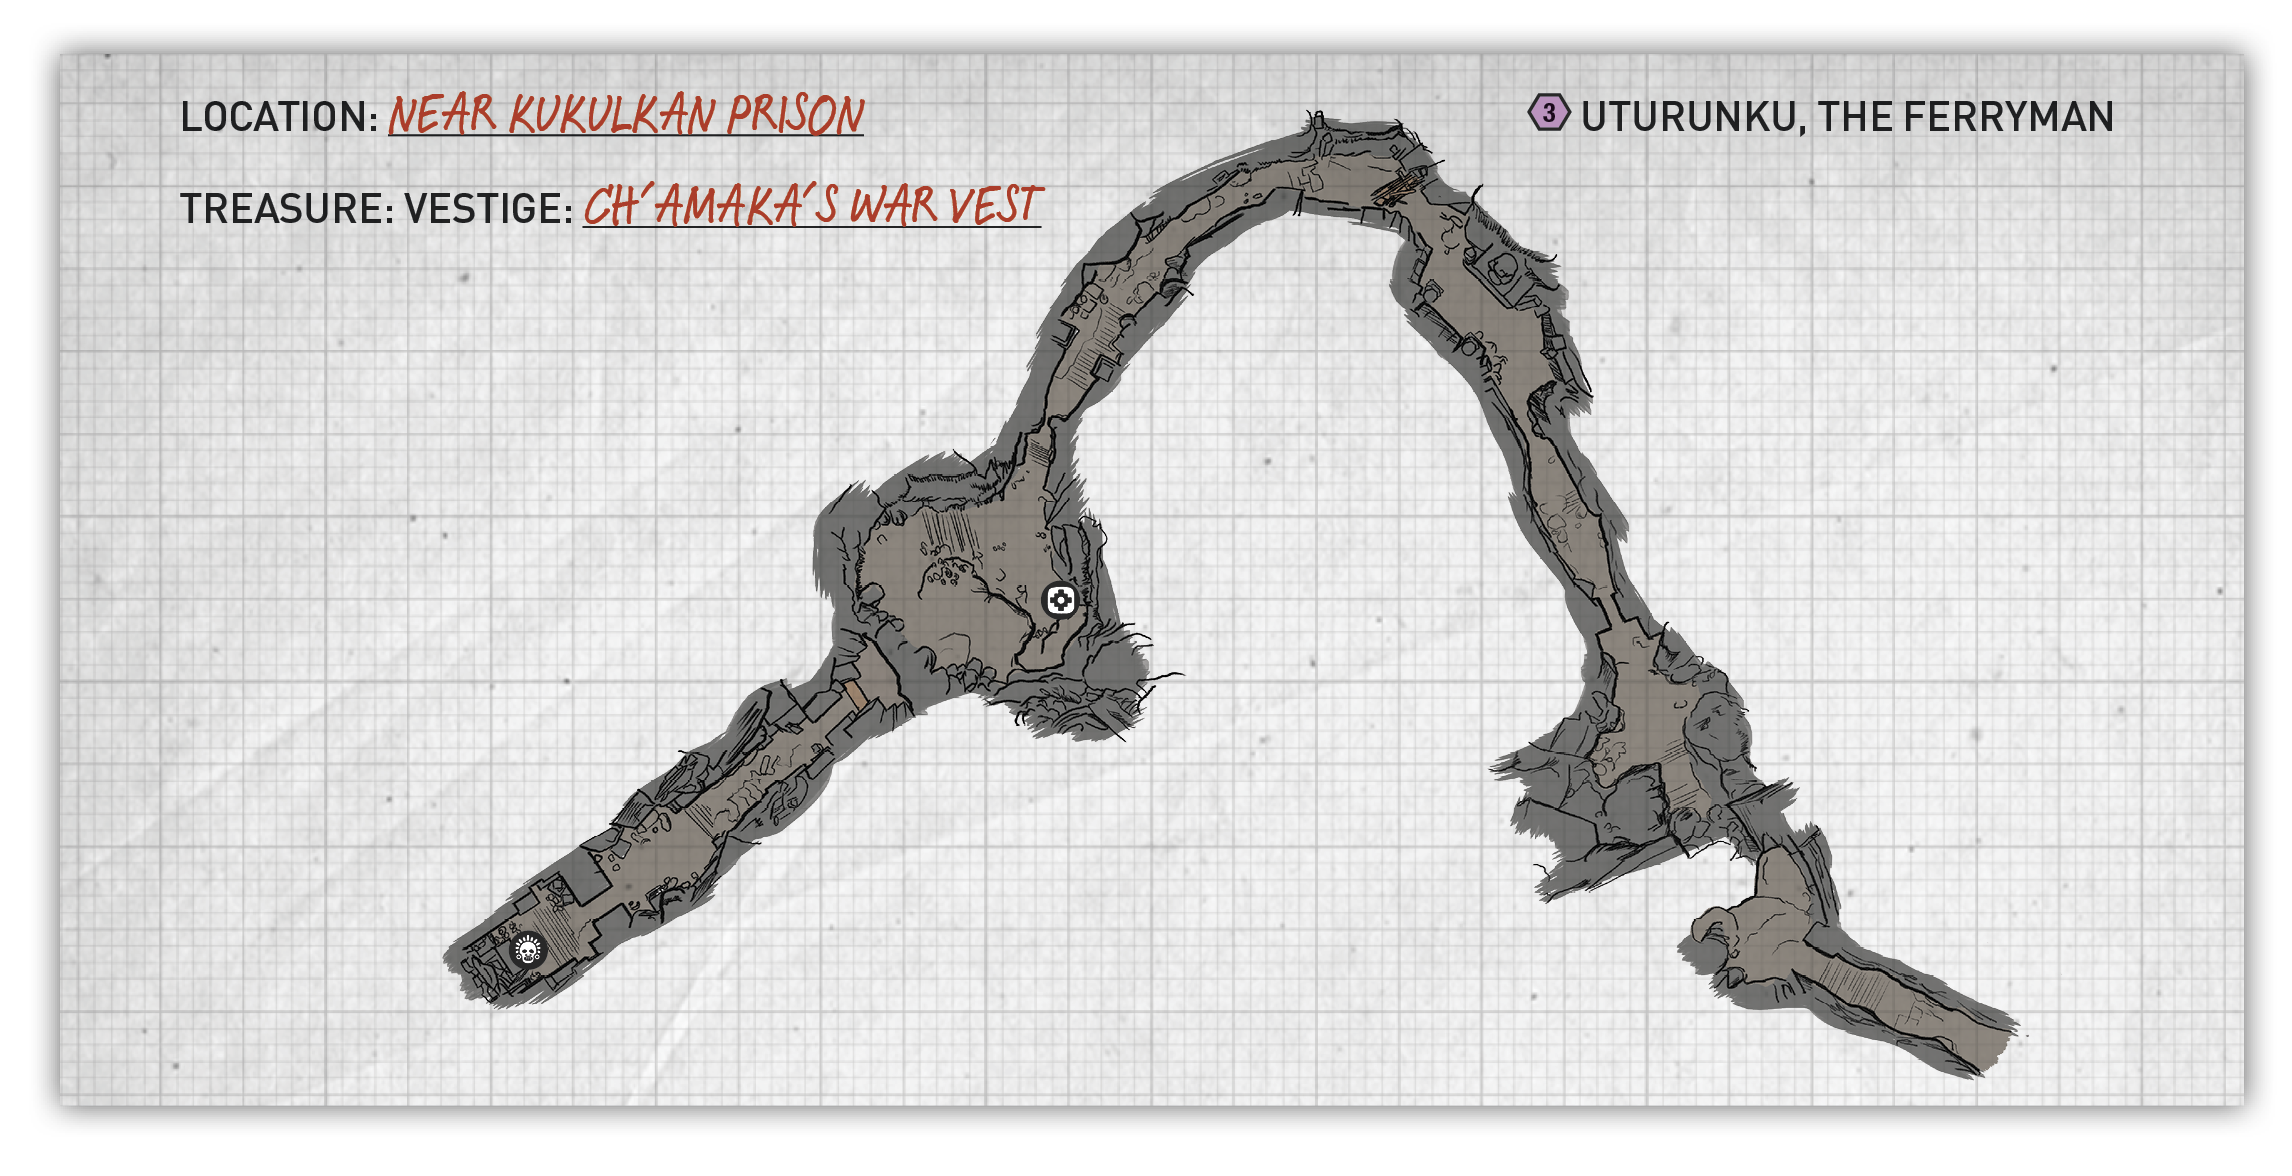
Access the Crypt
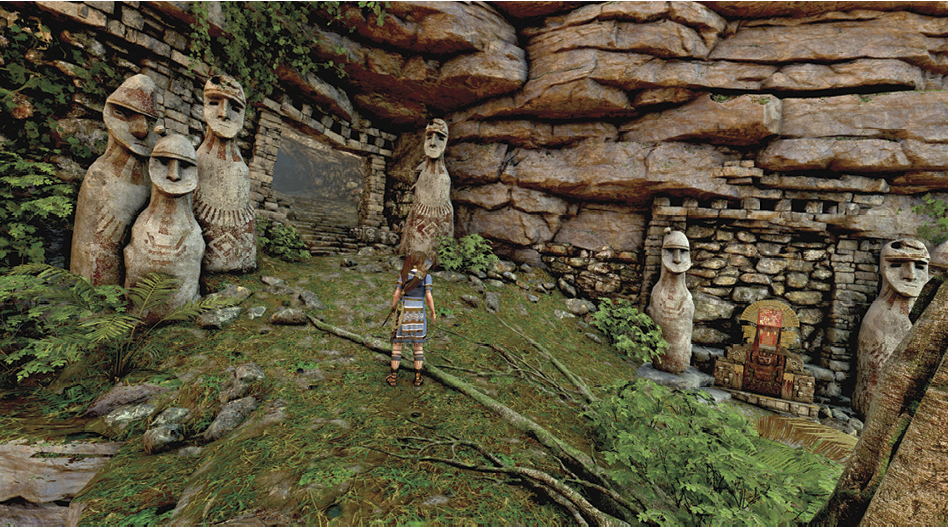
On your way to free Unuratu from prison, you must cross the raging river along a tethered rope. From there the story objective goes right. Instead, climb onto the left ledge and leap off the protruding rock ahead to reach the shelf on the cliff face. Shimmy to the left and climb up to find the crypt entrance. Climb the steps and crawl through the tunnel to get inside.
Find the Sarcophagus
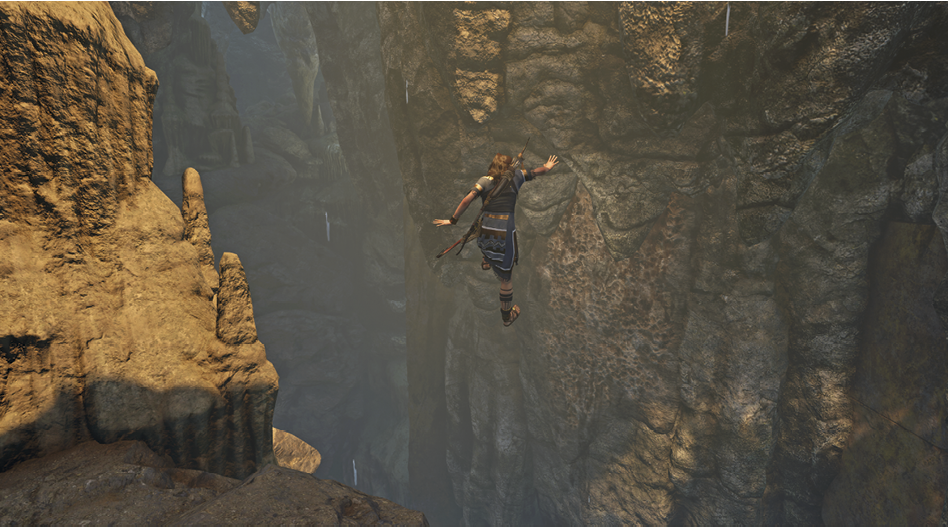
Follow the corridor all the way to the Mural. Leap off the cliff edge to the climbable surface, rappel all the way down, and drop into the underground valley. Run right and rope-pull the barrier down. Follow the trail through a deep cavern and a tunnel into a grotto with a carving high up on one side; that’s your next goal.
Run up the steps and leap onto the craggy surface at the end of the trail. Climb to the top of the wall and transition to the overhang. Rappel down, turn toward the rock platform, and jump over to it.
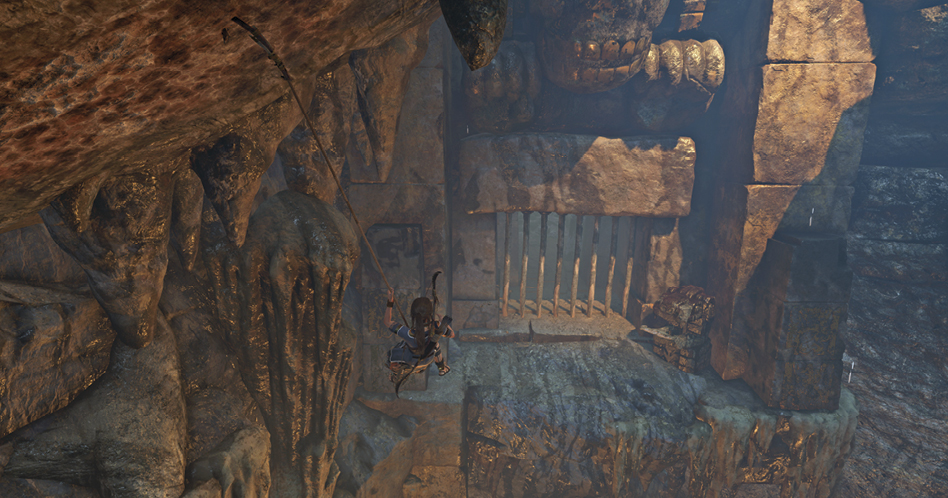
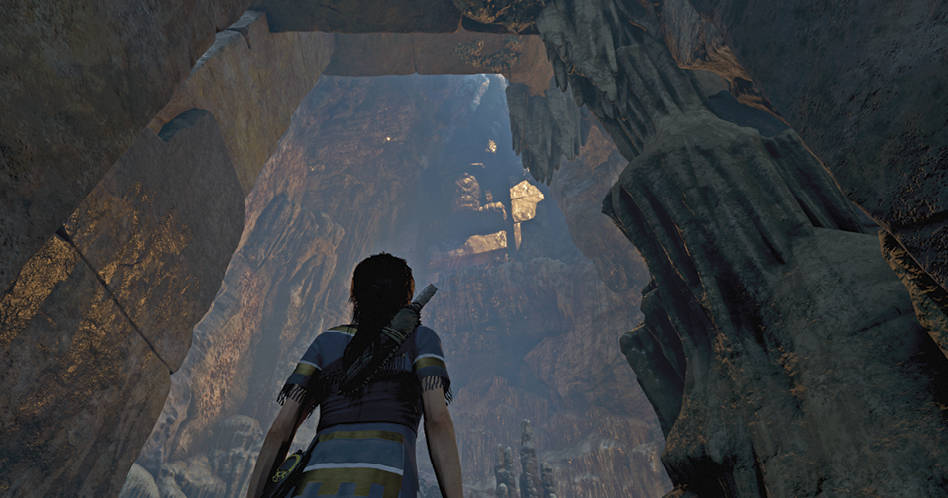
Push the switch in, move through the opening, and loot the sarcophagus in the next room.Exit the Crypt
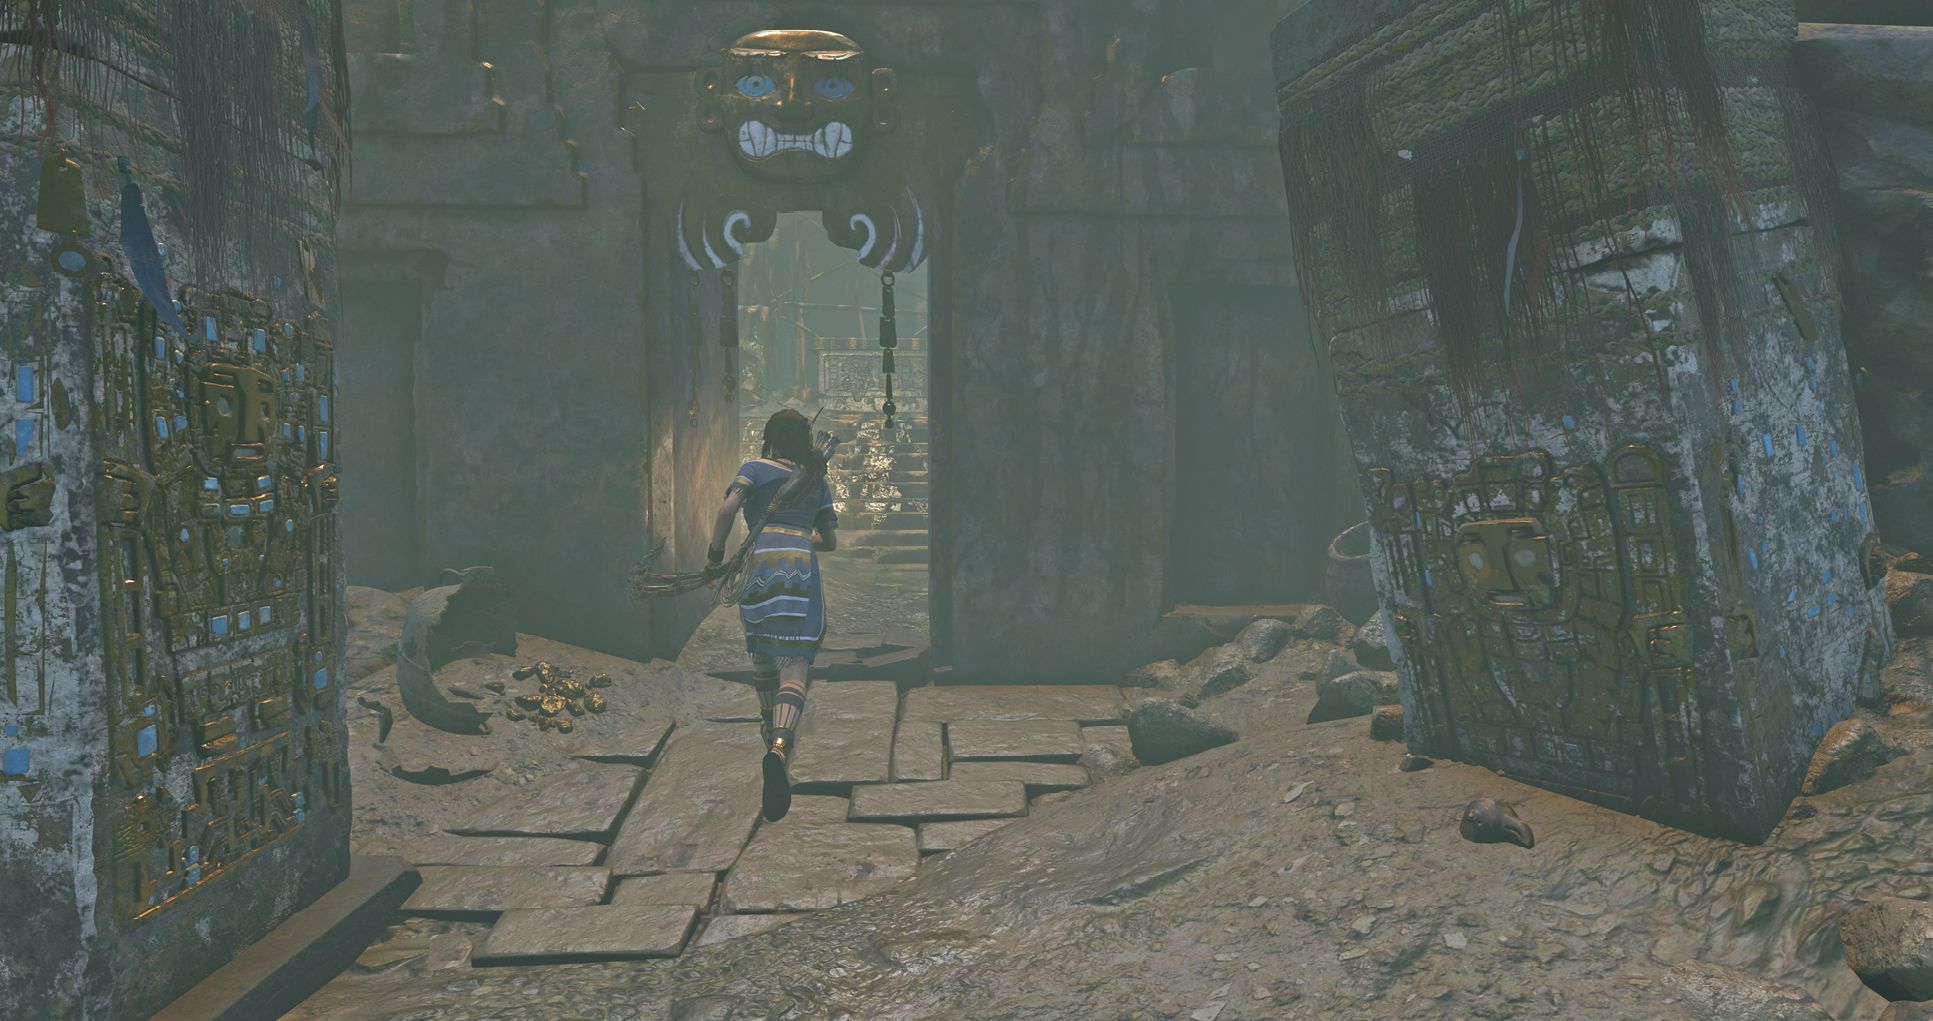
Exit the Crypt
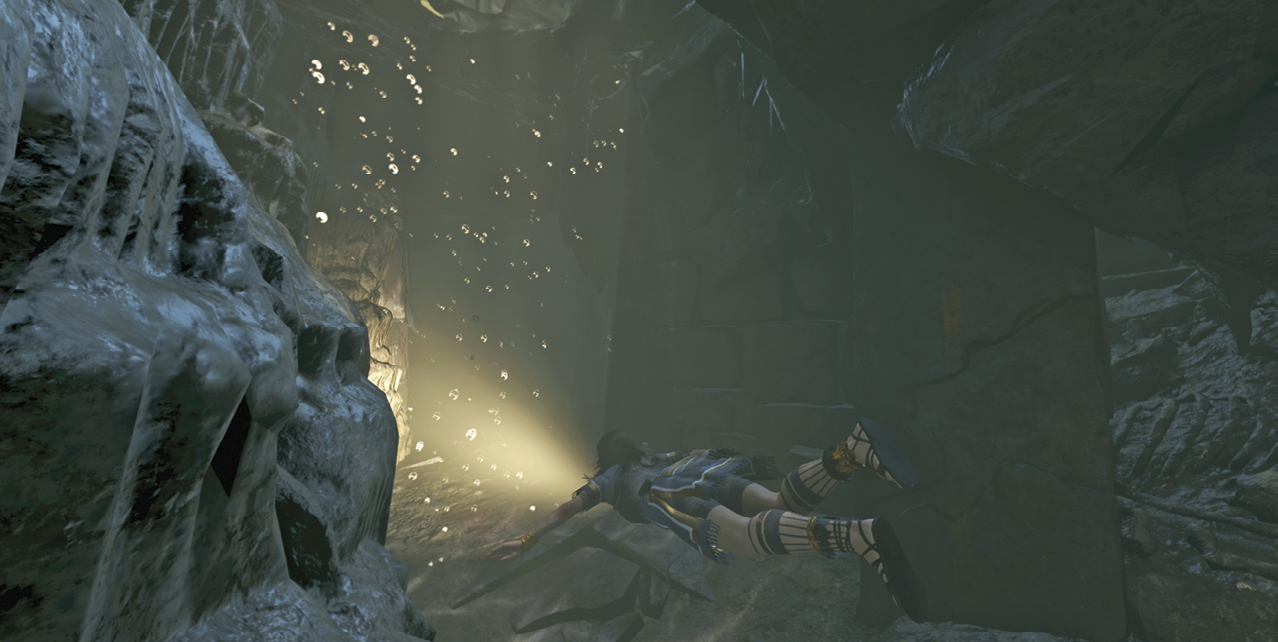
Return to the previous cavern, which is now filled with water. Dive all the way down to the riverbed and find the narrow slit you squeezed through moments earlier. Swim down through the tunnel and grab a breath at the trapped air.
Fast-swim back through the valley into another narrow opening. Rise through the water when you see the sunrays. Follow the cave back outside.
Access the Crypt
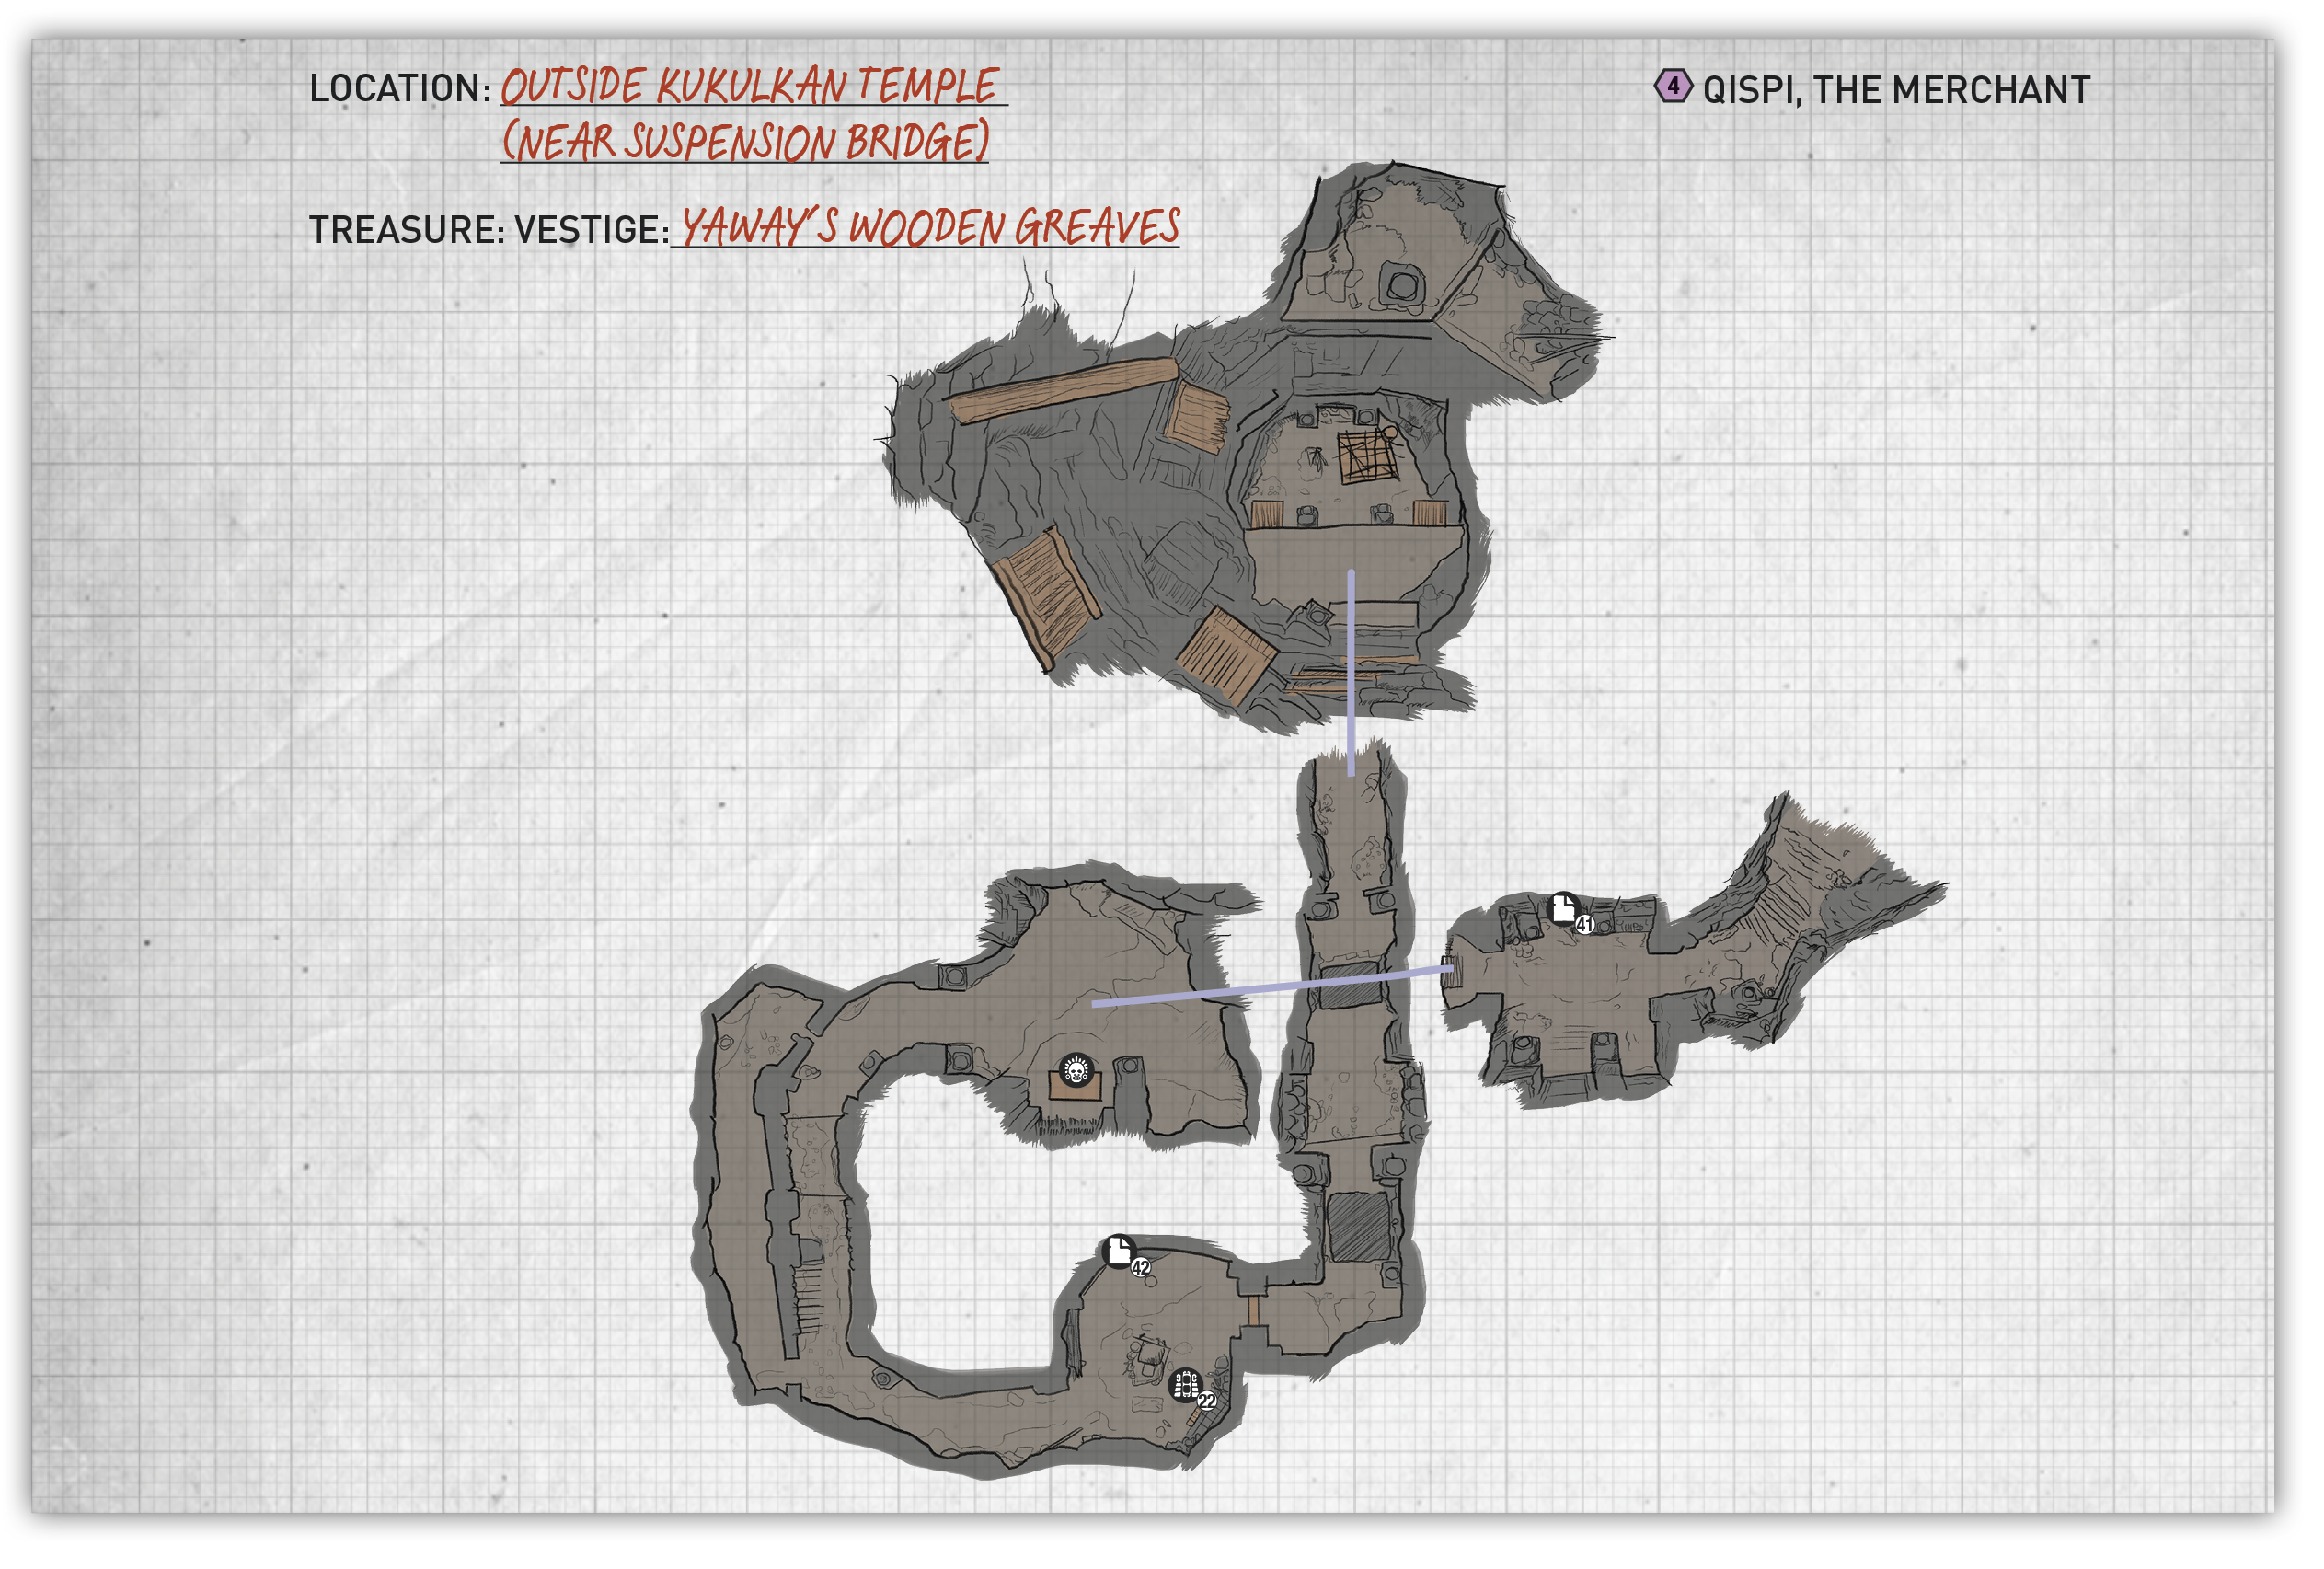
This crypt isn’t available until you return across the suspension bridge with Unuratu. Hang off the cliff edge, right of the bridge, and shimmy in the other direction. Move down the craggy overhang, rappel down, and jump left to the plateau. Throw the Grapple Axe at the rock ledge if it looks like you won’t make it. Slip through the opening in the wall ahead to enter the crypt.
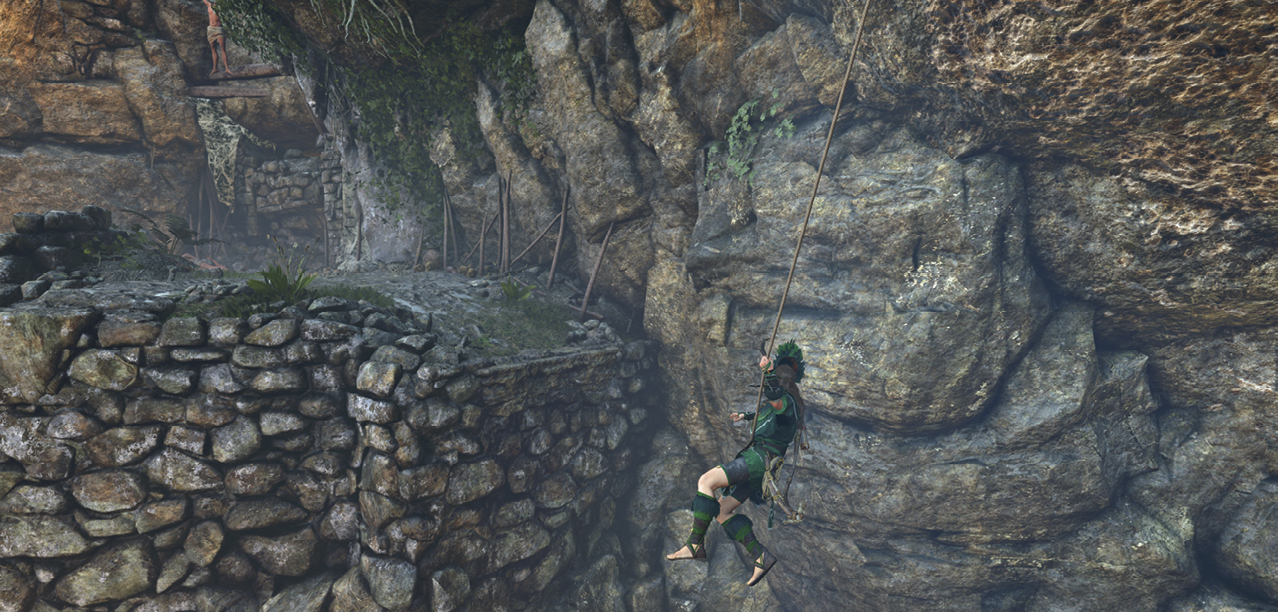
Find the Sarcophagus
Duck under the next wall to drop onto a lower path, and slide into the first room. Search thoroughly before jumping and scrambling onto the counterweight on the other side of the doorway, which slowly descends to the sarcophagus. Loot the treasure, then approach the corridor on the right.
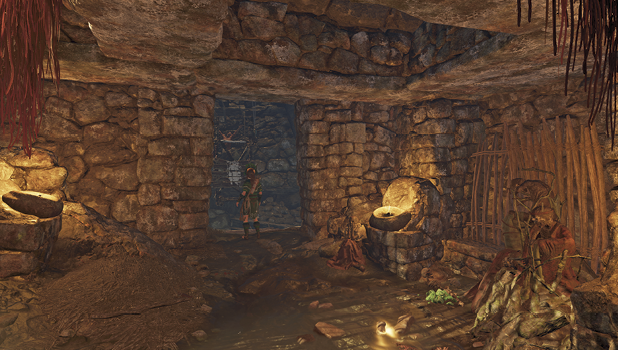
Exit the Crypt
The hallway is littered with traps, which can be disarmed or avoided, but there’s an alternate route. Squeeze through the crevice on the right to get a better look at how the traps are set up, and follow the corridor left.
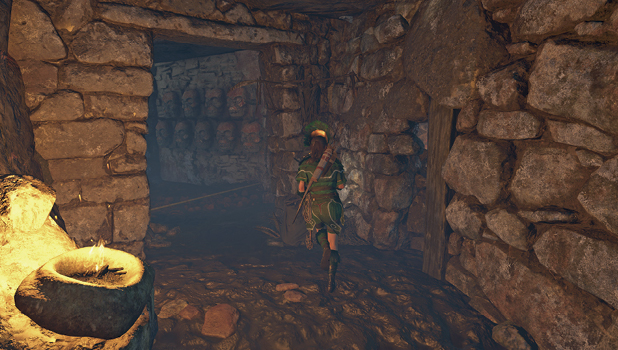
Thoroughly search the next chamber before busting through the weak wall. Avoid three more traps in the passageway and crawl through the small hole. To exit the crypt, you must climb the walls of the final chamber.
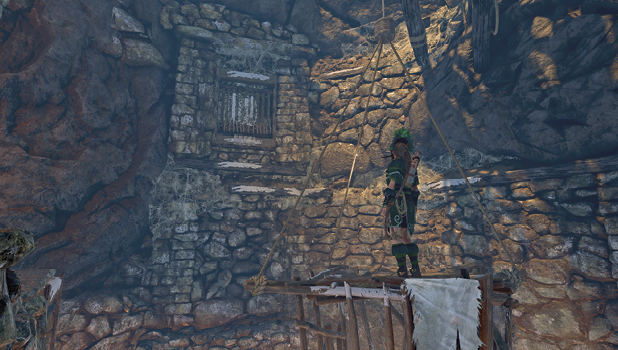
- Turn to the left or right, and look up at the open shutter on the wall. Use a rope arrow to pull it closed. This allows you to wall-scramble onto the ledge.
- Turn around and jump onto the hanging cage. Look up to the left and close two more shutters to clear the way up the wall.
- Jump to the skinny ledge on the far wall, and follow the path left and up across the shutter. Jump and shimmy right until you can climb up.
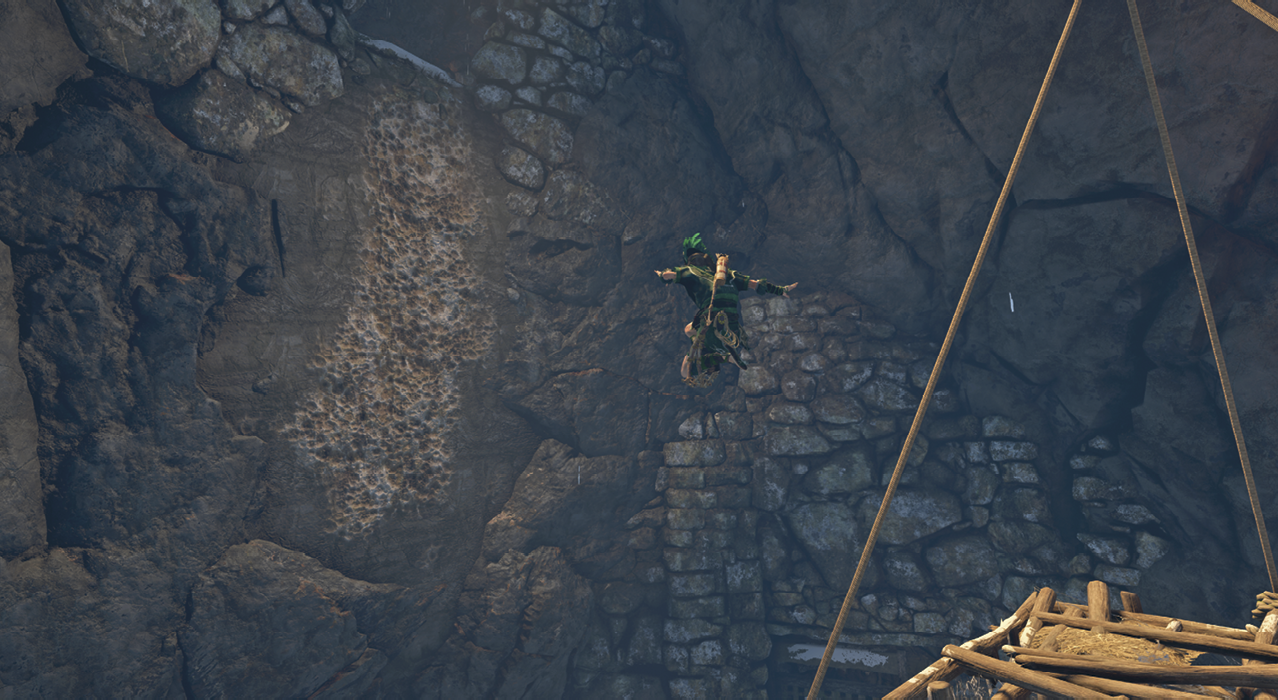
- Walk to the right and leap across the room to a narrow shelf. Go right and up across the next shutter. Jump right, scramble up, and hop over to the wood beam.
- Tightrope to the end and jump onto another cage. An exotic resource is available to the left. Back on the cage, jump onto the craggy wall on the right and climb into a tight tunnel. Follow this until you drop into the first chamber.
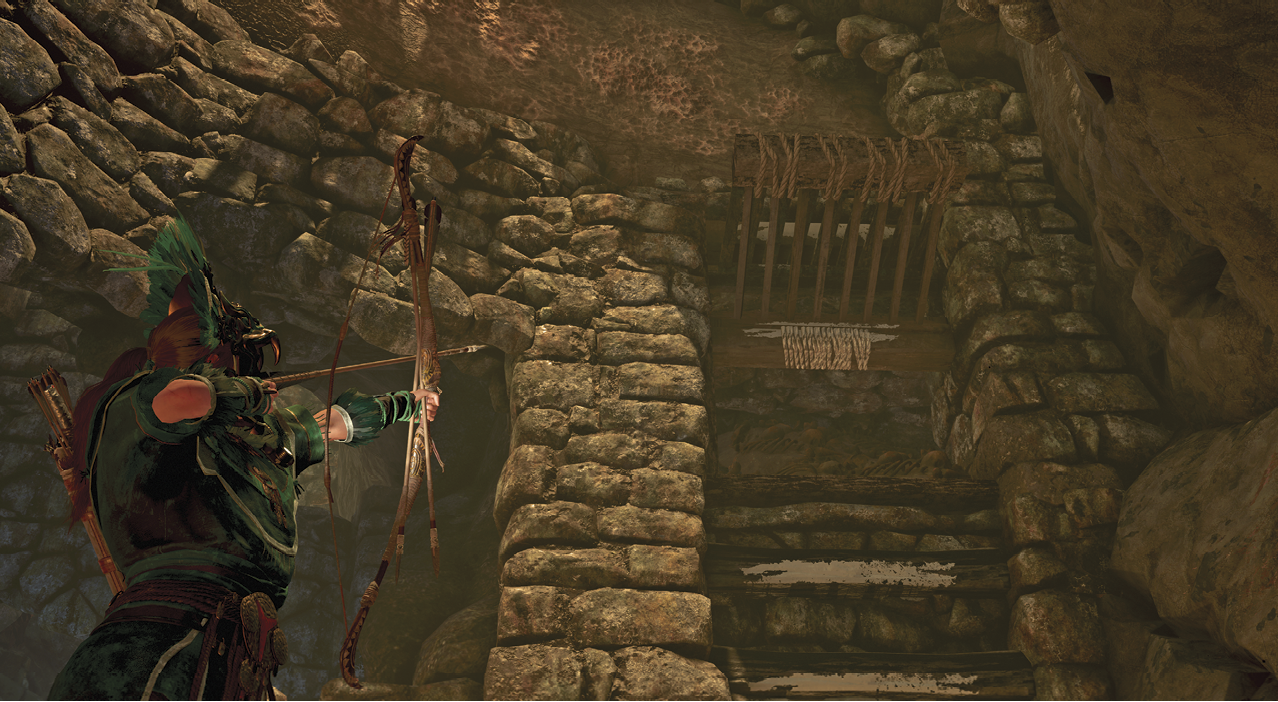
Run left to the steps and scramble up the right wall. Use a rope arrow to close the shutter above, and climb another wall. Rope-pull the barrier down at the top of the steps and leap across the gap. Exit through the opening ahead.