
Shadow of the Tomb Raider Guide Skills
Recommended Skills
Recommended Skills
Stealth Mastery
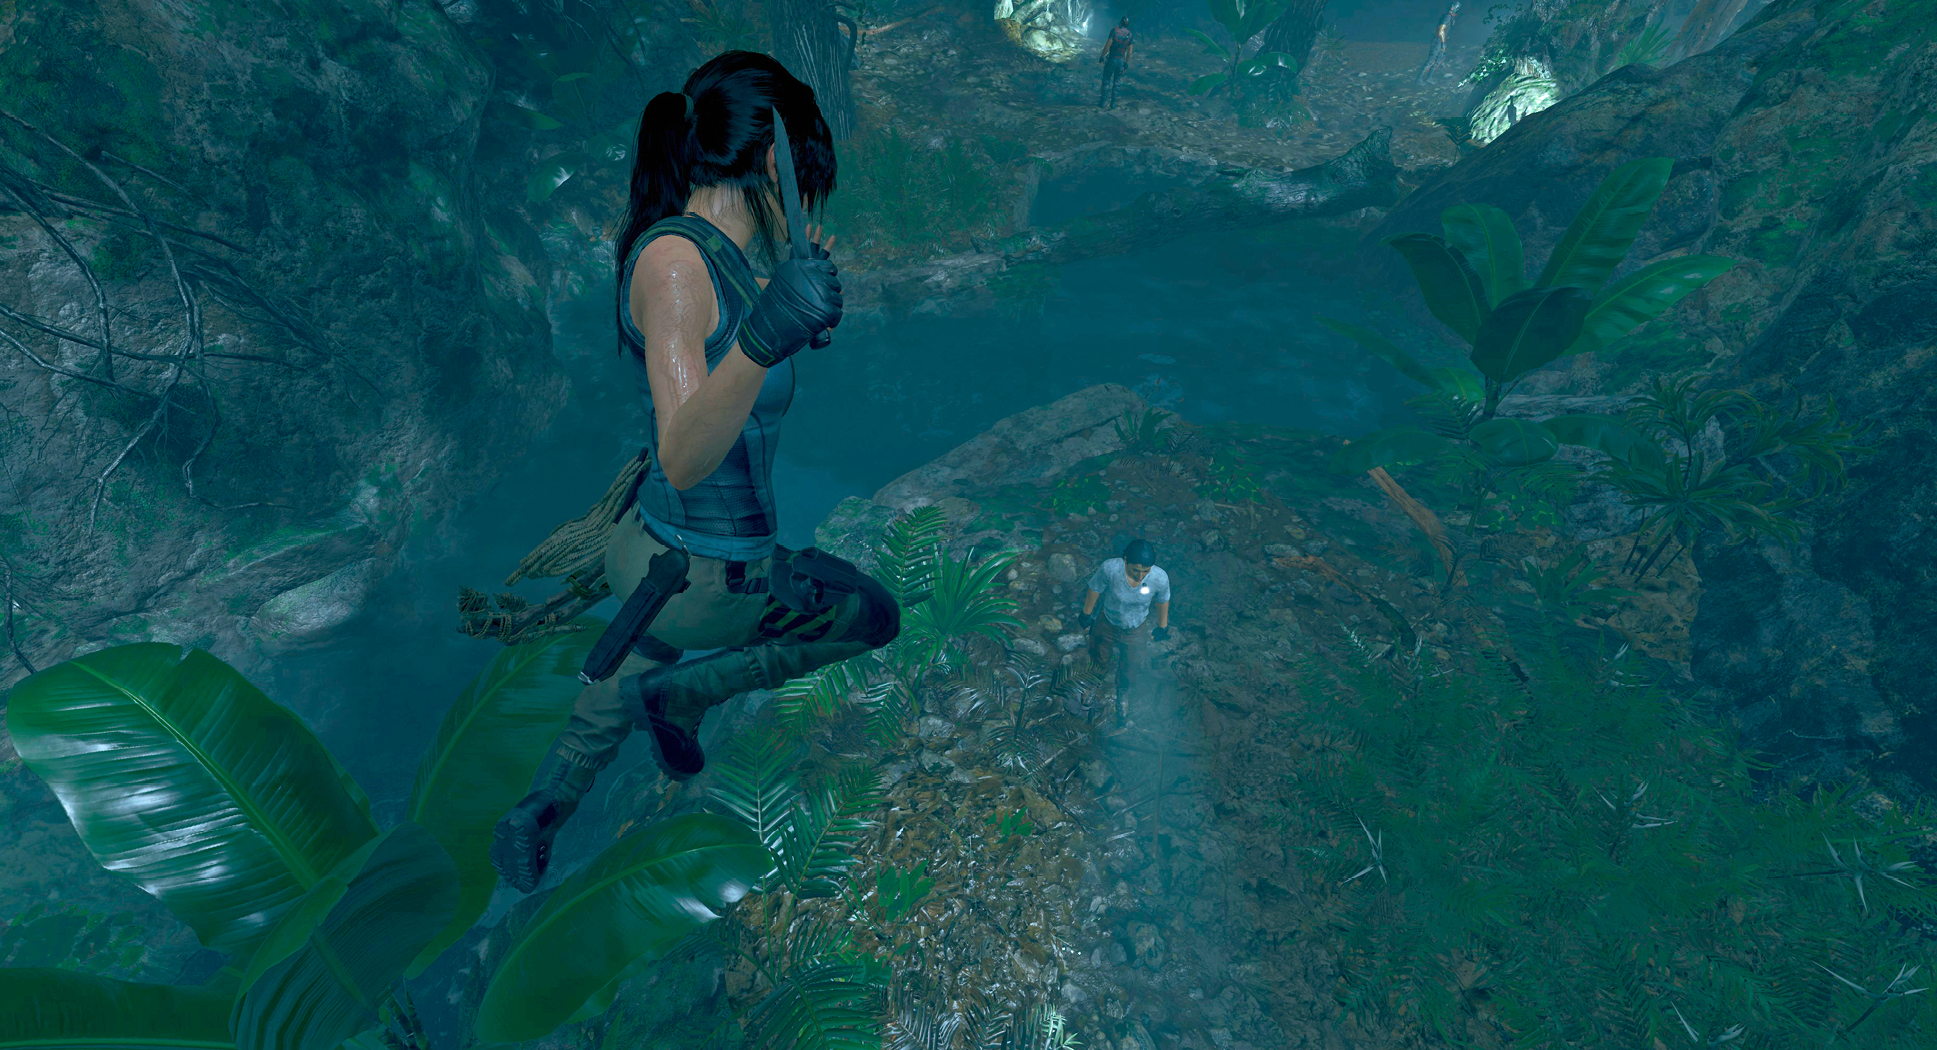
By design, stealth is the superior approach to most combat encounters in Shadow of the Tomb Raider. Stealth kills don’t require any ammunition, and they prevent you from being actively hunted by squads of heavily armed Trinity soldiers. For the few combat sequences where stealth is not an option, you should be well-stocked with powerful ammo and equipment.
|
|
Scavenger: Serpent’s Strike |
This Skill is absolutely mandatory. By default, stealth kills may alert other enemies if they’re in close proximity. Serpent’s Strike means you can perform silent takedowns within mere feet of another enemy without worry. |
|
|
|
Scavenger: Boa’s Coil |
Automatically looting enemies during stealth kills is more of a convenience than a necessity, especially since you can often loot all the corpses after the area has been cleared, but for 1 SP it’s a small price to pay. |
|
|
|
Scavenger: Serpent’s Fury |
Chaining stealth kills can help with tightly clustered enemies. As enemies may not always be looking away from your initial target, this Skill comes in handy enough to make it worth the 2 SP investment. Plus it just looks cool. |
|
|
|
|
Scavenger: Viper’s Snare / Viper’s Lure |
These two Skills are somewhat similar. Purchasing both is usually wasteful unless you have SP to spare. However, lure arrows can be shot anywhere and even kill armored enemies, so they’re objectively the superior choice. |
|
|
Scavenger: Viper’s Venom |
As with Viper’s Lure, poison grenades are guaranteed to kill even the toughest non-boss enemies. |
|
|
|
Seeker: Hoatzin’s Step |
Reducing the sound you make while getting into position for ambushes and stealth kills can prevent enemies from unexpectedly discovering you. |
|
|
|
Seeker: Owl’s Meal |
Not a direct stealth Skill, but harvesting beetles and spiders is necessary to craft lure arrows and poison grenades. Venom and dart poison also sell to Merchants for high prices. |
|
|
|
Seeker: Eye of the Eagle II |
Knowledge is power, and Eye of the Eagle II lets you see nearby enemies through objects. |
|
|
|
Seeker: Eagle’s Talon II |
The upgraded version of Eagle’s Talon allows you to discreetly kill enemies and dispose of their bodies without ever touching the ground. |
|
|
|
Warrior: Raposa’s Threat |
This Skill grants a virtually guaranteed headshot, which can be vital when assassinating from afar. |
|
|
|
|
Warrior: Howler’s Troop I & II |
Combined with Raposa’s Threat, the Howler’s Troop Skills allow you to headshot multiple enemies from stealth. These Skills also come in handy should you be discovered. |
|
|
Warrior: Jaguar’s Fear |
Fear arrows cause Trinity soldiers to fire on their comrades and then perish. Let the enemy do your work for you without ever leaving stealth. |
|
|
|
Scavenger: Serpent’s Skin |
Mud camouflage can be useful, but only in areas where mud is available, which are few and far between. This Skill is automatically unlocked, however, so there’s no harm in taking advantage of it when the situation allows. |
|
|
|
Scavenger: Scales of the Serpent |
By increasing Focus time, this skill gives you all the time you need to line up the perfect shot. |
|
















New Game+ Path: Serpent
Viper’s Cunning enables lure traps to now attract and kill multiple enemies, while Serpent’s Rage allows chained takedowns to be performed on stunned enemies outside of stealth. Should you be discovered yet manage to return to concealment, Serpent Evasion makes it harder for Trinity soldiers to find you again.
Bullet Sponge
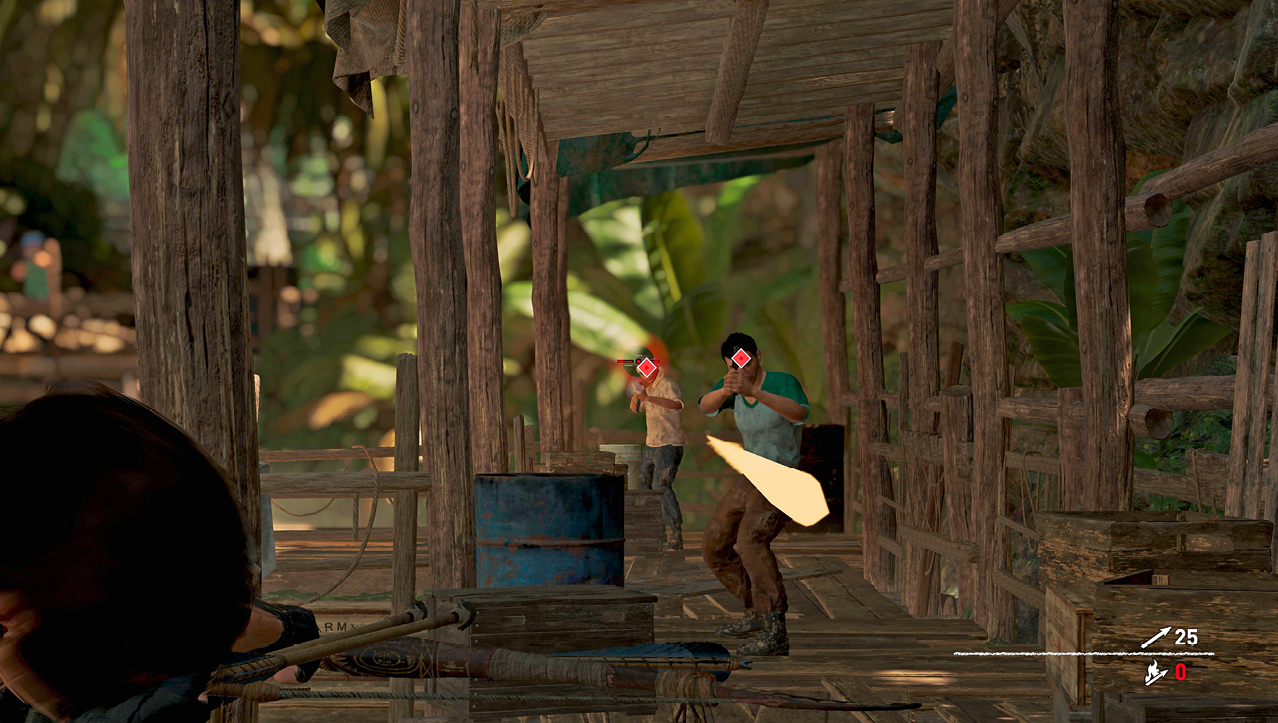
If Trinity has you on the ropes or the harder difficulties are proving a bit of a challenge, there are a number of key Skills that will drastically improve your chances of surviving shoot-outs.
|
|
|
|
Warrior: Heart of the Jaguar I, II, & III |
Endurance plants give your survivability a substantial boost. These alone can make a huge difference in forced non-stealth sequences like the oil refinery helicopter boss and final battle. |
|
|
|
Warrior: Puma’s Feint |
Fans of previous games will remember Lara’s dodge and counterattack. If you’re being bombarded by enemies up close, this Skill is a literal lifesaver. |
|||
|
|
Warrior: Kinich Ahau’s Boon |
This Skill gives you a second chance at life, fully restoring your health when you’re about to die. Since this is a challenge tomb reward, it’s recommended getting regardless of your playstyle. You only live twice! |
|||
|
|
|
Warrior: Jaguar’s Fury / Puma’s Brace |
Both Skills provide damage resistance under certain circumstances. Combined with or in lieu of Endurance plants, these can help you out of tricky situations. |
||
|
|
Scavenger: Hurucan’s Mantle |
This challenge tomb reward further reduces damage taken by fire and explosions. Definitely worth getting if you’re around a lot of fire and explosions. |
|||
|
|
Scavenger: Caiman’s Heart |
This challenge tomb reward enables faster health regeneration. |
|||
|
|
|
|
Scavenger: Serpent’s Glint / Boa’s Blow / Viper’s Venom |
These items help blind, disorient, or outright kill enemies during a firefight. Stunned enemies can be taken down, allowing you to save some ammo. |
|











New Game+ Path: Jaguar
You can often be shot at while taking down enemies; Jaguar Rage counters that by providing a boost in damage resistance after each kill. Jaguar Strength keeps enemies vulnerable and/or out of the fight longer, while Jaguar’s Intimidation cripples enemy accuracy after they witness you murdering their friends.
Lara Craft
Whether you go stealth, full Rambo, or somewhere in between, you need lots of crafting materials and XP. These Skills are best obtained as early as possible to ensure you get the most out of each area.
|
|
Seeker: Eagle’s Sight |
This is one of the most important Skills in the game. It allows you to see collectibles through walls and should be purchased as soon as possible to ensure you never miss a thing. Or you can save the 1 SP and read this strategy guide! |
|
|
|
|
Seeker: Illipa’s Sight / Eagle’s Grasp |
These Skills combine to help you both find and kill rare animals more easily and more often. |
|
|
|
Seeker: Viper’s Nest / Hoatzin’s Hunger |
These two Skills increase crafting resources found from all sources. Worth getting as soon as possible to maximize your gains. |
|
|
Seeker: Crow’s Charm |
3 SP is somewhat costly, but unless you’re swimming in resources, reducing Merchant prices by 10% early on can have notable long-term benefits. |
|
|
|
Seeker: Crow’s Hoard |
You’ll need bigger pockets to store all of those resources! |
|
|
|
Seeker: Owl’s Meal |
This Skill is required before you can harvest spiders and beetles. |
|
|
|
Scavenger: Anole’s Needle |
A worthwhile investment if you plan on restoring more than a couple of Vestige outfits. |
|
|
|
Seeker: Eye of the Eagle |
The ability to craft Perception plants is unlocked through story progression. It comes in handy if you’re having trouble hunting in dense foliage or finding collectibles in crypts or other complex areas. |
|









New Game+ Path: Eagle
Owl’s Feast means more venom and dart poison, which greatly help in both combat and stealth encounters, but Eagle’s Perception is the primary reason to choose the Eagle Path. The increased range of Survival Instincts and Perception plant effects helps you chase down any collectibles you miss the first time around. If only there were some kind of guide that told you where everything was…