
Shadow of the Tomb Raider Guide The Journey Chapter 7: Porvenir Oil Fields
Porvenir Oil Fields
CHAPTER: 07
Location: Porvenir Oil Fields, Peru
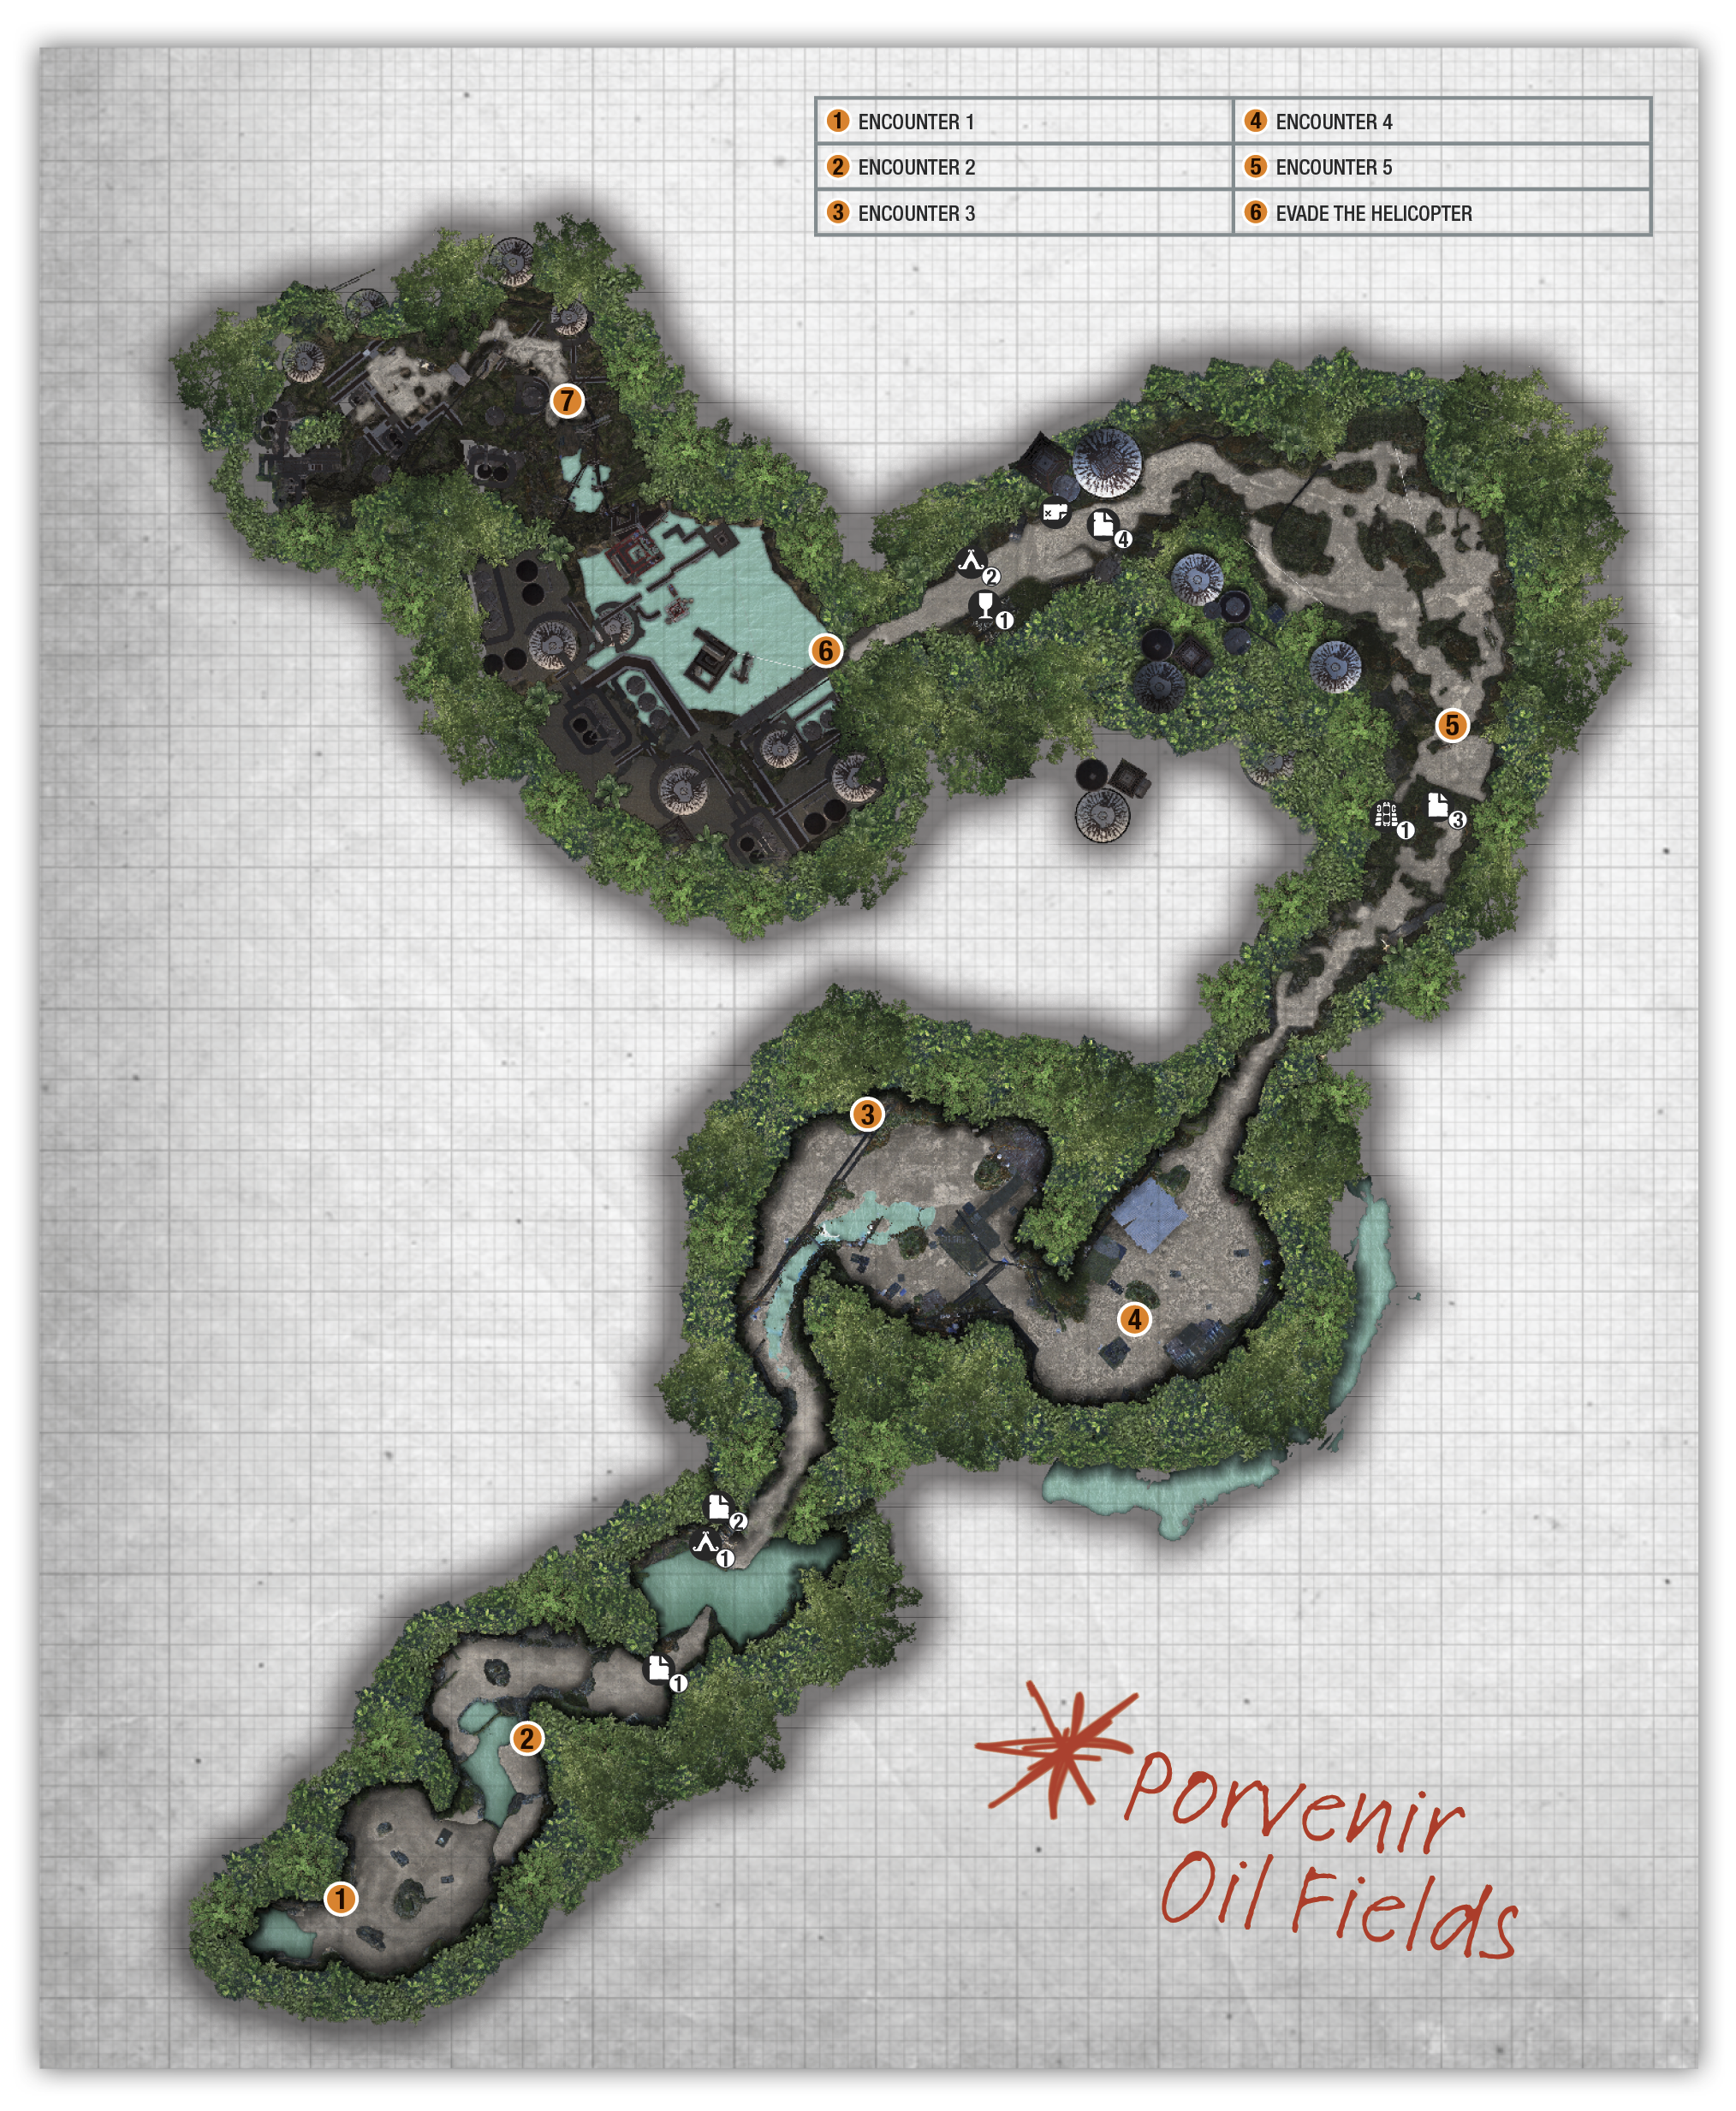
Region Summary
|
|
|
|
|
|
|
|
|
|
|
|
|
BASE CAMP |
CHALLENGE TOMB |
Mission GIver |
Challenge |
TREASURE CHEST |
Crypt ENTRANCE |
RELIC |
Document |
Mural |
Survival Cache |
Monolith |
|
2 |
0 |
0 |
0 |
0 |
0 |
1 |
4 |
1 |
o |
0 |


 Main Story Objectives

- Find Jonah
 Downpour — Find Jonah

The path ahead leads Lara through several groups of Trinity soldiers, as she searches for Jonah. Limited to the climbing axes and knife, you must scope out each encounter thoroughly before taking on the enemy. There’s usually a way to defeat everyone with stealth kills. Start by covering up with mud at the mud patch and scrambling to the right into the bush.
Encounter 1
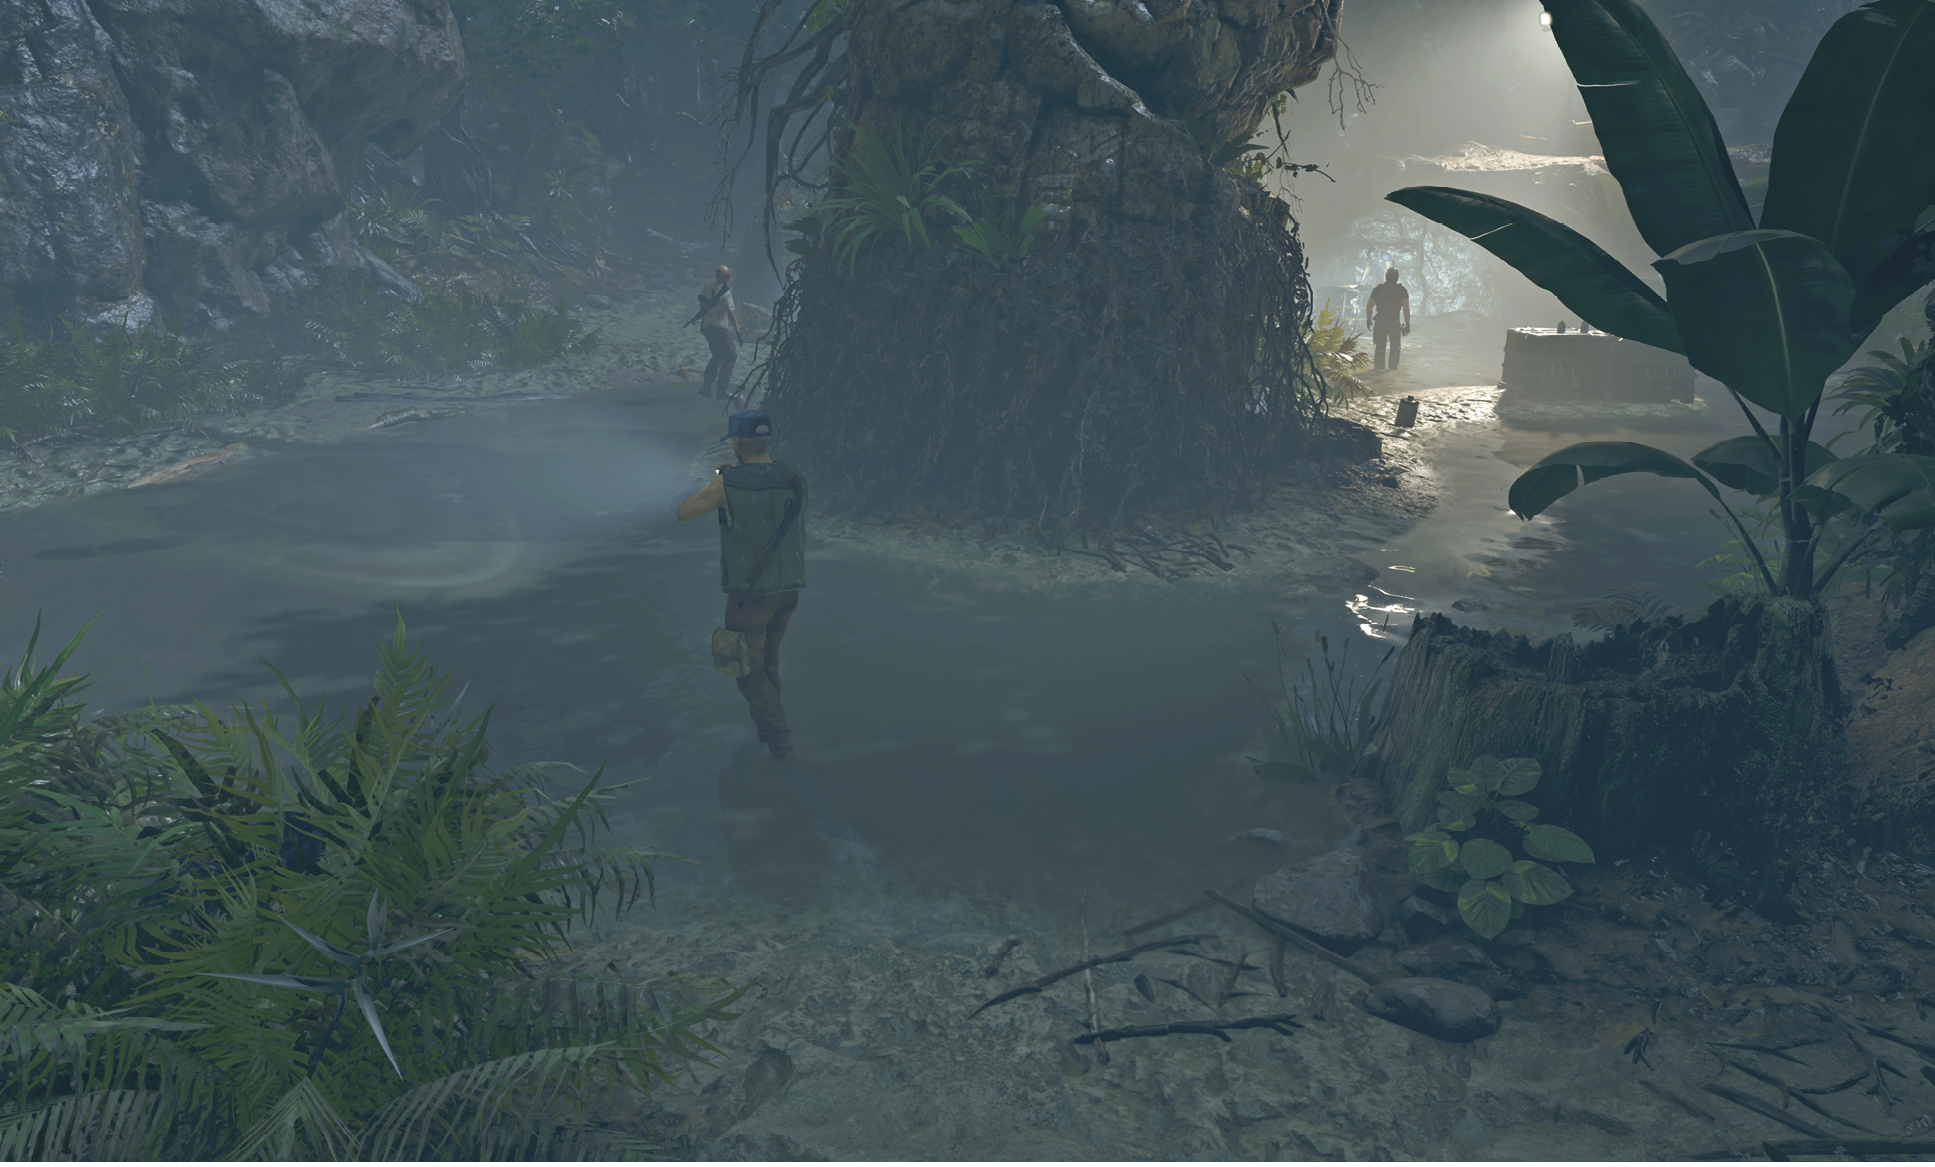
Four guys patrol the first area (1); two move around while the other two stand on the far side. Use the concealment bushes and mud-covered walls to eliminate the movers, out of sight from the last pair. Maneuver around to the crates on the right and pick up a mason jar. Separate the last two by tossing the object into the nearby bush. Or craft a smoke bomb, fling it between them, and quickly move in for easy kills. You can also use a smoke bomb on the final three soldiers if you time it well.
Encounter 2
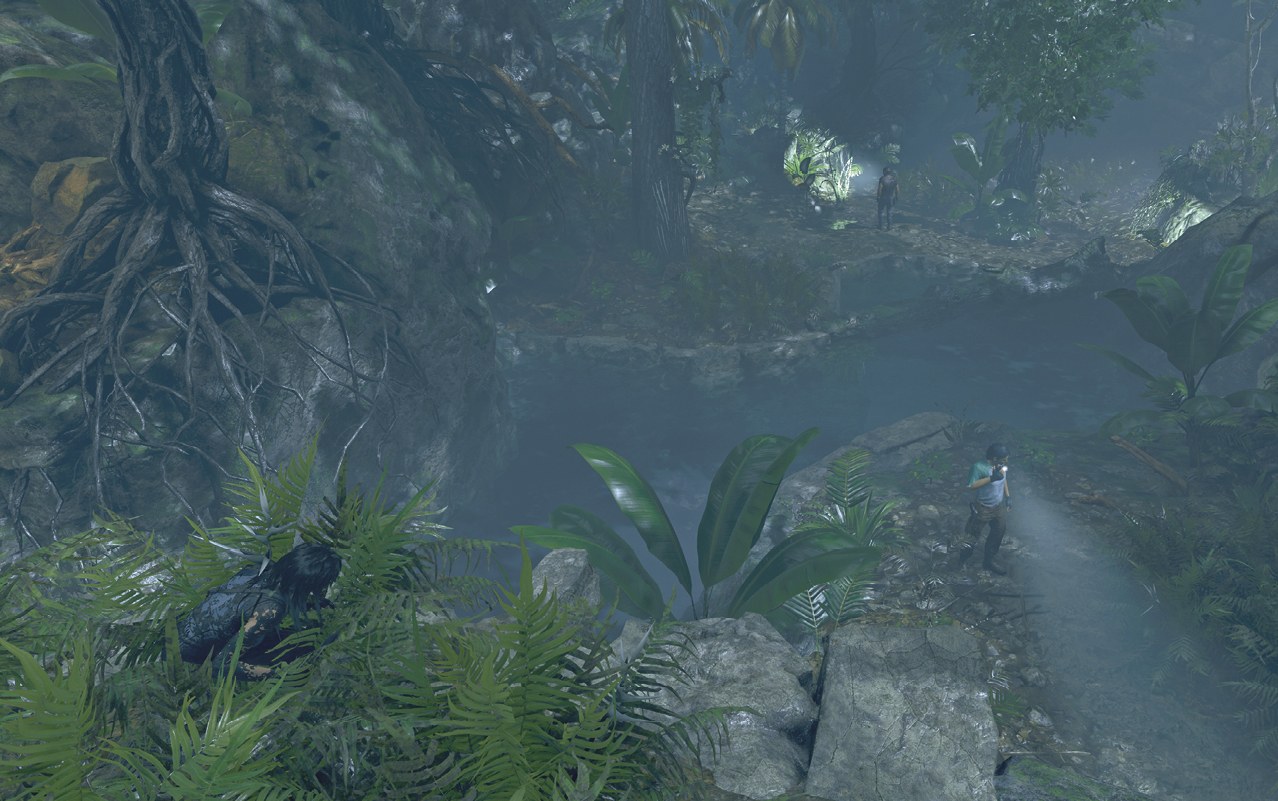
Climb up the rocky ledge, cross the log to the right, and take out the lone enemy (2) below. Swim across the water and take cover in the bush, or climb the tree. Wait for one of the soldiers ahead to move your way. Stealth-kill him from the bush, or use the death from above leaping takedown. If his partner hasn’t moved, quickly eliminate him too. If he joins the fourth foe ahead, pick up one of the bottles off the rock ahead and toss it into the bush on the left. Kill the isolated enemy before finishing off the remaining foe.
Move Deeper Inland
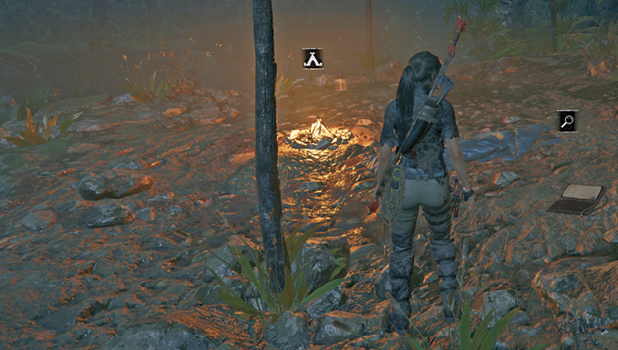
Climb up next to the waterfall and follow the objective markers to a cliff edge. Leap forward and throw the Grapple Axe to catch the next ledge. Climb the craggy surface and enter the overhang. Move up and right until you’re able to pull yourself up to a plateau. Rest and upgrade at the Beach Base Camp. Scan available Skills and outfits. The start of this region is best tackled with stealth, but melee combat may also be necessary. Equip accordingly. Continue along the path and wade through the water until you reach the next encounter.
 01 document

Not Yet?
- Dialect: N/A
- Nearest Camp: The Beach
Found in the Beach Base Camp.
02 document
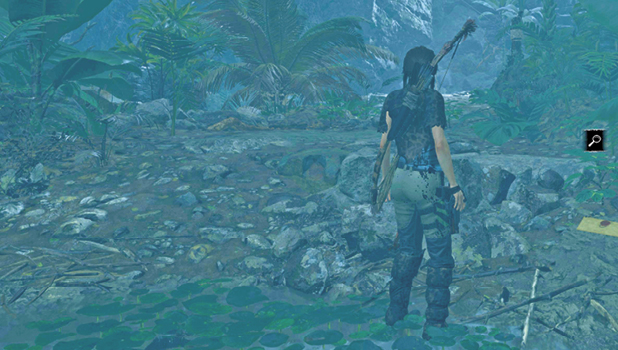
Journal of T. Serrano 9
- Dialect: N/A
- Nearest Camp: The Beach
Found just before the rope line leading up to the Beach Base Camp.
Encounter 3
Two soldiers in the area are equipped with thermal goggles, which allow them to detect Lara through vegetation, but not through walls. If possible, make them your first targets. At the least, don’t allow them to scan a bush or any vegetation you’re hiding in.
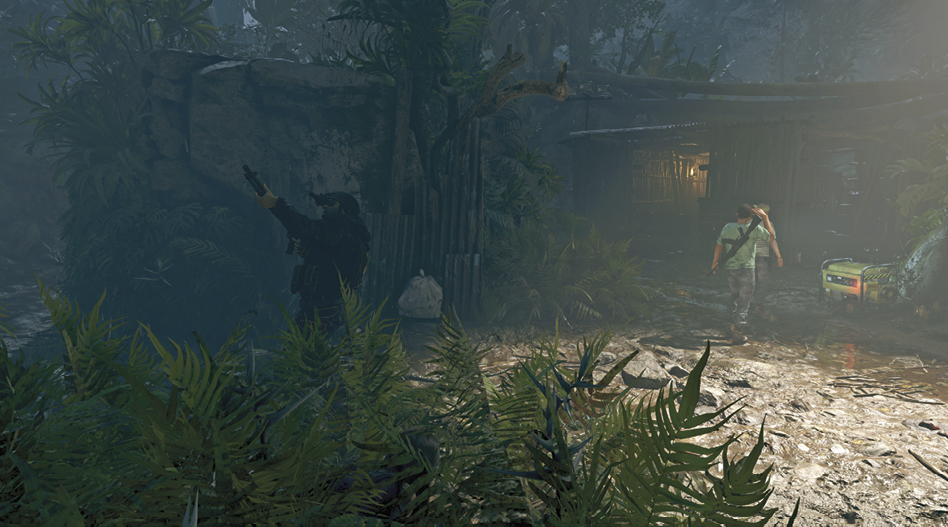
Scramble to the left bush (3) as the guy investigates and take him down as the other two look away. Two men stand guard near the exit, while another soldier works on the generator to the right. The other two move around, including the second foe with thermal goggles. The plateau in the middle provides a great vantage point for scouting the athink of it rea. The two shelter roofs are also accessible from this point.
Use the vegetation to hide your movements, and attempt to pull enemies into the outside paths to avoid detection. Bottles and jars are found on the crates. Use these as distraction or craft explosives for easier kills. These can also be used to make a getaway. Remember, the thermal goggles should be your priority. Always keep a wall between you and him until you are able to take him down. If only the final pair remain, toss a smoke bomb in between them and quickly dispose of them.
Encounter 4
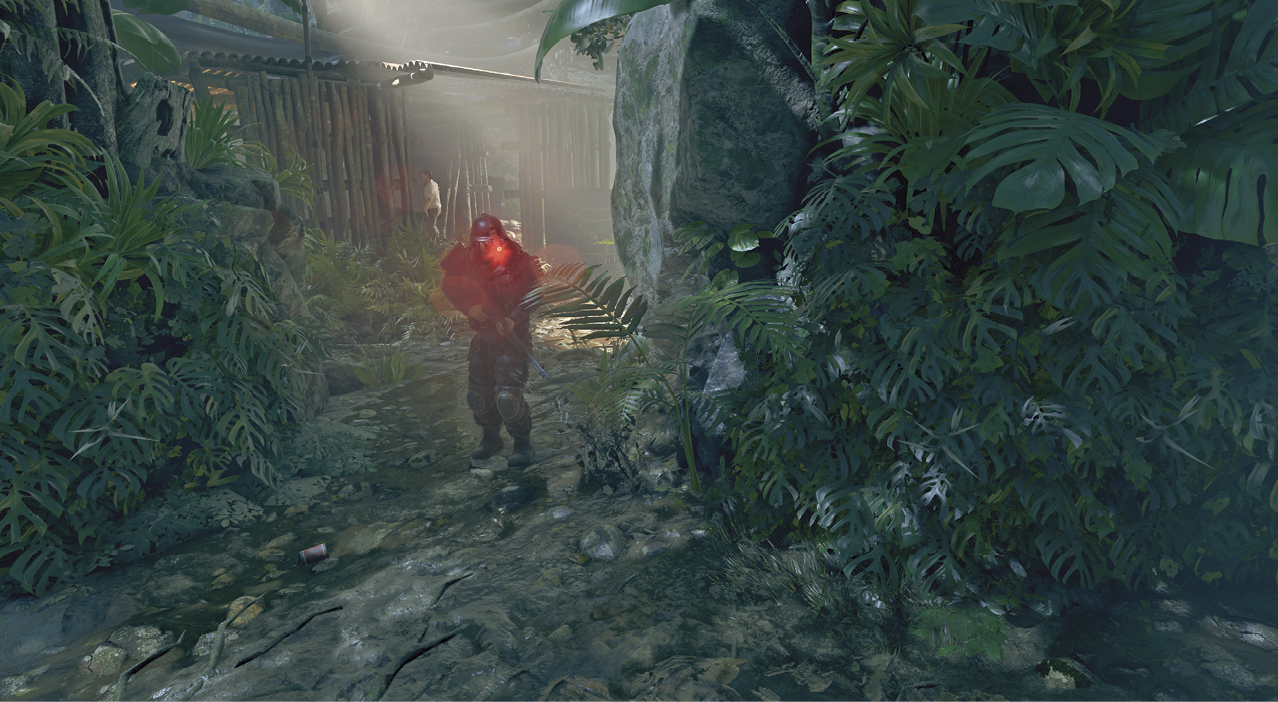
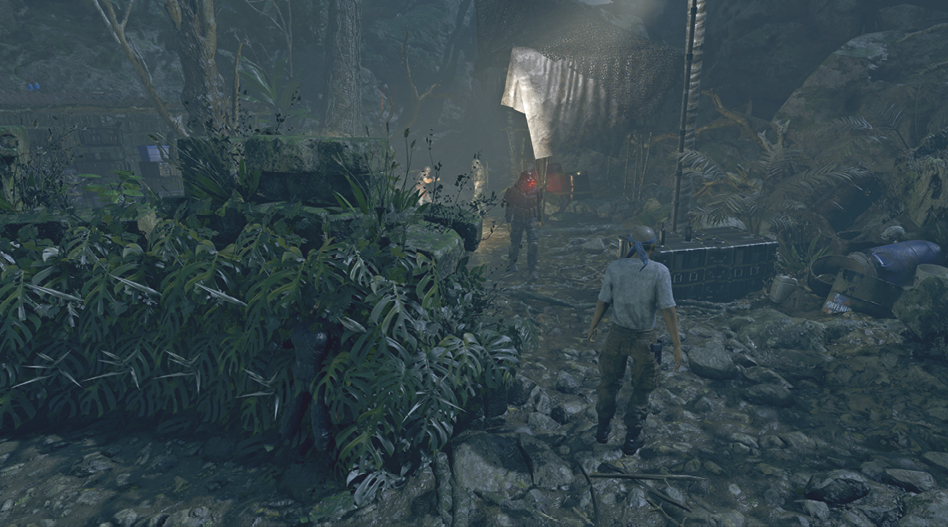
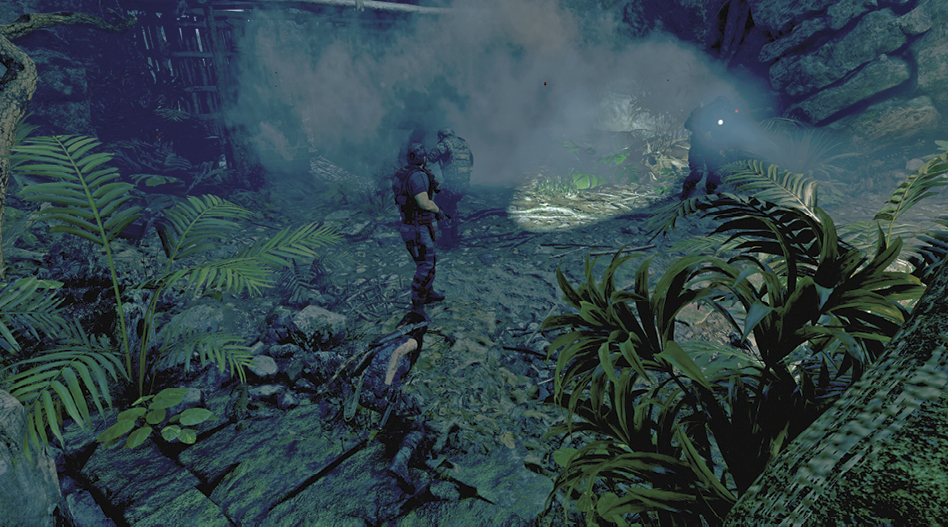
Squeeze through the gate to find another group of enemies (4) with two more thermal-goggle soldiers. Use the mud patch at the start and duck into the bushes. When you’re covered in mud, the effects of an enemy’s thermal vision are negated, allowing you to hide in vegetation. Wait for the right enemy to move away before quickly taking down the first thermal-goggle soldier. If you’re quick, you can scramble toward the second enemy and knife him from the next bush. Be careful—if you wait too long, the next group may spot the kill.
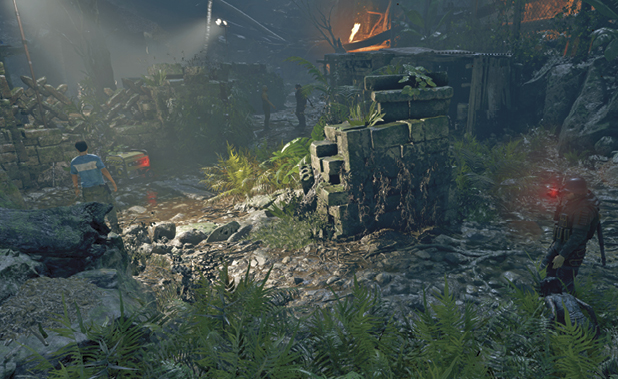
A generator sits next to the ruins on the left. If you interact with it, a nearby enemy investigates. This provides a great opportunity for an isolated stealth kill. A soldier tends to hang out under the shelter on the left, and can be taken out from the mud-covered wall. Another guy may be working on the computer under the right shack, and can also be eliminated from a mud-covered wall.
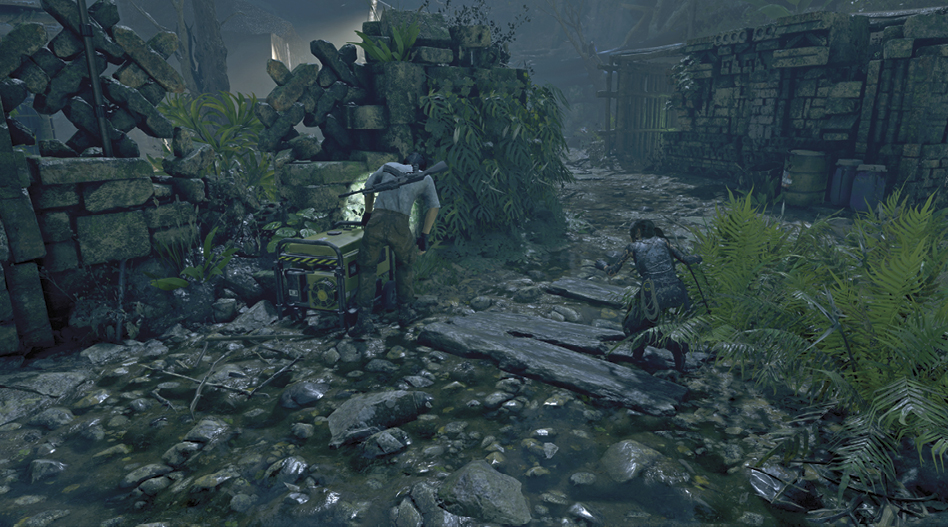
From the laptop, continue up the path to another mud-covered wall. Wait for the thermal-goggle soldier to move away, and perform a stealth kill on the remaining soldier. When the other guy returns, deposit him next to the wall along with his buddy. Two enemies remain in the area. Scramble up to the crates on the right and pick up a bottle. Use it to separate them, then eliminate them while they’re isolated.
Jaguar’s Fear
Climb the rock walls and follow the checkpoints along the trail. Leap to the craggy wall and rappel down to the ground. Collect the bow and learn a recipe for crafting fear arrows (Skill: Jaguar’s Fear). These arrows are crafted with silent arrows, cloth, and dart poison.
An enemy hit with the arrow randomly fires his weapon, often taking out nearby foes. After discharging his weapon, the affected enemy always dies. It’s often best to target an enemy with an assault rifle, since they have a better chance of hitting nearby foes. This random weapon fire may kill an enemy one time, while missing everyone after you restart the checkpoint. Think of it as a bonus instead of relying on a kill.
 01 Mural
Mama Zara
- Dialect: Quechua
- Nearest Camp: Destroyed Bridge
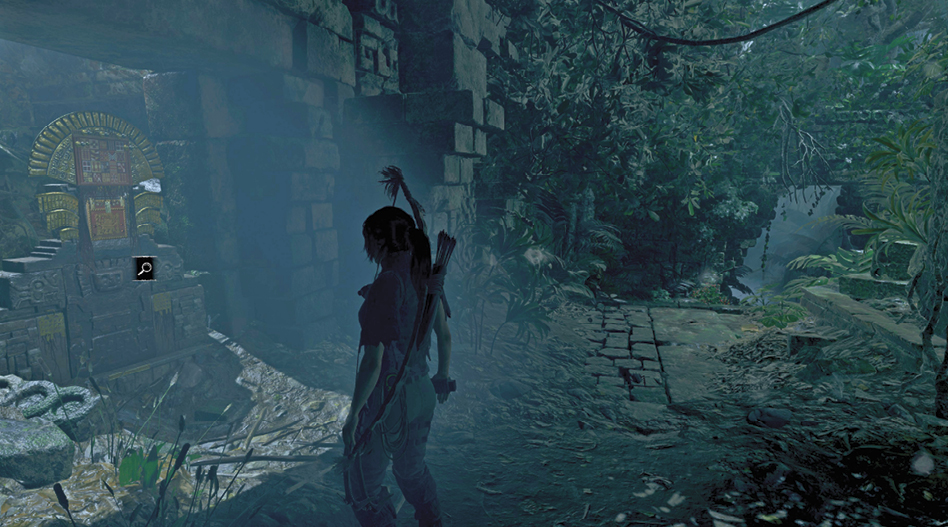
After the fight with the thermal goggle-equipped Trinity soldiers, Lara lowers herself into a cave with a large shrine. The Mural is behind the shrine, before continuing on the main path.
03 document
The Truth
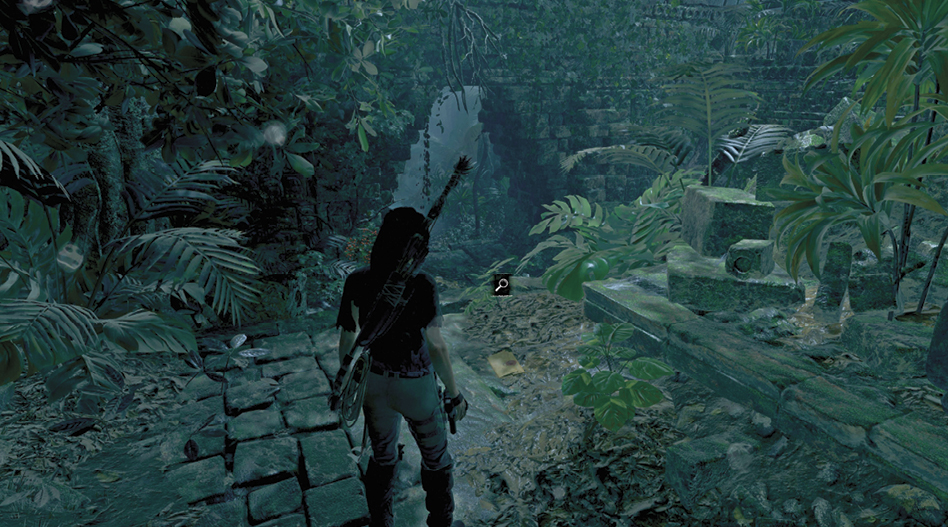
- Dialect: N/A
- Nearest Camp: Destroyed Bridge
A few steps from the Mural in the same area.
Encounter 5
Scramble up the tree (5) to a branch that overlooks a trio of enemies. Hit the middle guy with a fear arrow. He always kills the left soldier, with a possibility of also killing the right. If one guy survives, drop on him or string him up when he gets within range.
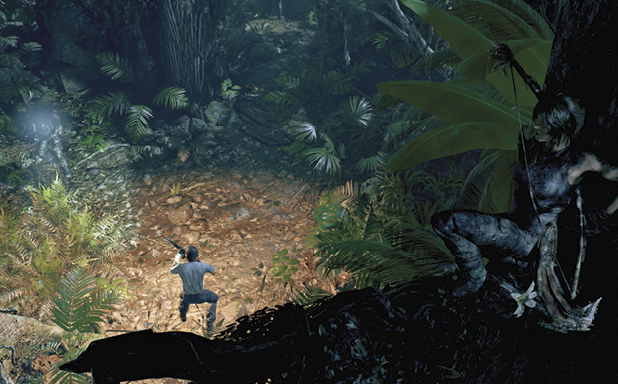
Climb the next tree and jump over to the plateau. This is a great place to scout the nearby area or flee from trouble; the opposition doesn’t climb, but they shoot if they spot you up high. In the immediate area, one soldier carries a pistol and the other has a shotgun. A third guy is equipped with a shotgun and thermal goggles, and patrols around the ruins ahead; he should be your first target.
A second trio of soldiers are grouped together up the right steps, and another three guard the exit on the far side of the area. It’s best to stealthily take down the guys from cover. A mud patch is available on the other side of the plateau for improved camouflage.
Bottles, cans, and mason jars are available for distraction or concocting explosive devices. You have one fear arrow left, which can be used on the thermal-goggle soldier. He may or may not take anyone else out. Be careful when fighting within earshot or in line of sight of the other groups. Attract too much attention with noise or hang a body within sight, and they investigate.
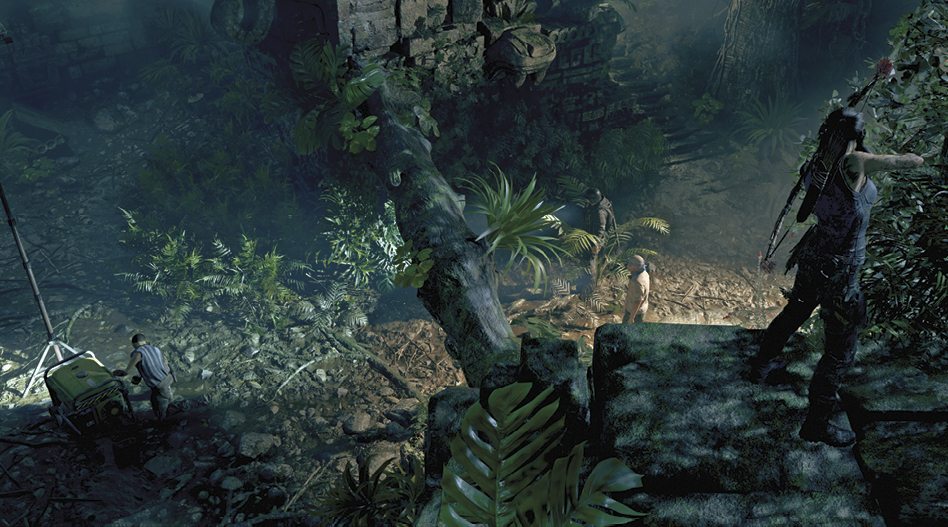
After you take out the soldier with the thermal goggles, it’s possible to slip out of the area with minimal fighting. Collect a mason jar off the crates on the left and slip into the concealment bushes past the generator. Follow the left trail, while creating a smoke bomb. At the exit, heave the bomb into the final group of soldiers and quickly take them down. If no one remains, you should be able to quickly slip through the exit without dealing with the others. Note that if you’re engaged with an enemy, you cannot exit the area. With the enemy’s ability to locate you more quickly, this strategy is tougher to pull off on higher difficulties. If you have the fat to spare, use all of the mason jars to take out each group.
04 document
A Lost World
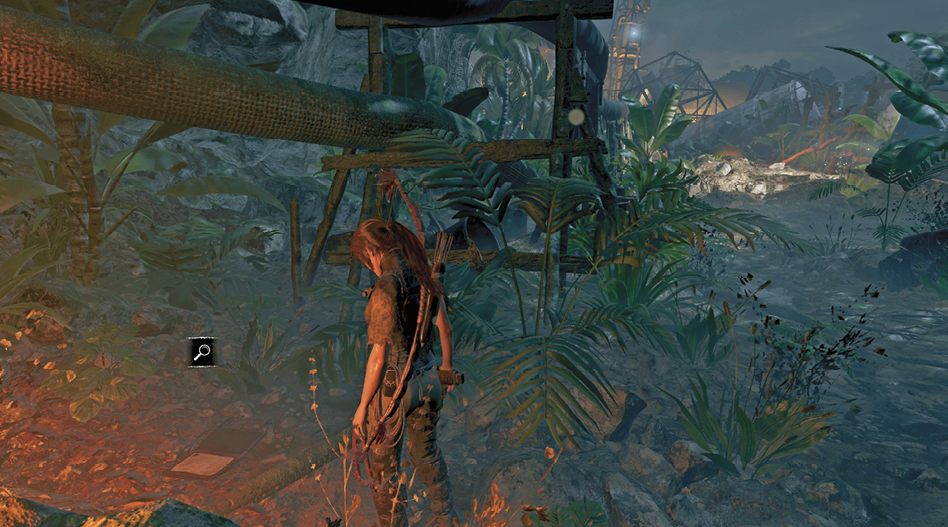
- Dialect: N/A
- Nearest Camp: Destroyed Bridge
Just before reaching the Base Camp, in the bushes next to a flaming pipe.
 01 Relic

Hardhat
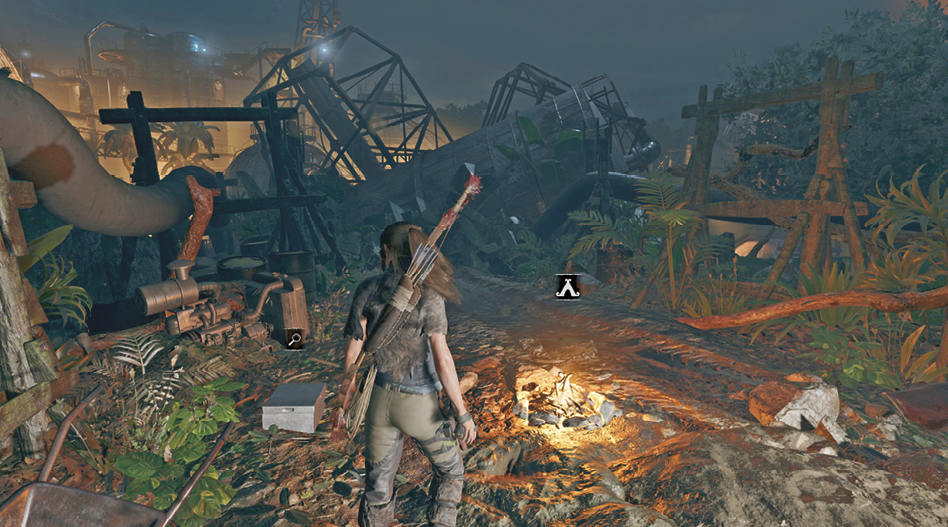
- Dialect: N/A
- Nearest Camp: Destroyed Bridge
Within arm’s length of the campfire.
Evade the Helicopter
The trail now shows signs of the oil refinery. Search for collectibles as you make your way to the bridge, where Lara slides down a rope to a lower walkway. At this point, your objective is to evade the helicopter as it sprays bullets along your path. A tank and several Trinity soldiers join in on the mayhem. Stay on the move, sprinting whenever possible and rapidly transferring from one obstacle to the next. Stop for a moment, and you risk getting taken out.
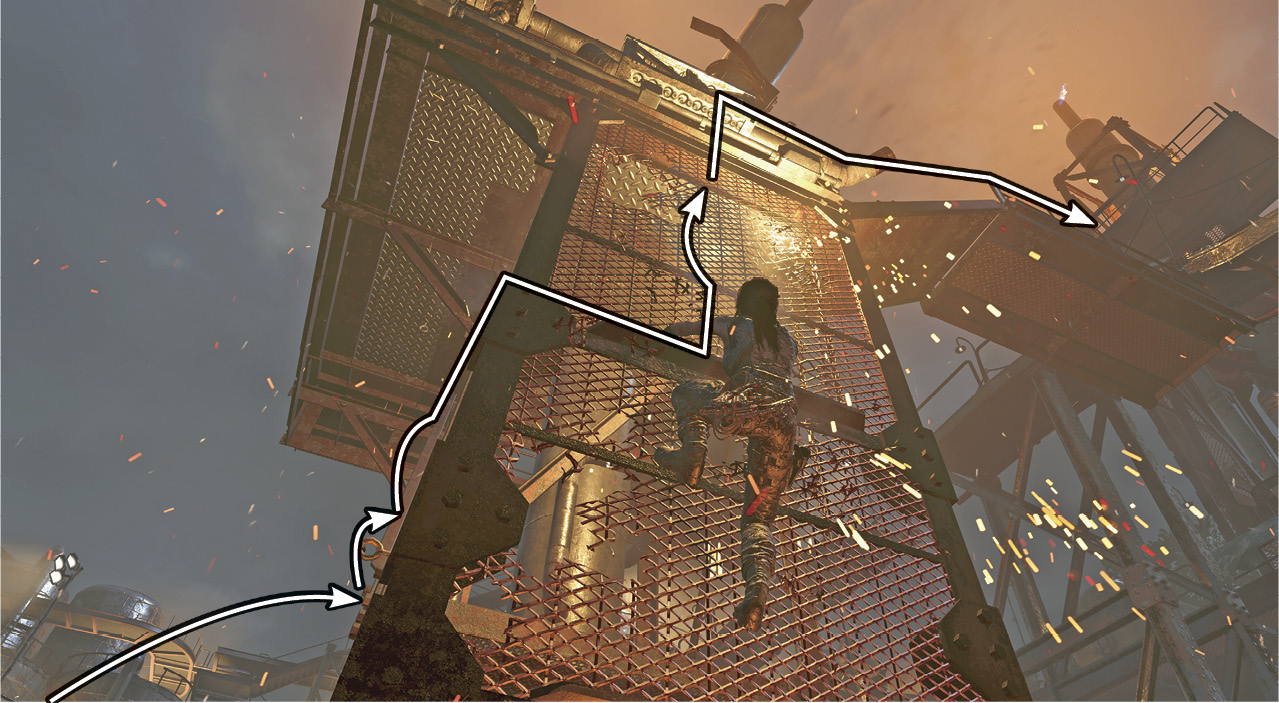
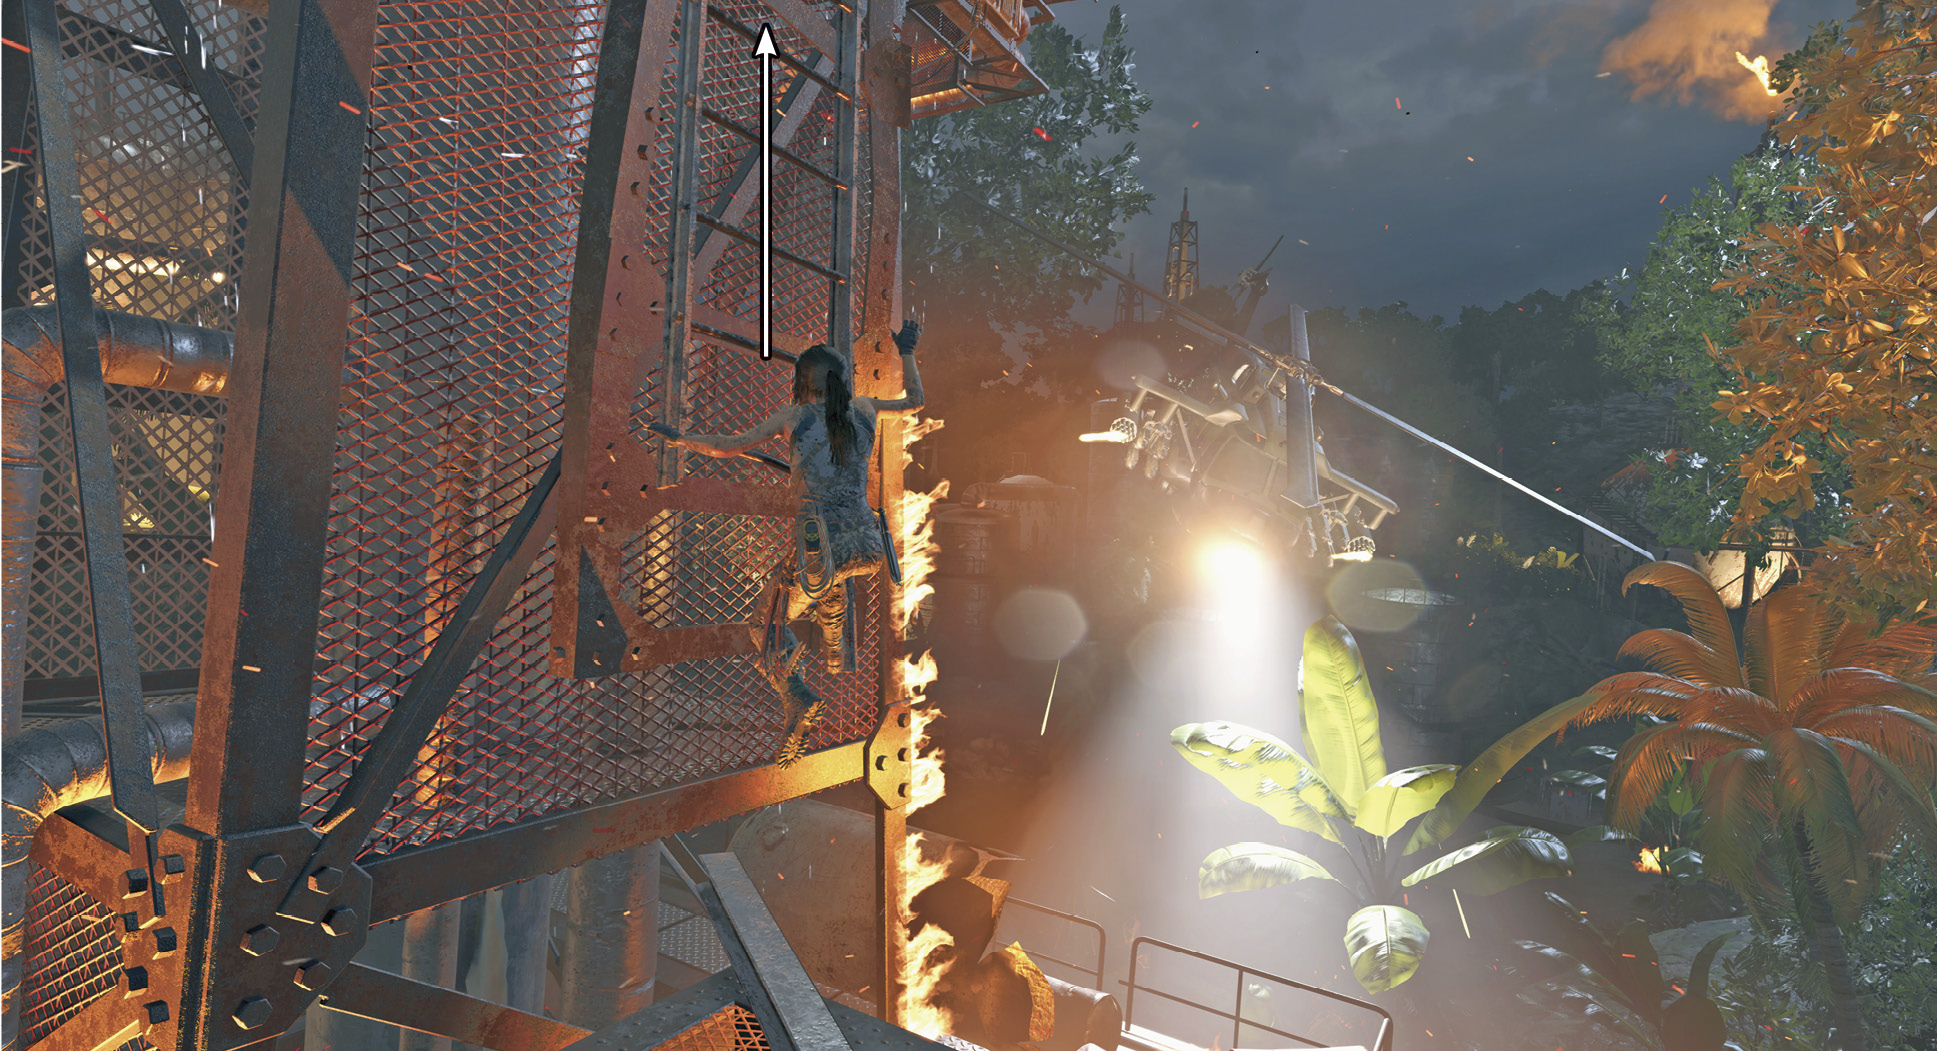
- Leap off the end of the walkway and throw the Grapple Axe to grab on to the ledge.
- Scale and scramble up the tower, then jump and shimmy to the right along the pipe. On the backside, climb up to the next walkway.
- Quickly tightrope along the railing and leap to the destroyed walkway, which flings Lara to another tower. Be sure to grab on before falling to your doom.
- Shimmy and jump to the right, then climb up the wall. Immediately jump onto the ladder, then shimmy right along the metal beam. After the corner, leap up to the railing to complete the climb.
Defeat Trinity — The Final Encounter
When you regain control, Lara has an assault rifle in an all-out shootout with Trinity soldiers (7). From now until the end of this mission, look out for explosive barrels and tanks. Hit them to take out nearby foes for a simpler fight. As you clear out the enemy, push forward to the next cover.
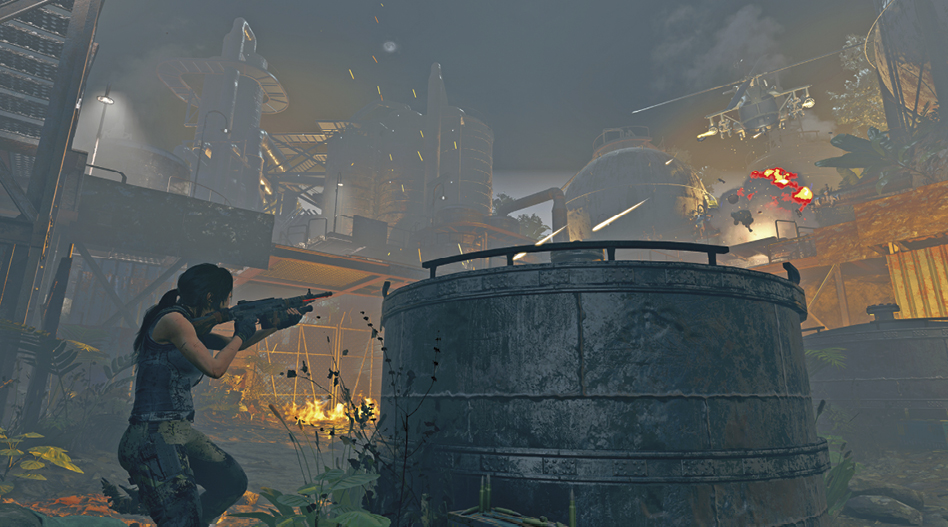
Advance to the tank and peek around to the left before following the trail deeper into the refinery. Be sure to pick up ammo along the way. The fight really gets serious in the final area as the helicopter joins in. Take cover whenever possible, and continue to search for explosives as you mow down the opposition. Eventually, the chopper goes down—this completes the objective.