
Shadow of the Tomb Raider Guide The Journey Chapter 3: Kuwaq Yaku
Kuwaq Yaku
CHAPTER: 03
Location: Kuwaq Yaku, Peru
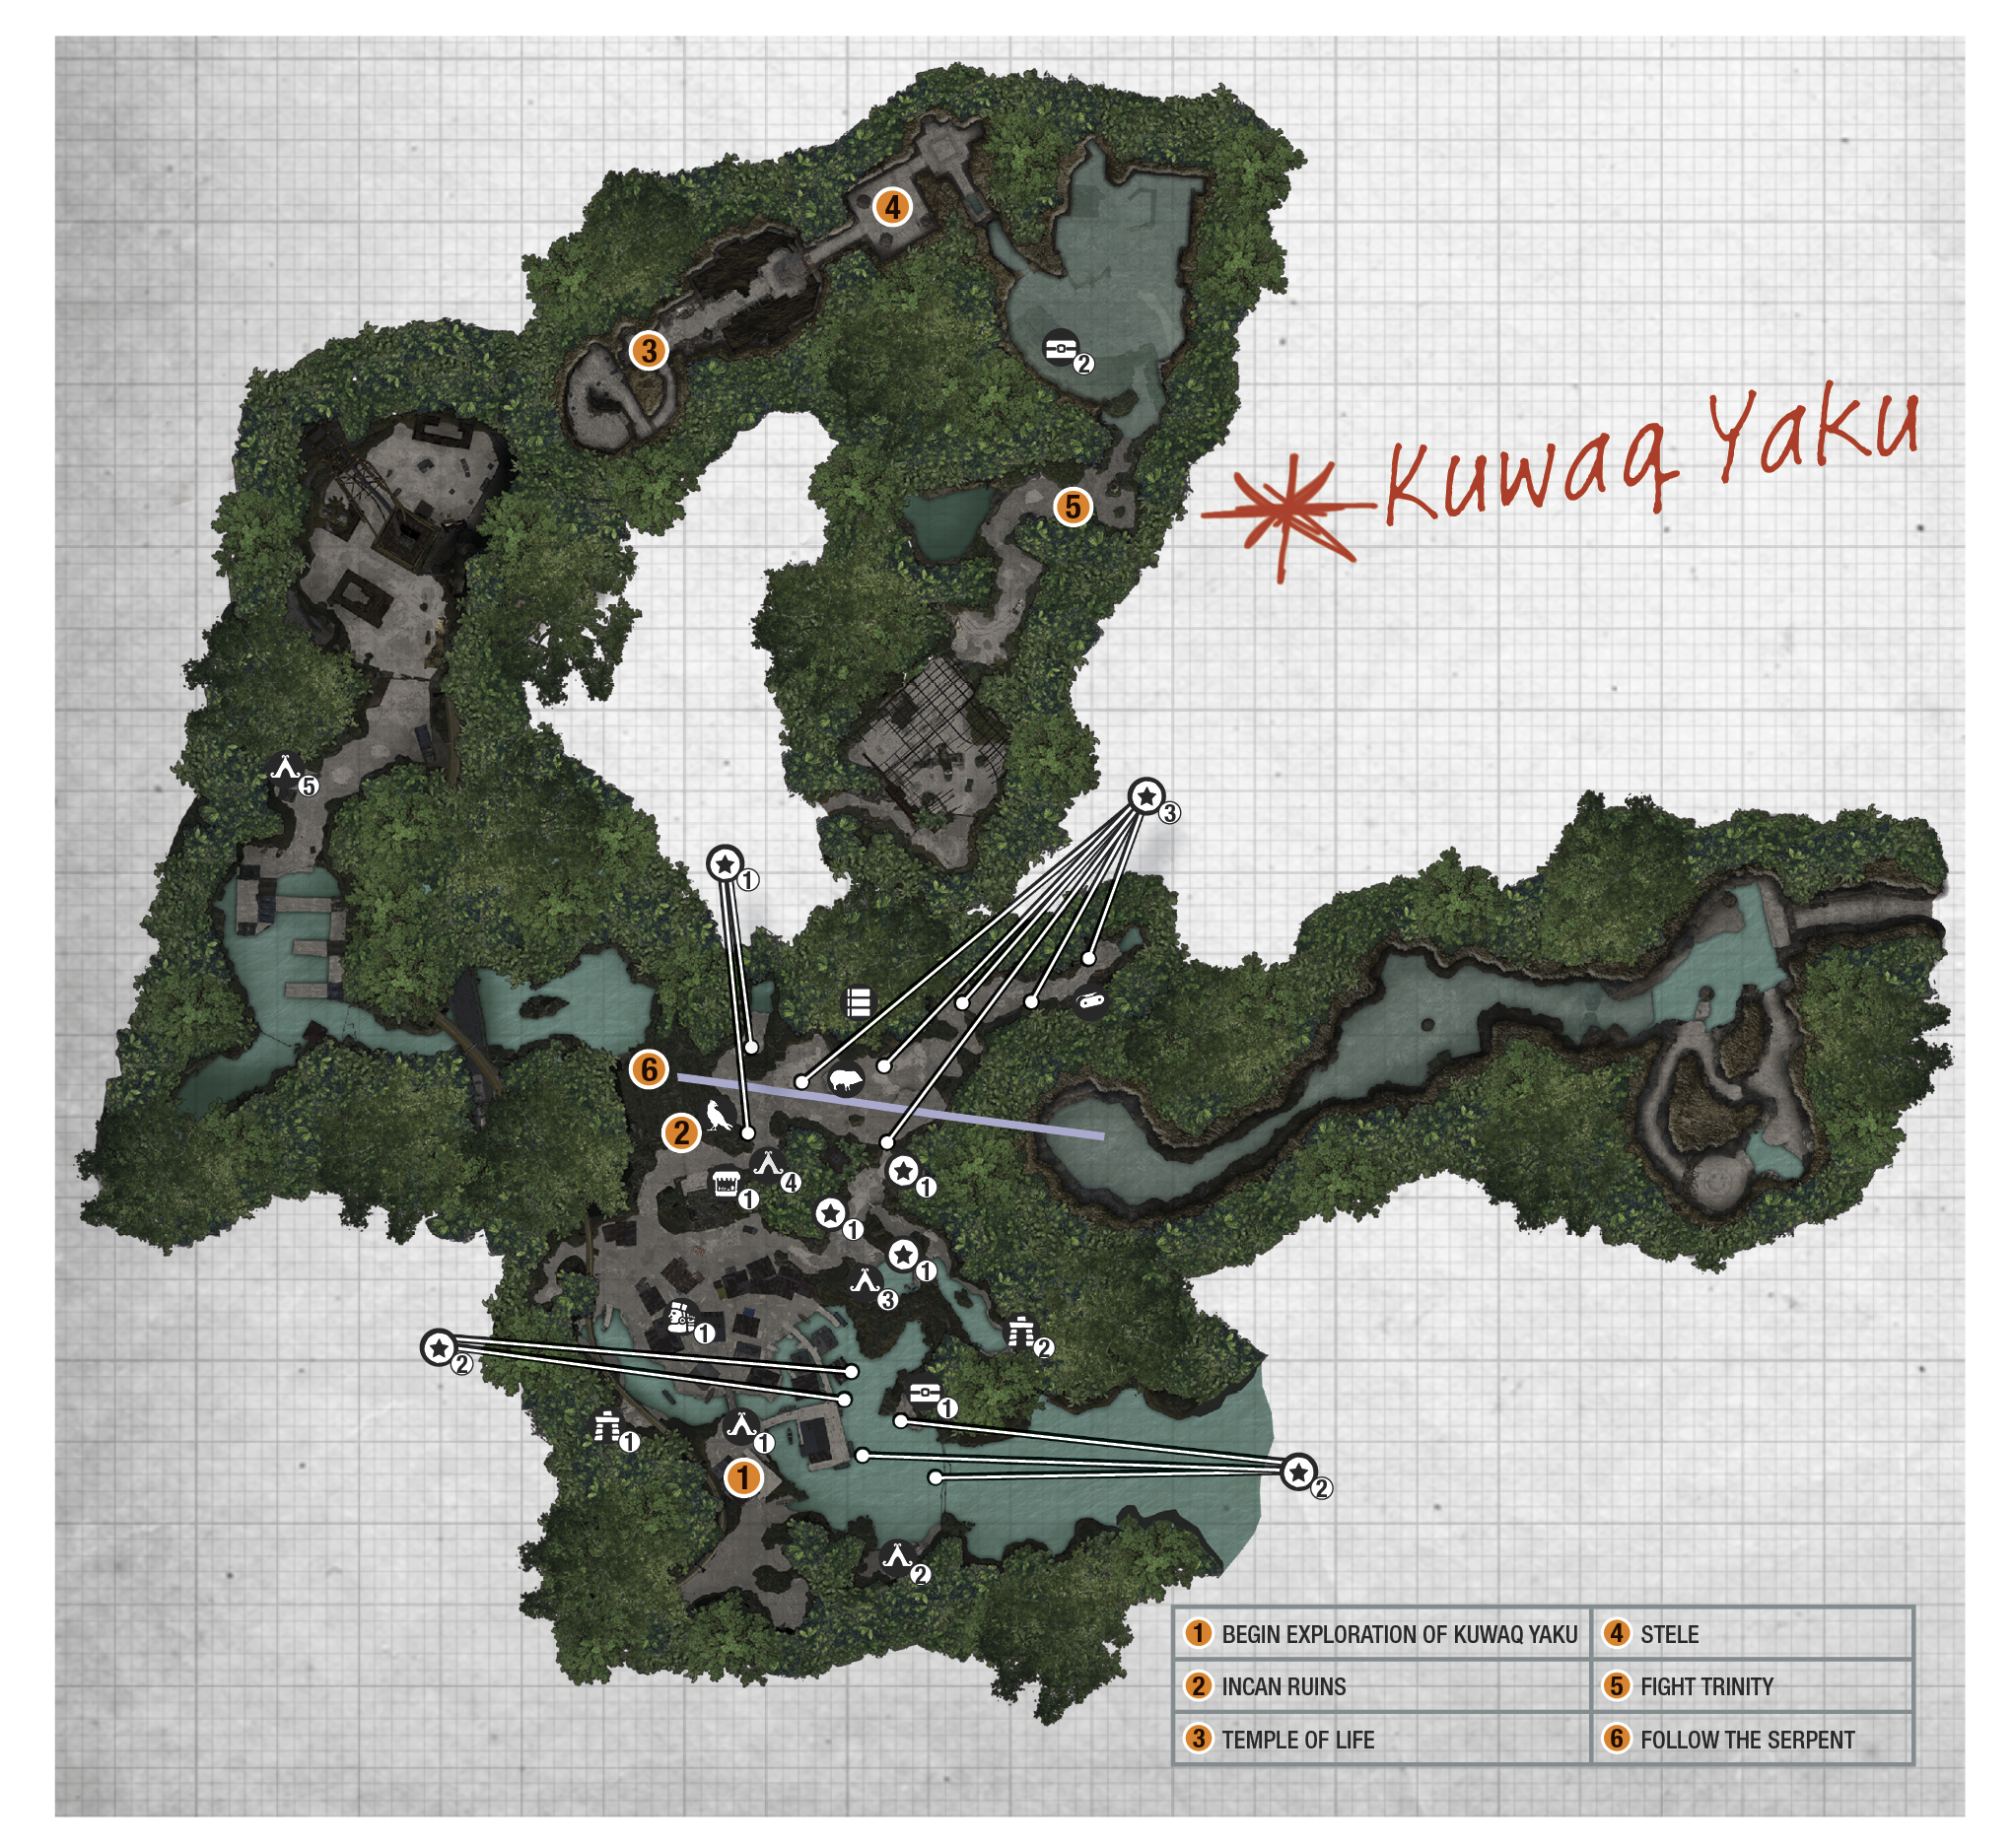
Region Summary
|
|
|
|
|
|
|
|
|
|
|
|
|
BASE CAMP |
CHALLENGE TOMB |
Mission GIver |
Challenge |
TREASURE CHEST |
Crypt ENTRANCE |
RELIC |
Document |
Mural |
Survival Cache |
Monolith |
|
5 |
1 |
1 |
3 |
2 |
2 |
4 |
18 |
10 |
14 |
3 |


 Main Story Objectives

- Explore Kuwaq Yaku
- Reach and Explore the Temple of Life
- Return to Kuwaq Yaku
- Follow the Serpent
 Side Missions

 Blood Cries Out - Invasive Species
Challenges
 Crude Awakenings: Detonate five oil barrels.
 Bottom Feeder: Harvest five aquatic plants.
 Nam Deus: Destroy 5 sacrilegious jungle totems.
Challenge Tombs (Skill)
 Howling Caves (Huracan’s Mantle)
Crypts (Treasure)
 Wayta, the Tyrant (Vestige: Nine Strides’ Boots)
 Unknown (Vestige: Condor Cowl of Urqu — Requires Shotgun)
Merchant
| Item | Type of Item | Cost (Gold) |
|---|---|---|
|
W&S Model 22 |
Handgun |
4200 |
|
C&T S55 |
Handgun |
4100 |
|
GF RAL |
Rifle |
3200 |
|
Pistol Sight |
Handgun Attachment |
1700 |
|
Pistol Suppressor |
Handgun Attachment |
1800 |
|
Pistol Ammo Pouch |
Ammo Pouch |
1600 |
|
Rifle Ammo Pouch |
Ammo Pouch |
1500 |
|
Vestige: Nine Strides’ Harness |
Outfit Upper |
3200 |
|
Vestige: Hide Boots of Urqu |
Outfit Lower |
4300 |
|
Arrows |
Ammo |
180 |
|
Handgun Bullets |
Ammo |
180 |
|
Machine Gun Rounds |
Ammo |
180 |
|
Medicine |
Resource |
90 |
|
Perception Plants |
Resource |
90 |
|
Focus Plants |
Resource |
90 |
|
Salvage |
Resource |
120 |
|
Black Powder |
Resource |
150 |
 Where the Twins Confer —
Explore Kuwaq Yaku

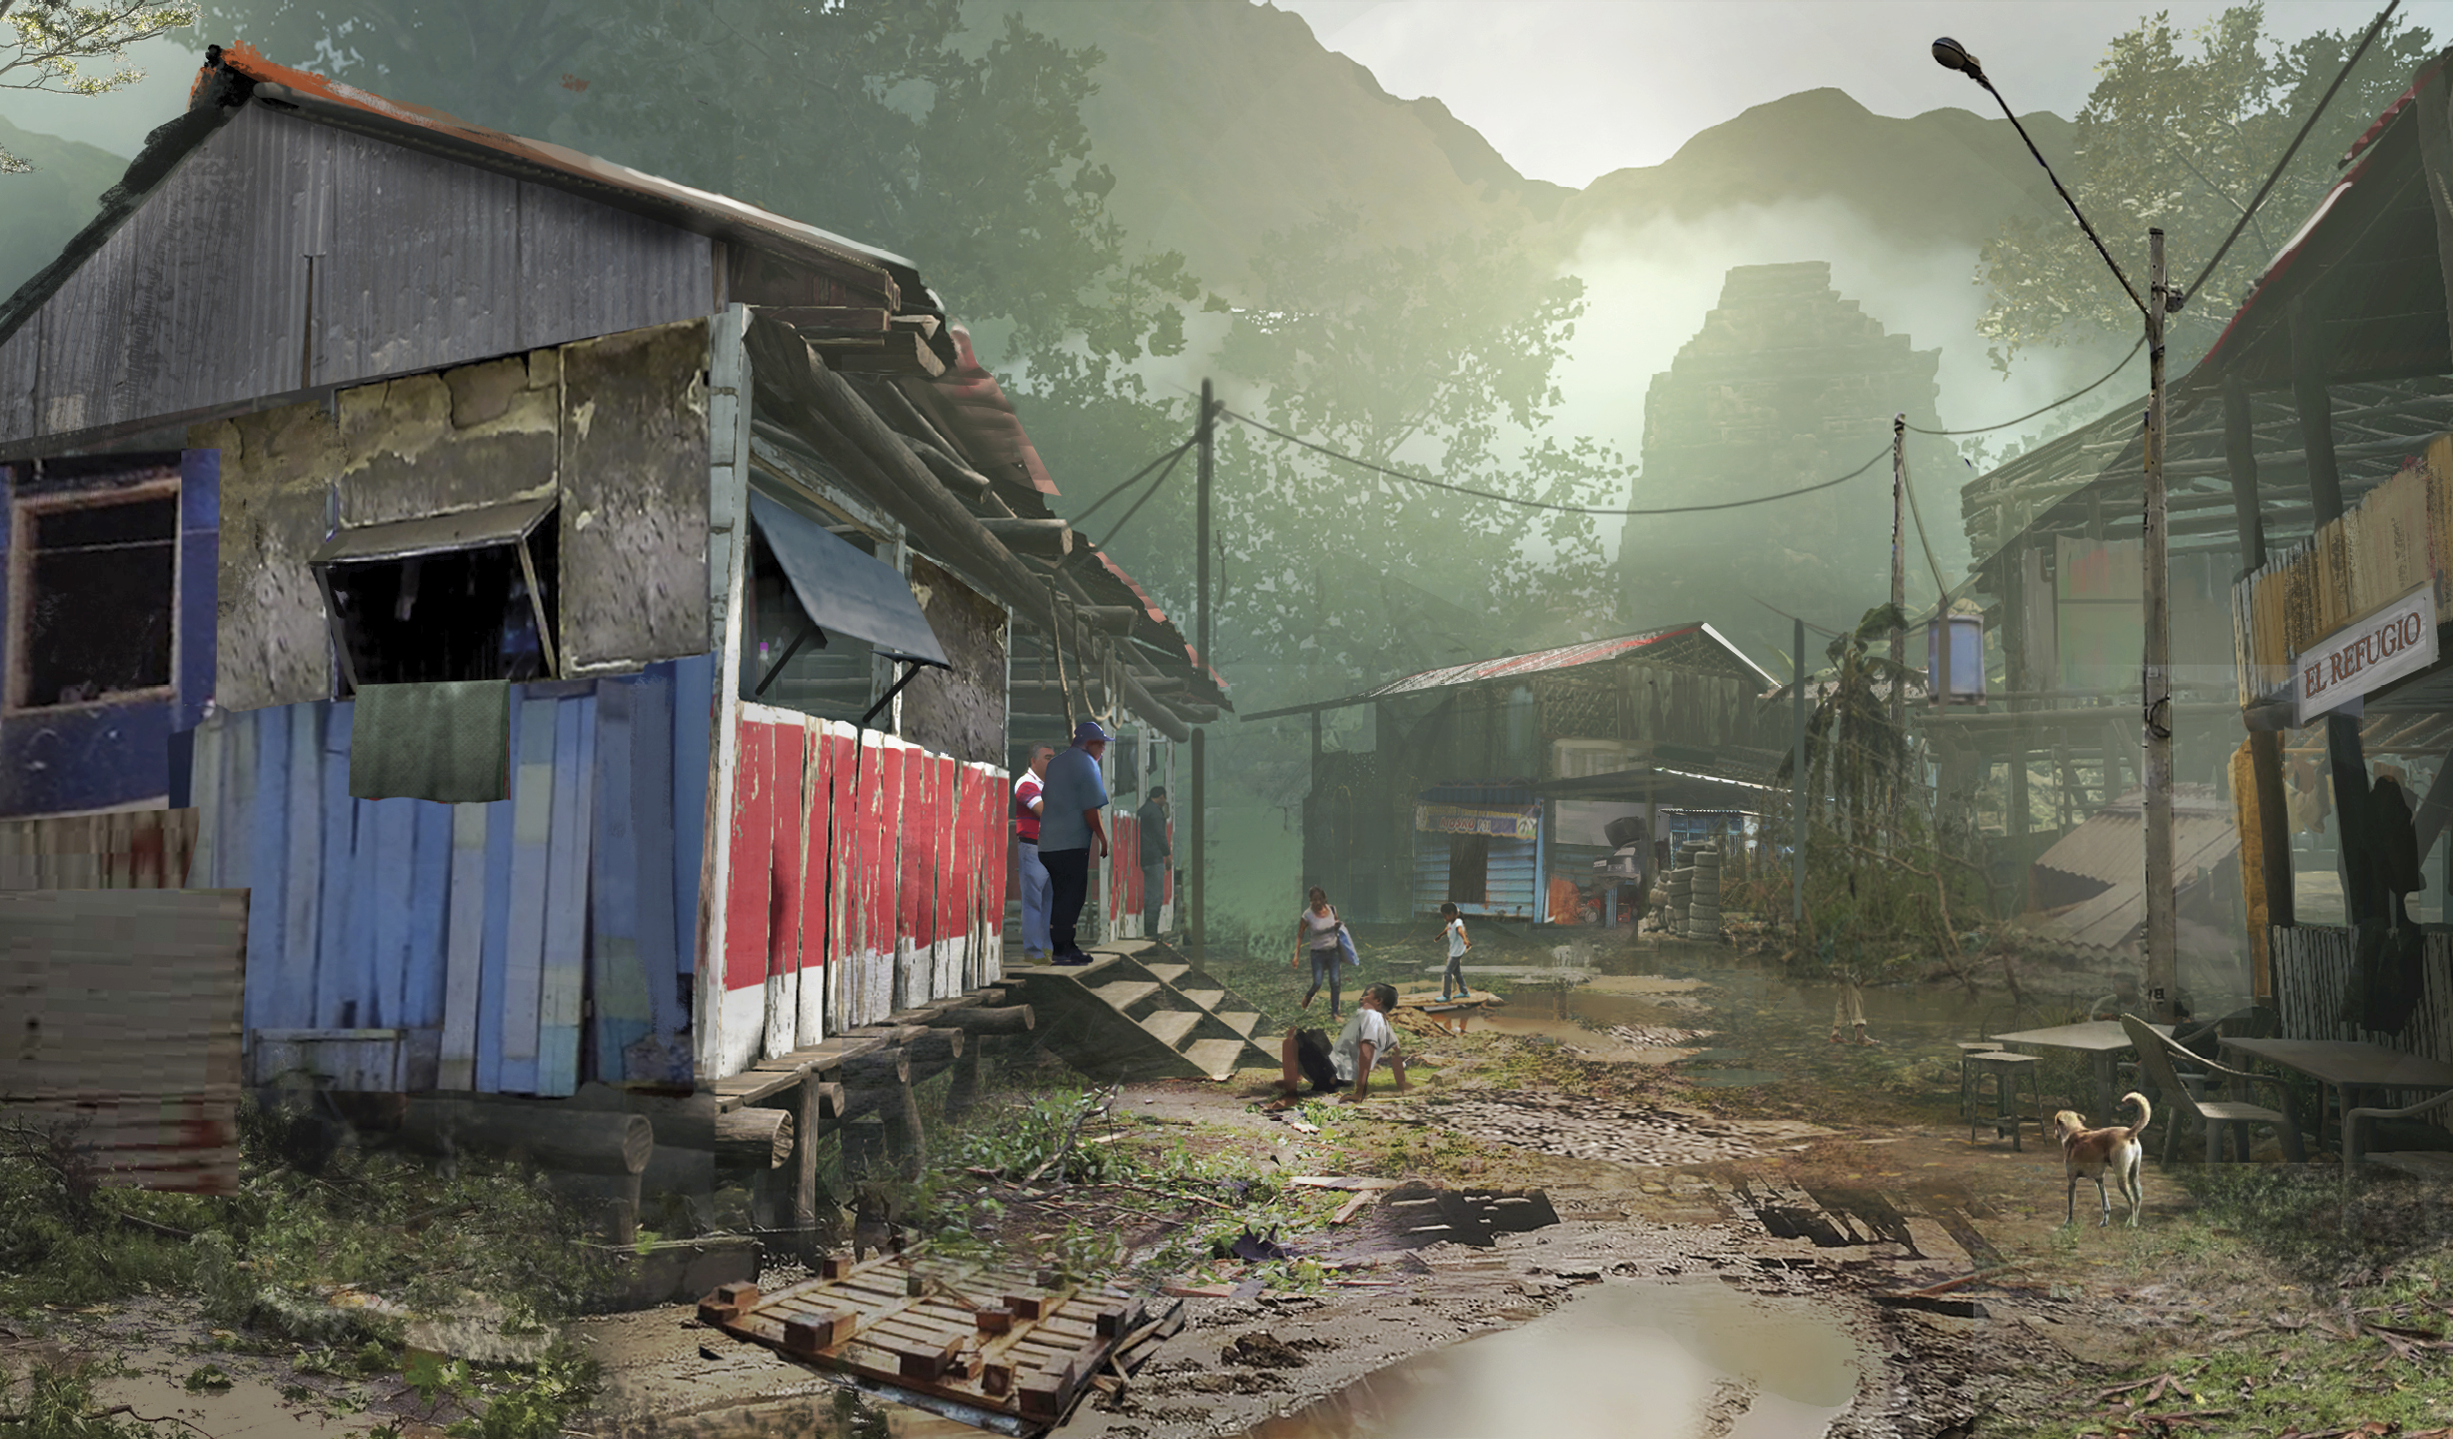
After leaving Abby and Jonah (1), you’re free to explore the village. Talk to villagers, help out Mission Givers, and search for resources and collectibles. There’s much to do in Kuwaq Yaku. A challenge tomb and crypt are available from the start; refer to the appropriate section for more details. The first Base Camp is found at the bottom of the steps ahead.
Path of the Living: Reach the Temple of Life
To continue the story, find Incan ruins (2) just north of the village and step inside. Once you regain control, dive into the water. Swim left under the bridge and through an underwater hole in the fence.
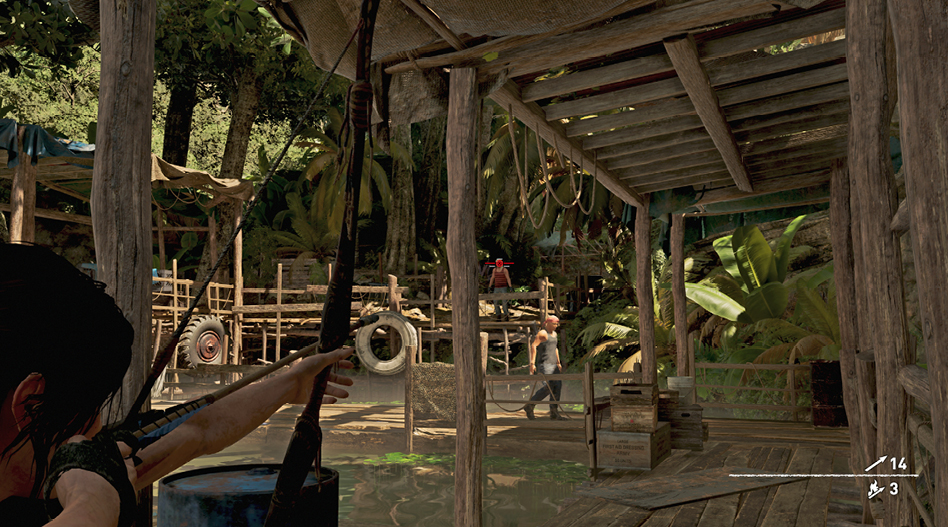
Five Trinity soldiers patrol the docks ahead; start out by waiting for the nearest foe to become isolated, and pull him into the water. Now, one enemy patrols along the dock ahead of you, two patrol the two perpendicular docks, while the final guy stands on the upper walkway at the far end. It’s best to take each one out while isolated from the others. If you’re spotted, attempt to lose them by diving into the water and swimming back to the start.
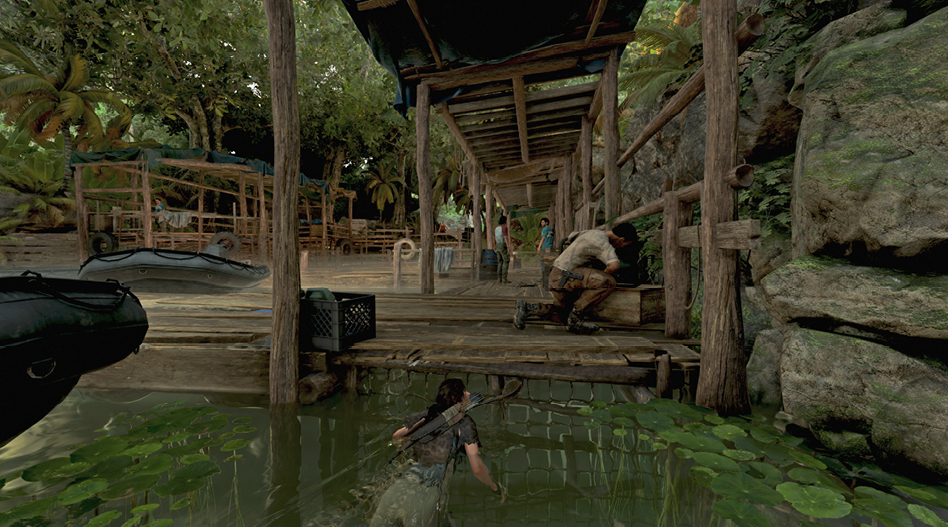
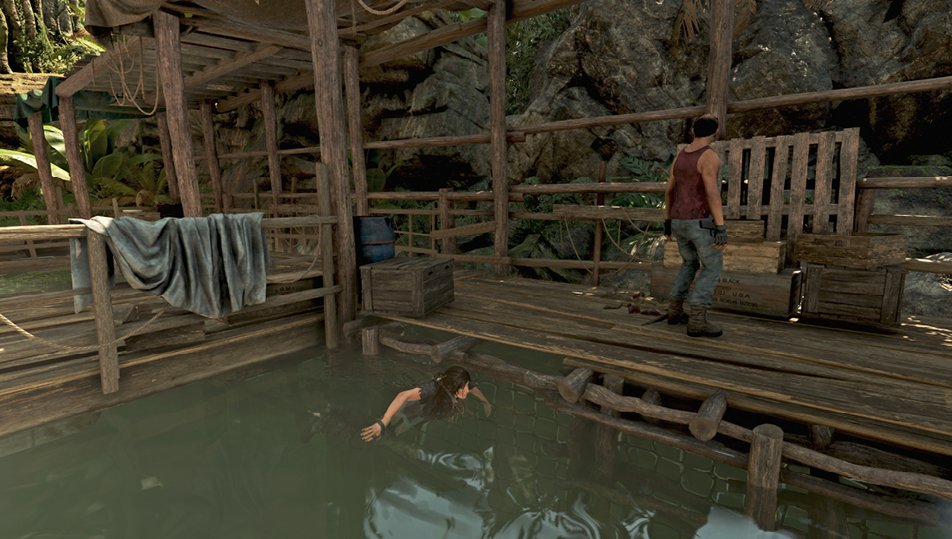
Dive under the dock and approach the first guy on the left, but don’t emerge until you see the right enemy move away from your position. Once the left soldier is isolated, pull him into the water. Swim right and take cover at the corner of the docks. Once the third guy is within range, deposit him into the water.
The far guy watches the docks from above, while the other patrols back and forth—in and out of the other’s view. Stand on the first dock, line up a headshot on the far enemy, and let it fly once the mobile foe moves to the right. Finish off the last guy and search for resources and a collectible as you follow the walkway to the Docks Base Camp.
Infiltrate the Porvenir Camp
Stop by the mud patch in the next area to cover yourself in mud. This reduces the chances of being seen, and you’re completely hidden when standing against a mud-covered wall. Wading or swimming in water removes the camouflage. Collect the items in the area before climbing through the opening in the fence.
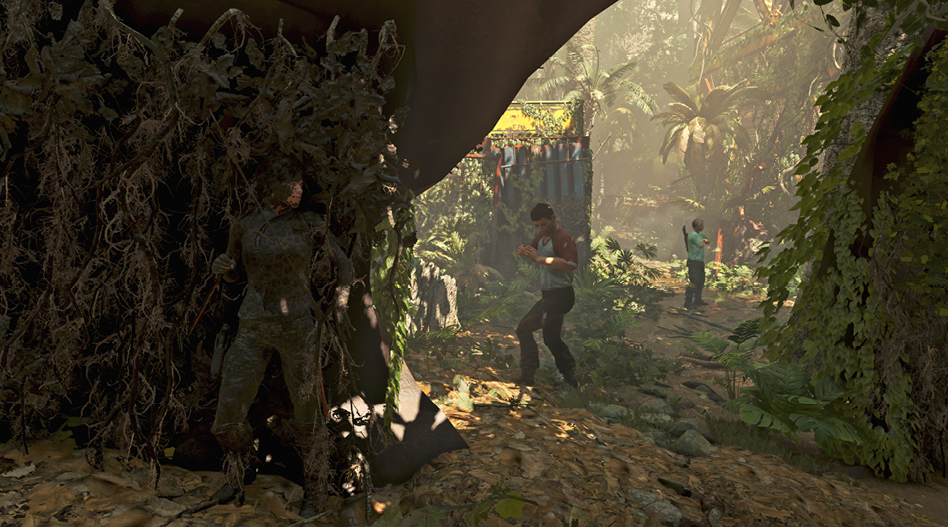
Four Trinity soldiers patrol this area: two just ahead near the mud-covered walls, and two more on the far side. One of these distant foes roams between the two locations, so stay alert.
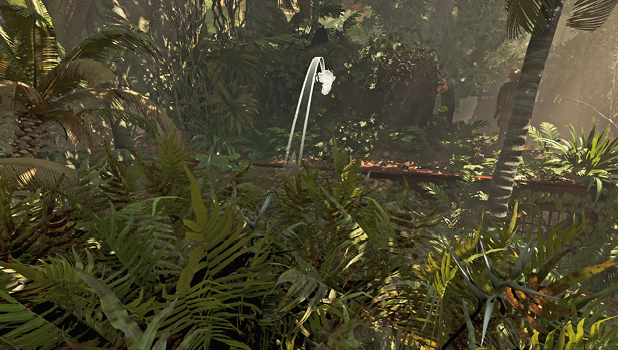
Hide in the mud-covered wall on the right and allow the mobile soldier to get within range before taking him down. Now move through the left structure, pick up a bottle, and watch the two men on the left. Throw a bottle against the tank and stealth kill the soldier that investigates. Move around the tank and take care of his partner. Finish off the final guy and move into the next area, where four more soldiers mingle.
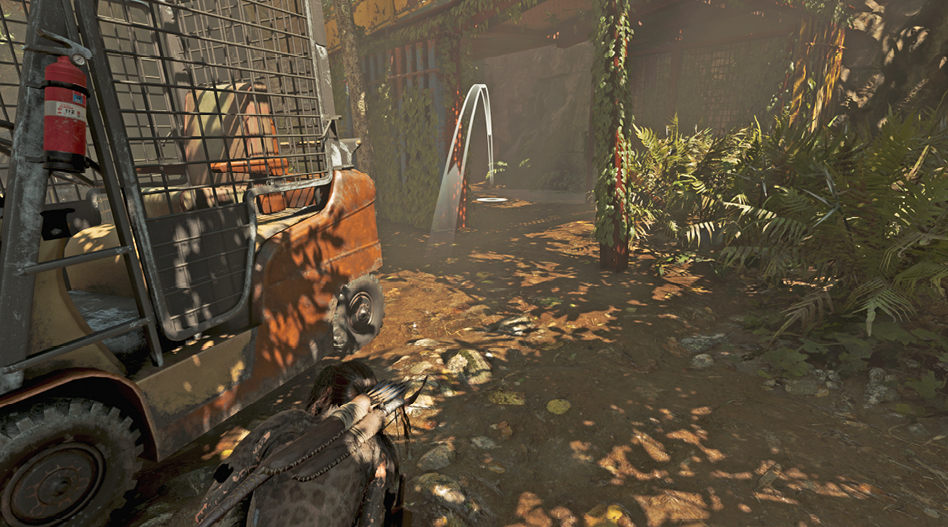
From the bush, scramble to the log and kill him as he kneels out of view of the others. Move through the opening on the left and quickly scramble into another concealment bush, where the second enemy is an easy target. Take cover behind the forklift and grab the bottle off its payload. Fling it into the shelter on the right. When someone investigates, kill the last two foes while they’re separated.
Explore the Trinity Excavation
Pry open the yellow door, jump onto the craggy wall, and rappel into the underground excavation site. Collect the resources and valuables as you descend the dirt ramp, and follow the path to the Temple of Life (3). Examine the mural to the left before heading right across the bridge to reach the calendar puzzle.
In order to pass through the central passageway, you must set the correct numbers into the two towers. Attempting to traverse the central passage with an incorrect number results in the floor collapsing, though a quick scramble gets you back to safety. Art on each side of the passage provide most of the required numbers, and cranks on the towers are used to set them. Solve the puzzle with the following steps:
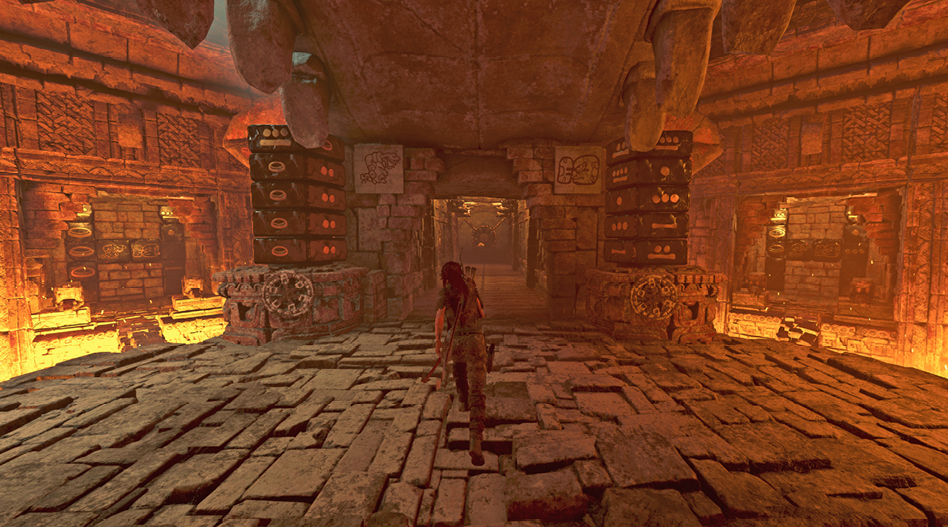
- Interact with the left crank and turn it until it reads zero. Cross the narrow bridge and interact with the block to reveal a new graphic.
- Use the right crank and set it to one. Cross the new bridge and push the block to reveal the new image.
- Set the next number on the left to zero and the right to three. Run down the center passage and interact with the stone to reveal another door, then return to the puzzle.
- Set the left tower to zero and the right to five. Again, interact with the ring at the end of the passage to reveal a third door.
- The final numbers come from the Maya Date photograph taken at the Mexican temple (Artifacts>Path of the Stars), and Jonah. Set the left disk to zero and the right to seven. Open the final door to proceed through the temple.
Head Back to Kuwaq Yaku
A Monolith is in the next room, so if you meet the requirement, find the nearby riches. When you’re ready to move on, climb through the hole in the wall. A stele (4) provides the Eagle’s Talon Skill. Search the room before moving on. Swan-dive into the water and straight into concealment.
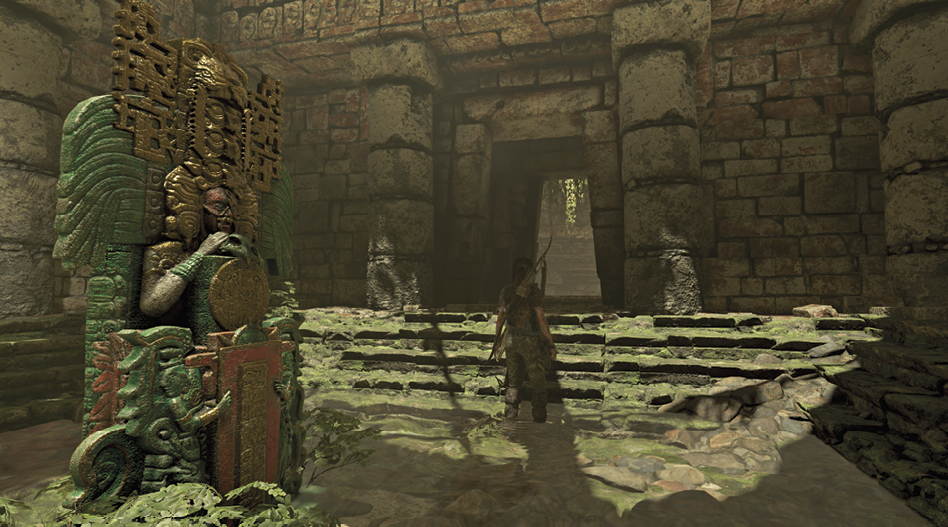
When the piranhas move past your location, swim to the trapped air, while surveying the cavern ahead. Your exit is up on the far wall, but there’s no easy way through with all the schools of piranhas in the way. A submerged building sits to the right, which holds some goodies (including a Treasure Chest, but the Lockpick is required). A path through the left ruins leads around the dangerous foes to the exit.
Swim into the ruins on the left and take the right path to an air-bubble pocket. Swim through the opening next to the air pocket, turn right, and follow the narrow path until you see steps ahead. Exit left through the doorway and swim straight for the air pocket.
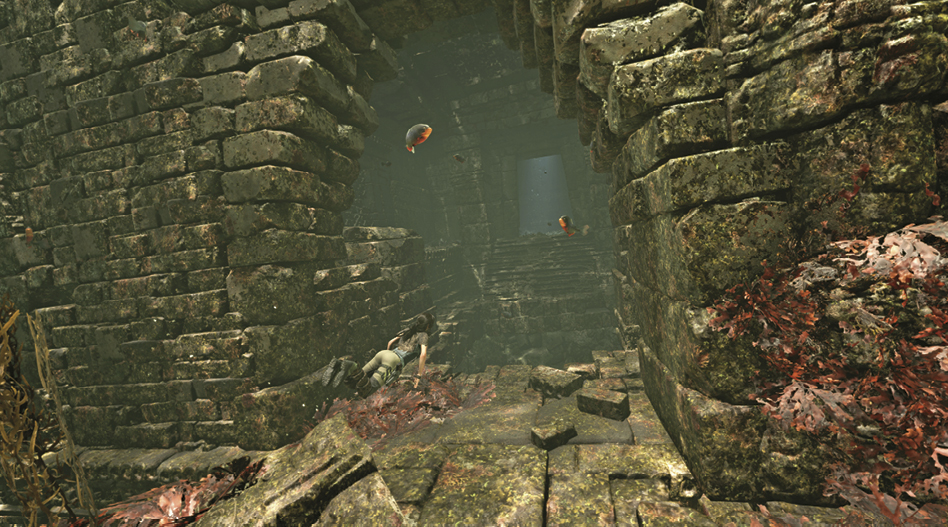
Follow the stairs around until you reach an open, sunlit room. Swim up through the openings until you surface, and then swim through the doorway. Move right and scramble up the wall to re-enter the jungle.
Path of the Dead — Return to Kuwaq Yaku
Search the area before running up the root (5) and jumping to the branch. Test your new move on the first Trinity soldier by performing a tree-canopy takedown on him. Kill the second guy with a simple stealth takedown. Continue along the trail.
At the hangar, scramble up the nearest tree and observe the enemies. The guy below your position is usually unwatched. Wait for the mover to walk away before stringing up the first guy with a rope arrow. Follow the right boundary past the wood structure and duck into the bushes. Once the mobile enemy gets close enough, kill him with a stealth takedown.
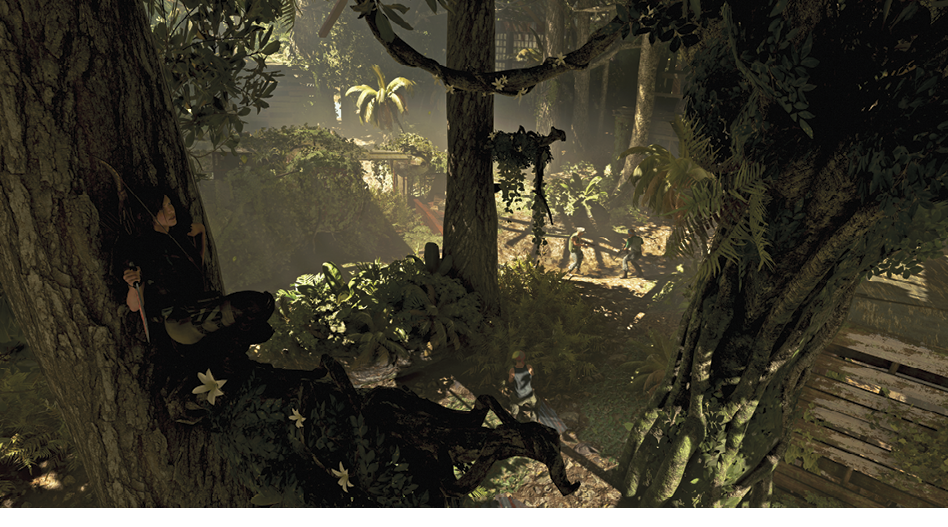
The next enemy stands facing the airplane, making him an easy target for a quick takedown. Next, climb the tree to the right. Once the guy on the right gets close, string him up in the tree. Move onto the airplane and quietly kill the armored guard.
Only three remain. Two stand guard near the exit, and a third is to the left. There are several bottles sitting around. Use one to draw the guy near the airplane away from the others. Then use another to separate the last two soldiers.
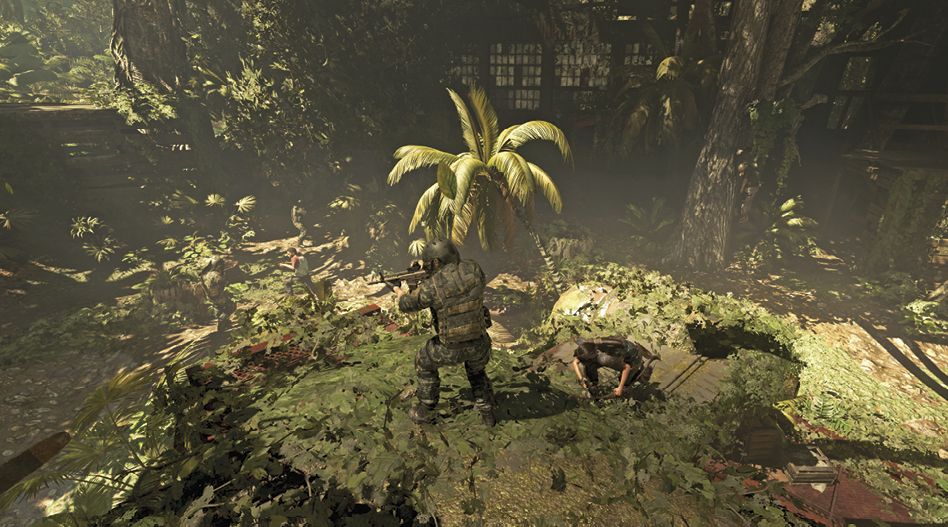
Once all’s clear, climb the far wall, run along the trail to the next clearing, and search the area. Follow the path across a pool of water and up a short ledge to reach the ruins. Turn right and stay on the trail to reach the Temple of Death Base Camp.
Path to the Hidden City — Complete the Trial of The Jaguar
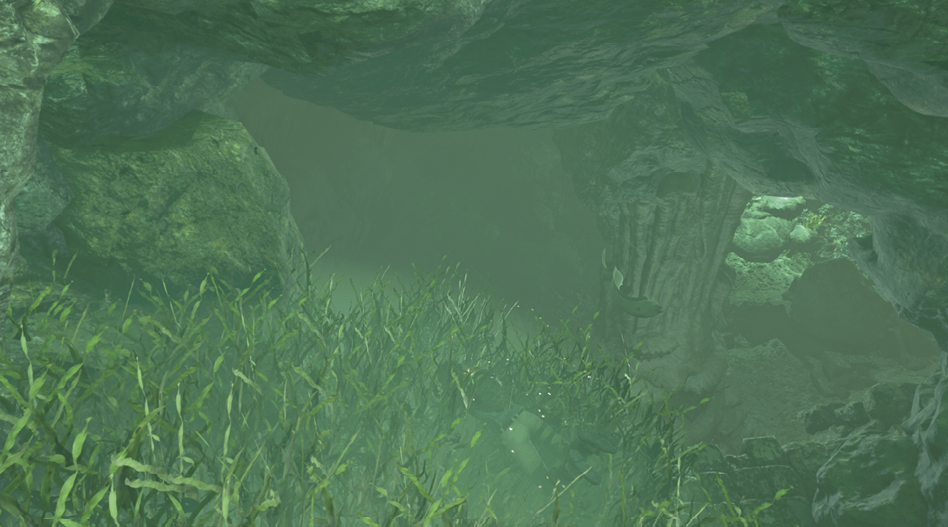
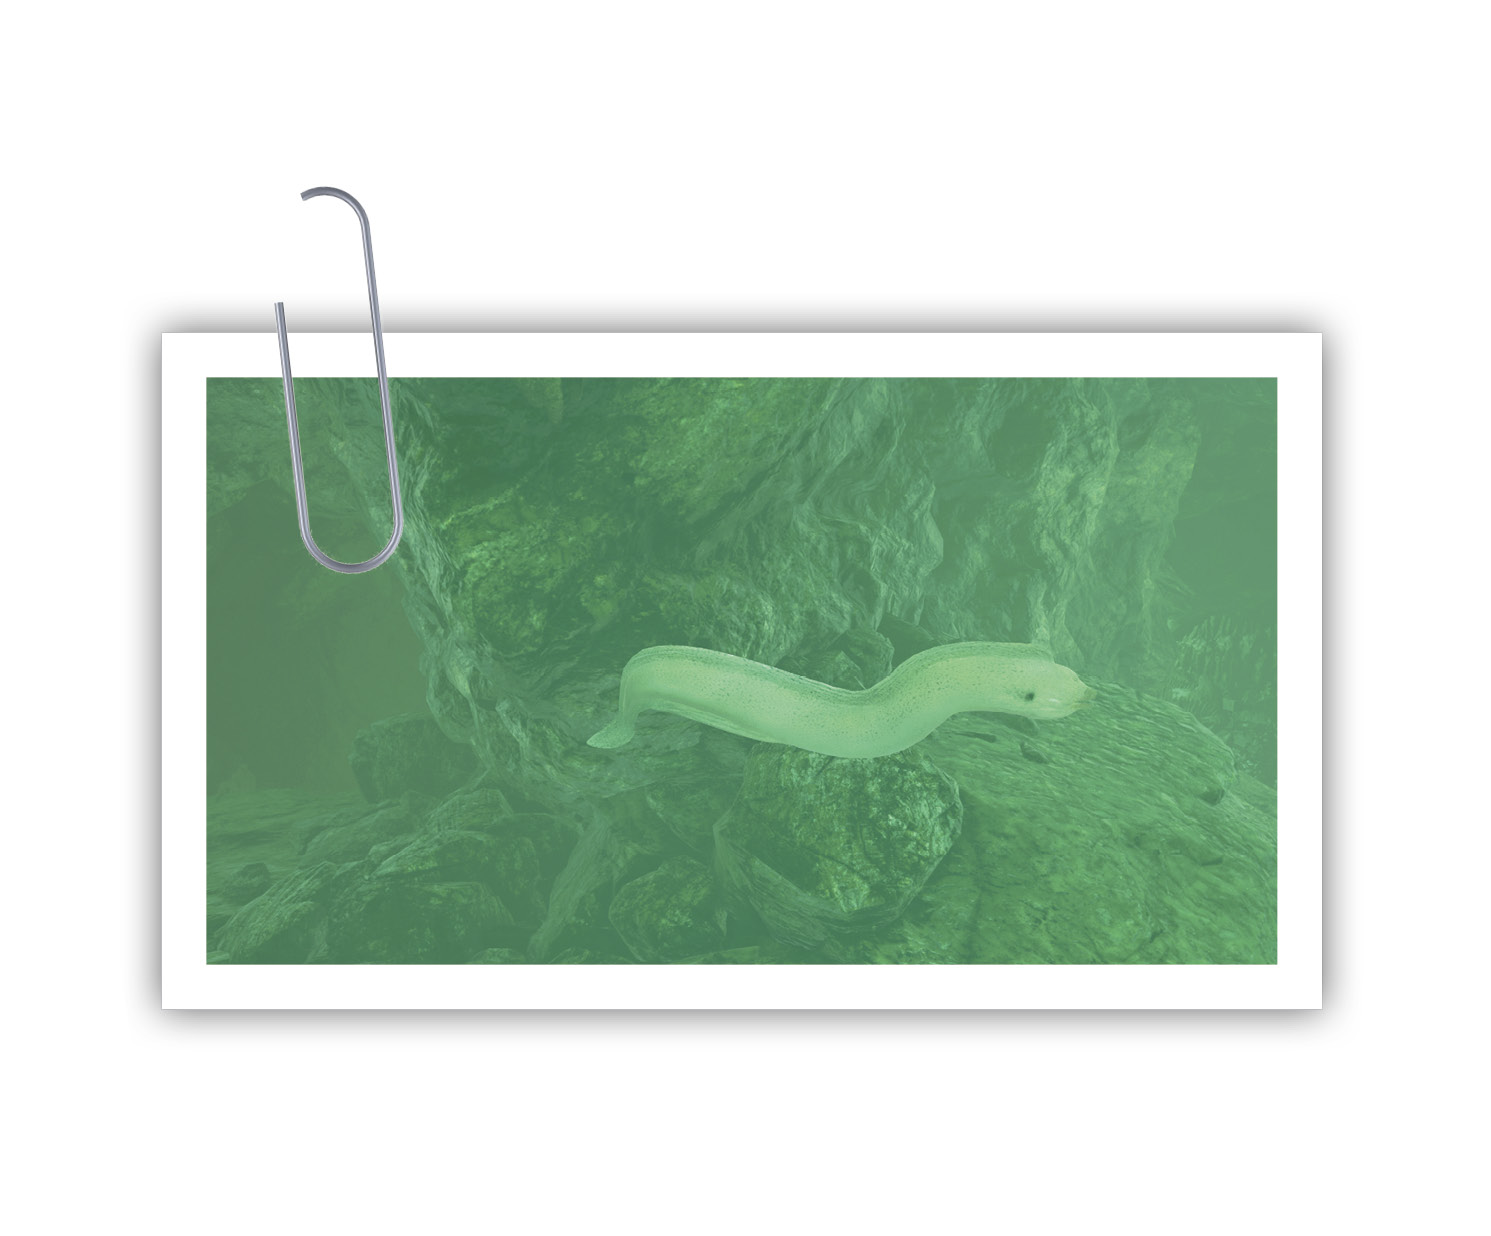
Re-enter the Temple of Death, squeeze through the hole in the wall, and descend the steps to the left. After becoming trapped inside (6), move down the steps and jump into the water below. Dive underwater and follow a water tunnel to the right. Keep moving up until you reach the trapped air. Swim forward, but duck into the underwater concealment to hide from the moray eel. When it’s safe to move on, quickly swim forward and take another breath at the next air pocket.
Complete the Trial of the Spider
Continue straight until Lara squeezes through a crevice and ends up in a cavern. From the rock platform, leap toward the left side of the wall and climb up. Shimmy and jump to the right corner, and then leap to the craggy wall. Scale up and right, then follow the path until it splits. Go left, jump toward the sunlight, and climb into the circular chamber to find rare resources. Exit through the small tunnel on the other side.
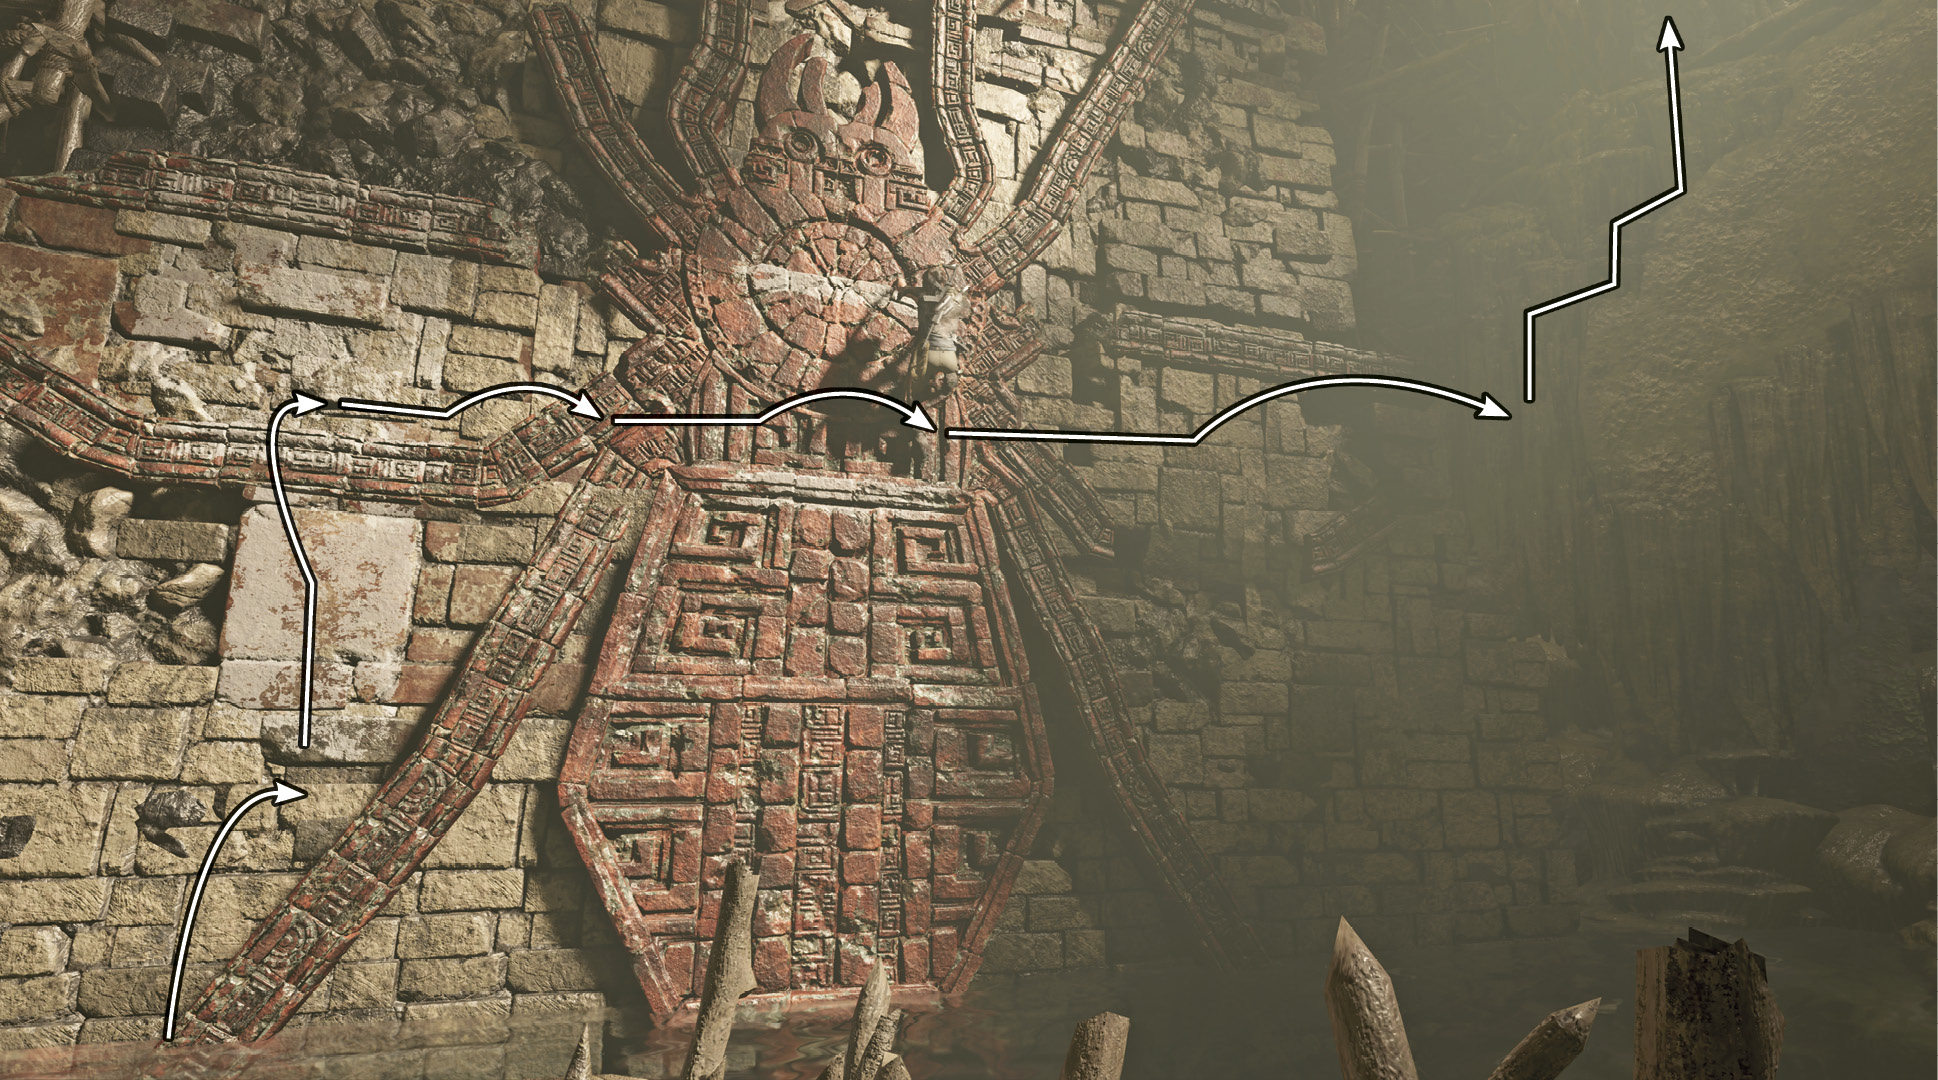
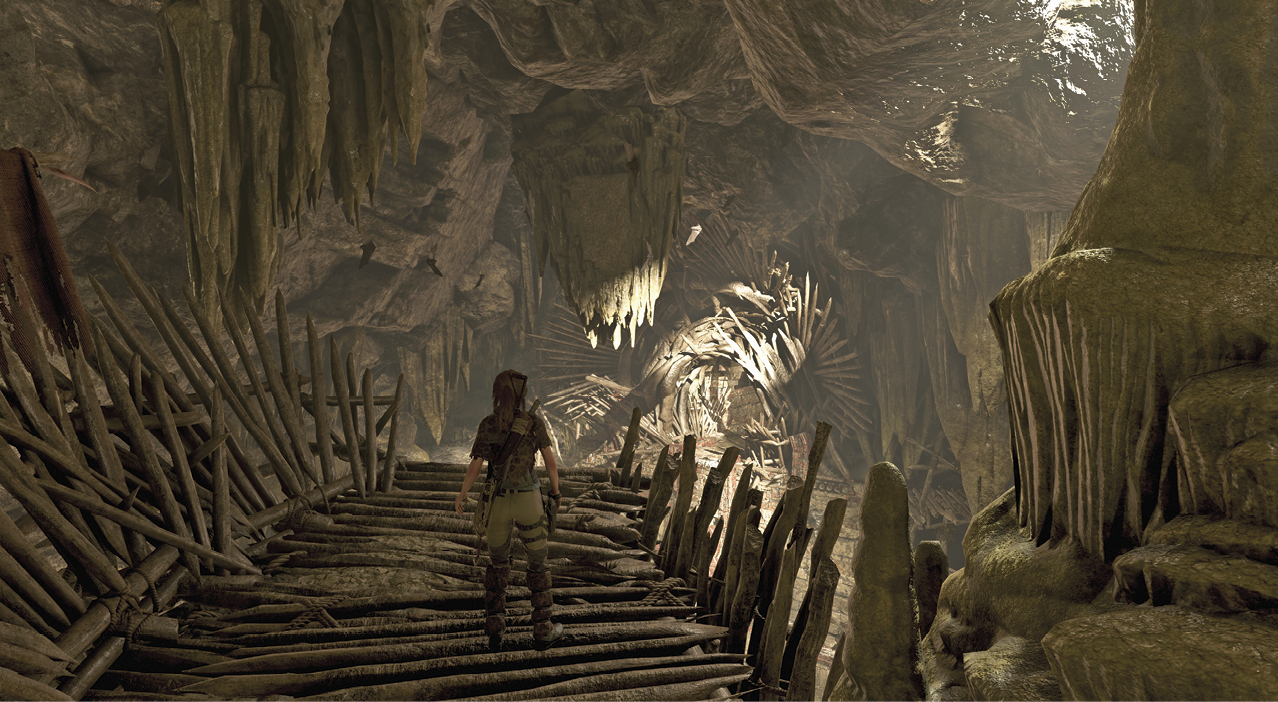
Turn left at the cliff edge, and when you can’t go any farther, leap toward the climbable wall. Throw your Grapple Axe to grab on. Swing back and then forward to build momentum, and jump to the ledge above the wall you climbed earlier. Follow the corridor to exit the cave and find the next trial.