Shadow of the Tomb Raider Guide The Journey Chapter 6: Return to Hidden City
Return to Hidden City
CHAPTER: 06
Location: Paititi, Peru
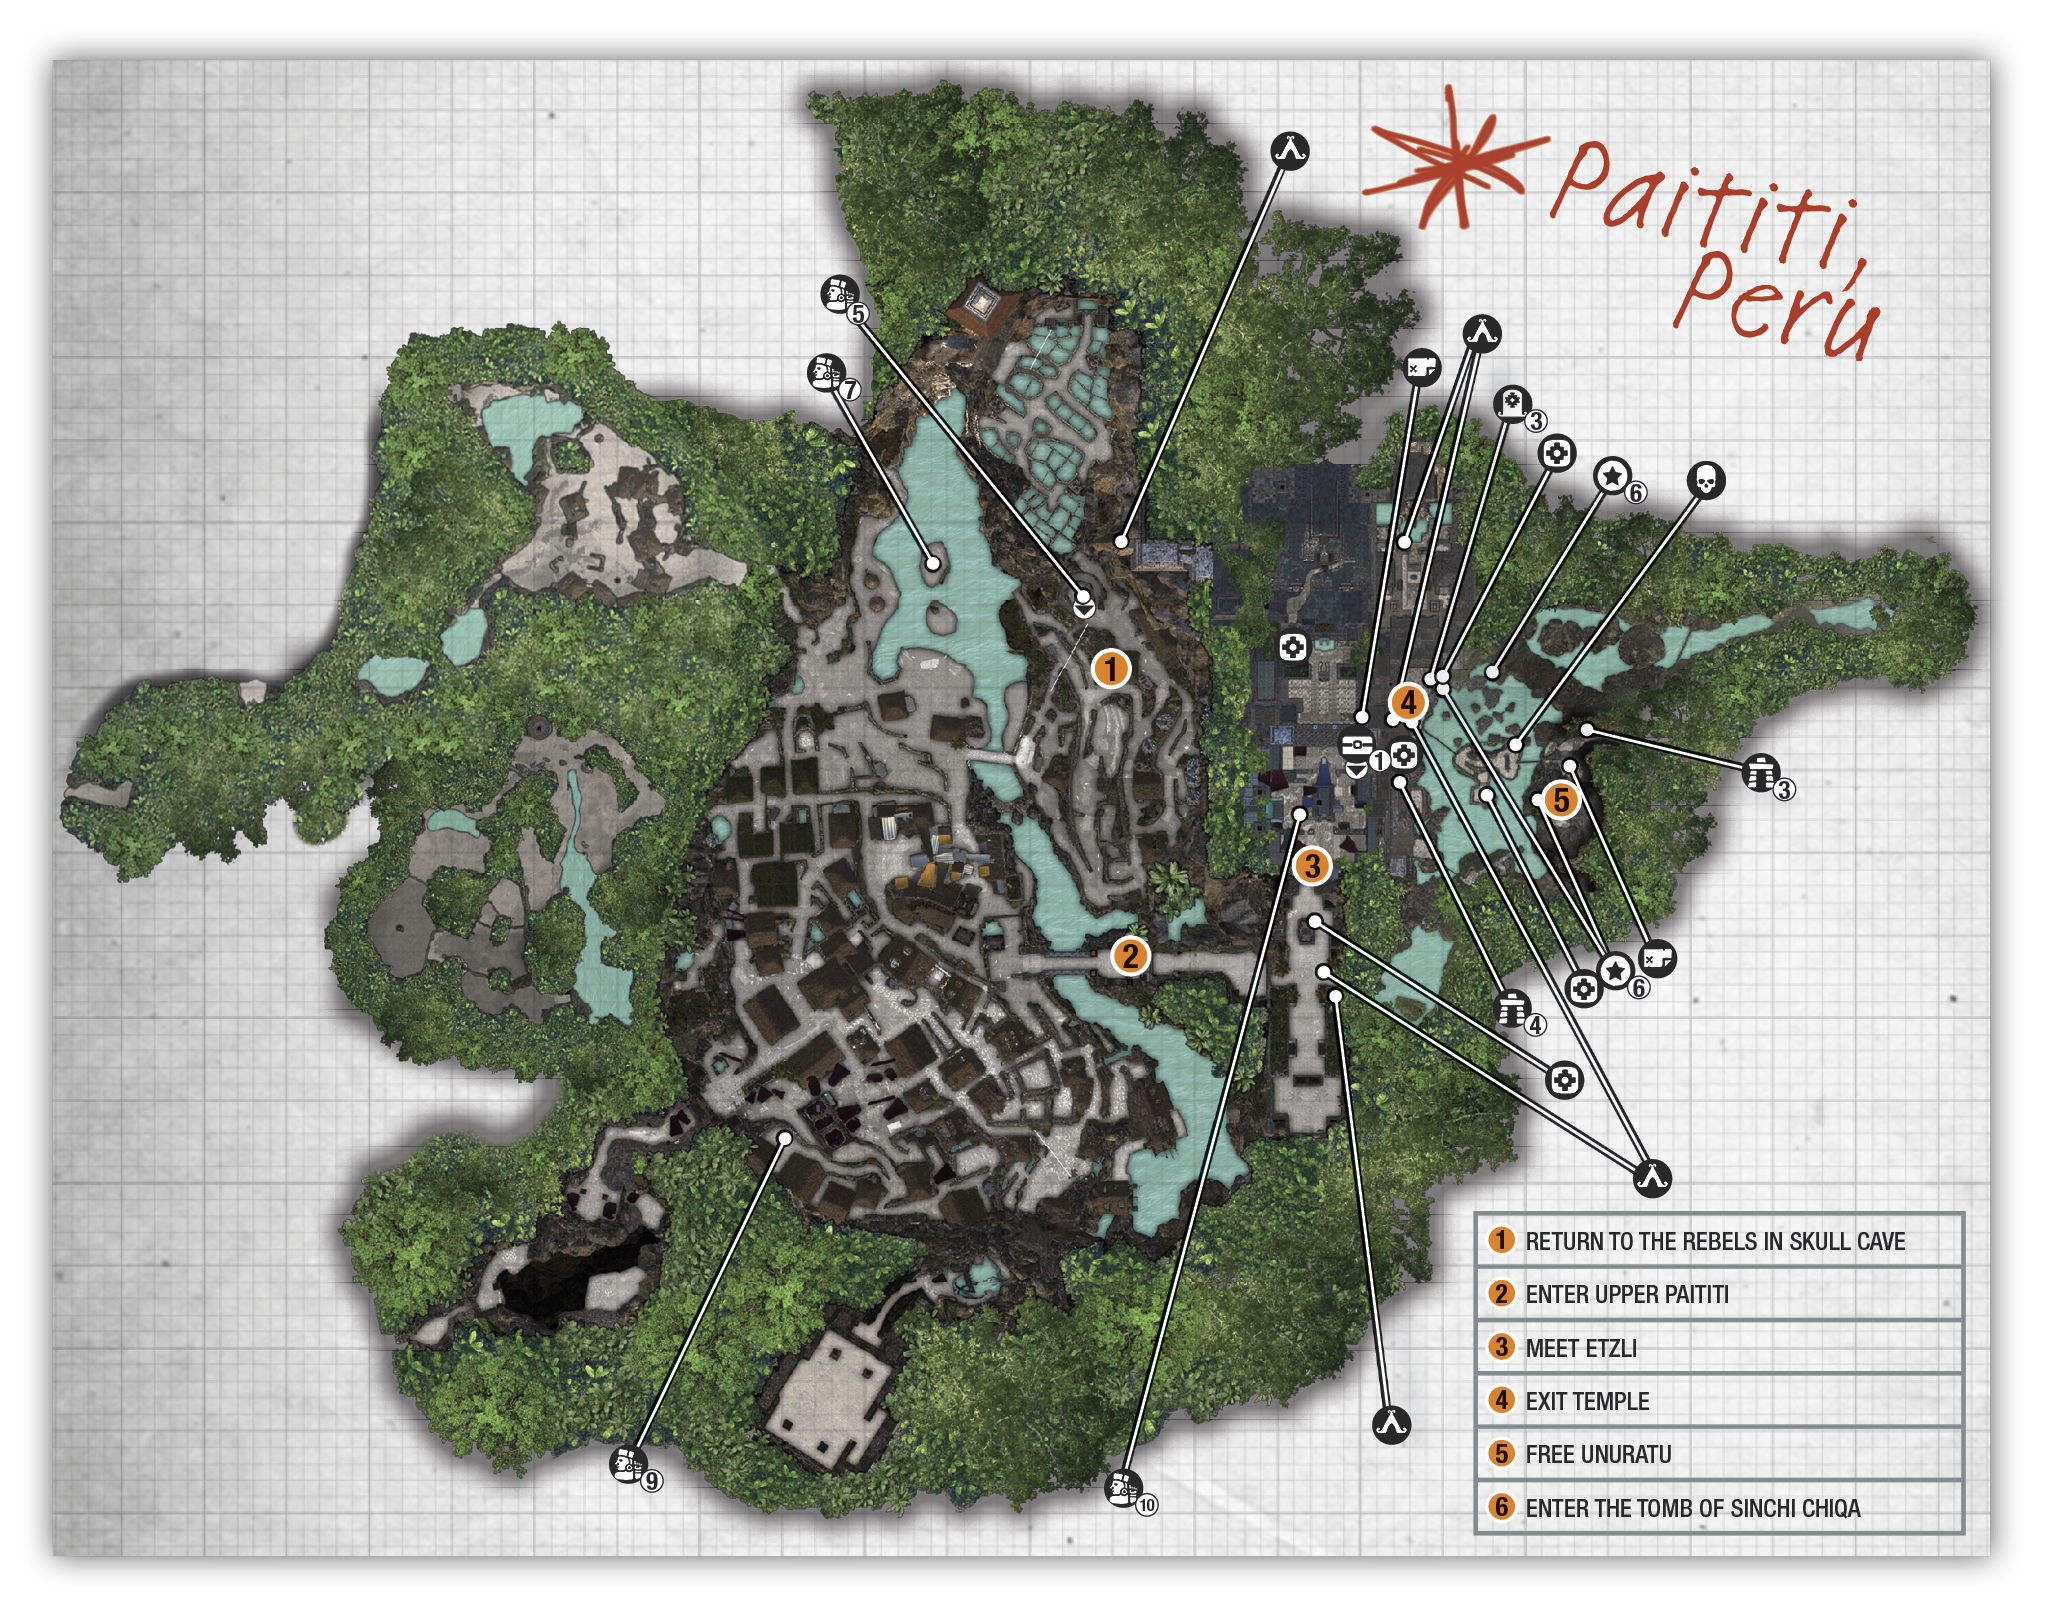
Region Summary
|
|
|
|
|
|
|
|
|
|
|
|
|
BASE CAMP |
CHALLENGE TOMB |
Mission GIver |
Challenge |
TREASURE CHEST |
Crypt ENTRANCE |
RELIC |
Document |
Mural |
Survival Cache |
Monolith |
|
11 |
3 |
11 |
6 |
3 |
5 |
28 |
42 |
23 |
34 |
7 |


 Main Story Objectives

- Head to Unuratu’s
- Meet Etzli in Upper Paititi
- Break Unuratu Out of Prison
- Find the Tomb of Sinchi Chiqa
- Defeat the Cult of Kukulkan Warriors
New Side Missions
 In the Midnight Hour - Freedom
 In the Midnight Hour - A Particular Set of Skills
 Knowledge of Evil - Ancient Studies
 Knowledge of Evil - Gods and Monsters
 Wolf at the Door - Widow’s Tears
 Collateral Damage - Stay of Execution
Challenges
 Speak of the Dead: Uncover four crypt secrets.
 Dunkin’ Bones: Knock three skeletons off their poles into the river.
New Challenge Tombs (Skill)
 Ancient Aqueduct (Jaguar’s Paw)
Crypts (Treasure)
 Uturunku, the Ferryman (Vestige: Ch’Amaka’s War Vest)
 Qispi, the Merchant (Vestige: Yaway’s Wooden Greaves)
 Rebellion Lives —
Find the Rebel Cave

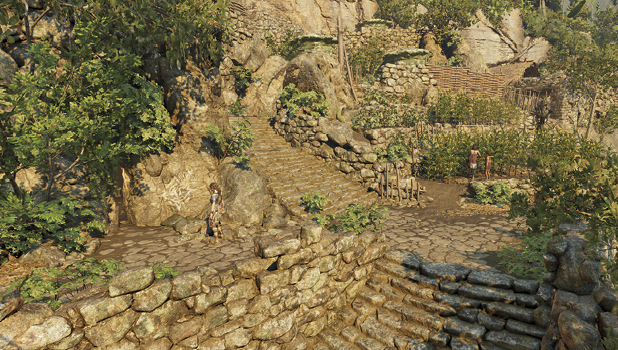
Head toward Unuratu’s home. As you do so, Jonah informs you that they’ve moved to Skull Cave (1), located on a lower tier from Unuratu’s. Head to the objective marker to find a crevice in the wall, and check in with Jonah and Uchu.
Meet Etzli in Upper Paititi
Head to the main bridge near the Market District, and cross over to Upper Paititi. Slip through the opening (2), and follow the corridors ahead and to the right. Keep an eye out for Artifacts and other valuables along the way. A Monolith stands at the far end before objective markers lead you back the other way.
The Upper City Main Gate Base Camp is available just before you meet up with Etzli (3). Besides discussing entry into the temple, he also mentions a friend in need—which begins “Collateral Damage - Stay of Execution” side mission. This is an ideal time to complete the mission, but it’s not necessary to the story. Refer to the “Side Missions” section later in this chapter for full details.
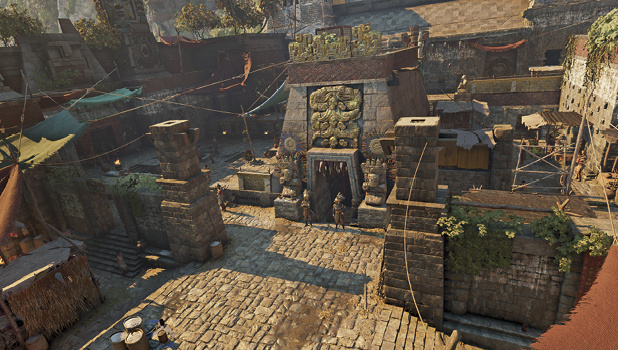
There are numerous Artifacts and resources in the area too, making it well worth the effort to explore before you continue the story. A treasure chest is also available, if you’ve purchased the Lockpick.
Enter the Temple of Kukulkan
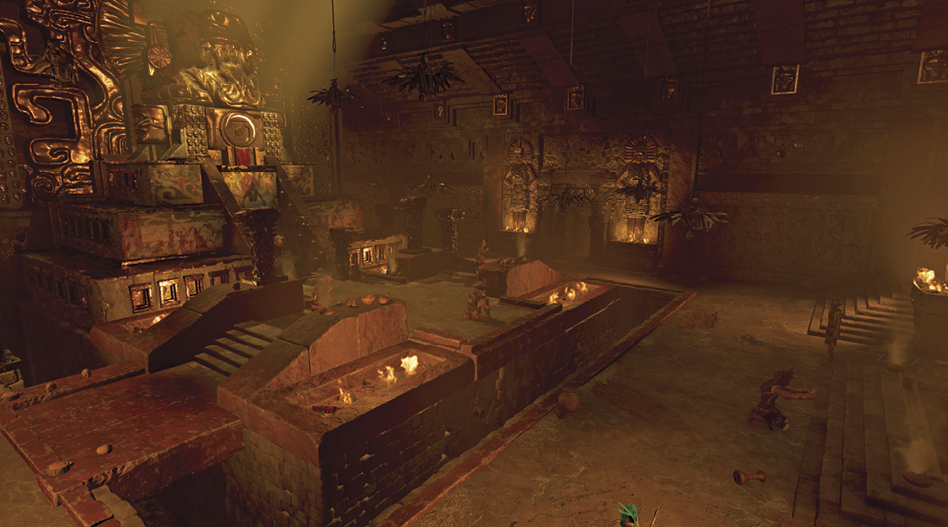
Walk up to the pair of guards at the temple entrance, and move inside. Descend into the temple, explore the big room (there are numerous resources and Artifacts to be found), and exit out the right side. The corridor leads you back outside (4), next to a raging river.
Break Unuratu Out of Prison
Guards block the bridge, so turn left, leap to the craggy surface, and move right.
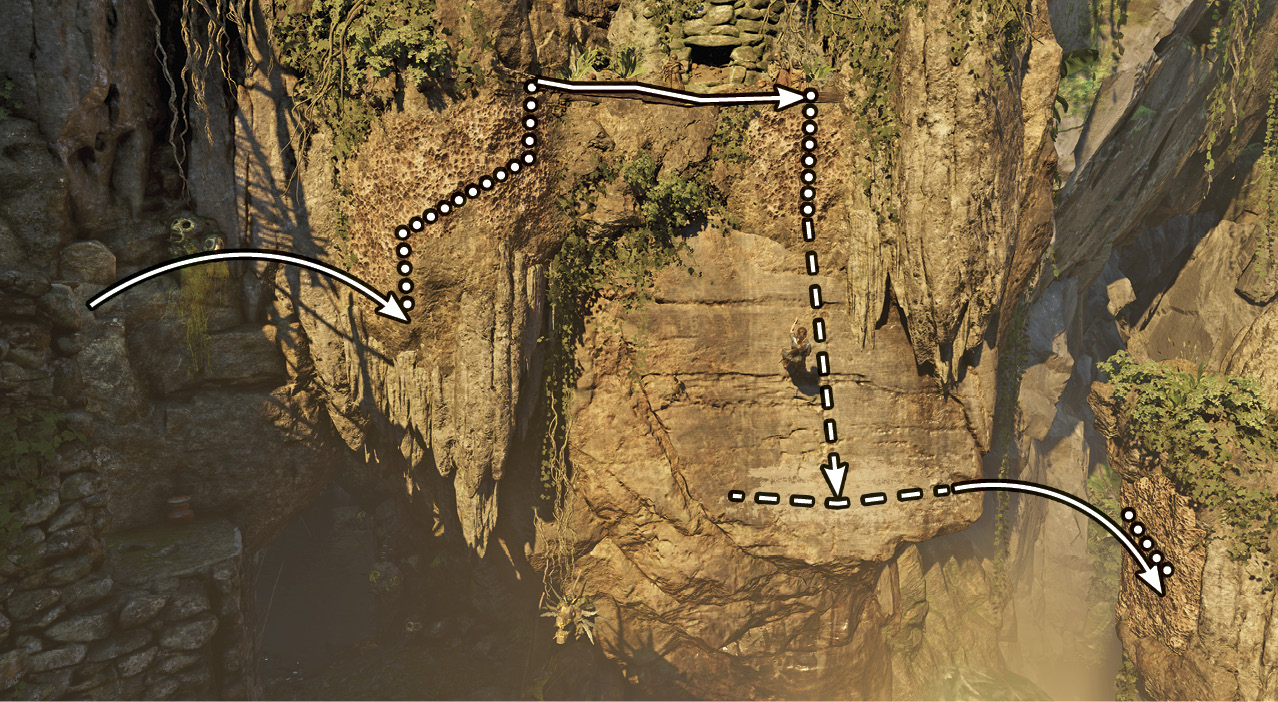
- Climb up to the beam and shimmy right. When it breaks in the middle, grab on by pressing the Interact button.
- Continue right and then down at the climbable section. Rappel all the way down and wall-run through the hanging skeleton. Descend farther; wall-run left, then right; and jump to the craggy surface. Be ready to throw the Grapple Axe if it looks like your jump is short.
- Quickly move left as the surface crumbles in from the right. Leap to the shallow shelf and shimmy left.
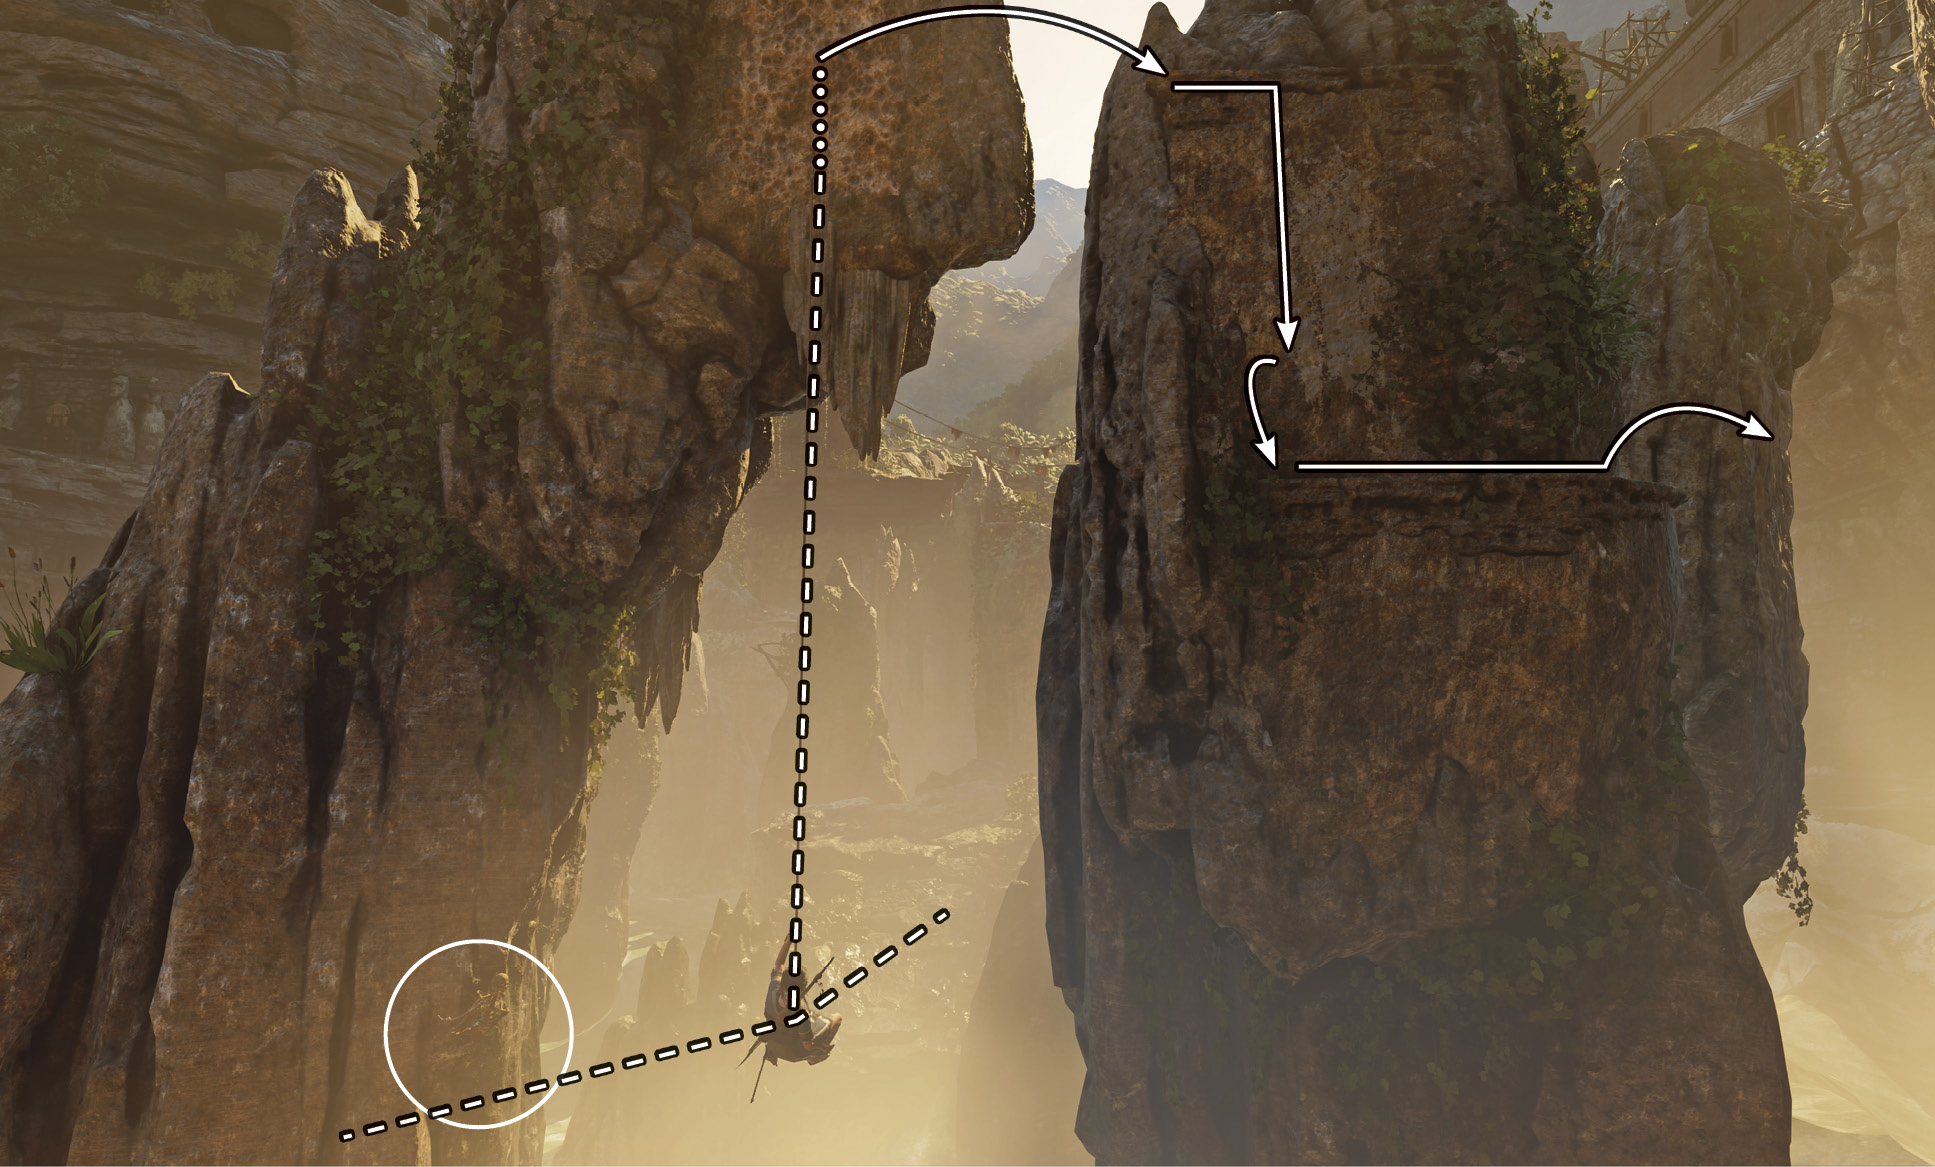
- Scramble up the wall above to another ledge, then leap left to the climbable surface. Rappel down and swing left and right until you take out the second skeleton. Now readjust your swing and leap to the plateau.
- Leap off the far side and wall-scramble up to the craggy portion. Scale up to the right and climb onto the small butte.
- Jump toward the metal hooks and use the Grapple Axe to swing over to a ledge on the side of the prison.
- Shimmy and jump to the left until you can climb up the cliff. Stand next to the post and hang off the side to find an Explorer Backpack. Climb back up, tether a rope between the post and the rope-wrapped beam on the other side of the river, and monkey-crawl across.
- Swing on the pole to the right to reach the pillar, and shimmy right along the shelf. At the other end, climb up and right.
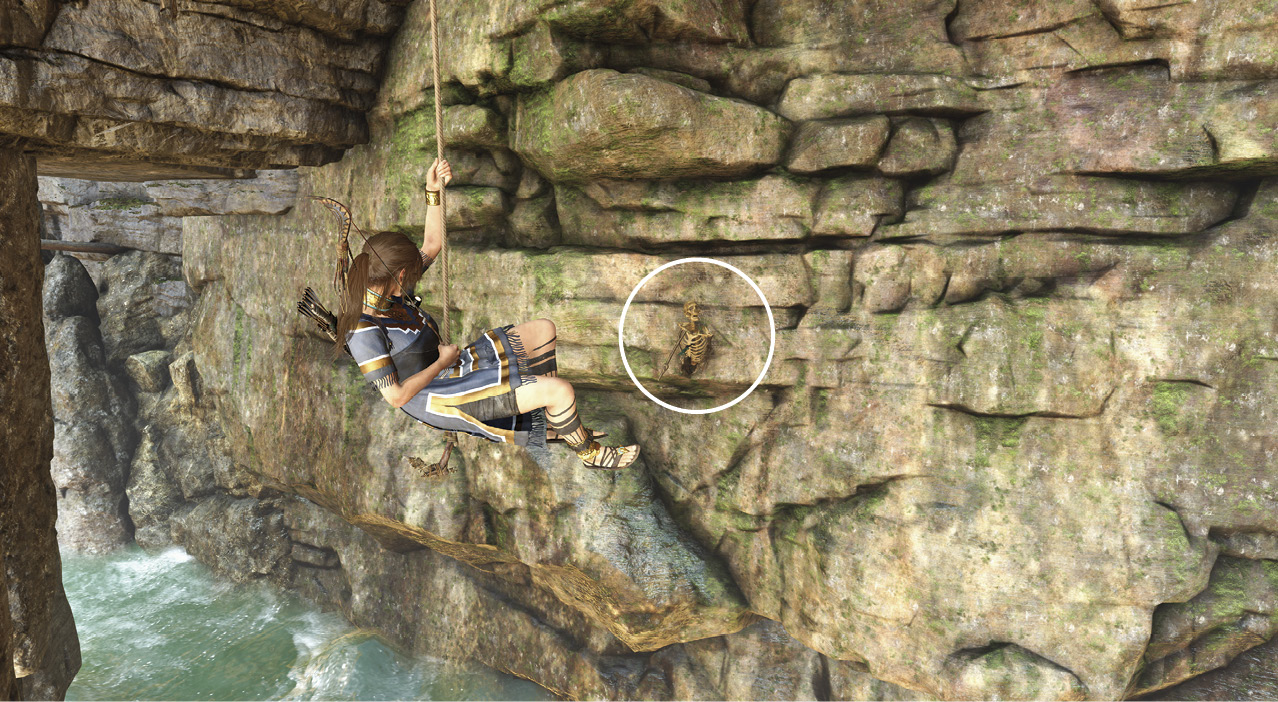
- Leap toward the overhang above the cliff face and throw the Grapple Axe to grab on. Rappel down until you’re even with the third skeleton, and swing into it to complete the challenge.
- Climb onto the overhang and move right, performing a lateral jump to clear the gap.
- Continue along the craggy portion right and up until you can pull up to the ledge. Jump up, shimmy right, then pull up to the next ledge.
Wall-scramble into the window to find Unuratu (5). After searching the cell, bust through the weak wall to free the rebel leader.
Last Emperor —
Find the Tomb of Sinchi Chiqa
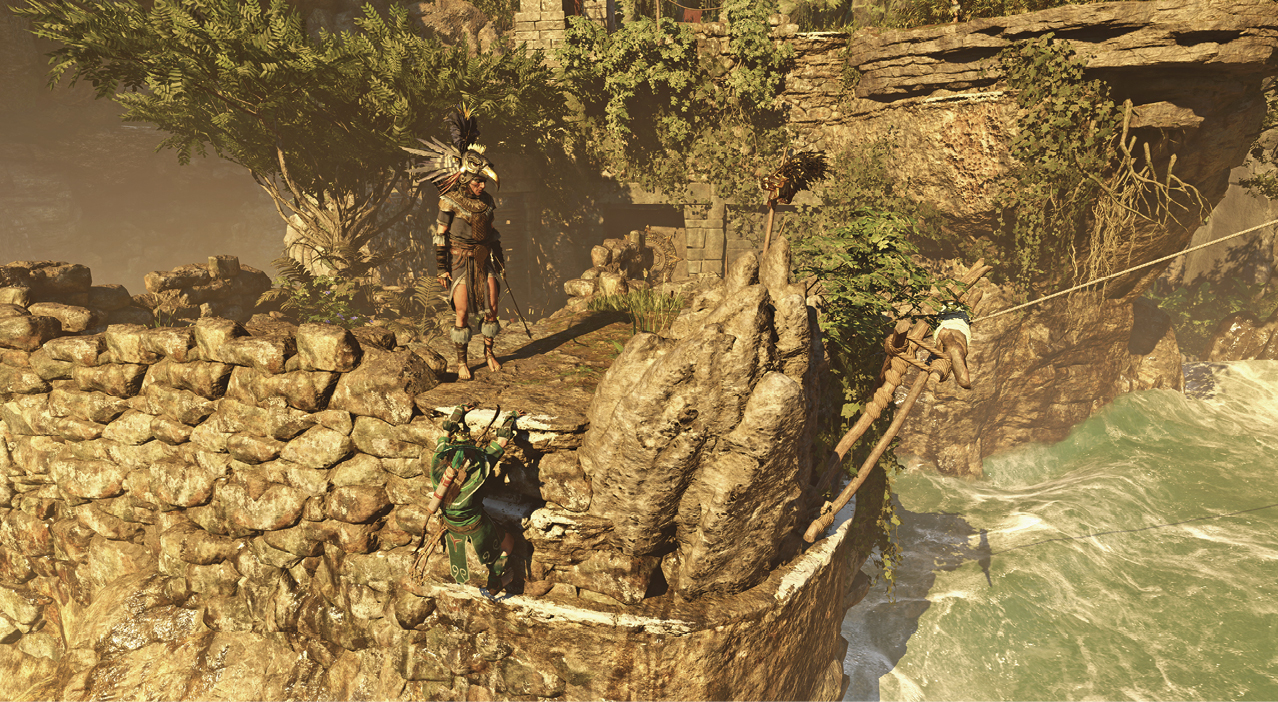
- Step to the edge of the wood platform and tether a rope to the coil on the side of the plateau ahead. Slide down to the narrow shelf.
- Shimmy left and climb up until you can pull the cultist soldier into the rushing waters.
- Follow the path down to a small wood ramp, leap toward the craggy cliff, and use the Grapple Axe to grab on.
- Pull up to the ledge, shimmy left, then climb up to find an archer oblivious to your approach. Pull him into the river.
A Monolith stands to the right, if your Ancient Dialect is high enough. Turn around, climb the steps, and cross the eastern suspension bridge to find a room full of collectibles. Next, cross the bridges to return to Unuratu.
Follow Unuratu through the temple until you emerge back in Upper Paititi. Stay with her through the crowd of followers and through a gate on the far side. This puts you close to the Emperor’s Tomb.
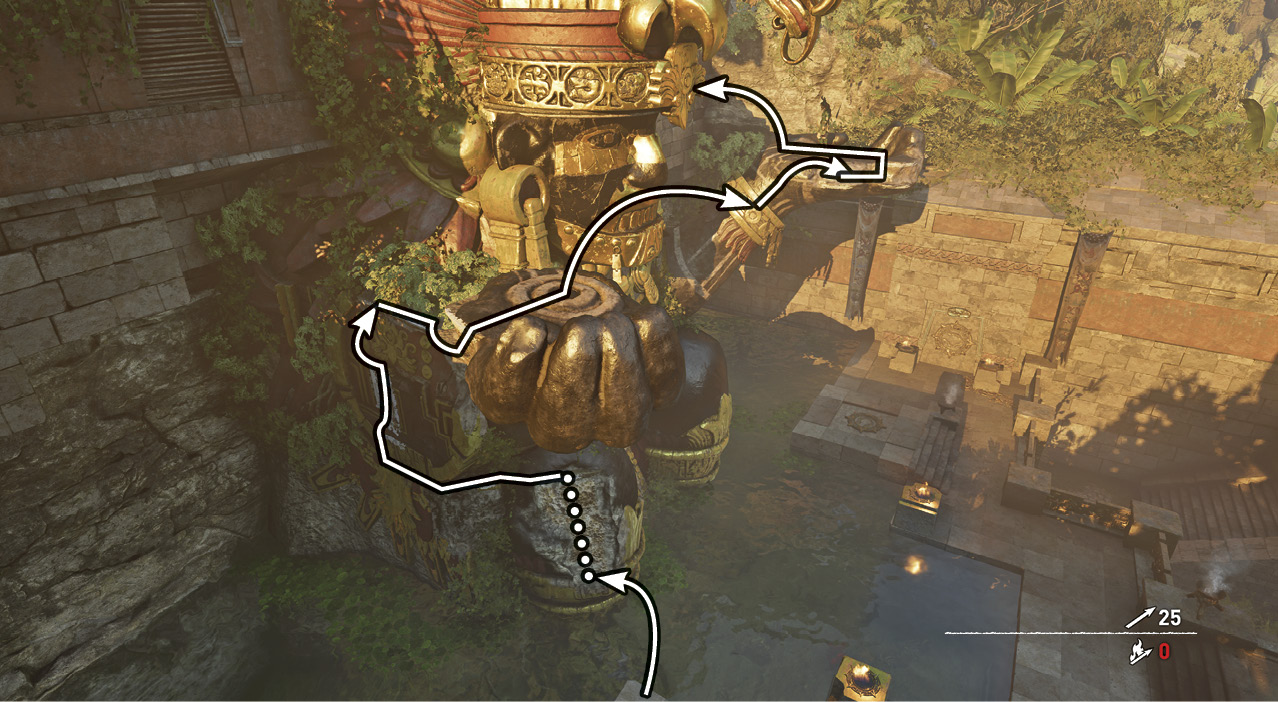
- Run left and scramble up the wall. Run toward the statue and leap to the craggy surface on its leg.
- Scale up, then shimmy left along the shelf. Move up to the vegetation, then shimmy right to reach the hand. Pull yourself into its palm.
- Leap toward its left hand, and throw the Grapple Axe to swing on the metal hook. Shimmy right and pull up to reach its palm.
- Face the opening on the side of the temple, jump toward the ledge, and use the Grapple Axe to grab on. Pull up into the window (6).
Explore the tomb as you move through, eventually exiting out to the top of the statue.
Defeat the Cultist Warriors
A string of warriors and archers enter the arena from the far side and begin searching the area for you. One typically stands on the central platform, looking out over the area. Concealment bushes and vegetation walls provide cover all over the courtyard, allowing you to scramble around with minimal fear of detection. Be careful on higher difficulties, as the enemy locates you more quickly.
Move between the vegetation in search of isolated warriors, and pick them off with stealth kills. If you’re spotted, run around the structures before vanishing into concealment. Listen to the enemy banter; they let you know whether they’re currently tracking or have lost sight of their target. Be sure to heal after taking damage.
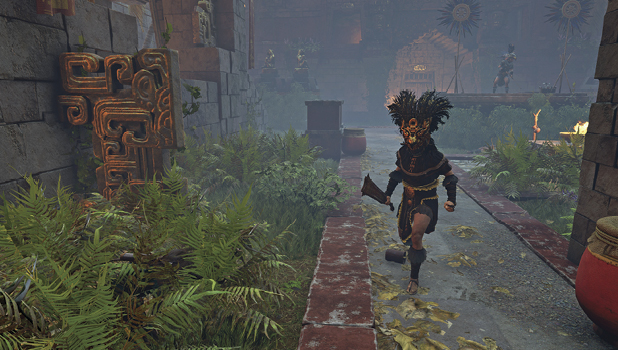
Red explosive urns sit along many of the walls, providing a louder approach to the fight. Wait for pursuers to move toward an urn, and hit it with an arrow to cause heavy damage. Getting the group’s attention can cause them to bunch up more, providing better opportunities for multiple kills. Watch out, as they start tossing fire your way if provoked.
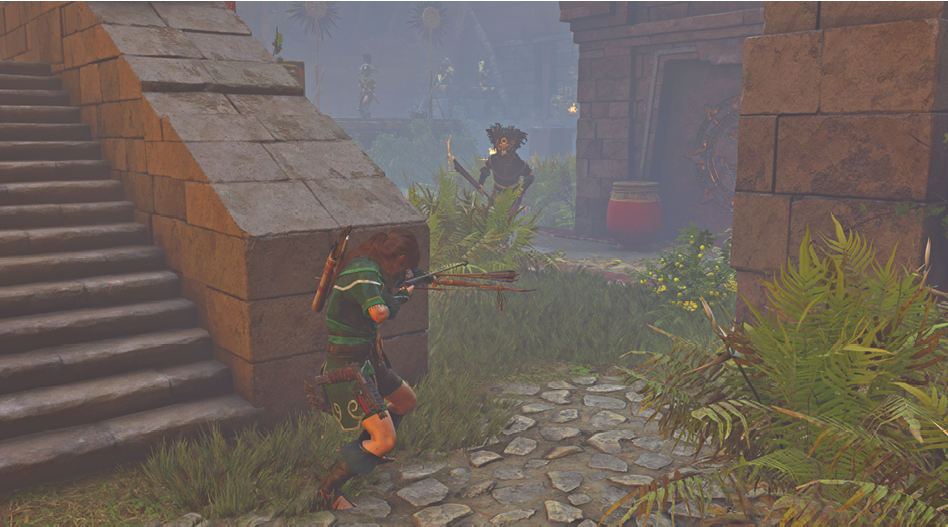
Once the objective switches to “Find Jonah,” make your way toward the exit. You can continue to fight if you wish, but it’s not necessary. A mason jar sits on a ledge along the right wall and near the exit. Use a smoke bomb to take out the archer guarding the exit, and move through the opening. Note that you cannot leave if engaged in combat.