
Shadow of the Tomb Raider Guide The Journey Chapter 2: Peruvian Jungle
Peruvian Jungle - Crypts
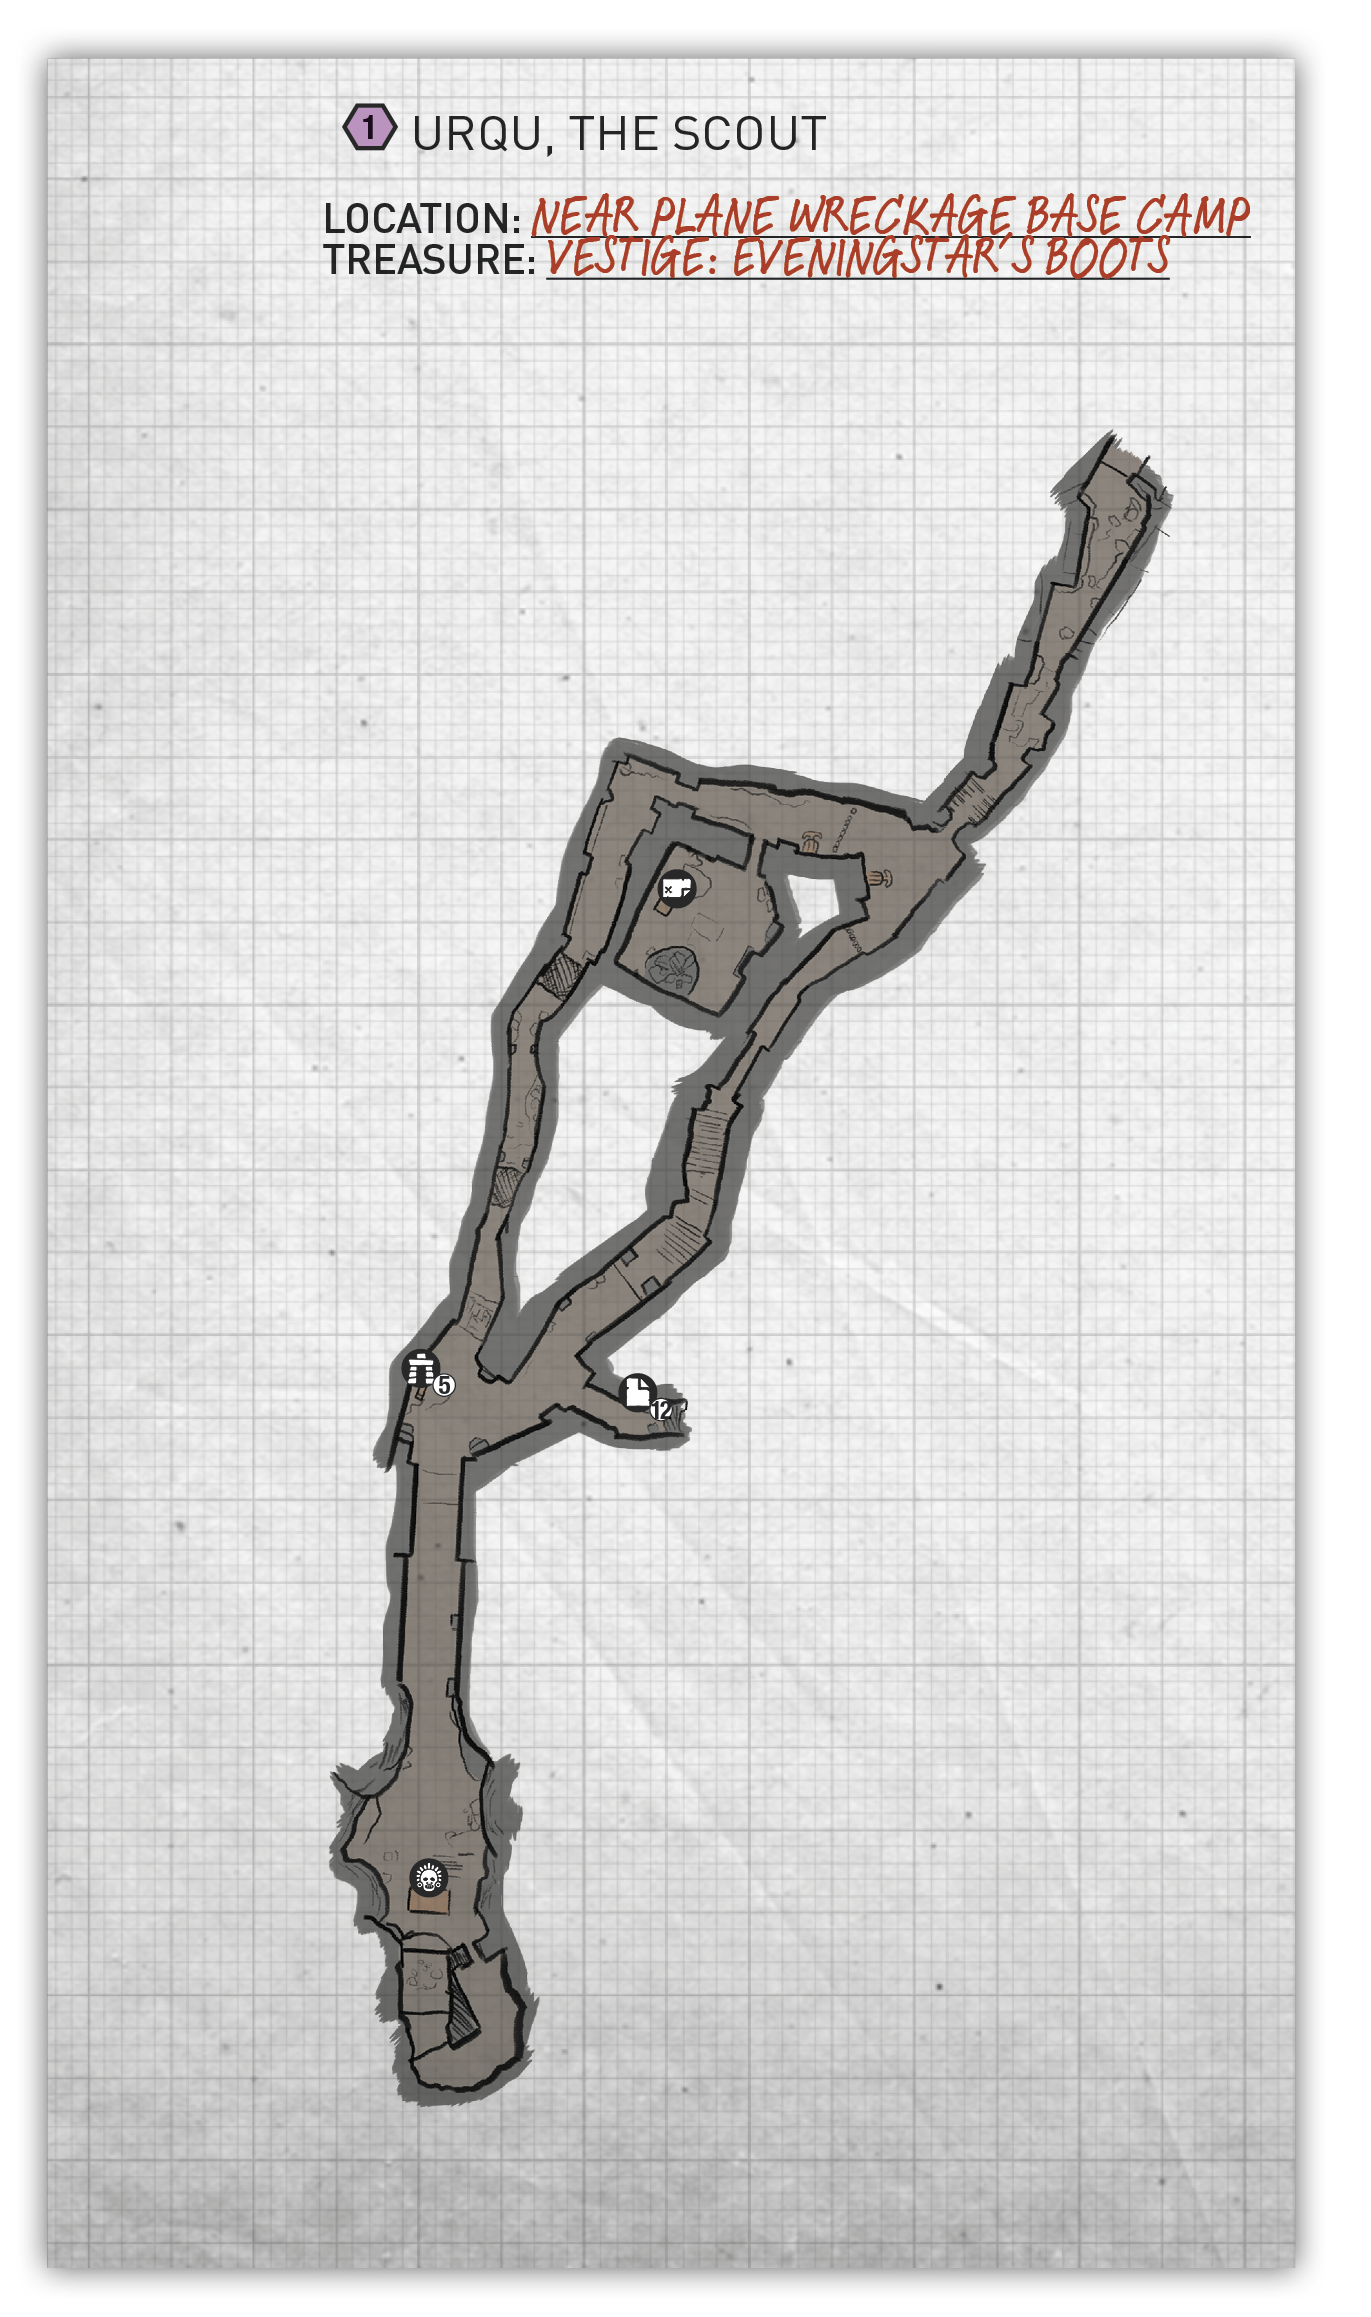
Access the Crypt
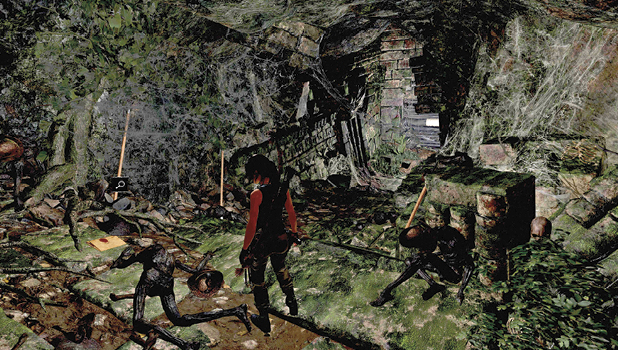
While you can tackle this crypt as soon as you have the bow, the climbing axe is required to gather all resources inside. Head southeast from the Plane Wreckage Base Camp to find the crypt entrance. Use a rope arrow to pull down the obstruction. Head inside and squeeze between the spears.
 11 document
Struggle For Power
- Dialect: N/A
- Nearest Camp: Plane Wreckage
At the entrance to the Crypt, before the Rope Pull barricade.
Find the Sarcophagus
The path immediately splits, but both routes are currently blocked. Use the switch to lift the left gate, and slosh through the thick mud. Slow down as you near the bottom of the steps, and look down when the corridor turns right. A rope has been stretched between the two sides and is connected to spears inside the walls. Use your knife to cut the rope and release the spear trap, or simply hop over the line. Scramble underneath the spears to reach the other side. Search the small cubbyhole on the left before moving on.
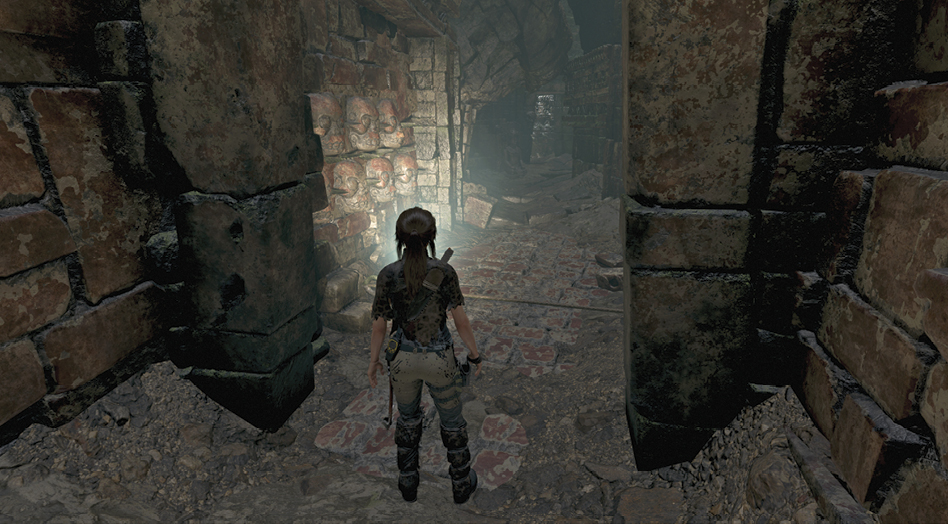
12 document
Jack’s Journal 2
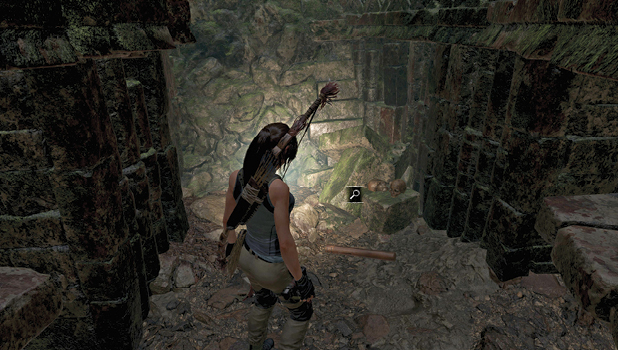
- Dialect: N/A
- Nearest Camp: Plane Wreckage
In a small room to the left, after passing the spear trap.
 05 MURAL
Urqu, The Scout
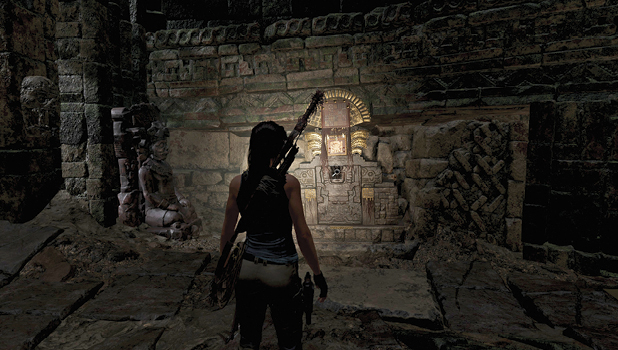
- Dialect: Quechua
- Nearest Camp: Plane Wreckage
After the spike trap and Jack’s Journal 2, before heading left to the Sarcaphogus.
Turn left at the next intersection and slide into the room below. The treasure is inside the sarcophagus ahead. After collecting the outfit parts, squeeze through the crevice on the left.
Exit the Crypt
Follow the corridor up a couple of ledges until you reach a pole wrapped in rope that overlooks the sarcophagus you just looted.
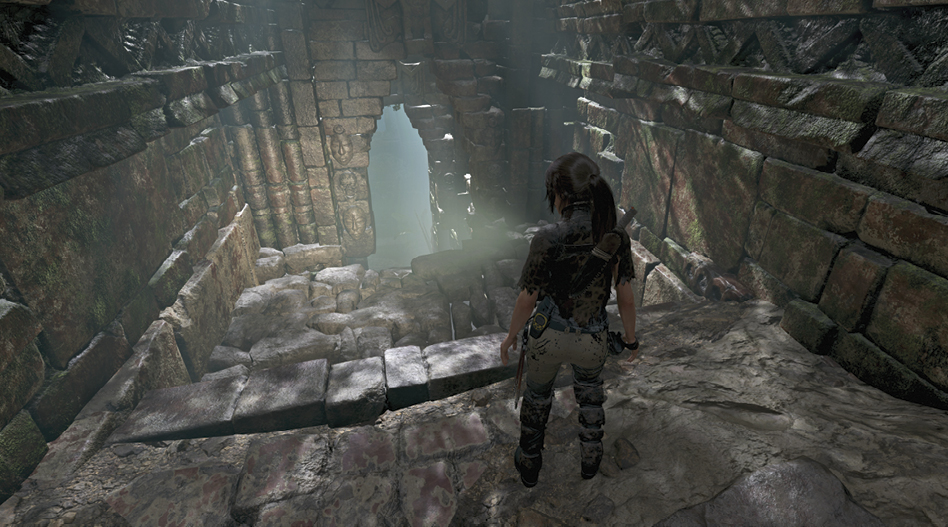
Aim at the far wall and pan up until you find another coil of rope. Use a rope arrow to create a bridge, then crawl up the rope to reach the upper passage. Move forward until you drop down to a familiar intersection.
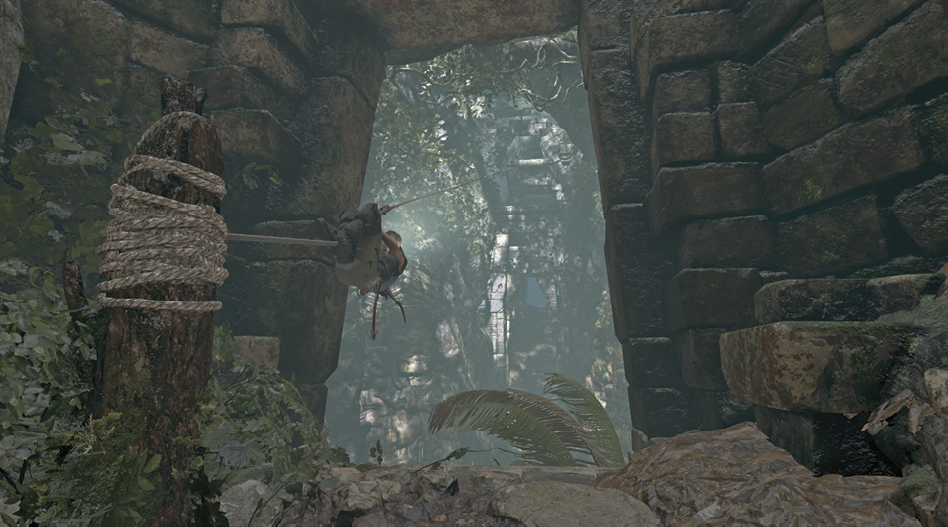
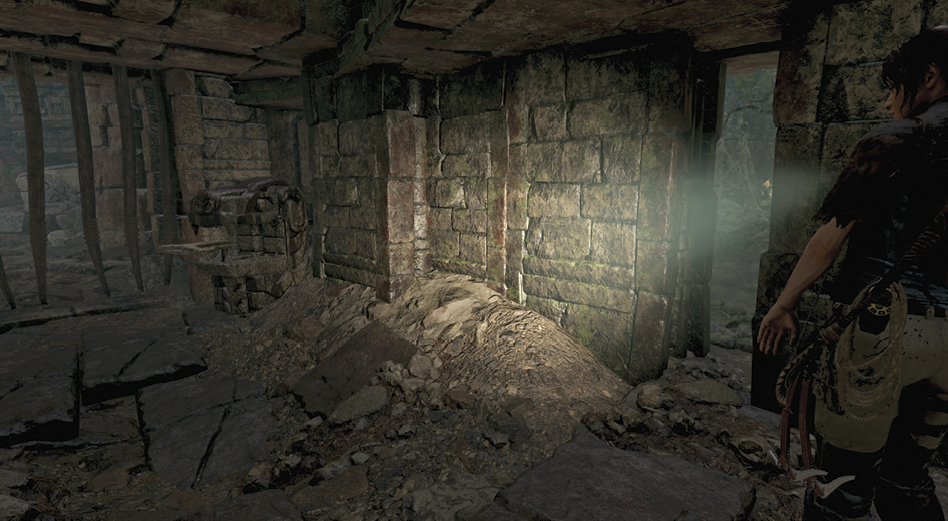
Approach the left corridor, but pause before the dark section of floor. Once you step on these stones, the floor gives way to a deadly pit. It’s possible to sprint across the trap, but you can also clear it with a jump. As you follow the passageway toward the exit, you must jump two more uncovered holes. Be ready to scramble up the wall after the second leap, or you’ll fall into the trap. Follow the path until you reach another switch, which opens the gate that leads back to the start of the crypt. Before moving through the new opening, look for a gap in the right wall. Squeeze inside to find a hidden chamber. Collect all of the valuables before exiting the crypt.
Access the Crypt
Head south from the Plane Fuselage Base Camp and high-dive into the water below. Scramble up the lone tree and continue up to the branch. Leap forward and grab on to the craggy wall with the climbing axe. Climb around to the left and up to the ledge. Jump to the limb, which sends Lara down a muddy slope into a separate pool of water. Move up the southern steps, use the climbing axe to punch through the weak wall, and enter the crypt.
04 document
Jack’s Journal 5
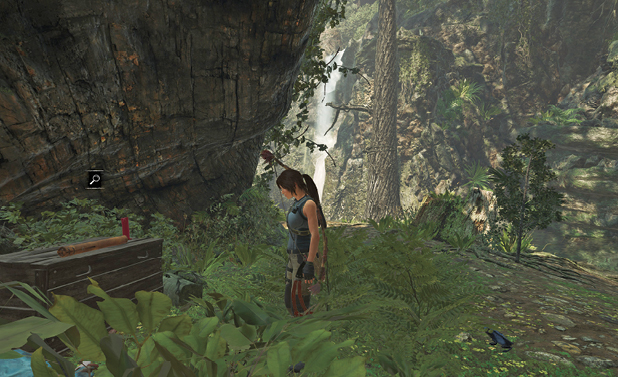
- Dialect: N/A
- Nearest Camp: Plane Fuselage
There is a small cove across from the waterfall, somewhat near the Crypt. Inside is a Document and a supply crate.
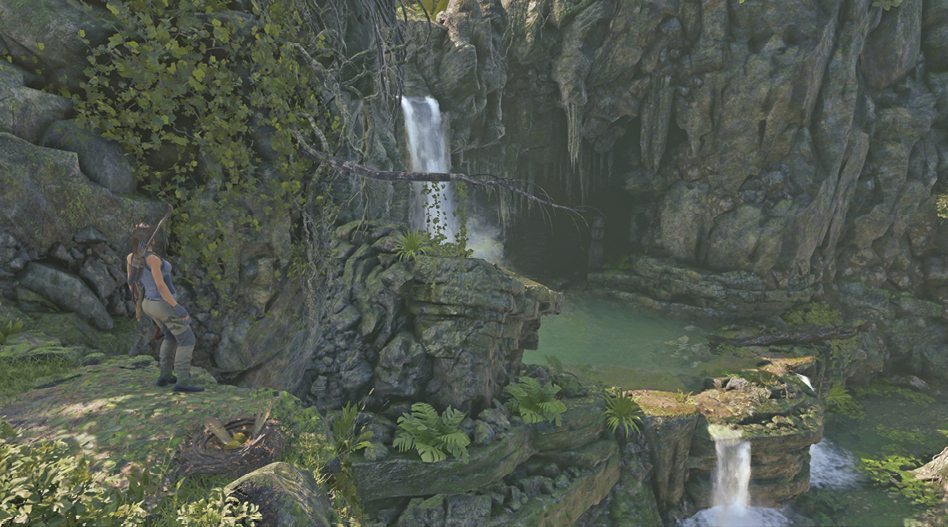
Find the Sarcophagus
Examine the Mural inside the first room, then use a rope arrow to pull down the boards that block the passage ahead. Turn left, avoid the trap, and follow the tunnel into the next room.
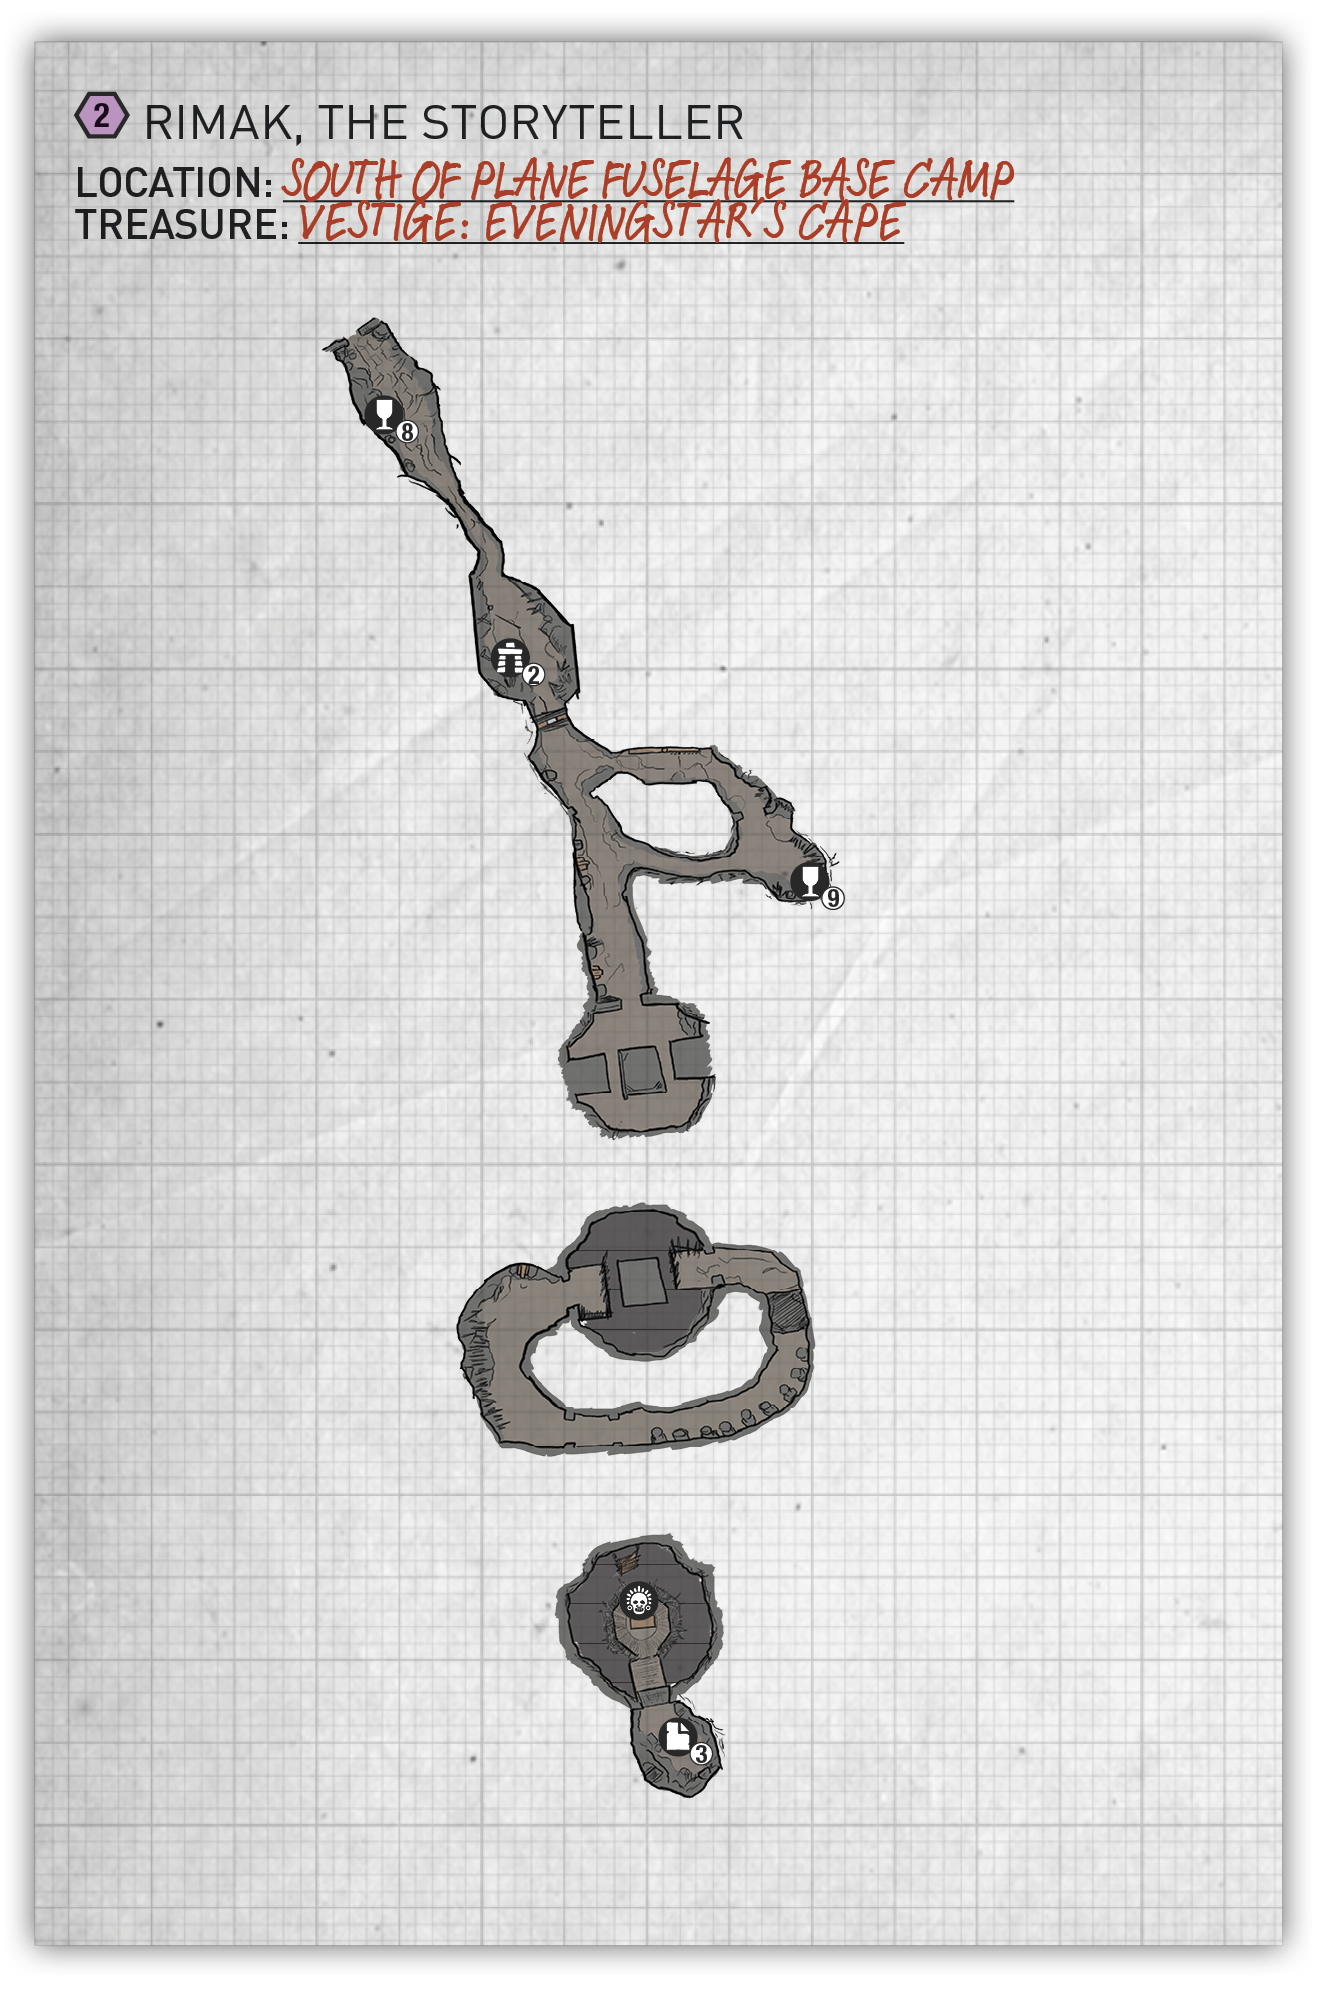
 08 relic

Grave Marker
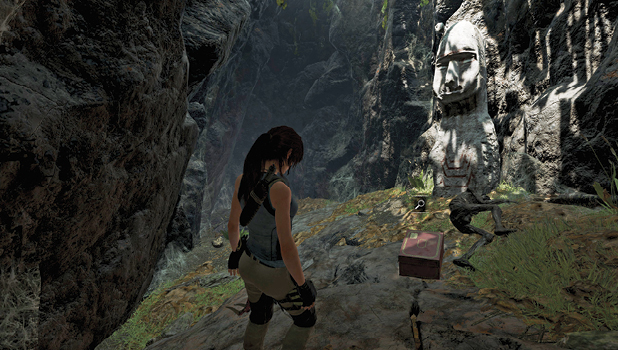
- Dialect: N/A
- Nearest Camp: Plane Fuselage
Found immediately upon entering the Crypt.
02 MURAL
Rimak, The Storyteller
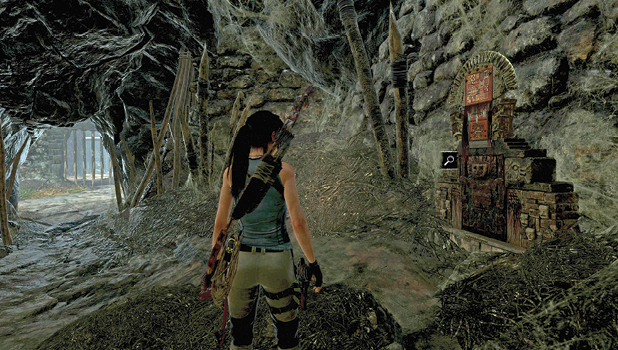
- Dialect: Quechua
- Nearest Camp: Plane Fuselage
After entering the Crypt and just a little past the first Relic.
09 relic
Elongated Skull
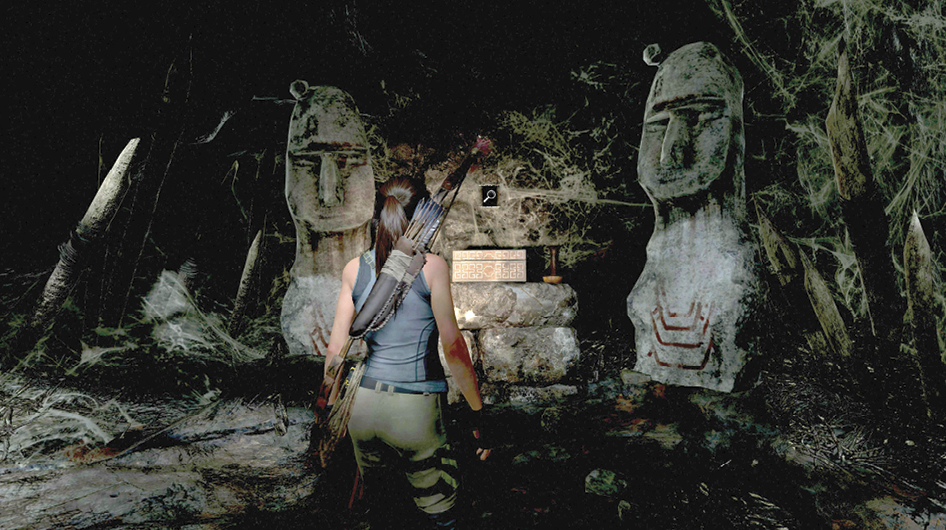
- Dialect: Quechua
- Nearest Camp: Plane Fuselage
After the spike trap, in a dead end with two elongated statues.
Follow another corridor right until you reach a switch. This opens the exit to the right. For now, go left and interact with another switch to find the sarcophagus, though it immediately rises atop a tall tower—tempting you to climb up to it.
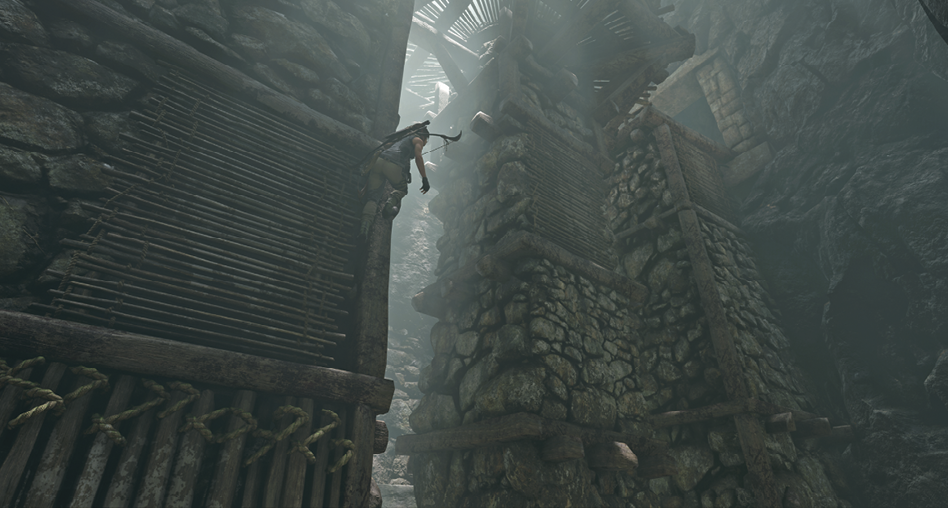
- Cut through the right opening and scramble up the wooden wall, twice.
- Jump right, scramble up, jump right again, and scramble up to the top of the tower—you’re still unable to access the treasure.
- Move through the passage on the right, scrambling forward when the floor gives way. Hop over the tripwire farther down the hall before reaching a switch. Once the gate is open, step onto the platform, as the sarcophagus again rises out of reach.
- Hop left onto the craggy wall. Move right past a gap in the climbable surface before climbing and scrambling upward until you reach the top beam.
- Shimmy, jump, shimmy, jump to the left. Scramble up to the top to finally reach the treasure.
First, bust through the weak wall on the left to find treasure. Then open the sarcophagus to score the Vestige: Eveningstar’s Cape.
03 document
A King’s Ransom
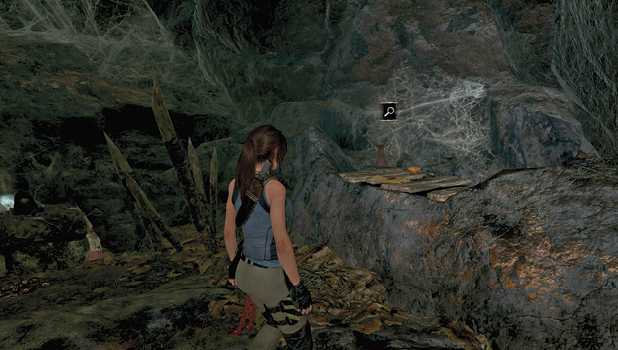
- Dialect: N/A
- Nearest Camp: Plane Fuselage
There is a climbable path directly above the Sarcaphogus. At the top is a wall that can be destroyed with the Climbing Axe, opening a room that contains the Document.
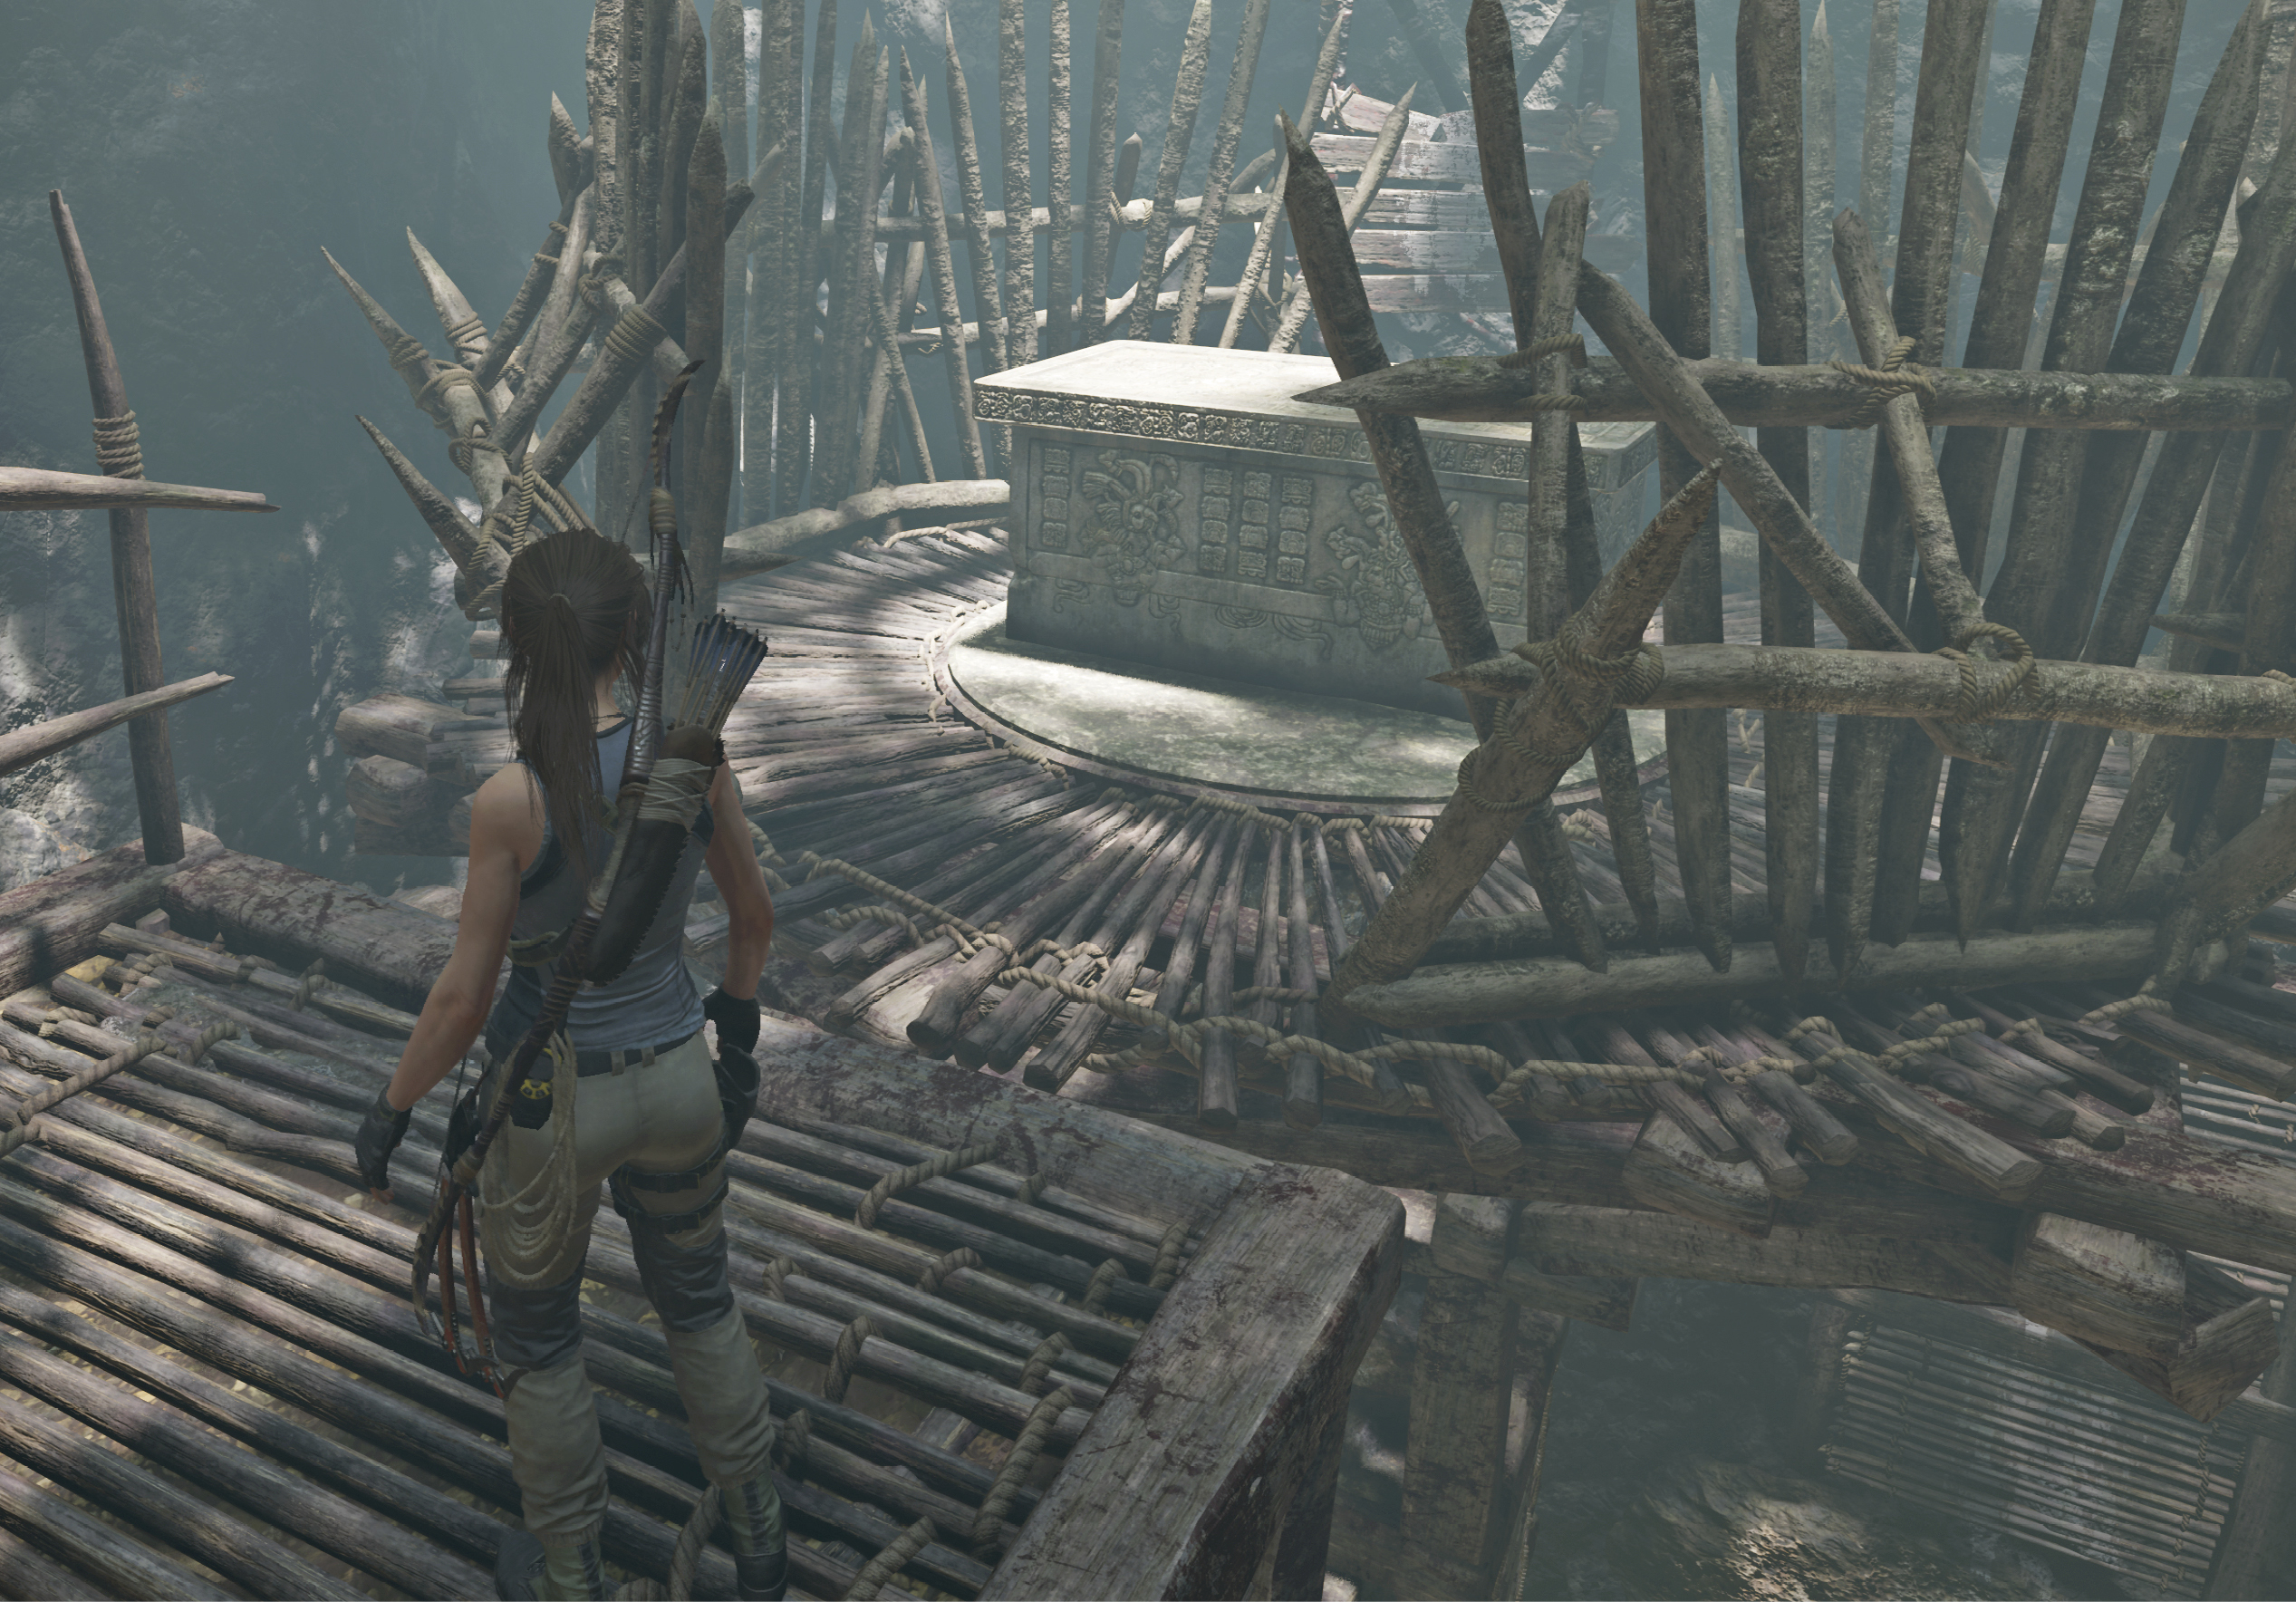
Exit the Crypt
Jump and scramble onto the counterweight ahead to safely descend to the ground. Exit the way you came in.