Shadow of the Tomb Raider Guide The Journey Chapter 6: Return to Hidden City
Return to Hidden City - Side Missions
1. In the Midnight Hour - Freedom
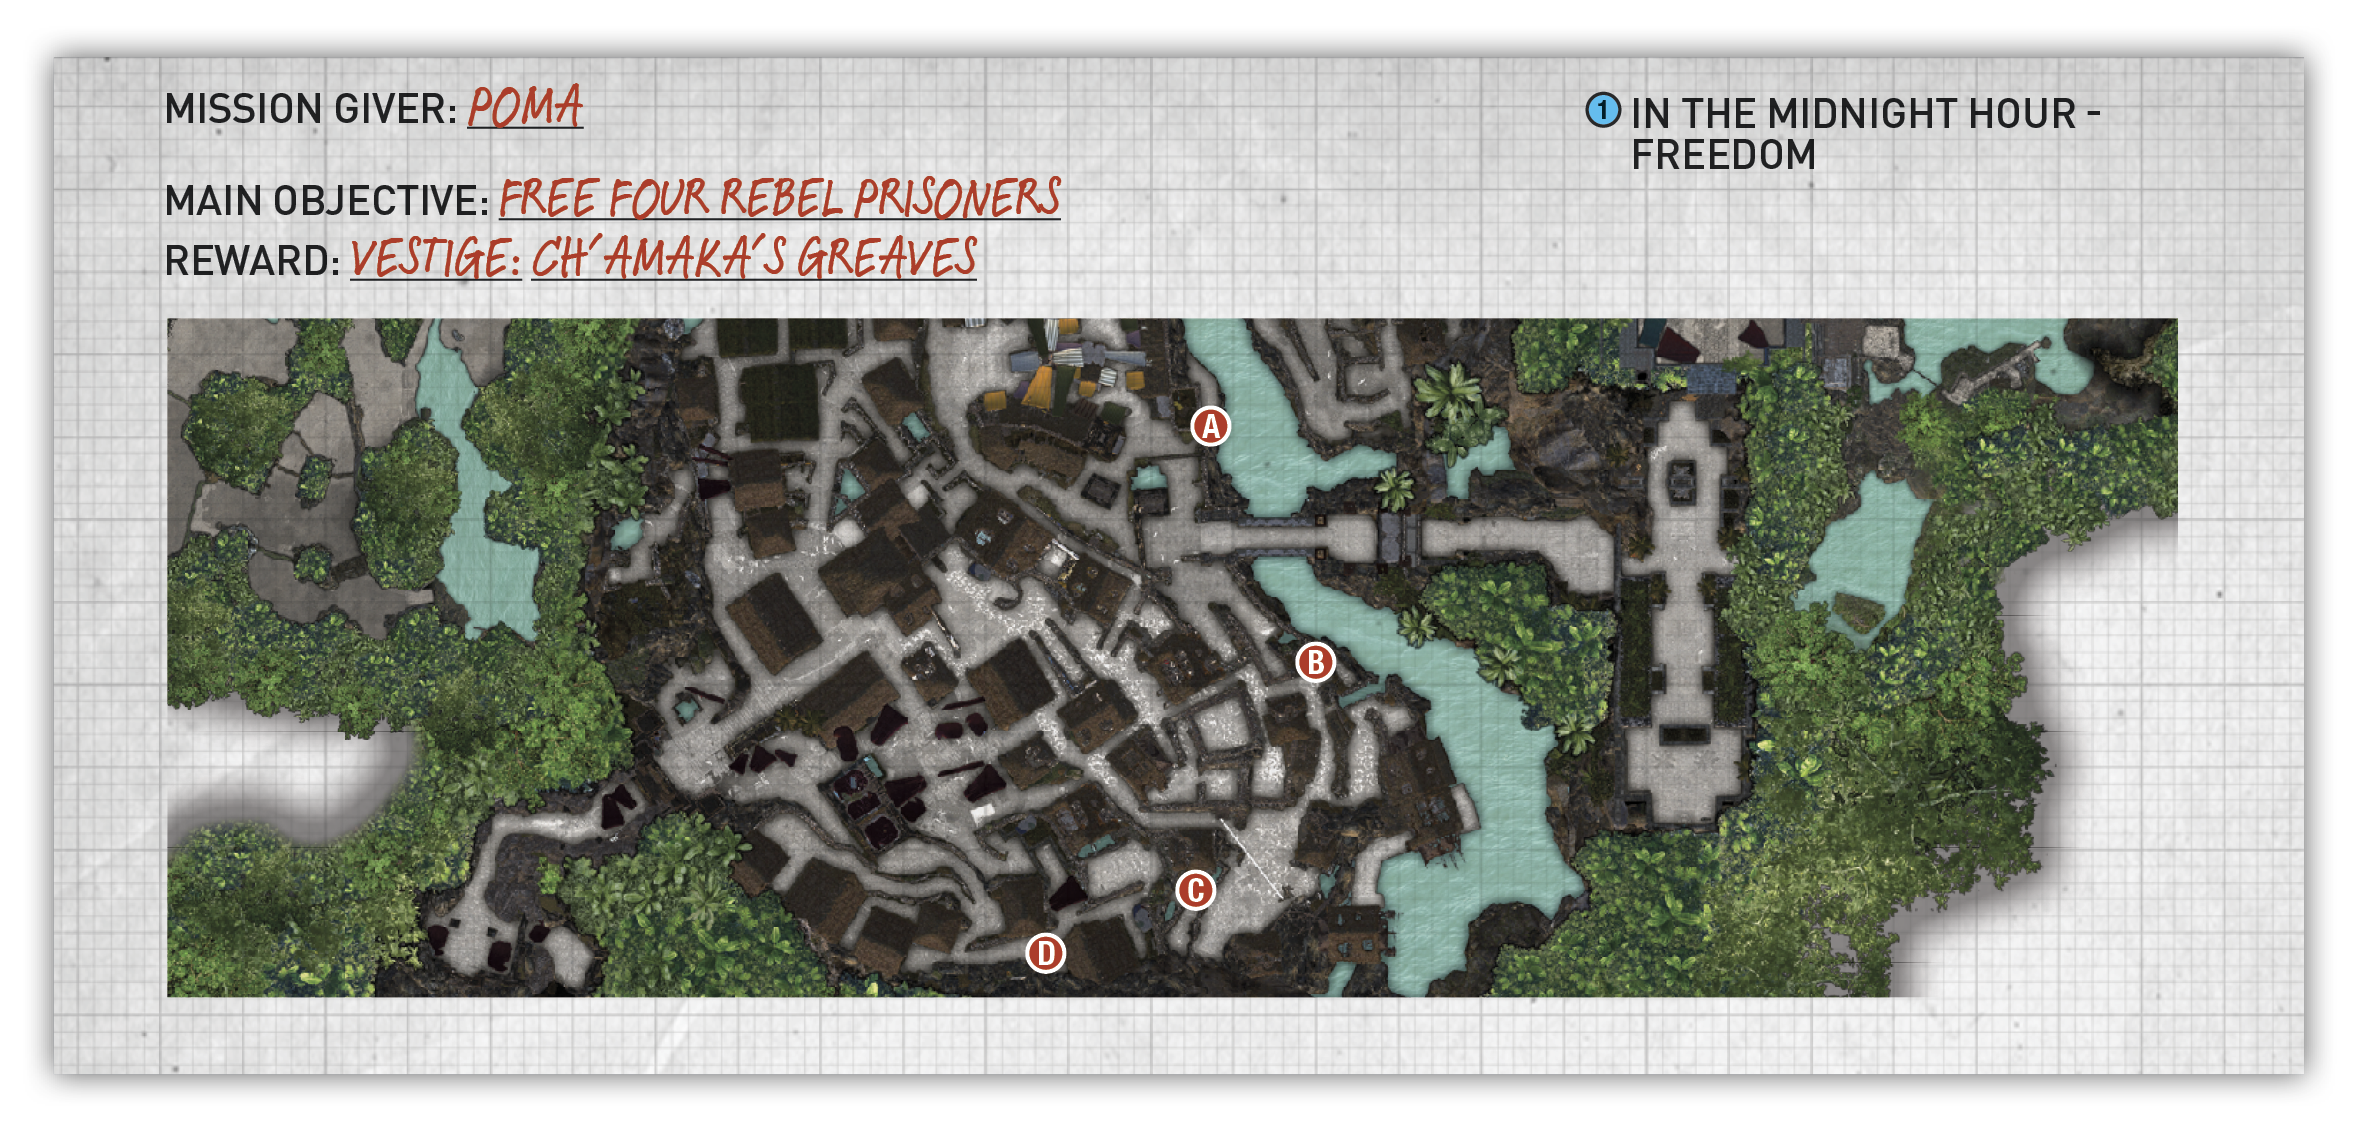
Before leaving Skull Cave, speak to Poma to learn about five missing rebels. Four of them have been captured and are staked out in the village. Their approximate locations have been marked on your map. Exact locations of the rebels are marked on our corresponding map.
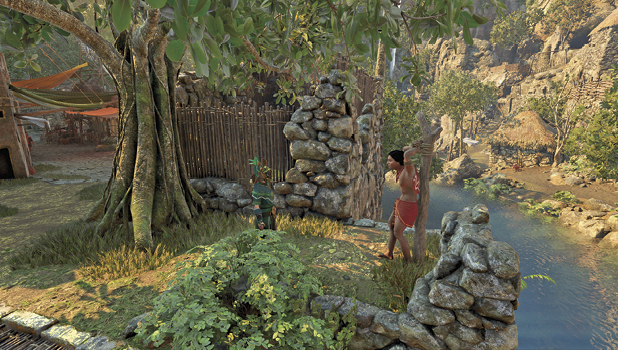
- Cross the bridge into the Market District and run left through the market. Just after the big tree, look left to find the first rebel (A).
- Run along the water edge past the main bridge to find the second rebel (B).
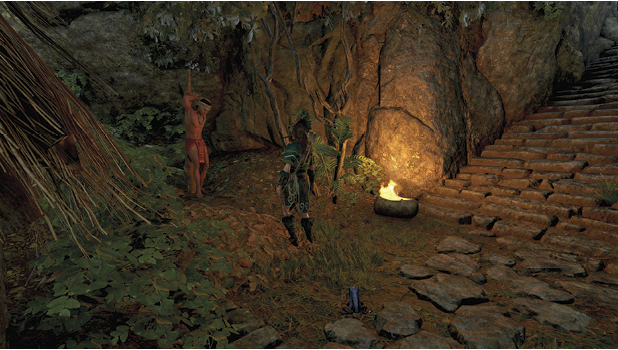
- Just outside the mountainside cave that holds the Village Caves Base Camp, find a rebel (C) tied up near the bottom tier.
- Climb the long set of steps along the southern mountainside. Tucked into a cubbyhole about halfway up is the fourth rebel (D).
Once you free all four rebels, return to Skull Cave and talk to Poma. This conversation automatically begins the next step in the side mission, “A Particular Set of Skills.”
2. In the Midnight Hour -
A Particular Set of Skills
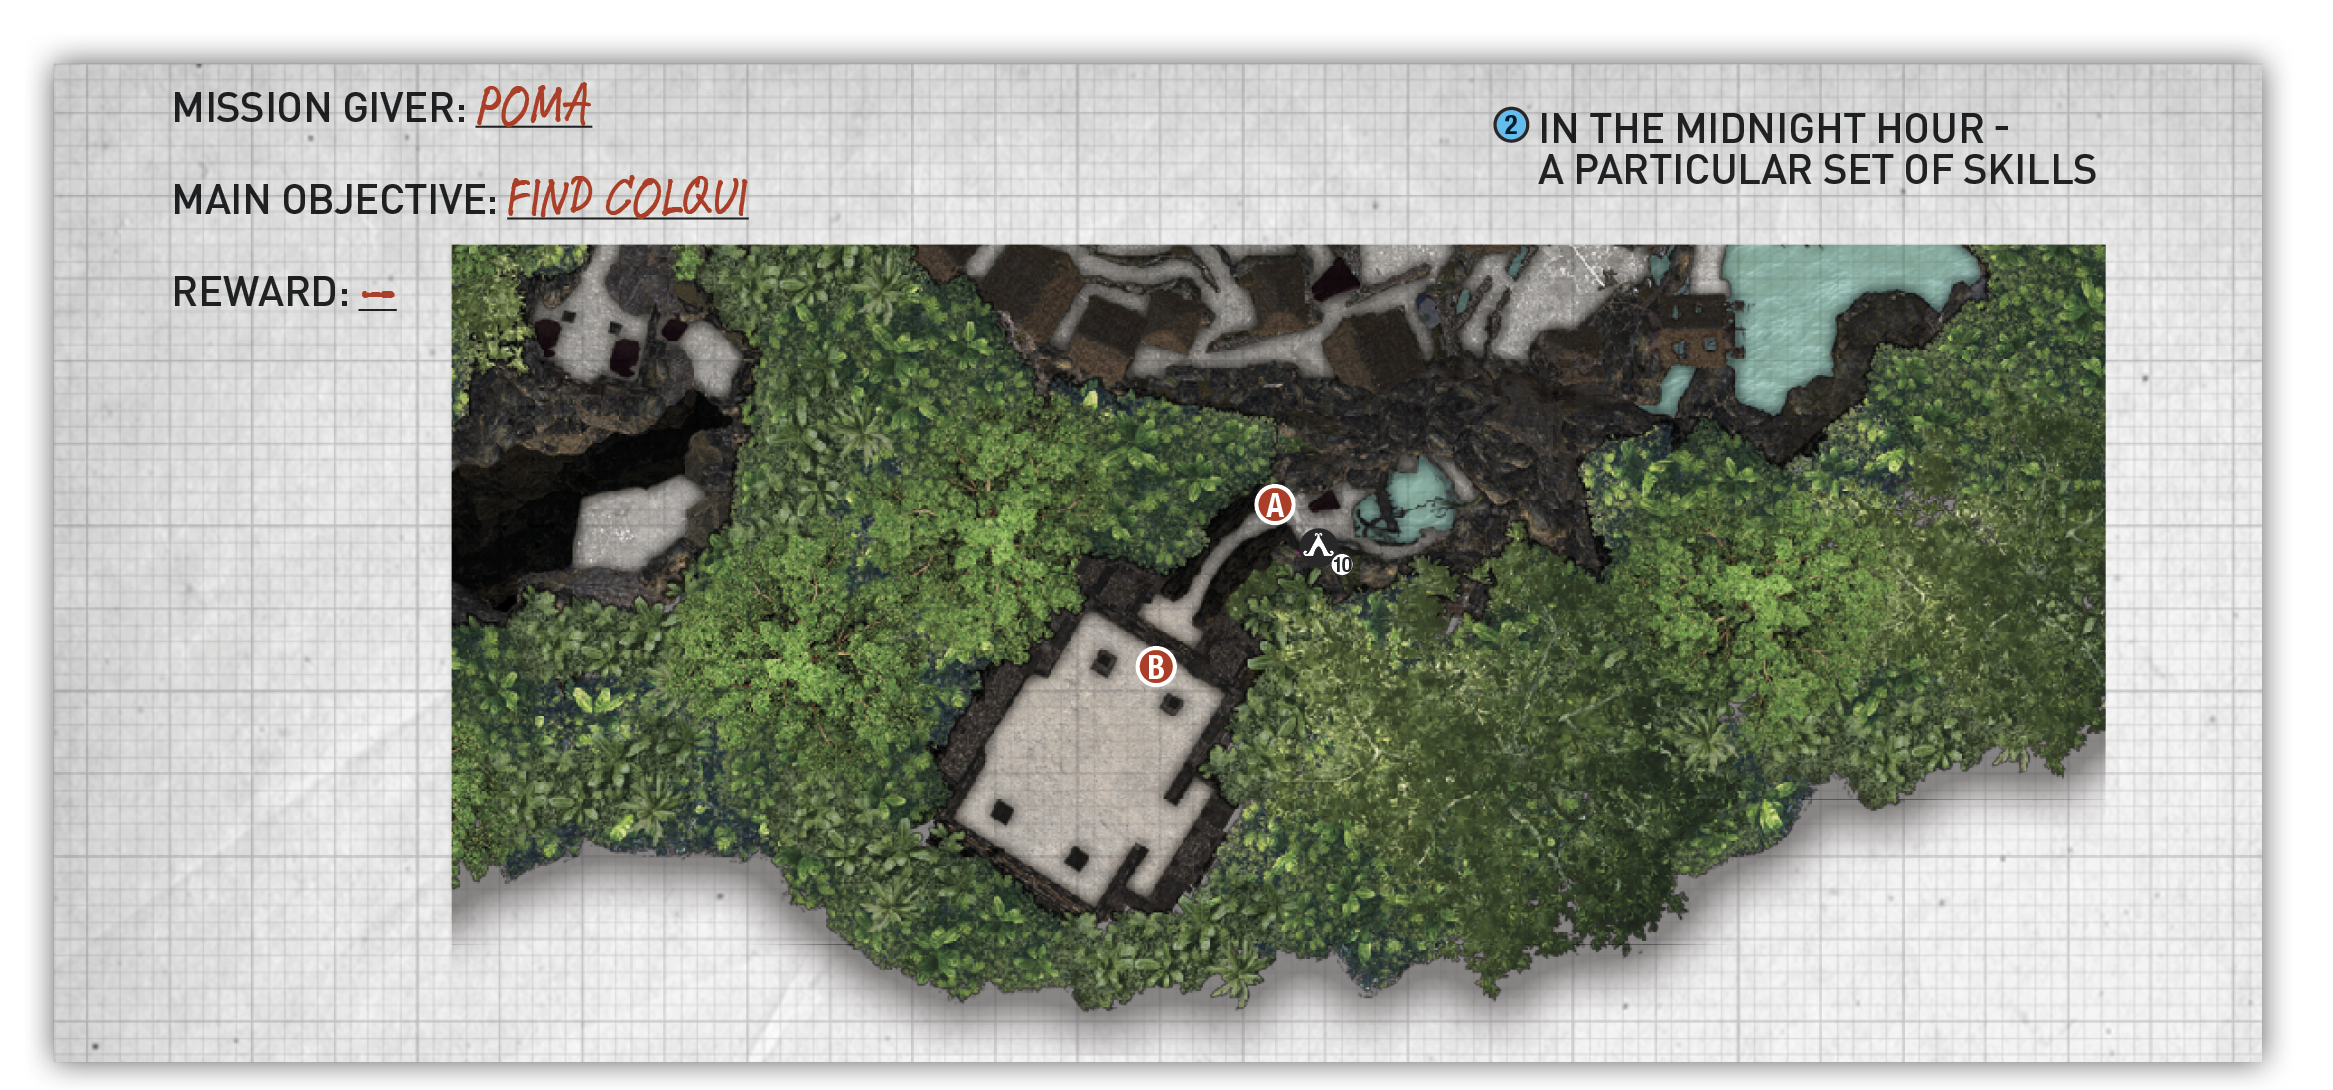
To find the fifth rebel, Colqui, you must first enter the hidden mountainside cave. This is the same cave that leads to the Temple of the Sun Challenge Tomb. If you’ve already lit the Temple Path Base Camp, simply fast-travel into the cave. Otherwise, enter through a small pool of water inside a nearby home, or climb up the mountainside from the long set of steps. You can find a more detailed description of these entrances at the start of our Temple of the Sun coverage in the earlier chapter, “The Hidden City.”
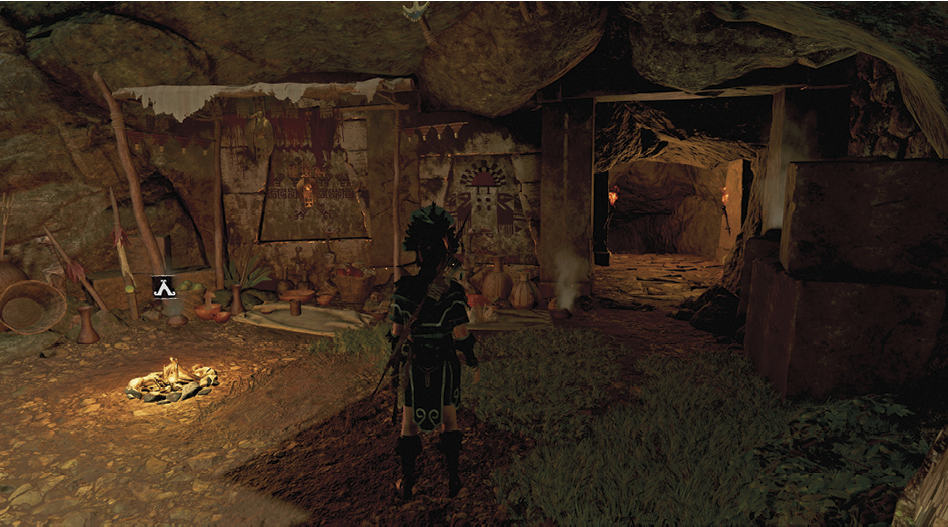
As long as you’ve freed the four rebels and spoken to Poma, a doorway (A) near the Temple Path Base Camp opens up. Use the Base Camp to upgrade your bow if possible, then follow the new path into an underground temple (B). You must survive an ambush by Kukulkan warriors and archers to complete the quest.
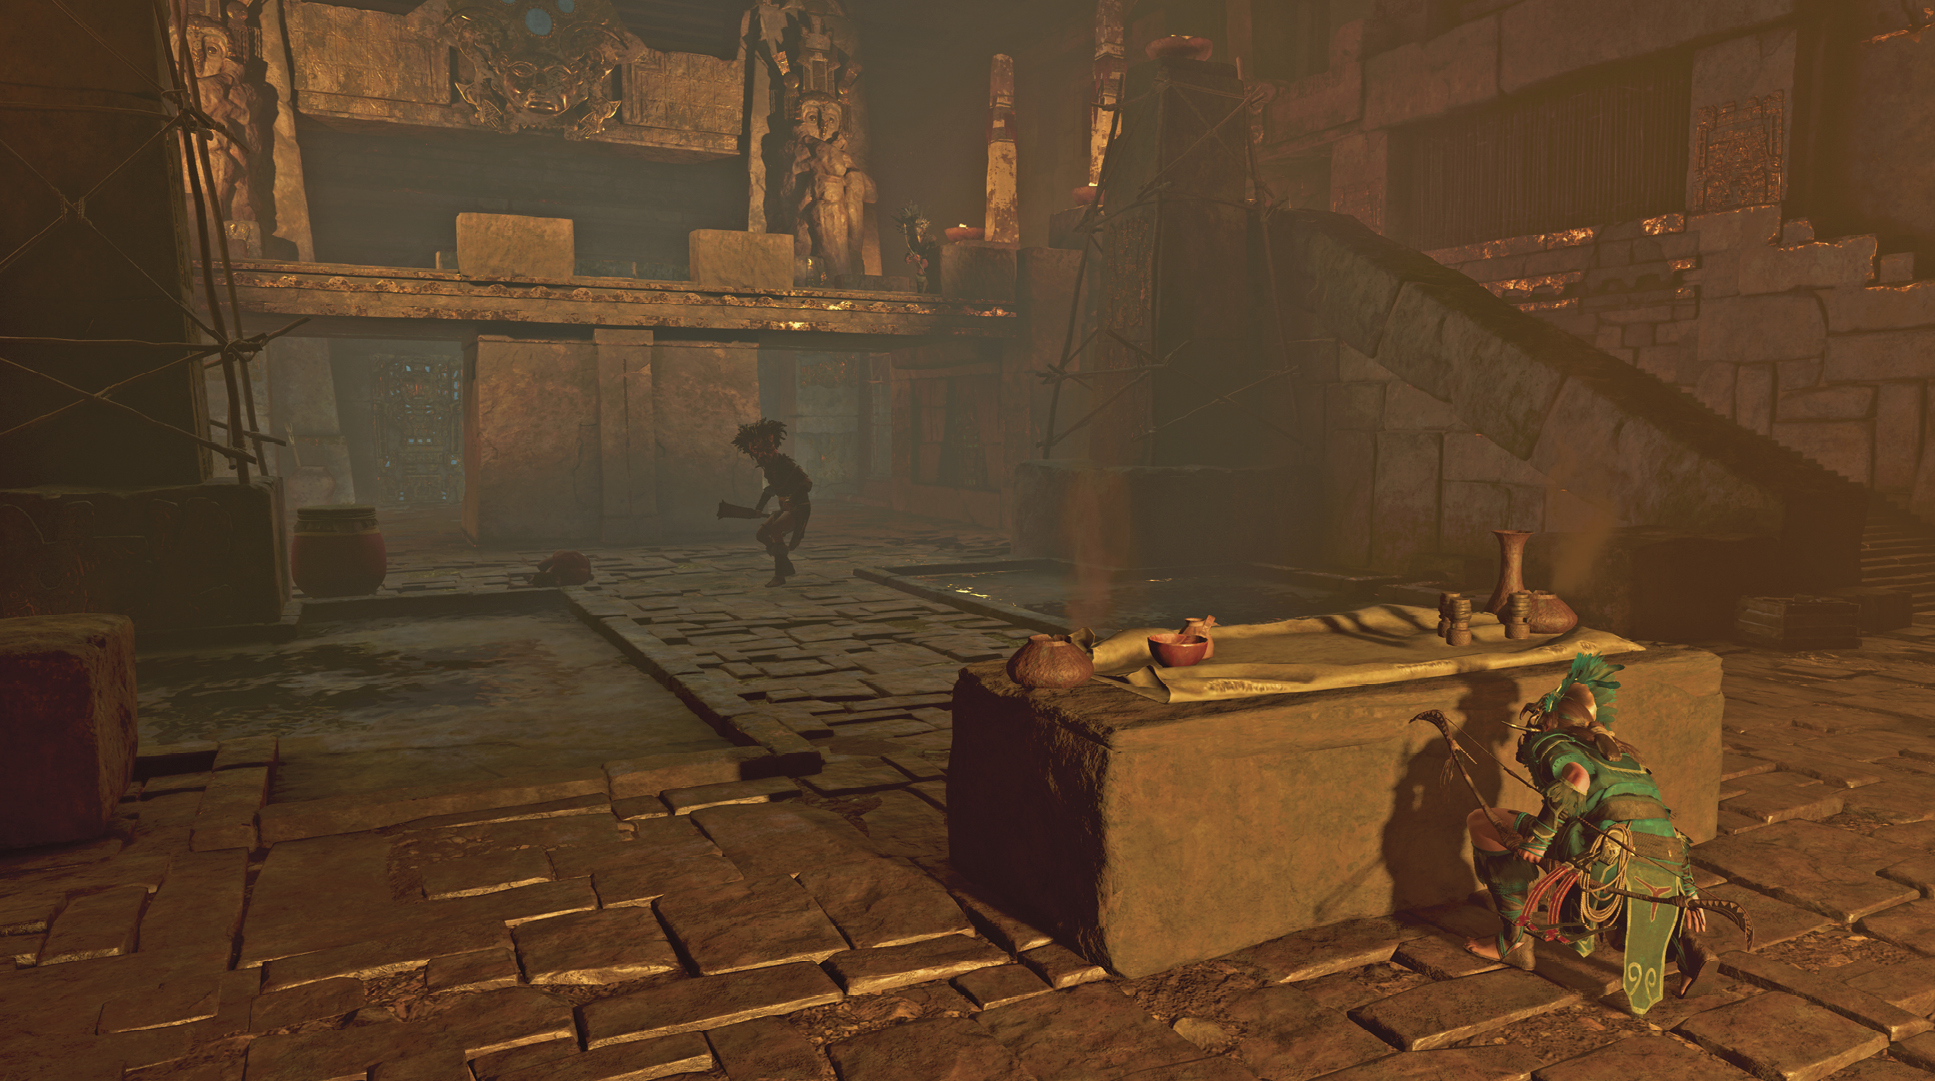
Steps on the left and right lead up to perimeter walkways, with a bridge connecting the two sides. Ceramic jars, used to craft smoke bombs, and red explosive urns, used to damage nearby enemies, are found throughout the room. As you kill Kukulkan fighters, more archers and warriors stream into the chamber. Archers fight from the bridge, while the warriors move toward you or search your last know location. Since you’re still in Paititi, you only have your bow and melee weapons.
Immediately craft a smoke bomb and use it to eliminate the two warriors who rush your position. You’ll probably absorb a few shots from the archers above while taking them down, so be sure to heal. Deal with the archers with your own bow, or craft another smoke bomb and scramble up the ramp to get within range.
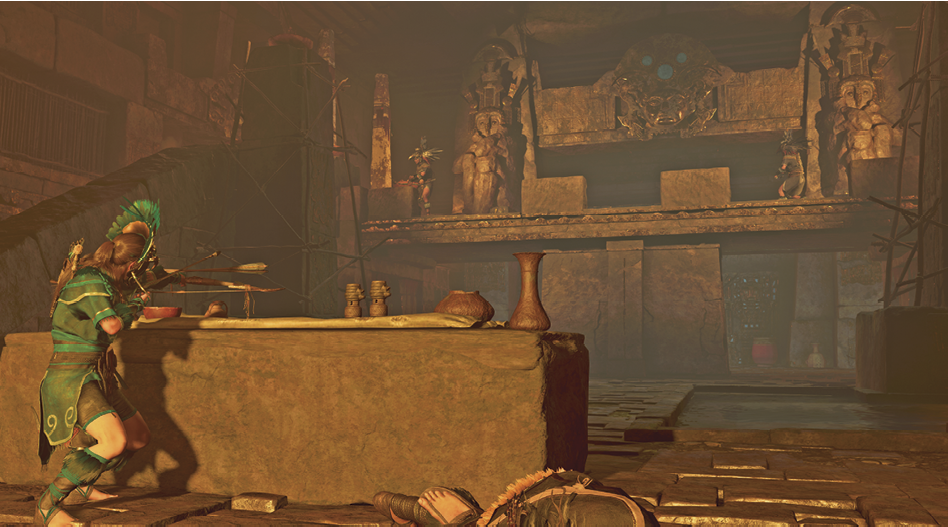
Continue to pick off enemies as they enter the chamber. Use the bow to pick off distant foes, or create smoke screens for easy stealth kills. Or lure enemies toward one of the explosive urns and hit it with an arrow to cause heavy damage. Keep a safe distance away to avoid taking damage yourself.
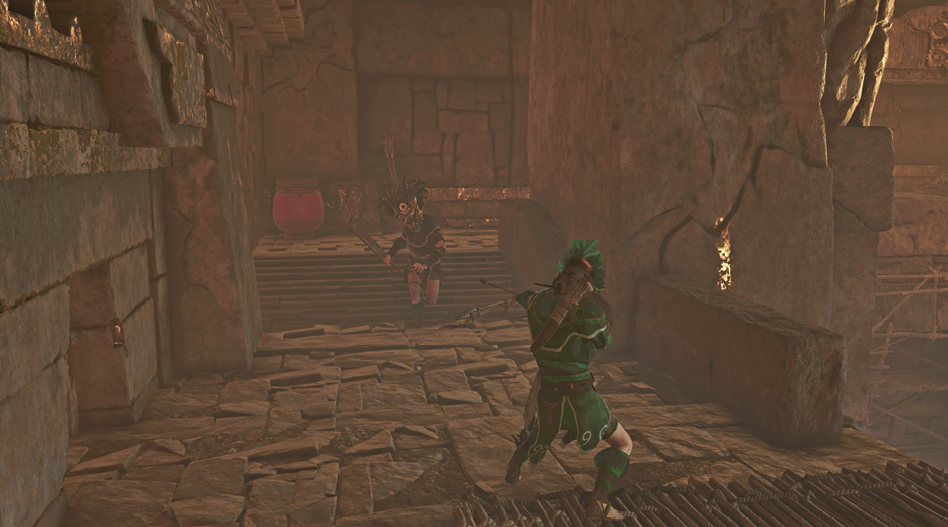
Listen to the enemy’s banter for tips on locations and awareness. There aren’t a whole lot of hiding spots, but occasionally the enemy loses sight of you. Use this to your advantage and sneak up on unsuspecting foes. Pillars, short walls, and stone tables provide some cover.
After you defeat the large group of Kukulkan fighters, a “Mission Complete” message informs you of your success.
3. Knowledge of Evil - Ancient Studies
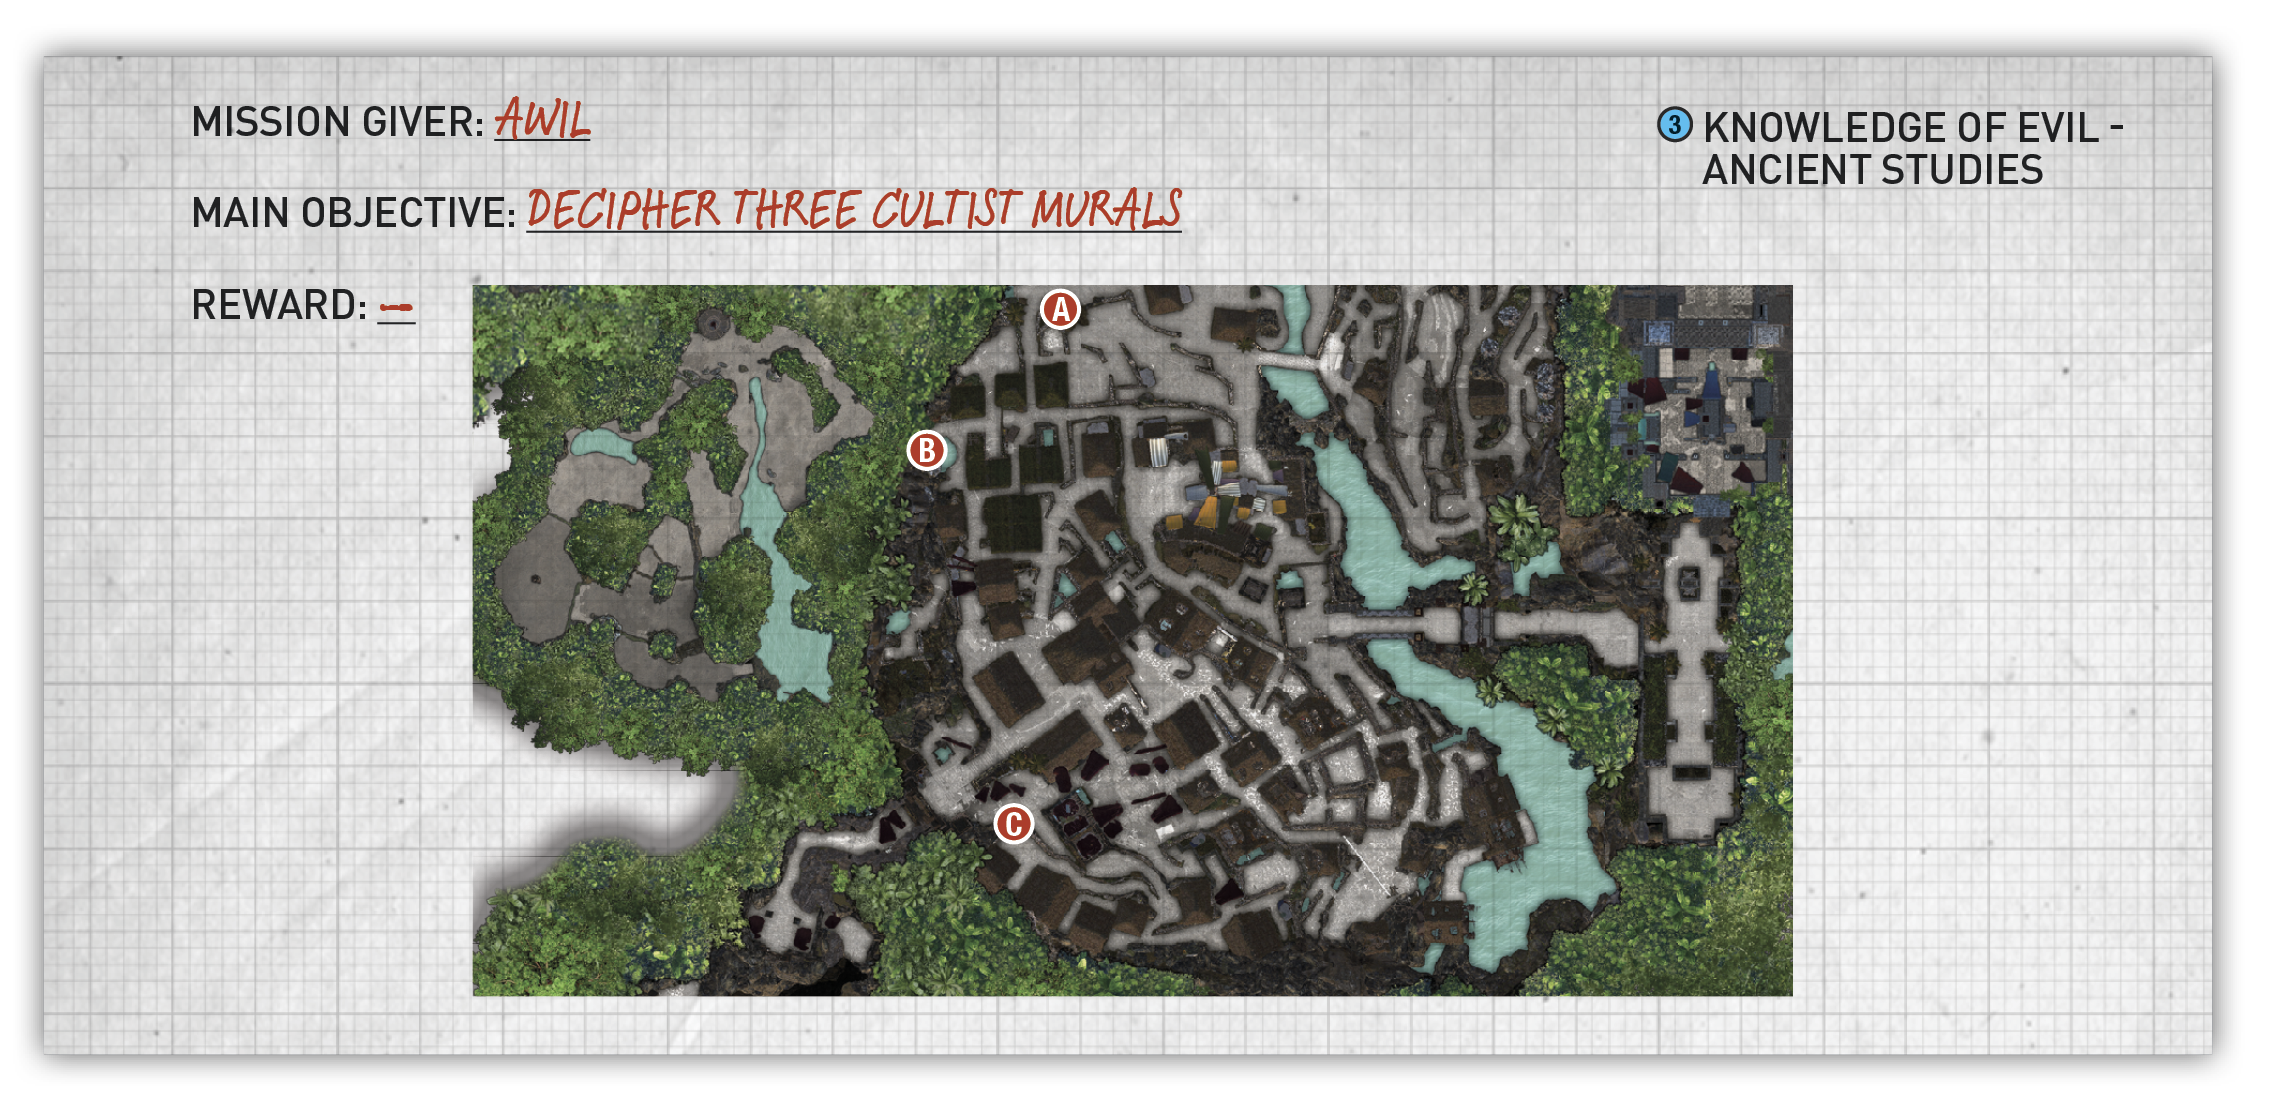
Head to the Fishing District and talk to the little girl, Awil, who stands next to a Mural. She needs help deciphering four Murals in the area, and Lara offers help with the other three. All three Murals are along the western side of the village, and their approximate locations are marked on your map with big circles. We’ve noted their exact locations on the associated map here.
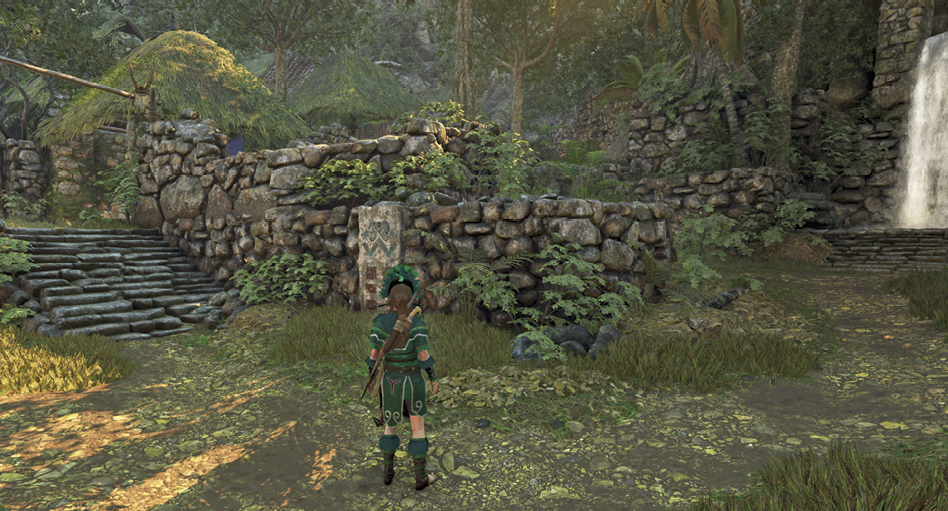
- Head southwest from Awil, and find the first Mural (A) against a stone boar pen.
- An entrance to the Paititi jungle is located at the base of the western mountainside. Next to this opening, the second Mural (B) leans against the rock in a small pool of water.
- The third Mural (C) is located close to the “Widow’s Tears” Mission Giver. Move past the crowd of people to find it in the corner.
Return to the first Mural to speak to Mayu, who informs you that Awil was taken by her father. This begins the next quest, “Stop the Ritual.”
4. Knowledge of Evil - Gods and Monsters
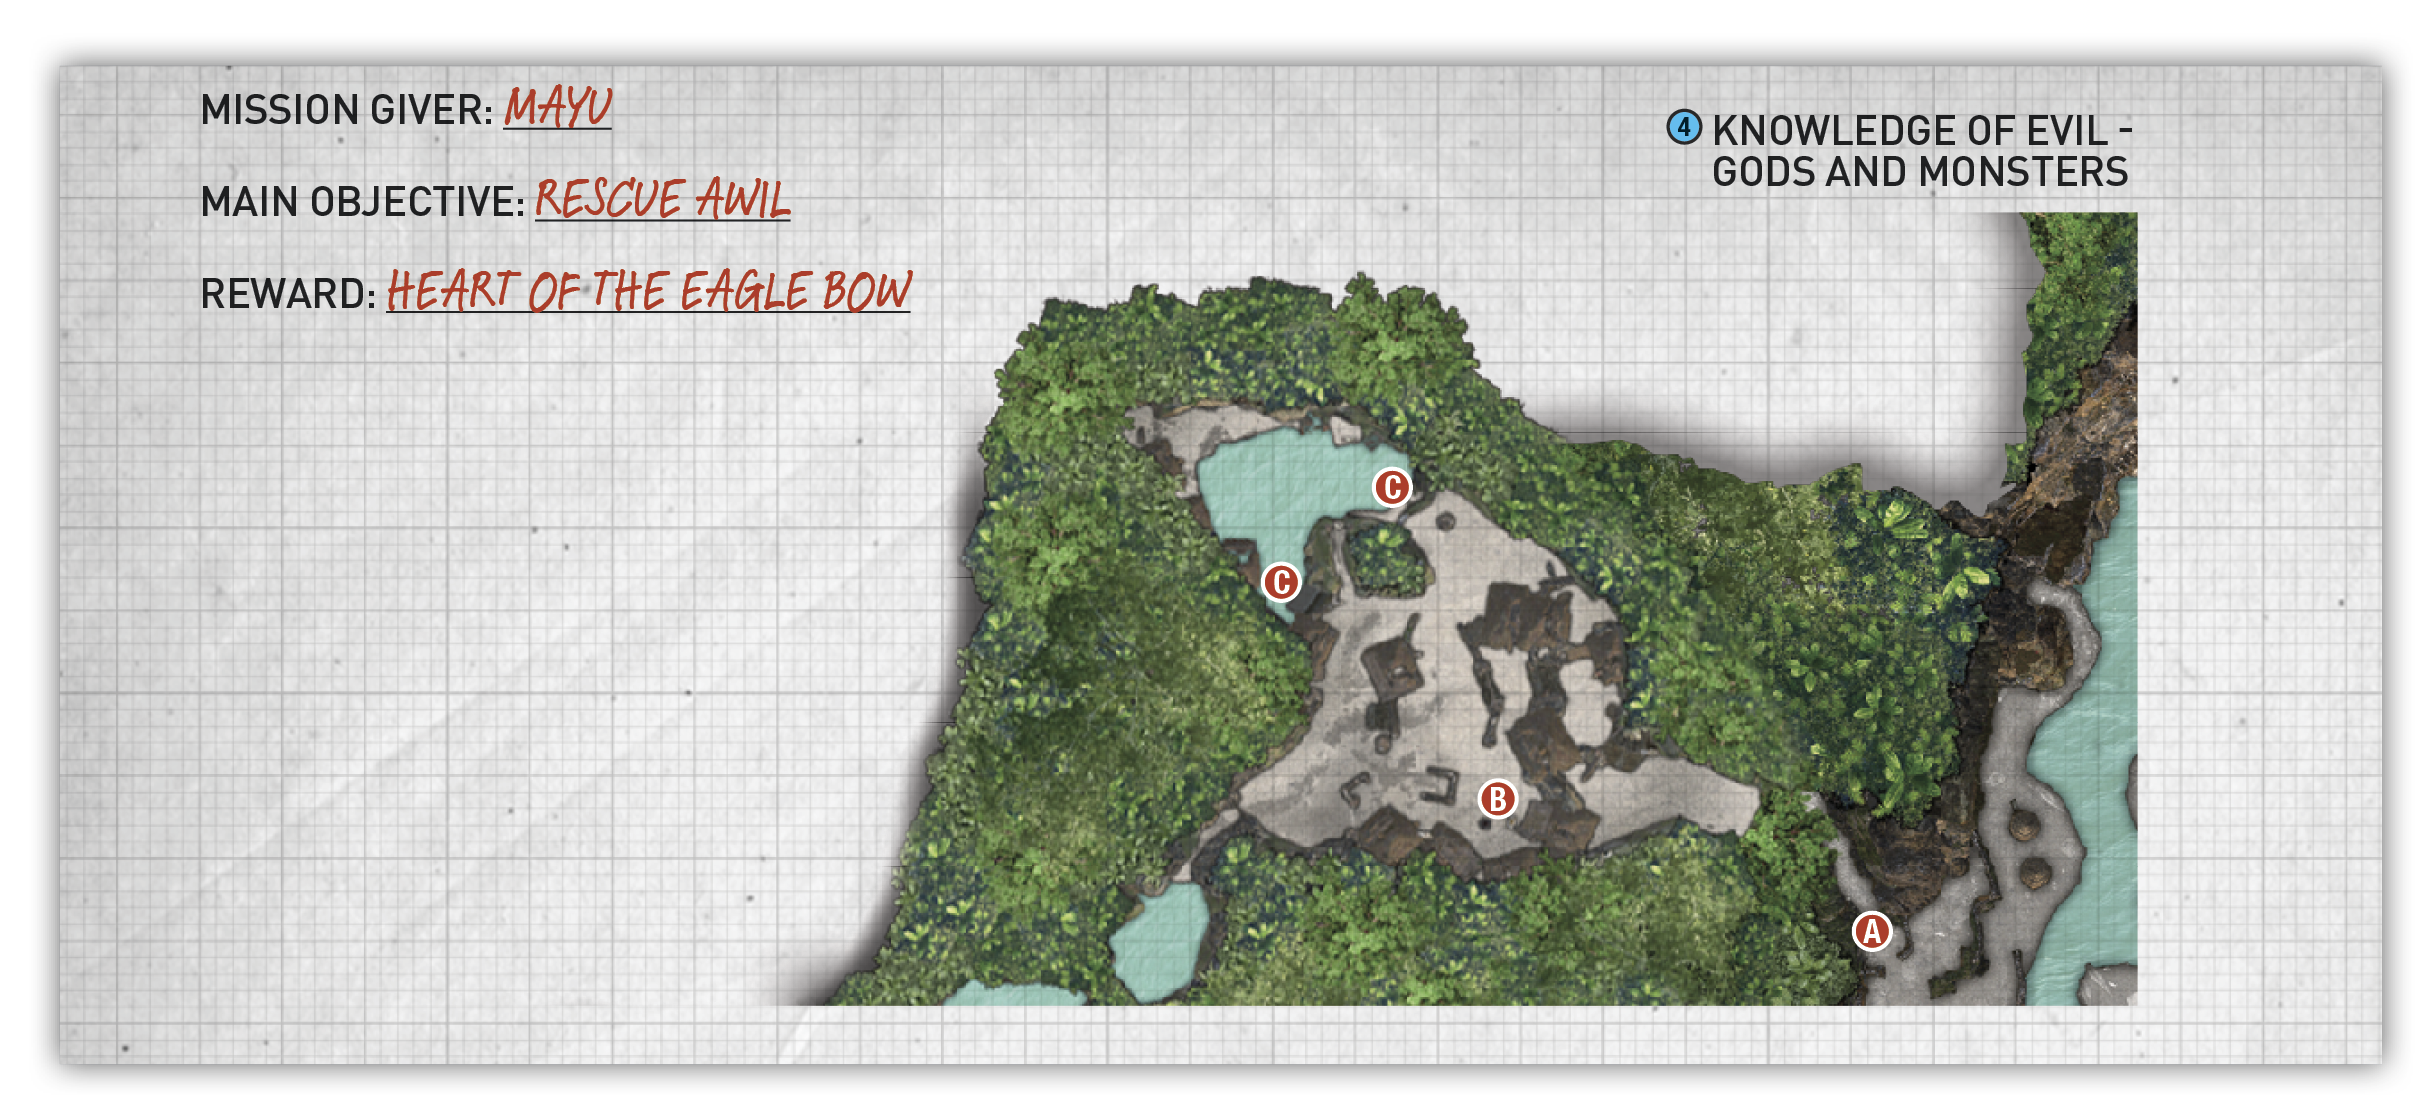
After speaking to Mayu to wrap up the “Decipher the Murals” quest, run directly west and climb the rock wall on the left. Continue left until you find an opening (A). Follow the trail to the Abandoned Village Base Camp. Proceed farther into the village, turn left and talk to Awil’s father (B).
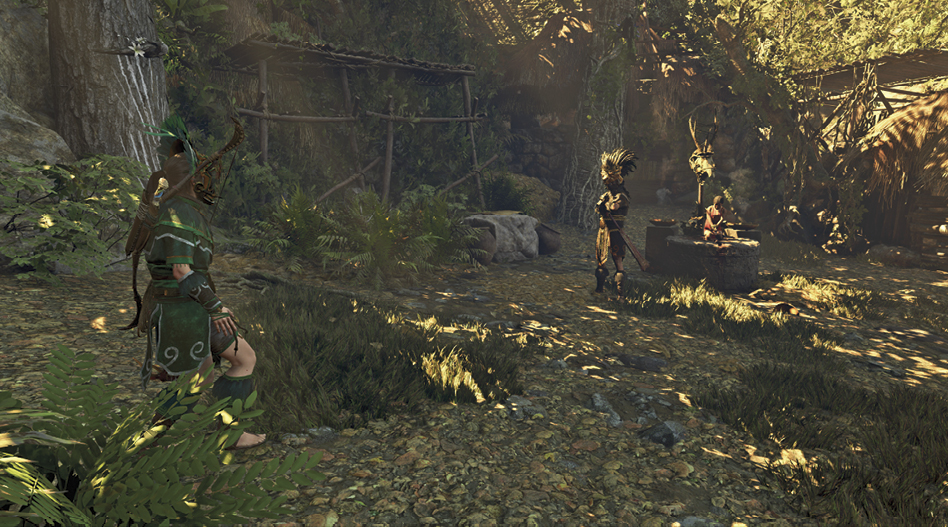
After setting the girl free, you’re attacked by Kukulkan’s warriors. These soldiers are tough to take down with melee attacks, and it takes two headshots to kill one. It’s best to lose them and eliminate them with stealth kills. Concealment bushes provide cover on the ground, while climbable trees offer great vantage points if you can get up one without being seen.
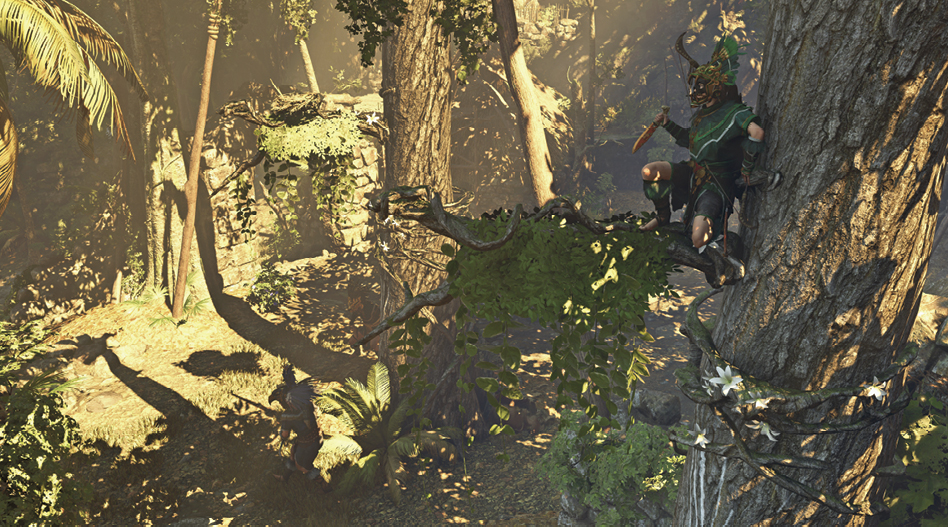
If you’re spotted, sprint around the area until you can slip into a concealment bush unnoticed. One option is to escape to the water (C), north of the village. The warriors don’t follow you into the water. Bounce between the two locations until everyone is defeated.
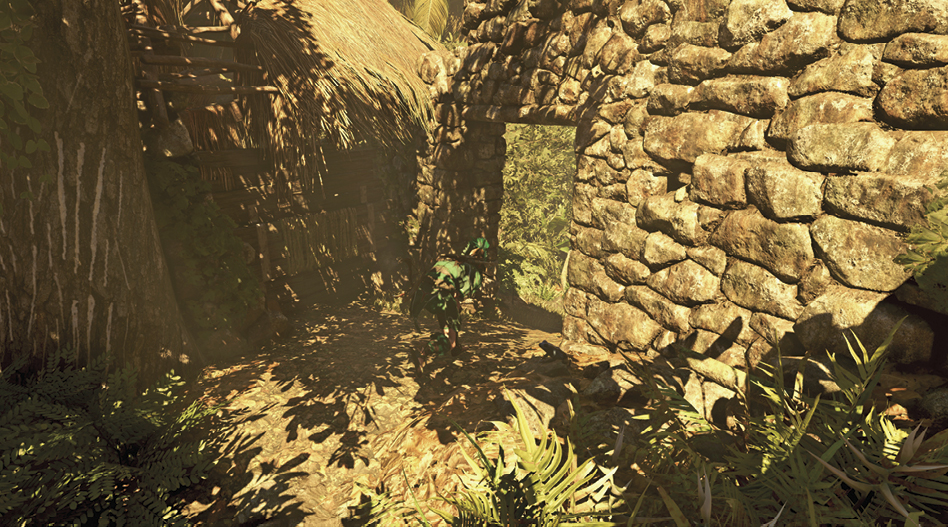
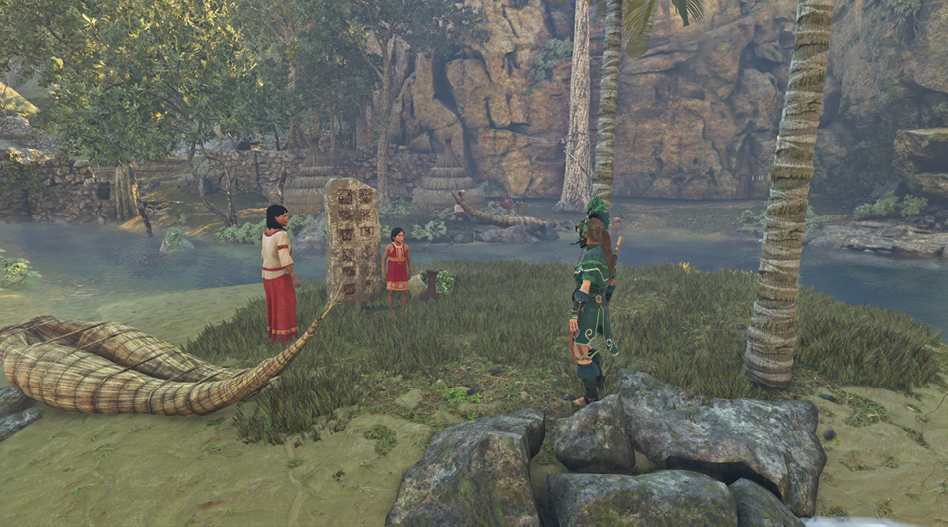
Once you’ve defeated all of the Kukulkan warriors at the abandoned village, return to Awil and Mayu in the Fishing District to complete the quests.
5. Wolf at the Door - Widow's Tears
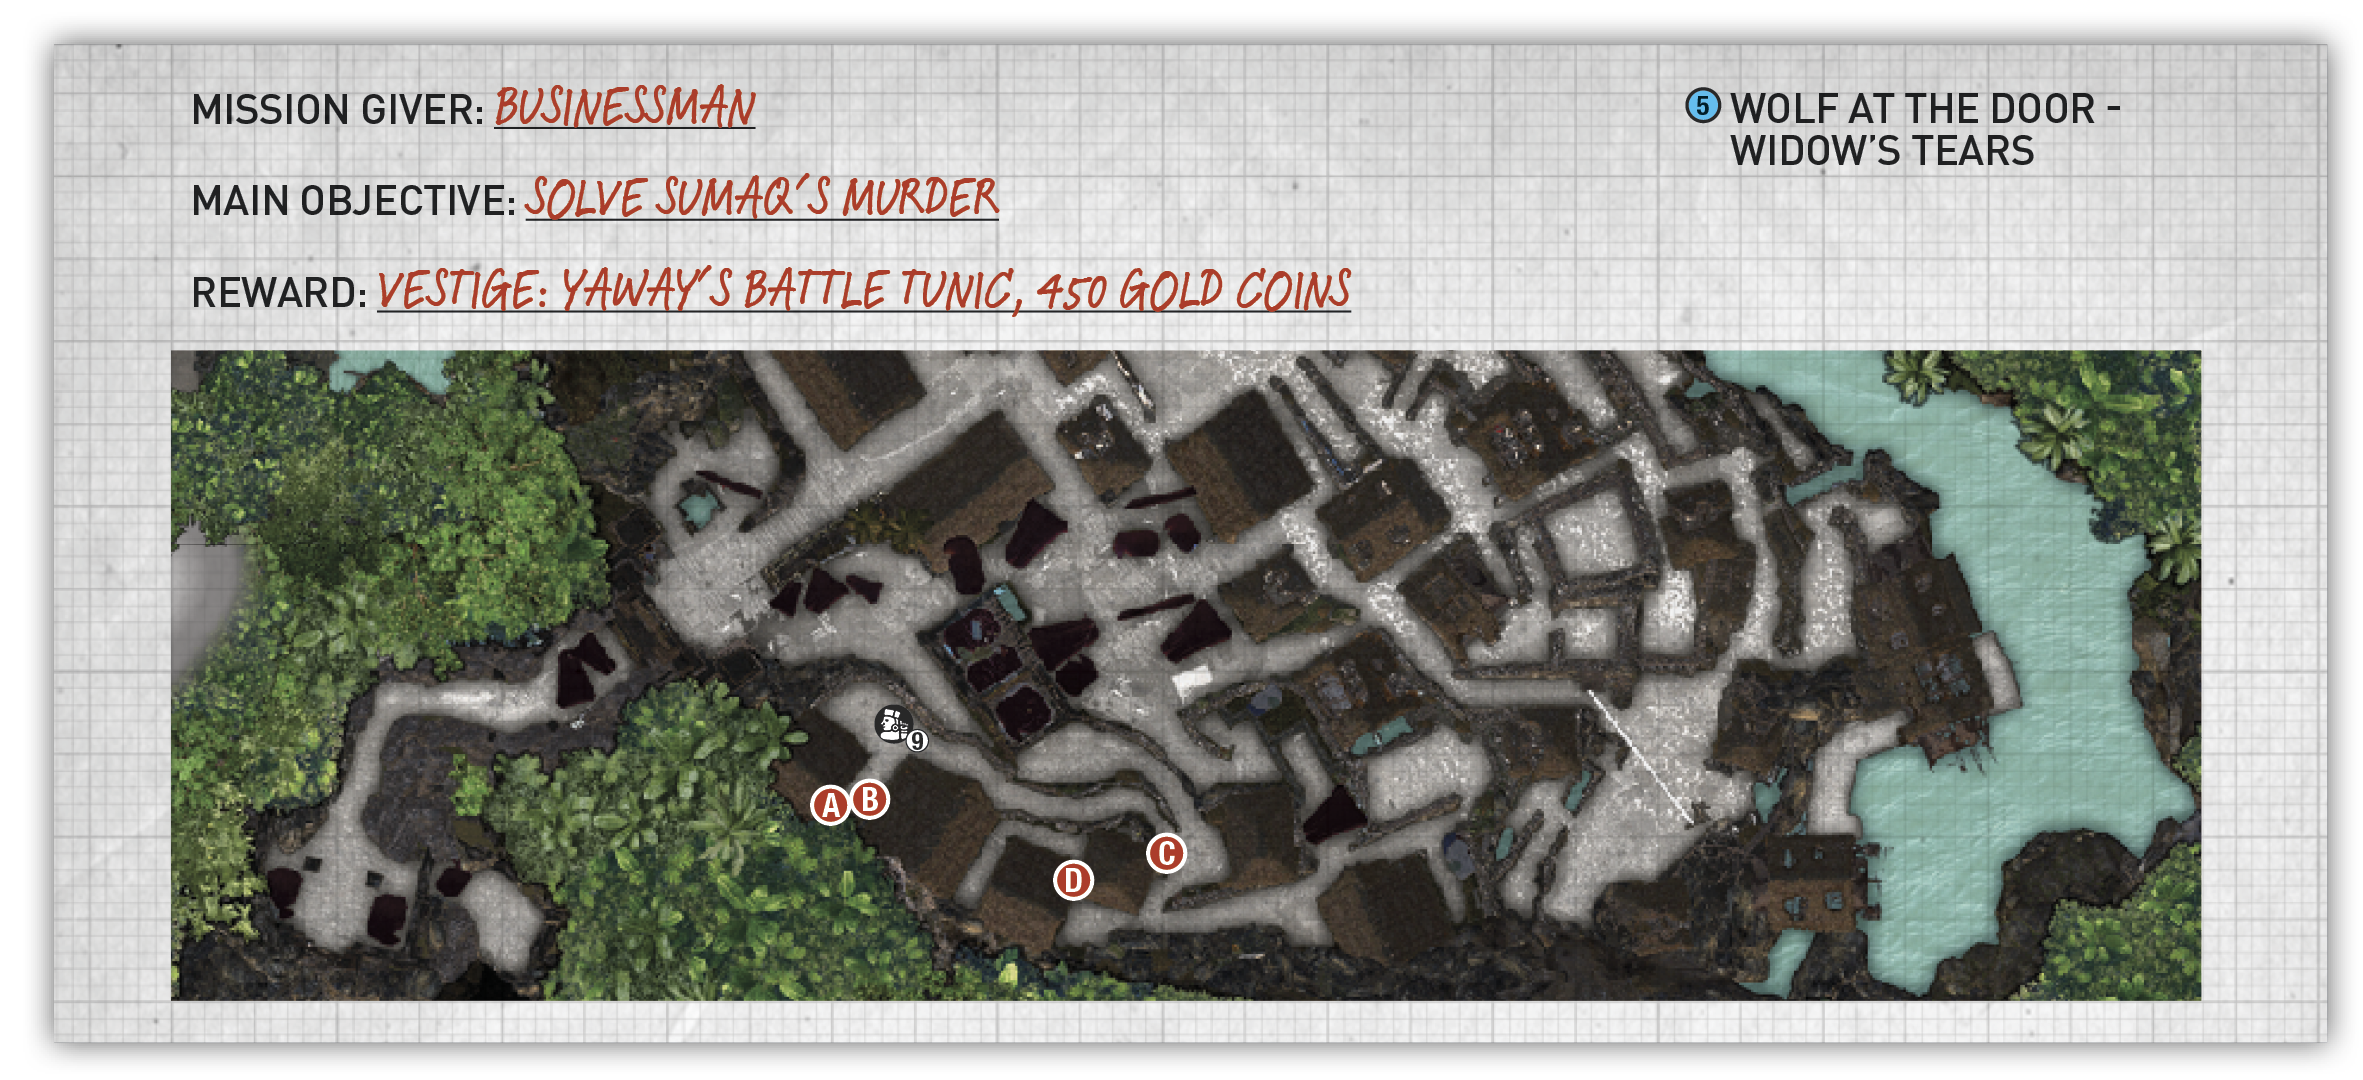
At the top of the long stone staircase that runs alongside the southern mountainside, turn right and follow the stone path and steps up to a crowd of unruly citizens. Speak to the Mission Giver to begin the quest.
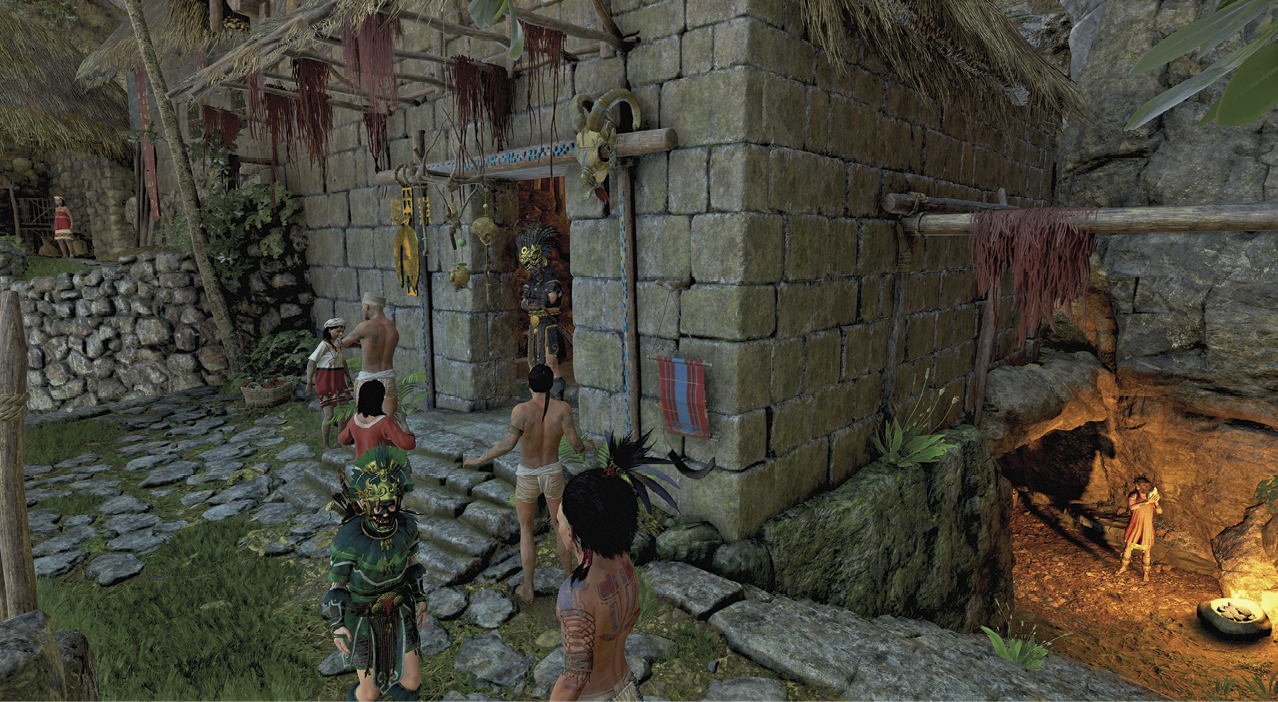
A man named Sumaq has been murdered in the nearby home, and his servant is being held accountable. You must investigate the evidence and decide if he is guilty or innocent. Note that this quest cannot be completed without the Serpent Guard outfit—you’re not allowed in the house with the Blue Heron Tunic.
Complete the following steps to solve the case:
- Descend the steps right of the home and talk to the horn player (A), so that he sounds the call of mourning.
- Once the crowd disperses, enter the home (B) and speak to the guard.
- Return to the horn player and search next to a torch to the left to find a note. Now move back up the steps, past the entrance and climb up the stone wall on the right. Follow the stone path left of the hut ahead, and jump across the beams (C) on the backside. Hop over to the craggy surface and ascend to the trail above.
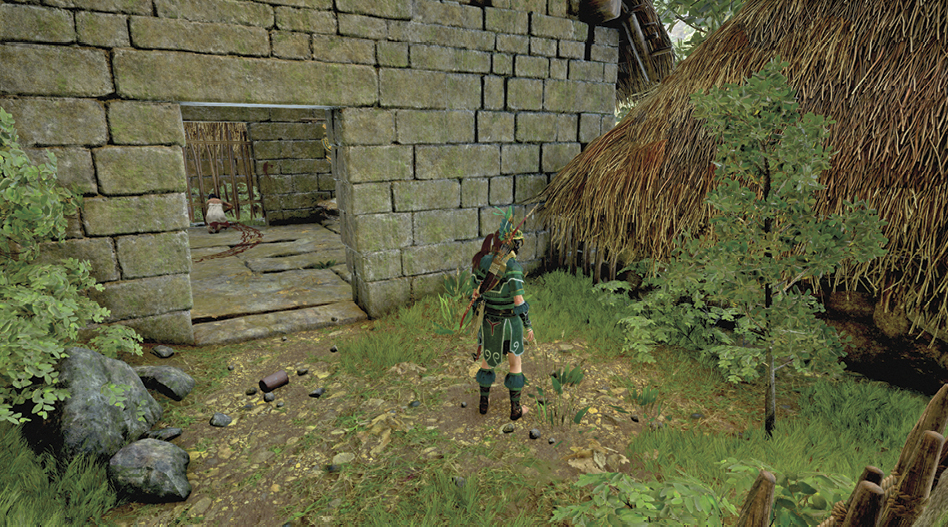
- Go right and stop before entering the home. Investigate the ground (D) on the right to find the murder weapon. At the doorway, Lara talks to the female servant, Akna. This opens the gate ahead.
- Return to Pakal to report your findings. The quest ends differently depending on teh evidence collected. Hand over the note, knife, or both. Then speak to Taruca to complete the side mission.
 Collateral Damage - Stay of Execution

Mission Giver: Etzli
Main Objective: Free Hakan from the Cult Brig
Reward: Reinforced/Finely-Crafted Knife
This side mission automatically starts when you speak with Etzli in Upper Paititi. Talk to Kayara, who settles onto the steps, left of the Temple of Kukulkan entrance and across from the cult brig. You must find a way to free her father. There are four people (indicated by the gear icons above their heads) you must speak with in order to get inside.
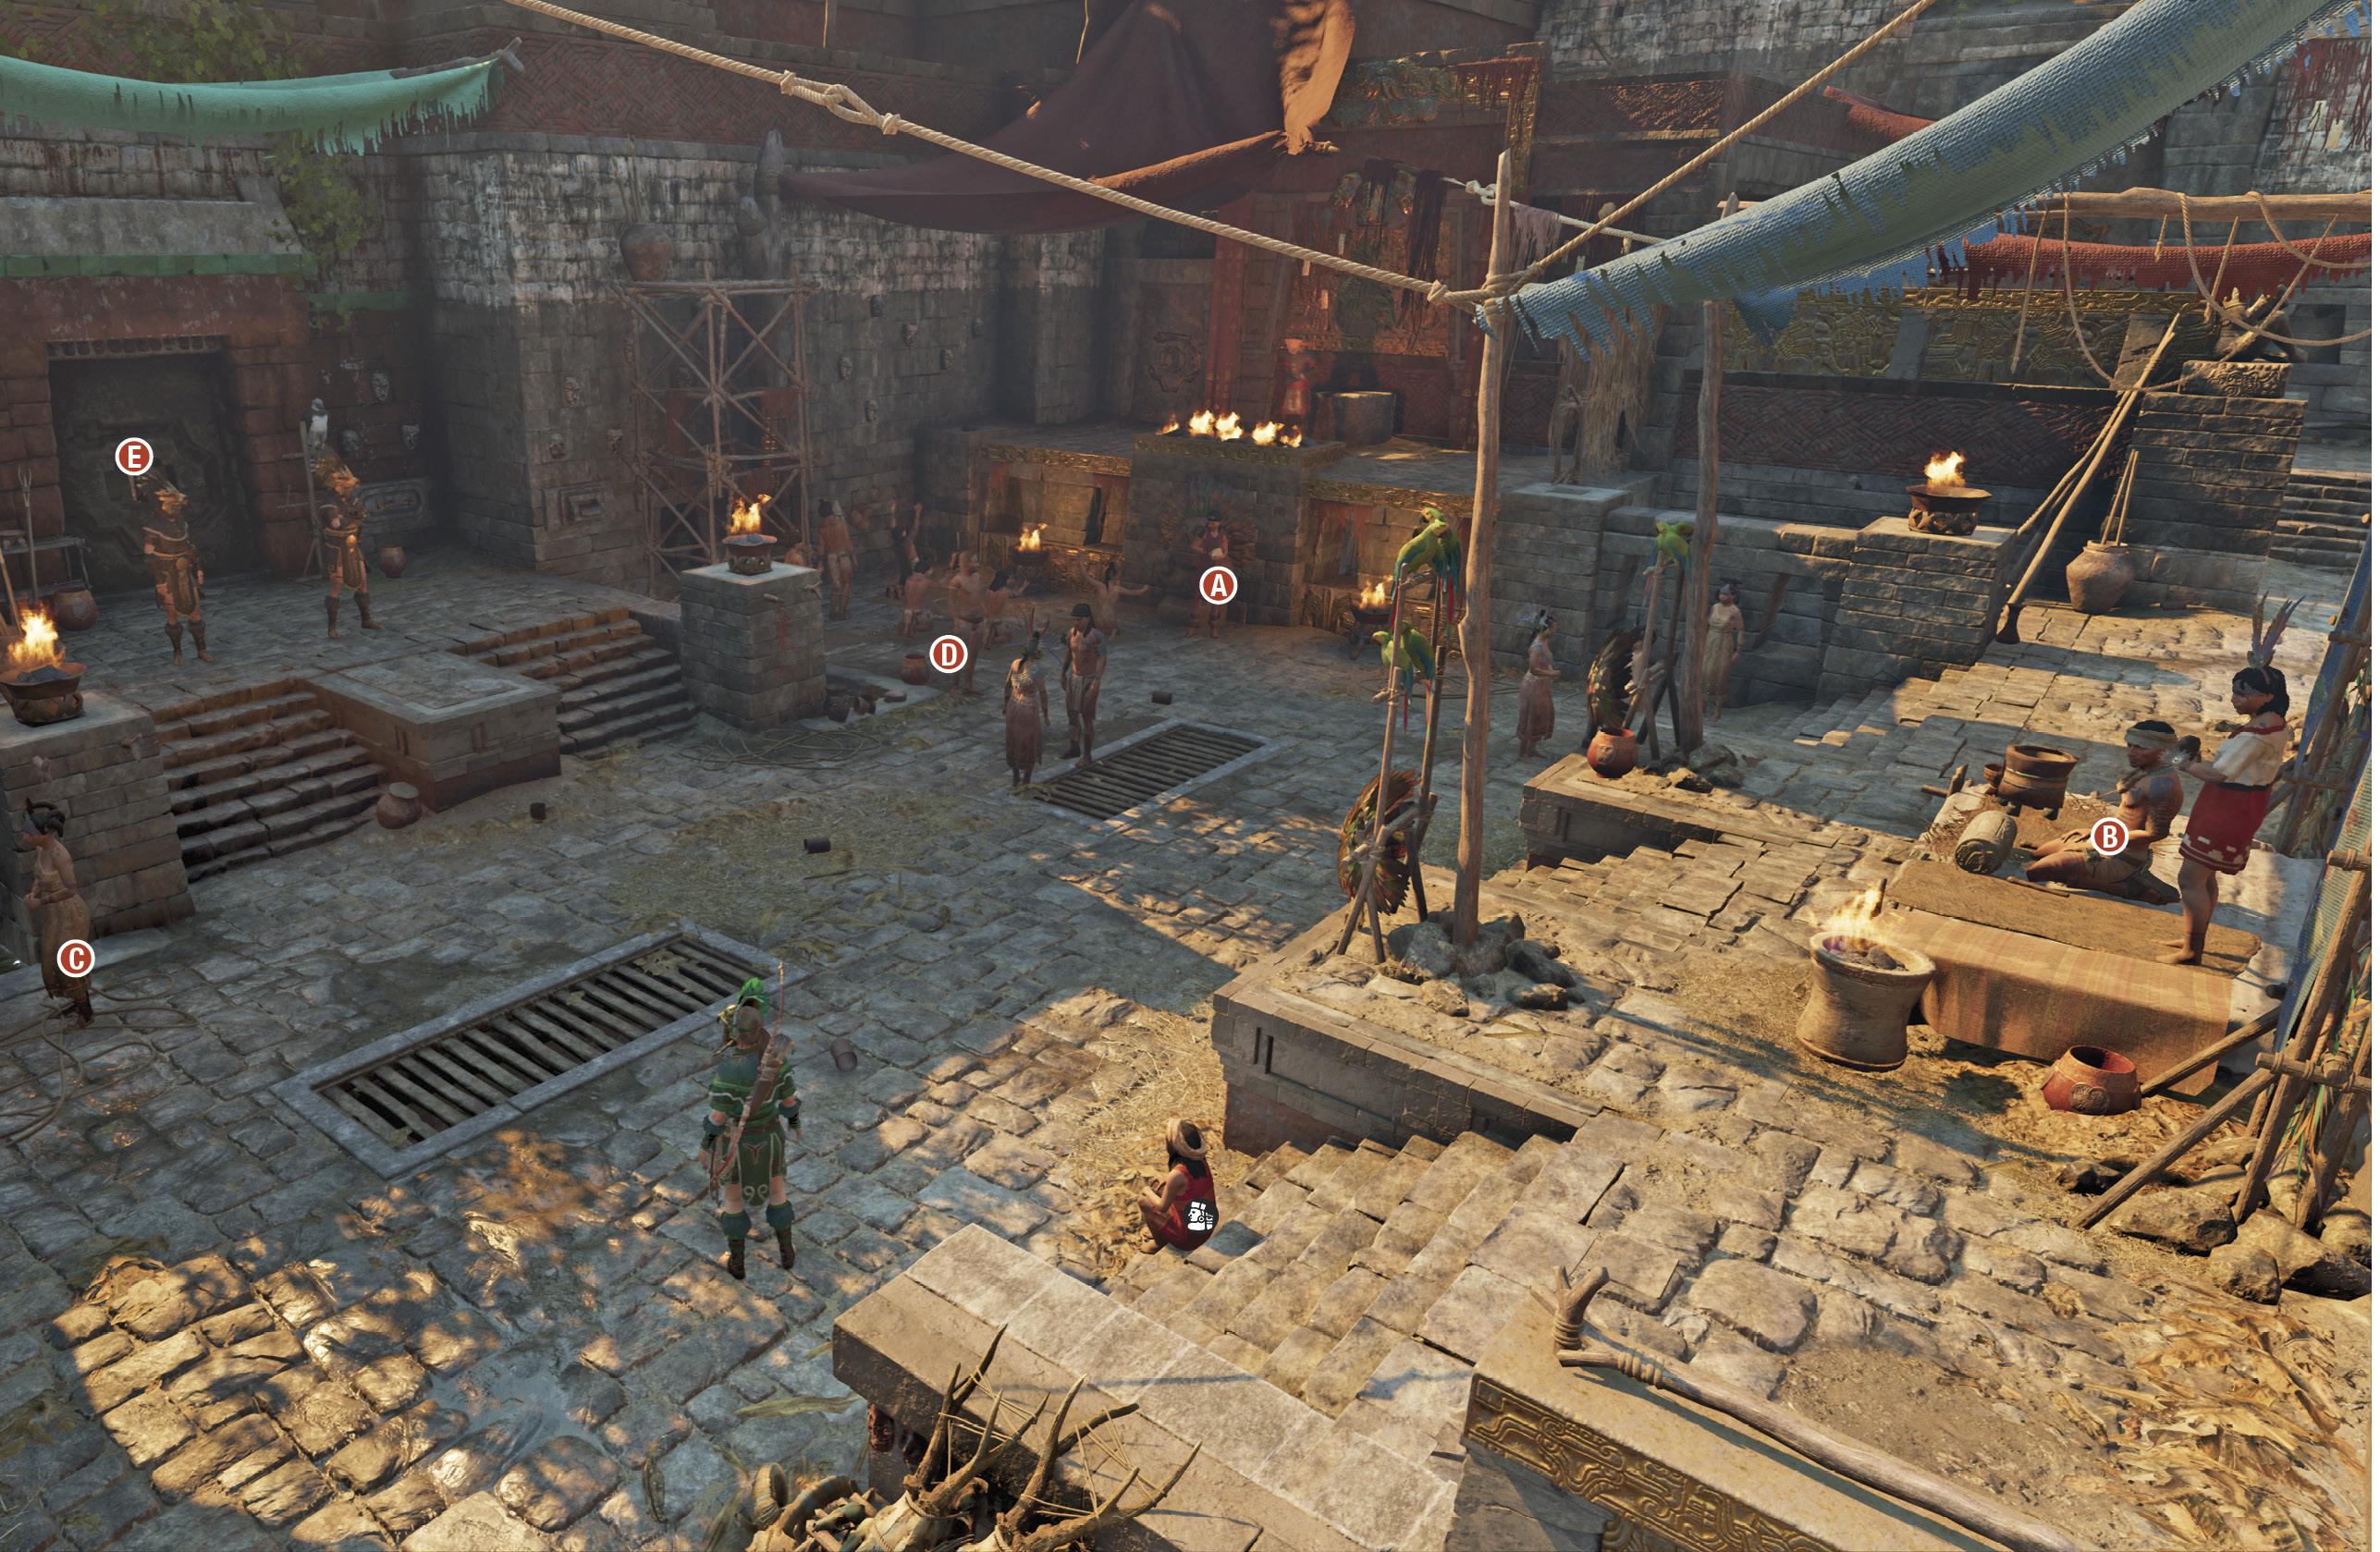
- Speak to the horn player (A) located to the right in order to stop prayers.
- Speak to the musicians (B) sitting behind Kayara. Their music attracts nearby citizens, including the two brig guards.
- Once the guards are out of the way, speak to the man (C) who kneels to the left, and another (D) standing right of the brig steps.
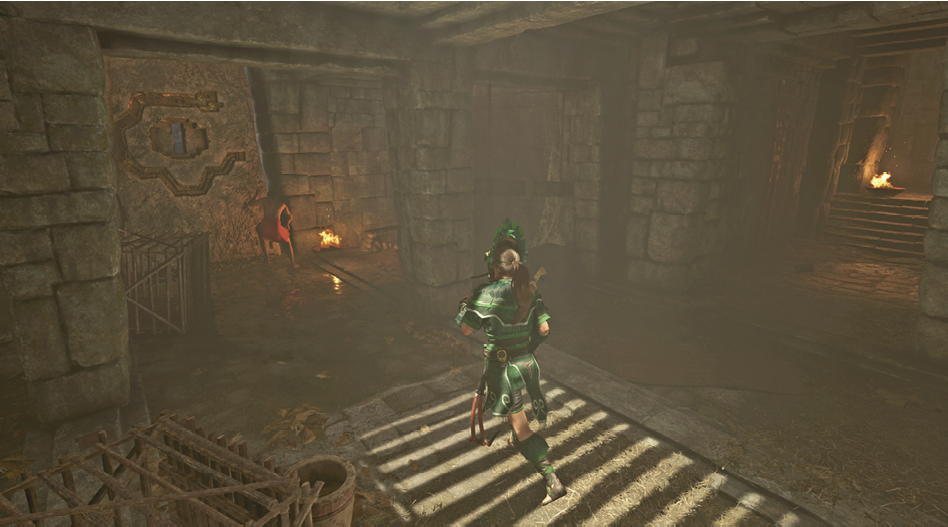
- Once the door opens, move inside the brig (E) to find Hakan. Bust through the weak wall on the right, and follow the corridor into the old barracks.
- Search the final room for treasure, then talk to Hakan to assist him with opening the exit.