
Shadow of the Tomb Raider Guide The Journey Chapter 4: Hidden city
Hidden City - Challenge Tombs
Location: Via Cave in Paititi Mountaunside
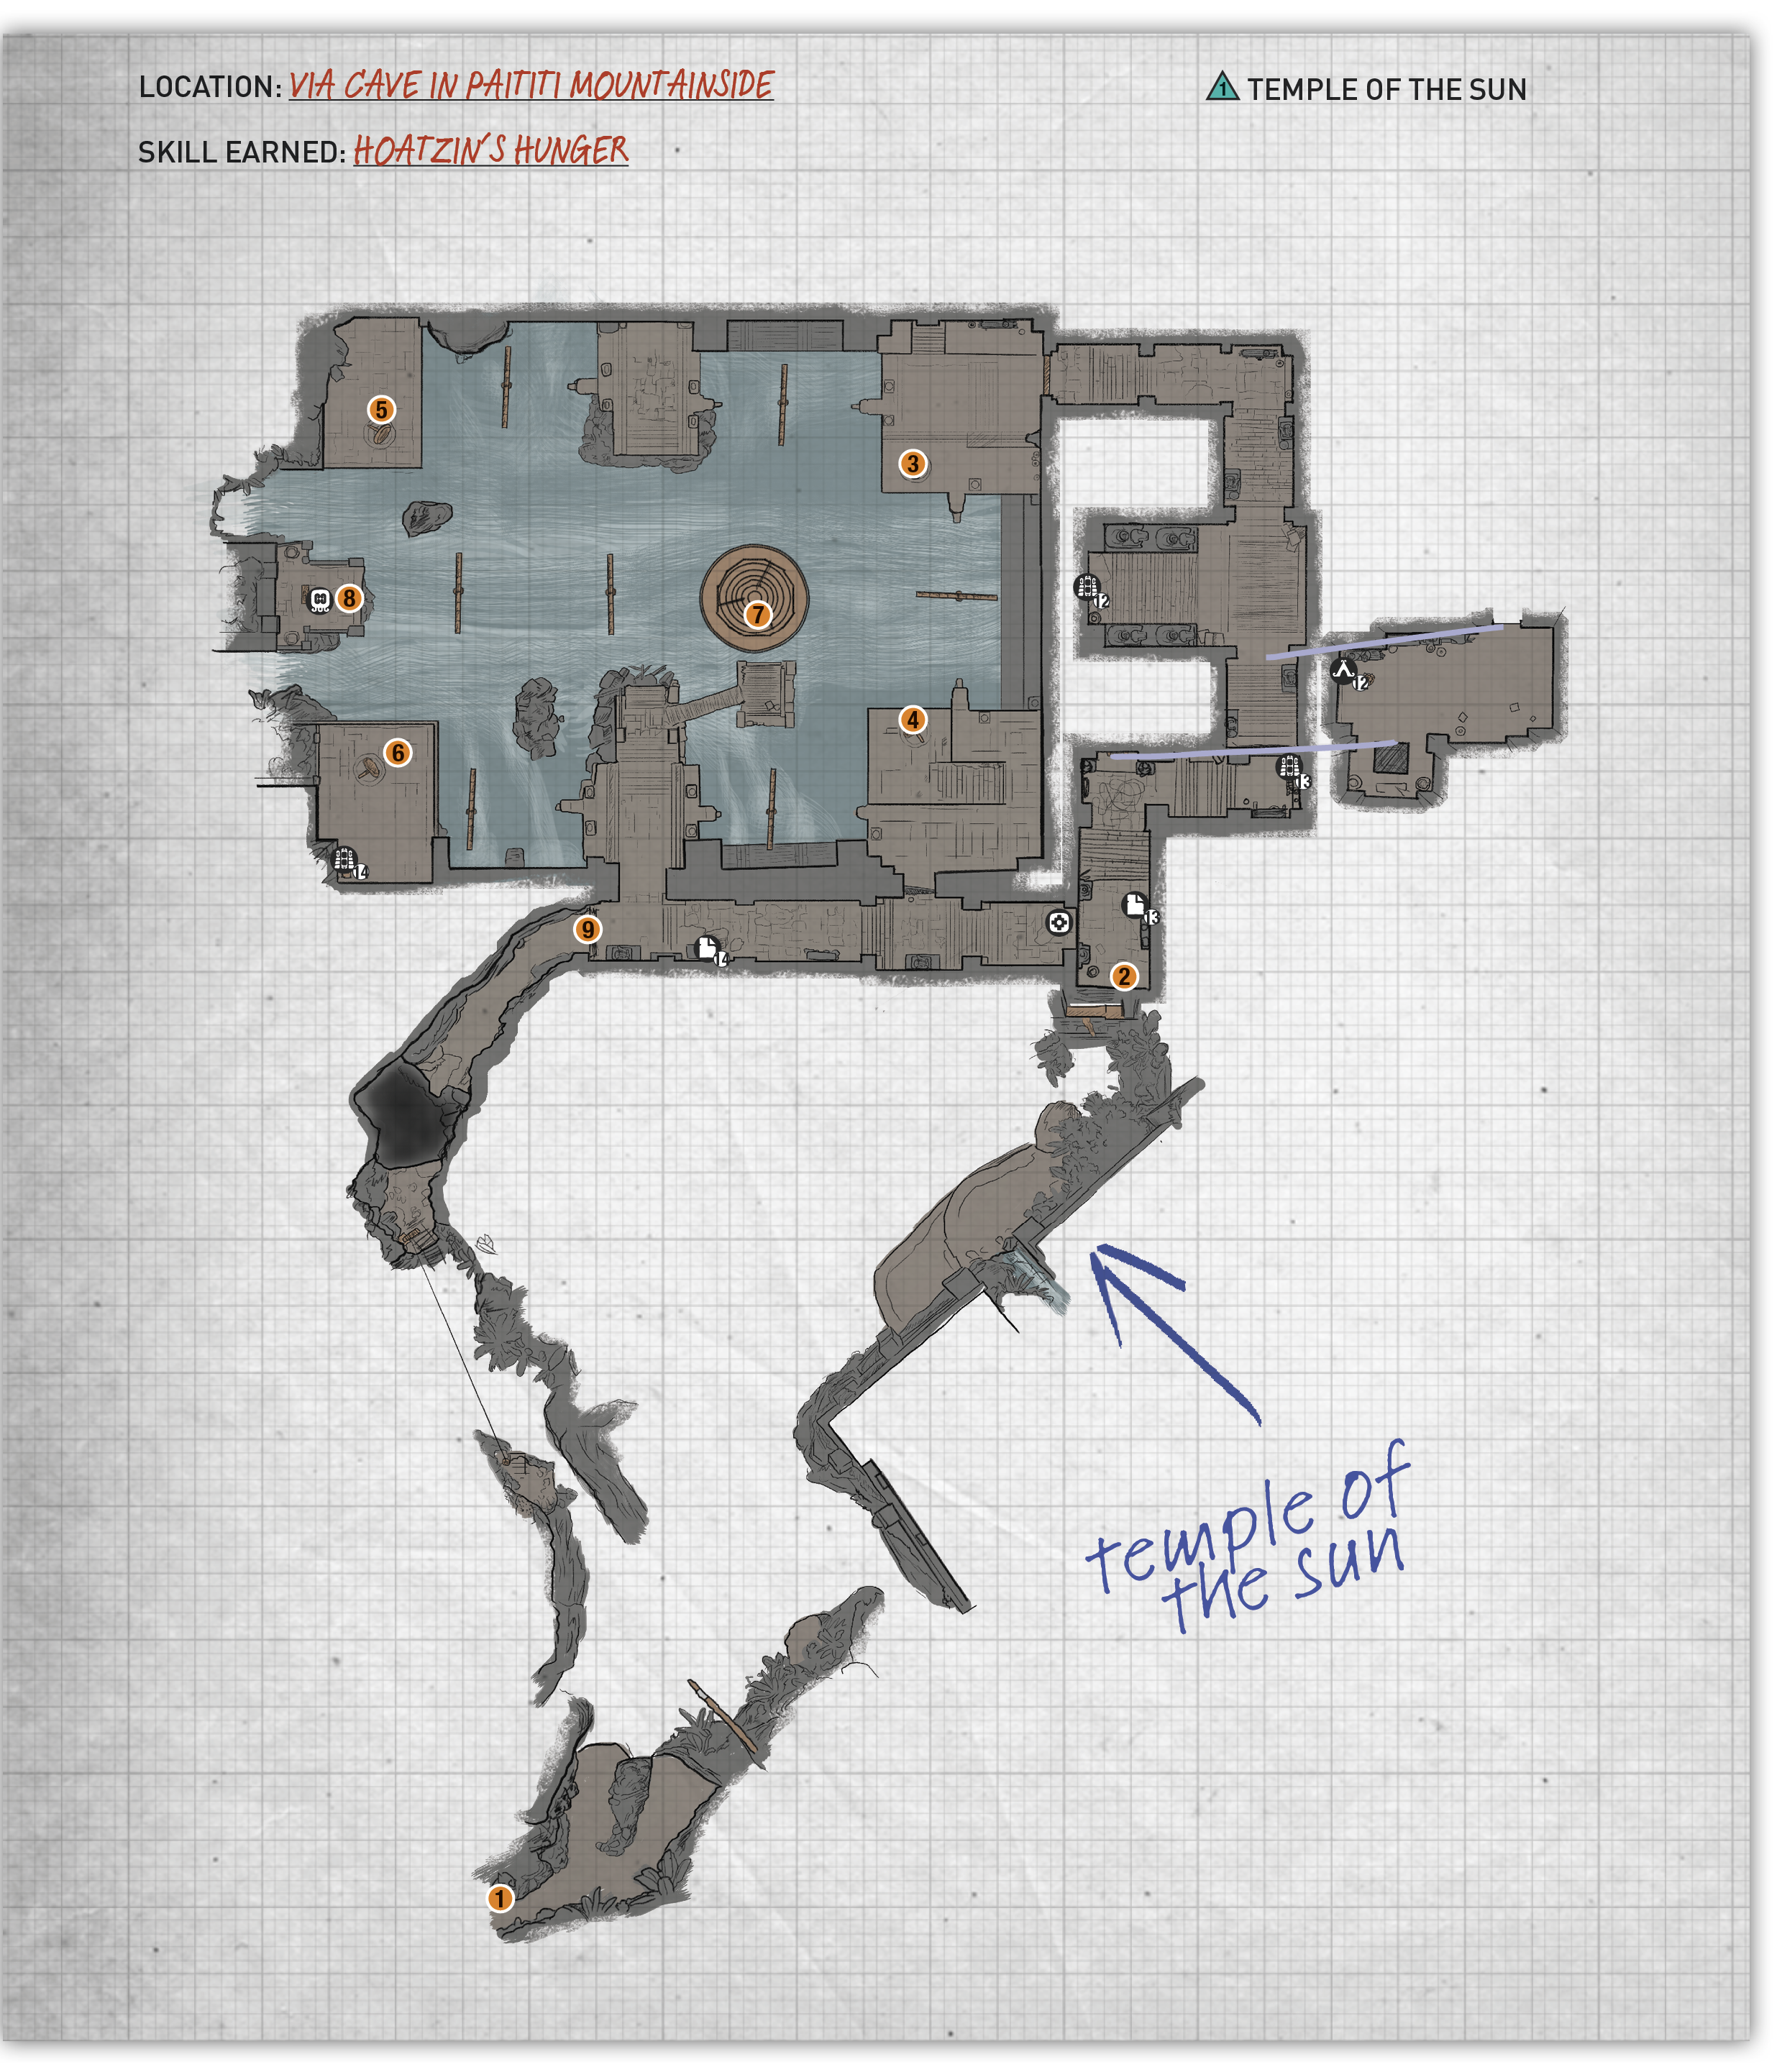
Access the Cave in the Mountainside
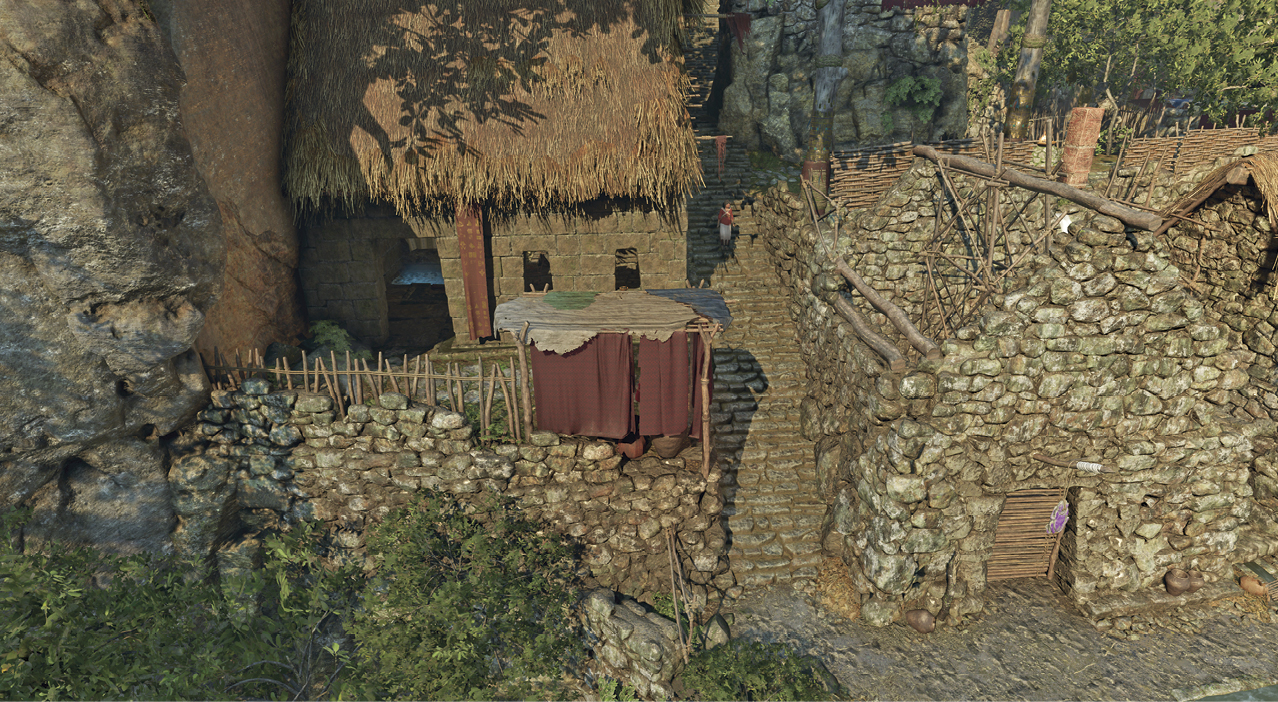
You reach the Temple of the Sun via a cave in the mountainside, which is accessed through two entry points. Look for steps that run between two homes on the far south side, four tiers up from the water. Start up the stairs and step onto the stone platform on the left. Enter the house, dive into the water, and follow it into the cave.
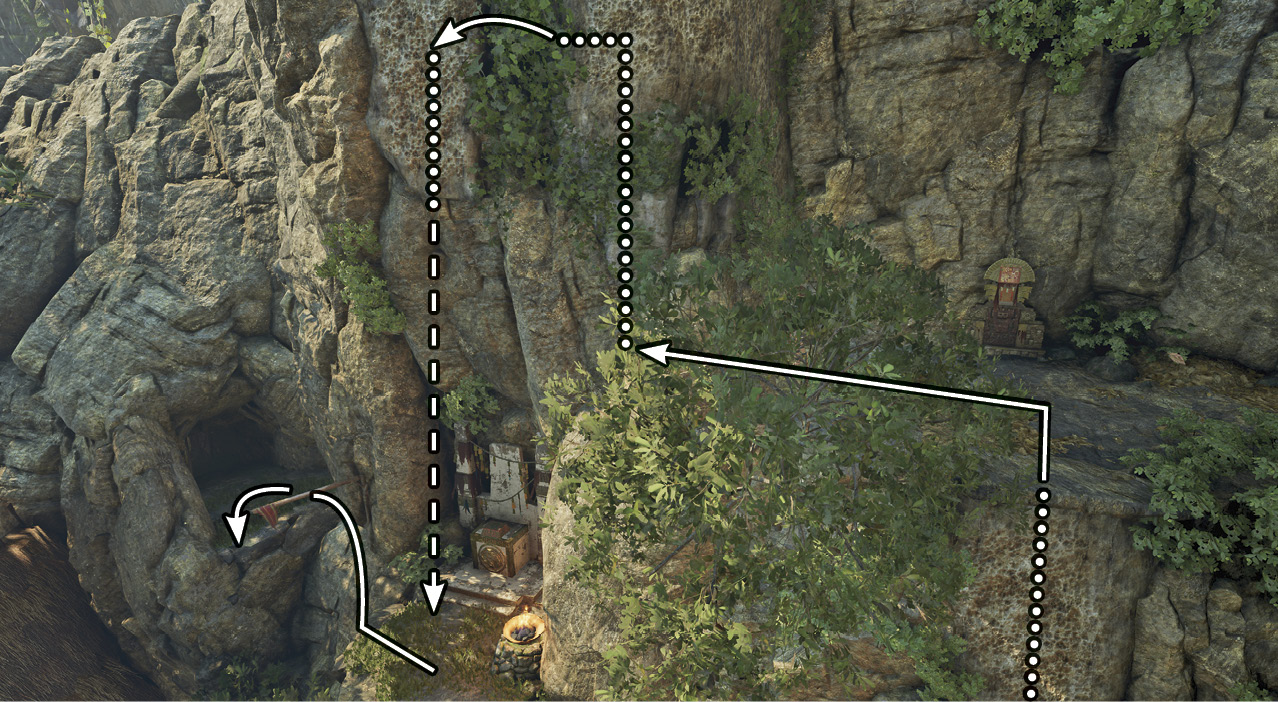
Or find the long stairs next to the mountainside and scramble up to the craggy surface near the upper cave opening. Ascend to the walkway and follow the path to the left and up another climbable wall. Move left, jump across the gap, then rappel down to an altar. Jump left, swing on the pole, and follow the tunnel into the cave.
Access the Tomb
The Temple Path Base Camp is available on the right. Scramble and climb up the wall to reach the upper walkway, and remove the pry barrier to reach an outdoor trail (1).
- Use the Grapple Axe on the metal hook ahead, and grab on to the cliff face. Climb up to the narrow shelf, shimmy to the left, then leap to the perpendicular wall.
- Rappel down as far as you can go; wall-run right, then left; and jump to another narrow ledge.
- Climb down and left along the craggy surface. Jump up to the small ledge, then left to the shelf. Hop down to the left and scramble up the stone wall.
- Hop over to the side of the temple (2) and scramble inside.
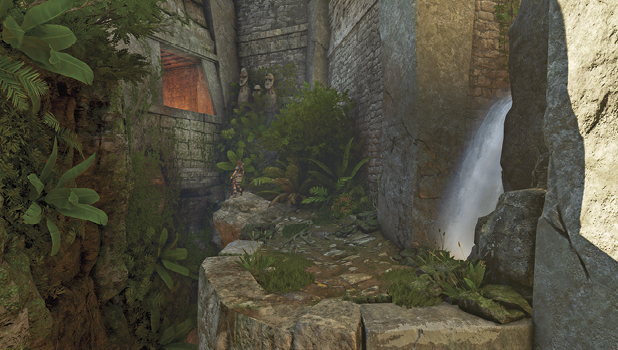
The Tomb Base Camp
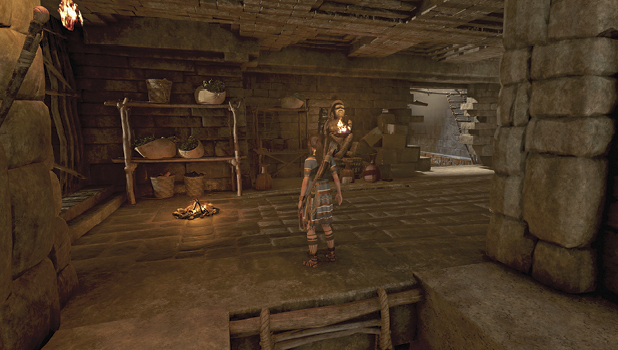
A number of collectibles and resources are found throughout the corridors of the temple, so spend some time exploring the place. At the far wall, scramble up to the ladder and climb up to the Temple of the Sun Base Camp. Around the next corner, swing on the pole to reach a climbable wall. Rappel down to the lower level, head up the steps, and crawl through the opening to reach the main chamber.
Lower the Central Pavilion
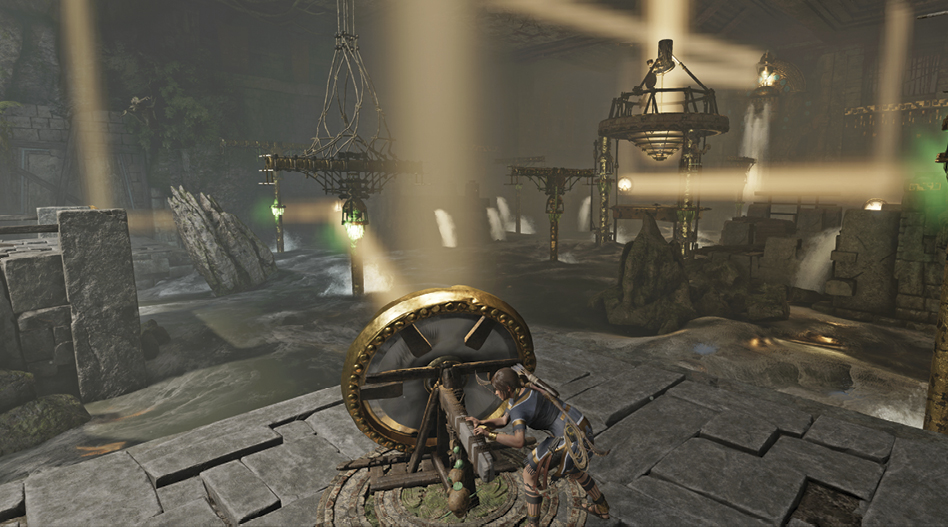
The central pavilion stands in the middle of the tomb, surrounded by rushing water. You must get to that platform in order to reach the stele at the far end of the cavern. Fall into the water, and you restart at the previous checkpoint. Beams around the perimeter allow you to reach four mirrors and the stele, but they must be rotated in the correct direction. Directing light at a beam’s sensor causes it to rotate 90 degrees.
Located at each corner, four mirrors reflect light in the direction in which they’re facing. Currently, light from all four mirrors hits sensors on the pavilion, causing the platform to rise to its highest position. Each time a light is moved off the central pavilion, it lowers one notch. Move all four, and the platform can be accessed.

We’ve labeled Mirrors 1 through 4 on the corresponding map. Rotate them in the following order to lower the pavilion, access the platform, and learn a new Skill at the stele:
- Approach Mirror 1 (3) and shine the light at the left beam so that it rotates in your direction. Jump on and cross to Mirror 2 (4).
- Rotate Mirror 2 through the middle of the central pavilion and hit a sensor on the far beam. If you have trouble determining whether it’s aimed correctly, aim your bow and zoom in for a better view. Cross back over to Mirror 1.
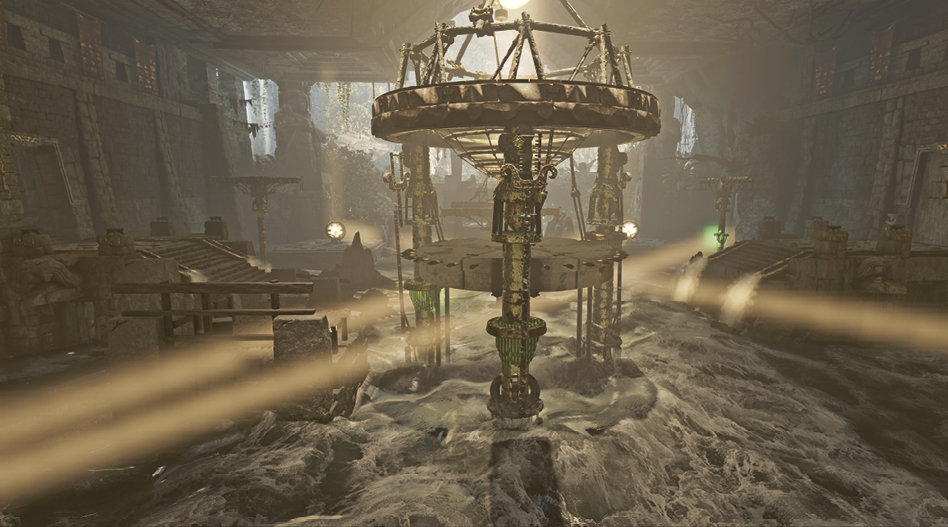
- Rotate Mirror 1 right until it turns the right beam, and cross to a middle platform. If Mirror 2 is set correctly, you can climb onto the next beam and swing to Mirror 3 (5).
- Rotate Mirror 3 left until it shines on the previous beam. Climb the craggy surface on the left and jump over to the beam. Return to Mirror 1.
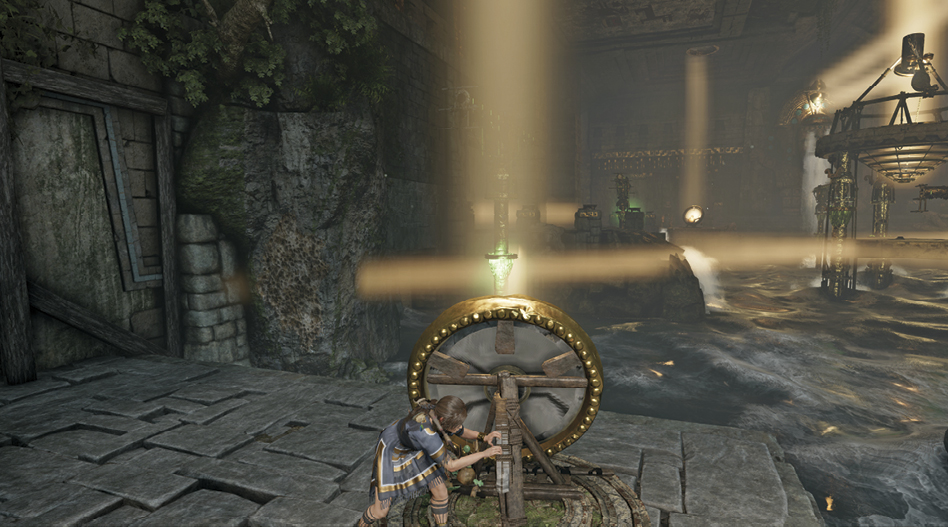
- Rotate Mirror 1 to the left beam and cross over to Mirror 2.
- Rotate Mirror 2 right to the same beam as the light from Mirror 1 and return to Mirror 1.
- Rotate Mirror 1 through the middle of the pavilion so that it turns the beam before Mirror 4. Cross to Mirror 2.
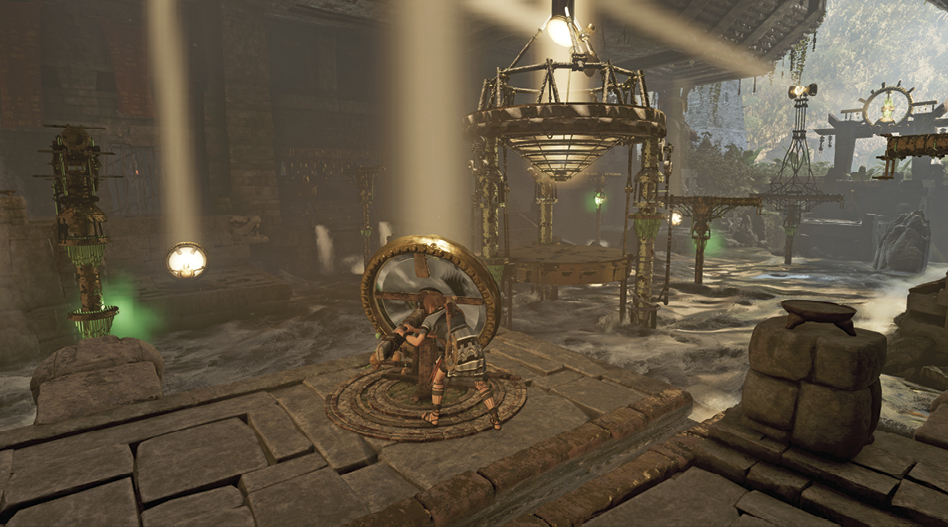
- Rotate Mirror 2 left so that it turns a new beam that leads toward Mirror 4. Climb across to the middle platform. Cross to Mirror 4 (6).
- Rotate Mirror 4 left so that it shines on the beam ahead. This lowers the central pavilion and lines up the path to the stele.
Reach the Stele
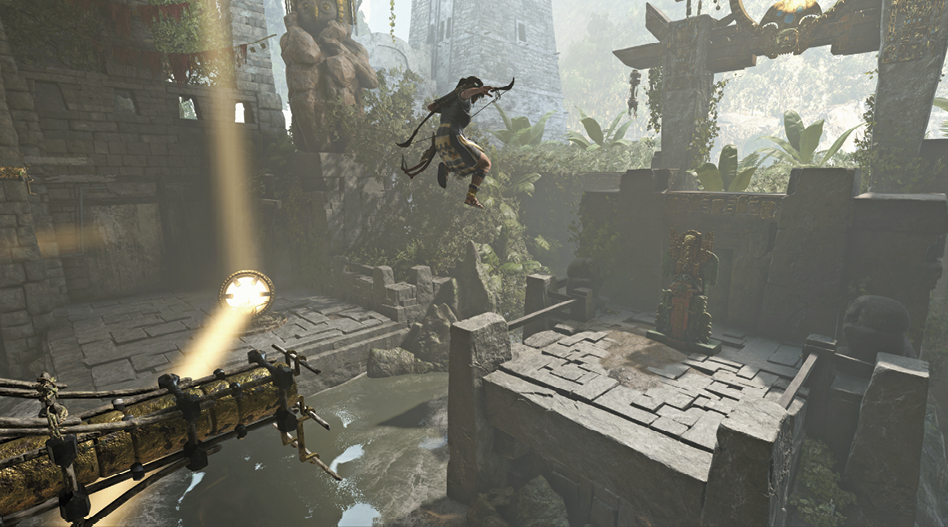
- You must scramble, climb, and shimmy to the beam in order to return to the middle platform. From there, follow the walkway onto the central pavilion (7). Then leap across the two beams to the stele (8).
Exit the Tomb
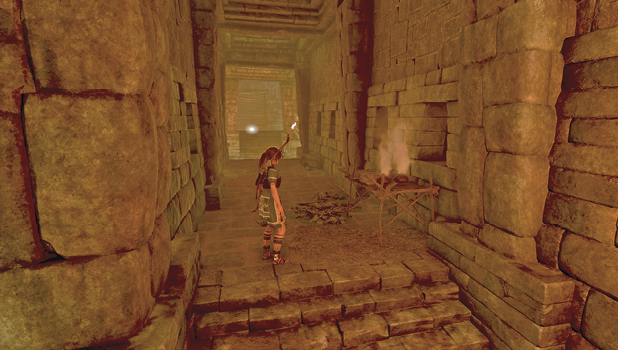
Return to the central pavilion, then to the middle platform on the right. Follow the steps into the side corridor. Search to the left first, then exit to the right. Scramble up the wall and exit (9) the tomb.
Return to the Cave in the Mountainside
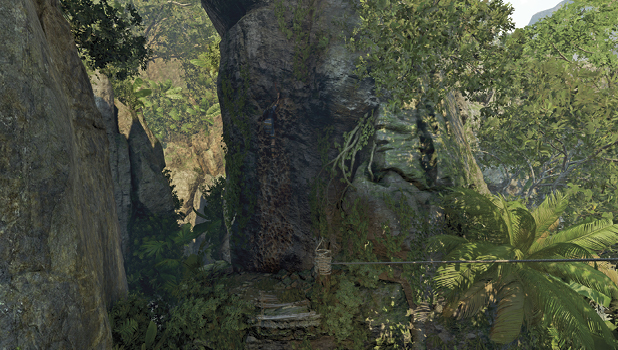
- Jump the gap, then tether a rope from the coil to a post ahead. Slide down to the other side.
- Climb the craggy surface and scramble up to a narrow ledge. Move left, up, and left again before leaping to a small craggy area.
- Rappel down and swing over to the walkway ahead. This leads back into the cave.
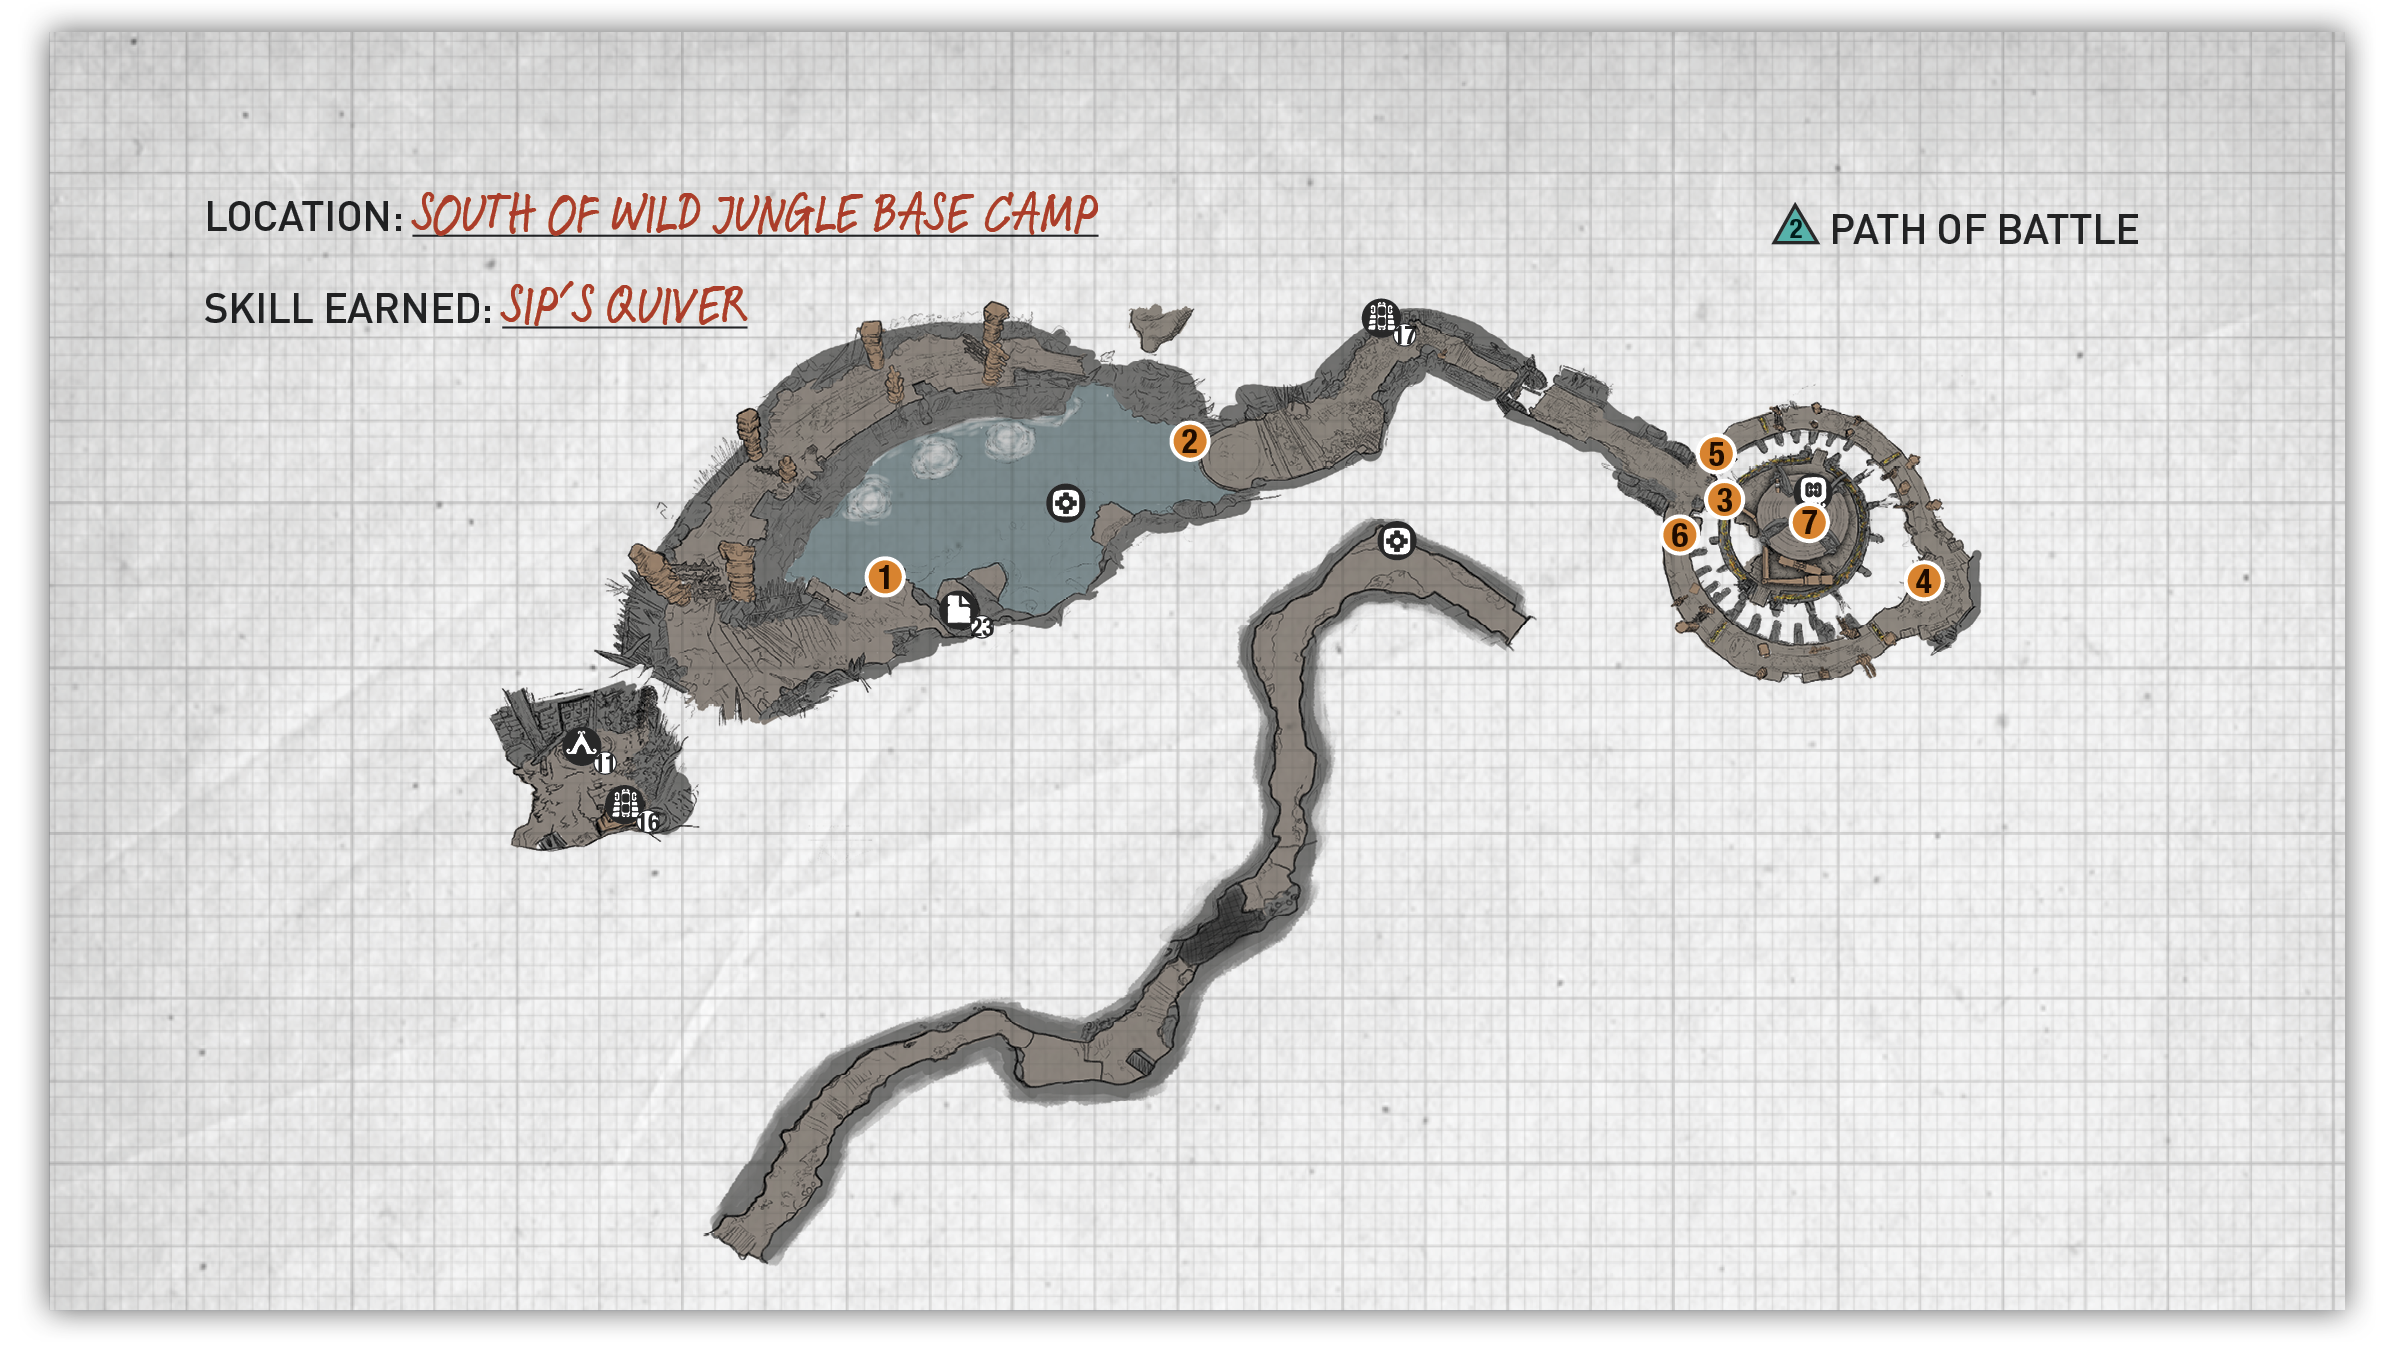
Location: South of Wild Jungle Base Camp
Access the Tomb
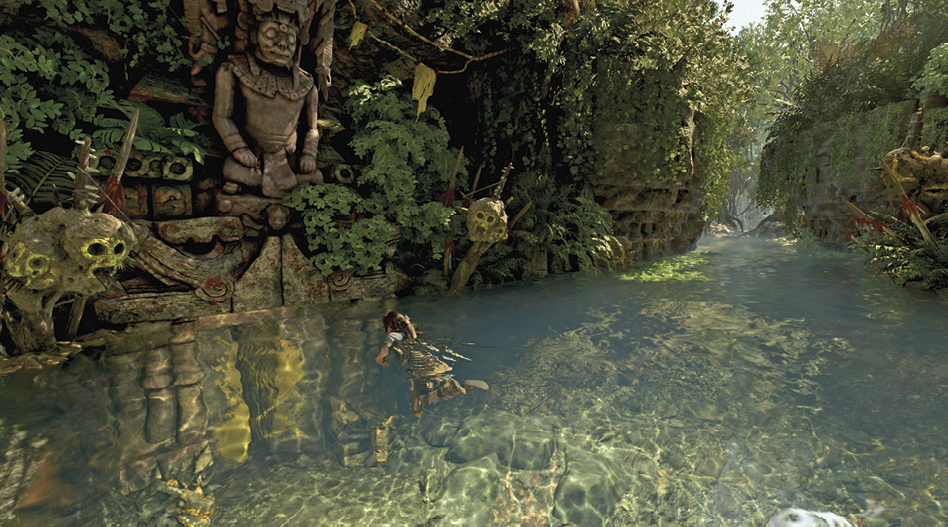
Travel to the Wild Jungle Base Camp, west of Paititi, and dive underwater in the plunge pool to the southwest. Squeeze through a narrow entrance just below the water’s surface on the right side. Grab a breath of air before diving through the opening on the left. Follow the water tunnel, careful to avoid the spikes just before you surface inside a large cavern.
The Tomb Base Camp
Climb out on the left and leap to the craggy wall ahead. Rappel down and swing over to the Ossuary Base Camp.
Reach the Stele
Squeeze between the obsidian blades, and descend the steps to find a switch (1). Push it to activate traps and torches along the perimeter. Before continuing, drop into the water and search the area for valuable resources and treasure. Climb back up, leap off the stones next to the steps, and climb onto the walkway.
Avoid the blades along the path ahead by jumping twice and stepping to the left of the last set. Jump off the wood ramp and throw the Grapple Axe in order to attach to the craggy wall. Rappel down and swing over to the round platform (2).
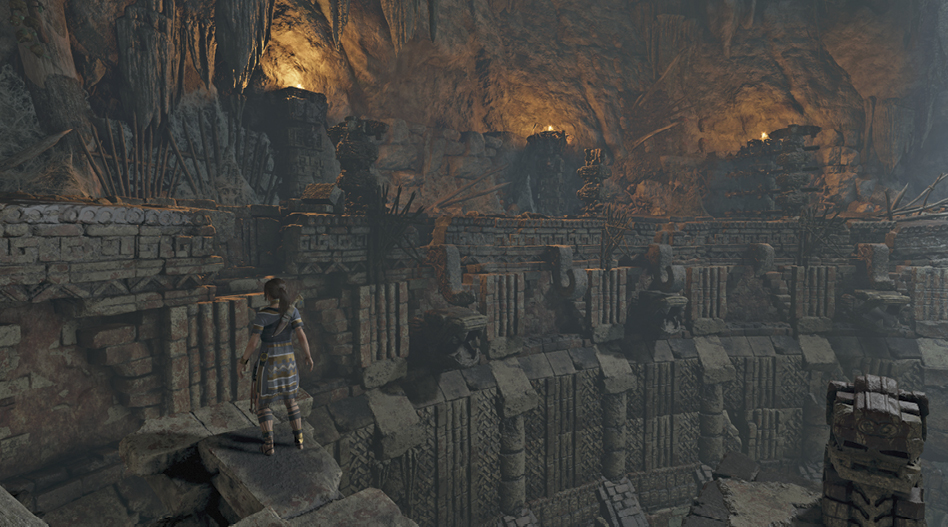
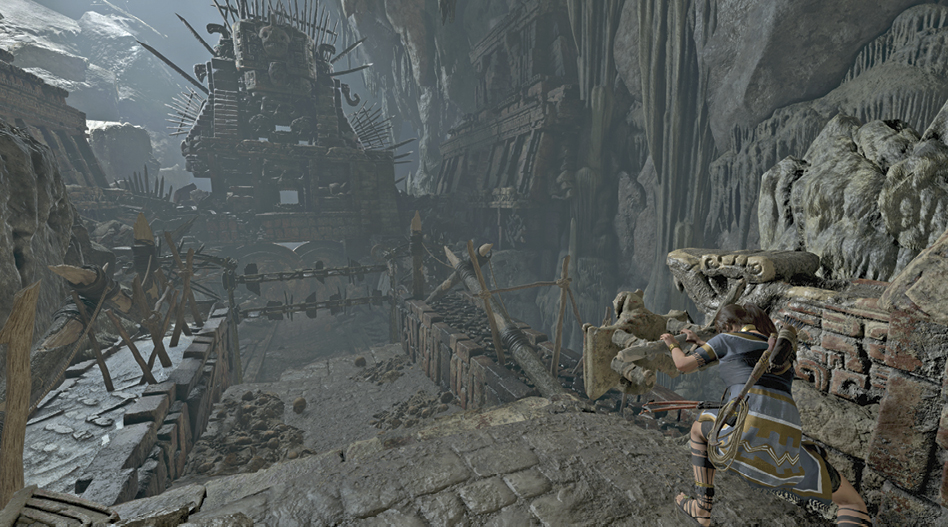
Follow the trail around a right turn and interact with the movable object on the right. Push it all the way forward to start more traps ahead. Jump over the blades as they descend to their lowest points. As you continue forward, a massive, spinning tower emerges from the floor.
Lower the Tower, Part 1
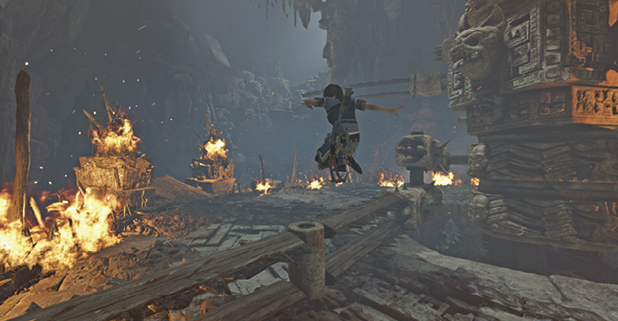
Approach the inner circle (3), and just as one of the arms passes by, sprint left. Hop the second arm, then leap off the wood ramp to return to the outer ring. Follow the trail to the right, climb the steps, and step up to the movable object (4) on the right.
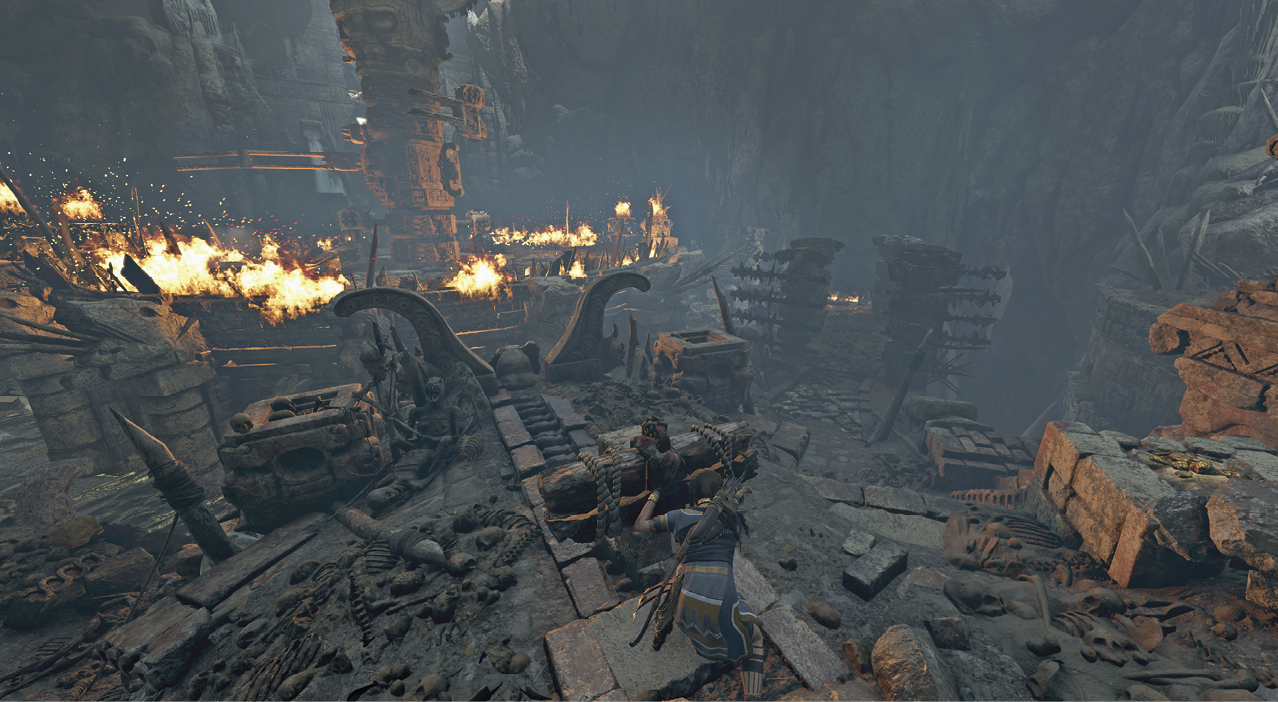
Pull the object all the way back and immediately sprint right. Run through the first two sets of blades before stepping to the right to avoid the third. Immediately follow these blades through so that the previous trap doesn’t get you. Hop the fire and two rotating blades. Sprint through another set of blades before jumping another fire. Climb up to the switch (5) on the left, and push it to lower the tower partway.
Lower the Tower, Part 2
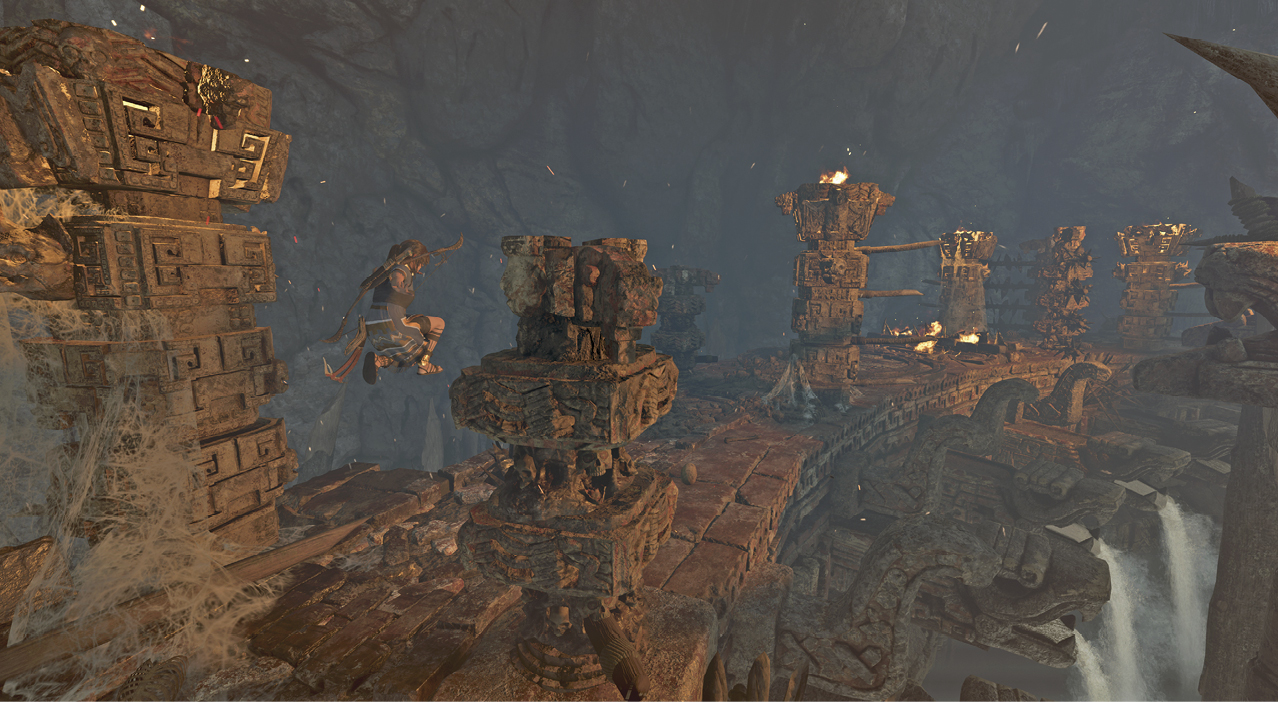
Return to the inner circle, and again sprint to the left, avoiding the spiked arms as they pass. This time you must alternate between scrambling and jumping, depending on the height of the arm. Just before the gap in the floor, turn left and jump off the ramp to the outer ring. Run left between the blades and approach the same object (4) as before.
Pull the object back and immediately sprint left. Hop the fire, sprint between the rotating blades, and hop two more blades. Time your next jump over the fire as the blades rotate over the walkway, and sprint through the second set of blades to reach another switch (6). Push it and the inner floor gives way, but the tower doesn’t drop.
Climb the Tower
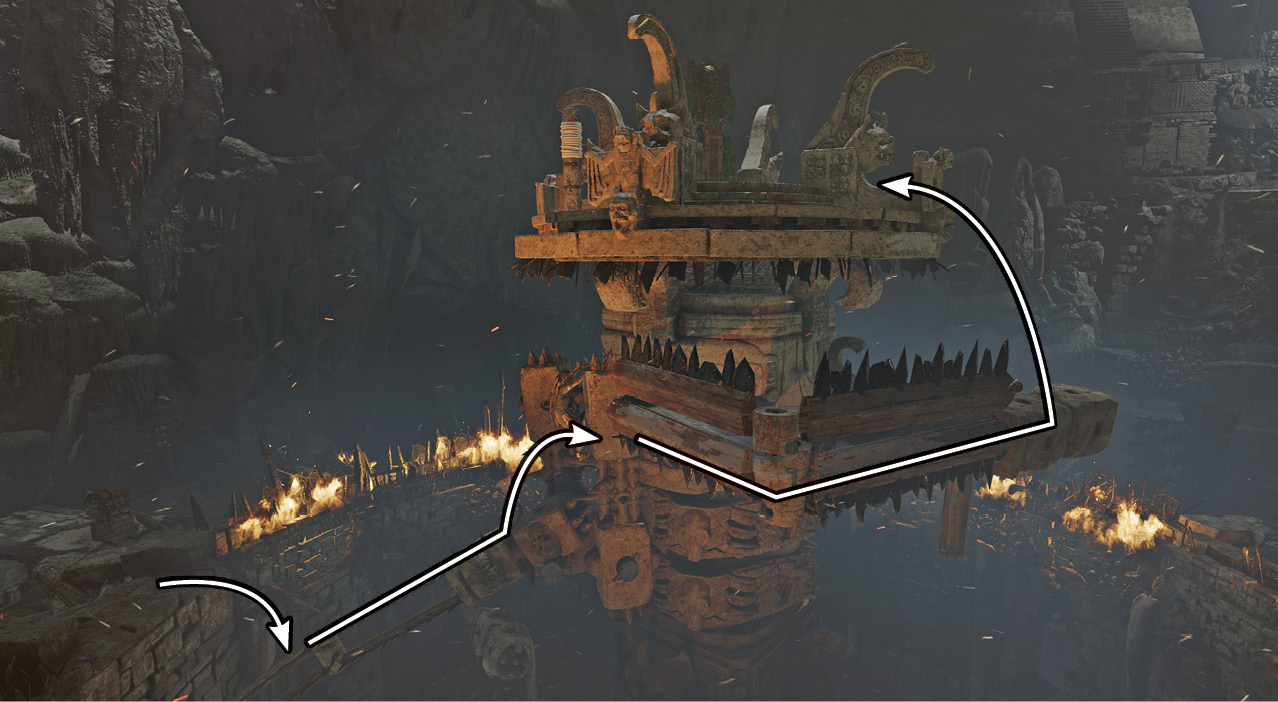
- Approach the inner circle and leap to the slanted arm. Follow it up and jump onto the block.
- Jump right and shimmy along the arm until you can climb up.
- Jump and climb onto the top of the tower, and interact with the stele (7) to learn the Skill.
- Tether a rope between the post and the rope coil above the walkway, and slide down.
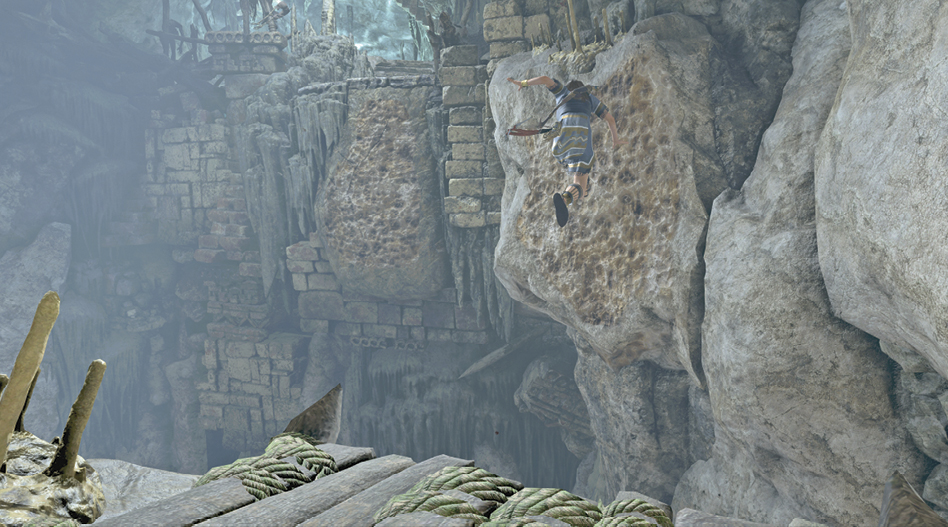
Exit the Tomb
Jump the gap ahead when the blades are up, and follow the tunnel.
Leap to the craggy wall, then left to another craggy surface. Climb up and ascend the stairs. Scramble up the partial wall on the left and hop ahead to the pillar. Wall-scramble to the upper trail and follow it until you slide down the hill.