
Shadow of the Tomb Raider Guide The Journey Chapter 8: Mission of San Juan
Mission of San Juan
CHAPTER: 08
Location: Mission of San Juan, Peru
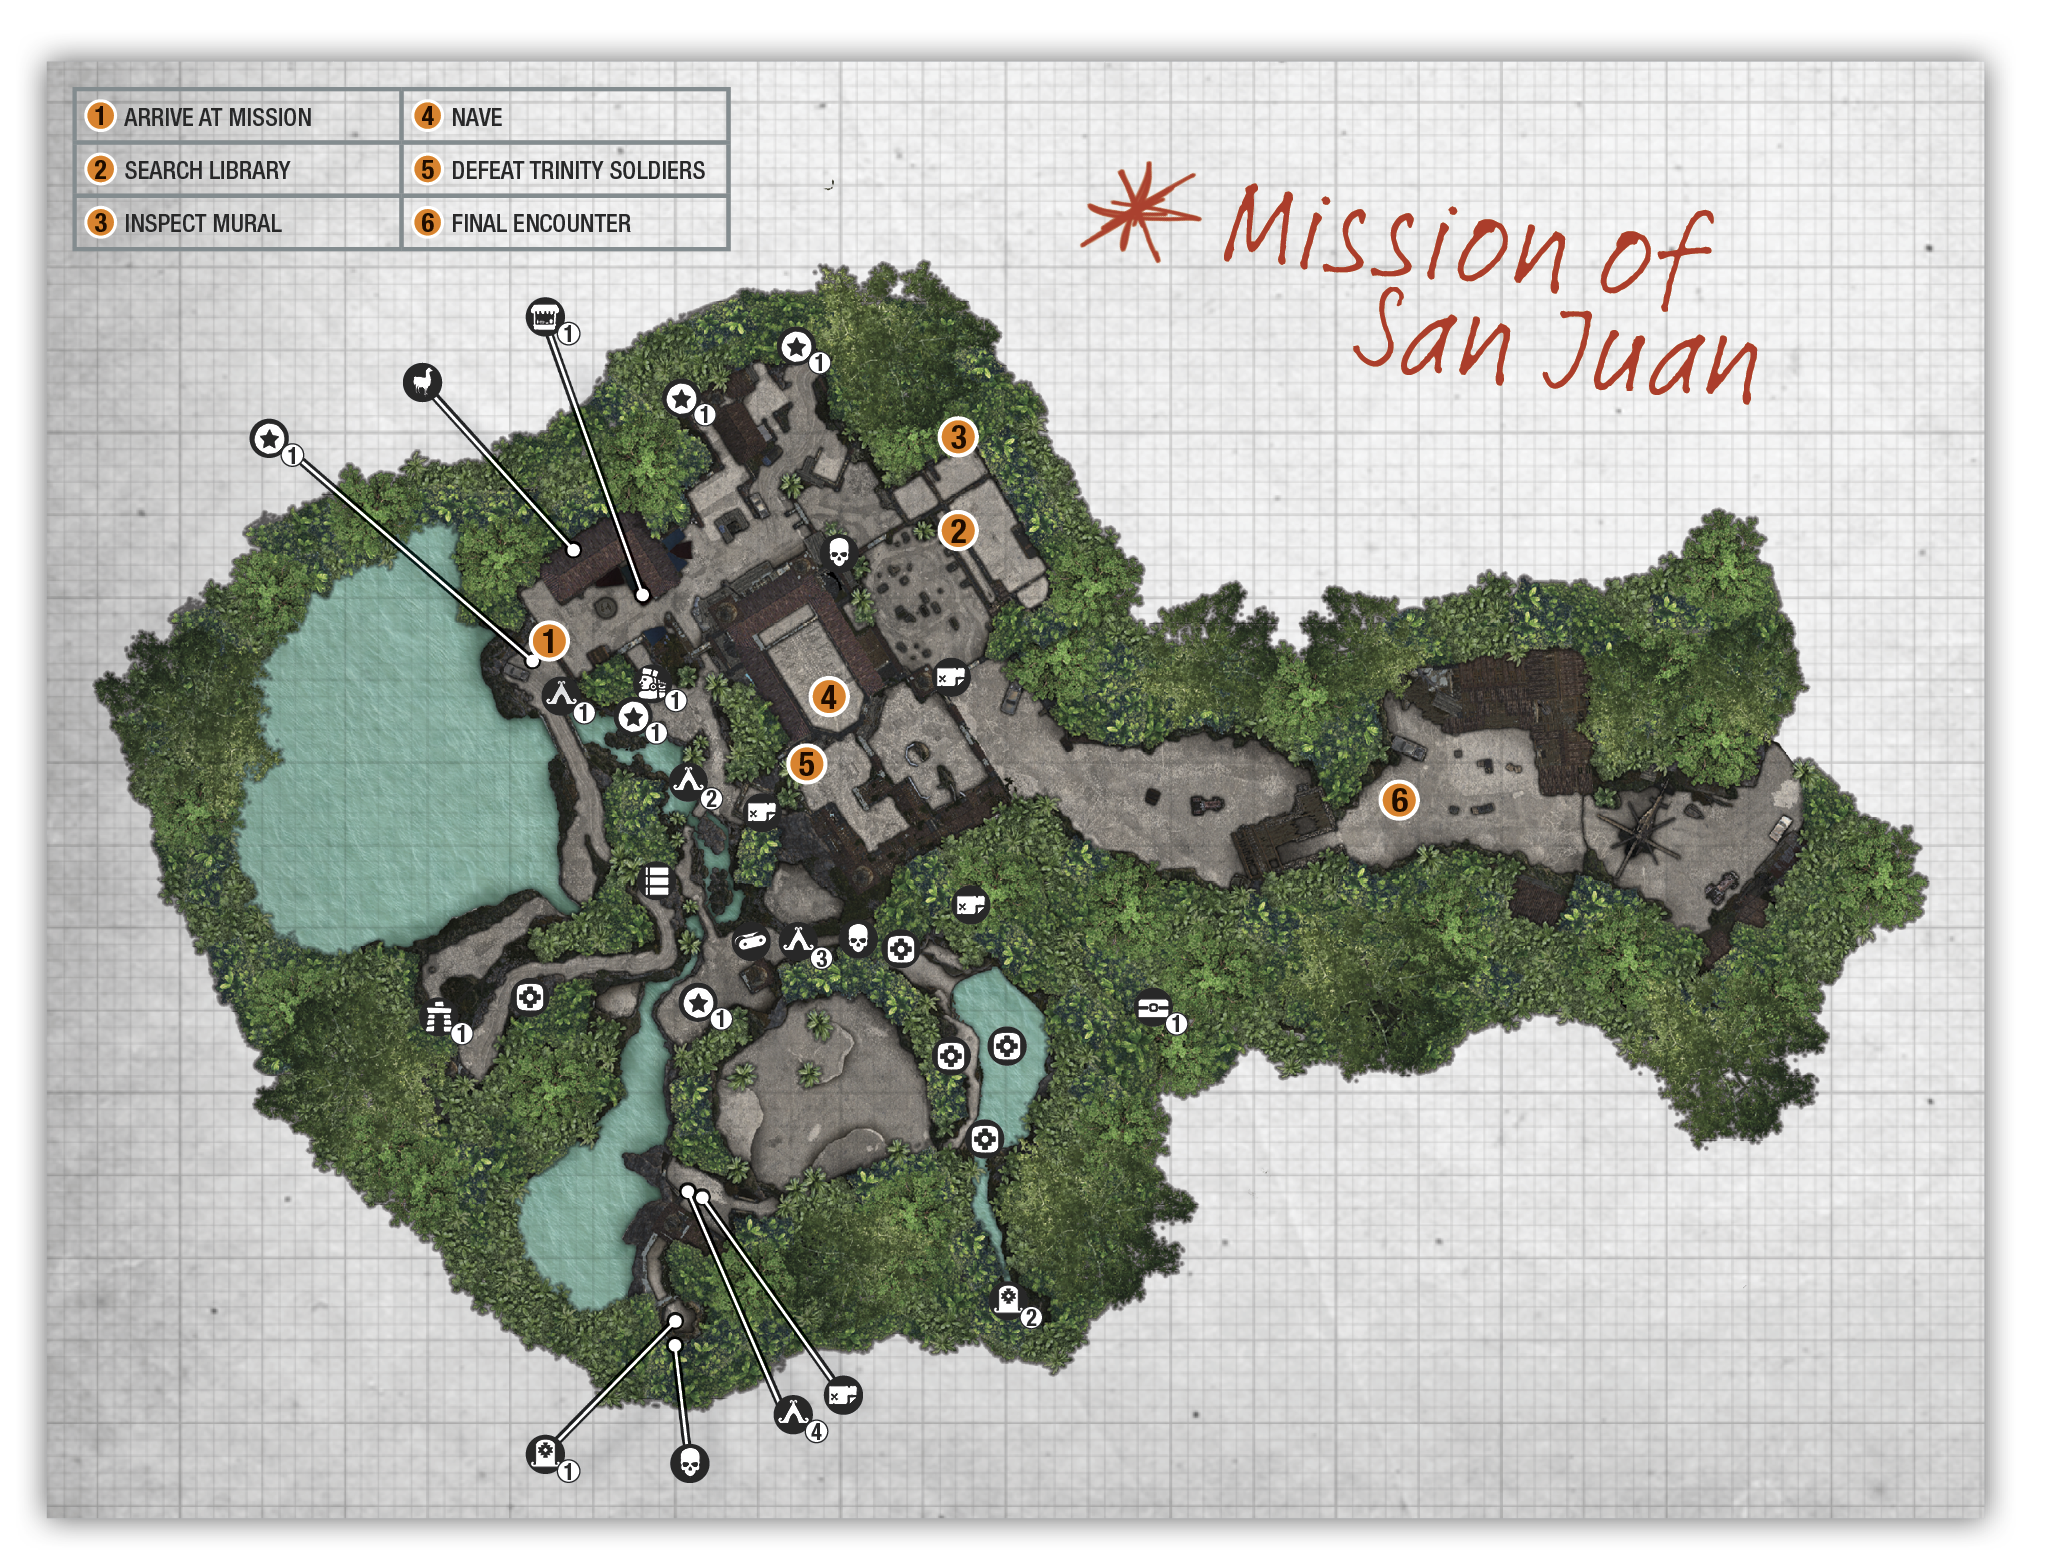
Region Summary
|
|
|
|
|
|
|
|
|
|
|
|
|
BASE CAMP |
CHALLENGE TOMB |
Mission GIver |
Challenge |
TREASURE CHEST |
Crypt ENTRANCE |
RELIC |
Document |
Mural |
Survival Cache |
Monolith |
|
4 |
2 |
1 |
1 |
1 |
1 |
9 |
27 |
4 |
8 |
1 |


 Main Story Objectives

- Find the Silver Box of Ix Chel
- Defeat Trinity Soldiers
Side Missions
 How Sweet the Sound
Challenges
 Raise the Flags: Cut five pulleys.
Challenge Tombs (Skill)
 Tree of Life (Kinich Ahau’s Boon)
 Thirsty Gods (Sip’s Strike)
Crypts (Treasure)
 Huascar, the Syncretist (Vestige: Kantu’s Gilded Corset)
Merchant 1
| Item | Type of Item | Cost (Gold) |
|---|---|---|
|
WHWS-16 |
Shotgun |
5800 |
|
TAEV 16 |
Shotgun |
5700 |
|
WASP 11 |
Rifle |
5900 |
|
Rifle Suppressor |
Rifle Attachment (WASP 11) |
3400 |
|
Shotgun Spreader Choke |
Shotgun Attachment (All Shotguns) |
3300 |
|
Large Pistol Ammo Pouch (Requires Crow’s Hoard skill) |
Ammo Pouch |
3800 |
|
Large Rifle Ammo Pouch (Requires Crow’s Hoard skill) |
Ammo Pouch |
3100 |
|
Shell Holder |
Ammo Pouch |
2900 |
|
Large Shell Holder (Requires Crow’s Hoard skill) |
Ammo Pouch |
3600 |
|
Arrows |
Ammo |
60 |
|
Handgun Bullets |
Ammo |
60 |
|
Machinegun Rounds |
Ammo |
15 |
|
Shotgun Shells |
Ammo |
100 |
|
Concussive Shell |
Special Handgun Ammo |
540 |
|
Lure Arrow |
Special Bow Ammo |
1200 |
|
Salvage |
Resource |
120 |
|
Black Powder |
Resource |
150 |
Special Merchant 2 (Must complete “Skill of the Player” side mission in Paititi.)
| Item | Type of Item | Cost (Gold) |
|---|---|---|
|
NEP-14 |
Handgun |
6100 |
|
Laser Sight |
Weapon Attachment |
2800 |
|
Crimson Huntress |
Outfit (Full Body) |
7200 |
|
Ascender |
Equipment |
3300 |
|
Lockpick |
Equipment |
2800 |
|
Flare Round |
Special Handgun Ammo |
540 |
|
Fear Arrow |
Special Bow Ammo |
3000 |
|
Poison Grenade |
Special Rifle Ammo |
2500 |
|
Venom |
Resource |
300 |
|
Dart Poison |
Resource |
480 |
 Via Veritas — Talk to Abby’s Freind

To continue the story, turn right at the fountain and follow Abby down the first set of stairs to speak to Sara. She suggests searching the library. Before you leave the area, speak with Guillermo nearby to begin a side mission. Return to the fountain, turn right, and meet Jonah straight ahead at another archway. Follow him through the cemetery and into the library (2).

Find the Secret Crypt
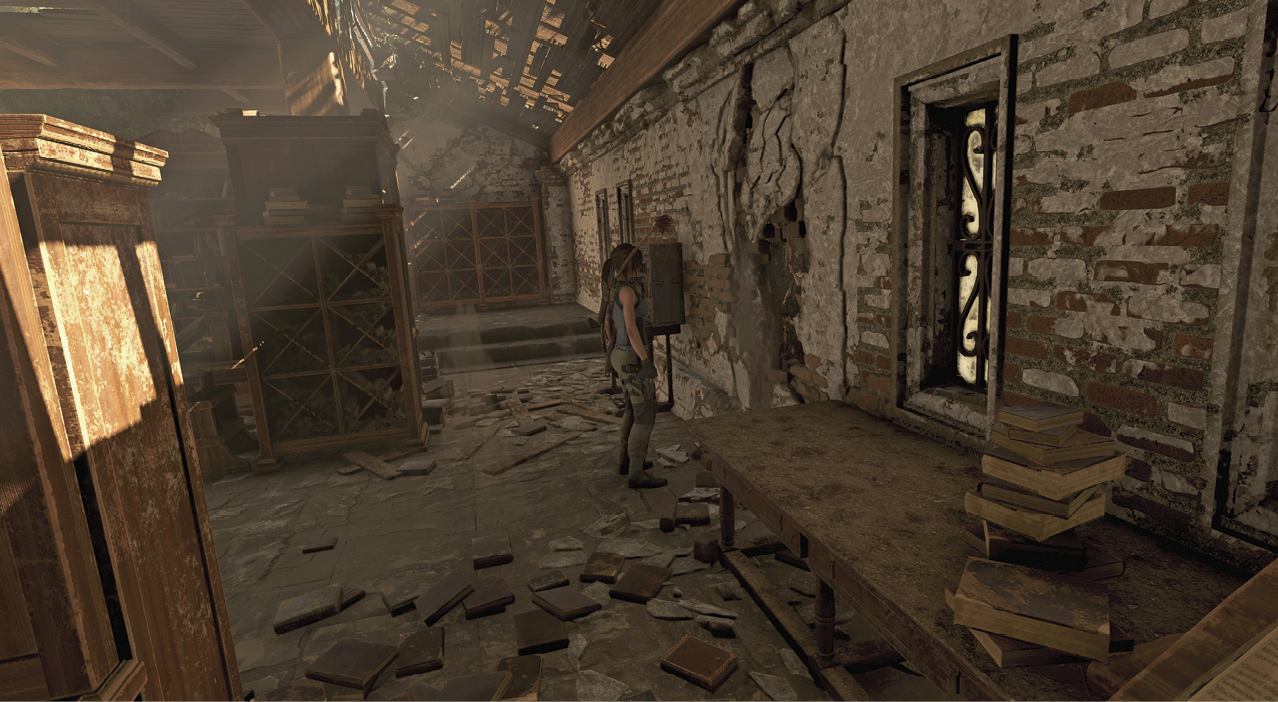
Search the library for Artifacts while Jonah does his thing to find two specific, hidden Murals in the library that have been bricked over. Other weak walls can also be destroyed, with the possibility of finding an Artifact.
- Downstairs along the right wall as you enter the library, use the axe on the weak wall between the tables to find the first Mural and interact with it.
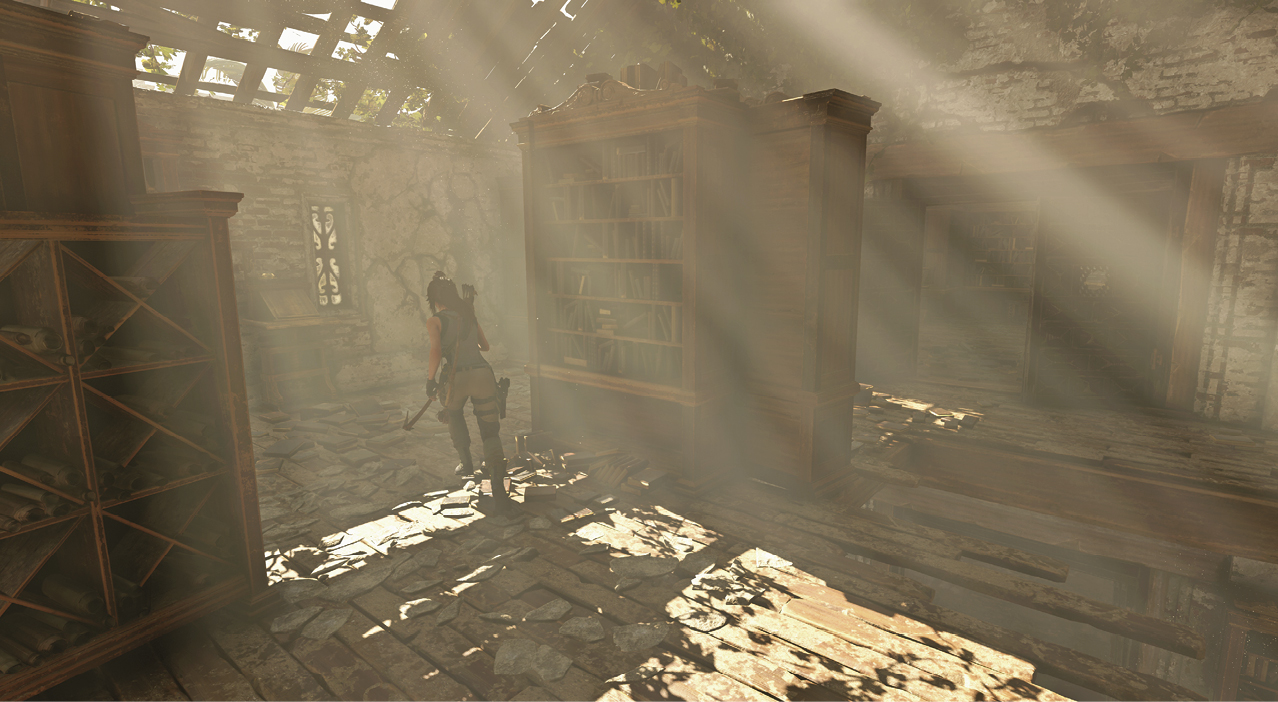
- Head upstairs, turn 180 degrees, and move to the double doors. Look left to spot another weak wall near the corner. Removing the bricks reveals the second Mural.
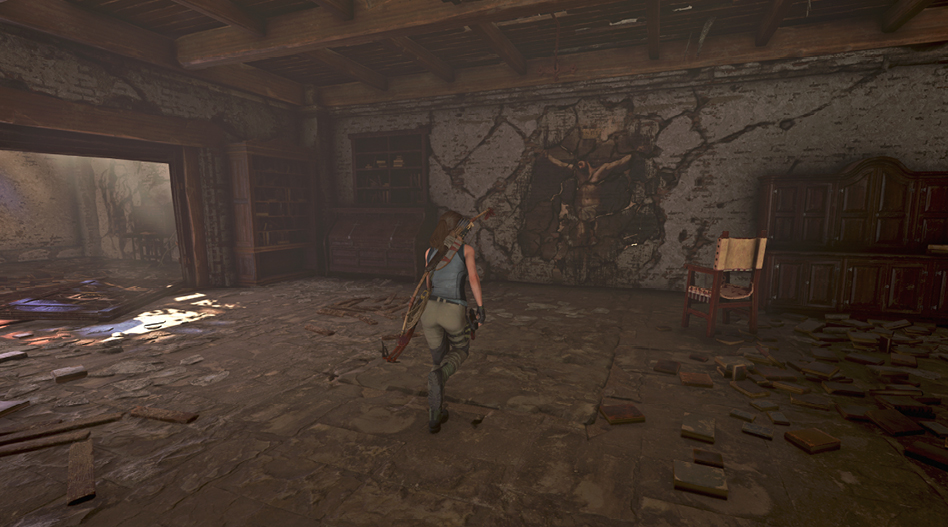
- After investigating both paintings, interact with the big Mural on the downstairs wall, right of the stairs.
- Turn around and approach the far wall to find another Mural (3) with a secret hidden inside.
Via Crucis —
Follow the Stations of the Cross
The following puzzles refer to the seven stages of the cross, which are illustrated in the “Seven Steps Closer to God” pamphlet that Jonah found. Find it in the Artifacts menu.
- Station Two: Pull the cart backward until the light reflects through the roundel to open the door. Follow Jonah into the next room.
- Station Three: Interact with Jonah in front of the statue. This allows the light beam to reflect through the gate and into the corridor. Follow the light.
- Station Four: A mirror sits in the middle of the room and can be turned by interacting with a crank on the side. Find the fresco that includes a woman, and turn the mirror so the light reflects into that room (next fresco to the left). Step into this light and interact with the bar to complete the puzzle and fall into a lower section of the catacombs. Note that if you shine the light the wrong way and try to push the bar, spikes will kill you.
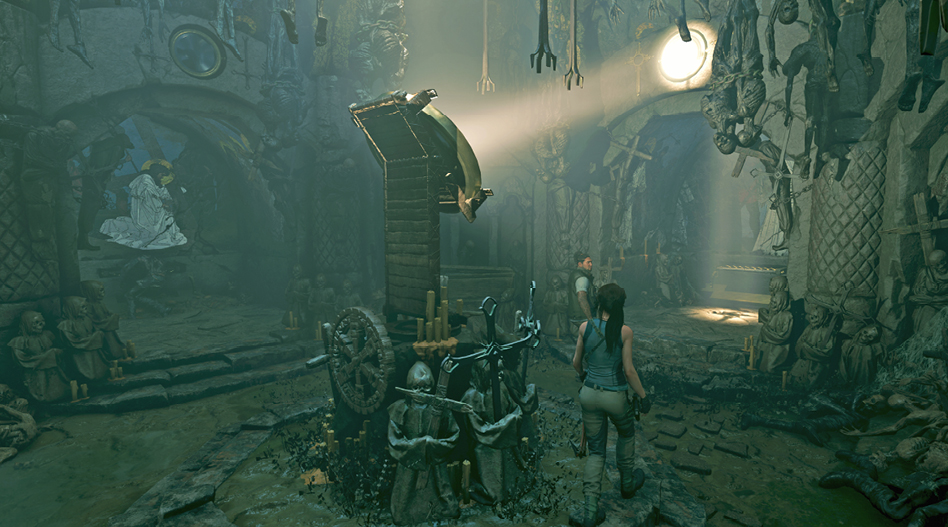
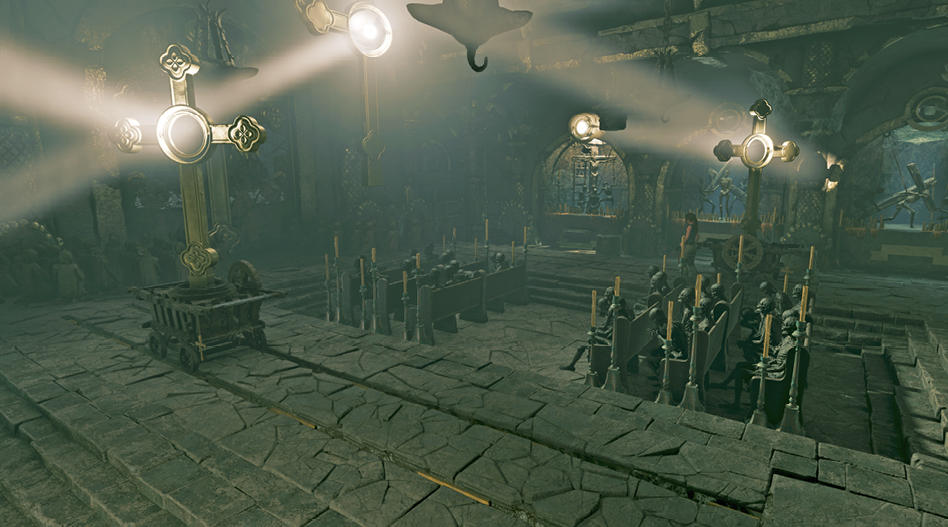
- Station Six: Follow the corridor into the next room. Another mirror reflects the light, three dioramas adorn the left and right walls, and a cart on each side of the pews can be pushed and pulled along a track. Push the left cart forward, into the light. Turn the crank on the side of the cart clockwise until it lights up the middle diorama, and push the bar.
- On the other side of the room, push or pull the cart until the light is reflected. Turn the crank clockwise until it shines on the left diorama, and push the bar into the wall.
Swim to Safety
Fast-swim through the objective markers, interact with the obstruction, and continue forward until you emerge inside a nave (4).
Veni Vidi Perdidi —
Defeat the Trinity Soldiers
Encounter 1
You regain control in a concealment bush (5) surrounded by Trinity soldiers. Scramble left along the outside wall, collecting the distraction object along the way. Throw it against the back of the pew and then take cover against the pew. Take out the investigator before returning to the original bush. Loose an arrow against the wall and when the second soldier investigates, take him down.
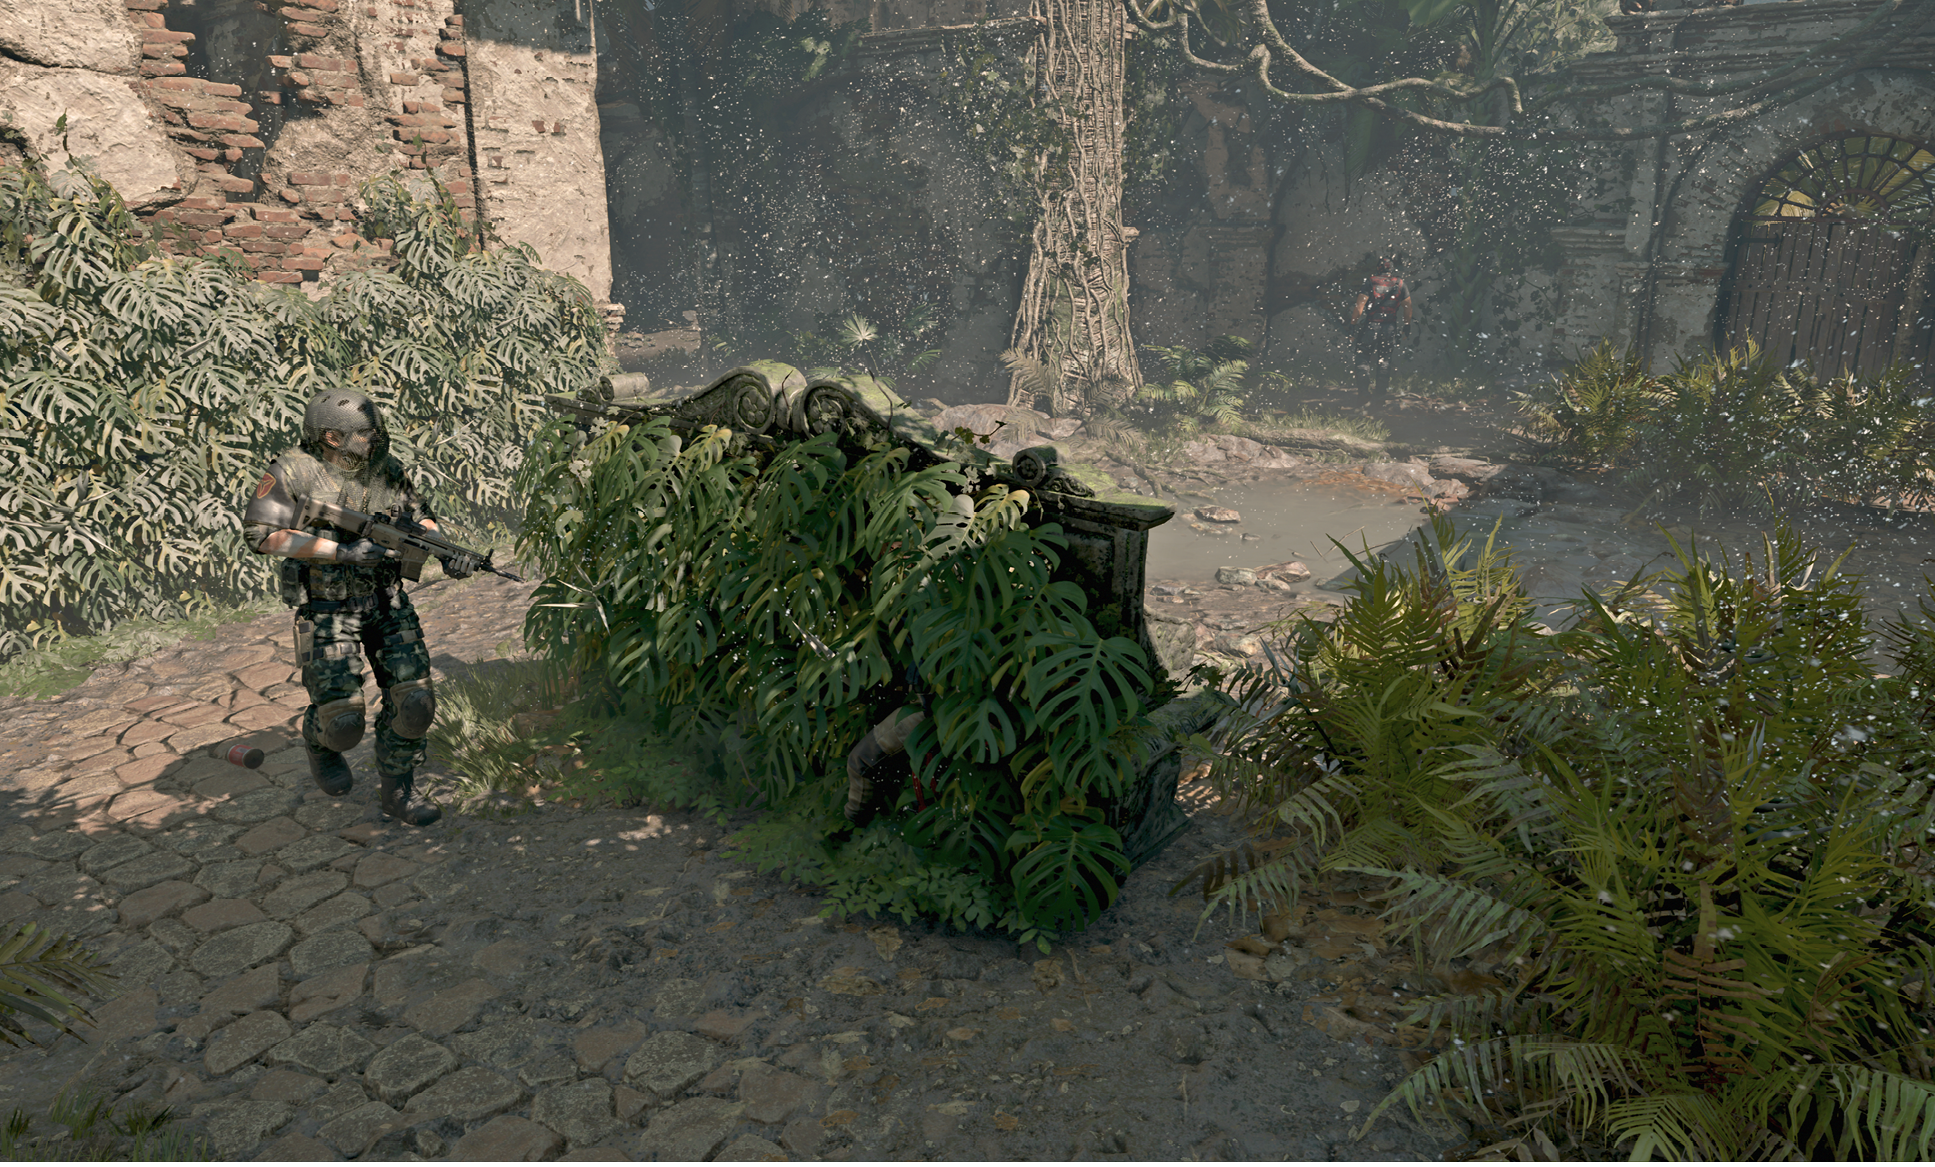
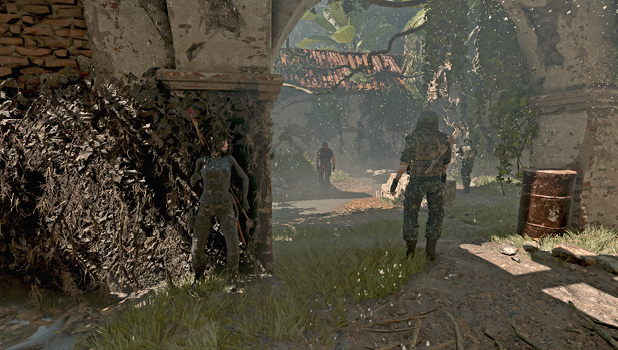
From the bush near the entrance, scramble right to the mud patch, then blend into the mud-covered wall. When a second soldier moves away, perform a stealth kill on the remaining foe. Stay put in the camouflaged wall as two more guys approach. When one leaves, take out the one who stays behind. Finish off the last guy before squeezing through the hole in the far corner.
Encounter 2
Wait for the two soldiers to separate before taking down the first soldier with a stealth kill. Move to the post on the left and collect the bottle. Get behind the pew ahead, throw the bottle against the back of the bench, and kill the enemy who investigates from the mud-covered wall.
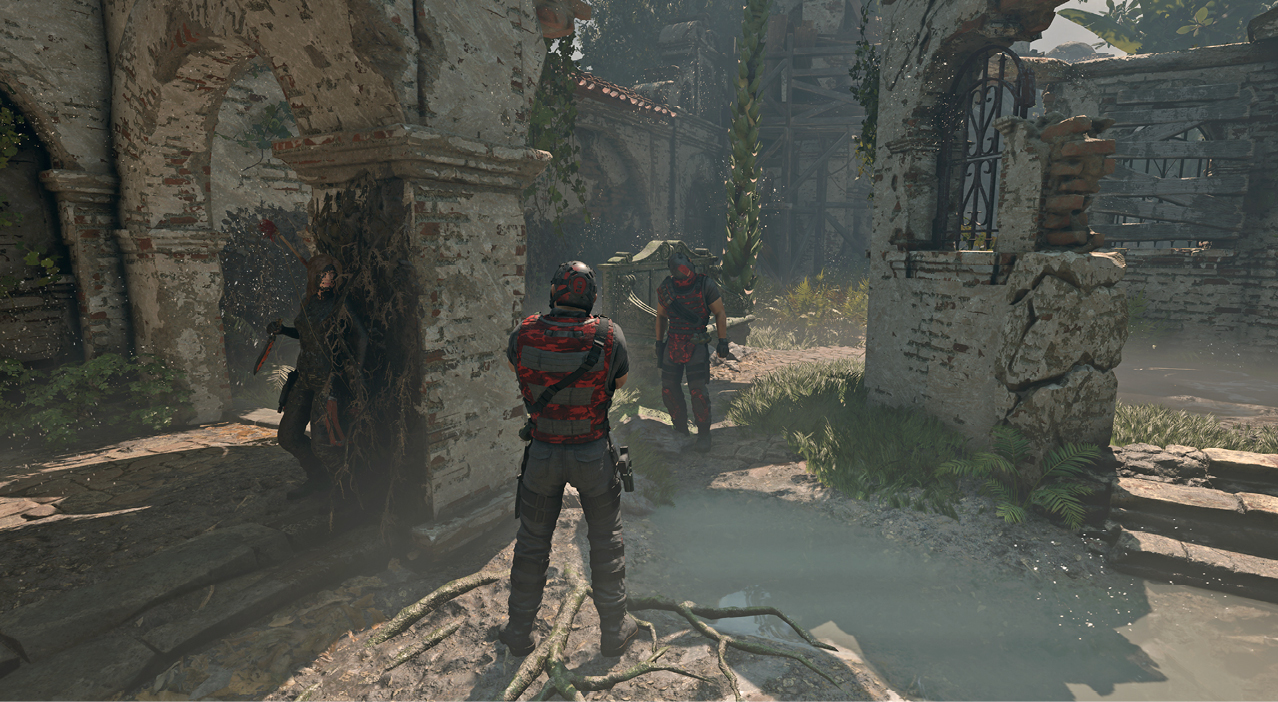
Scramble into the bush on the left. If the nearby soldier is alone, deposit him in the concealment. Scramble into the mud camouflage on the backside of the next pew. Wait for another soldier to get within range, and quickly take him down.
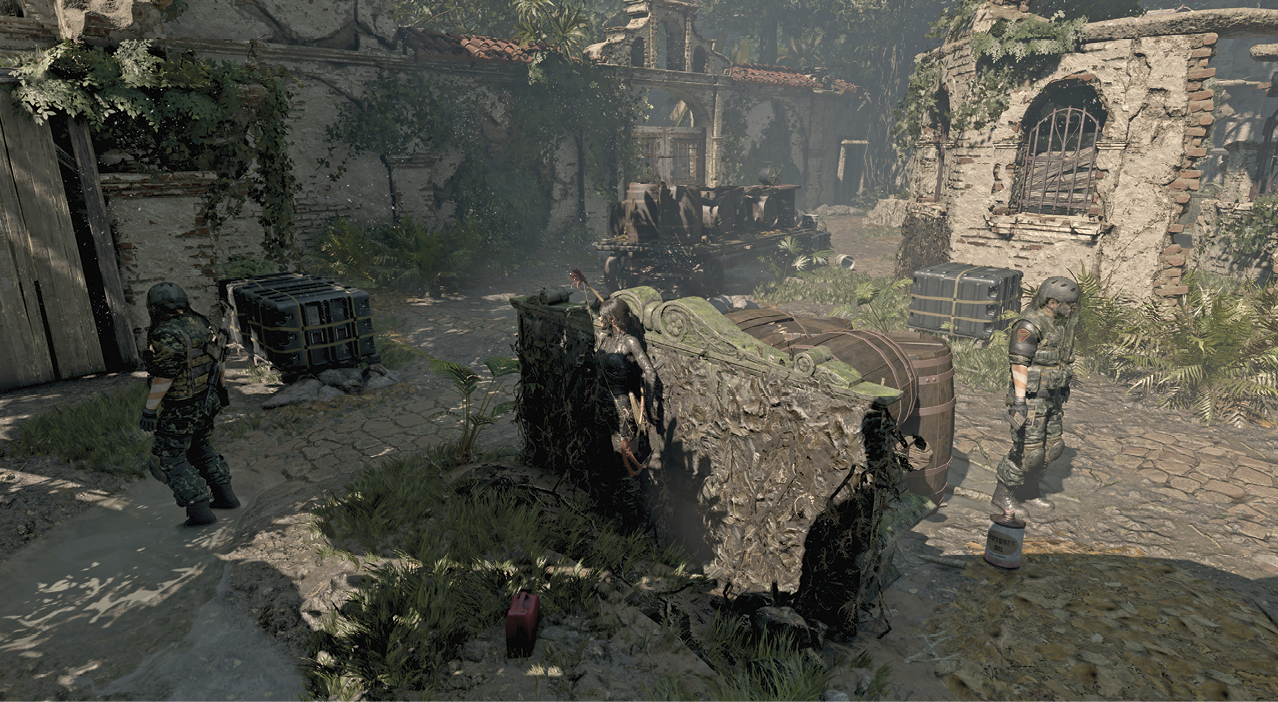
Scramble behind the crates ahead, grab the can on the ground, and watch the thermal-goggle soldier on the left. As he approaches the adjacent wall, toss the object at an angle to the right, so that it lands near the small stone structure in the middle of the area—preferably in the nearby bush. Wait for the guy to investigate, and kill him.
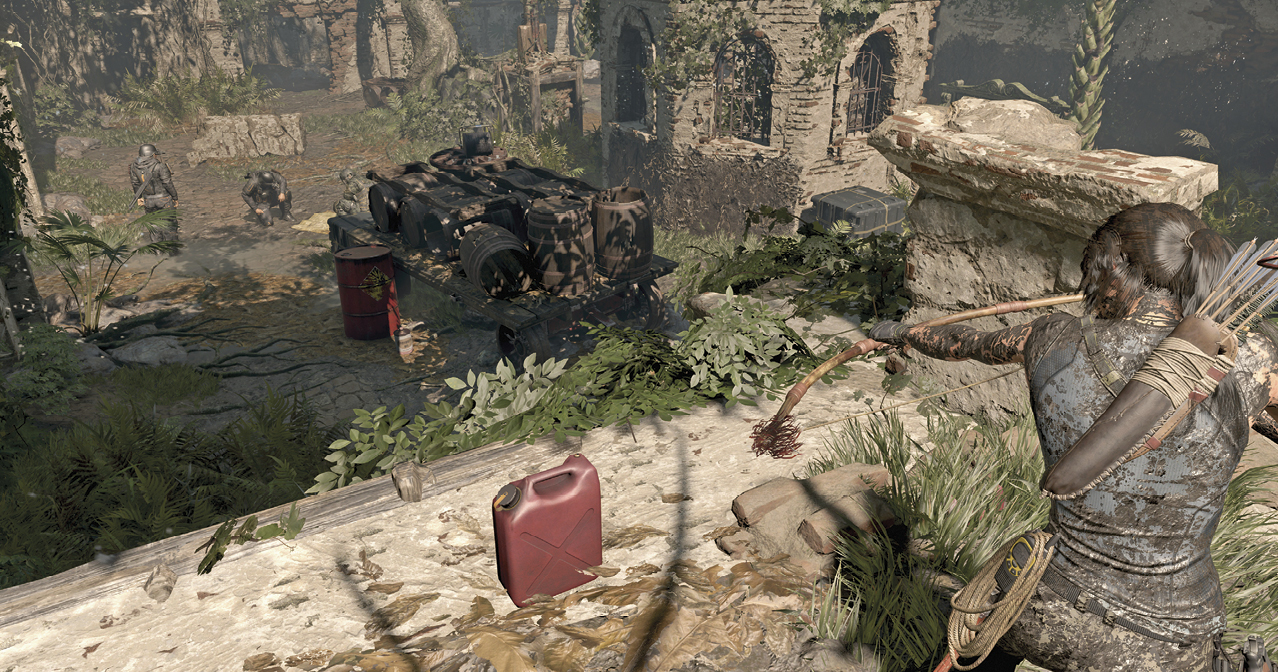
Pick up the nearby can, craft a shrapnel bomb, and move around the stone structure to a concealment bush near the final two soldiers. Toss the bomb in between them and take them down. Climb the gate to reach the cane fields.
Encounter 3
Eight soldiers actively search for you in the cane fields. On easier difficulties it’s possible to move through the cane without altercation, scrambling from one section to the next when nobody is looking. Or stealth-kill each one while nearby foes have their backs turned your way. Distract an enemy by loosing an arrow so that it whizzes by their head. Or, accumulate some friendly kills by putting a Fear Arrow into the closest foe. Pass through the stone structure and run up the steps to reach the final encounter.
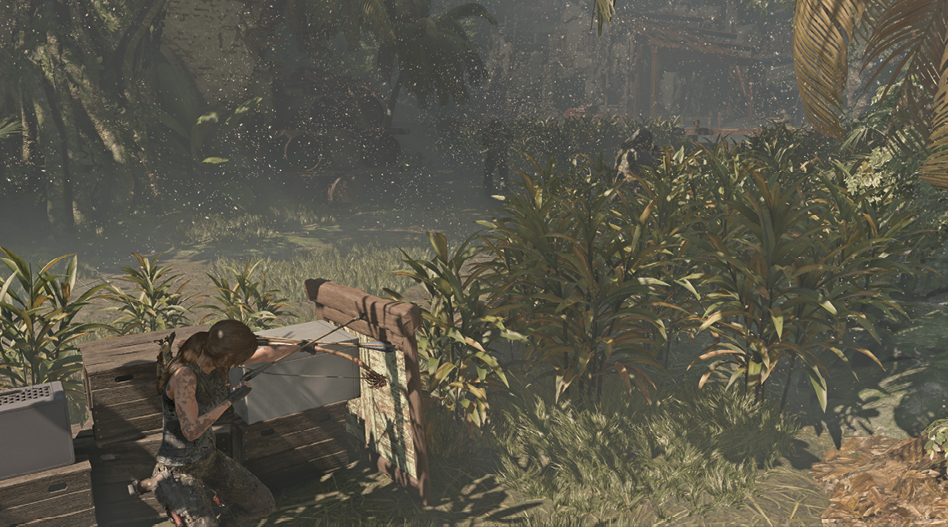
Encounter 4
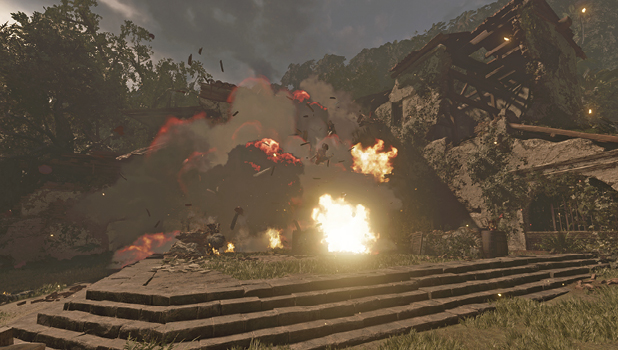
This final encounter (6) is about firepower and explosives, instead of stealth. The Trinity soldiers know you’ve arrived. Take out the approaching shotgun soldier first. Shooting the explosive barrel on the lower level, or tossing an explosive into the center should take care of him and any other nearby enemies.
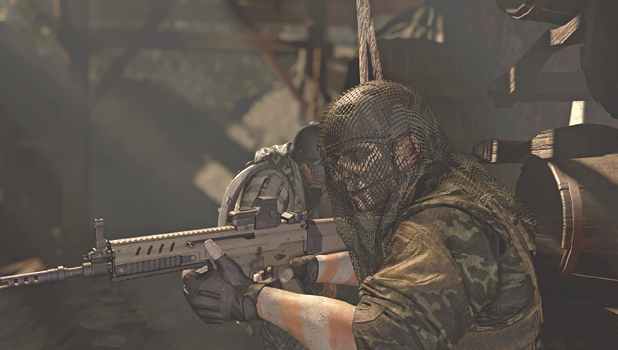
Next, target the barrel on the upper floor to clear out the soldiers who will not climb down. Finish off any remaining enemies as they emerge from the uppoer floor and advance to the exit.
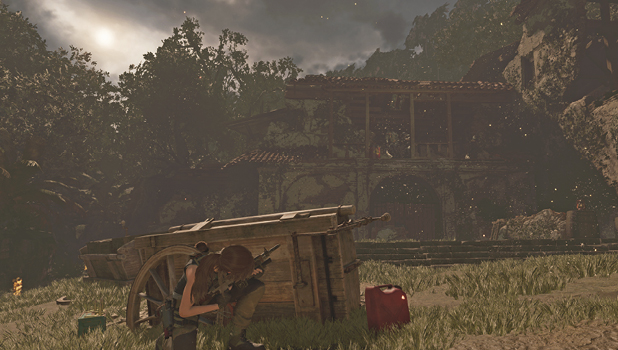
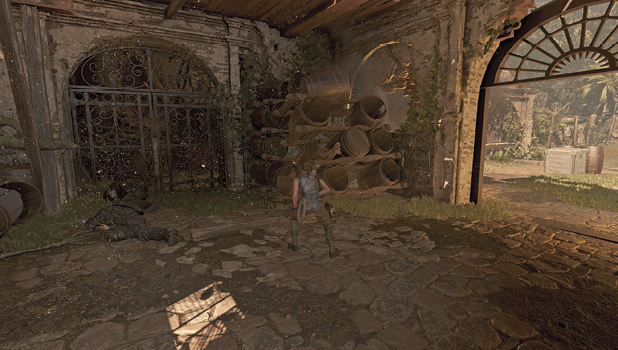
Enter the building and pry open the gate on the right.