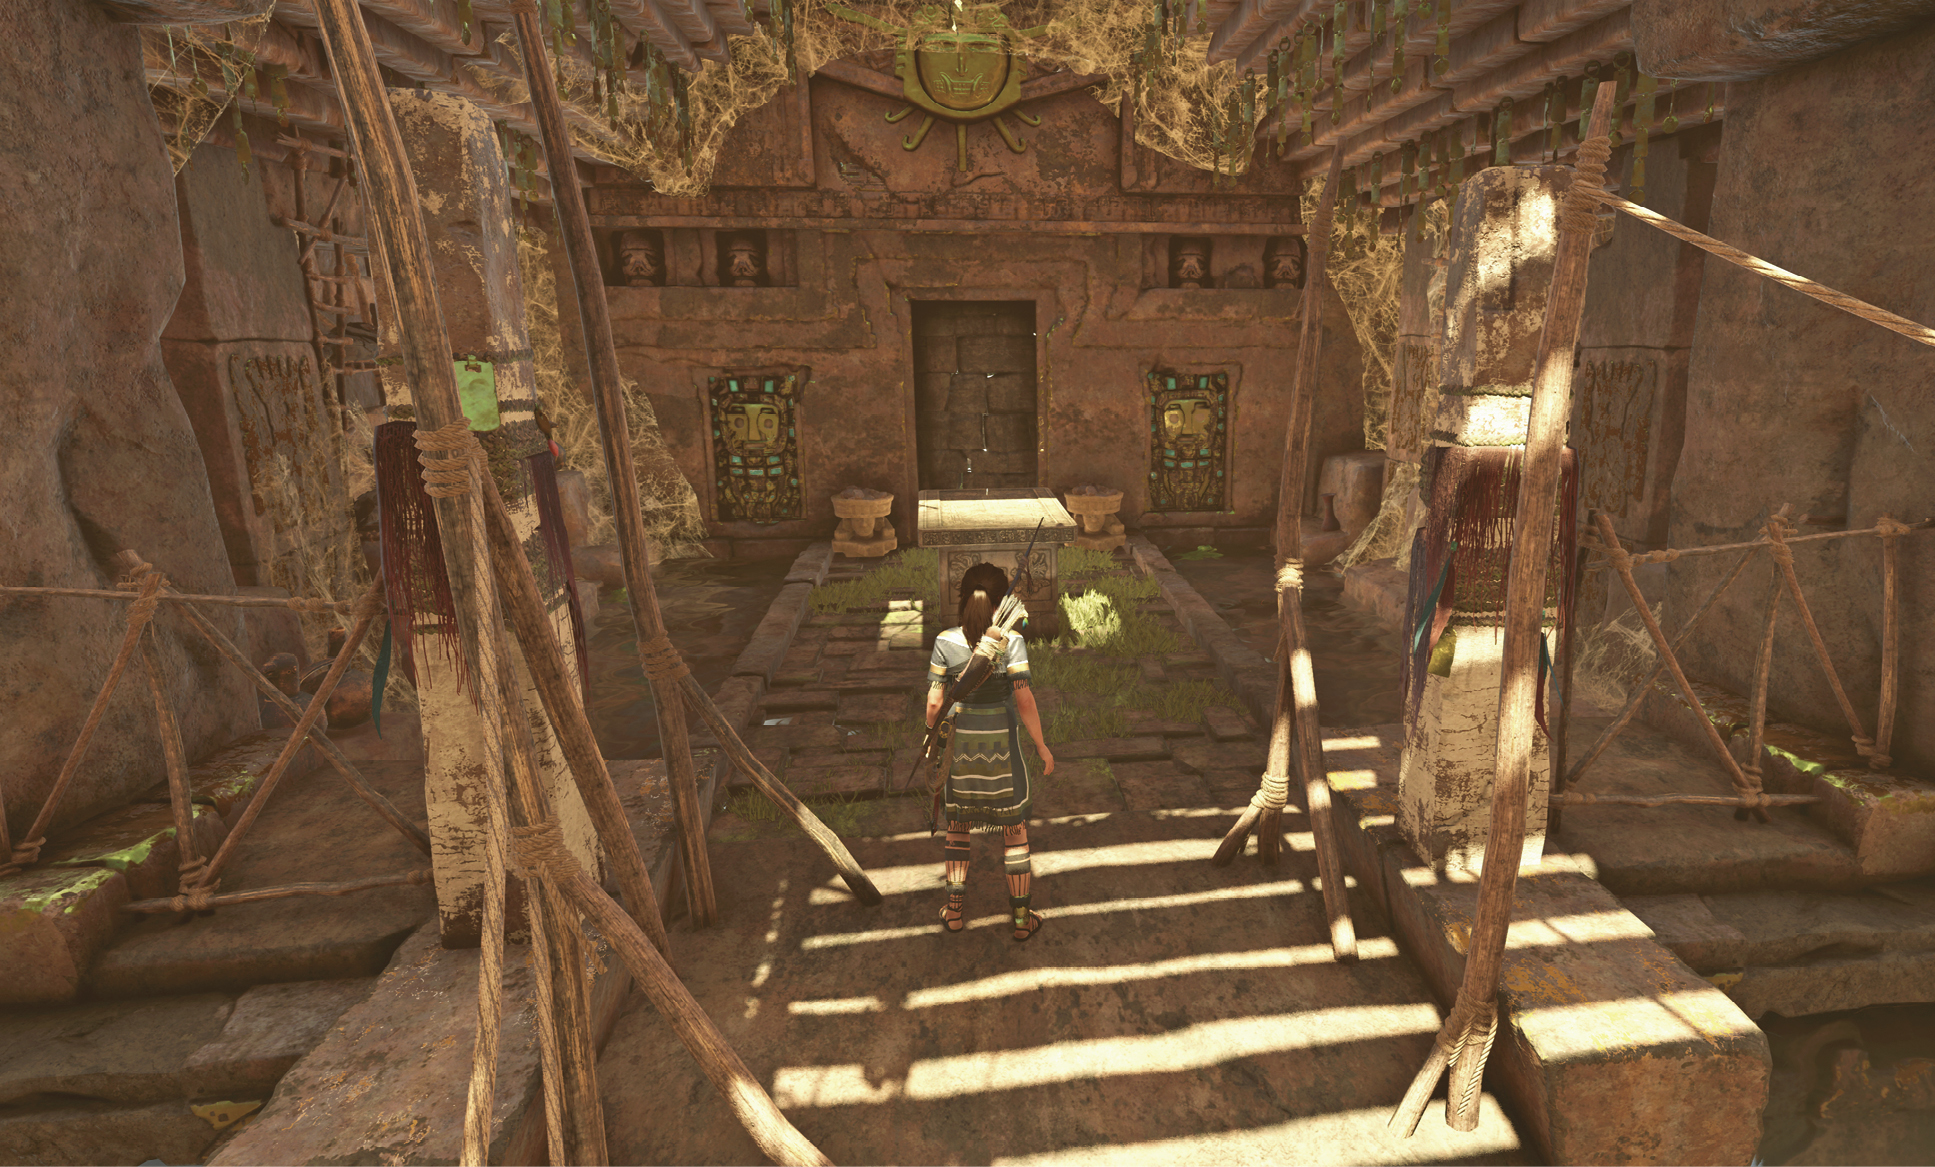
Shadow of the Tomb Raider Guide The Journey Chapter 4: Hidden city
Hidden City - Side Missions
 Skill of the Player - Dice with the Dead

Mission Giver: Takiy
Main Objective: Retrieve a Child’s Lost Toy
Reward: —
After meeting Unuratu at the Market District, return to the lower bridge to find Takiy, a young boy who has lost his dice to a man known as Pisco the Dead. You must find this man and retrieve the child’s lost toy.
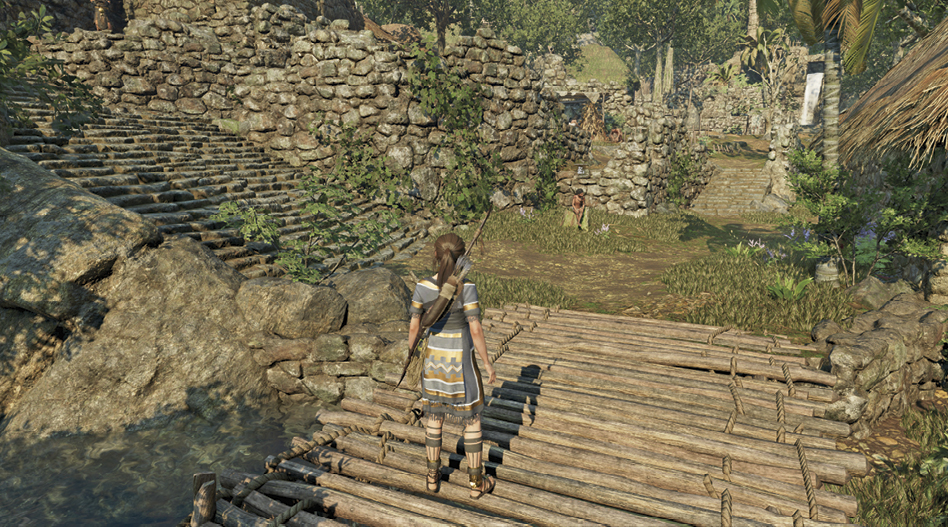
Not far from your meeting point with Etzli, a congregation of villagers gathers around a monolith. Find Pisco the Dead in the building behind the monolith. He offers to return the dice if you speak with five Outcasts around the village. This begins the next step in the side mission.
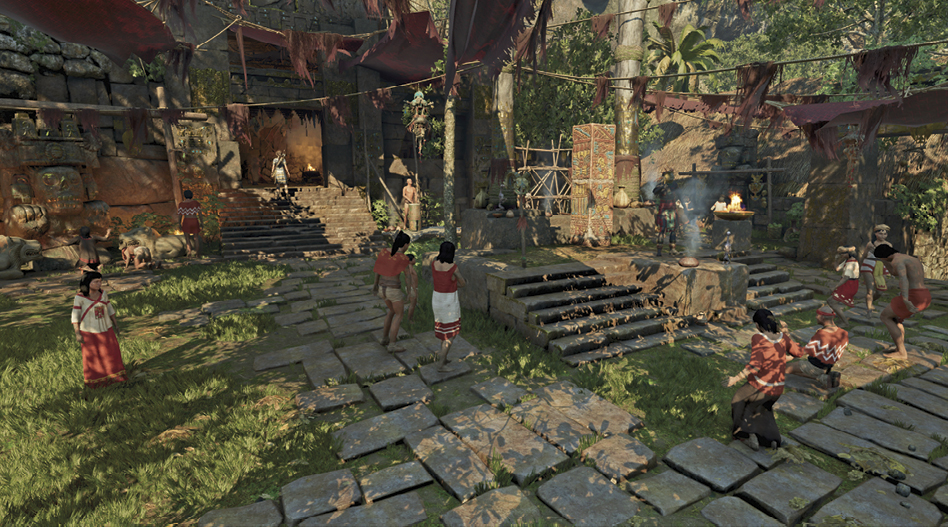
Refer to the following side mission for details on the five Outcasts. After talking to all five Outcasts, return to Pisco the Dead to get the dice. Speak with Takiy to complete the part of the side mission.
2. Skill of the Player - Cast Out
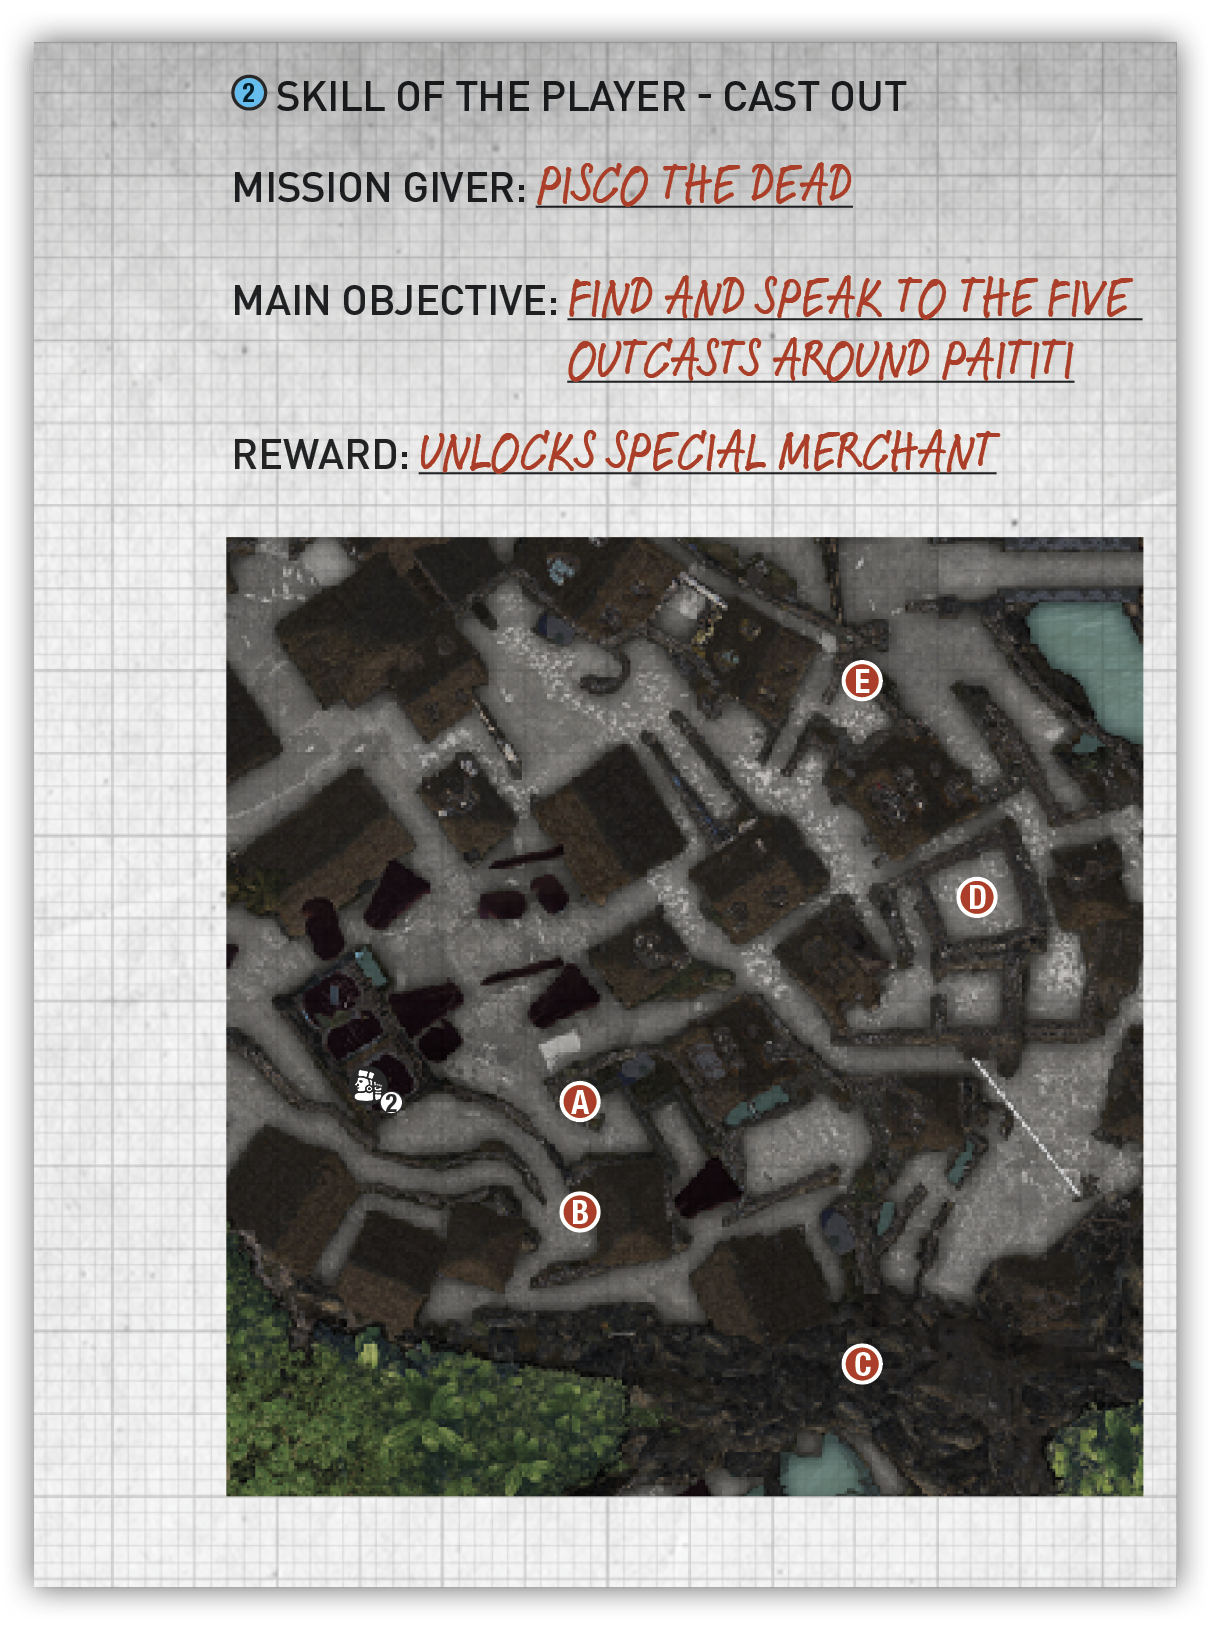
After talking to Pisco the Dead, view the map to see the approximate locations of the first four Outcasts. We’ve marked exact locations on the associated map with letters A through D.
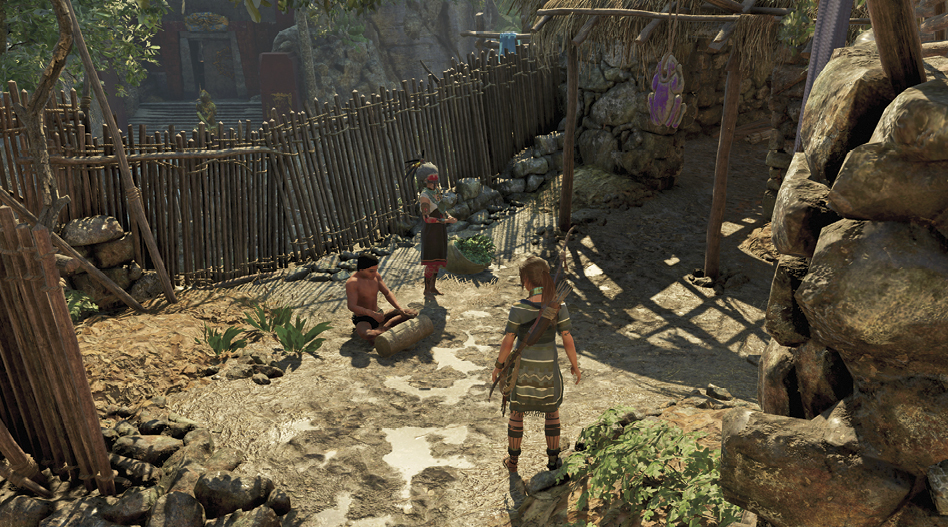
- From Pisco, turn right and climb the steps ahead to find the first Outcast (A).
- The second Outcast (B) stands on a plateau that overlooks the first Outcast.
- Find another Outcast (C) inside a village cave along the southern mountainside. A system of canals delivers water down the tiers of the village. At the base of these canals, follow the stone steps into the cave.
- From the previous Outcast, find a stone building straight ahead with an unfinished roof. An Outcast (D) is inside.
- After you speak to the first four Outcasts, a fifth location is marked on the map. Find this Outcast (E) not far from the bridge to Upper Paititi. She offers specialty items for sale, such as the Lockpick, used to unlock conquistador treasure chests, and the Ascender, used to quickly traverse rope lines and pull down special barriers. As long as you completed this quest, Moraekah is found later in Upper Paititi and next to the Tree of Life Challenge Tomb in Mission of San Juan.
Outcast Merchant (Moraekah)
| Item | Type of Item | Cost (Gold) |
|---|---|---|
|
NEP-14 |
Handgun |
6100 |
|
Laser Sight |
Weapon Attachment |
2800 |
|
Crimson Huntress |
Outfit (Full Body) |
7200 |
|
Ascender |
Equipment |
3300 |
|
Lockpick |
Equipment |
2800 |
|
Venom |
Resource |
300 |
|
Dart Poison |
Resource |
480 |
This completes the side mission. Return to Pisco the Dead. Notice a treasure chest in the same building. If you purchased the Lockpick from Moraekah, loot the container. Several chests are hidden throughout Cozumel and Peru.
3. Draw Weight Heavily - The King's Horn
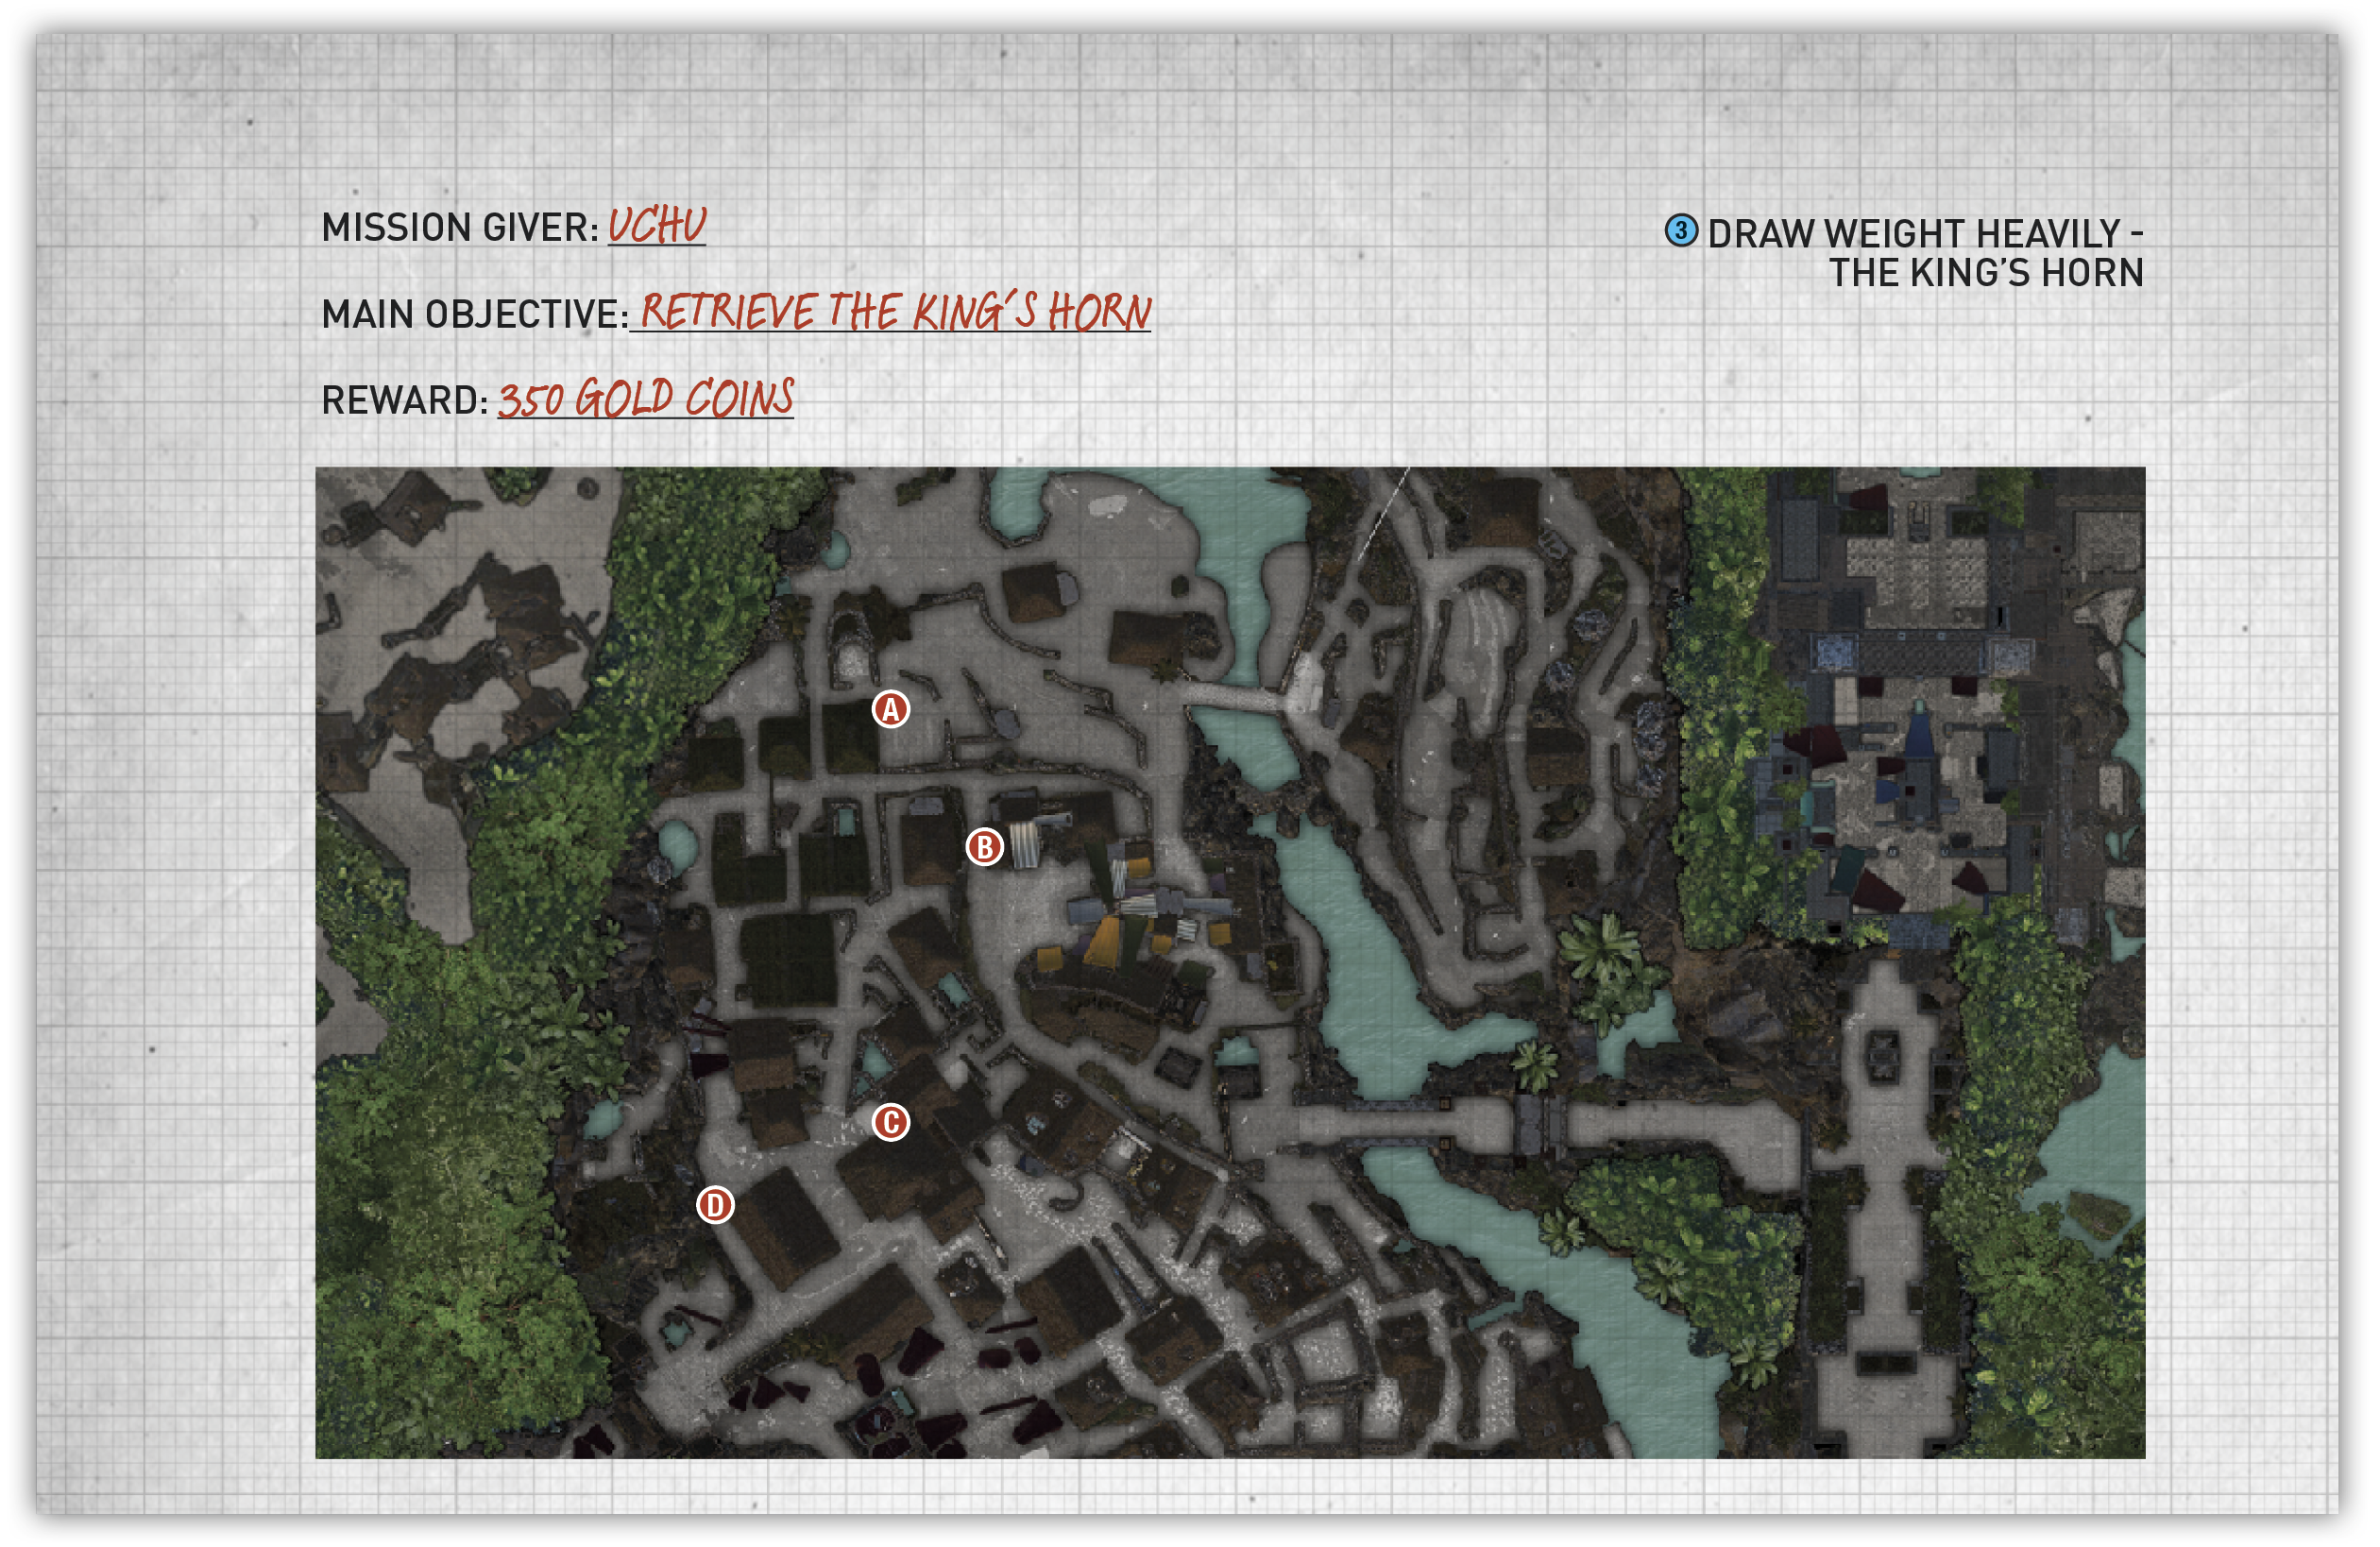
This mission becomes available after you return from the Head of the Serpent. At this point, find Uchu in Unuratu’s home. Later in the game, he’s in Skull Cave, next to the Base Camp. Uchu wants you to retrieve the King’s Horn from Kabil.
Cross the bridge and head straight to find Kabil and his family (A). His wife is in poor health and in need of herbs. Follow these steps to complete the objective:
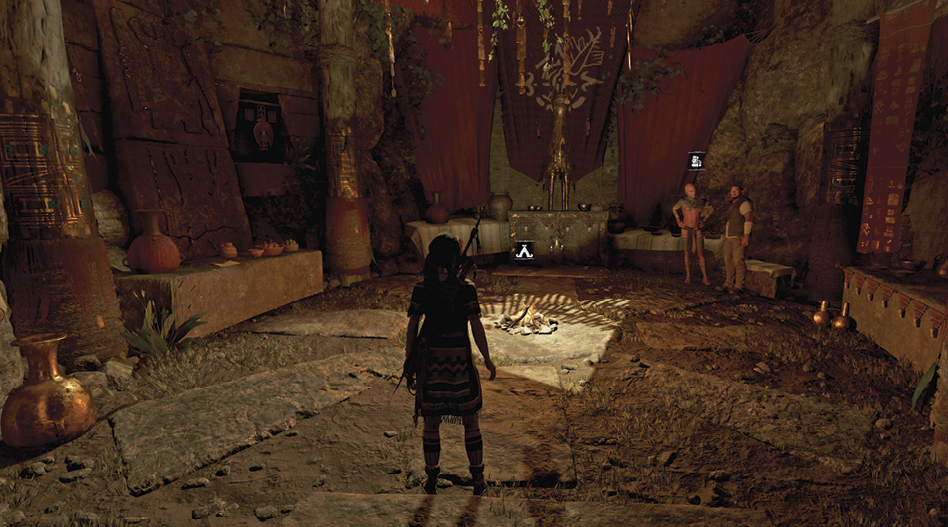
- Run toward the market and talk to the woman (B) next to the entrance.
- Climb the steps across from the market all the way to the top, and talk to the serpent guard (C) on the left.
- Speak to Yamil and his friends (D), who stand near the west wall. Scramble up the wall and retrieve the knife from the ledge.
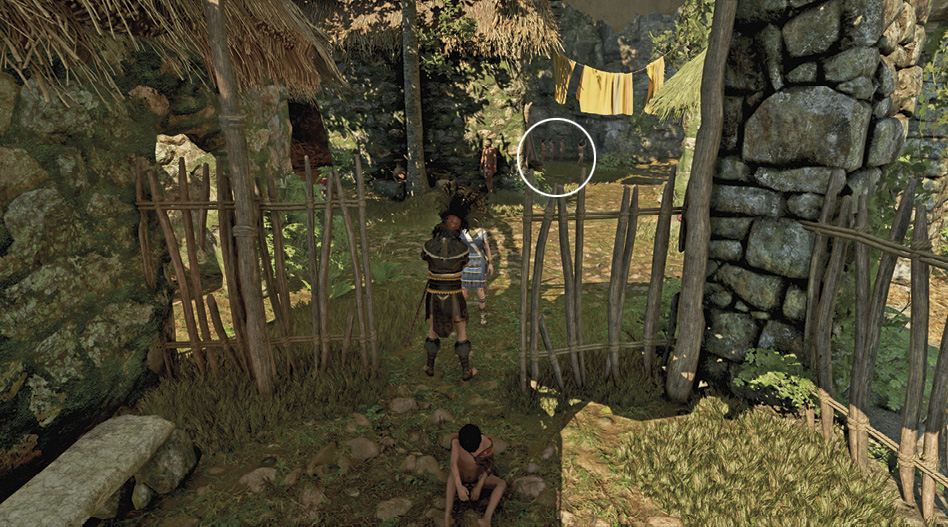
- Speak to Yamil again. The boys distract the guard. Once he’s out of the way, talk to Cualli in the cell to get the herbs.
- Deliver the herbs to Kabil to retrieve the King’s Horn.
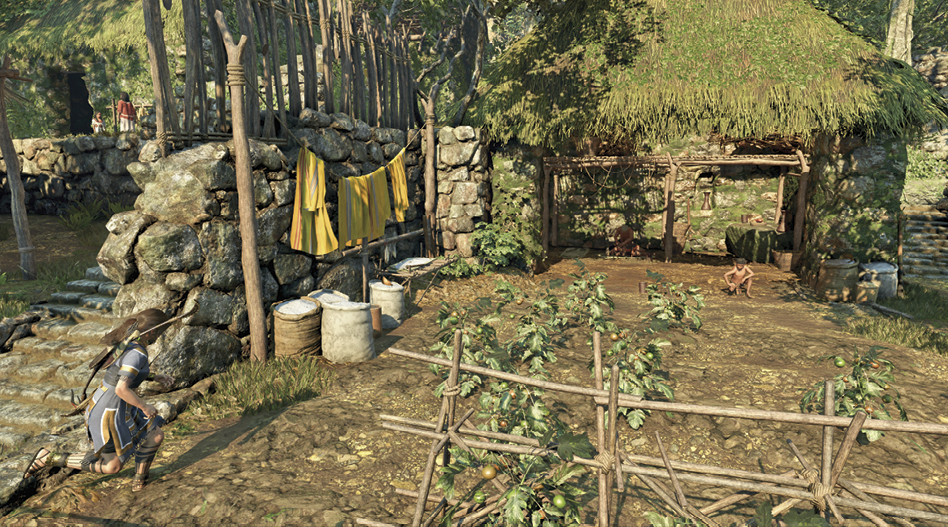
- Return to Uchu in Unuratu’s home or Skull Cave to complete this step and begin the next step in the side mission, “Draw Weight Heavily - Hearts and Minds.”
4. Draw Weight Heavily - Hearts and Minds
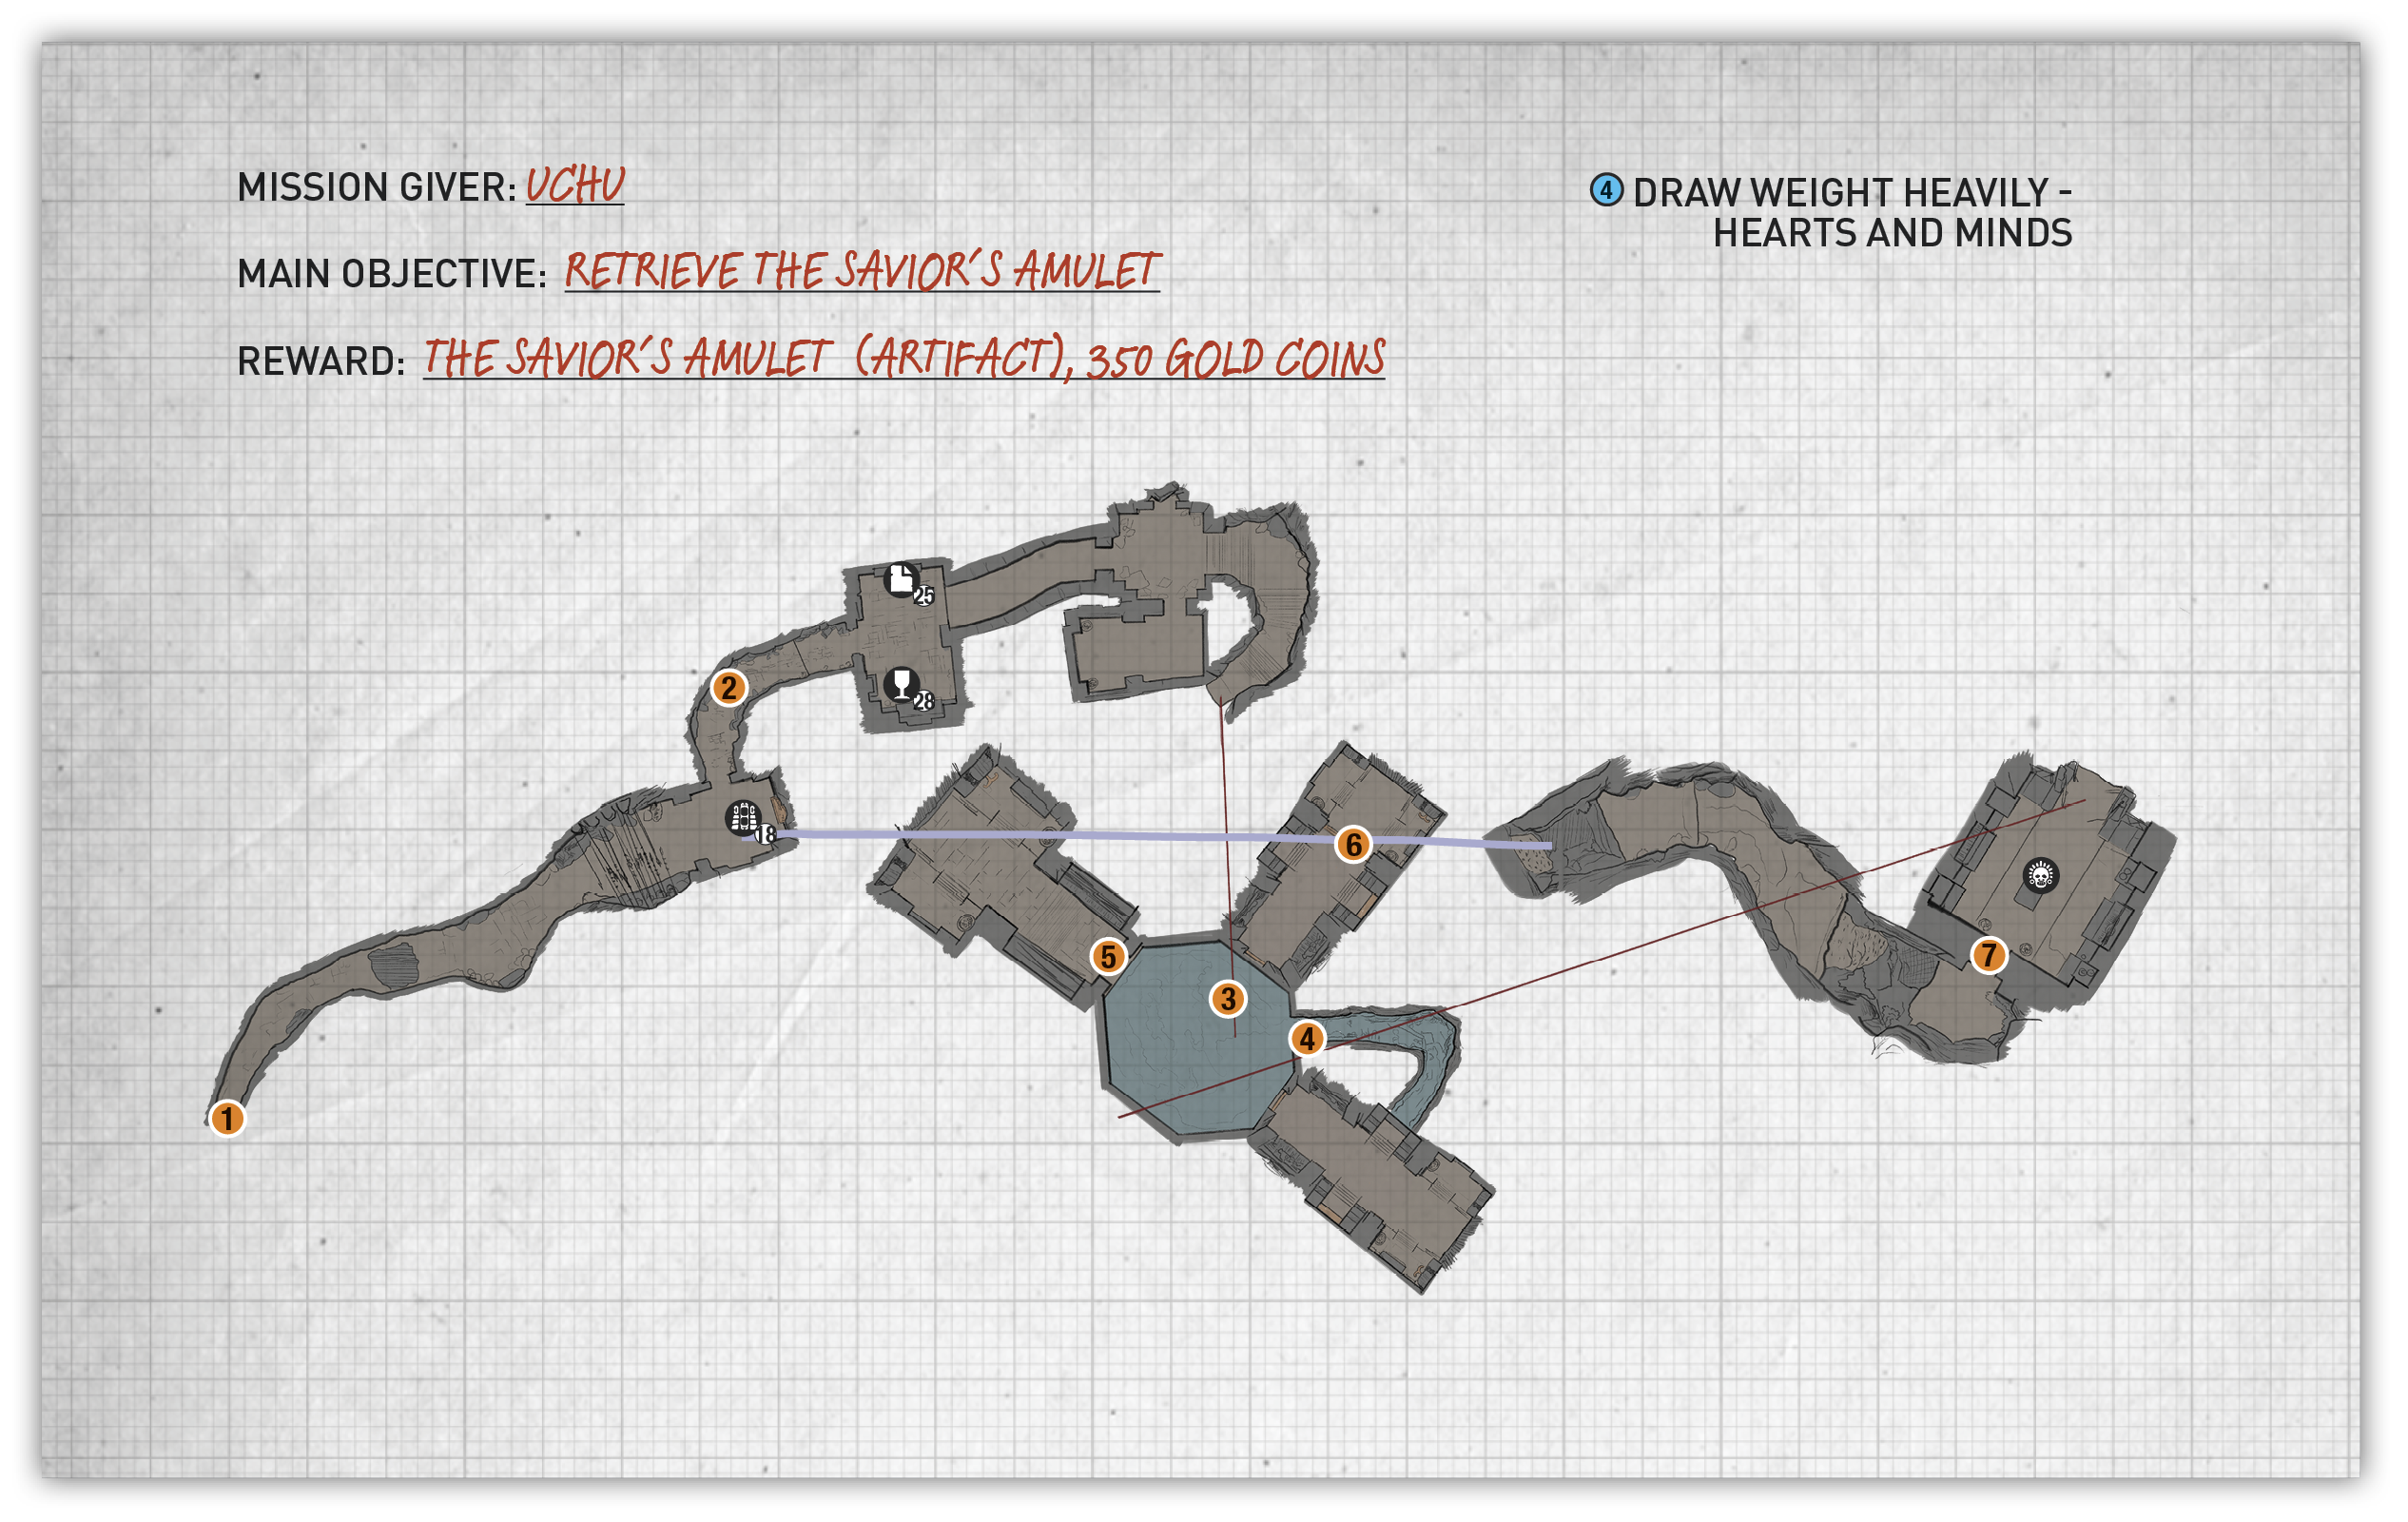
After retrieving the King’s Horn, Lara offers to help find Quenti and the Savior’s Amulet. This requires finding and exploring the cistern on the far side of the village. Start out by finding the white tree near the Fishing District Base Camp.
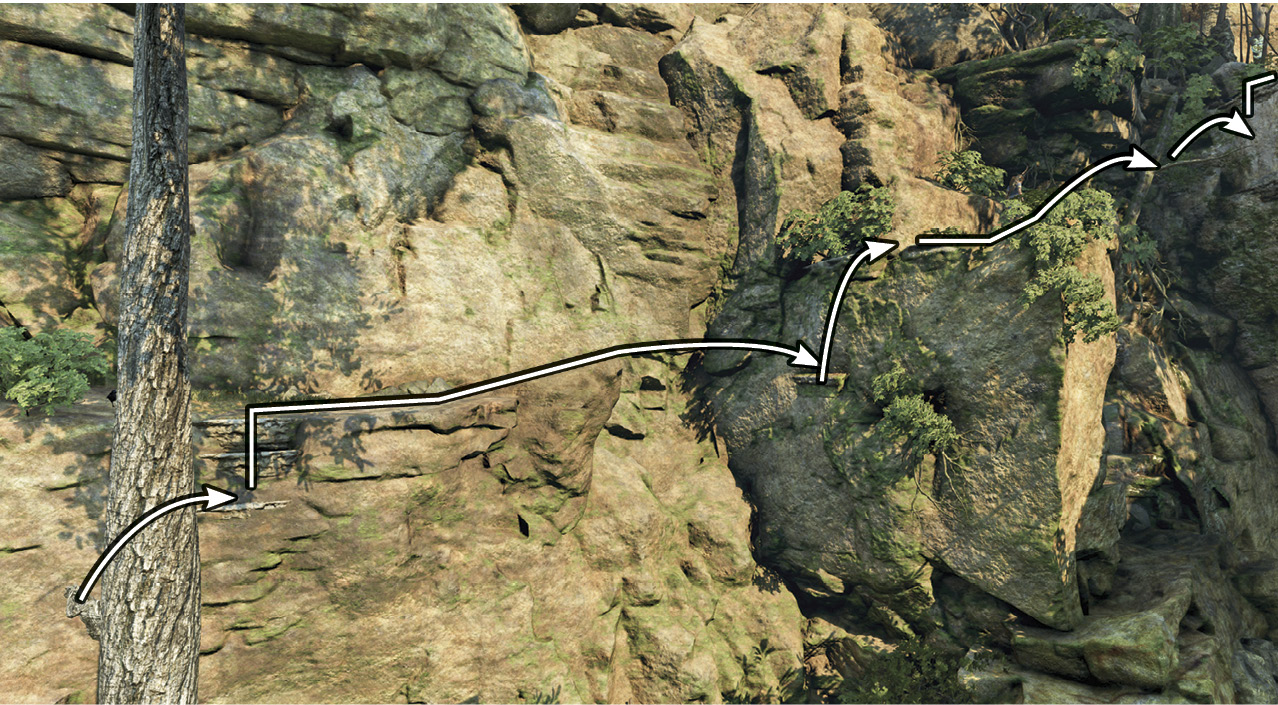
- Climb the tree, hop over to the cliff, and climb onto the ledge.
- Run right, leap to the next ledge, and climb up to the landing.
- Jump off the protruding rock ahead, swing over to the cliff face, and scramble up to find the cave entrance. Wall-scramble into the opening (A).
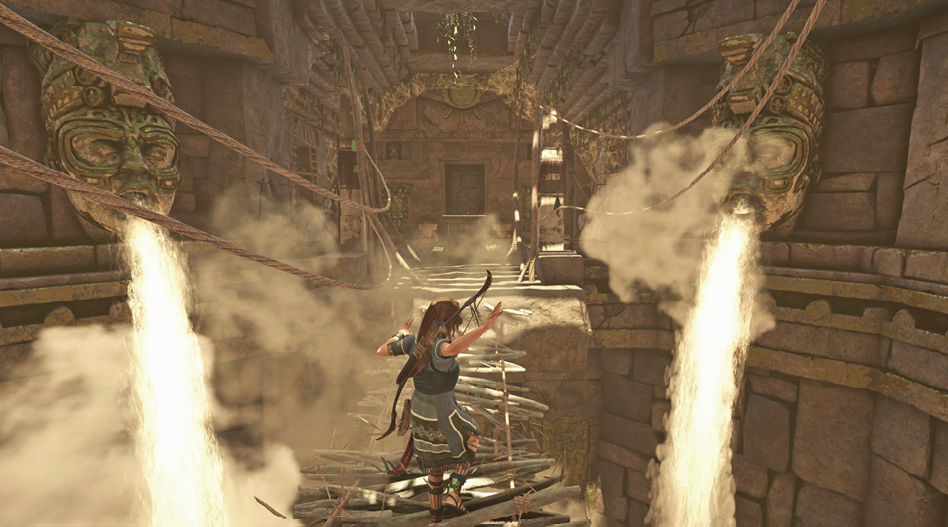
Move deeper inside the cave—hop over the hole in the ground. At the dead end, bust through the weak wall on the left. Disable the two spear traps (B) in the next corridor, and search the chamber beyond.
Scramble up the wall opposite the entrance and follow the path into an open room. Before proceeding ahead, scramble through the opening on the right and search for more valuables. Back at the main path, descend the steps to spot the sarcophagus on the other side of the cistern. As you attempt to cross the bridge (C), though, it collapses into the water below. To get back up to the treasure, complete the following steps:
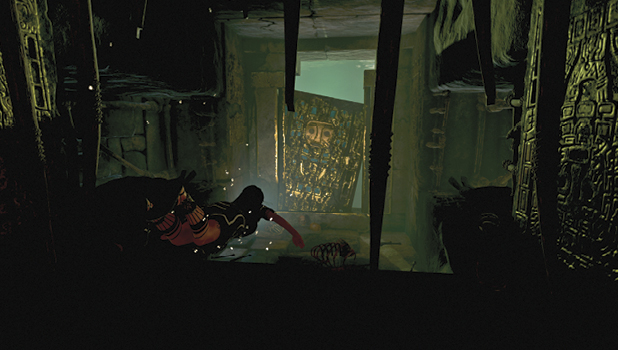
- Dive underwater, swim through the tunnel (D) on the left, and surface just outside a corridor.
- Climb inside, head left, and interact with the switch on the right to cause the water level to rise.
- Turn around, quickly dive underwater, and swim through the openings to return to the central chamber.
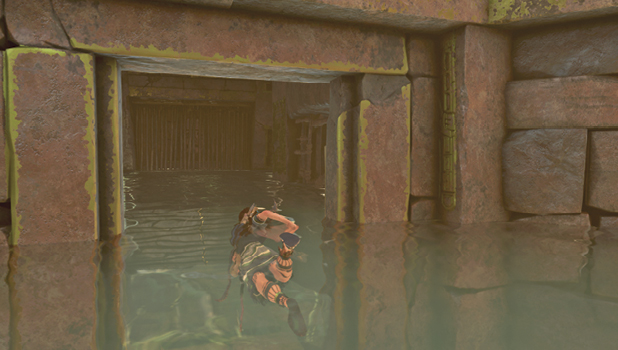
- Surface and swim through the opening (E) ahead to find another corridor similar to the previous one. Push the switch in, turn around, and quickly swim under the gate.
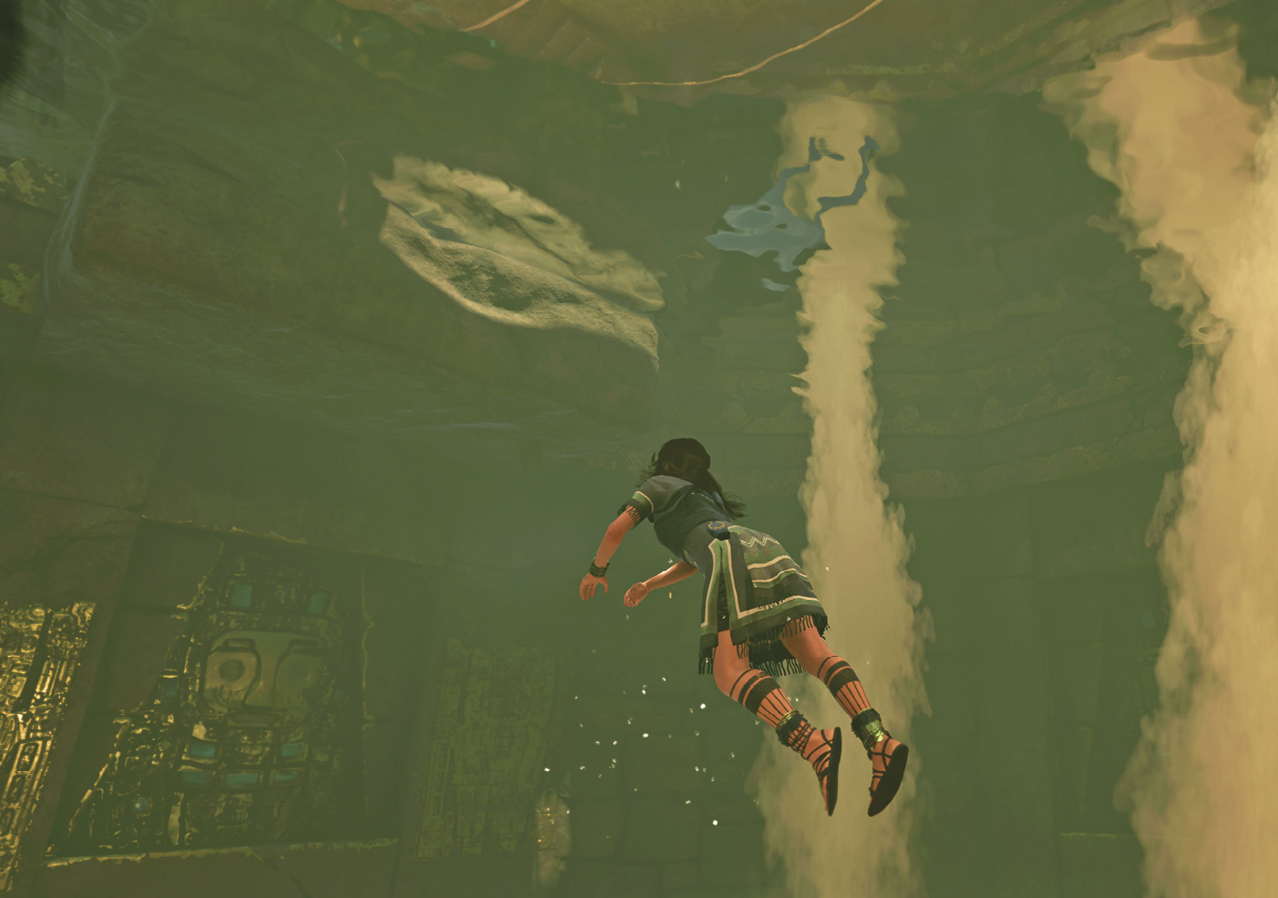
- Swim through another opening into a third corridor. Once you’re standing on solid ground, fire a rope arrow at the white coil (F) ahead to pull the barrier down. Interact with another switch to cause the water to rise again. This time, the gate closes completely, so swim up through a hole in the ceiling. Dislodge the pry barrier ahead and return to the central chamber.
- Climb onto the flooring and loot the amulet from the sarcophagus. Bust through the weak wall (G) to find an alternate path out of the cistern.
- Jump onto the climbable wall to the right and ascend to a trail above. Scramble through the tunnel and drop back into the crypt next to the Mural you found earlier. Exit the cave and return to Uchu to complete the side mission.