
Shadow of the Tomb Raider Guide The Journey Chapter 5: Cenotes
Cenotes
CHAPTER: 05
Location: Cenotes
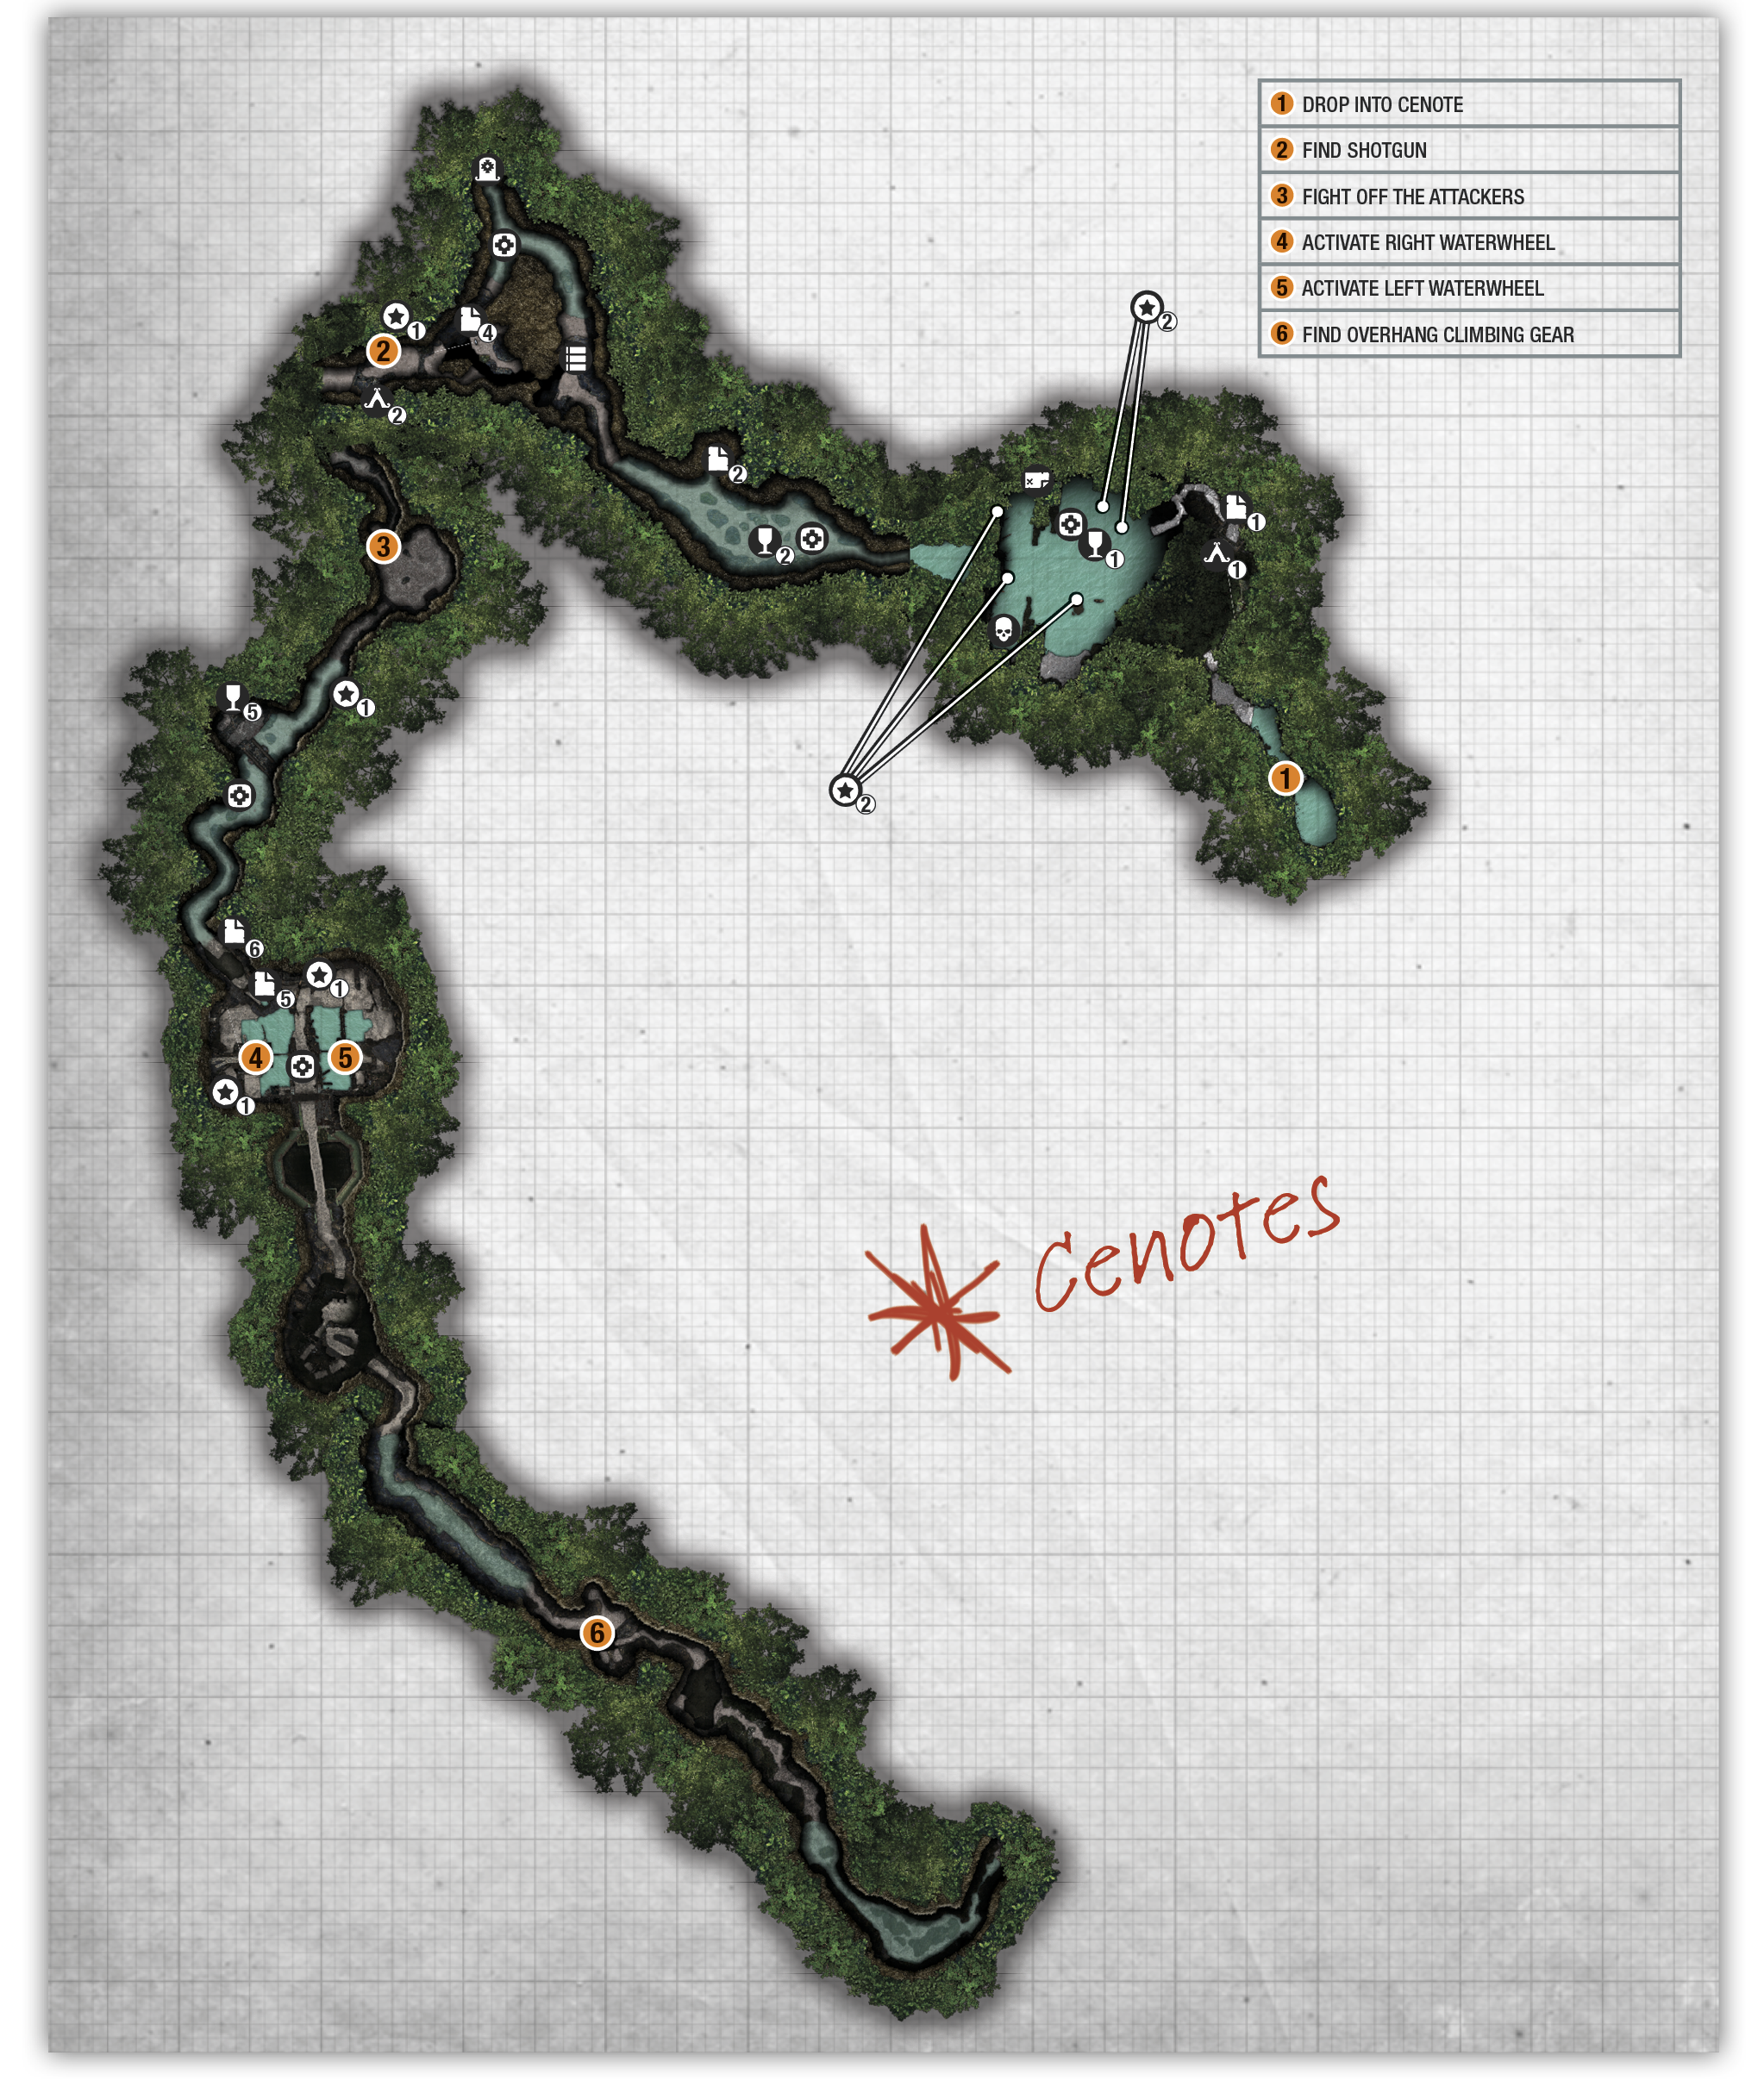
Region Summary
|
|
|
|
|
|
|
|
|
|
|
|
|
BASE CAMP |
CHALLENGE TOMB |
Mission GIver |
Challenge |
TREASURE CHEST |
Crypt ENTRANCE |
RELIC |
Document |
Mural |
Survival Cache |
Monolith |
|
3 |
1 |
0 |
2 |
0 |
0 |
5 |
6 |
0 |
8 |
0 |


 Main Story Objectives

- Explore the Cenote and Temple
- Fight Off the Attackers
- Open the Door
- Outrun the Yaaxil
- Return to Paititi
 Challenges

 Respected: Rope pull five effigies down.
 Sunken Treasures: Pry open five underwater Treasure Chests.
Challenge Tombs (Skill)
 San Cordoba (Caiman’s Breath II)
 Eye of the Serpent — Explore the Cenote

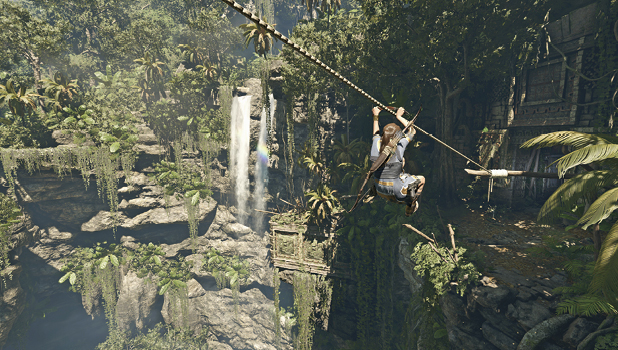
Swim (1) through the tunnel ahead. Climb and scramble up the ledges, and duck under the tree as Lara spots a temple in the cenote below. Zipline down to the Cenote Vista Base Camp. Enter the doorway on the right and scramble up the wall. Follow the trail and dive into the water.
 01 document

Journal of T. Serrano 2
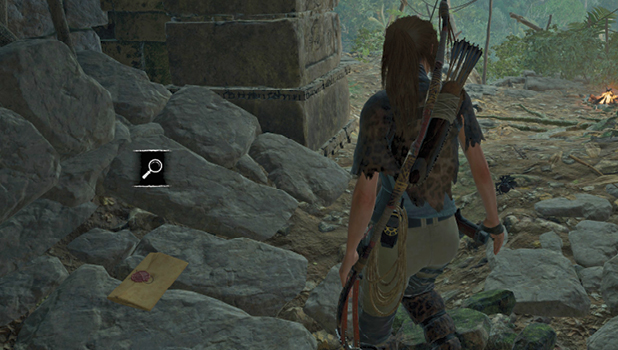
- Dialect: N/A
- Nearest Camp: Cenote Vista
Found just after the Base Camp, right before climing up the wall leading to the area with all of the skulls.
Explore the cenote thoroughly before entering the temple. Beware of the piranhas that swim around the middle. Relics, Survival Caches, and resources are available. Two challenges are also started in the area.
 01 relic

Crucified Figure
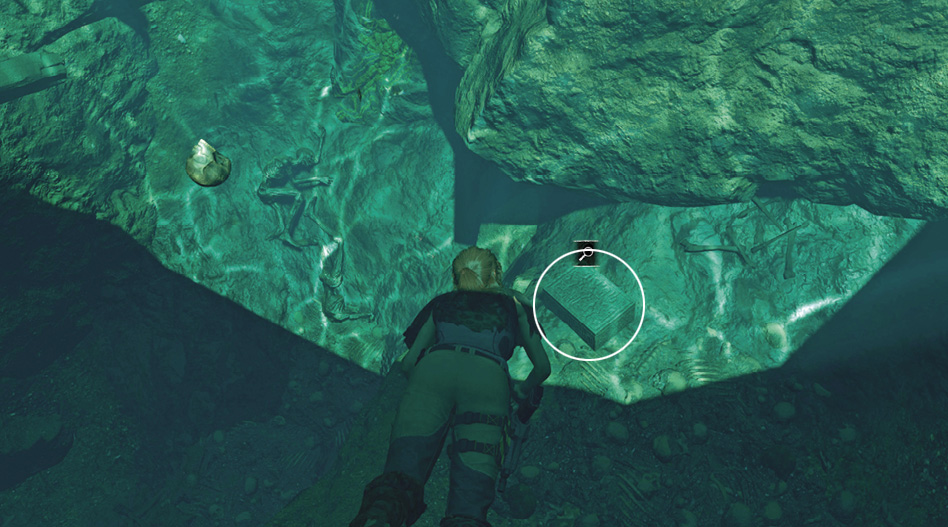
- Dialect: MAM
- Nearest Camp: Cenote Vista
Underwater next to a Survival Cache and Treasure Chest. Be aware of patrolling piranhas!
Explore the Temple
Enter the temple, dive underwater, and swim through the tunnel. Explore this area before moving too far inside; a couple of Relics are in the passageways. An air pocket along the upper path and another on the lower offer a respite in case you need to catch your breath.
02 relic
Knight’s Morion
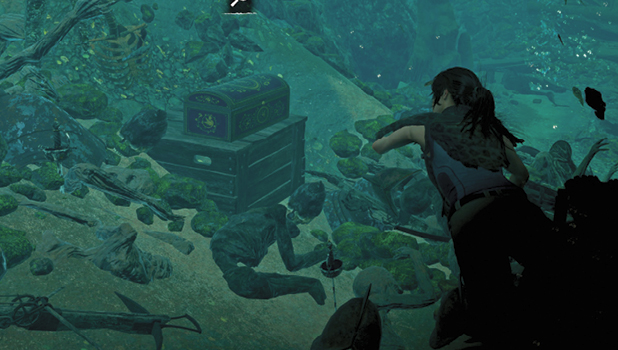
- Dialect: N/A
- Nearest Camp: Cenote Vista
Found underwater, just below a hidden area with a secret mural and some jade.
02 document
A Warning
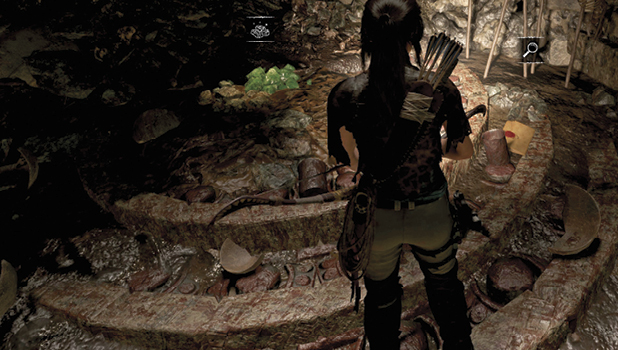
- Dialect: N/A
- Nearest Camp: Cenote Vista
Found in a secret area along with some jade. From the nearby trapped air, there is a tunnel leading to the right, away from the main path. The secret area and Document are at the top, above water, along with some jade!
Exit the water and approach the stone floor ahead. Slit the rope stretched across the floor, or simply hop over. Continue along the path until you come to a cliff edge.
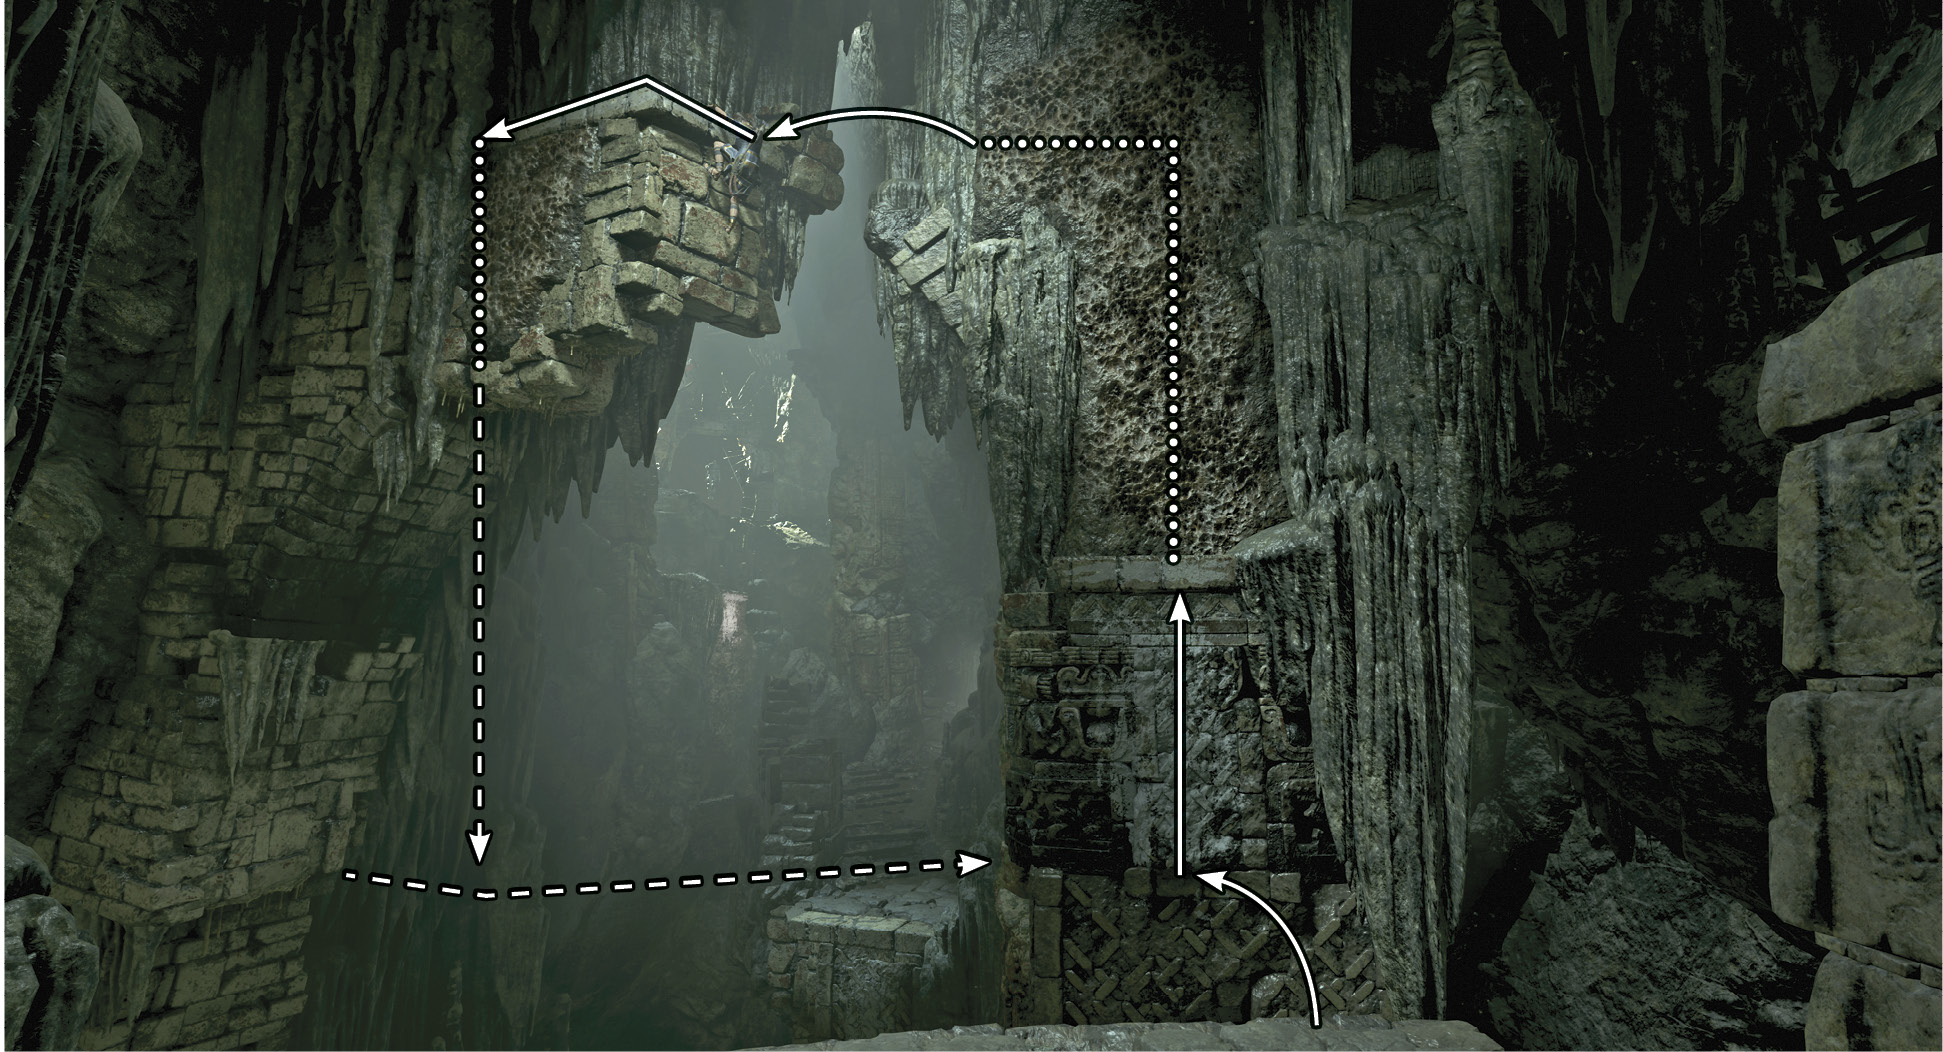
- Leap toward the stone wall and scramble up to the ledge.
- Scale up and then left along the craggy surface until you can’t go any farther. Jump left to another stone ledge.
- Shimmy around the left corner, climb down, then rappel all the way down. Swing back and then forward before leaping to the floor ahead.
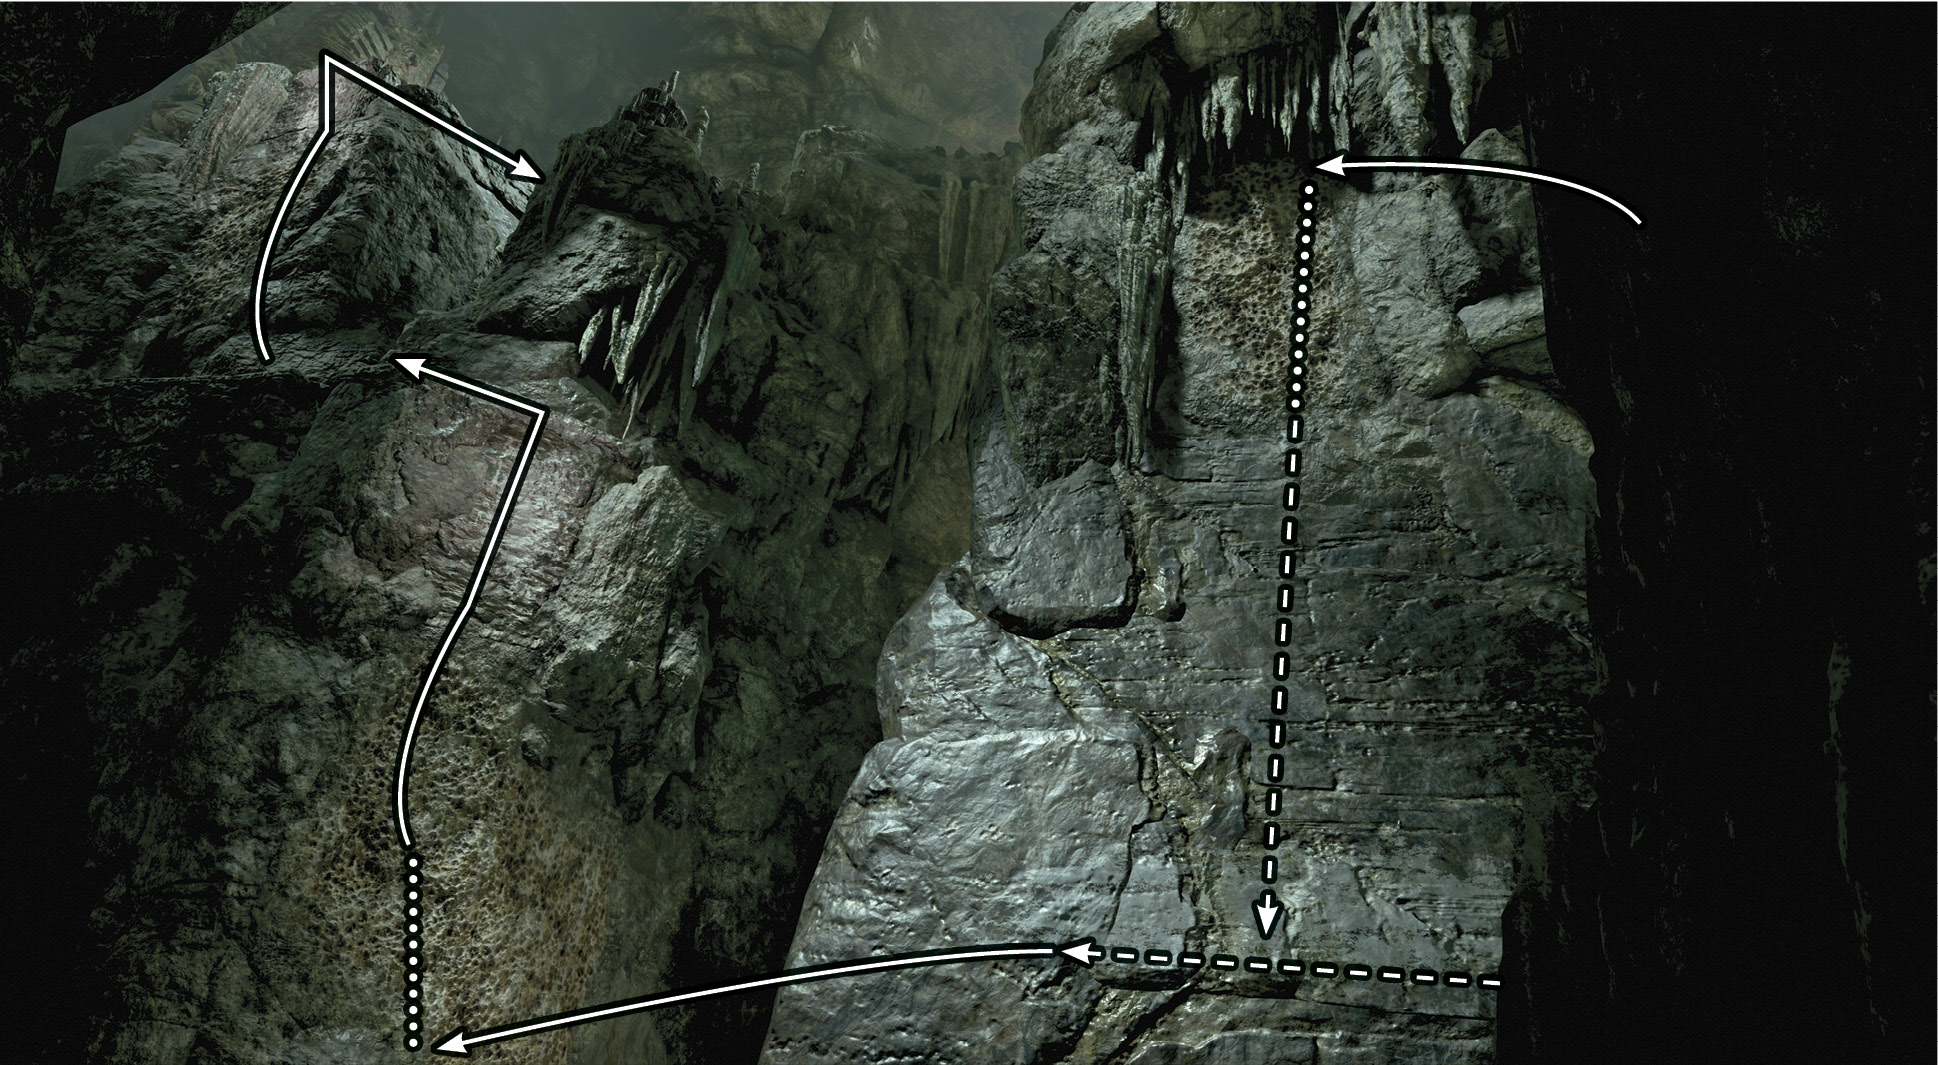
Climb the steps and squeeze through the crevice. The path splits at this point. Left is a direct route toward your objective, while the right path is more scenic, with an optional stop at a challenge tomb containing valuables along the way.
- Run left at the split and jump to the handhold. Shimmy left, then climb onto a narrow shelf.
- Sidestep to the far end and leap to the craggy wall.
- Rappel down, wall-run right, then left, and leap to the climbable wall.
- Scale left and then up, scramble up to the narrow ledge, then shimmy around the corner. Scramble and climb up to the objective marker.
- Scramble up the wall ahead and shimmy along the ledge until you can climb onto the floor.
Cut the rope to find the Bishop 600 shotgun (2). Following the trail left leads to the Cenote Temple Ruins Base Camp. Turn around and pull down the effigy that hangs above.
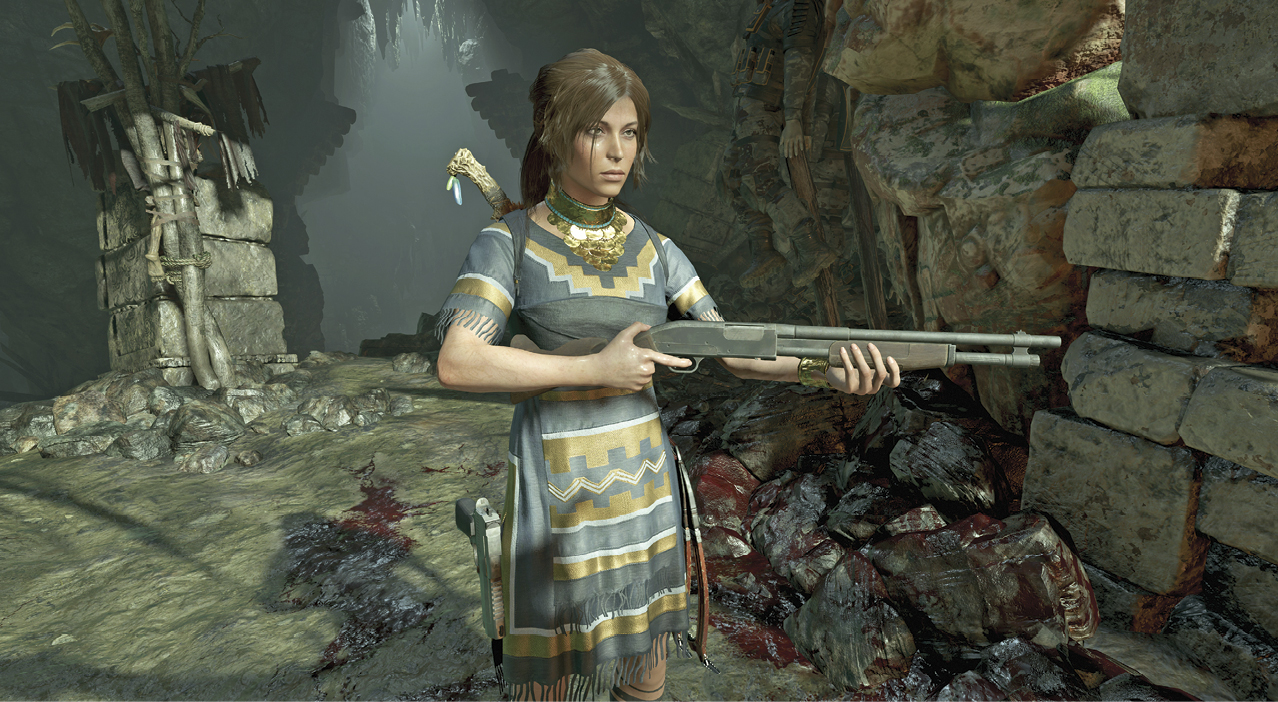
From the Base Camp, run toward the objective marker and fire your new weapon at the shotgun barrier to destroy it. Squeeze through the narrow opening and follow the trail through a tunnel. Turn left and follow the corridor until Lara is tackled and dropped into a pit (3). Meet the Yaaxil.
Survive the Ambush
These humanoids typically charge at their prey for close-combat attacks, making the shotgun an effective weapon against the attackers. Be careful not to run through the ammo too quickly, and collect the ammunition lying around the pit whenever possible. Use long-range weapons as the Yaaxil enter the room, and switch to the shotgun as they get close. Look for cauldrons of poison that sit at many of the entry points. Hit these with any weapon fire to cause an explosion that deals heavy damage to nearby foes.
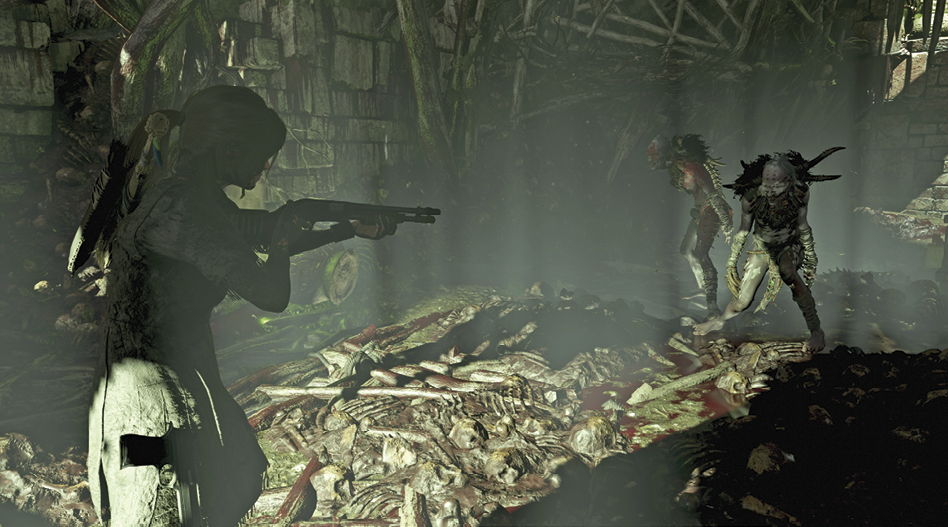
Continually scan the room for incoming Yaaxil, and use evasive maneuvers to avoid their attacks. At first, try to take down the incoming enemies with headshots, saving the cauldrons for later entries. Remember to heal after taking a few hits, and stay on the move to avoid surprise attacks.
A cinematic pauses the action—a group of Yaaxil busts through the right barrier. After they successfully break through, quickly detonate the cauldron next to the group and then scramble up the wall. At the end of the corridor, rope-pull the third effigy down.
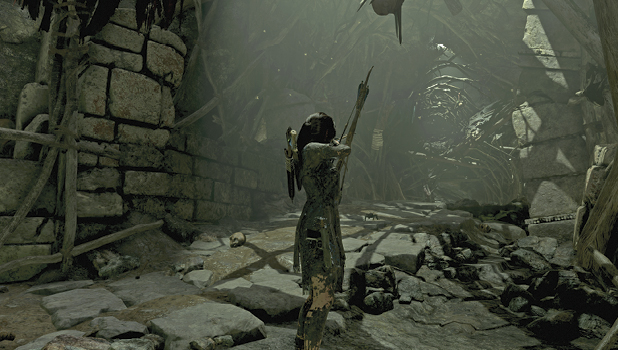
Find the Silver Box of Ix Chel
Wade through the water tunnel into a chamber. Dive underwater and pull down a pry barrier that blocks the exit. Climb onto the floor and stand next to the crank. Tether an arrow between the two rope coils, then rotate the crank clockwise until Lara says, “There we go.” Dive back into the water and swim through the openings.
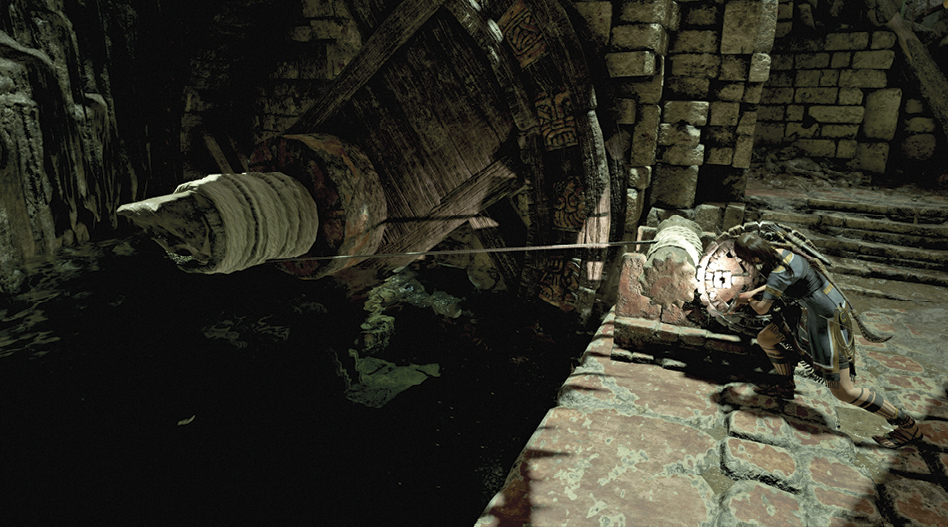
Follow the checkpoints until you can climb out of the water. Watch out for a tripwire inside the corridor, and avoid the trap. As you turn the corner, a Yaaxil drops in. Quickly take it out before moving on.
Jump to the ledge on the right and then to the craggy surface. Rappel down, wall-run right, then left, then leap to the stone platform in the corner. A little farther down the corridor, leap to another climbable surface and drop into the water.
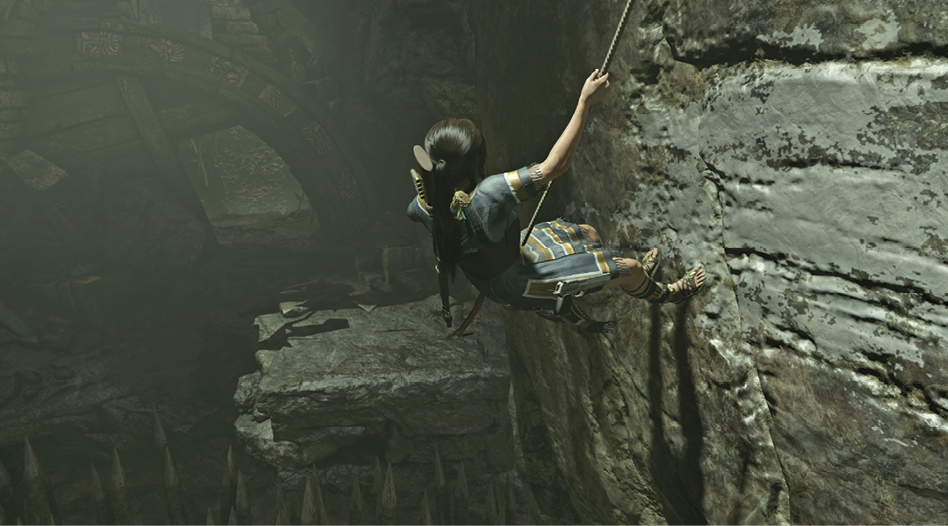
04 document
Journal of T. Serrano 5
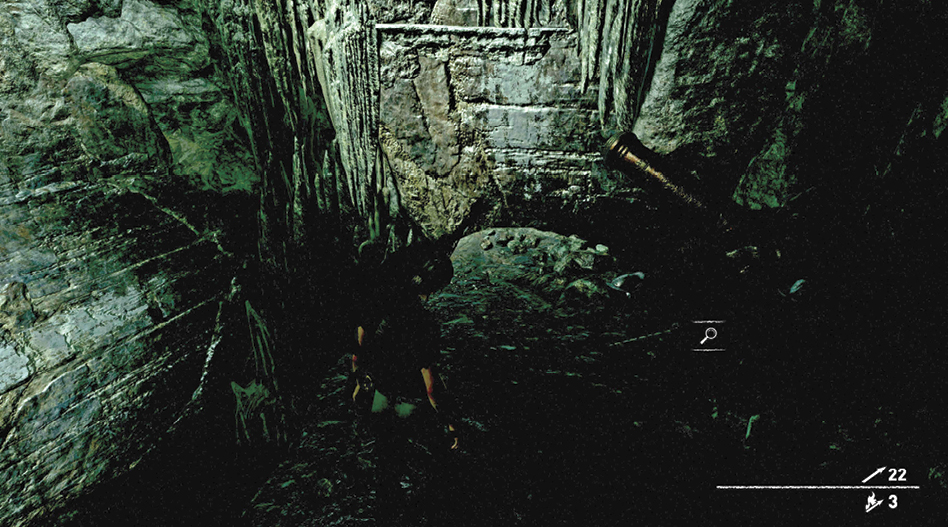
- Dialect: N/A
- Nearest Camp: Cenote Temple Ruins
In the darkness next to a cannon and barricade that must be pried with the Climbing Axe.
05 DOCUMENT
Journal of T. Serrano 6
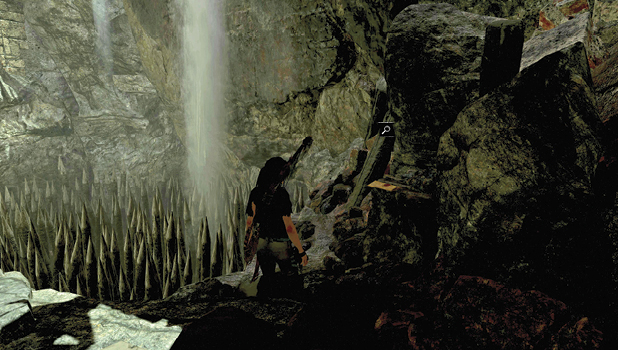
- Dialect: N/A
- Nearest Camp: Cenote Tomb
Found at the bottom of the spike pit.
06 document
Journal of T. Serrano 7
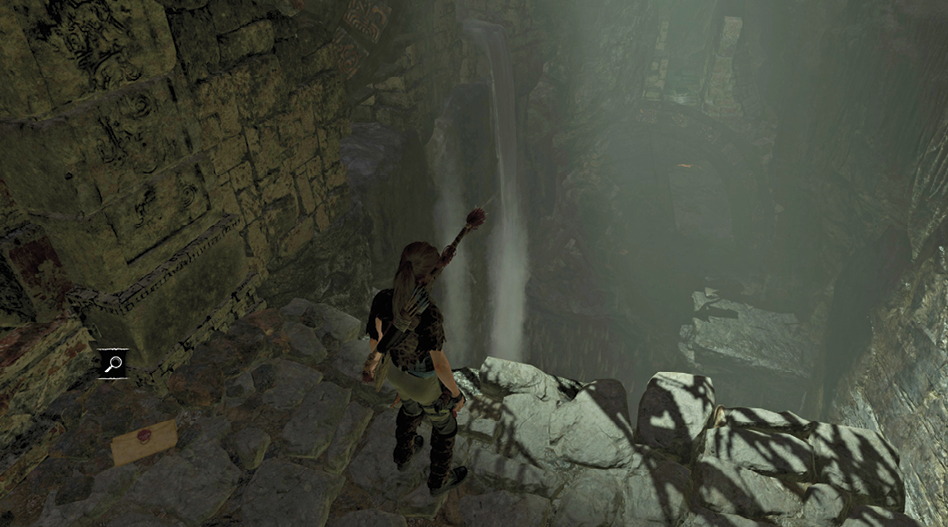
- Dialect: N/A
- Nearest Camp: Cenote Tomb
Found across the spike pit, near the “waterfalls.”
05 Relic
Brigittine Rosary
- Dialect: N/A
- Nearest Camp: Cenote Tomb
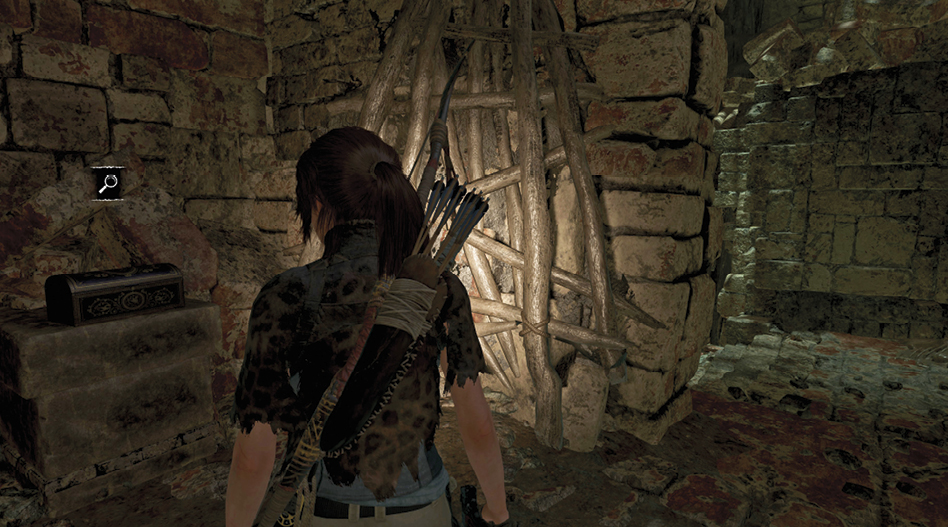
After escaping the ambush there will be a barricade which can be pried open, revealing another room with this Relic.
Open the Gate
You find yourself in a large cavern, split in two by a wall, with a round door on the far side. A waterwheel on each side of the room must be activated, by solving the puzzles, in order for you to open two round gates. Swim under the shaft and pull yourself onto the floor on the right. Quickly aim at the crouched Yaaxil at the doorway and take it down before it can reach you. The fourth effigy is found inside the same room.
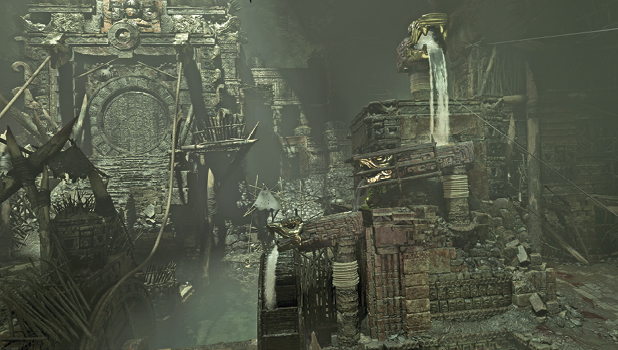
Move inside and prepare a weapon. Step toward the next door on the right until another enemy appears. Beat a rapid retreat to the water’s edge, turn around, and detonate the cauldron to cause heavy damage to the pair of Yaaxil fighters. Finish them off with the shotgun. If the fight gets too rough, dive underwater and flee to the far side. The enemies pursue along the walkway, but you can set up a better shot from a distance. To activate the right waterwheel (4), do the following:
- Proceed up the steps and approach the crank and rope coil on the right. Look to the right to spot three troughs with rope wrapped around each post, which allows them to be turned with the crank. First, tether a rope between the middle trough and the crank, and turn it so the mouth faces right.
- Run up the steps on the right, kill the lone enemy that emerges from a hole, and climb up to the top trough. Pull the pry barrier down and return to the crank, killing the Yaaxil that follows you back.
- Turn the middle trough the other way until it’s lined up over the bottom one (all the way left).
- Tether a rope between the crank and top rope coil, and turn it until water flows from the headrace into the middle trough.
- Tether a rope to the bottom trough and turn it clockwise until the water hits the paddles of the waterwheel, causing the first door to open.
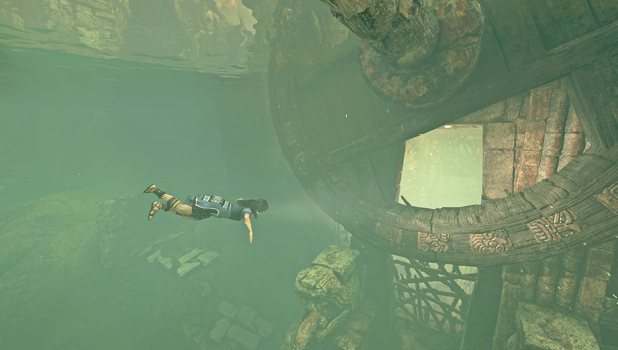
This brings out two Yaaxil archers and a melee fighter. Quickly eliminate the close-combat foe, then use your bow to kill the long-range enemies. You can also ignore these guys and simply dive into the water on the left. Swim through the hole in the pulley under the shaft. Exit the water on the left. A rope coil on the left allows you to pull down a section of the dividing wall and return to the previous area, if desired.
Open the Second Gate
Pull down the final effigy just ahead. Next, scramble up to the big platform, where you find another crank and rope coil. Two archers begin launching arrows your way. Take them out with a couple of quick headshots. Two melee Yaaxil enter through the opening below the archers. If possible, detonate the cauldron next to the opening at the top of the steps when the duo moves past.
The left side (5) is set up in a similar manner to the first, but this time the headrace is stationary, and you only need to turn two troughs.
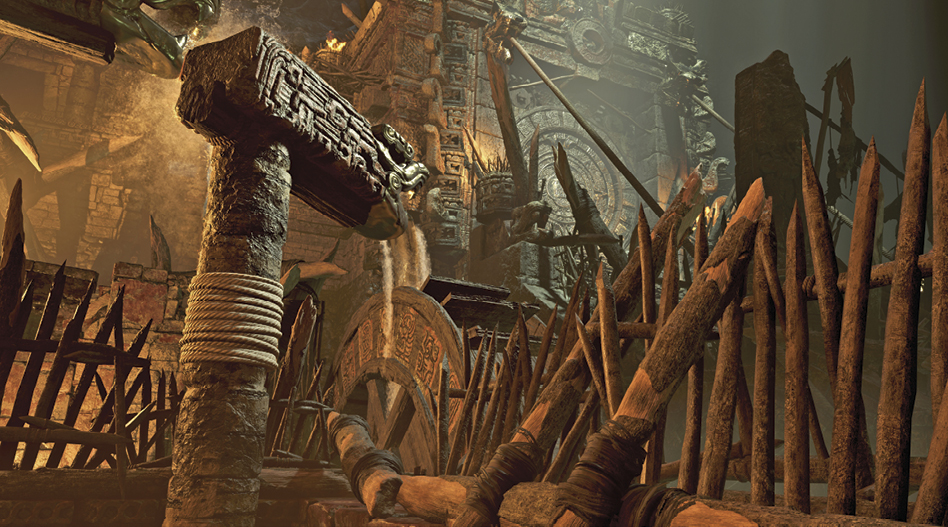
- Tether a rope between the crank and left trough, and turn it until water pours into the pool between the waterwheel and you. Dive into the water and pry the now-accessible barrier from the right pole. Return to the crank, where more Yaaxil fighters have shown up. An archer fires arrows from a balcony in the back corner. Use an explosive cauldron to deal with the long-range foe. As you fight these guys off, two more melee fighters show up, as well as another archer near the waterwheel.
- At the crank, use a tethered rope to turn the left trough counterclockwise until it pours into the right.
- Tether a new rope to the right pole, and turn it until the waterwheel begins to turn and the second door opens.
Empty-Handed — Escape the Cenote
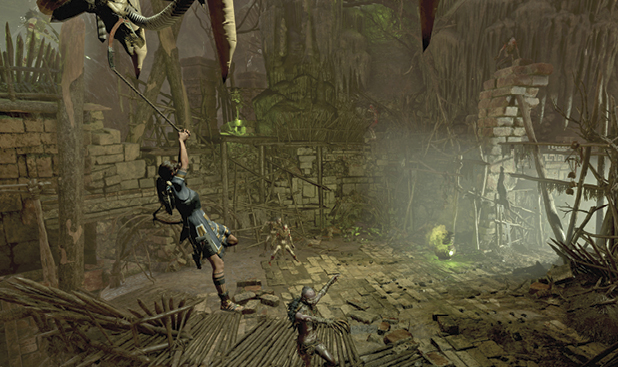
You regain control of Lara as the Yaaxil chase you through the temple. Sprint and jump the gap ahead, using the Grapple Axe to swing from the metal hook. Continue at full speed along the path, climbing and scrambling up the ledges. There are more gaps to jump, and another metal hook to swing across. Keep your eyes peeled for obstacles and the Yaaxil. Eventually, a long leap escapes the creatures. Slide into a water tunnel.
Return to Paititi
Fast-swim through the tunnel until you can take a breath at the trapped air. Continue your swim until you surface. Follow the trail, jump over the gap, and ascend the wall at the other end.
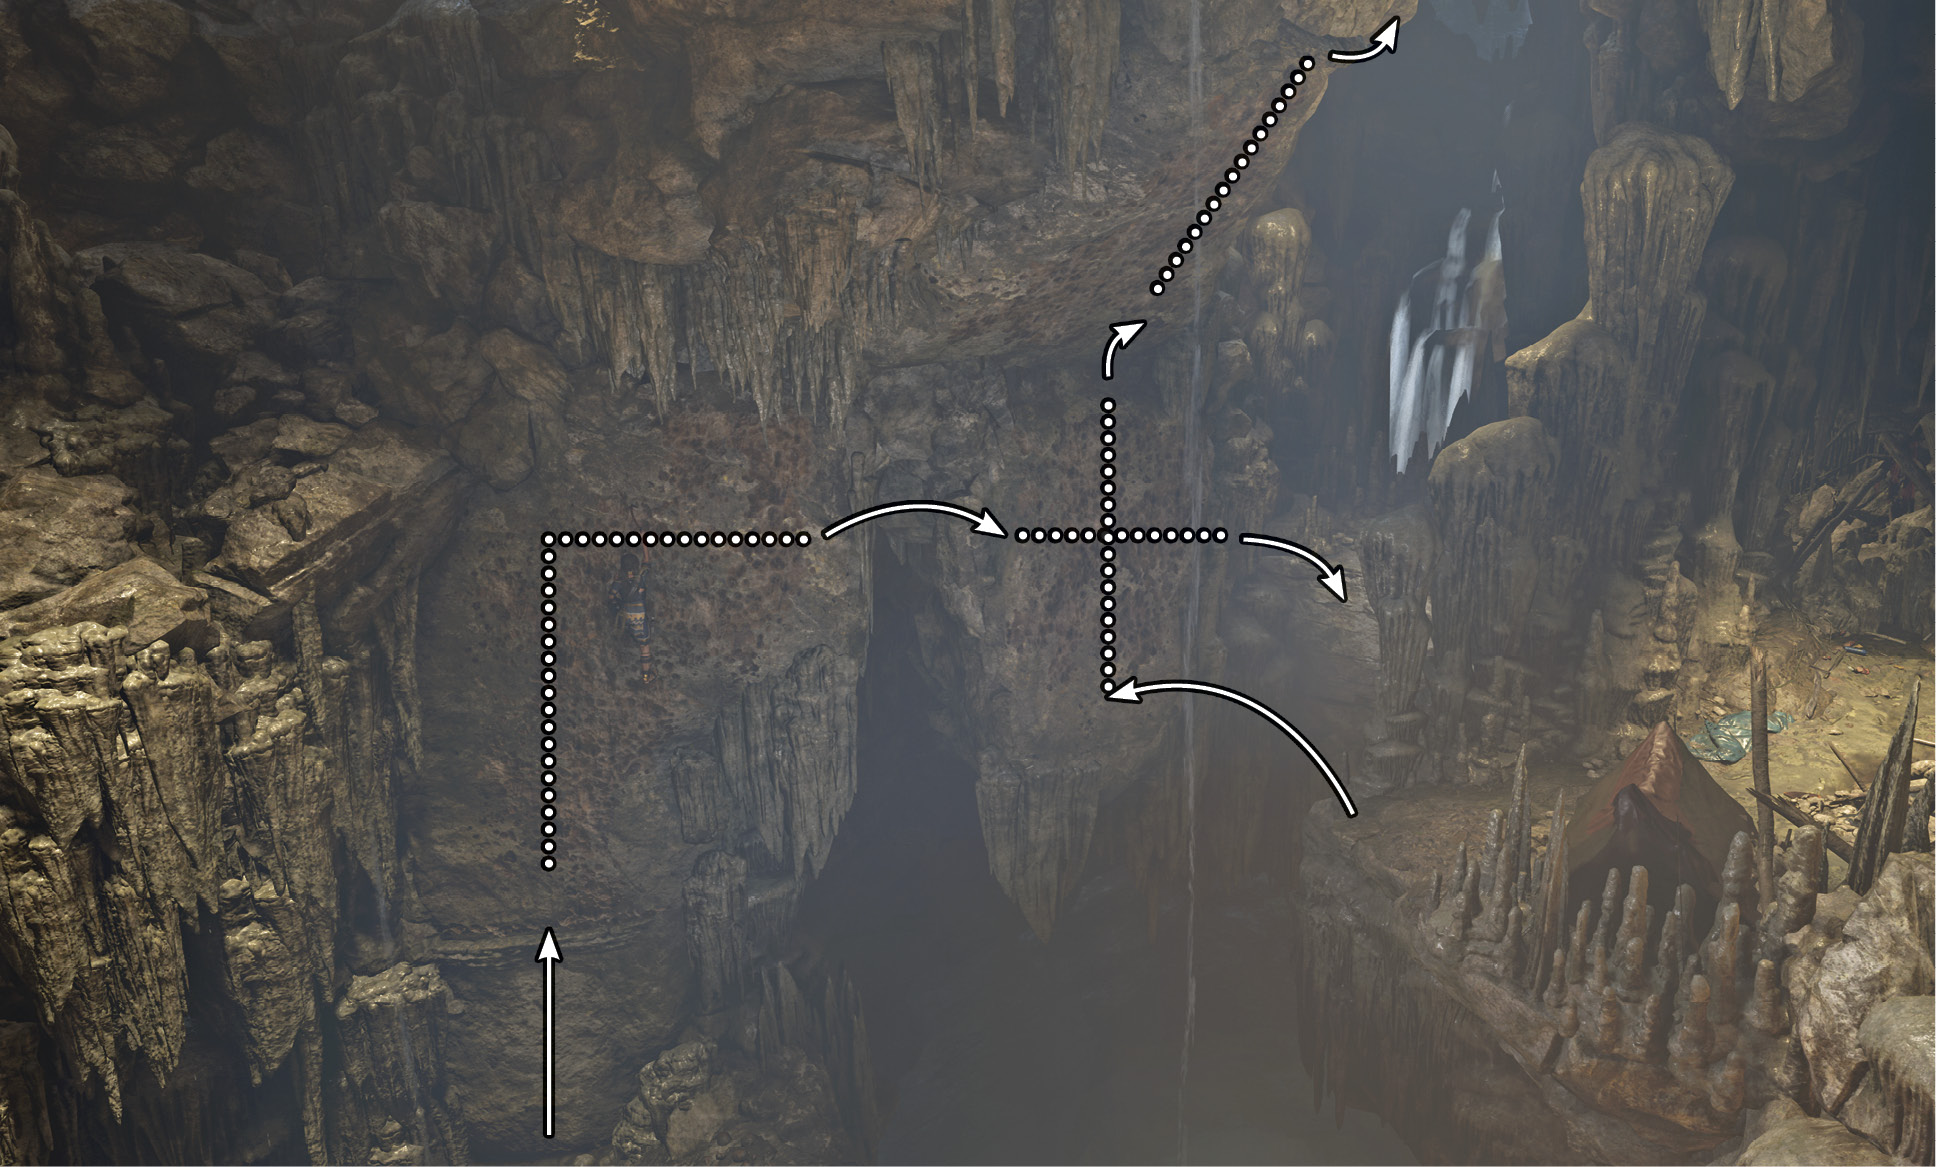
- Follow the craggy wall to the right until you can dismount to the far cliff.
- Squeeze through a narrow opening on the right to find the Climbing Boots (6).
- Turn around, leap off the cliff edge, and scale the wall. At the crux, jump to the overhang and grab on with the climbing axes. Press forward until you exit the overhang.
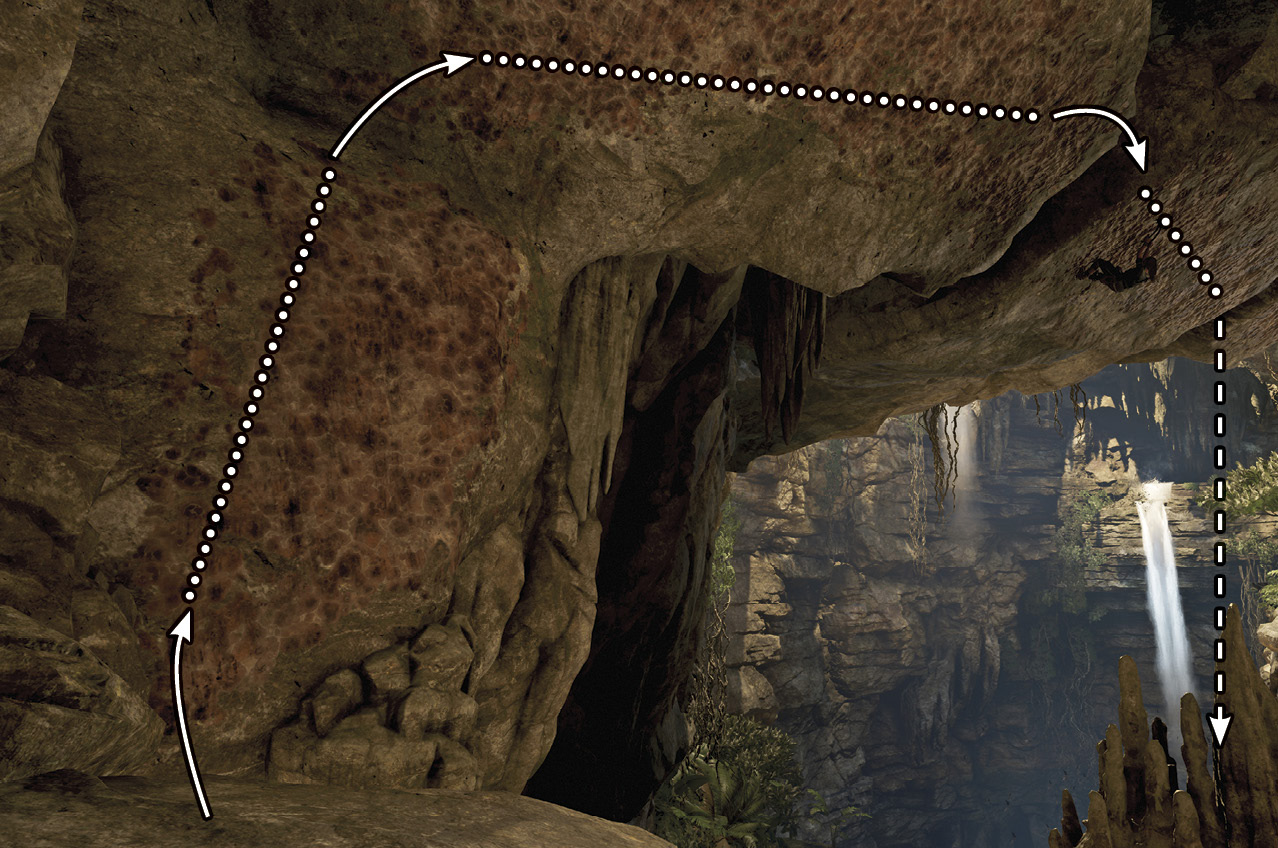
- Follow the trail and scramble to the shallow ledge. Climb up and squat-walk through the tunnel.
- Leap to the craggy wall on the left, ascend to the overhang, and traverse to the right. Perform two lateral jumps across the gaps to the right. Rappel down and swing over to the plateau.
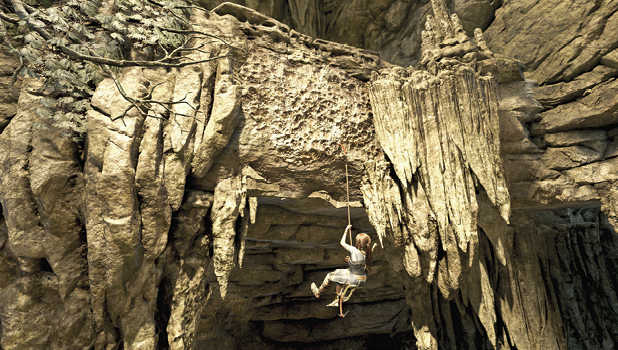
- Move forward along the cliff edge, then scramble and scale the wall up to another overhang. Enter the overhang and follow it left, performing a lateral jump to clear the gap.
- Press forward and jump to reach the handholds. Climb the craggy surface up and left. Leap toward the far cliff and throw the Grapple Axe to reach it. Climb up and duck through the hole ahead.
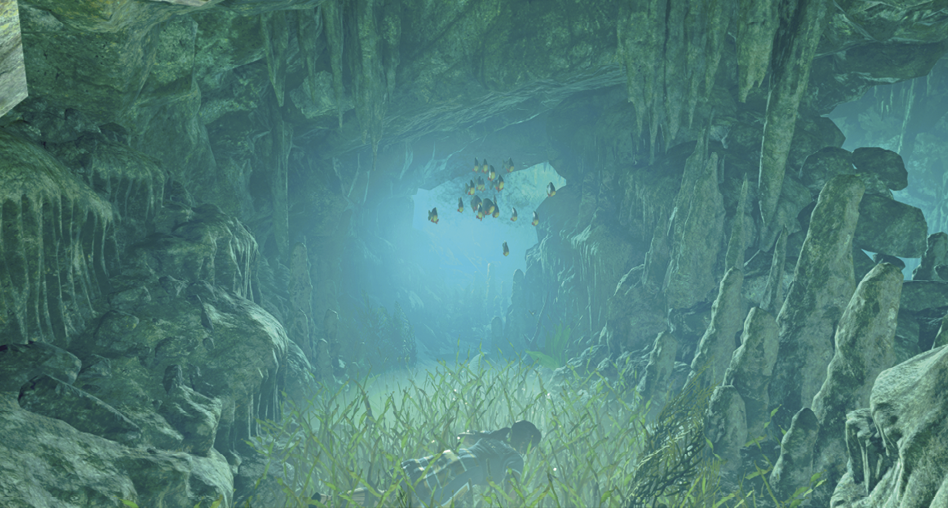
Run off the edge and swan-dive into the waterhole. Fast-swim underwater toward the objective marker and quickly pull off the pry barrier. Keep an eye out for a school of piranha swimming in the tunnel ahead, and duck into the underwater concealment to avoid its attack. Take a breath at the trapped air, and continue through the crevice ahead before exiting the cave. This puts you back in the Hidden City, near the Fishing District Base Camp.