Shadow of the Tomb Raider Guide The Journey Chapter 8: Mission of San Juan
Mission of San Juan - Challenge Tombs
Location: South of Mission of San Juan Base Camp
Access the Tomb
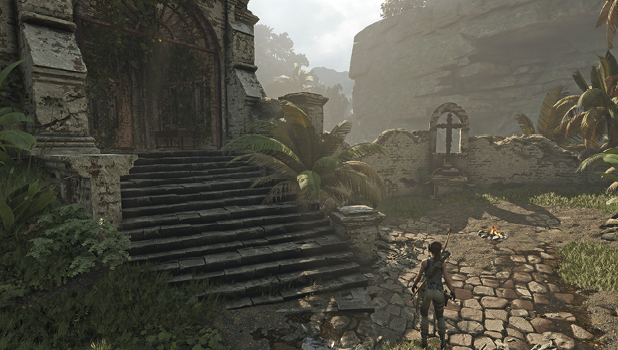
The Tree of Life Challenge Tomb is accessed through the jungle, south of the Mission of San Juan Base Camp. Move east and south from the camp, dropping into the lower area. Remain alert, as jaguars may attack as you pass through. Squeeze through the gate and climb the steps to reach the Deserted Cloister Base Camp.
The Tomb Base Camp
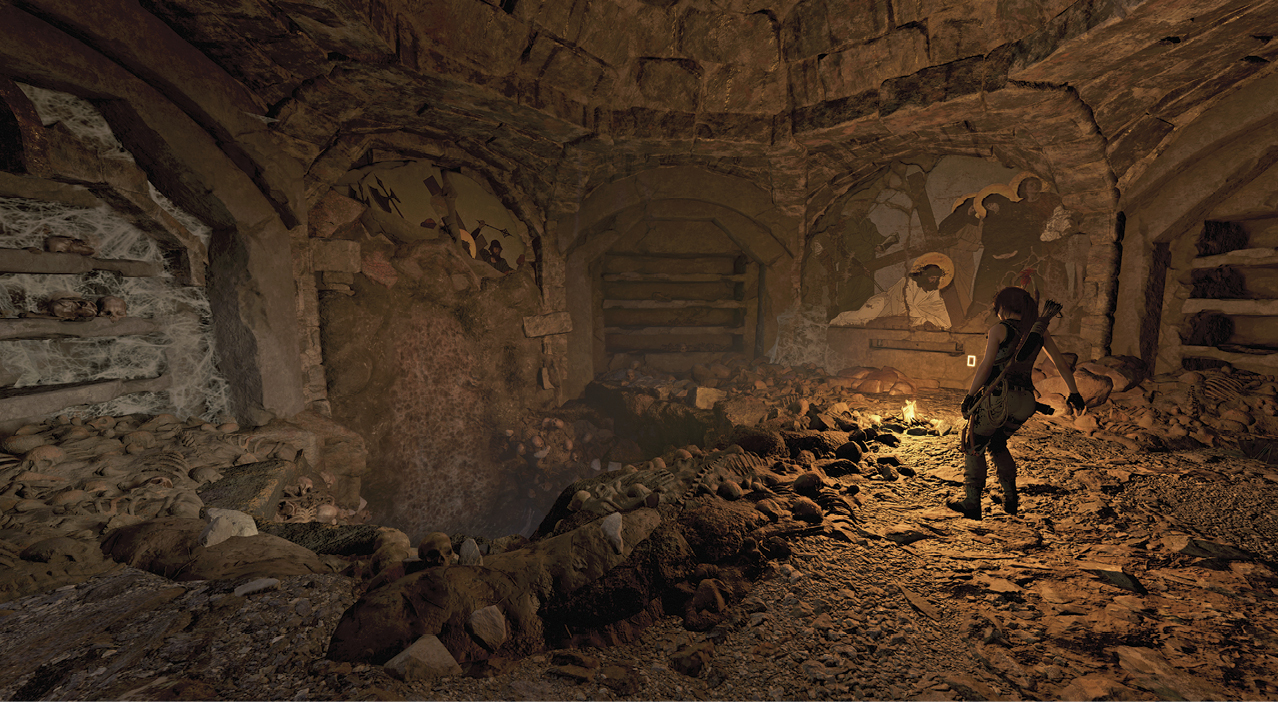
Enter the tower and follow the corridor until you reach an empty shaft. Jump to the craggy surface, move down and right to the adjacent wall, and rappel down to the lower ground. Follow the path to another Base Camp, Mountain Catacombs. Jump across the nearby hole in the ground and attach to the climbable wall. Rappel into the challenge tomb and swing through the opening (1).
Navigate the Disconnected Pathways
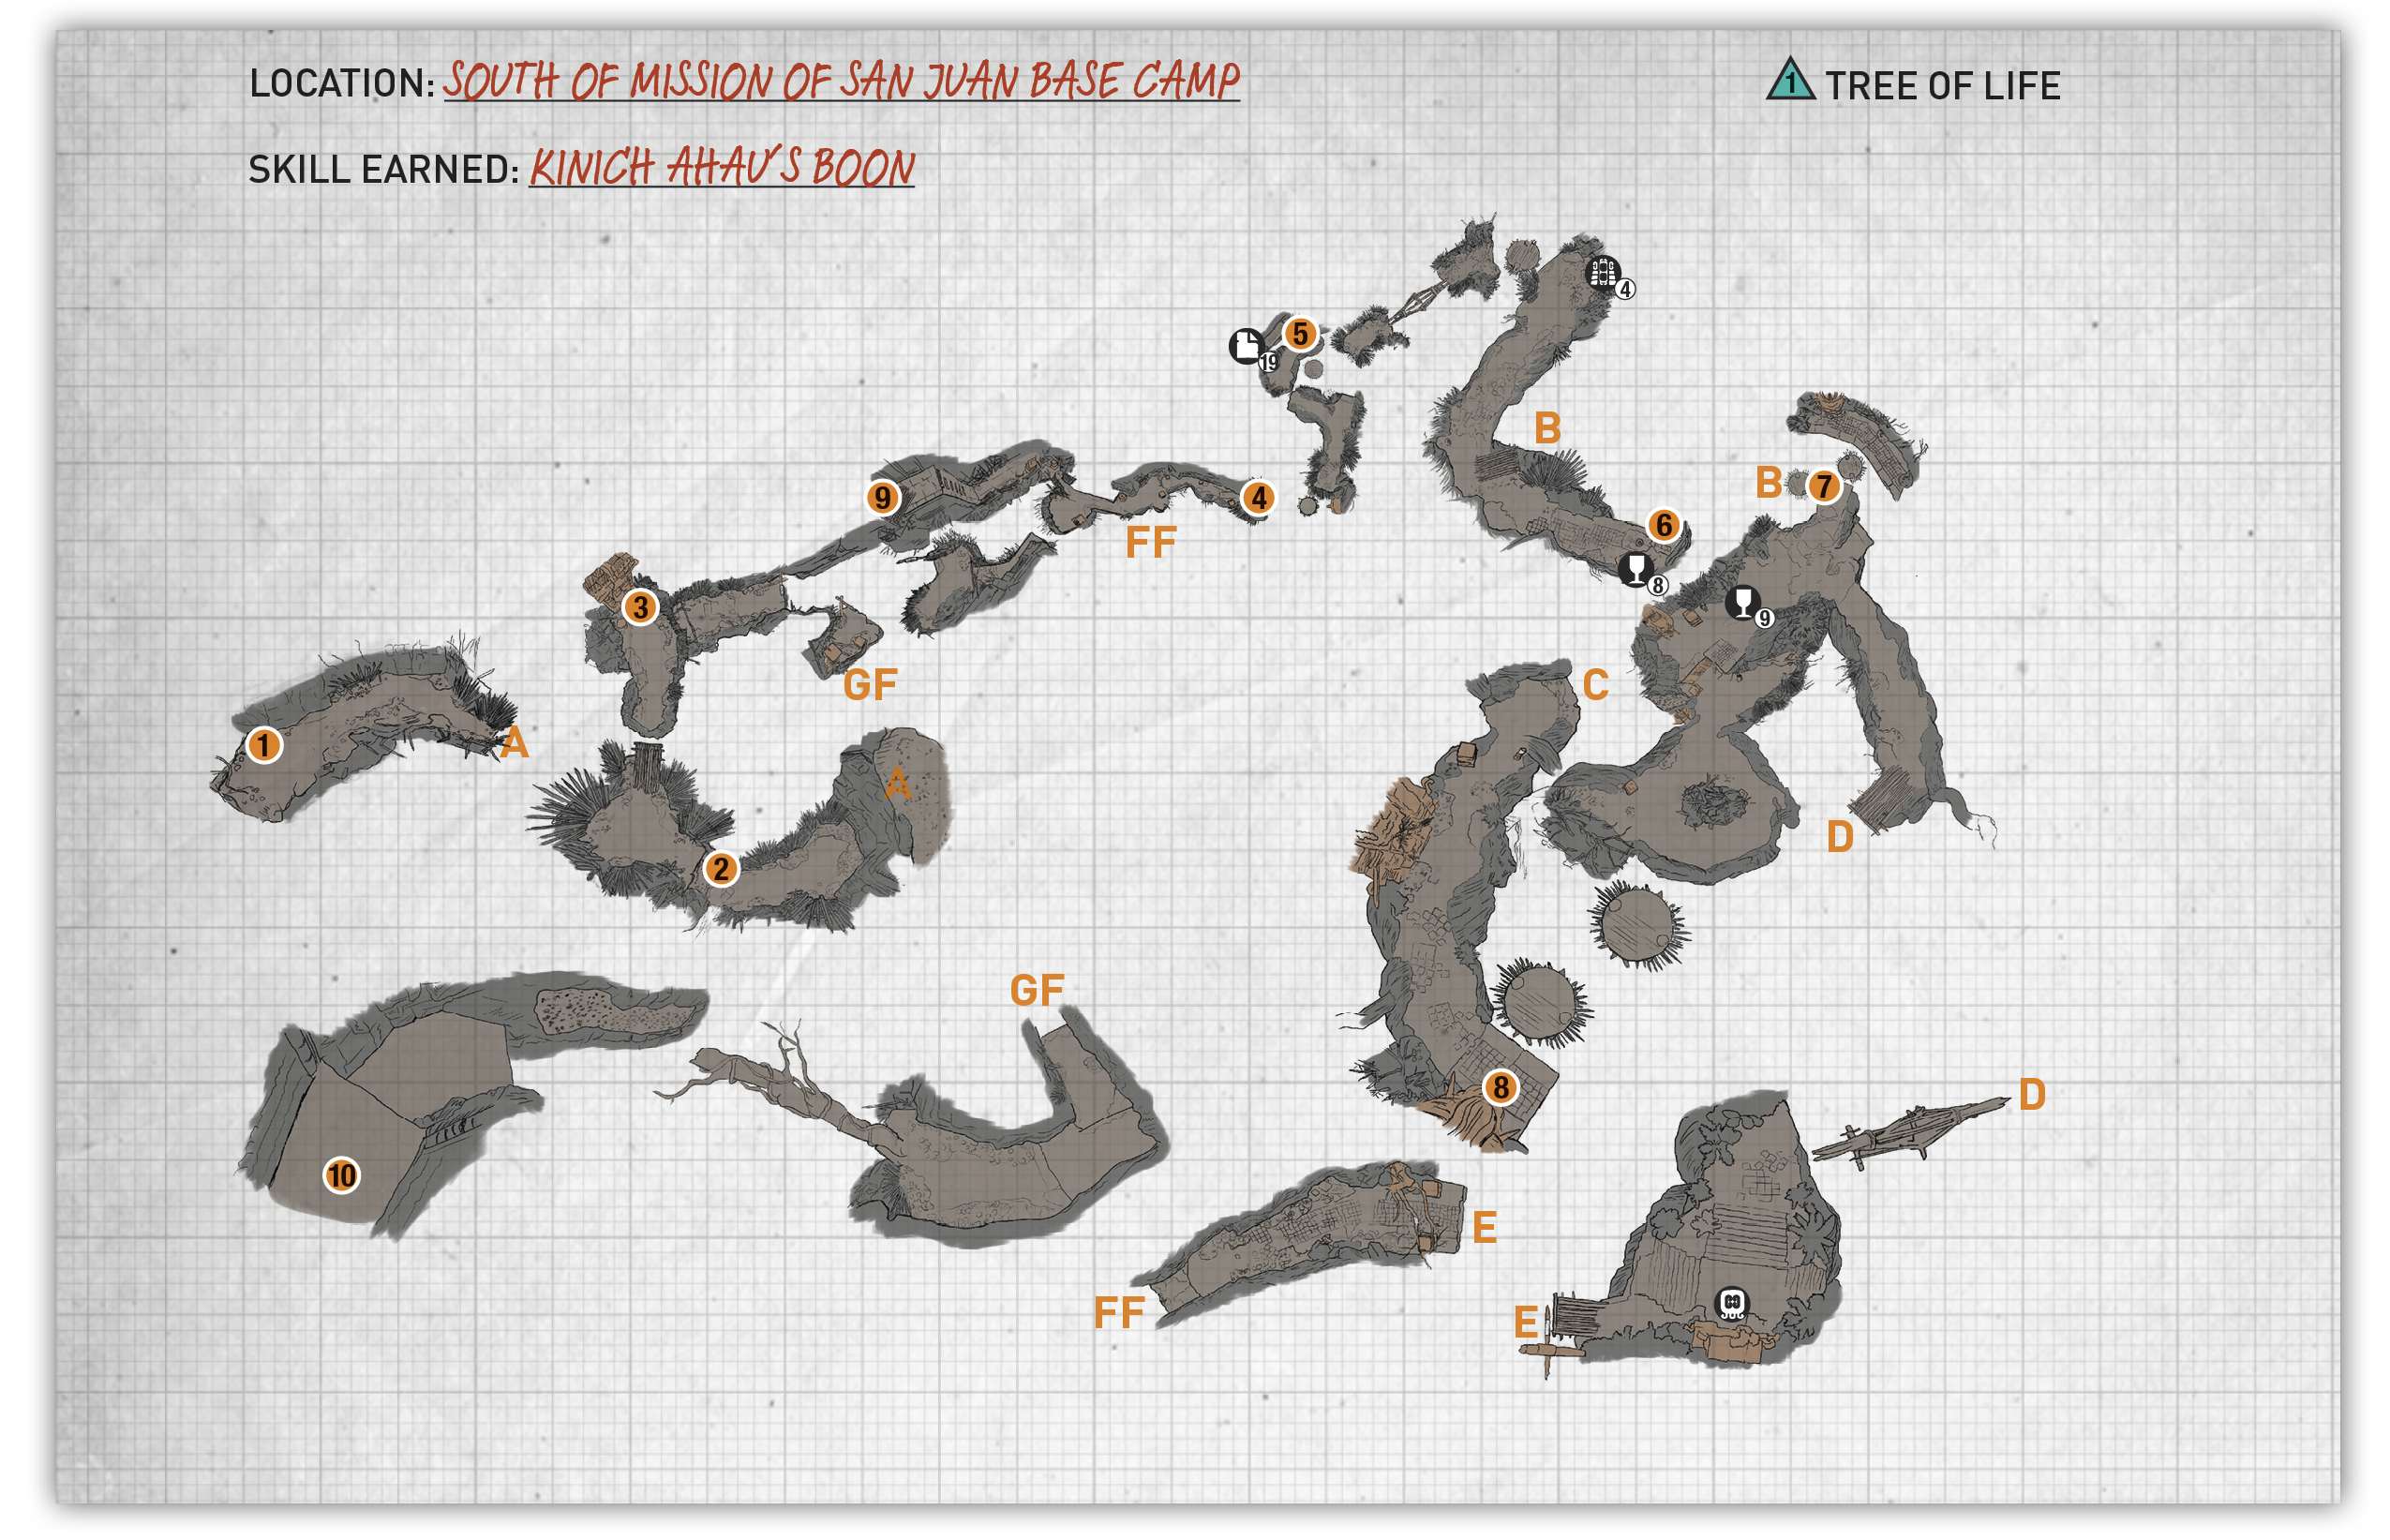
This tomb is made up of numerous, disconnected pathways. Figure out how to traverse these sections in order to reach the stele and unlock a new Skill. Letters on the map indicate the order in which they’re navigated: A leads to A, B to B, and so on. This can involve climbing, rappelling, swinging on a hook, or riding a platform.
- Jump to the craggy surface (A), move right, and rappel down to the next section. Pull out the handgun and fire a flare round at the gas on the next wall. Quickly climb up the wall before the gas returns.
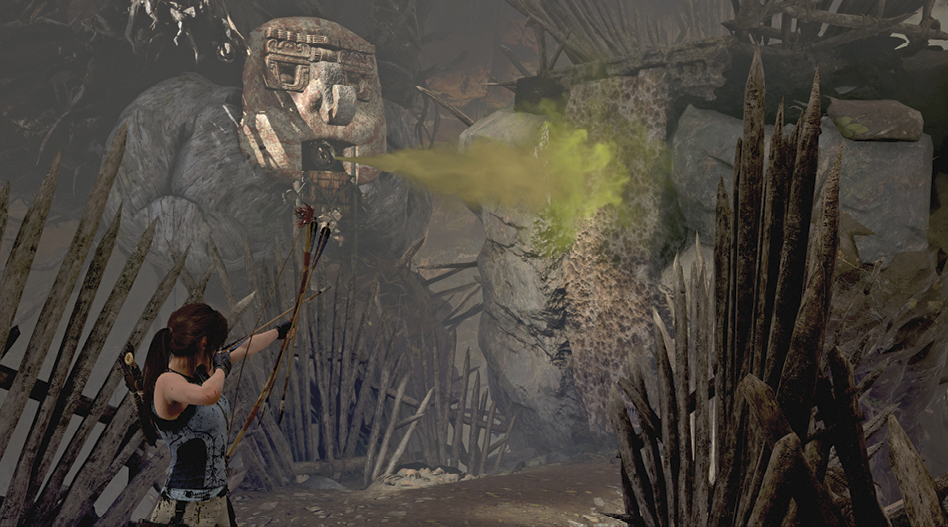
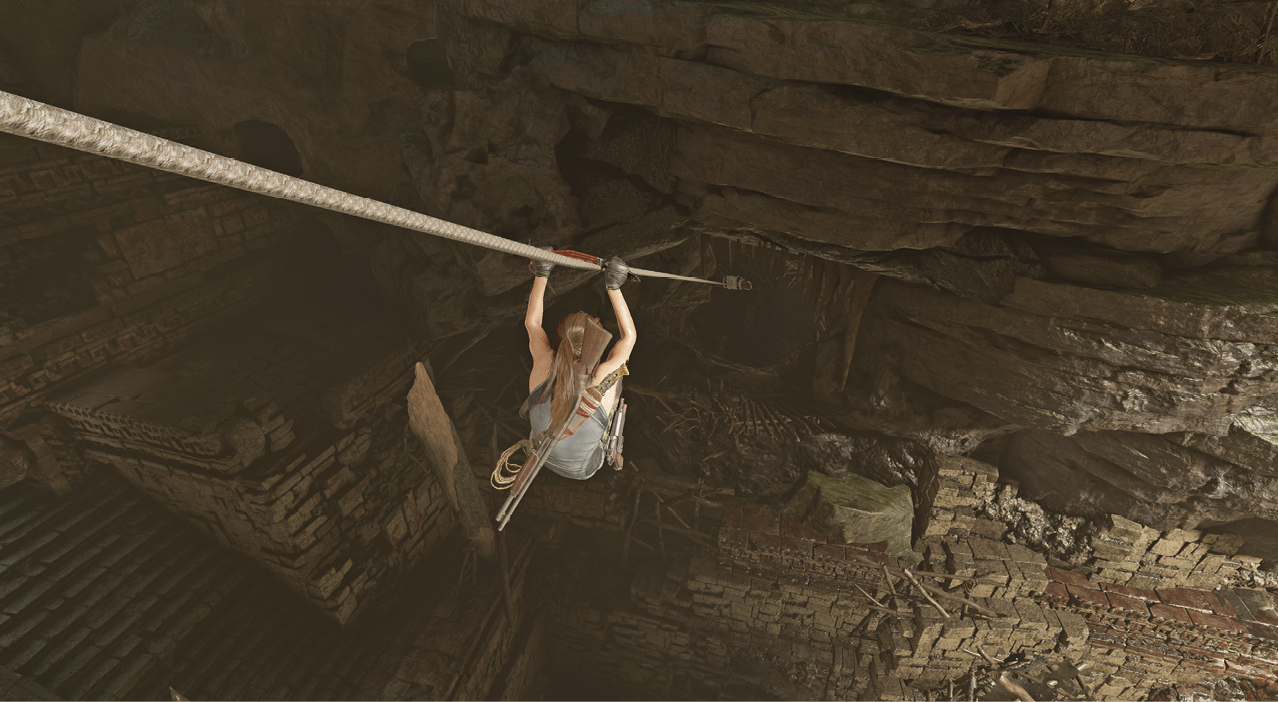
- After jumping off the wood ramp, use a climbing axe to destroy the barricade (3) that blocks gas from spewing out of the stone monument. Retreat to the ramp and shoot a flare round at the gas to clear the path. At the end of the new path, tether a rope between the rope above you to a coil, located on the lower level. Slide down to the ledge, shimmy right, and climb on.
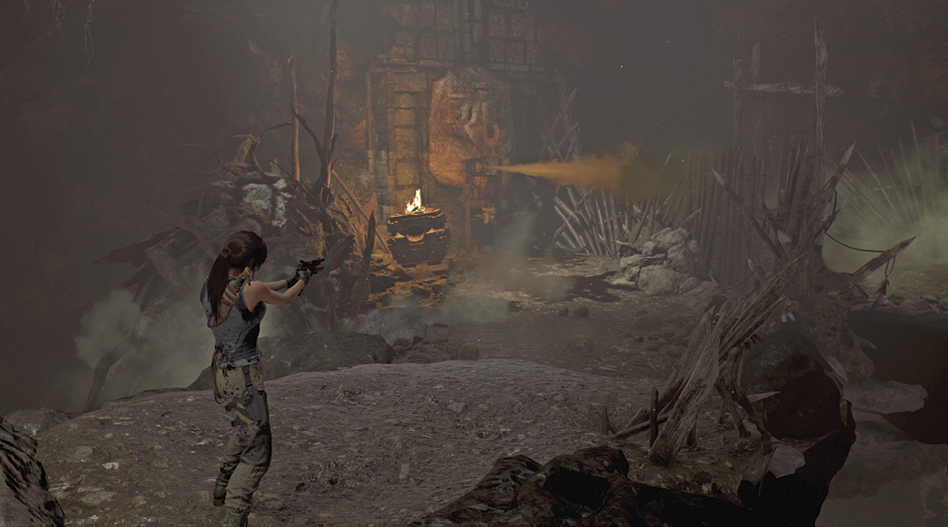
- Move up the steps, sidestep along the narrow ledge, and use the Grapple Axe to swing from the vine to the path ahead. A tree root runs back to the left, which leads to the tomb exit. For now, jump off the far end and rappel down from the craggy wall to reach the trail below. Scramble through the opening to get a good view of the rest of the tomb, the Tree of Life. Spot the round platform below. These platforms are used throughout the tomb and often require an explosion to get them moving. Fire a flare round at the gas (4) on the other side of the platform to get it moving your way. Quickly hop on as it gets close, and hop off to the left when it returns to its original position.
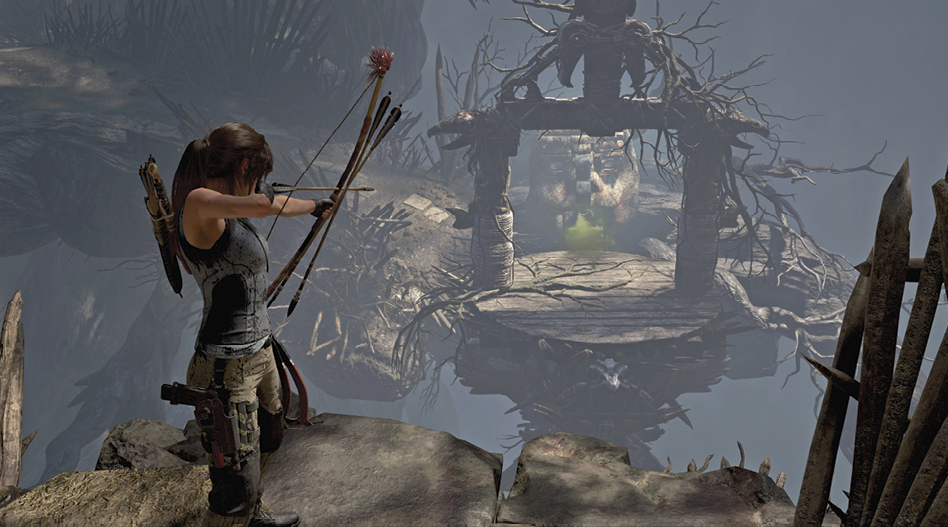
- Follow the trail down to the left until you reach another barricade (5) and destroy it. This attracts a group of Yaaxil. Quickly look back down the path you just followed, pull out a weapon, and shoot the cauldron. Finish off the remaining enemies, including an archer that stands on the ledge above. Move to his position and then left.
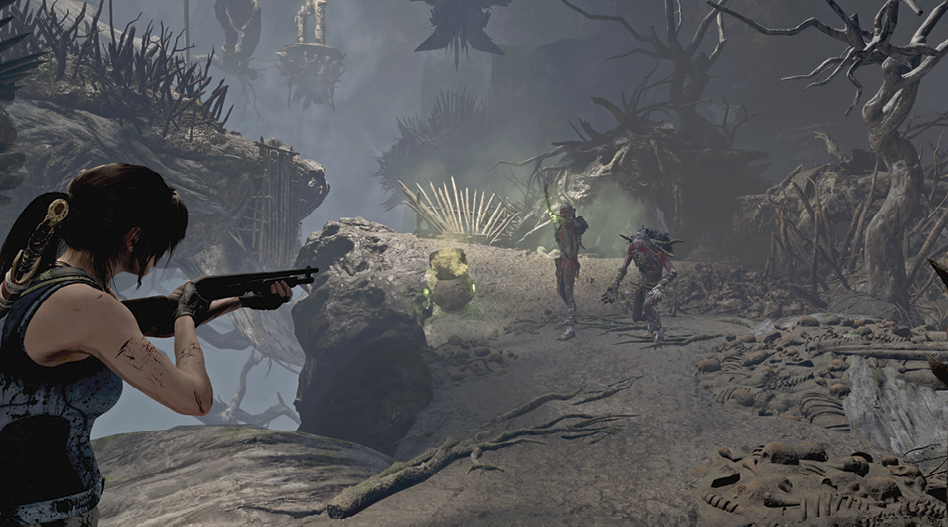
- Fire a flare at the gas that was just released to send a moving platform up to your level. Immediately jump on and off the far side to reach the next trail. Tightrope along the middle of the bridge, as it will tip to the side. Jump across the next platform and scramble up to the next ledge.
- Follow the trail past the wood ramp to find a platform tied to a post (6). Cut the rope and return to the ramp (B). Hop across the platform, swing on the vine, and cross another platform before climbing onto the walkway. Equip the shotgun, then destroy the barricade on the left. Turn around and kill the Yaaxil that emerges from the hole. Switch to a long-range weapon, turn right, and hit the cauldron across the way to eliminate two archers.
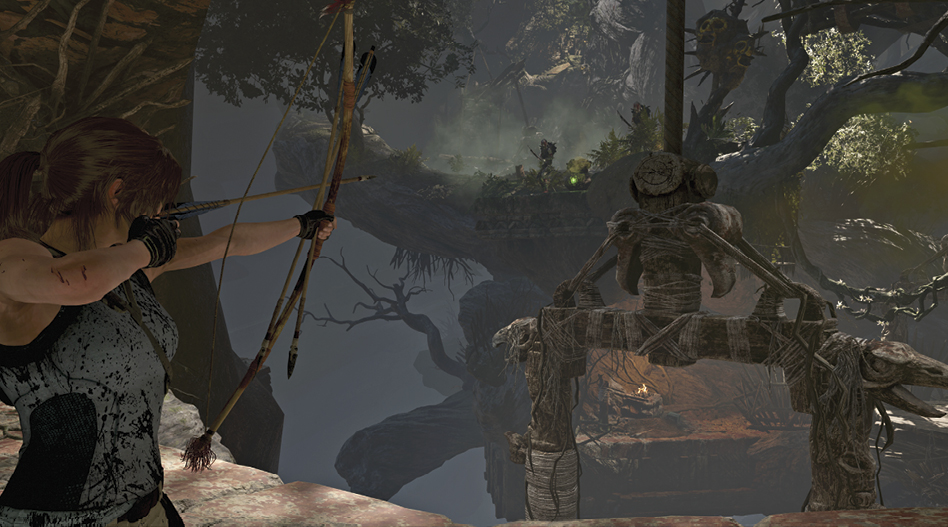
- Jump back across the vine to the far platform (B), turn around, and fire a flare round at the gas that was just released. Immediately turn right as the platform rises. As it reaches the top, wall-scramble up to the next level (7).
- Yaaxil attack as you descend the right path. Quickly detonate the gas to eliminate the two enemies and scale the craggy surface (C). Snip the rope on the left, run to the end of the path, and destroy the barricade (8).
- Hop across the nearby platform, swing on the metal hook, and stop at the second platform. Turn around and hit the gas with a flare round. This drops your platform to a lower level. Hop over to the ground and fight off the Yaaxil warriors and archers that show up. Use the explosive cauldrons to eliminate nearby foes. One archer shoots from the upper level, so don’t let your guard down.
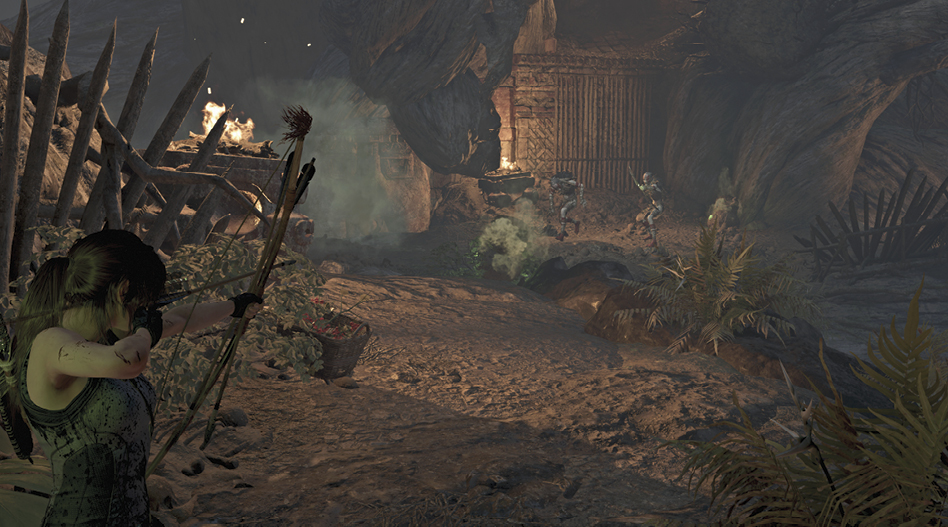
- Climb the wall and move right to return to the earlier path. Follow it all the way around to the right. Jump off the wood ramp (D) and tightrope across the bridge created by the two platforms. Interact with the stele (10) on the left to complete the tomb and earn a new Skill.
Exit the Tomb
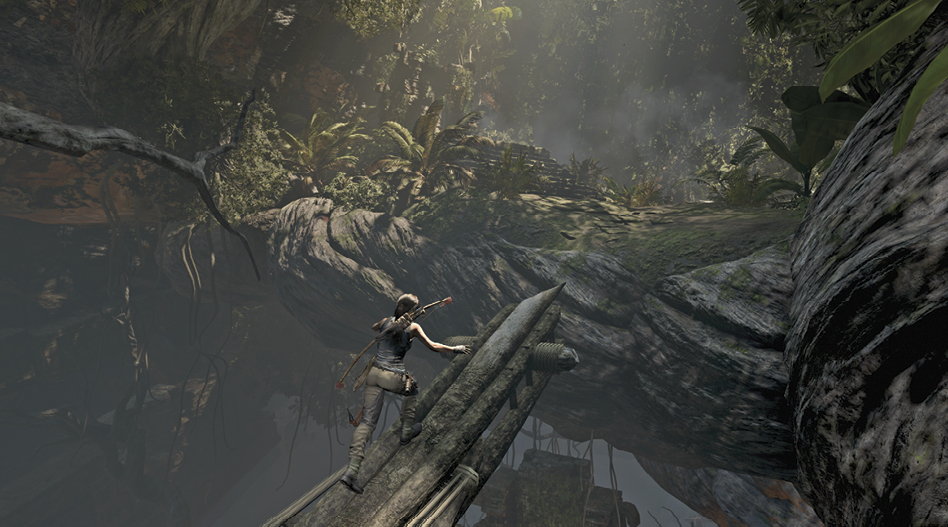
- At the wood ramp (E) on the right, tether a rope to a point on a tree down to the right and slide down. At the end of the left trail, hop over to the craggy surface (F) and rappel down. Tether another rope between the rope coil ahead and another in the distance. This takes you back to the exit mentioned earlier.
- Follow the root along the right trail, wall-scramble up to the next ledge, and climb the ladder ahead. Slide (9) down to the distant path. Scramble and climb to the narrow ledge (G), then jump left to a climbable cliff face. Scale up to a shelf and shimmy right around the corner. Leap right to another craggy surface, then transfer to the overhang. Press Up and jump to a pathway above (G).
- Jump and scramble up two more ledges, and walk across the roots. Leap to the climbable wall and move left to the far end. Jump left and use your climbing axe to bust through the weak wall (10) to return to the Mountain Catacombs Base Camp.
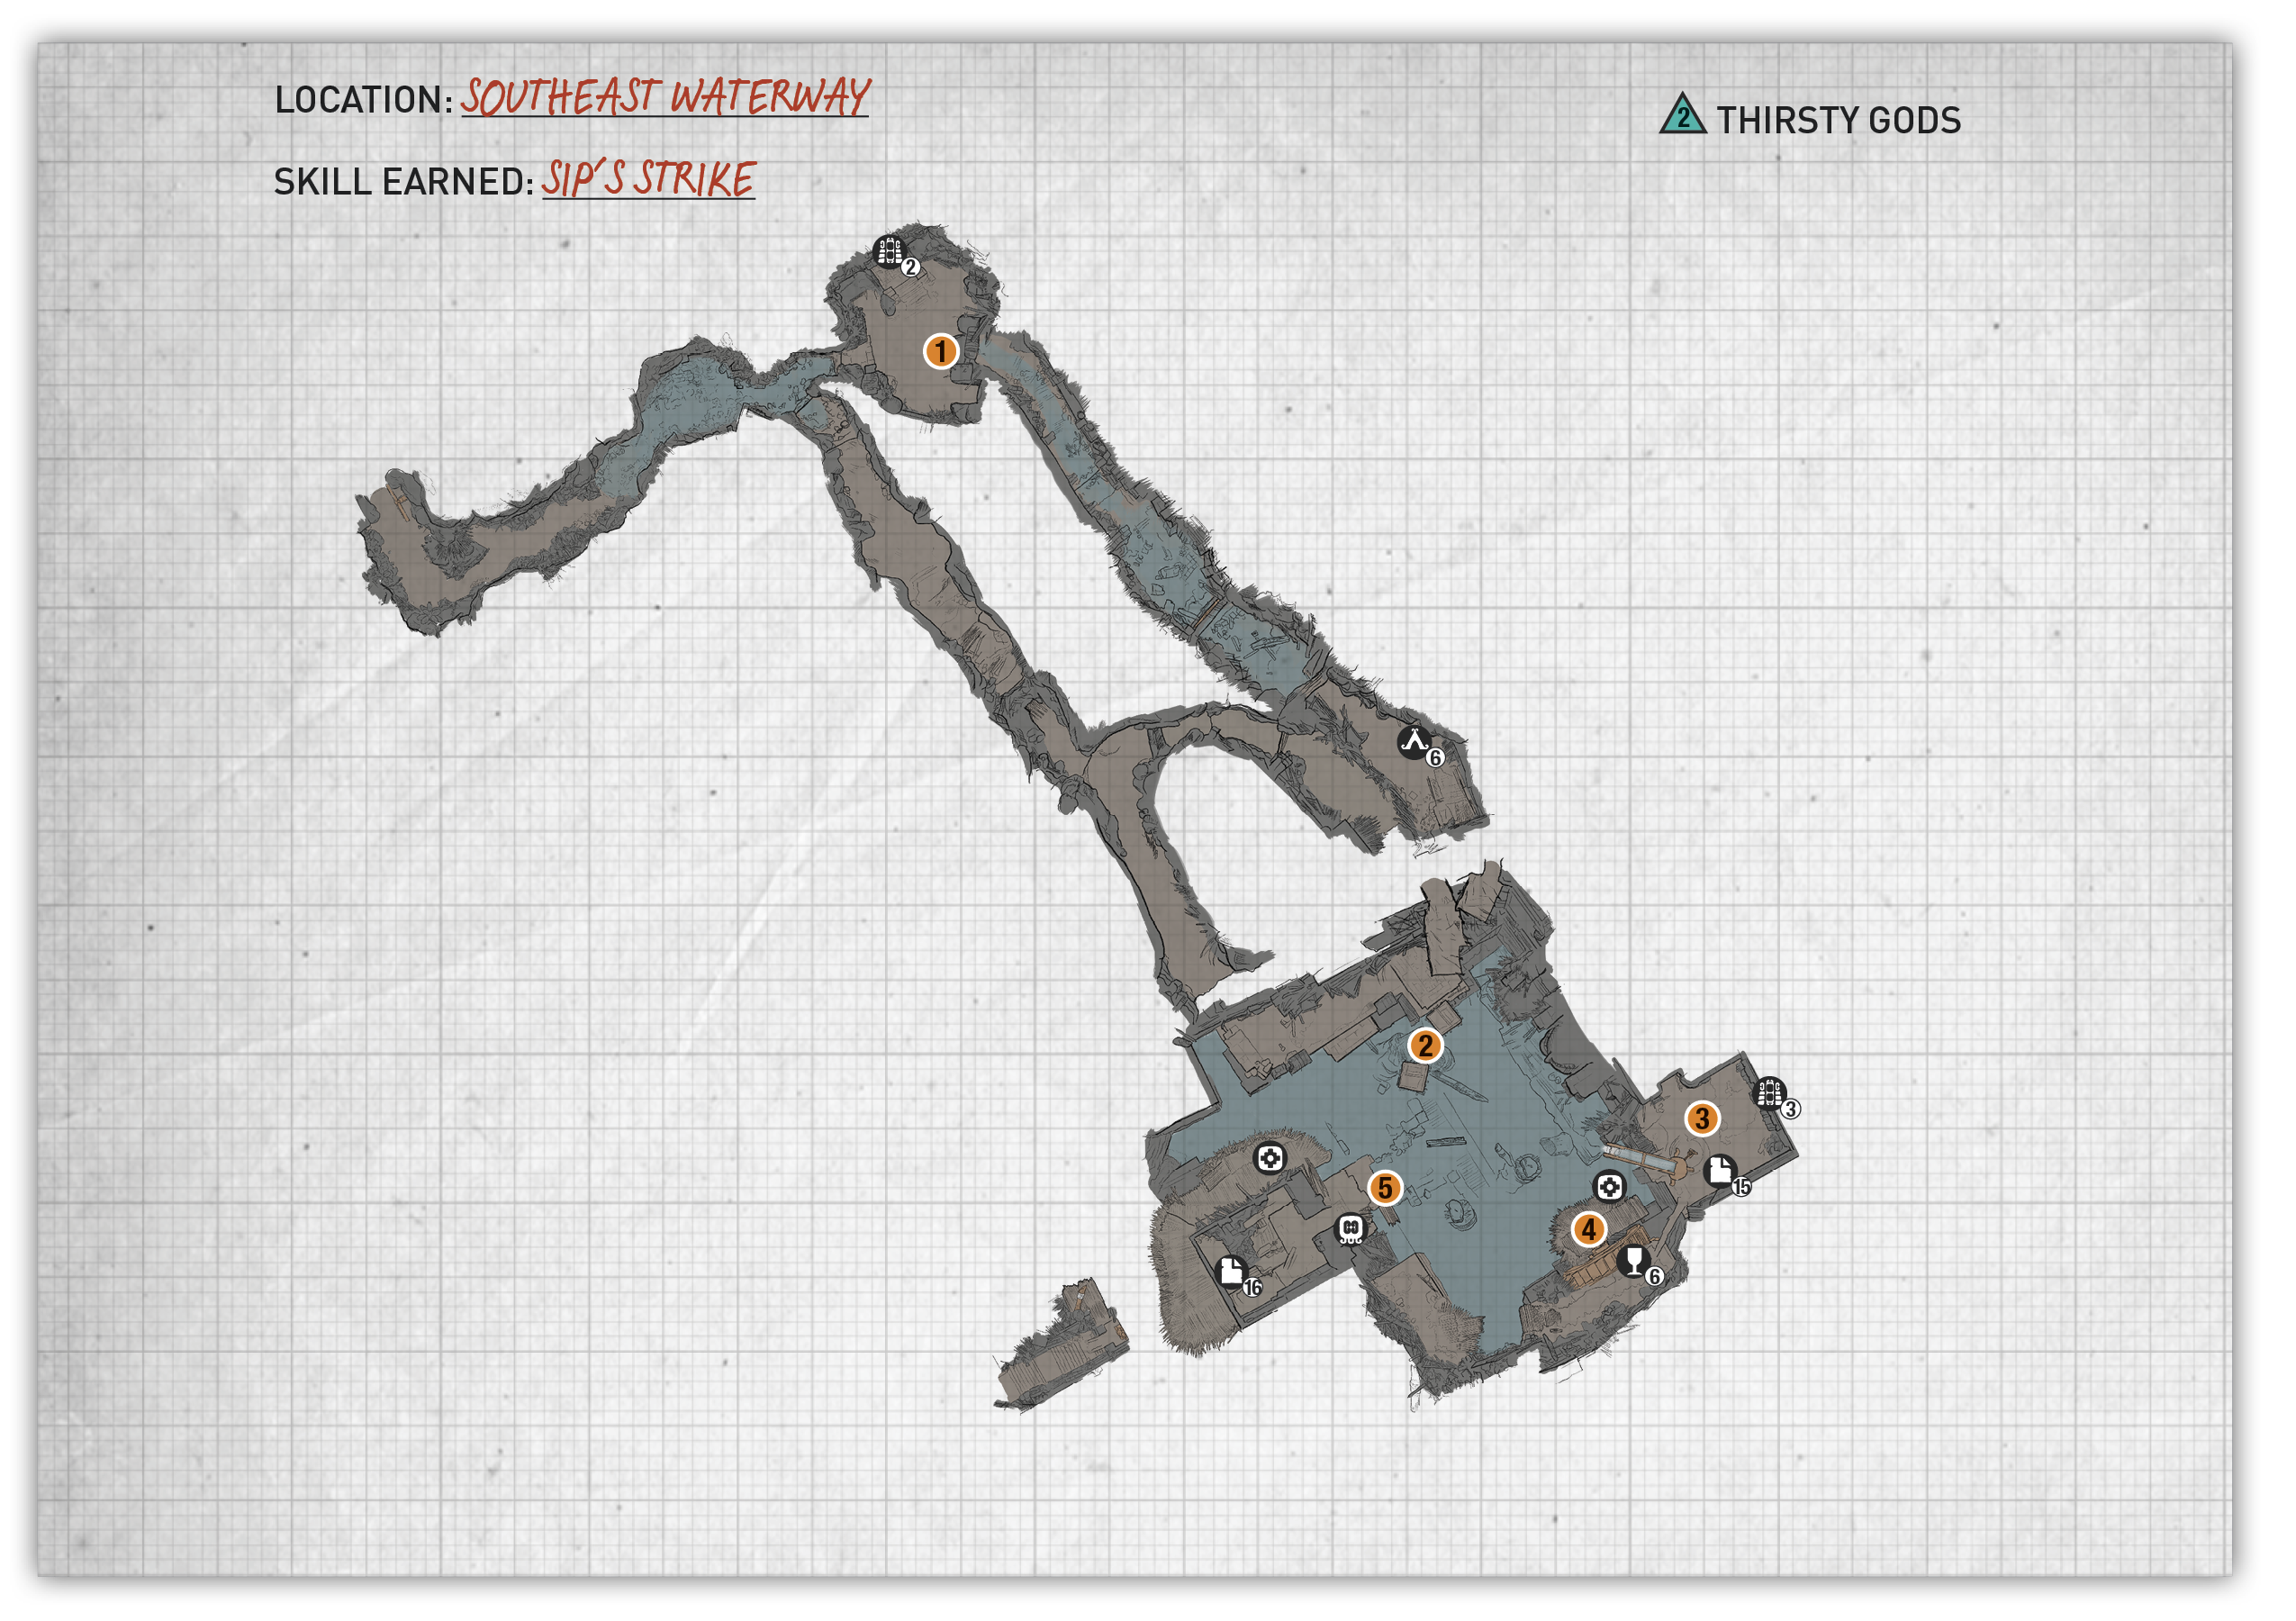
Location: Southeast Waterway
Access the Tomb
Find the waterway southeast of the mission and dive in. Watch out for the moray eel as you swim to the south side. Run through the valley, watching for a tripwire just after the mud begins. Continue to follow the floodwaters until you’re swimming, then dive underwater.
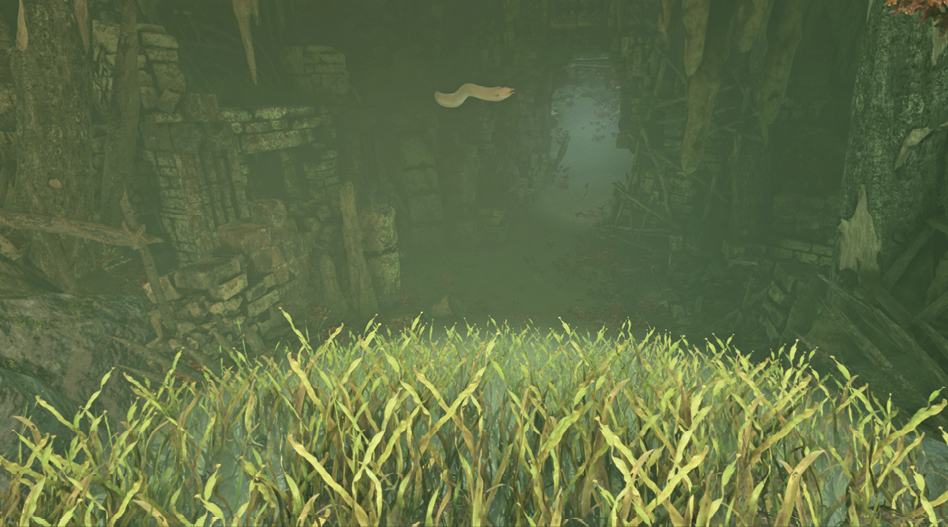
Surface when you see the light above, then scramble up the wall. Dive into the water and swim to the stone floor on the left. Search the platform before aiming your bow at a rope coil on the far wall. Pull the barrier down to drain the water. Wade through the large skull (1).
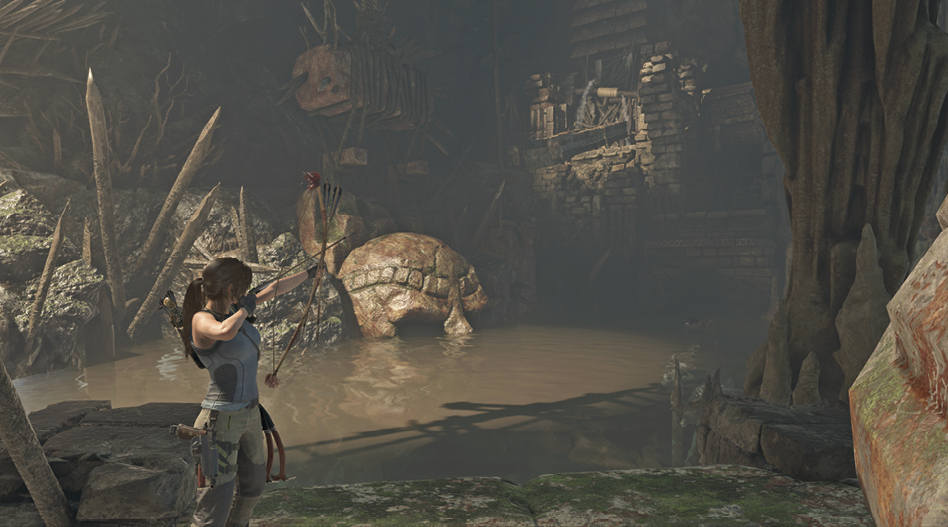
The Tomb Base Camp
Slide downhill, dodging right to avoid the wood spikes. Dive underwater and squeeze through the crack in the far wall. Dive and spot the raft tied to the floor. Cut the rope and climb onto the raft once it’s flattened out. Wall-scramble up to the pathway, which leads to the Flood Basin Base Camp. Scramble and climb up the wood rods, then crouch through the tunnel.
Open the Gate
The stele sits high on the tower ahead, but the underwater gate is shut tight. The water below is full of schools of piranhas, so be careful as you swim. Always fast-swim, and know where the nearest raft is located, in case you must escape the water in a hurry.
Dive into the water and immediately climb onto the nearest raft (2). Fast-swim toward the rope-wrapped anchor connected to the gate. Dive underwater and enter a hole in the wall just left of the gate to find a rope tied to a raft. Cut the rope, then climb onto the raft. Hop onto the walkway on the left and follow it all the way around to the back of the cavern.
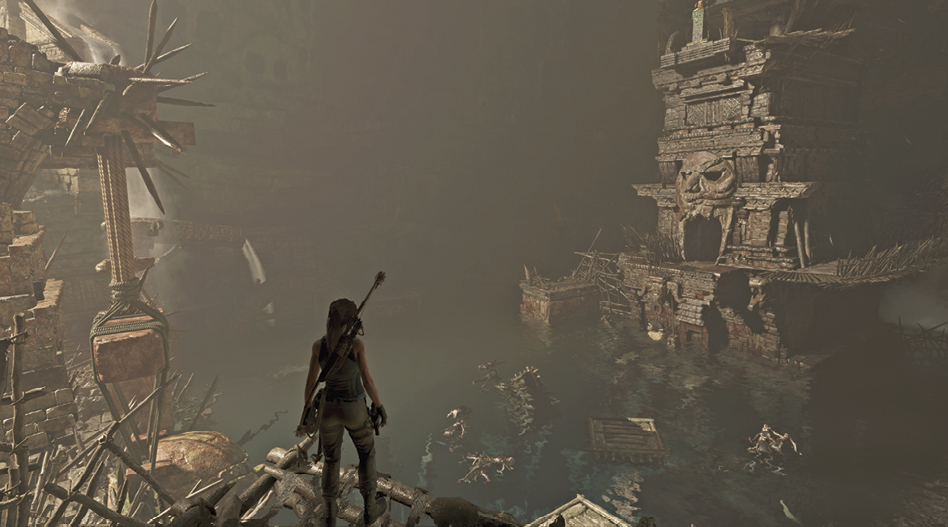
A circular lever (3) rotates the headrace that supplies water into the cavern. On the right, a bucket hangs from the ceiling. On the left, a waterwheel sits motionless.
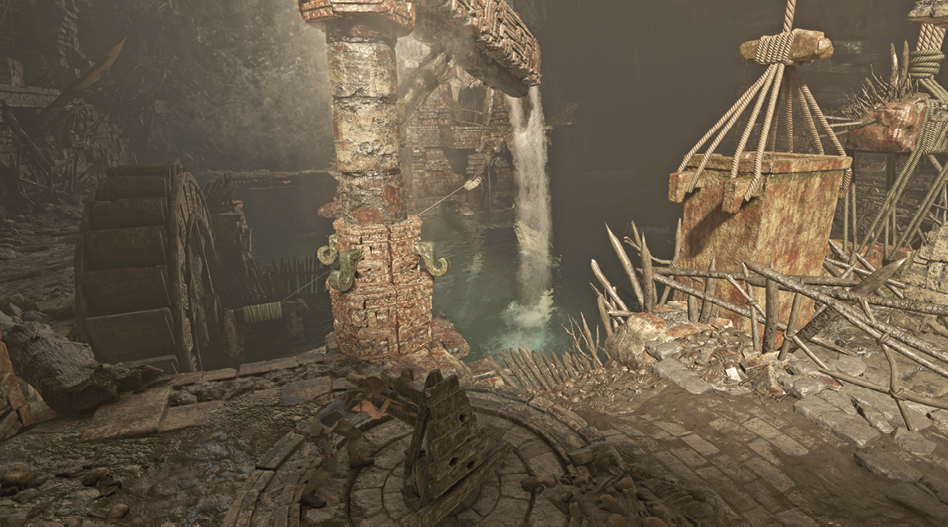
- Push the lever clockwise to move the headrace to the right. Line it up over the square bucket, and the water level lowers.
- Hop down left of the headrace pillar and approach the rope coil (4) as it’s exposed by the lowering water. Tether a rope between it and the rope-wrapped anchor (5). Wall-scramble back up to the lever.
- Pull the lever counterclockwise until the water starts to turn the waterwheel. Wait for the gate to be fully lifted, then push the lever so the water no longer falls on the wheel. If you let the wheel turn for too long, the rope snaps.
Climb the Tower
Follow the walkway back around and jump over to the gate. Dive through the entrance. Scramble up the inner wall and follow the pathway around the outside of the tower. On the backside, wall-scramble and climb the steps to reach the stele.
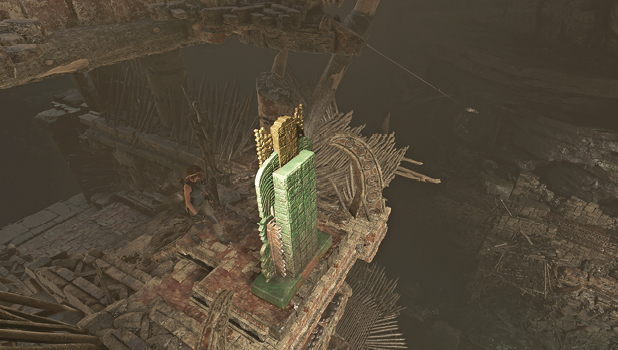
Exit the Tomb
Follow the walkway to the left and ride the zipline down as it drops you into a downward slide. Scramble up the wall, jump the gap, and continue along the trail until Lara slides down another hill and falls back into the water. Dive underwater and fast-swim through the underwater cave. Attempt to avoid the moray eel, but if you get caught in its grasp, rapidly tap the Interact button to escape. Continue forward until you can surface after the same large skull you entered earlier.