
Shadow of the Tomb Raider Guide The Journey Chapter 6: Return to Hidden City
Return to Hidden City - Challenge Tombs
Location: Just Outside Temple of Kukulkan
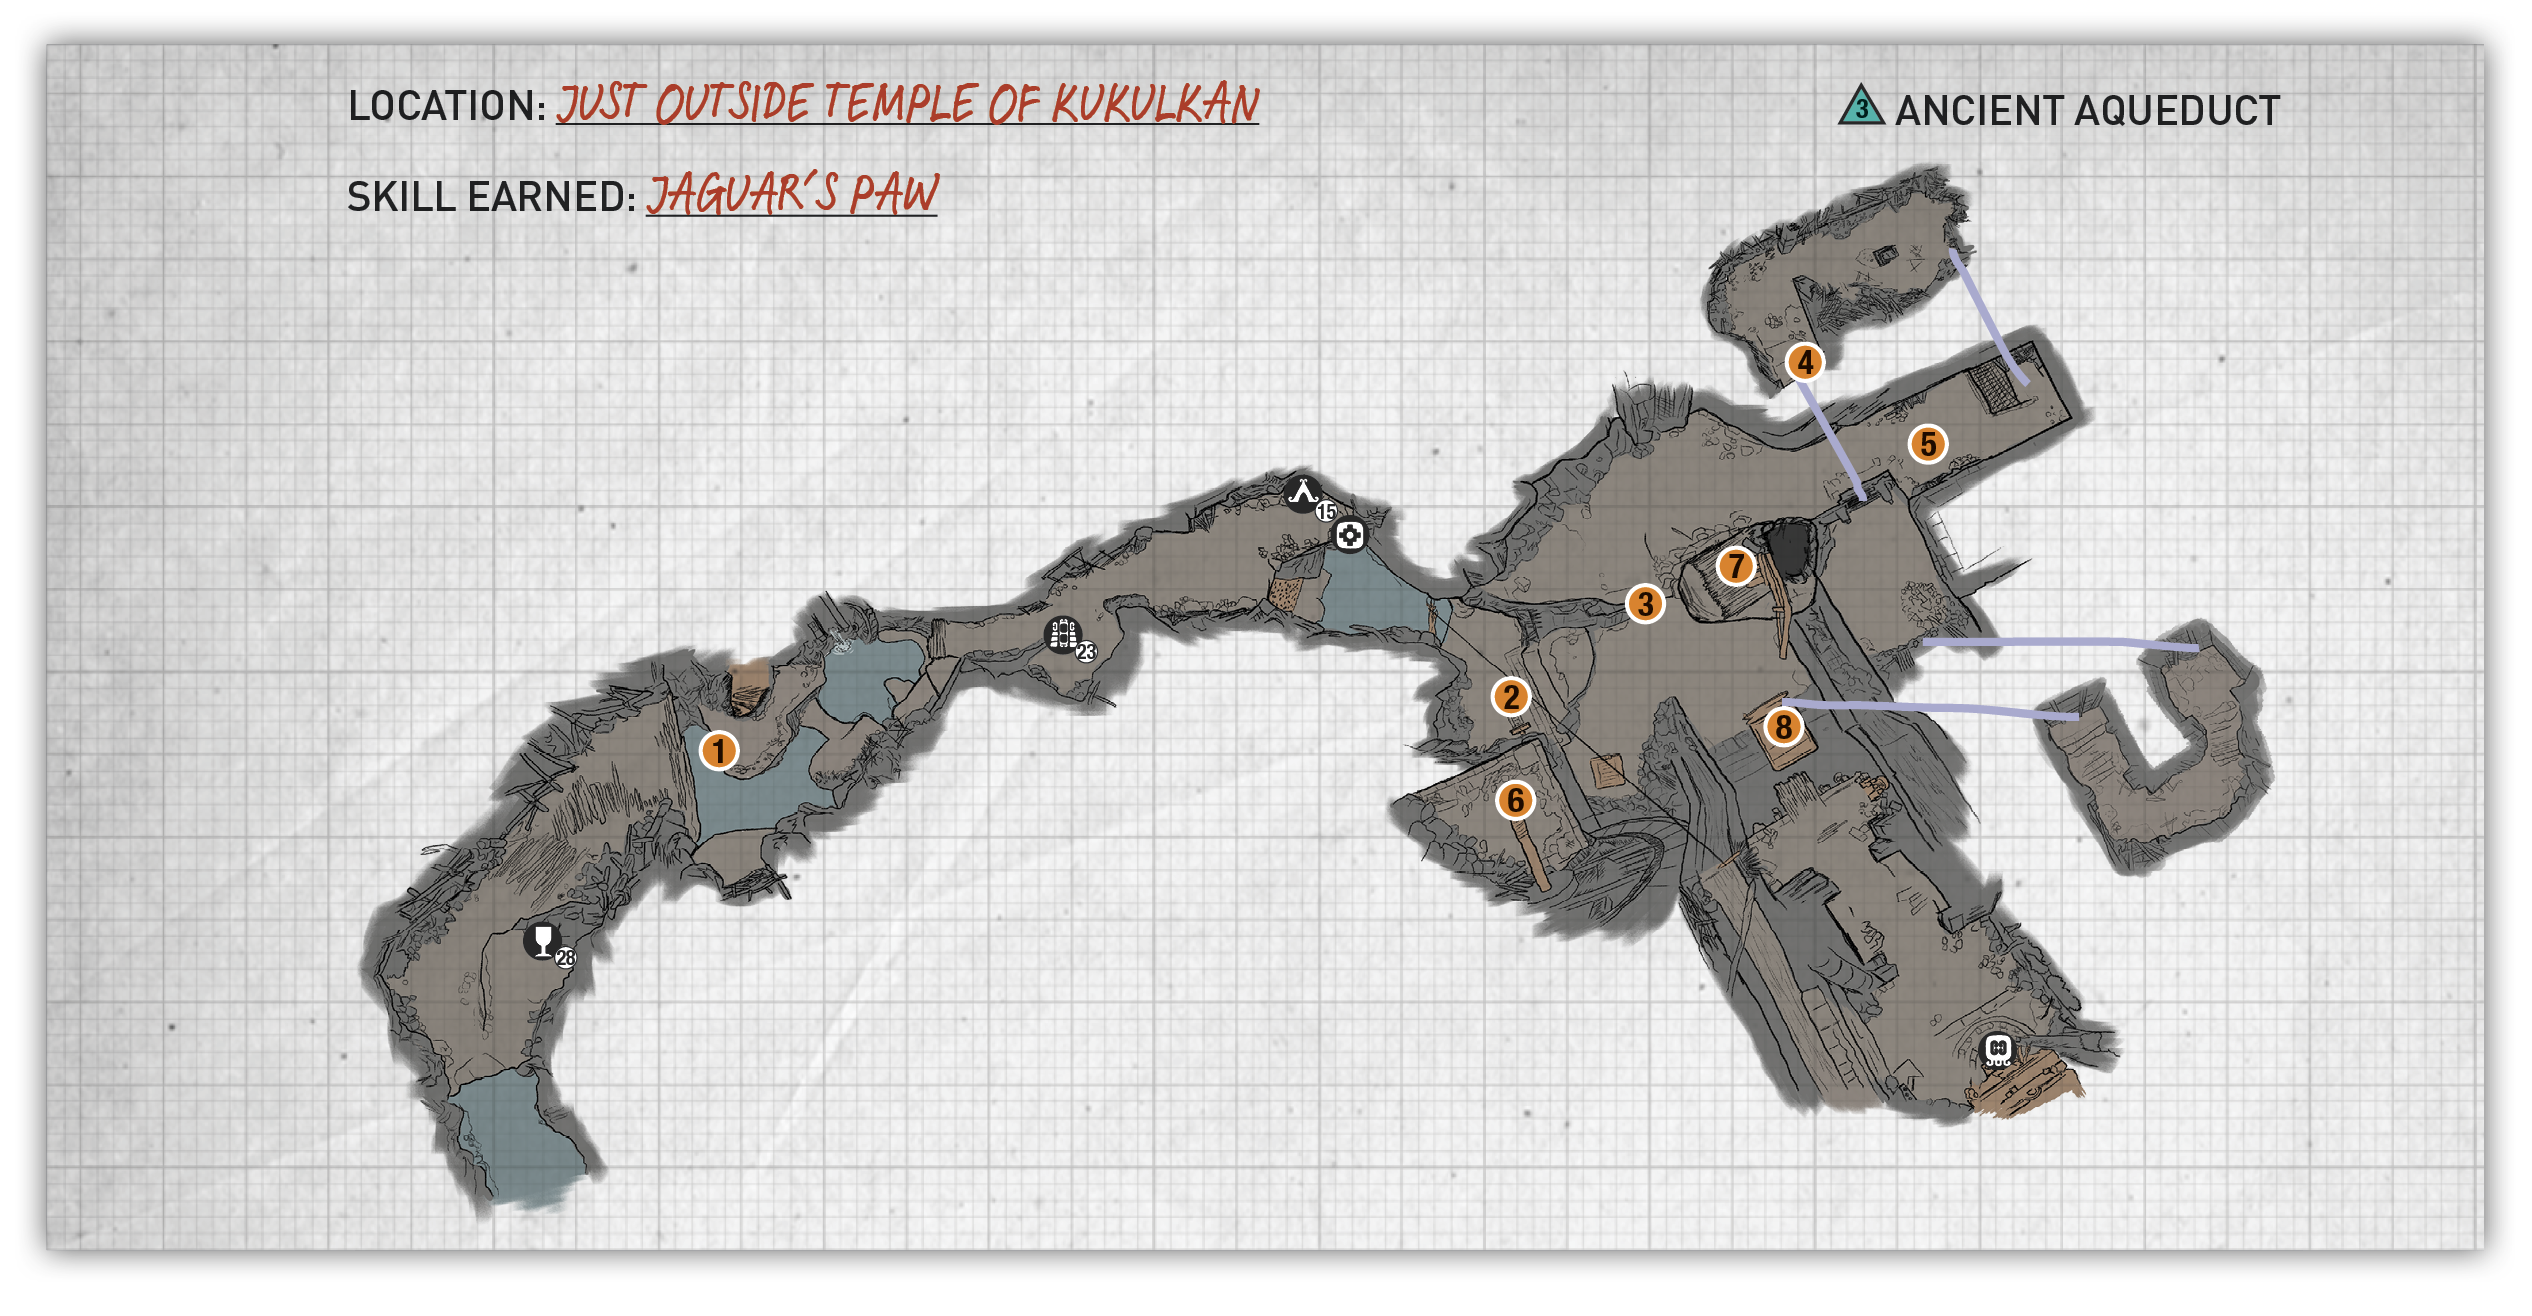
Access the Tomb
After exiting the Temple of Kukulkan, you run into a couple guards who block access to the bridge that leads directly to the prison. Drop off the left cliff edge and enter the cave. Dive underwater and follow the long tunnel. Surface when you see the light refracting through the water. There are two air pockets available in case you’re unable to make the distance.
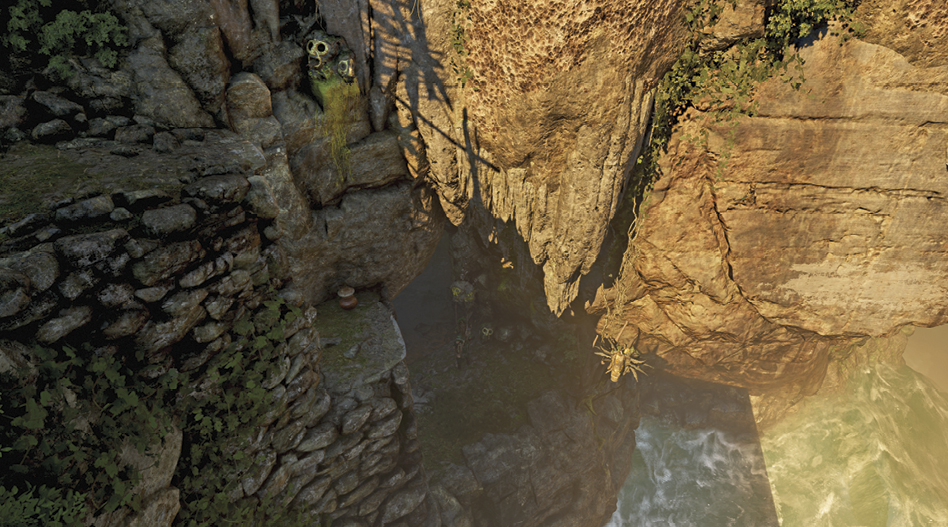
The Tomb Base Camp
Climb the wall and run up the trail into a large cavern (1), keeping an eye out for valuables as you explore the tomb. Drop all the way down to the lower ground, move along the right side, and hop over the water. Climb the ledges on the right, then follow the trail to the Subterranean River Base Camp.
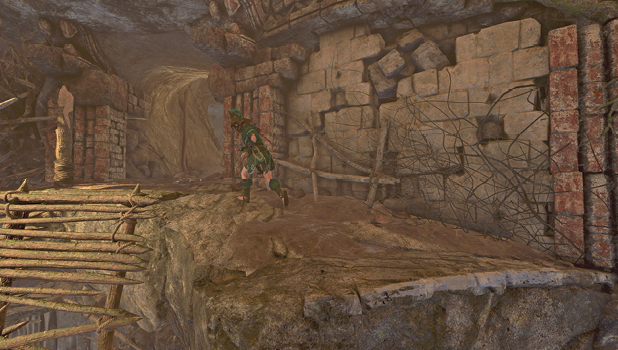
Reach the Stele at the Top of the Aqueduct
Jump off the ledge into the water and enter the large cavern to find a working Maya aqueduct. The pull mechanism (2) just ahead fills the chamber with water, while a lever (3) on the back wall causes the water to empty. The goal is to reach a stele that sits in a room at the top of the aqueduct. It’s accessible from the platform that hangs in the middle of the cavern, but you need to raise the water high enough to access it.
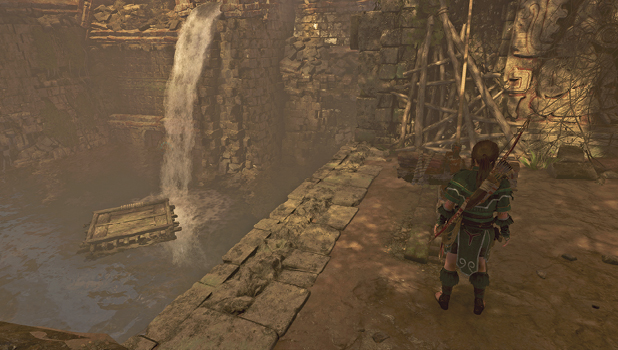
- First, hop down and kick the raft toward the middle of the room. Stand on the raft and tether a rope between the rope on the raft and another coil at the base of a gate on the right wall. Climb back up to the pull mechanism (2), and pull it all the way back. Water rushes in, causing the raft to rise and open the gate.
- Swim through the gate, grab a breath at the trapped air, and destroy the pry barrier at the other end of the tunnel. Swim to the far wall and pry the lever open to drain the water.
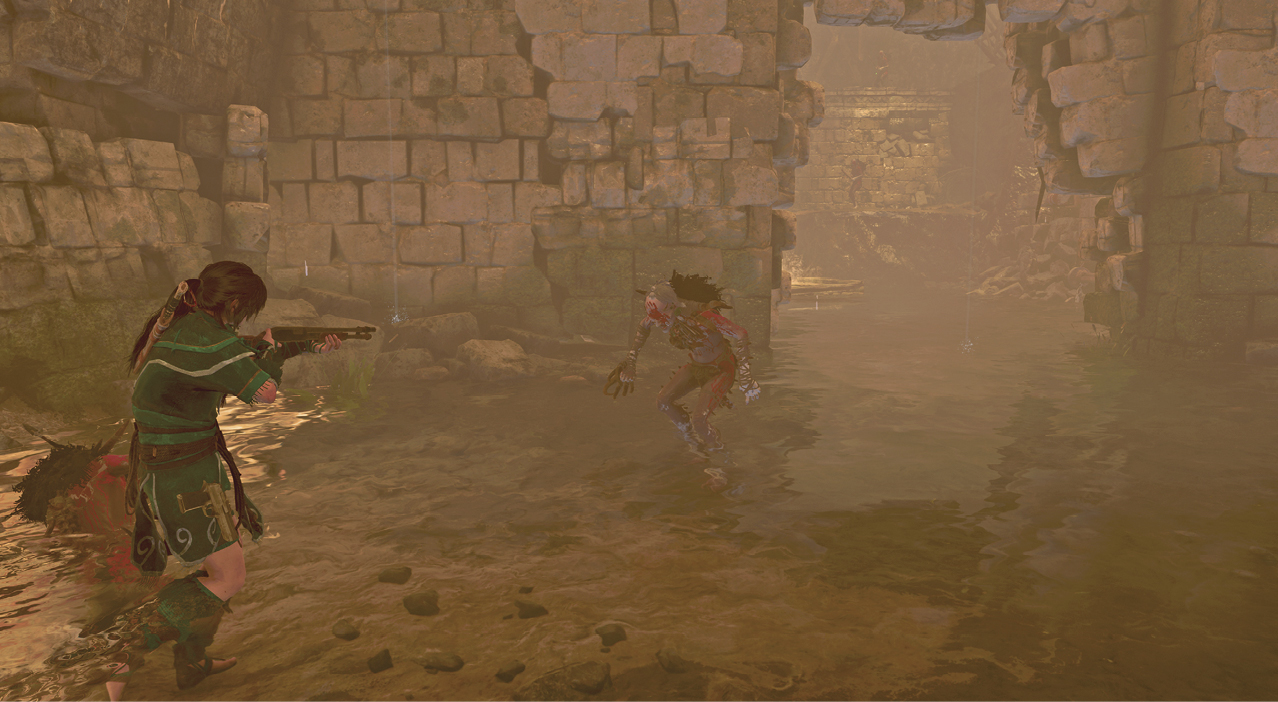
- Rope-pull the boards down that block access to the first chamber. Two Yaaxil warriors charge you, while two archers fire from the other side of the cavern. Step to the left, out of the archers’ view, and take out the two melee fighters as they approach. Next, pick off the archers with a long-range weapon.
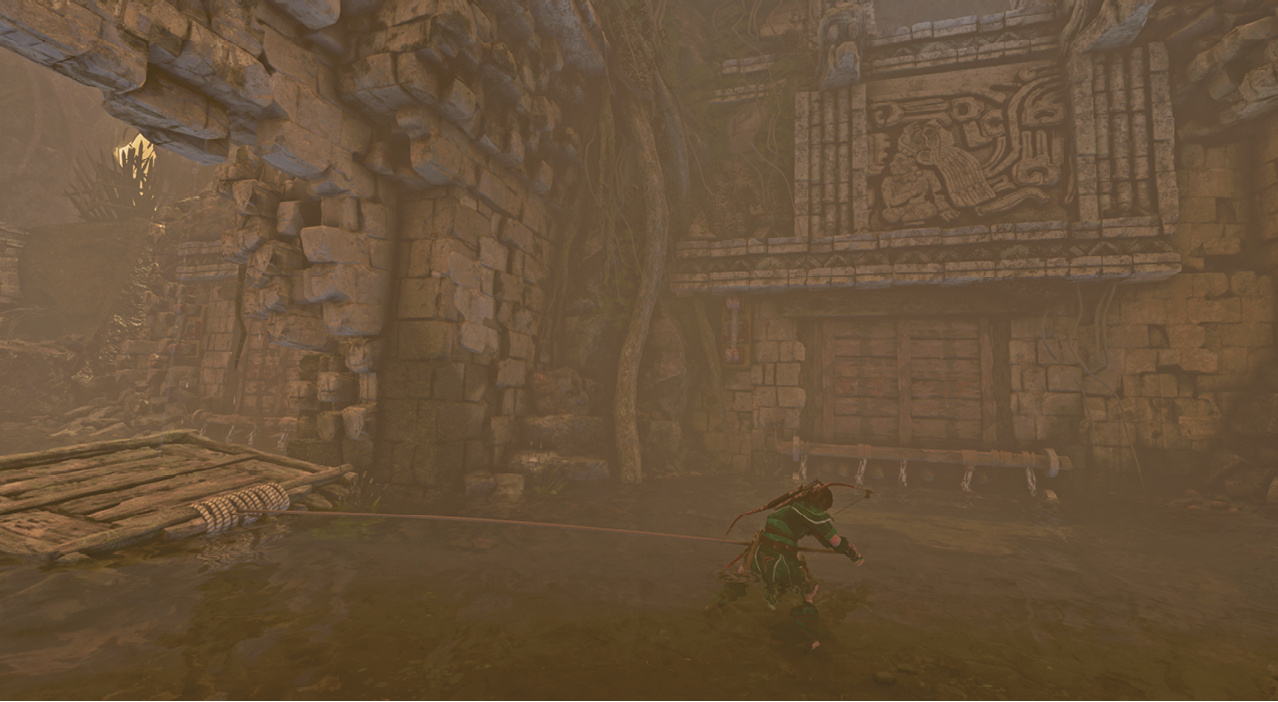
- Rope-pull the raft from the first chamber into the second. Return to the pull mechanism (2), and use it to fill the rooms with water. Climb onto the raft and jump over to the opening (4).
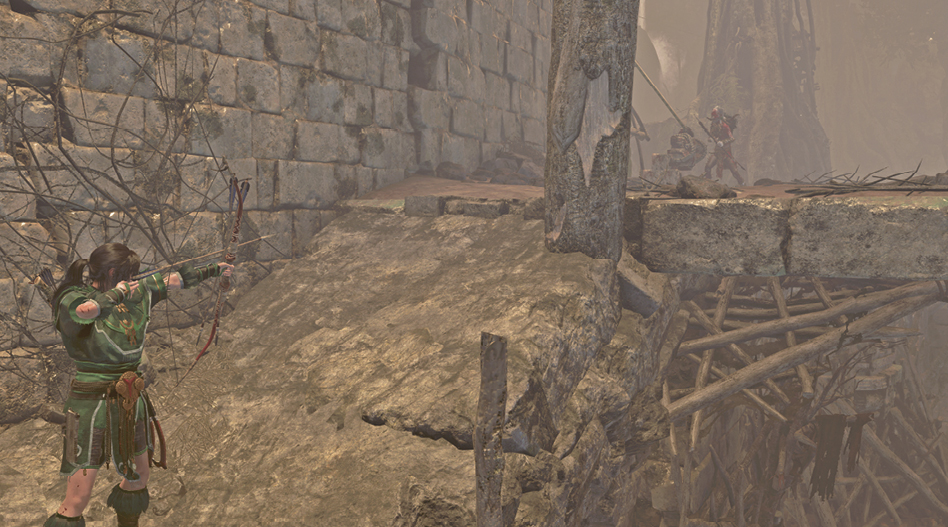
- The corridor leads around to the right, where two more Yaaxil warriors attack. After a few moments, another warrior and archer bust through the barrier. Pull the warriors around the wall and dispose of them, then take down the archer from the corner. Climb up the far side and cautiously walk up the ramp to find another archer and two warriors.
- With the Yaaxil out of the way, pull another mechanism (5) on the left wall to pour more water into the chamber. Hop onto the raft as it drifts around the central island; give it a pull if it doesn’t move past the corner. Once you’re able to aim your bow at the rope wrapped around the waterwheel shaft, tether a rope between the shaft and raft.
- This takes you over to the shaft (6), where you can climb onto the platform. Find the rope-wrapped disk connected to the central platform (6) by a pulley system, and tether a rope between the shaft and disk. This pulls the central platform up, but also attracts a pair of archers. Quickly take them down.
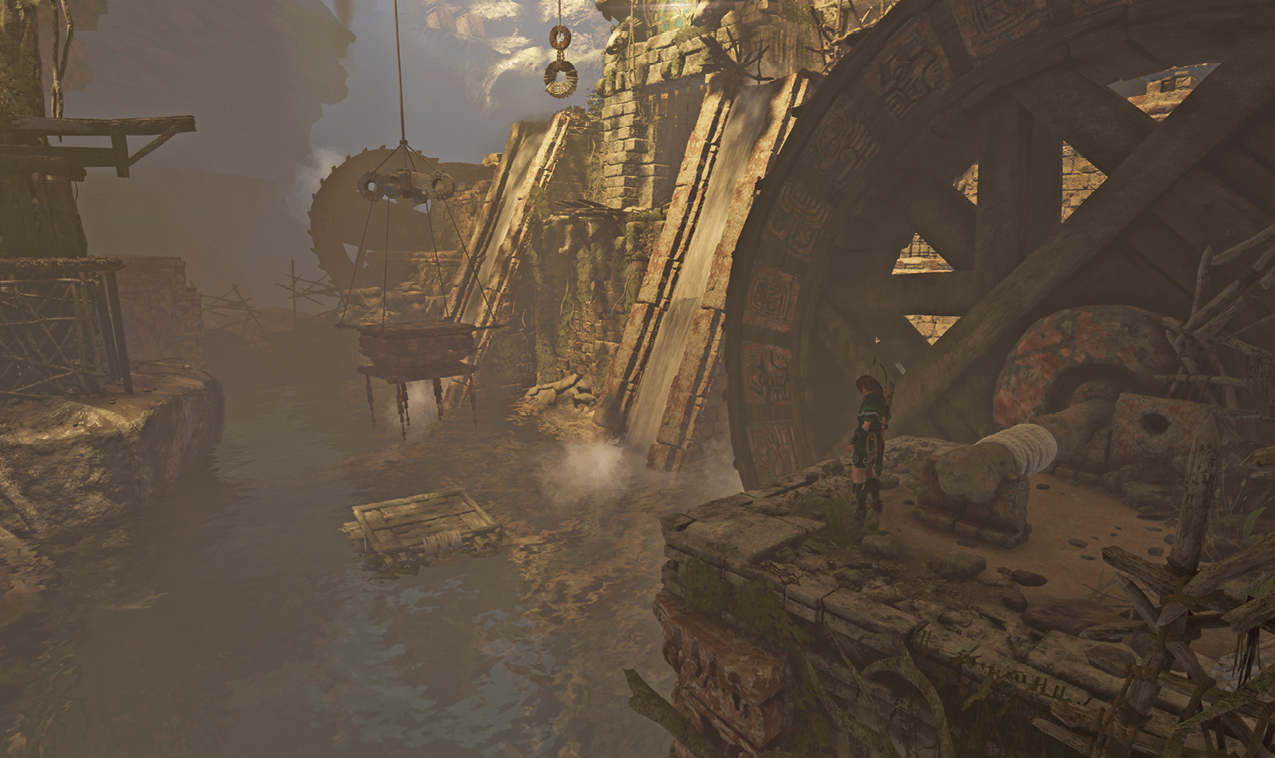
- By this time, the raft may be drifting too far away and the platform has lowered, so bring the raft back your way by tethering a rope to it. Once it’s close, tether another rope between the shaft and disk.
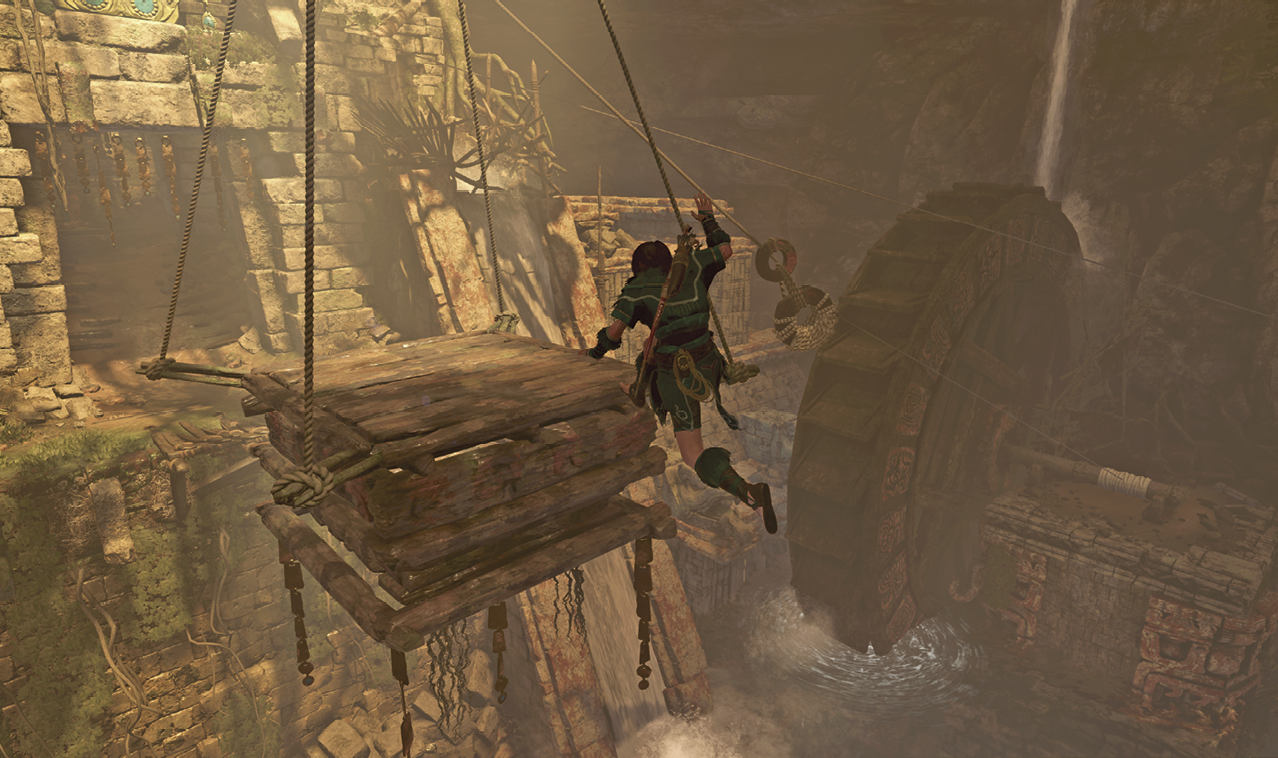
- Board the raft and jump onto the island (7) as you get close. Scramble up the two wood walls, shimmy along the beam to the right, and climb on. Immediately leap over to the central platform and on over to the other side before it lowers again. Learn a new Skill at the stele ahead.
Exit the Tomb
Follow the water channel on the right side of the room back to a zipline. This splashes you into the water next to the Base Camp. Exit the tomb through the same path you entered. If you’ve returned to this tomb at a later point in the game, you can fast-travel to another camp.