
Disney Epic Mickey 2: The Power of Two Guide Walkthrough Episode 2
Train Tunnels
EXPLORING THE TRAIN TUNNELS
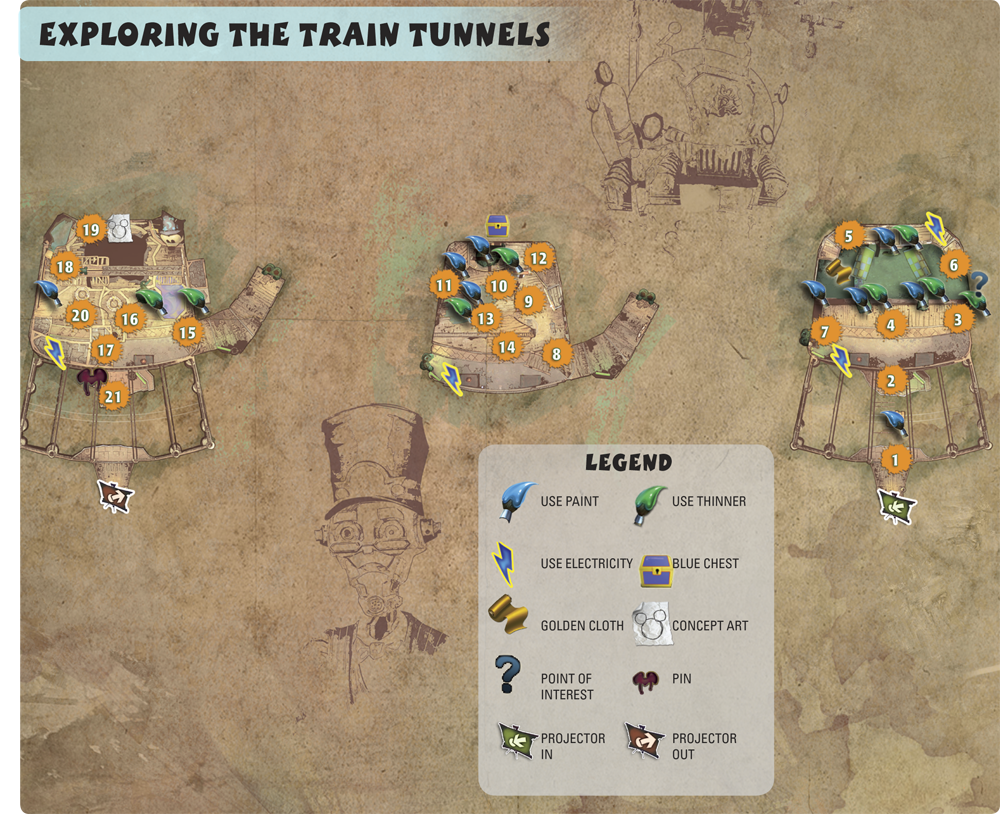
LEVEL OVERVIEW
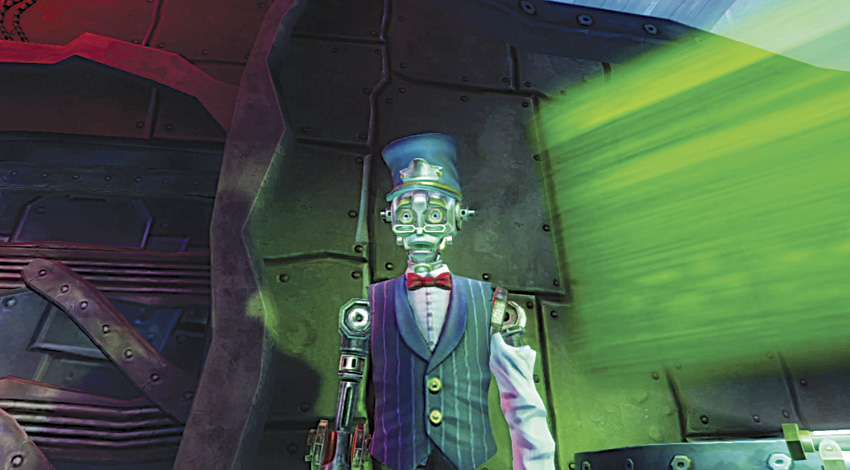
The Train Tunnels are home to three dioramas built by Prescott to celebrate your past accomplishments in the Wasteland. You arrive to find the dioramas falling apart and in need of repair. An Animatronic called the Automatic Branch Engineer, or ABE, oversees the operations in this area and needs your help. You can choose to repair the broken dioramas or disable them to open up the way forward.
LEVEL BREAKDOWN
Challenges
- Tryptic
- Collectibles
- Concept Art 36
- Golden Cloth
- Gold Pin
- Knight Greaves
Enemies
- Blotworx Shocker
- Hoppers
- Spatters
- Spinners
Quests
- The Bunny Wranglers (visit 2)
- The Encyclopaedia Wastelandica
- Finding the Hidden Heroes
- Operation Gremlin Drop
Things to Do
- Talk to ABE to find out what’s been going on
- Decide to repair or disable the dioramas
- Rescue the Gremlin
- Get the Golden Cloth
- Take pictures at the Picture Spots
- Solve the Clock Diorama problems
- Use fireworks to open the secret room with the Knight Greaves
- Solve the Mad Doctor’s Attic Diorama problems
- Solve the Blot Diorama problems
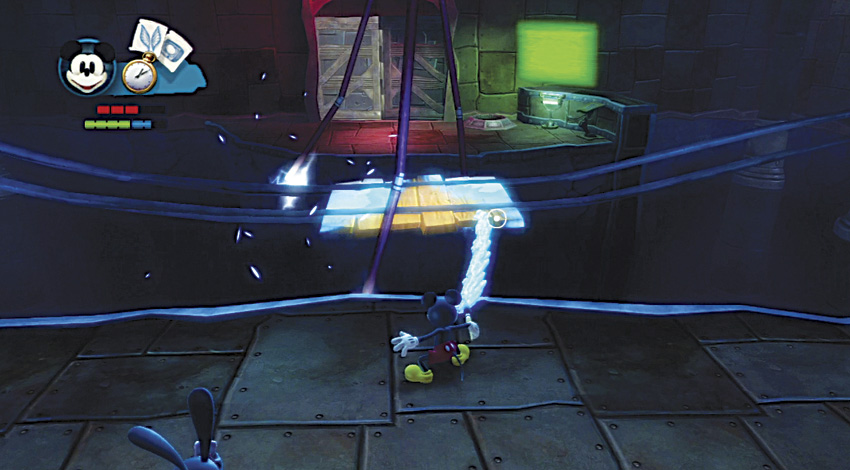
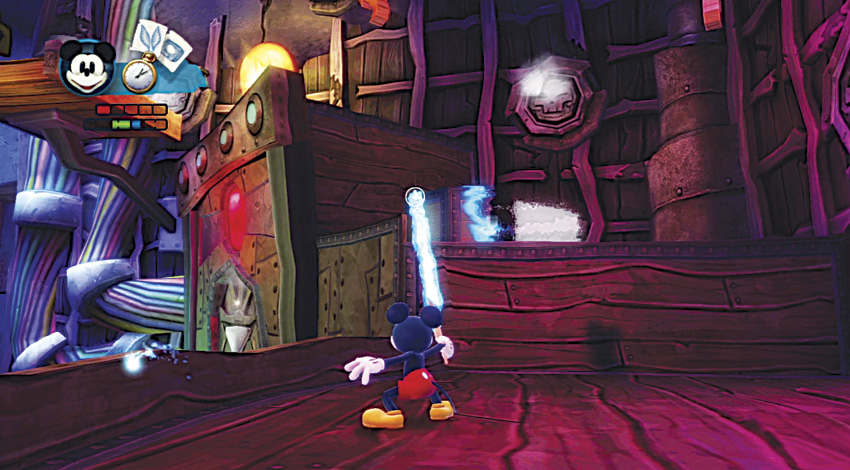
To start out, paint in the wooden platform and jump across in between the loose electrical wires.
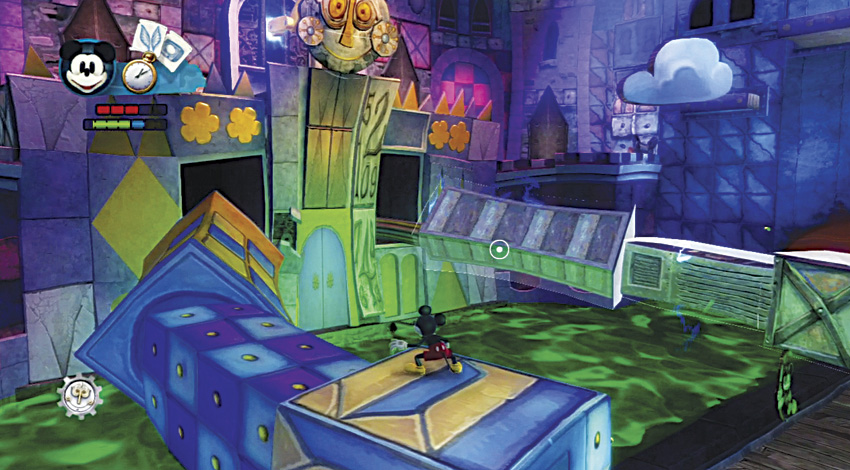
ABE has seen better days and needs your help repairing the broken-down dioramas. The first diorama room is the Clock Diorama.
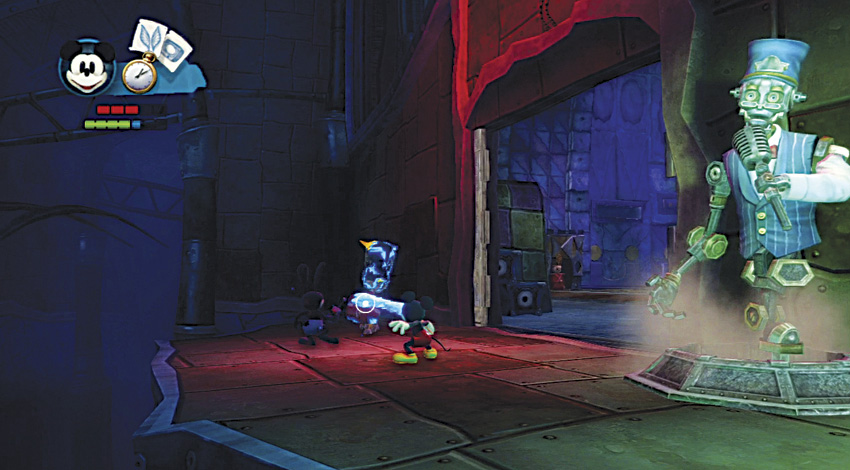
Some Hoppers dressed as toy soldiers attack you at the start. You can push them off the ledge as a quick solution, or you can thin out their toon shell and then either character can Spin Attack them.
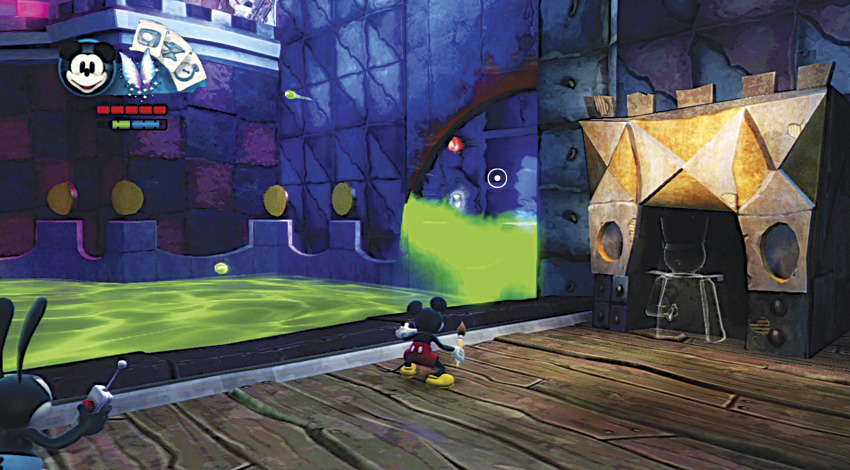
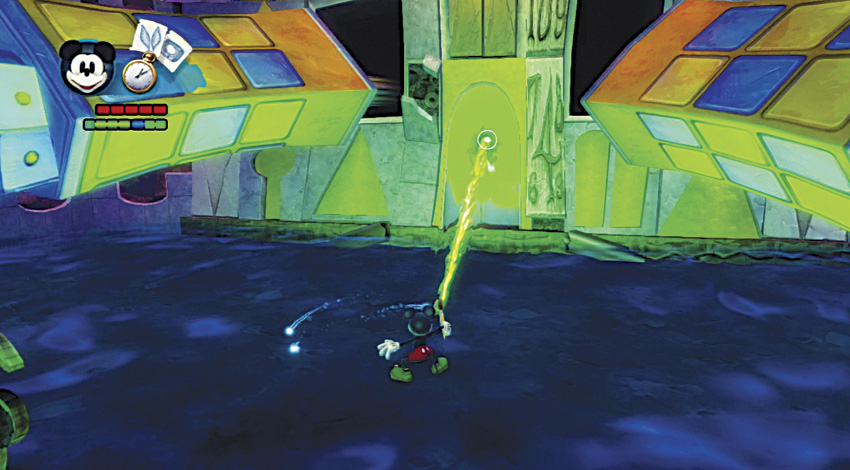
On the right wall of the Clock Diorama, thin out a small patch of toon to reveal a secret room.
OPTIONAL QUEST
OPERATION GREMLIN DROP
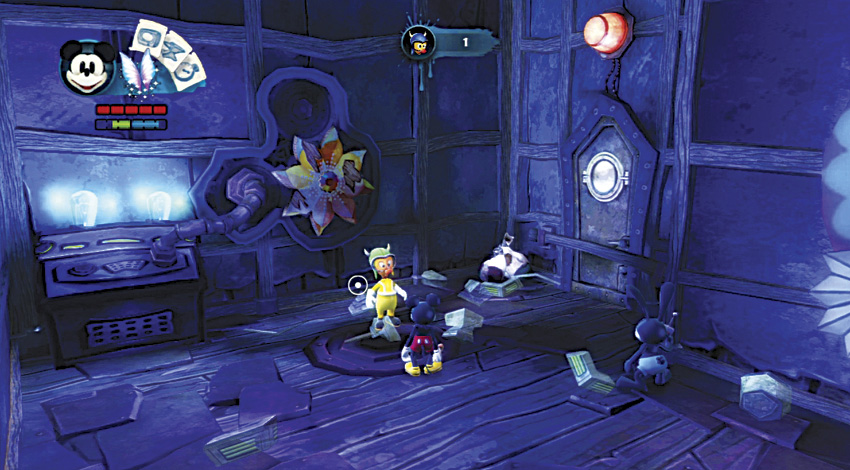
Inside the small secret room is another Gremlin to be rescued. He was here to repair some of the failing dioramas and can lend a hand.
OPTIONAL QUEST
FINDING THE HIDDEN HEROES
You can also find two hidden Mickeys on the walls in the room with the Gremlin. Plus, you can find a hidden Oswald by thinning out the toon wall above the toy soldier box outside this secret room.
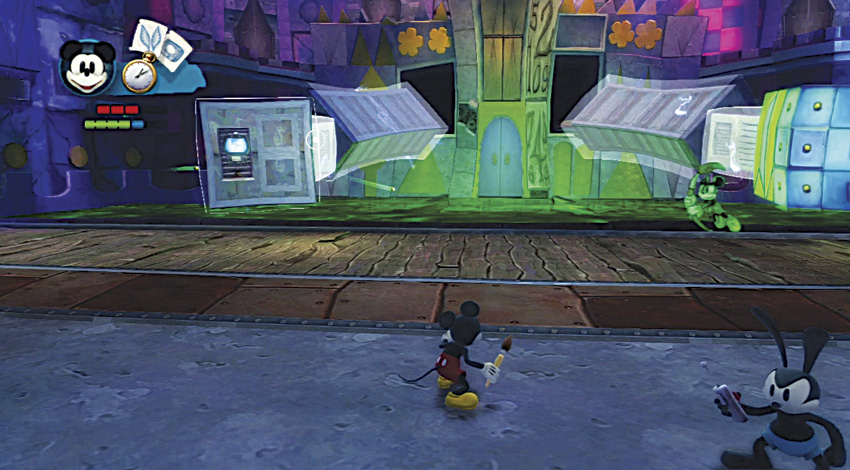
Each of the dioramas has three elements that must be solved by either repairing or disabling it. Whichever method you use for at least two of the three elements determines your path for the diorama. The puzzles for the Clock Diorama are the two malfunctioning arms and the broken clock face above.
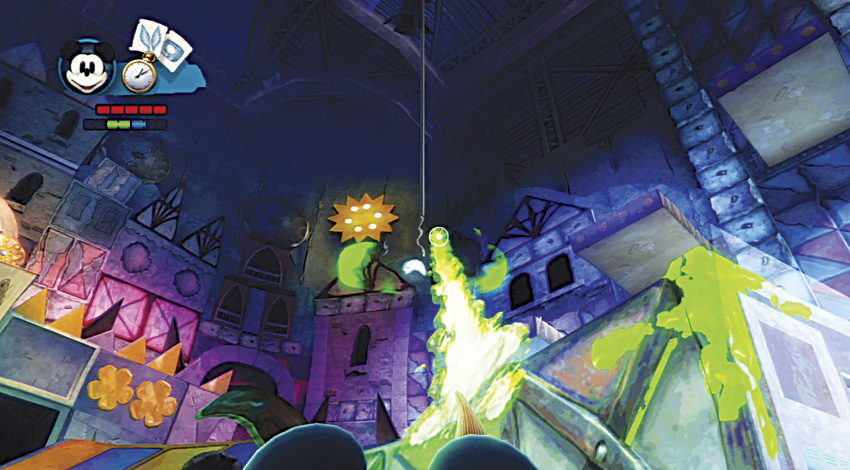
Thin out the cloud floating above the right arm for a hidden silver E-ticket.
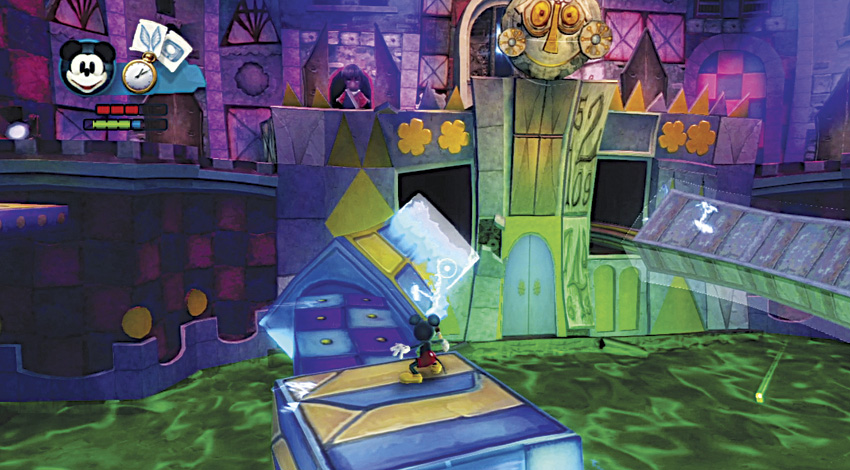
To repair the giant arms, simply paint in the missing portions of toon on the arms.
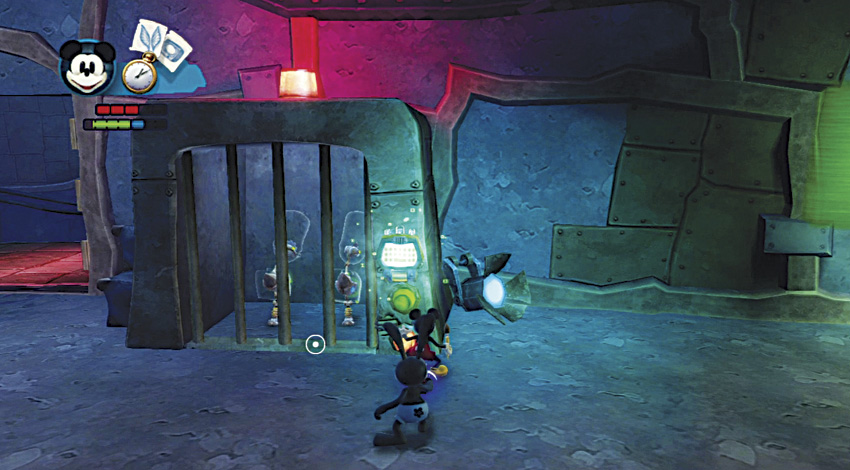
Each room has a cell with Hopper reinforcements that will be released if you try to disable the diorama. If you plan on disabling anything, have Oswald reprogram the cell first so you can dispose of the reinforcements before they come out.
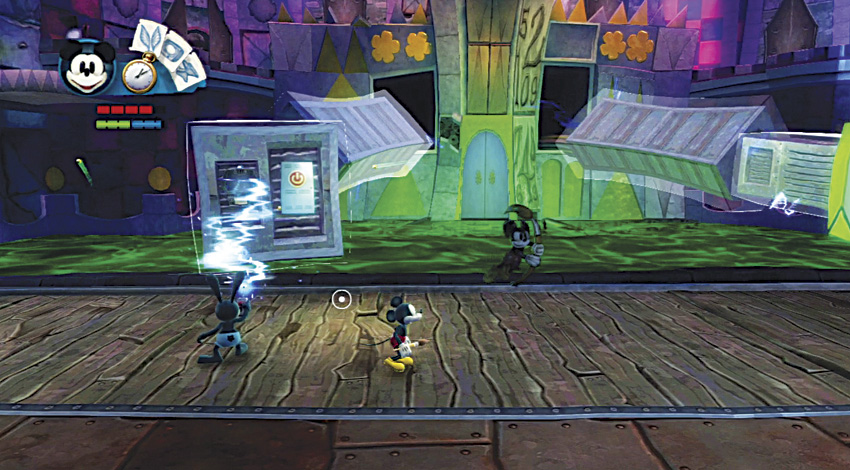
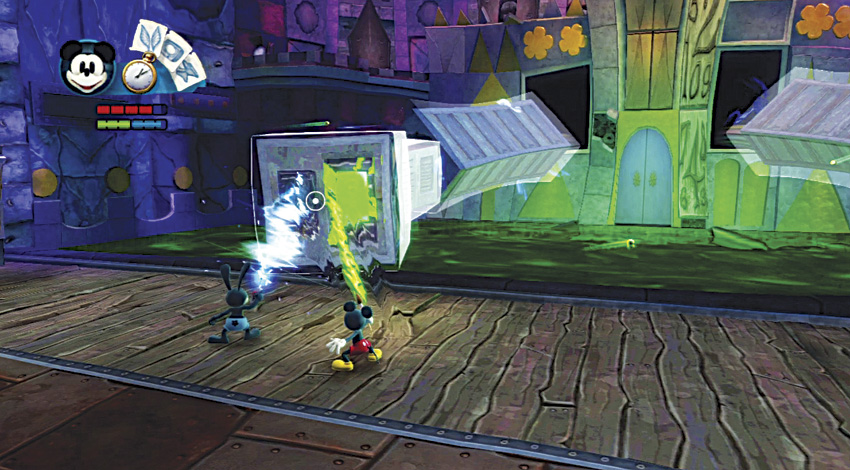
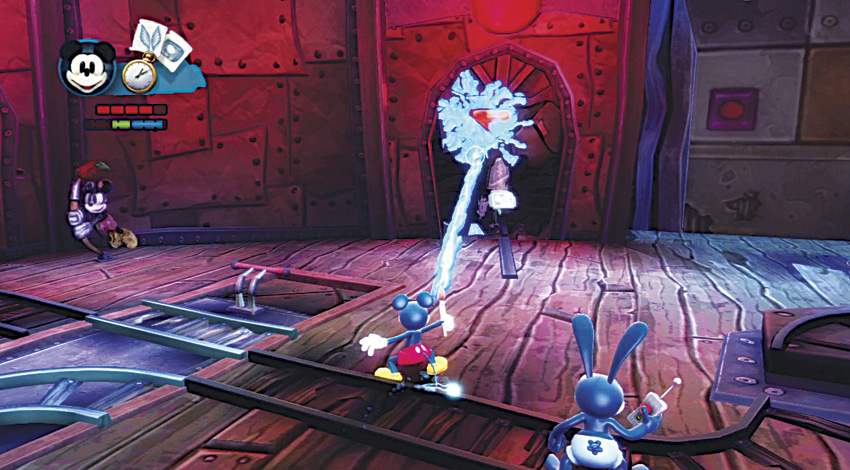
If you want to disable the arms instead, first thin the hands to reveal an electric console. If Oswald shocks the console, he reveals a power box, which allows you to thin it out and disable the arm.
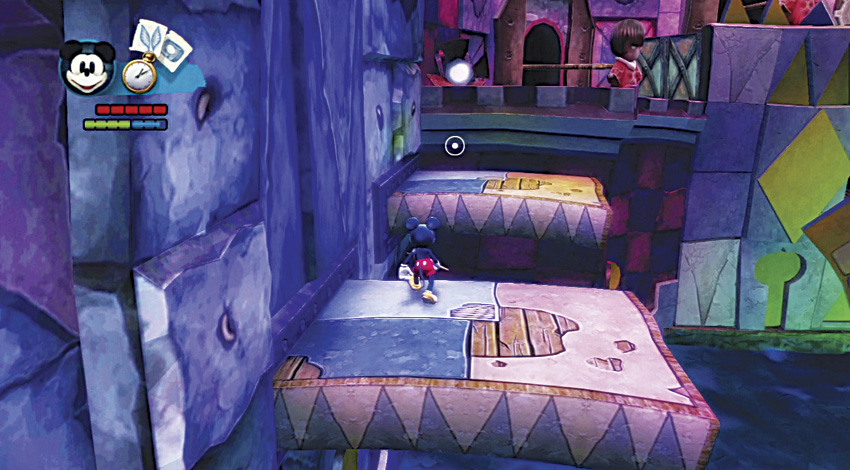
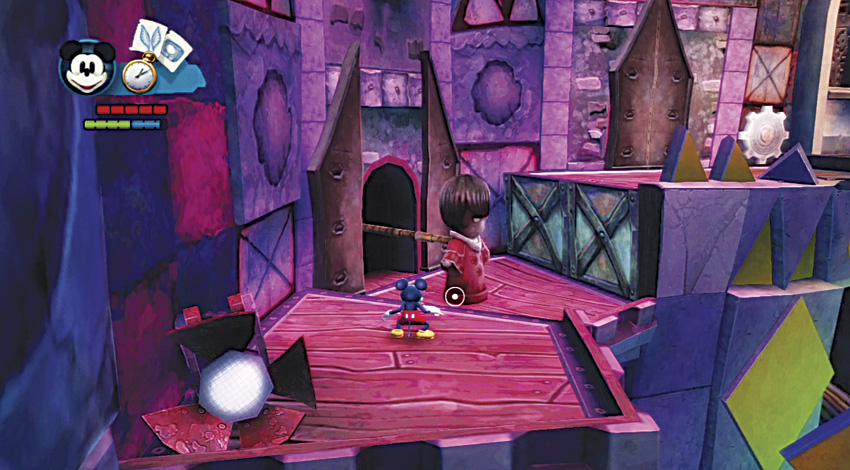
After you have finished with the arms, head over to the left wall and climb on the box with the toy soldier in it. Paint in the first moving platform and then jump up to castle wall. Make your way up to the clock while avoiding the figures that pop out of the walls.
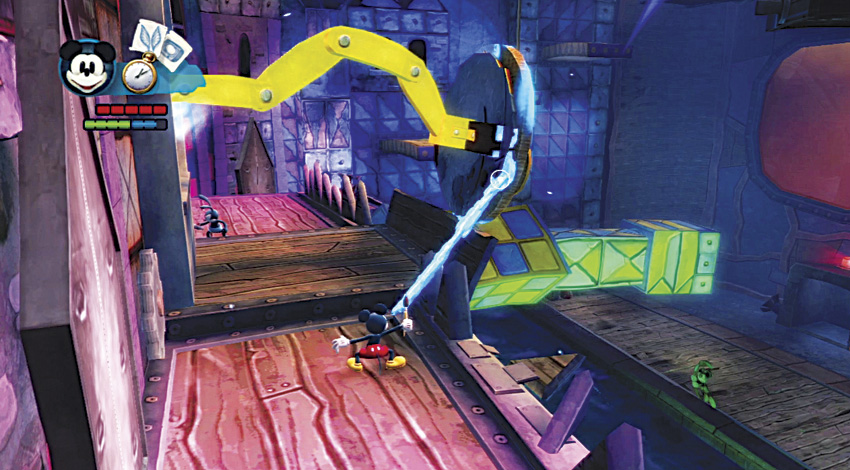
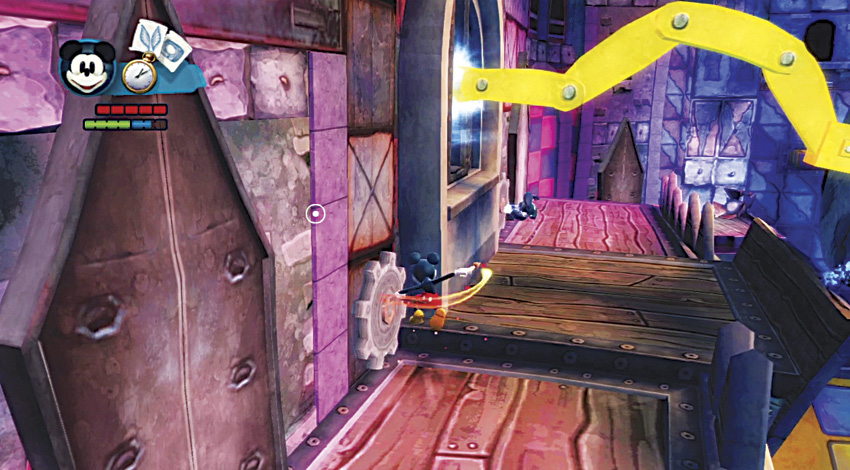
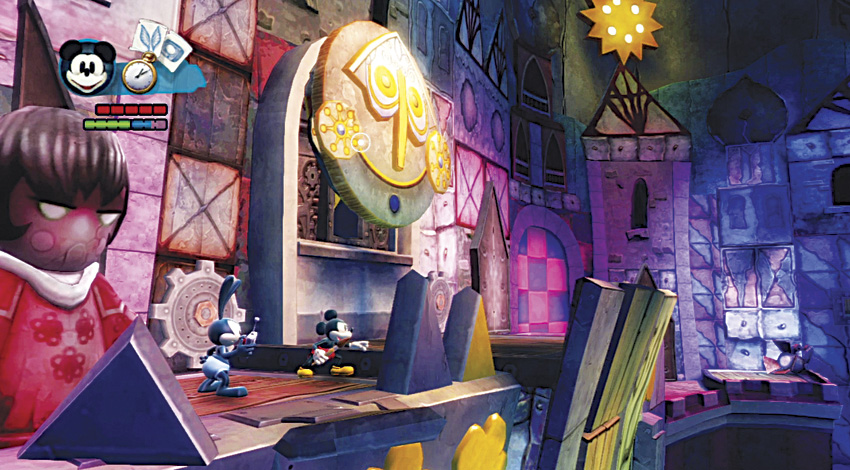
To repair the clock face, Mickey and Oswald need to hit the gears along the wall at the same time, retracting the clock face back to its working position.
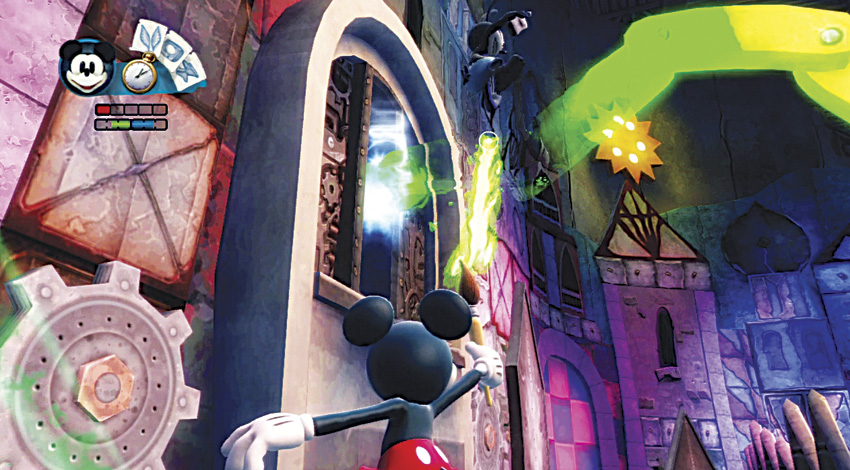
If you want to disable the clock instead, just thin out the metal arm attached to the clock face and it will break off.
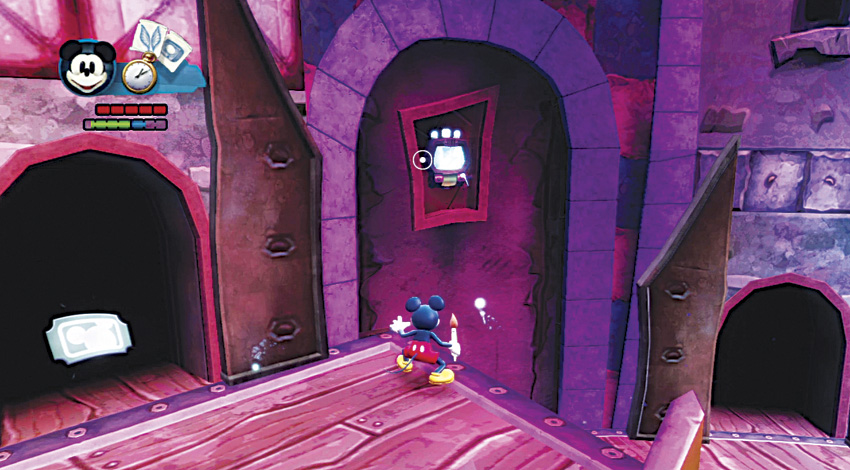
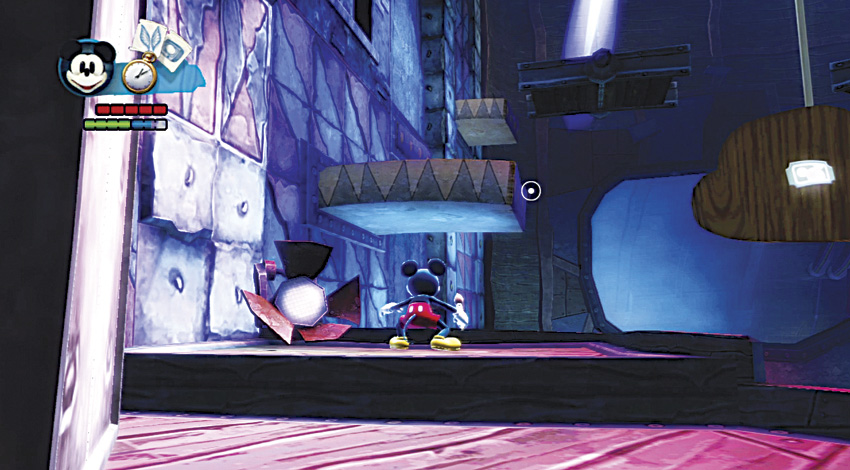
Right after the clock is a thinnable wall on the left that reveals a console. If Oswald operates the console, he opens a panel with a silver E-ticket inside. There is also another silver E-ticket behind a toon cloud to the right of the moving platforms ahead.
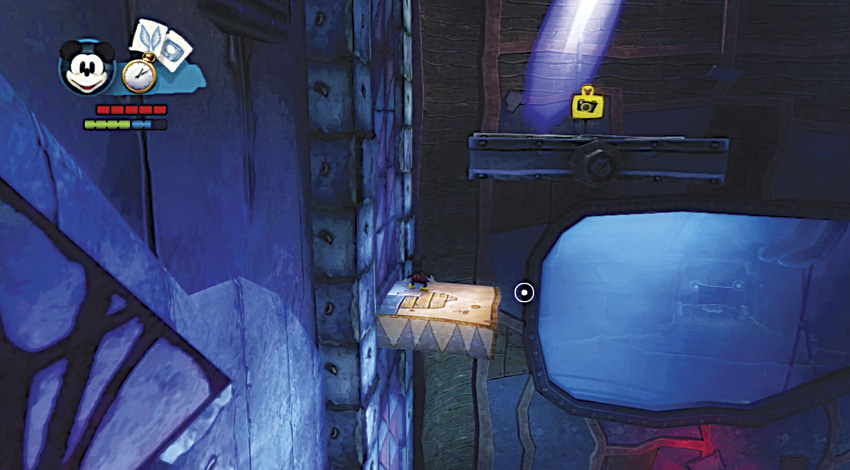
Ascend the moving platforms up to a wooden platform.
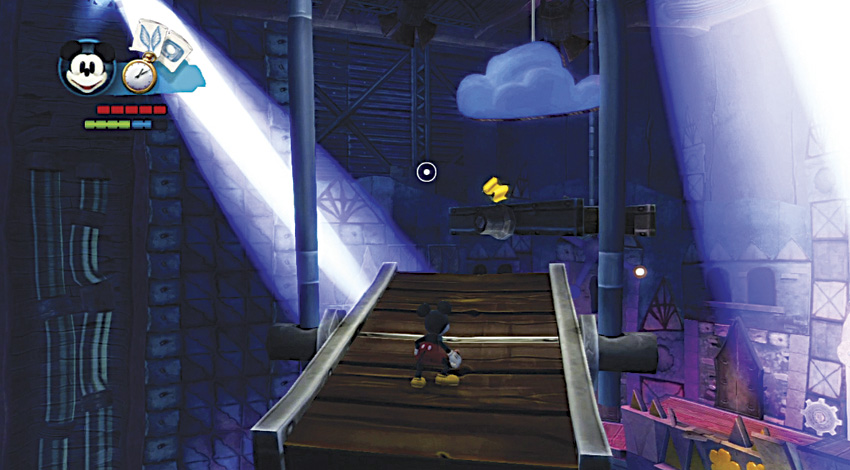
Cross over to a swinging wooden platform. Thin out the toon cloud blocking the next platform, then jump over to collect a silver E-ticket and the golden Cloth.
OPTIONAL QUEST
THE ENCYCLOPAEDIA WASTELANDICA
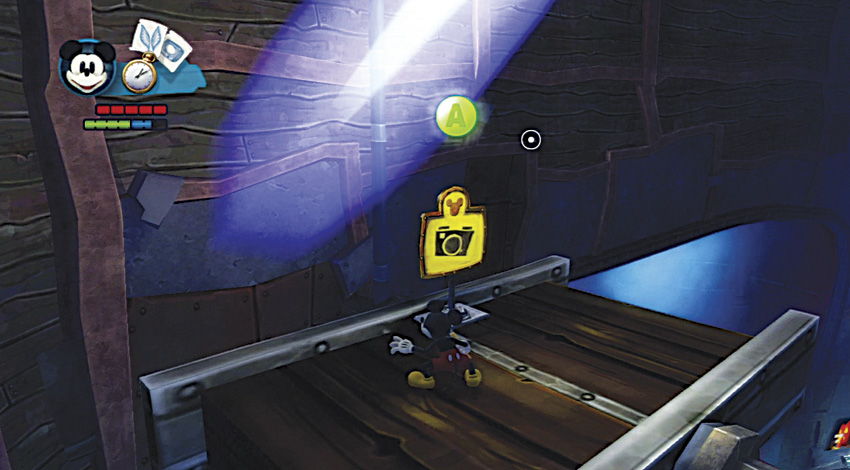
Take a picture of the diorama from the top wooden platform
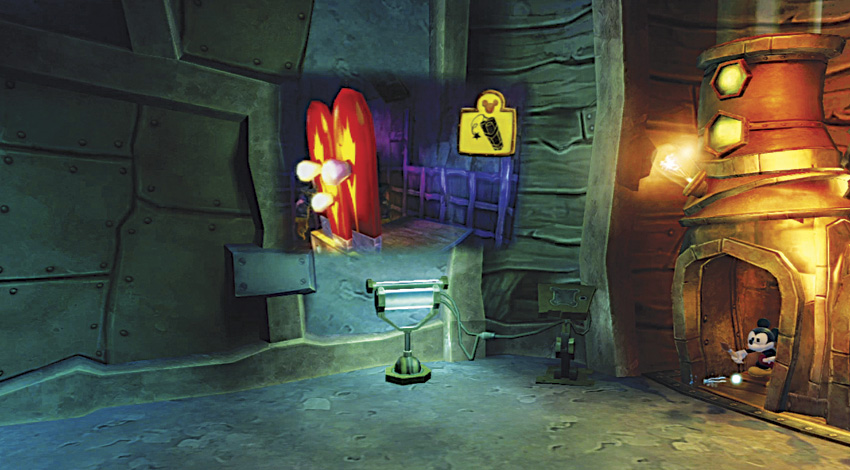
For another silver E-ticket, drop down and thin out the doorway to the castle between the arms. Now that you have fixed the diorama, the Transport Tubes activate and allow you to teleport to the next diorama.
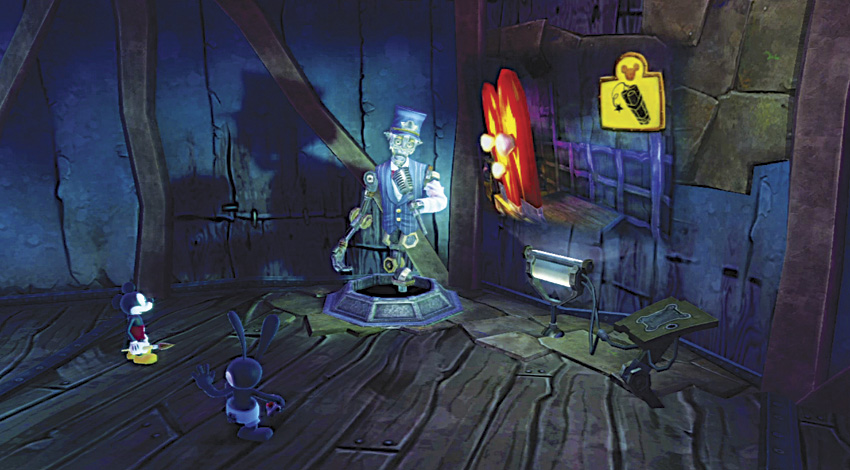
ABE gives you a status report on your progress in between rooms.
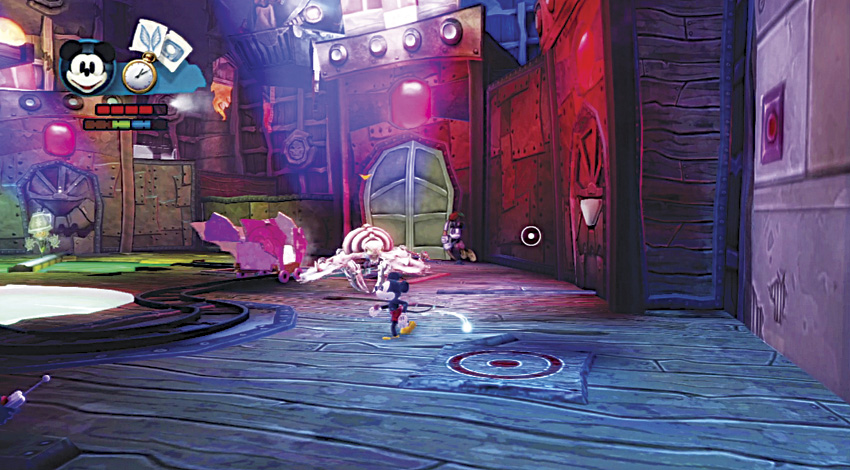
At the start of the Mad Doc’s Attic Diorama, you encounter a Spinner in the room. To beat the Spinner, Mickey should thin out the armor shell and hit the Spinner while it rolls on the ground. Oswald can also assist with his Electricity.
Paint in the metal door to the right of the train track to reveal a silver E-ticket.
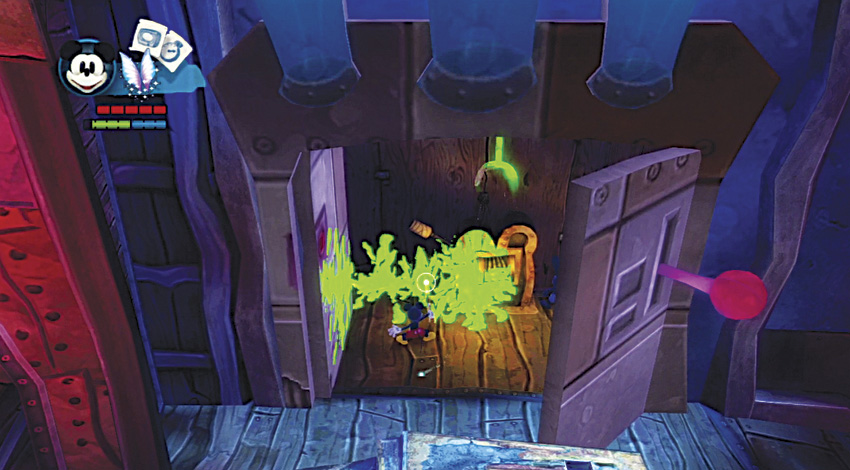
Open the secret room close to the entrance by hitting the large pink lever. Inside, thin the rope holding up the anvil outside to make it drop and provide you a green E-ticket.
OPTIONAL QUEST
THE BUNNY WRANGLERS (VISIT 2)
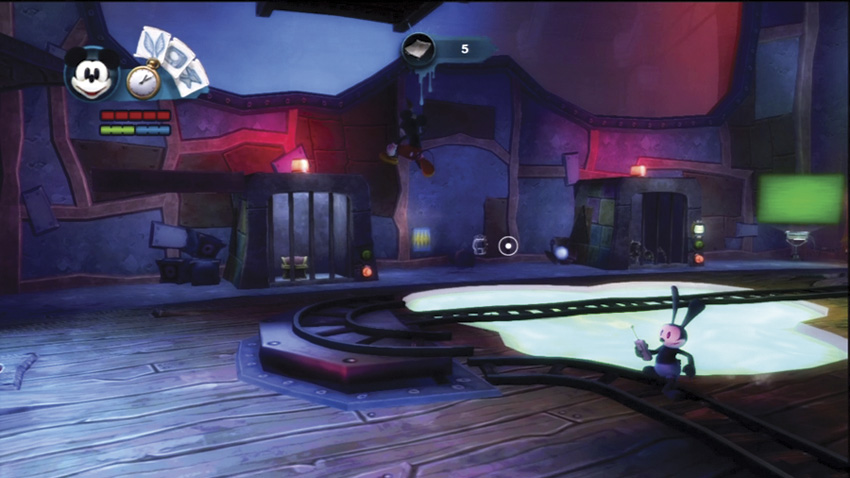
During the second visit to the Train Tunnels, you’ll be able to wrangle some bunny children using the pipe in the Mad Doc’s Attic Diorama.
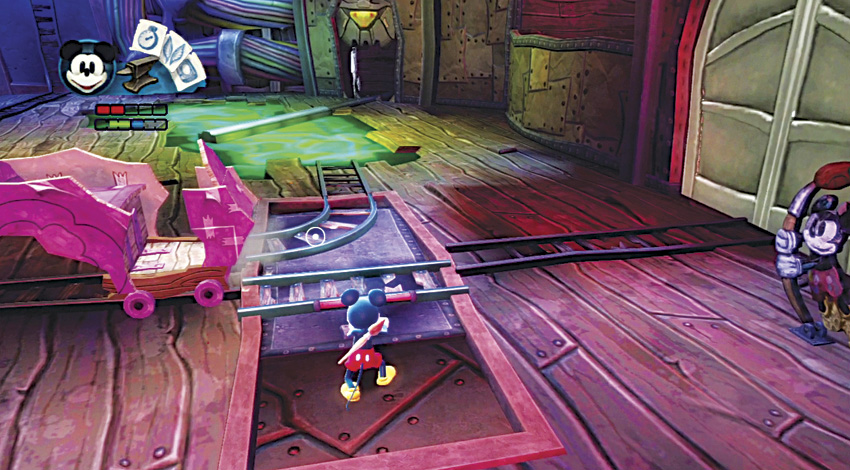
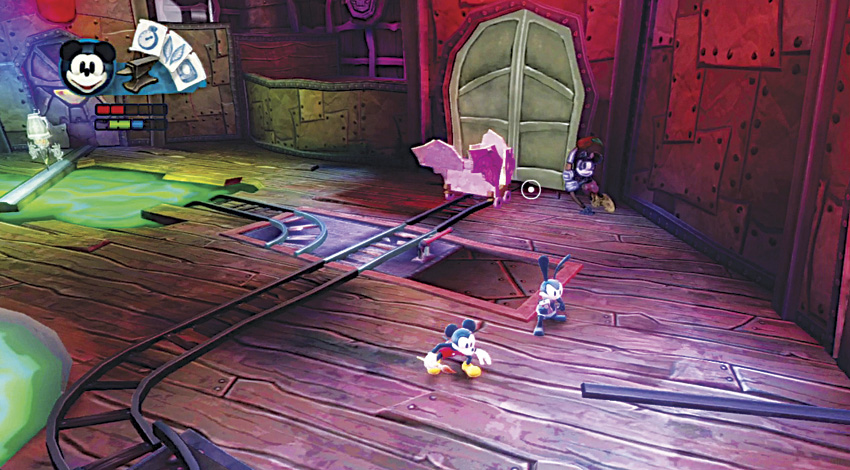
You need to first fix the broken track in this diorama. A section of the track has a handle. If you push it forward, the track straightens out to repair the track.
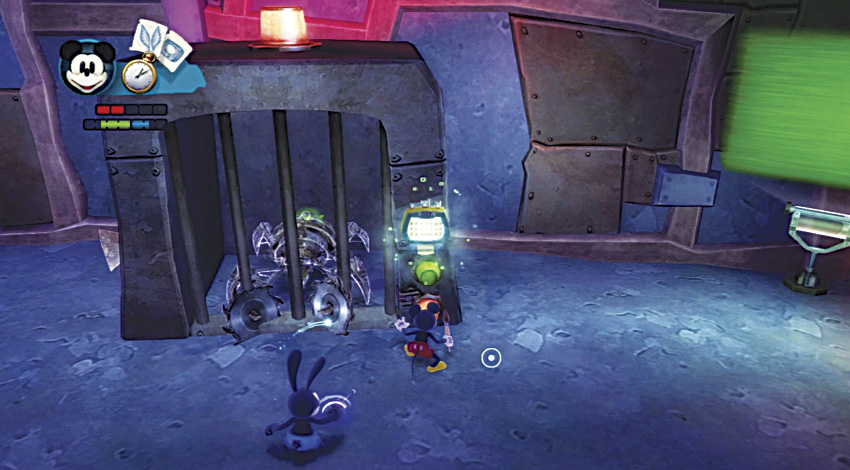
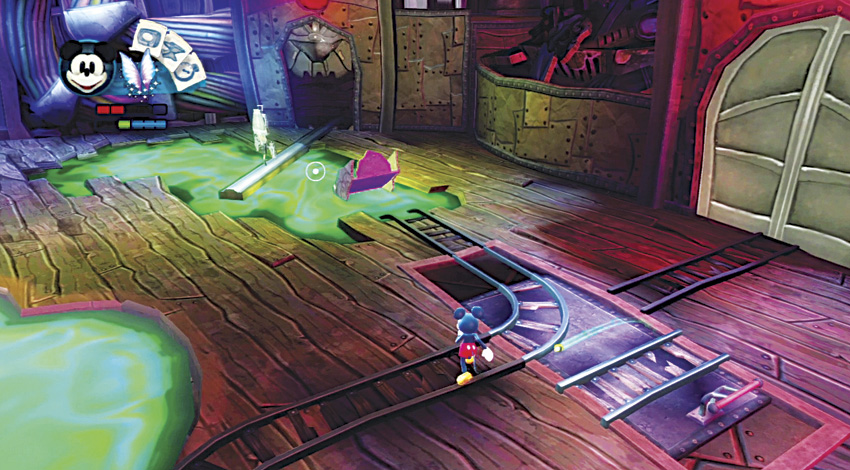
If you choose the disabling path, remember to reprogram the reinforcement cage. Then, to sabotage the cart track, pull the track handle so that the curved track aligns into place. This causes the cart to steer into the Thinner pool.
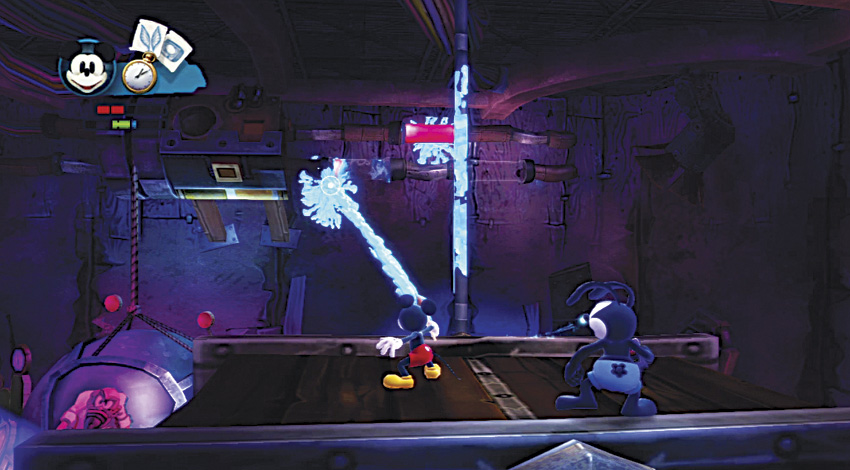
Climb up the platforms to the highest one in the rafters. Along the back wall, look for some wiring attached to a machine carrying the Mad Doc’s ship. If you paint the wires, it repairs the mechanism.
OPTIONAL QUEST
FINDING THE HIDDEN HEROES
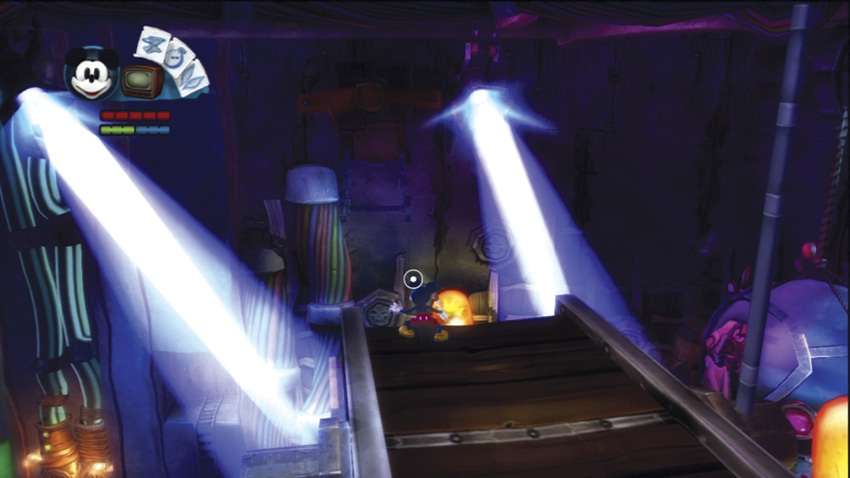
Thin out a red strap along the wall to the left to reveal a hidden Mickey symbol.
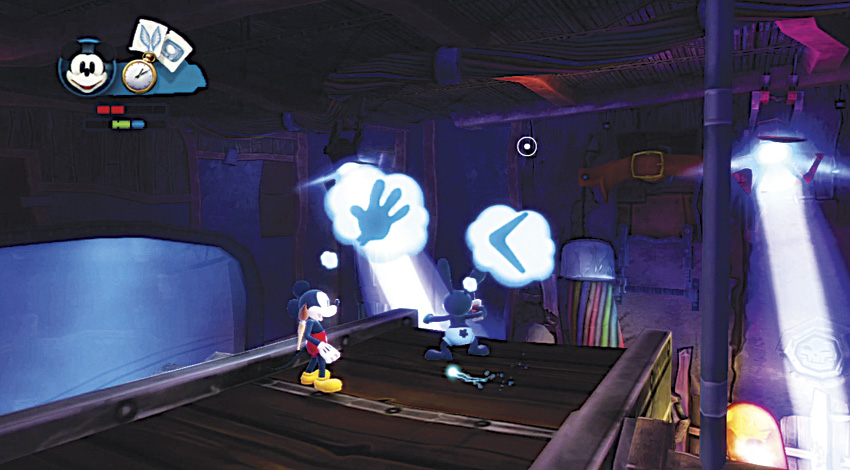
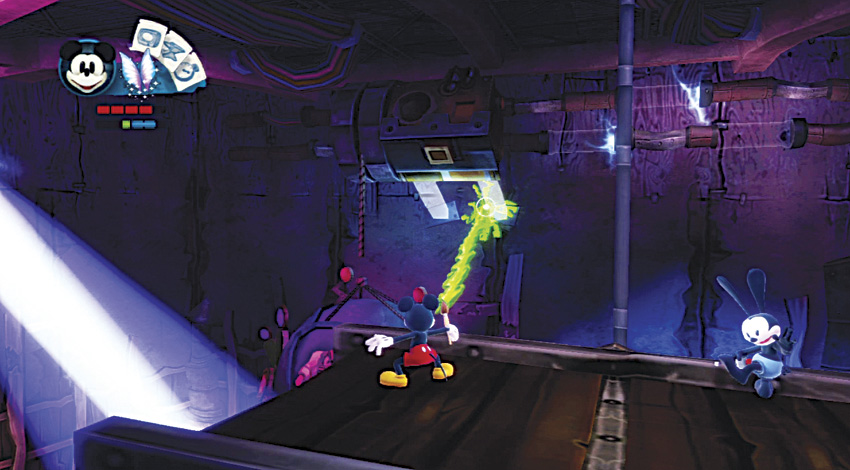
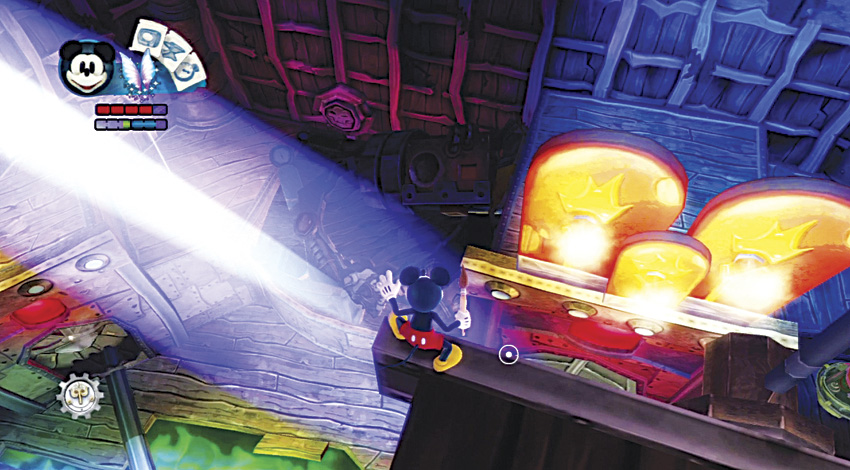
To dismantle the machine instead, have Oswald toss his Boomarmerang at it. This breaks the panel in front, revealing some wooden supports. Thin out the wooden supports and the ship crashes to the ground. Drop down on top of the wreckage.
Jump to the platform below the Mad Doc’s ship. Paint in the block to boost you to the hanging platform with a Picture Spot on it. Be careful of the air vents, which will blast you to the ground.
OPTIONAL QUEST
THE ENCYCLOPAEDIA WASTELANDICA
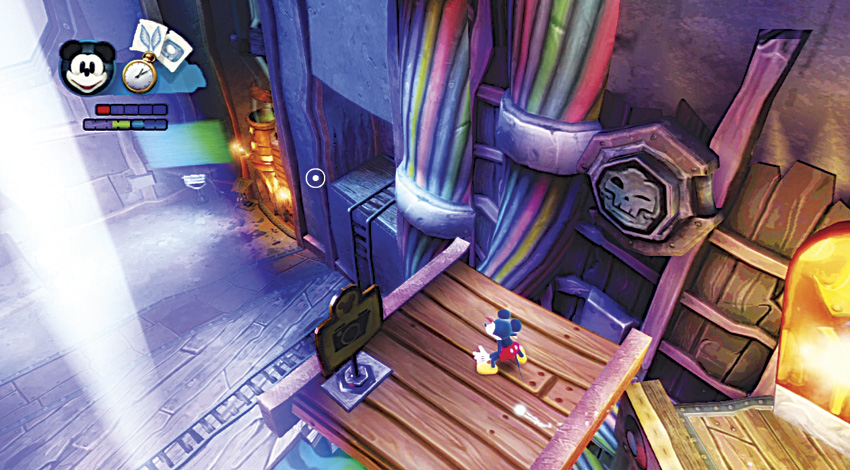
Thin the red strap holding the hatch open above the vent. The hatch will close and you can jump on the hanging platform and take a picture of the Mad Doc’s Attic Diorama without worry.
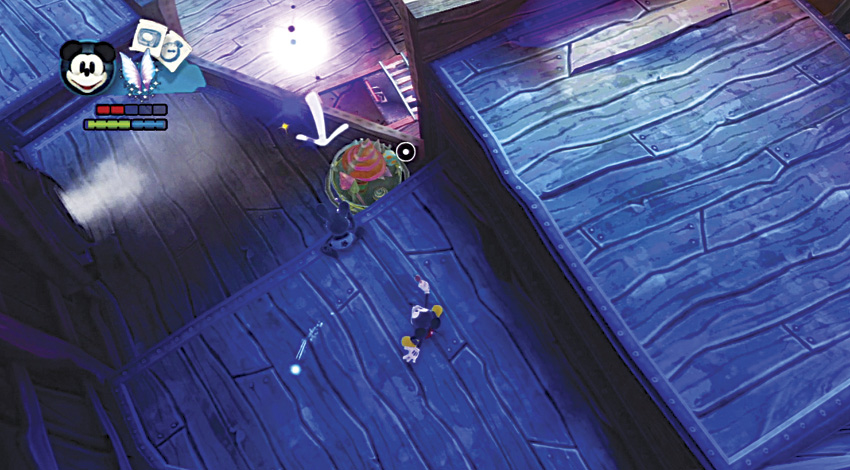
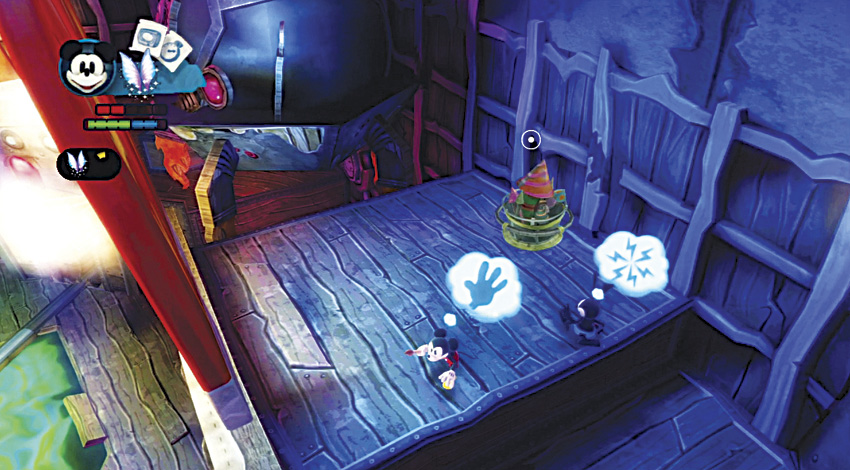
Head back over to the raised platform against the right wall. Use the Fairy Sketch on the set of fireworks to raise them into the air and then push them to the next level. Repeat this process to get the fireworks in the center behind the cardboard sign. Detonate the fireworks along the back wall to reveal a secret room.
Knight Greaves
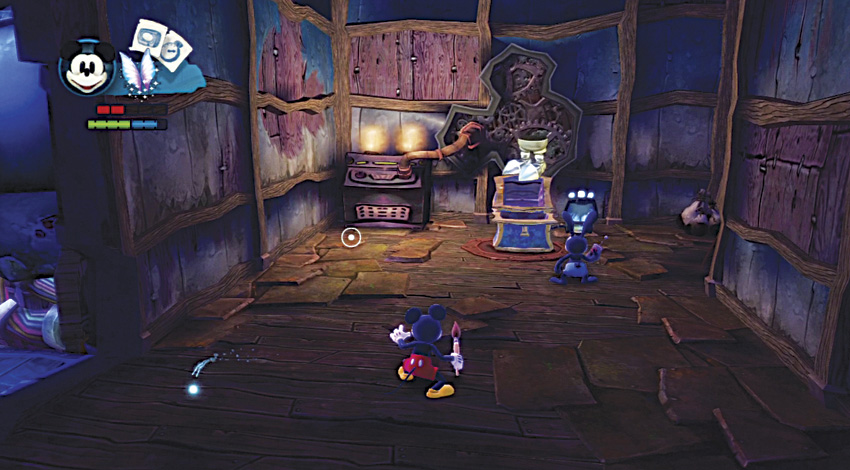
A blue chest rests inside the secret room behind the back center wall. The chest contains the greaves from the Knight Costume.
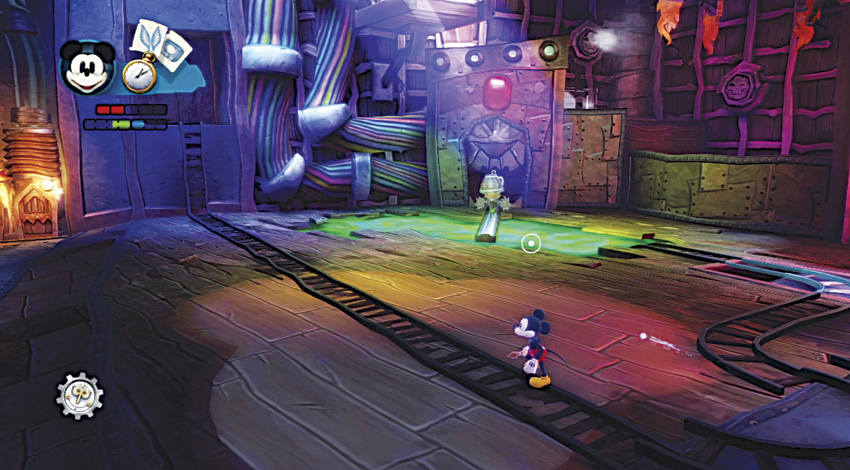
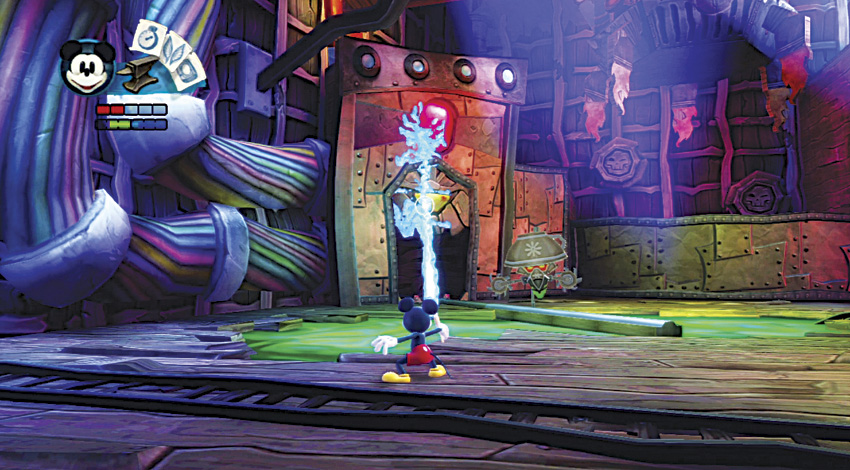
The broken Beetleworx track on the left side of the room is the last problem to fix for this diorama. Paint in the eye of the door to repair it. The door now opens so that the cardboard cutout can move freely along the track.
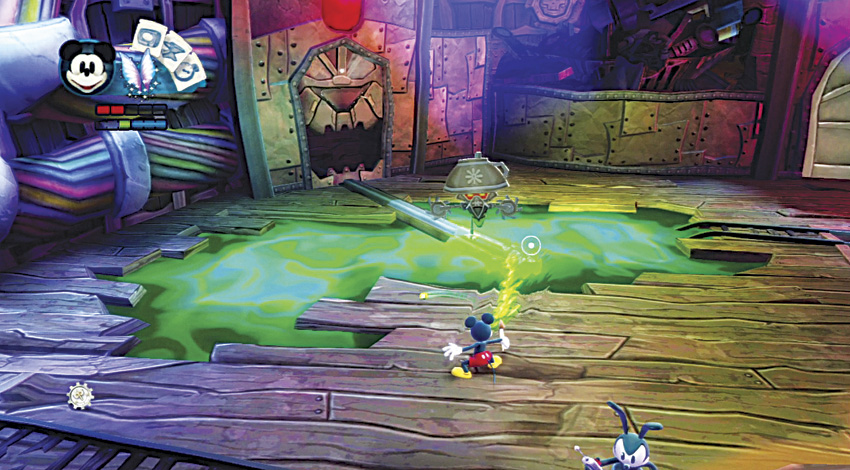
If you want to disable this mechanism instead, just thin out the rail and the cutout falls into the Thinner pool.
Blotworx Shocker
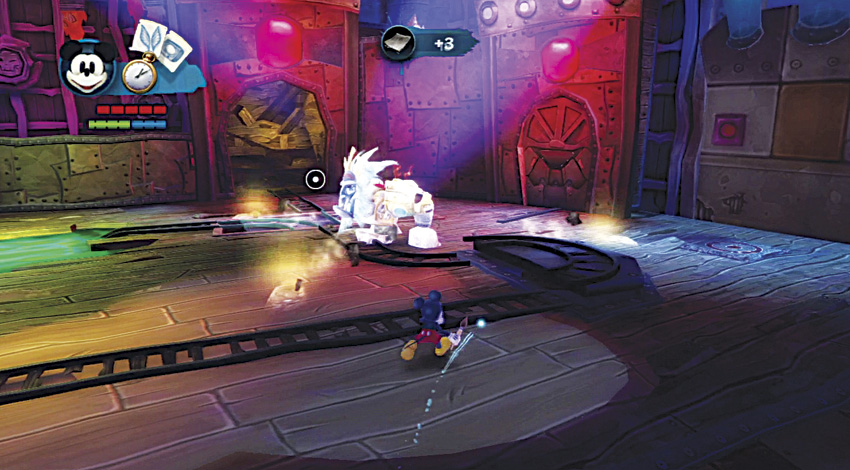
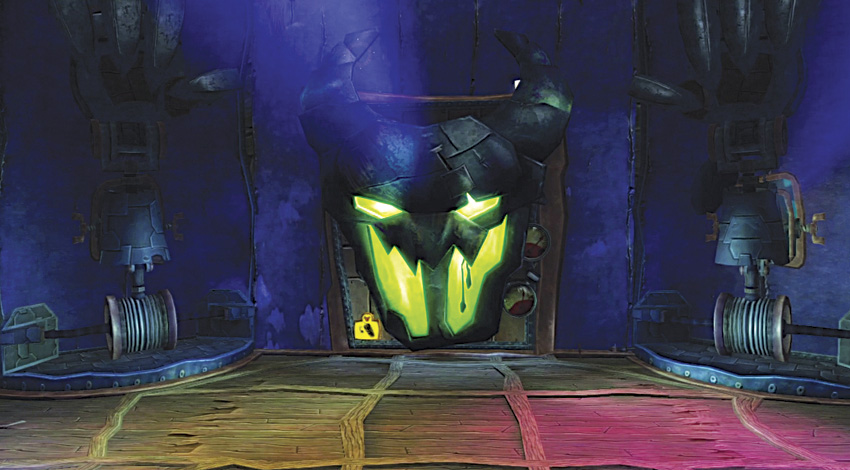
Don’t give a Blotworx Shocker the opportunity to do a number on you. To defeat the Shocker, you must first perform a jump near its head in order to break off the mask, which reveals a large red button. However, you cannot jump on this button until the flame jets in its head go out. Wait for the thing to do a stomping attack, and then jump on the button when its stunned in order to spray Paint or Thinner at the Spatter pilot
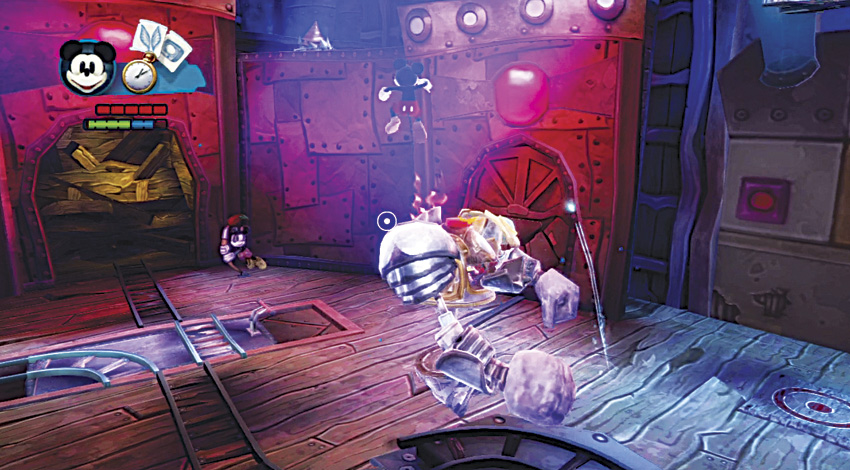
Once you have repaired or disabled the diorama, a Blotworx Shocker appears from a gate in the back. Knock off its mask and then hit the button. If you’re quick enough, you can douse the Spatter pilot with enough Paint or Thinner to win the battle.
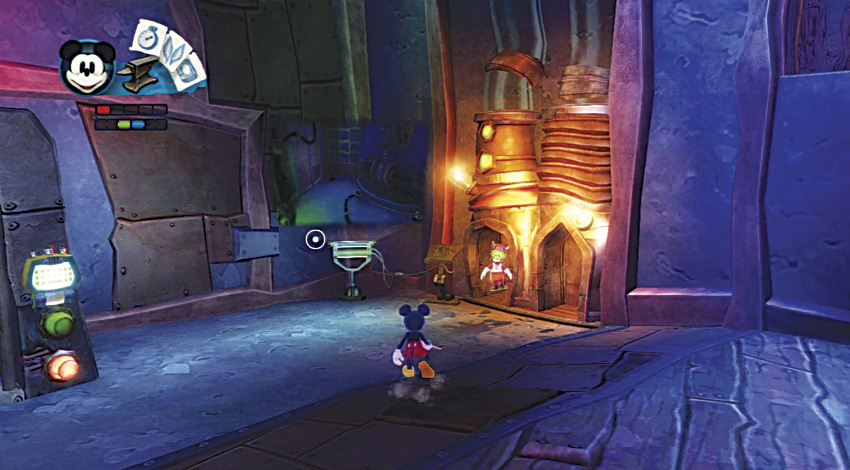
After the Shocker has been defeated, you can use the Transport Tubes to reach the final diorama.
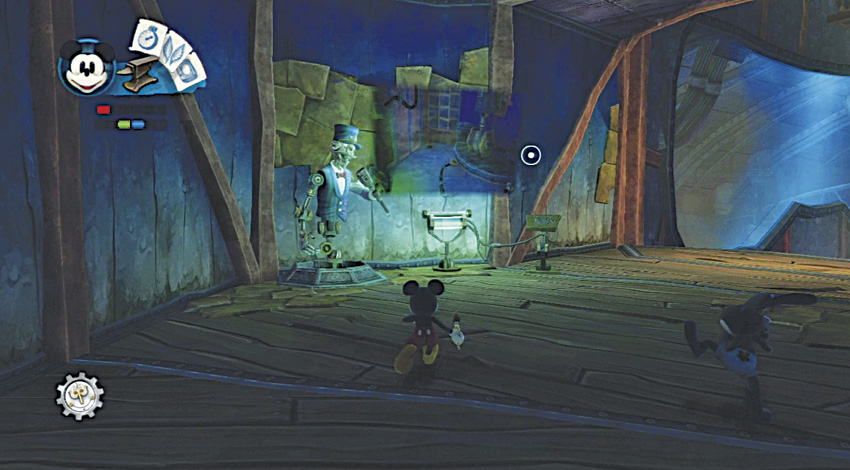
Before you begin the Blot Diorama, ABE gives you an update based on how you performed in the first two dioramas. If you used the same method in the first two dioramas (Paint or Thinner), then your ending is already determined. If you used different methods on the first two dioramas, you can decide the outcome of the Train Tunnels based on whether you rely on Paint or Thinner in this final diorama.
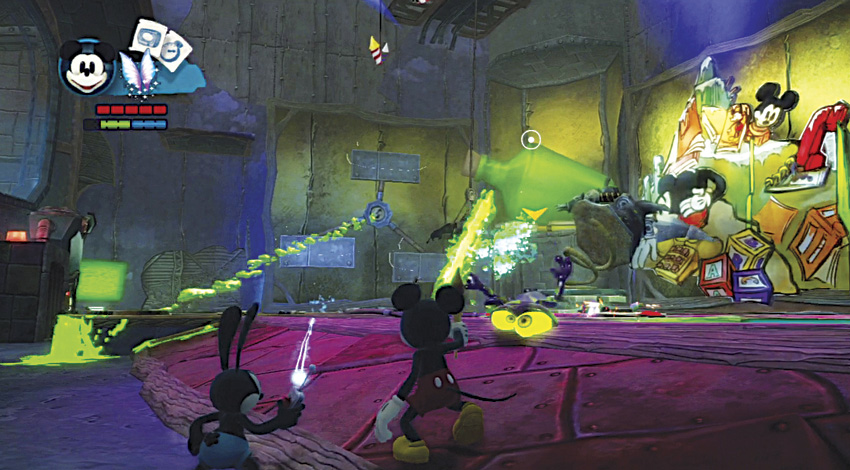
A horde of Spatters challenges you as the final set of enemies. Deal with them with Paint or Thinner; it won’t affect how the rest of the room plays out.
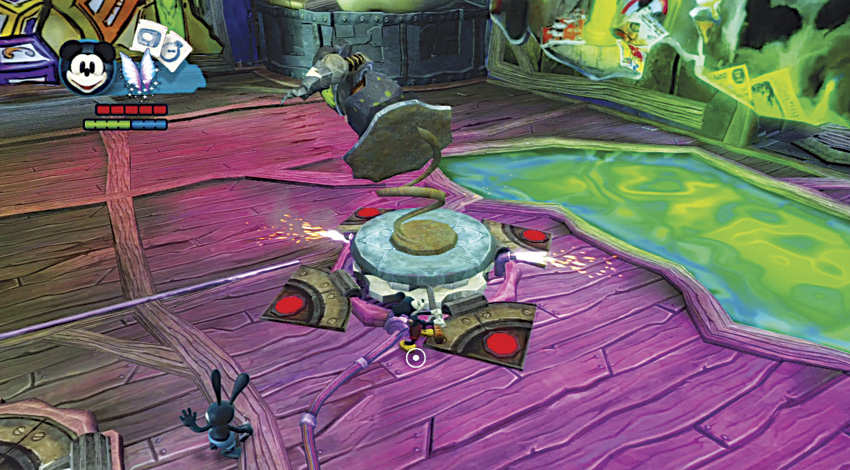
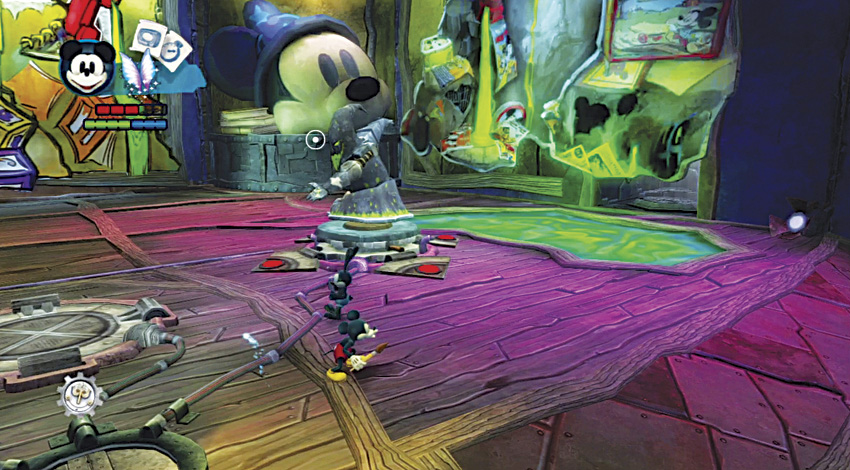
The first thing in need of repair here is the prop version of the Shadow Blot. Grab the handle at the base and rewind the coil. Watch out for the sparks that shoot out as you wind, or they will knock you back.
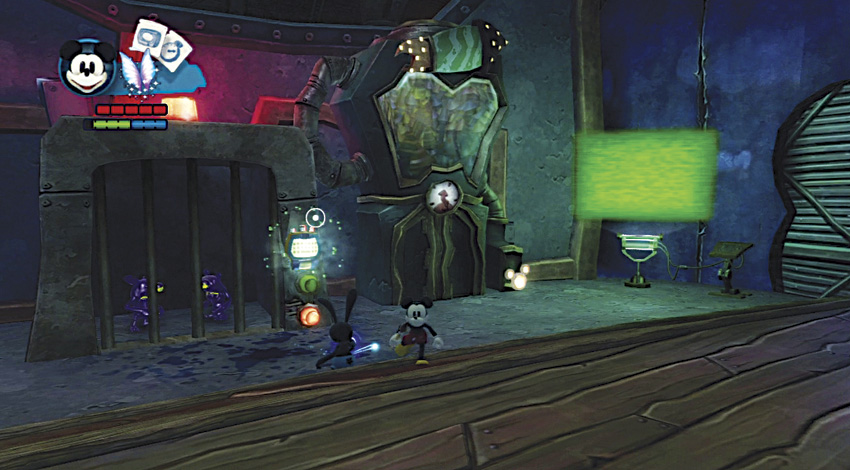
If you plan on disabling the diorama, remember to reprogram the cage near the fireworks dispenser.
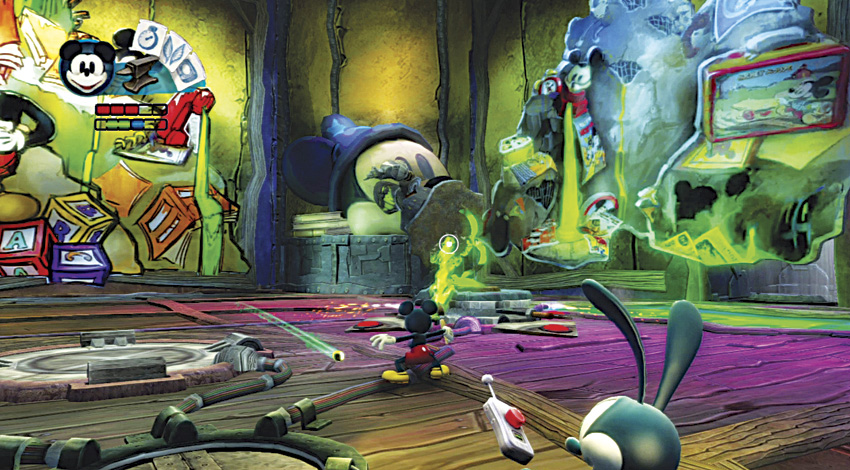
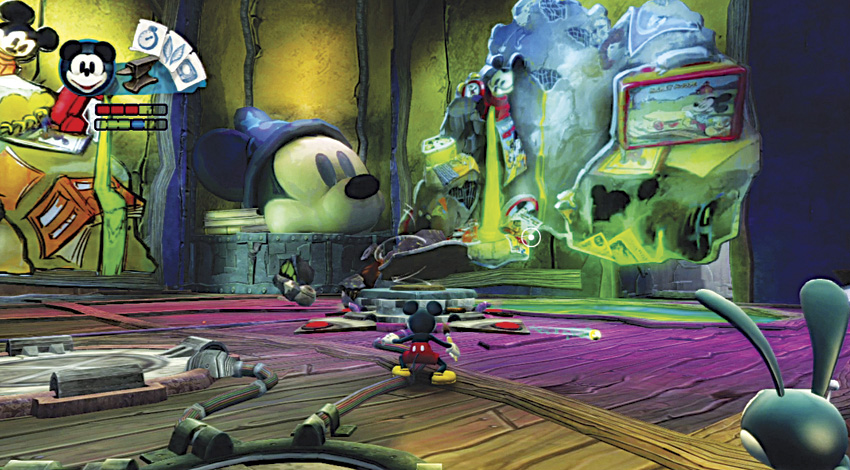
Destroying the Shadow Blot is a simple task. Aim your Thinner at the spring coil and the prop falls apart.
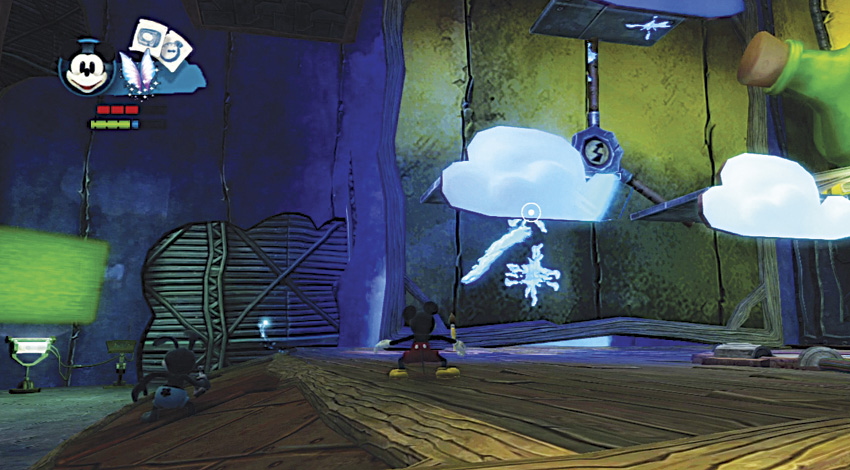
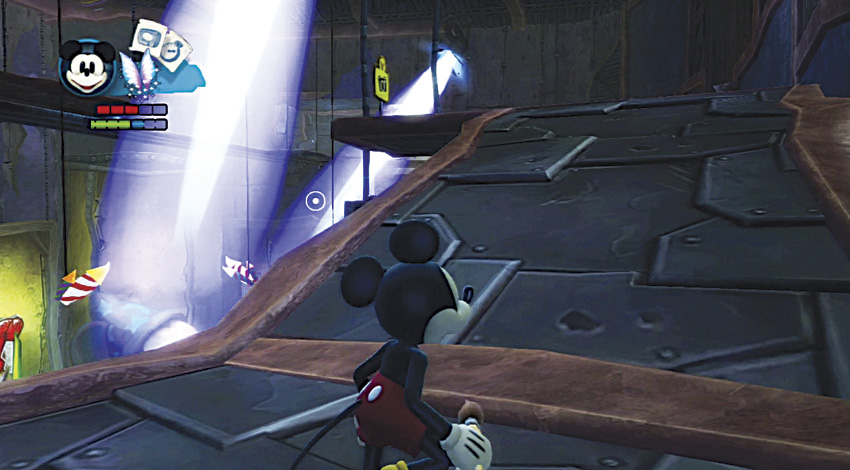
The “flying” prop version of the Shadow Blot must be repaired next. To do that, you have to get to the track all the way at the top of the room. Paint in the clouds on the left wall to create a set of spinning platforms. Use the wheel of platforms to reach a catwalk across the front of the room.
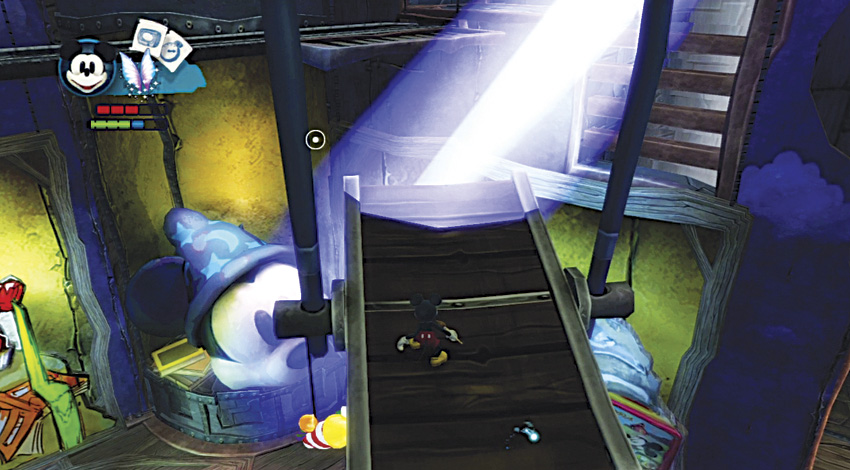
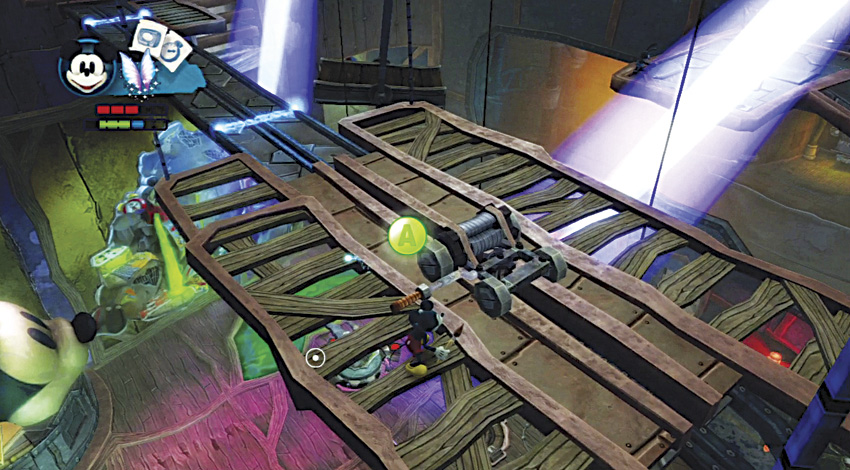
From the Picture Spot, hop over to the swinging platform and then up to raised railway. Travel along the rail until you get to the cart at the end. If you want to repair the floating Blotling, push the cart along the powered track.
OPTIONAL QUEST
THE ENCYCLOPAEDIA WASTELANDICA
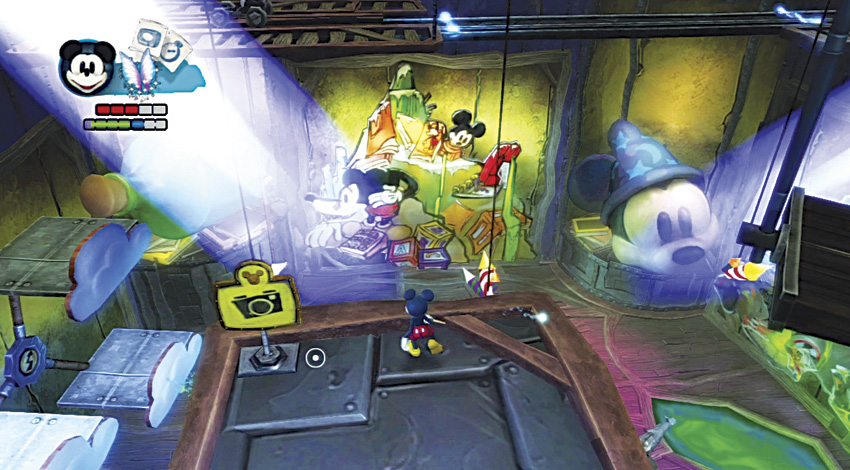
When you get on the catwalk, stop at the Picture Spot to snap a photo of the Blot Diorama.
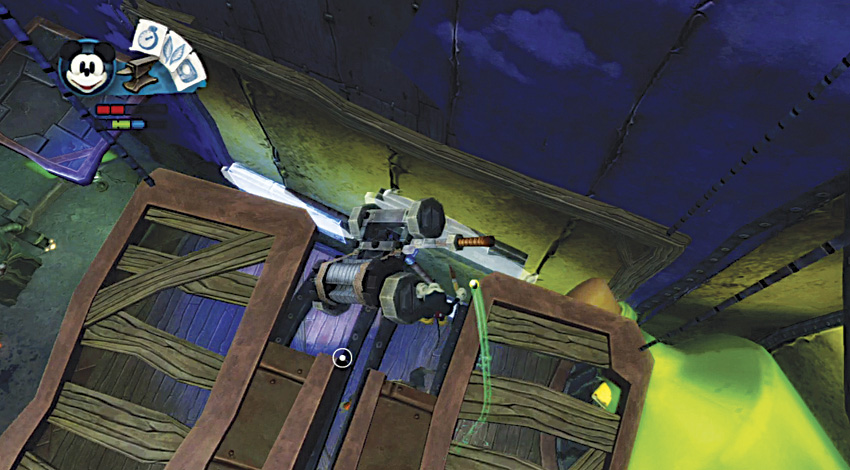
To disable the floating Blotling instead, push the cart off the end of the track to break it.
Concept Art 36
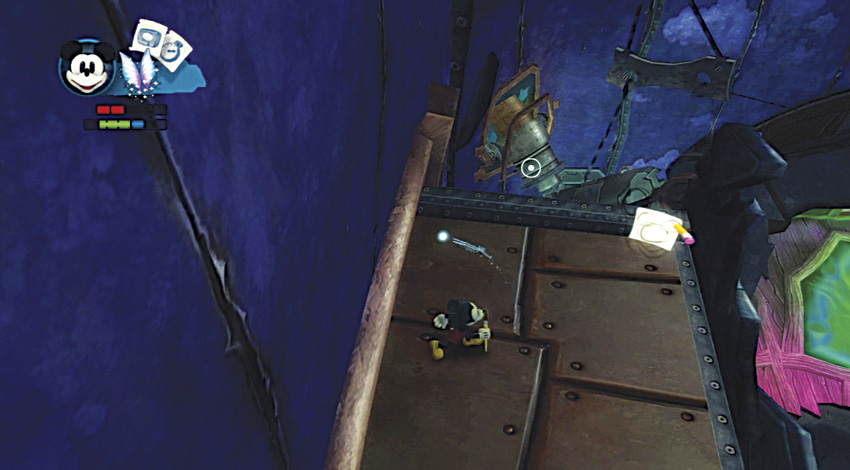
Jump from the track to the top of the new Storm Blot display below. You will find a piece of concept art on top of it.
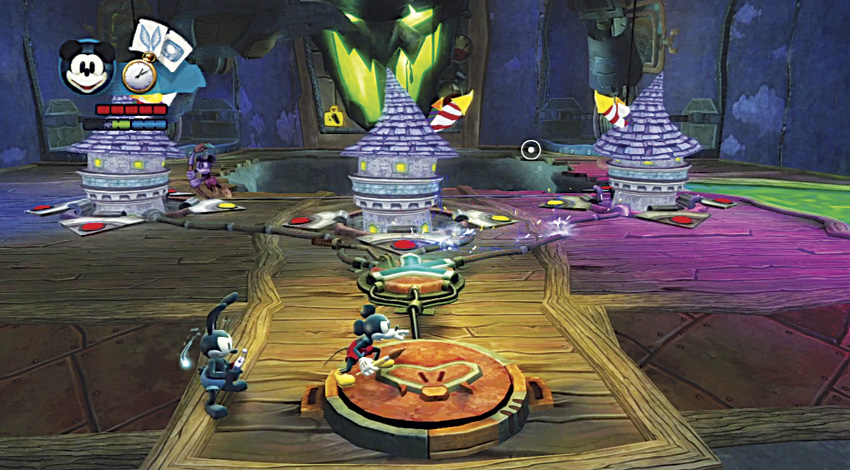
Jump back to the ground floor and check out the new firework towers. To finish repairing the diorama, you must align all the firework towers to point at the Storm Blot. There is a chicken-foot-shaped spinner that determines which towers get power when you press the giant button. Each signal sent to the towers causes them to spin.
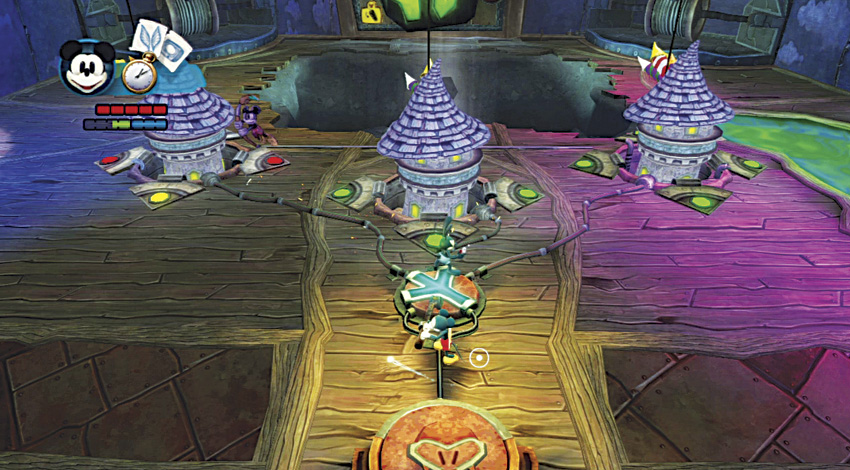
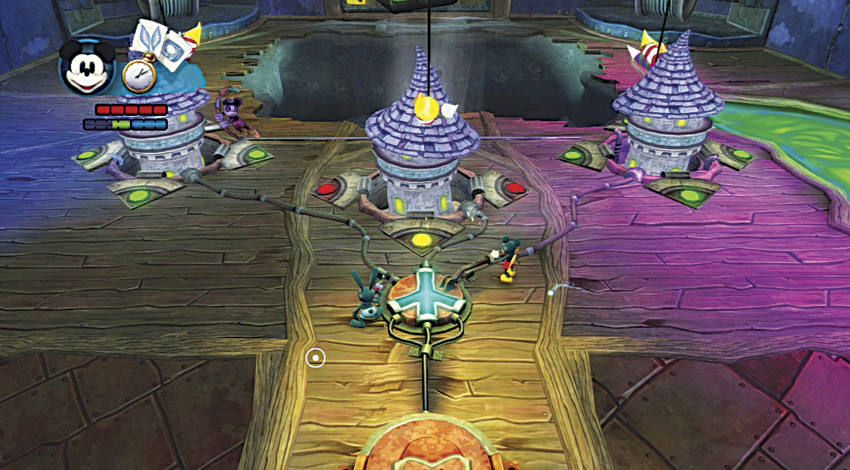
Make sure the right tower gets the signal and press the button until that tower is in place (all green lights on the floor). Next turn the splitter so that the center and left tower get the signal. Press the button until the left tower is set. Finally, change the splitter to signal only the center tower and hit the button to finish the repairs.
OPTIONAL QUEST
FINDING THE HIDDEN HEROES
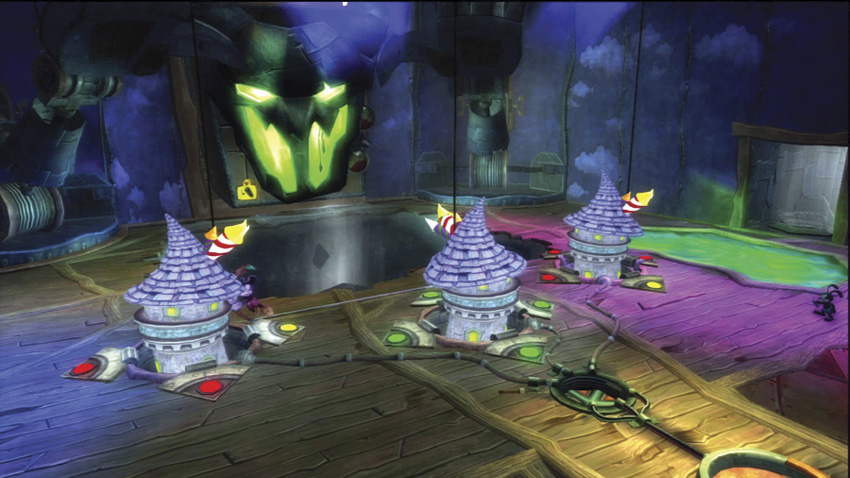
Once you repair the diorama, you can stand on the platform in the right corner (the Storm Blot’s left arm) to be spun into a secret room with a hidden Mickey symbol.
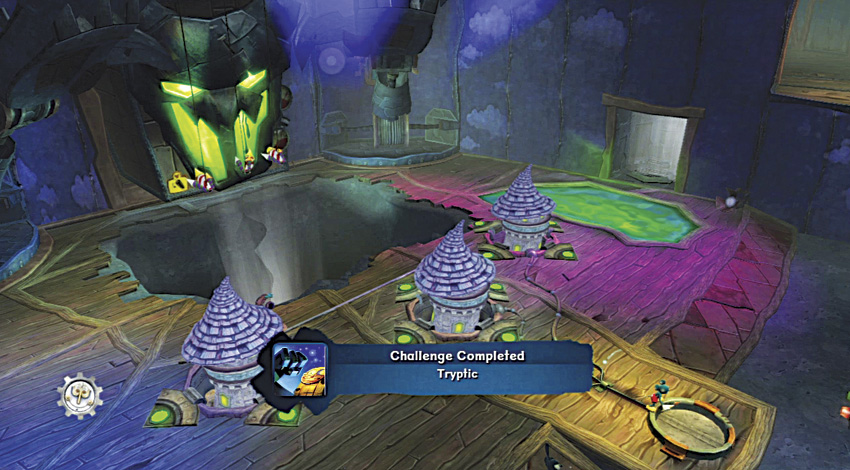
You will complete the Tryptic challenge after repairing all three dioramas in the Train Tunnels.
Tryptic

Playstation 3 Trophy: Bronze
Xbox 360 Gamer Points: 20
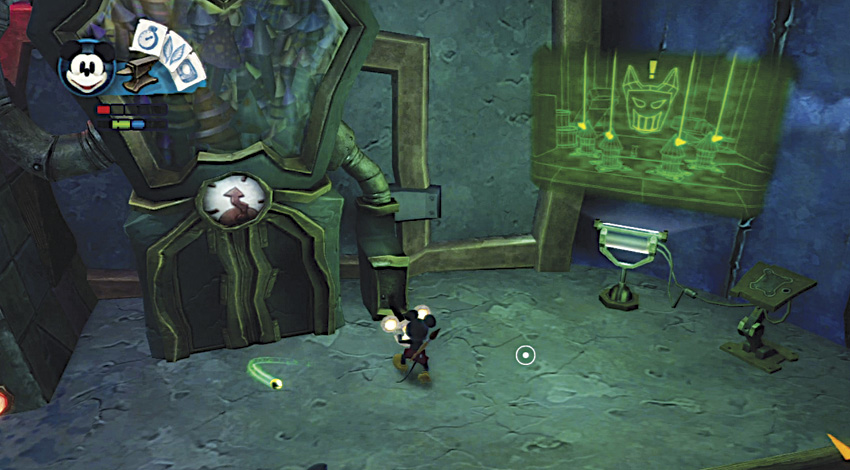
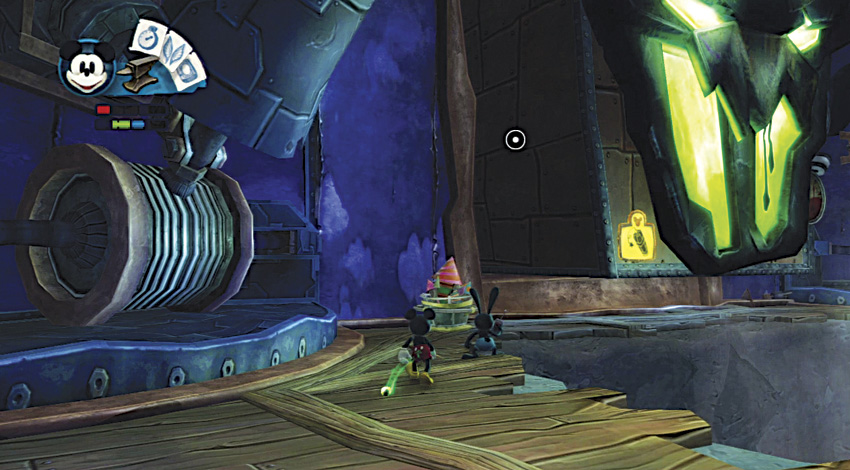
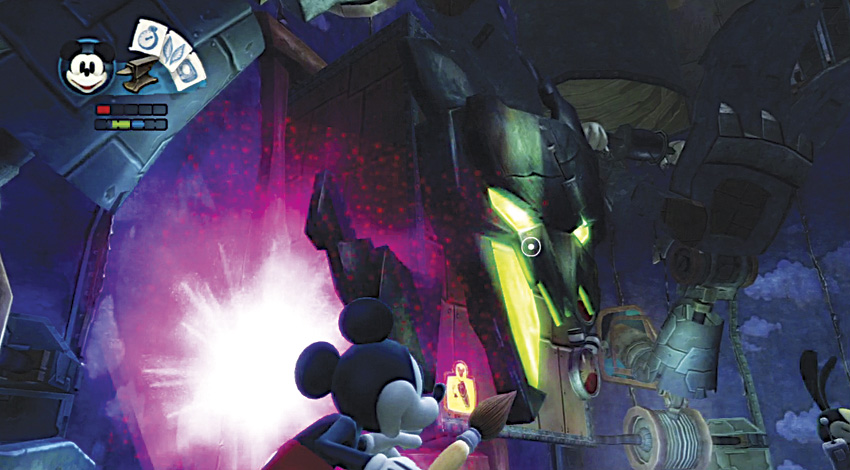
If you want to destroy the Storm Blot instead of repairing it, you first need some fireworks. Retrieve some from the dispenser near the front wall and drag the fireworks over to the wall near the lower corner of the Storm Blot. Detonate the fireworks and watch the Storm Blot explode.
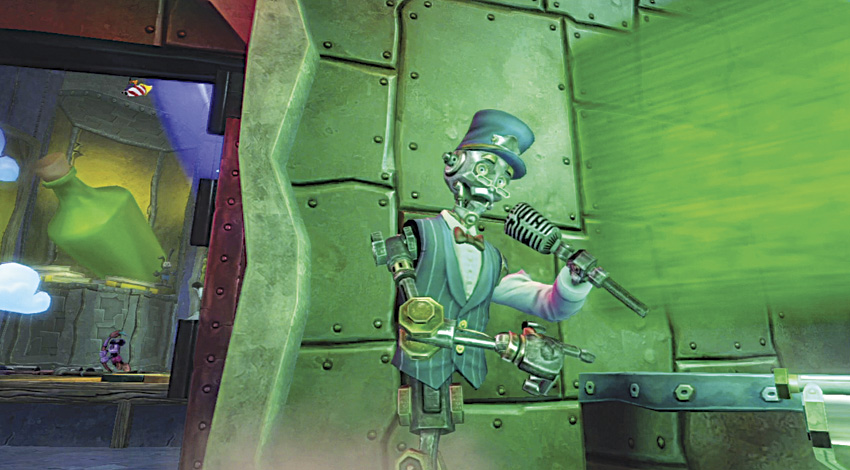
Once you have repaired the last diorama, the final door opens and ABE is waiting to thank you for restoring all the dioramas.
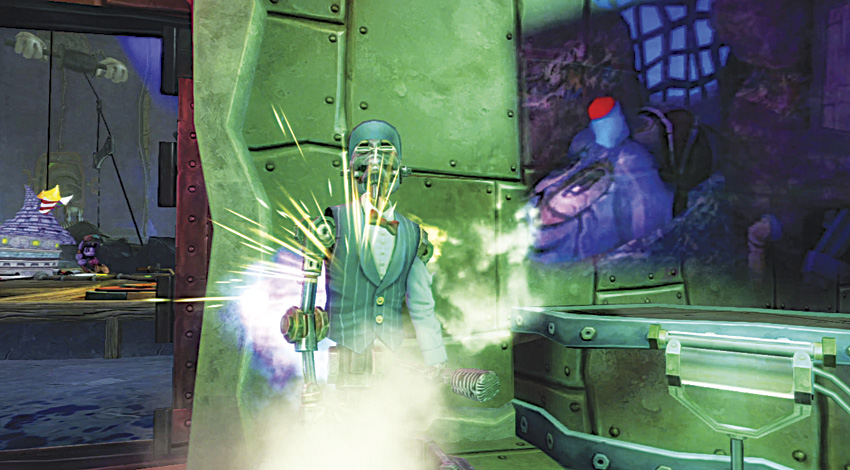
If you disabled the dioramas instead, ABE will be broken beyond repair and you won’t receive the Gold Pin reward. However, you will have access to the Steamboat Willie Pants in a secret area near the end of the Floatyard instead.
Gold Pin
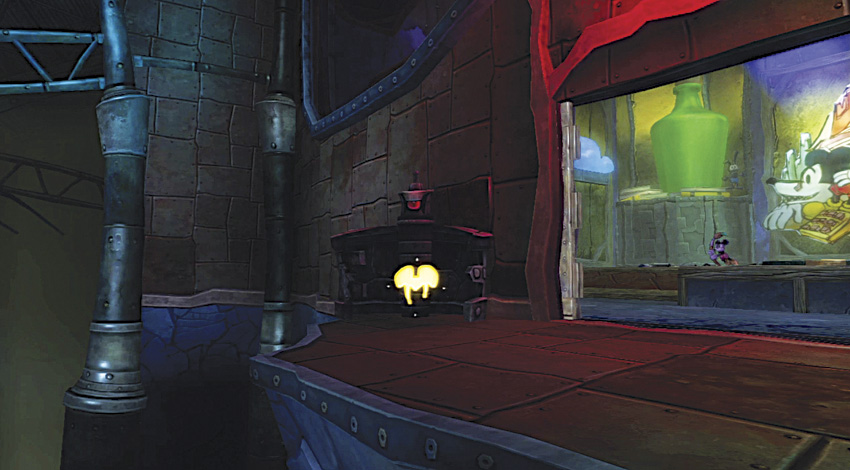

As a reward for repairing the dioramas, a container slides open with a Gold Pin.
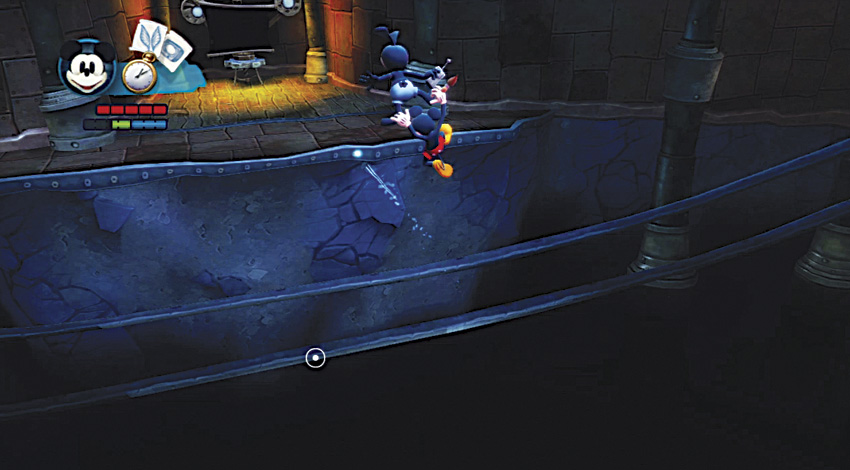
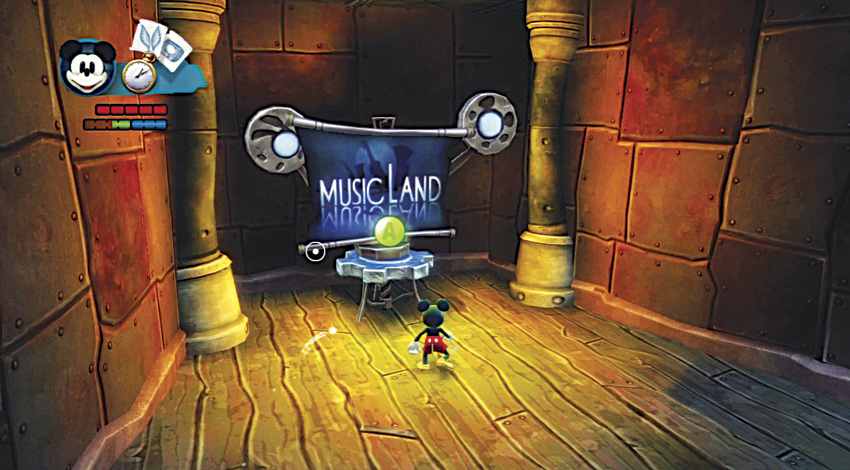
After you are finished, there is one last obstacle to overcome. A large chasm lies between you and the projector. Team up with Oswald to glide across the chasm and reach the second Music Land projector.