
Disney Epic Mickey 2: The Power of Two Guide Walkthrough Episode 1
The Blotworx Dragon
DEFEATING THE FIRST BOSS
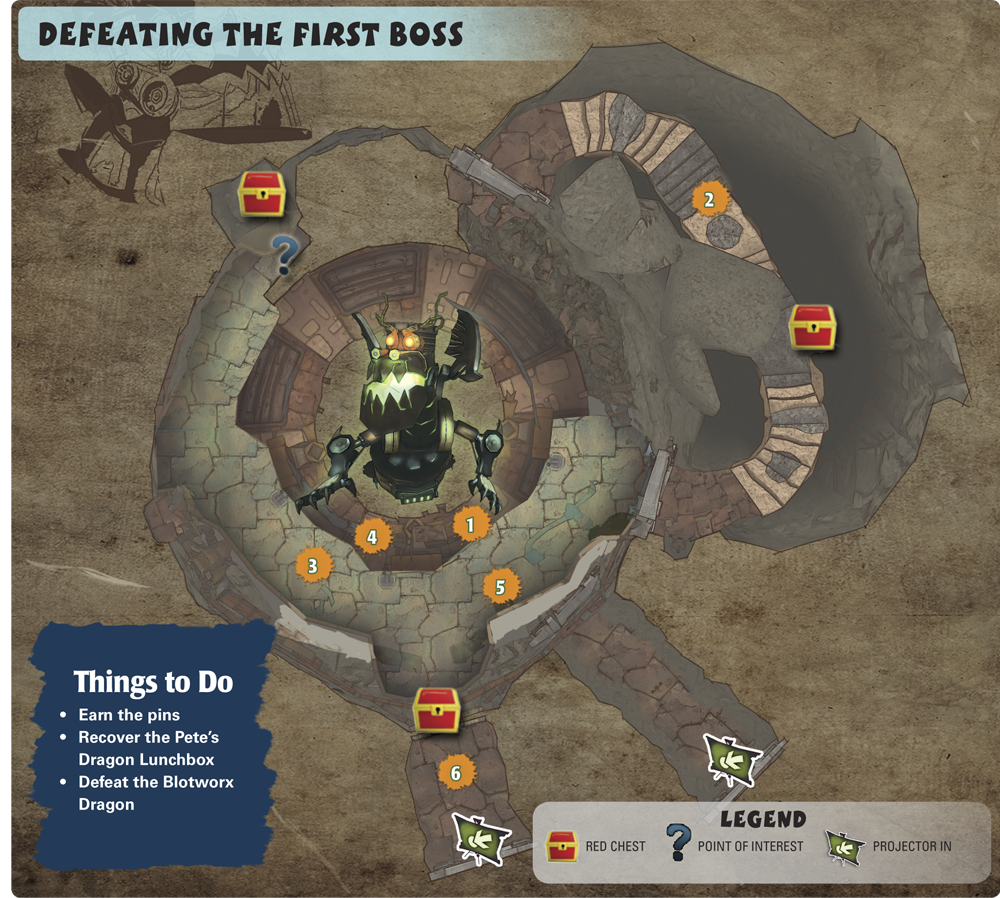
Things to Do
- Earn the pins
- Recover the Pete’s Dragon Lunchbox
- Defeat the Blotworx Dragon
LEVEL OVERVIEW
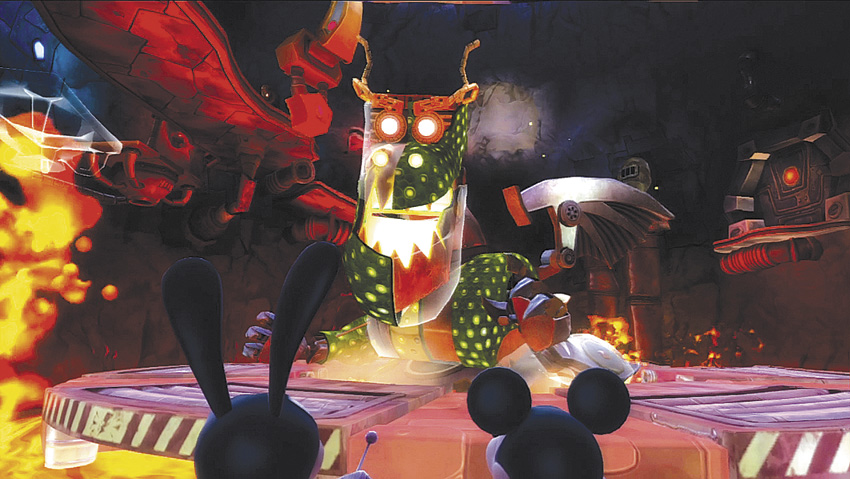
You arrive at the Mad Doctor’s Lab but he is nowhere to be found. While you’re peeking around, a massive Dragon springs from a pool of lava and unleashes an unexpected attack. You must decide whether to tame the Dragon with Paint or melt it down with Thinner.
LEVEL BREAKDOWN
Challenges
- Dragon Defeat
Collectibles
- Bronze Pin
- Friendly Dragon Pin
- Gold Pin
- Pete’s Dragon Lunchbox
- Ring of Fire Pin
- Silver Pin
Enemies
- Blotworx Dragon
- Spatters
Quests
- Watch the Skies
- Finding the Hidden Heroes
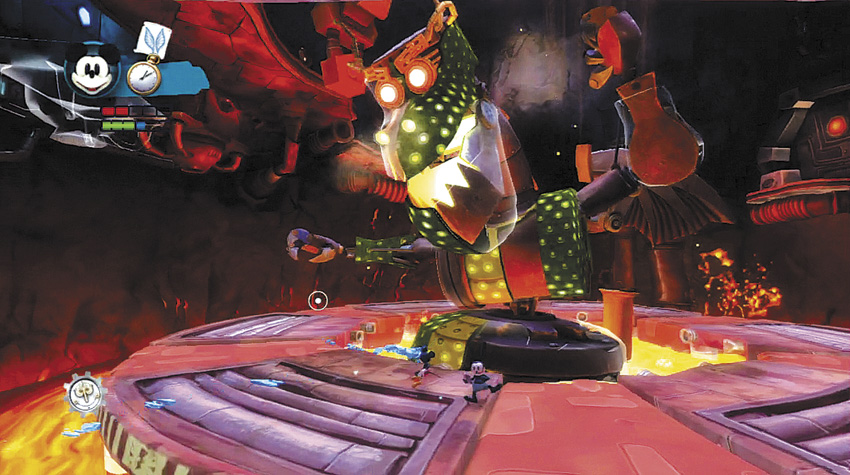
The Blotworx Dragon assaults you from the middle of a giant ring floating on lava. He primarily attacks you with a smashing fist slam.
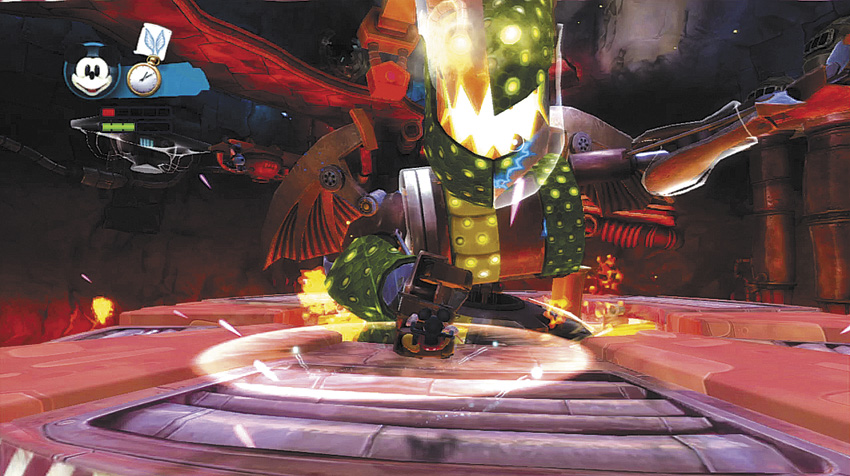
The Dragon’s fist slam causes damage to a small area and knocks you back.
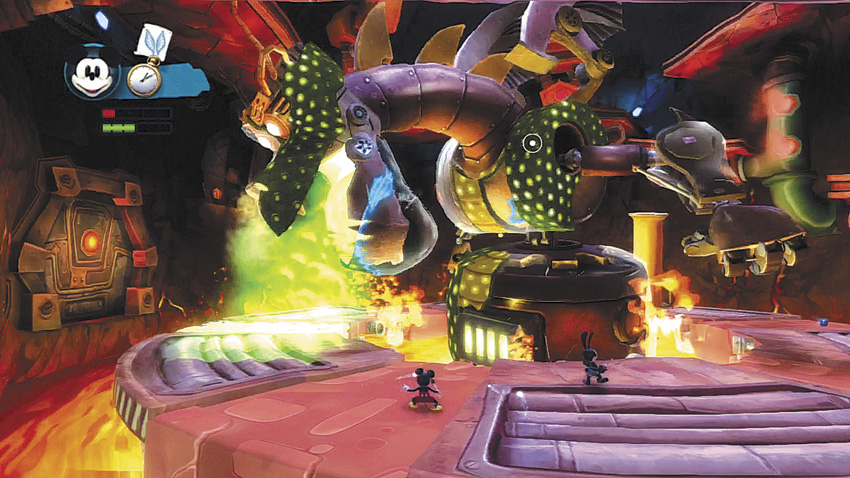
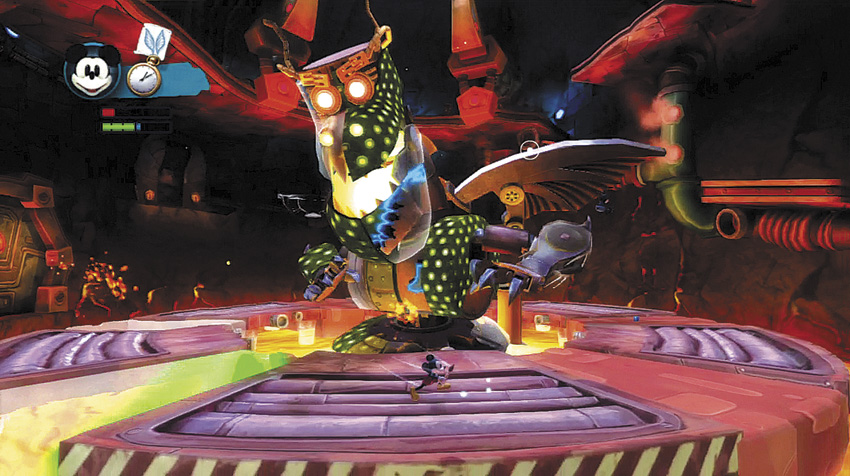
The Dragon’s second attack comes in the form of a sweeping breath move. The Dragon’s breath is Thinner, and it will not only hurt you but it will also thin out some portions of the circular platform around the Dragon.
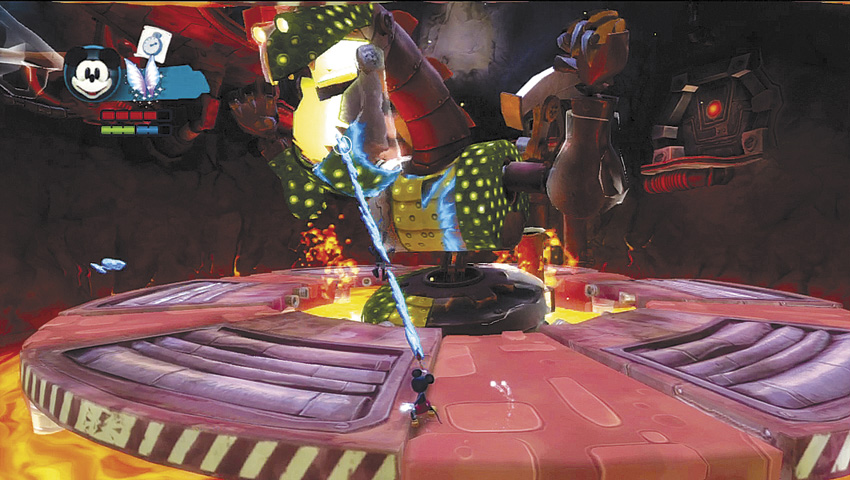
To defeat the Dragon, you must first paint in its toon shell. The shell turns from clear to a green dotted coating as you paint it.
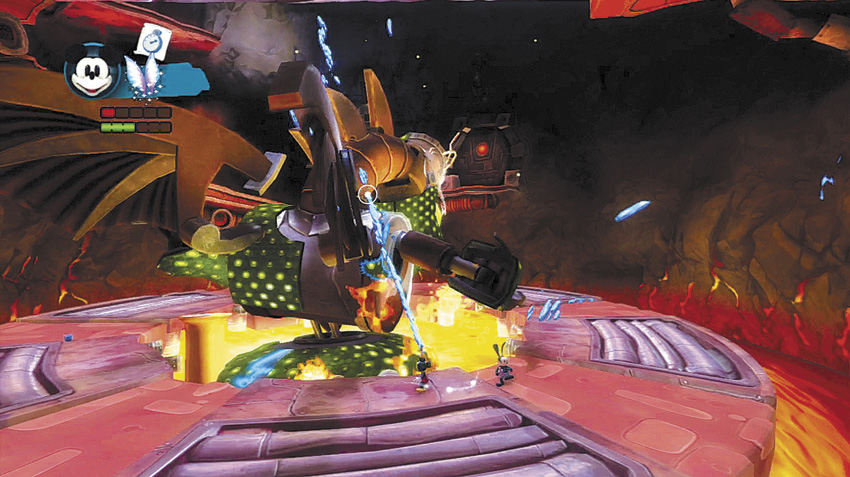
The toon shell covers the Dragon’s entire body, including the arms, back, and the base sitting in the lava. When you finish painting a section, there is a small explosion of confetti to let you know to move on to the next piece.
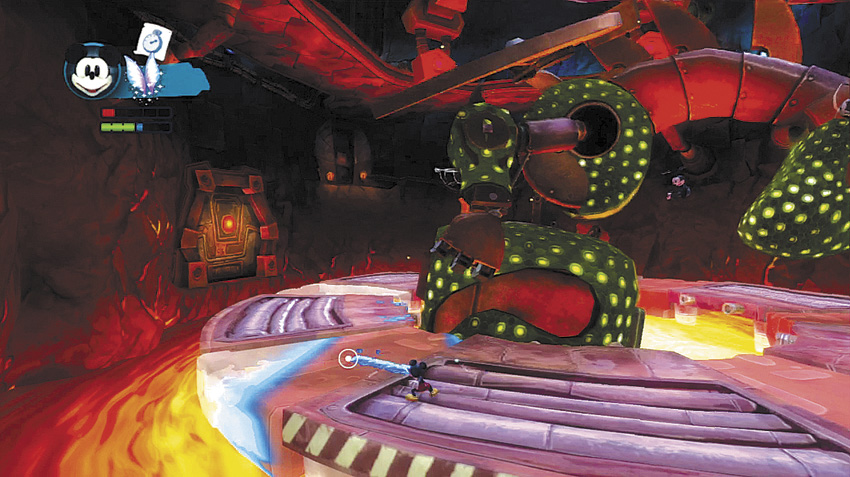
If any pieces of the platform become thinned out by the Dragon’s breath, paint them back in when you get a chance. This makes moving around easier and also prevents you from being knocked into one of the gaps.
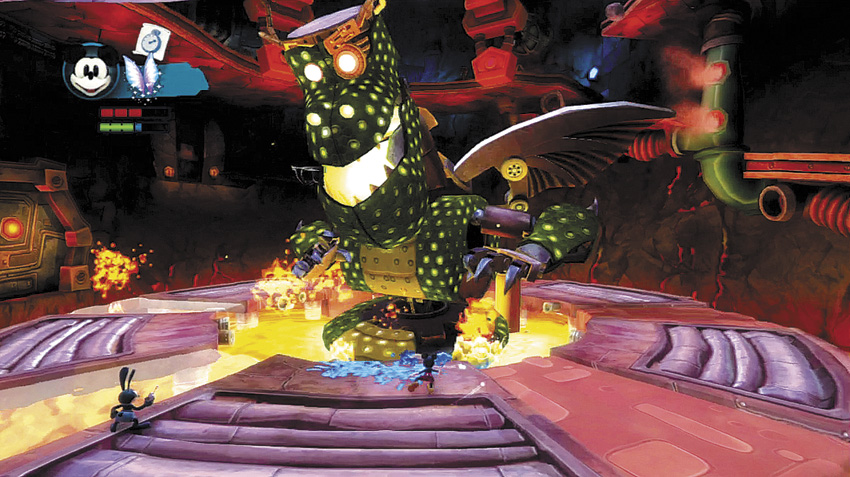
Finish painting the shell, which stuns the Dragon momentarily.
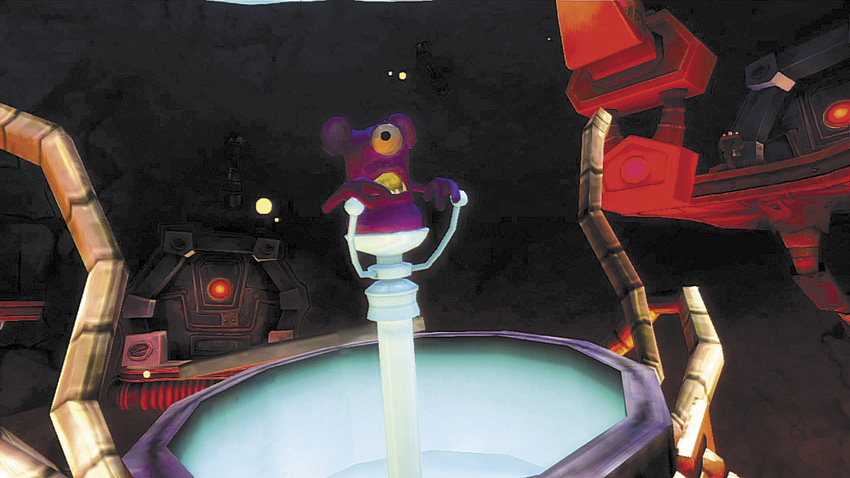
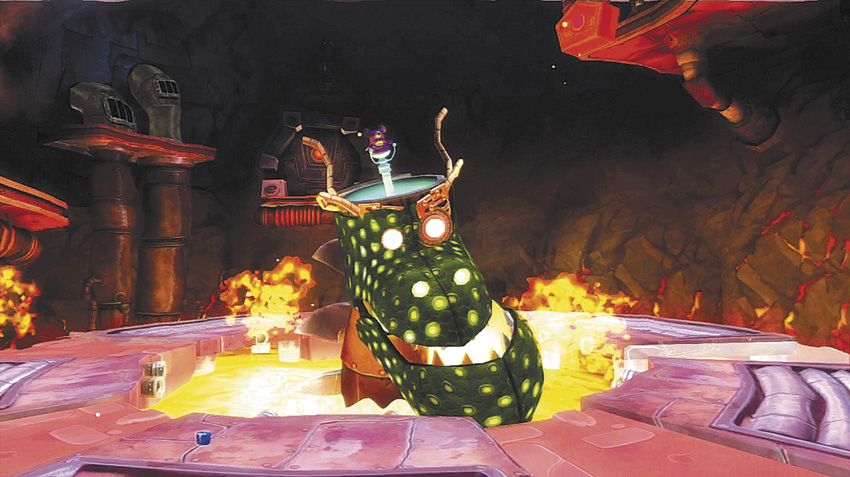
After you fully paint the shell, the head opens up and reveals a Spatter pilot.
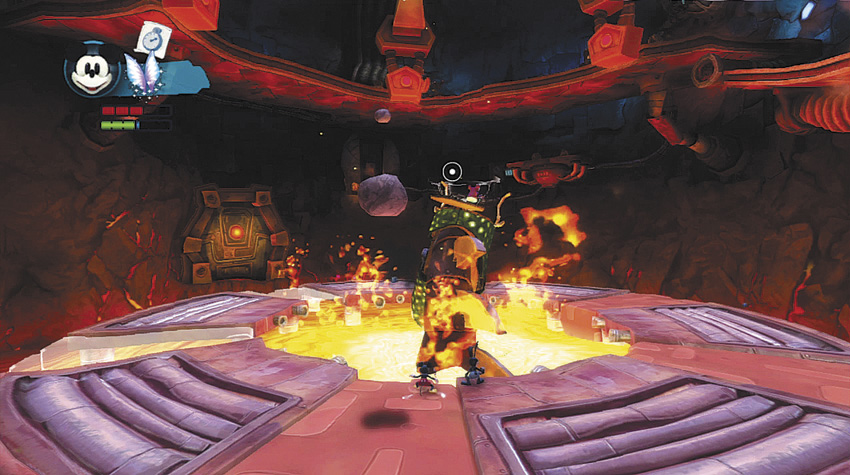
Only the Dragon’s head is above lava at this point, but the Spatter pilot is exposed. Paint in the Spatter whenever you get a chance.
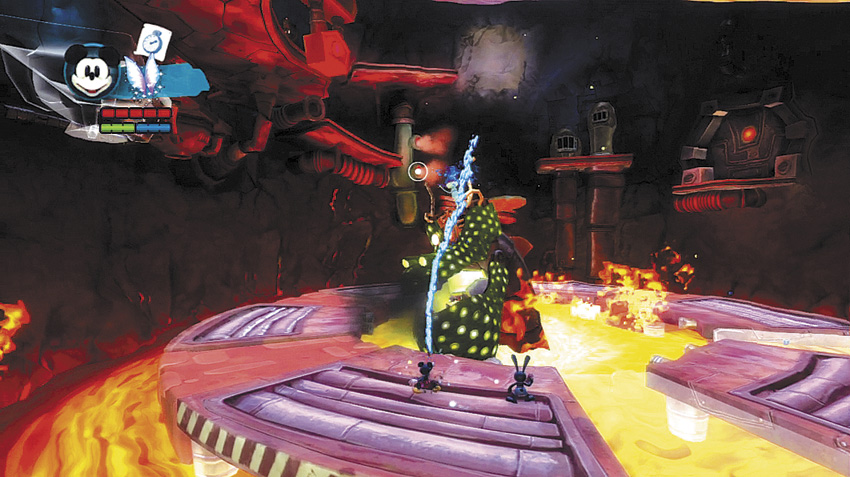
When the Dragon returns for the second part of the fight, it causes a small earthquake. Rubble begins to fall from the ceiling. Look for the shadows on the ground to avoid being hit by the falling boulders.
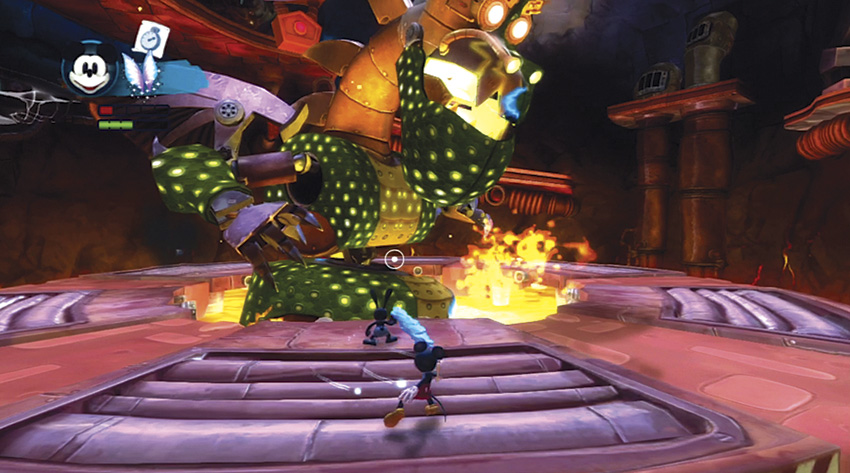
If you get low on health, be sure to look for power-ups dropped by the exploding rocks.
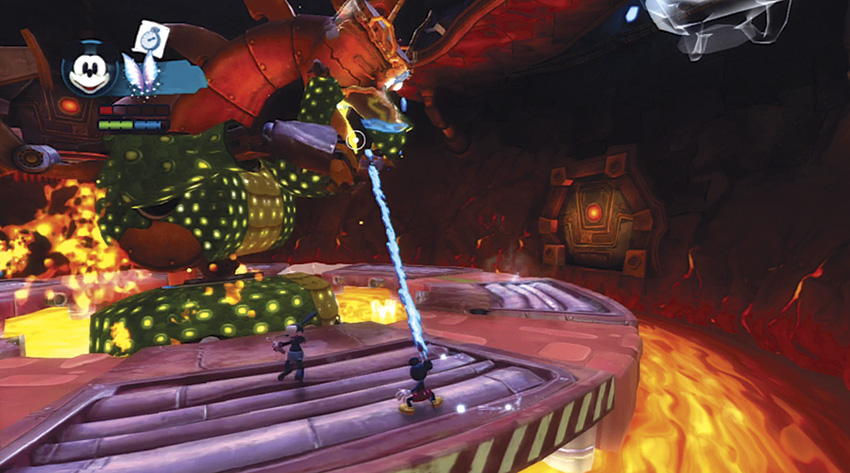
Use the Watch Sketch to slow down time and making dodging the falling debris and Dragon attacks much easier. You also can use the Fairy Sketch to daze the Dragon for a short time.
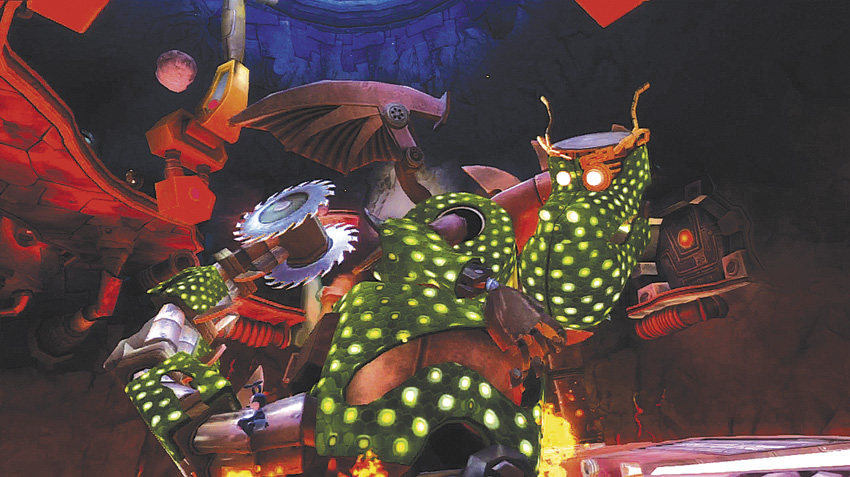
The Dragon reveals his buzz-saw tail during the second part of the fight.
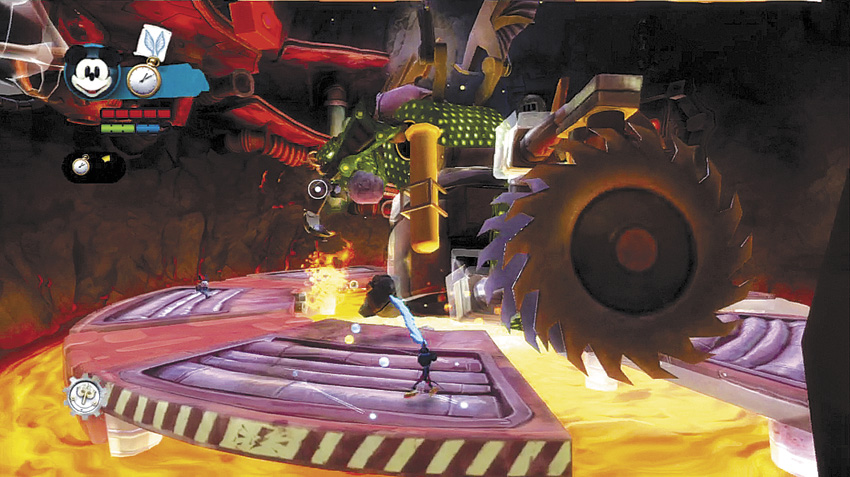
Now that the Dragon’s lower body and tail are exposed, you must paint in the toon on these parts as well.
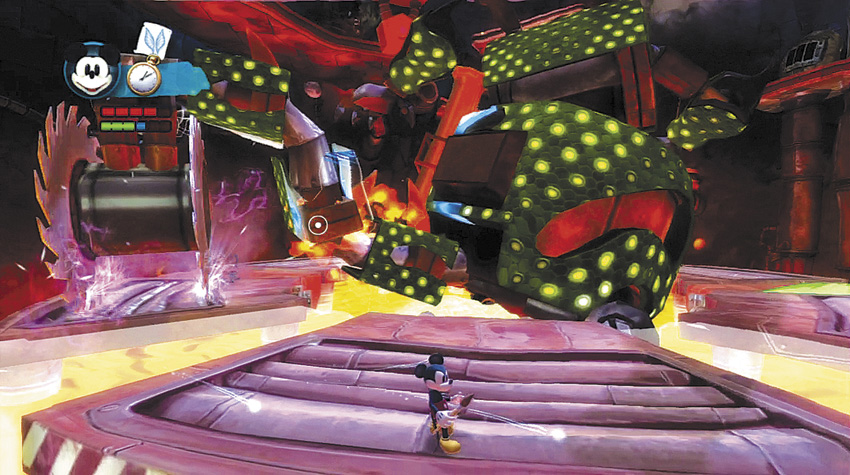
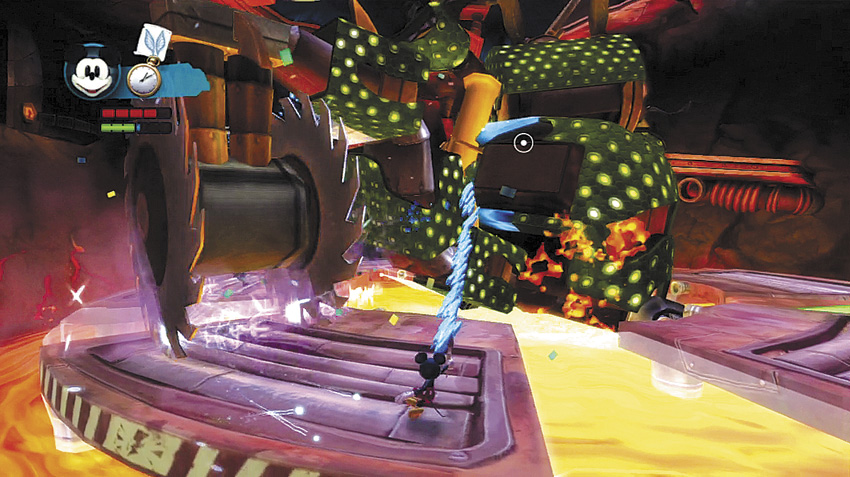
The Dragon occasionally slams down his tail and the saw blades start spinning against the platform. At this point, you need to drop what you are doing and run away from the saw until the Dragon lifts its tail back up.
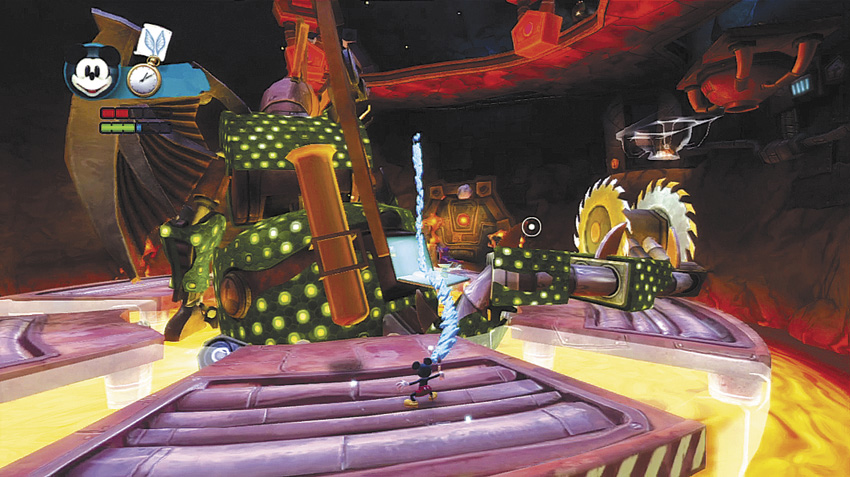
When you have painted in all the last portions of shell on the Dragon, the Spatter exits from a compartment on the Dragon’s back. Paint the Spatter a few times and you win this round of the fight.
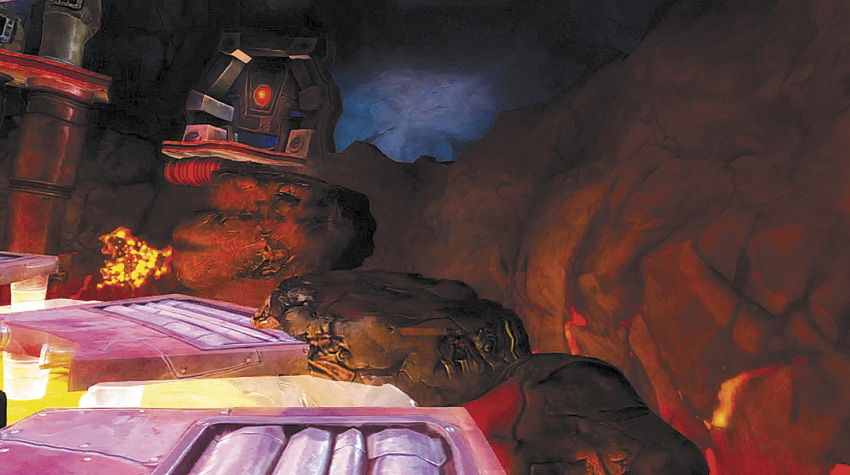
Upon defeat, the Dragon throws a fit and triggers an even bigger earthquake than before. Some large boulders fall down and form a staircase up to the next level.
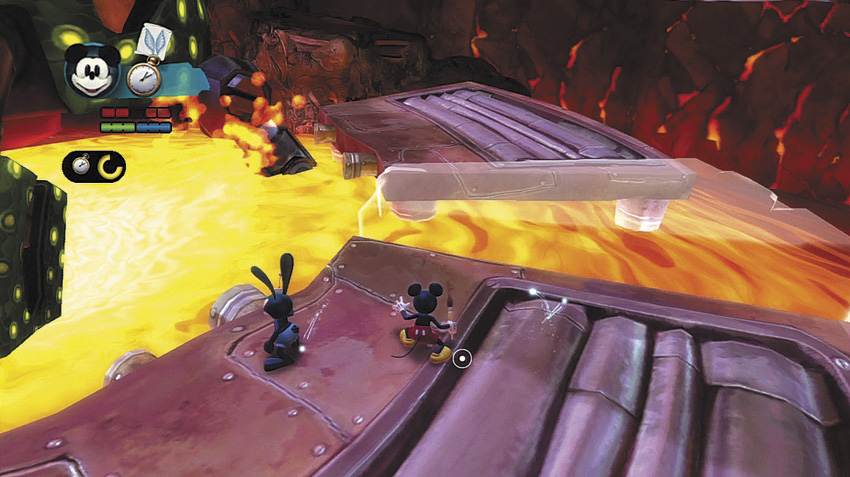
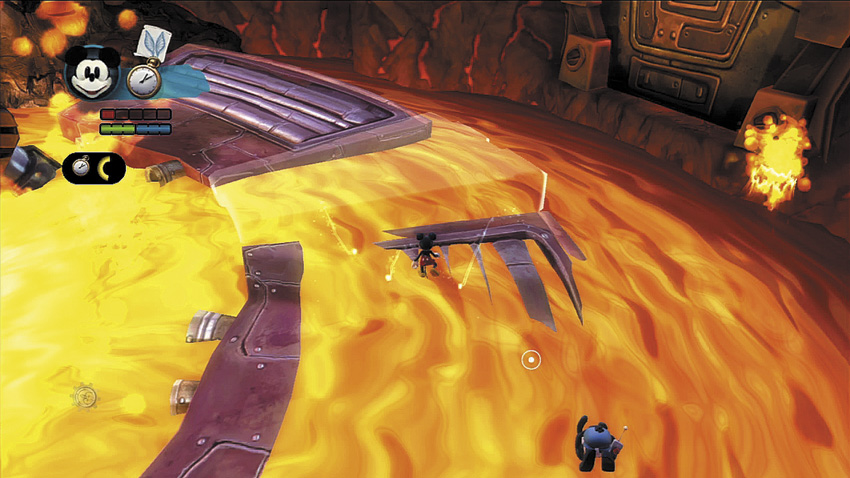
The lava level also begins to rise. You have only a few seconds to get over to the stone staircase before the lava begins to engulf the platform ring.
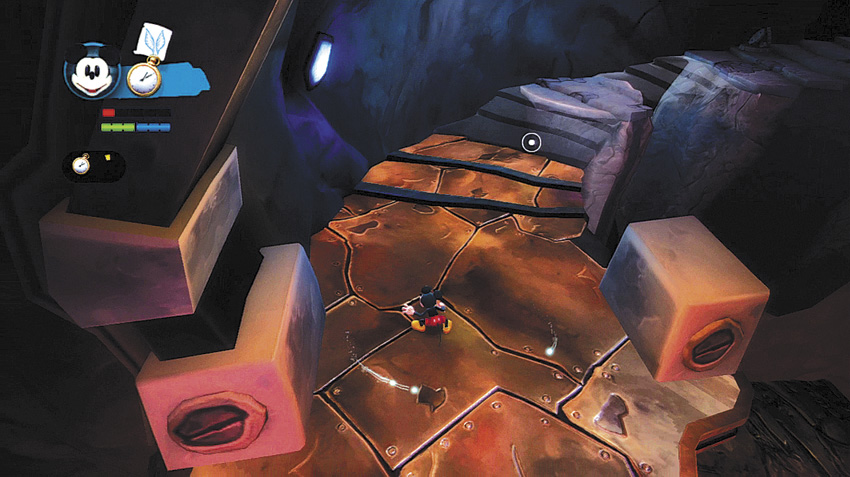
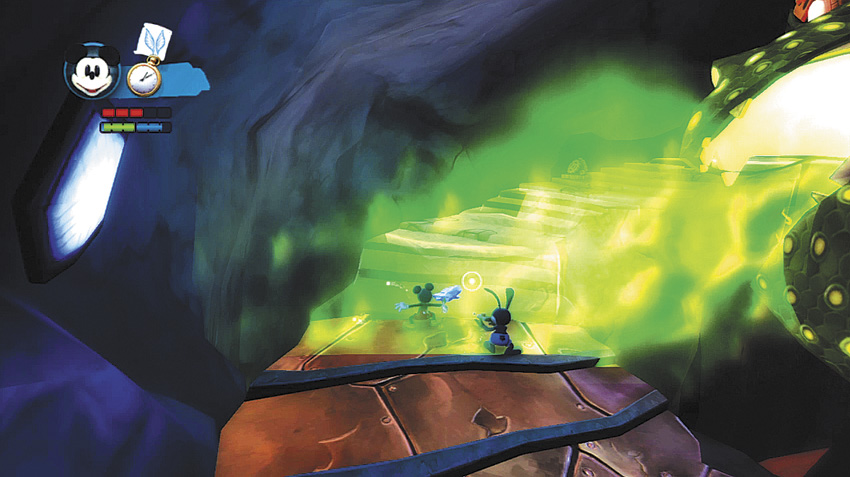
At the top of the stone stairs is another staircase looping upward. Several missing sections can be painted. However, the Dragon attacks you with his Thinner breath and any painted portions that get hit by the breath disappear again. Concentrate on jumping to the permanent pieces of the staircase.
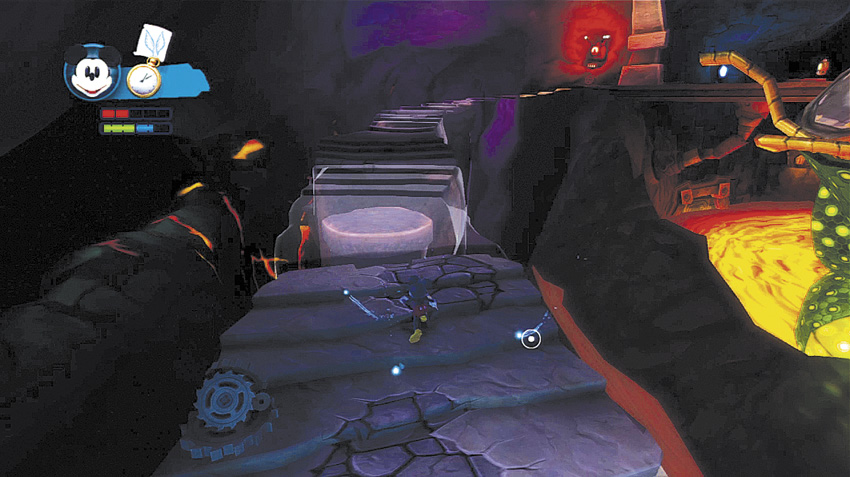
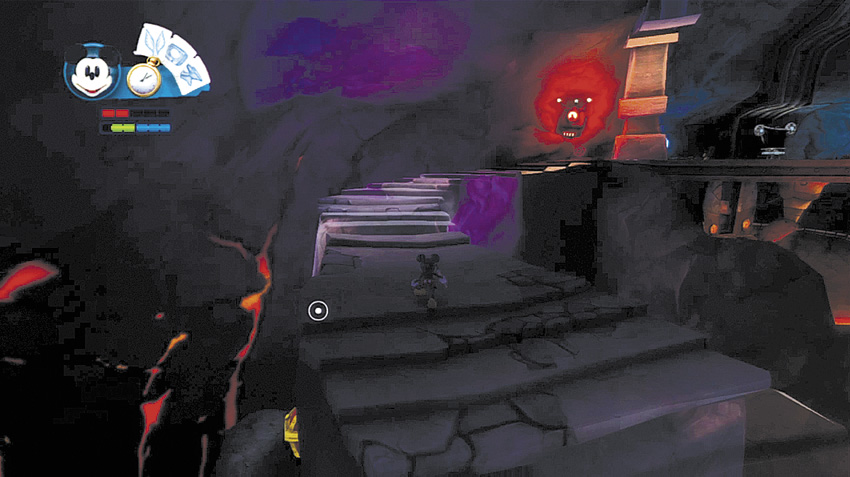
About halfway up the staircase, look for a hidden chest on the left side. There is a small alcove with a ledge on the side of the stairs.
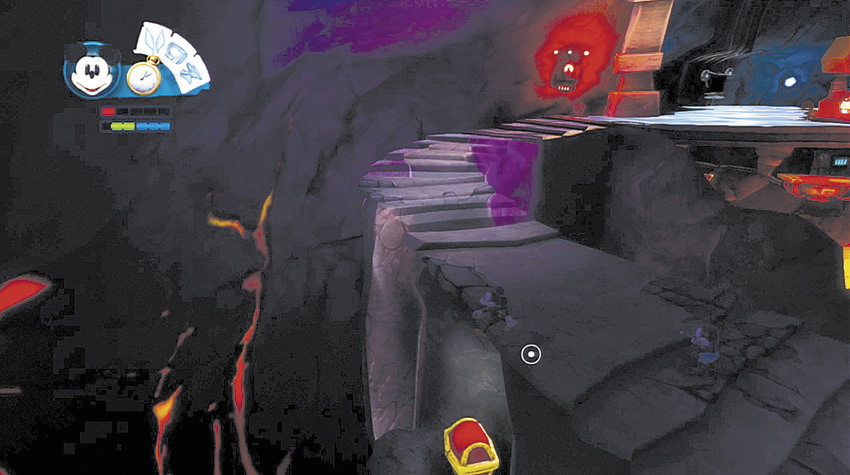
You can drop off the side and land on the ledge to access the chest.
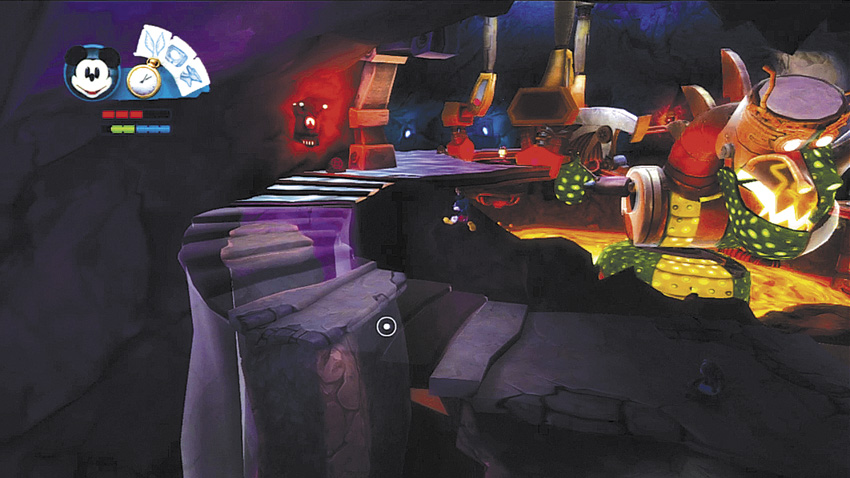
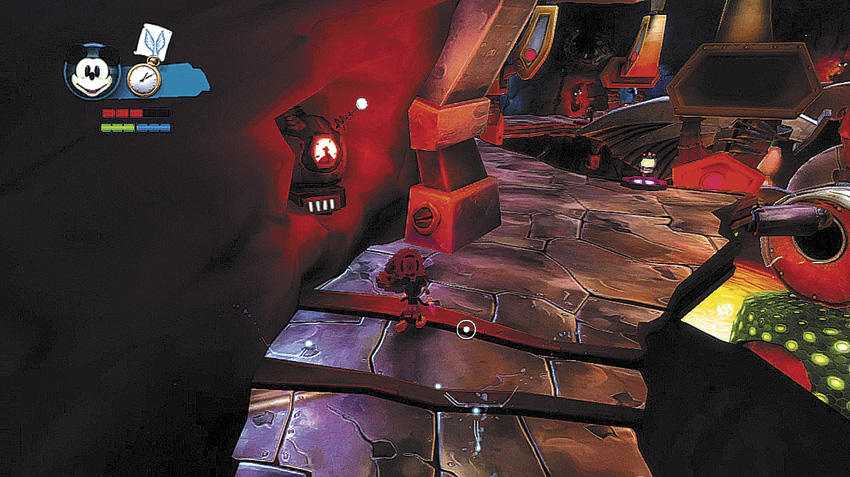
Climb back up to the stairs and continue upward. You can smash some gears along the way to refill your health and Paint.
Silver Pin
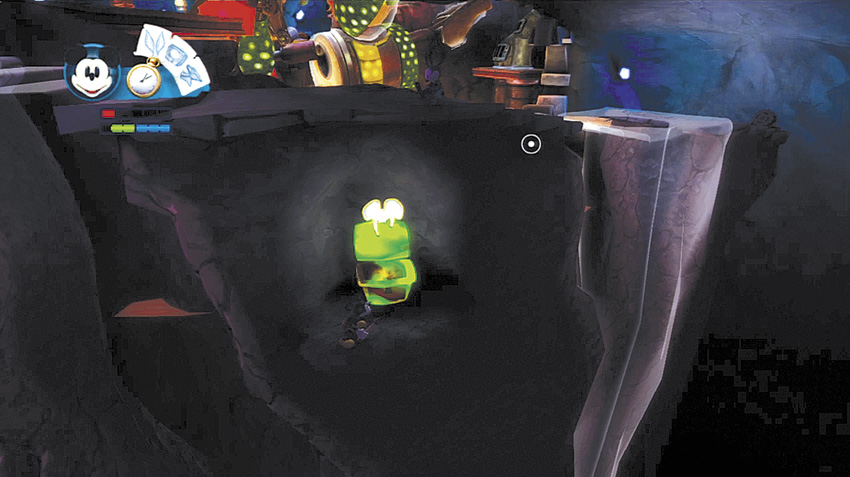

Drop down to the secret ledge on the left side of the winding staircase to find a red chest with a Silver Pin.
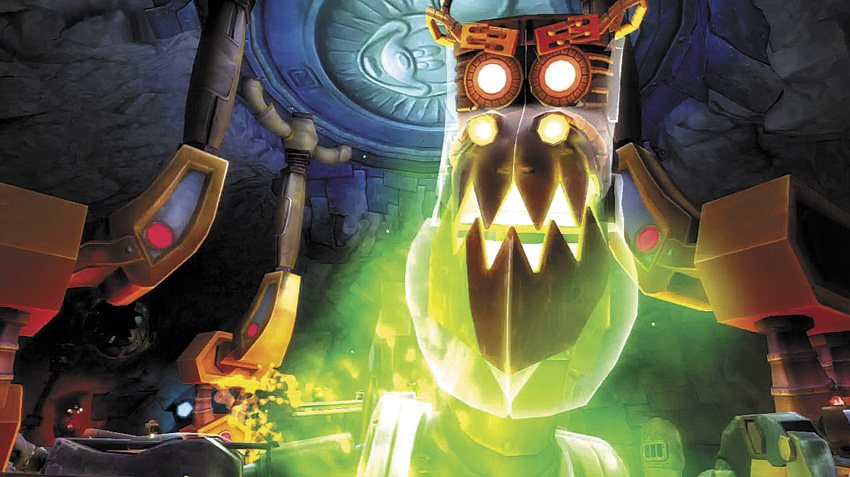
As you reach the apex of the stairway, the Dragon emerges from another pool of lava.
The Dragon’s shell has been thinned out again, and he appears to be quite ticked off.
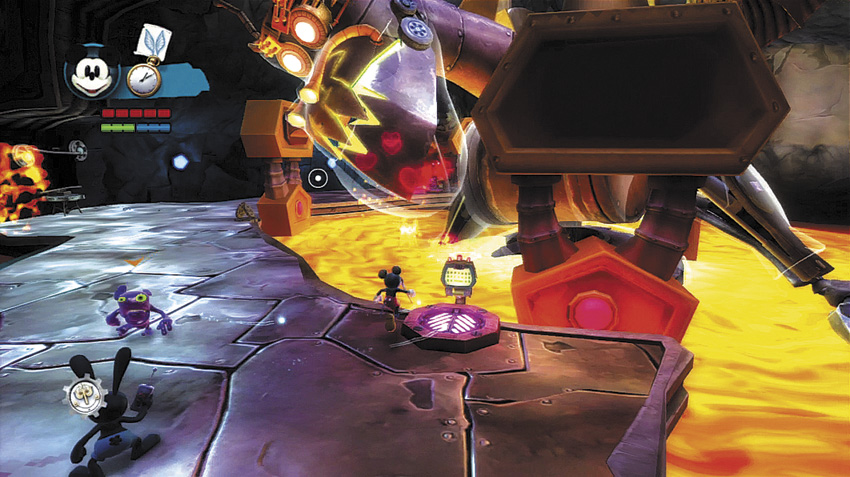
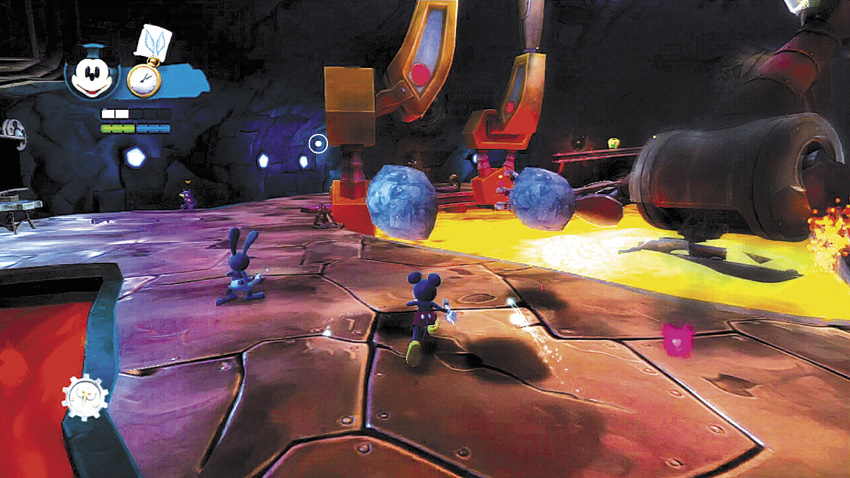
Just as before, the constant earthquakes cause rubble to crash down from the ceilings. Use the shadows to avoid any impact, and keep an eye out for health power-ups that come from the crashing rocks.
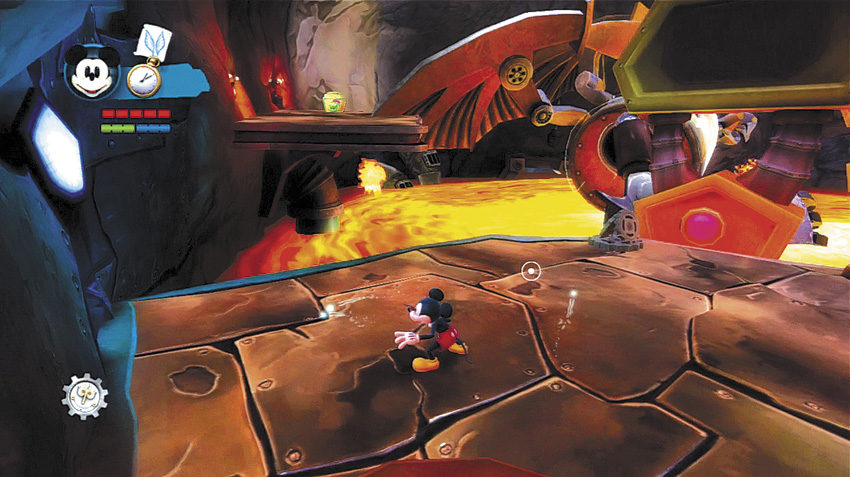
Follow the platform to the end so that you can pick up a couple of items.
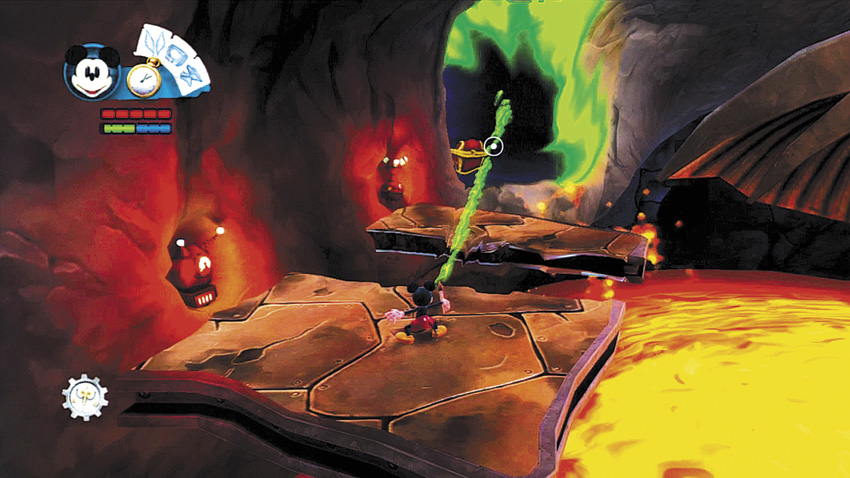
From here, you can thin out a secret cave along the wall.
Gold Pin
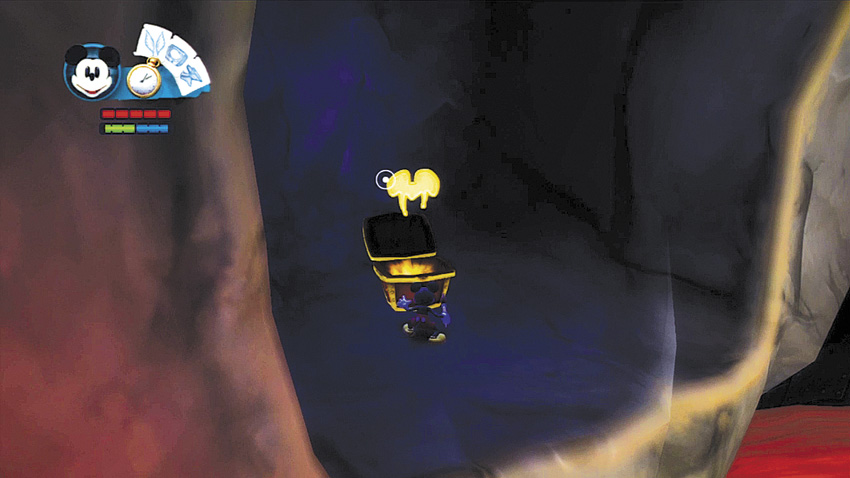

Jump from the raised platform to the thinned-out cave and find a Gold Pin inside the red chest.
OPTIONAL QUEST
WATCH THE SKIES
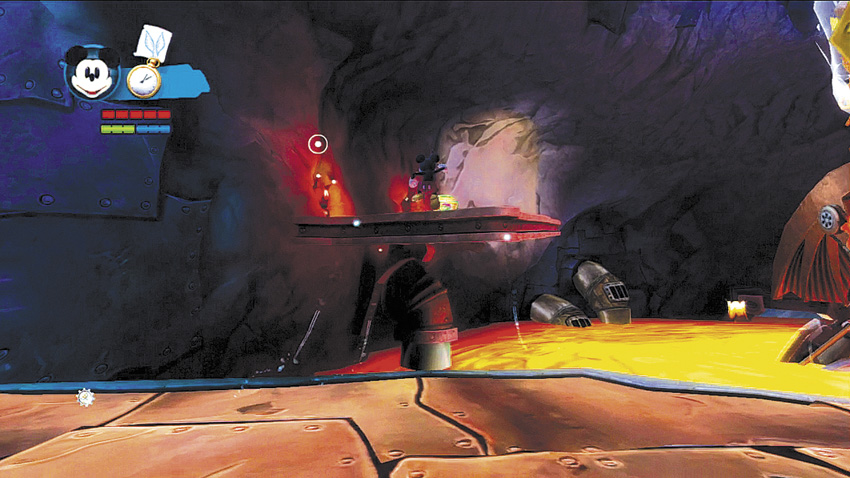
Jump up to the raised platform at the end of the room to collect the Pete’s Dragon Lunchbox quest item.
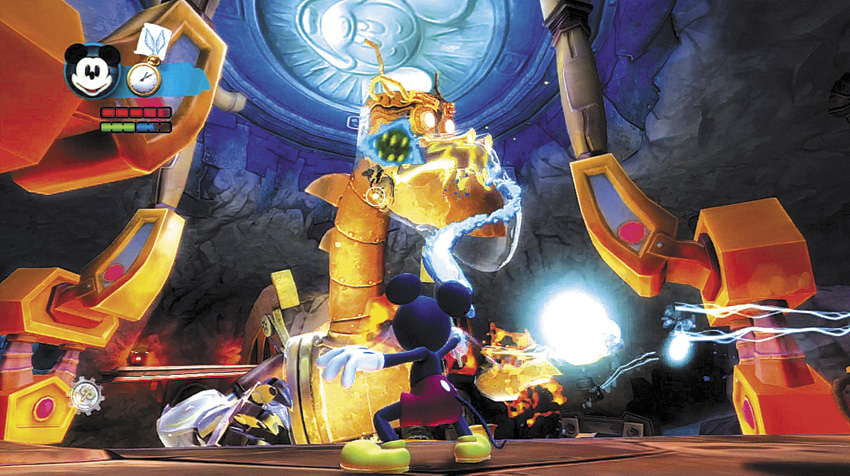
Once you have collected the iitems, engage the boss. As before, your objective is to paint in the Dragon’s shell.
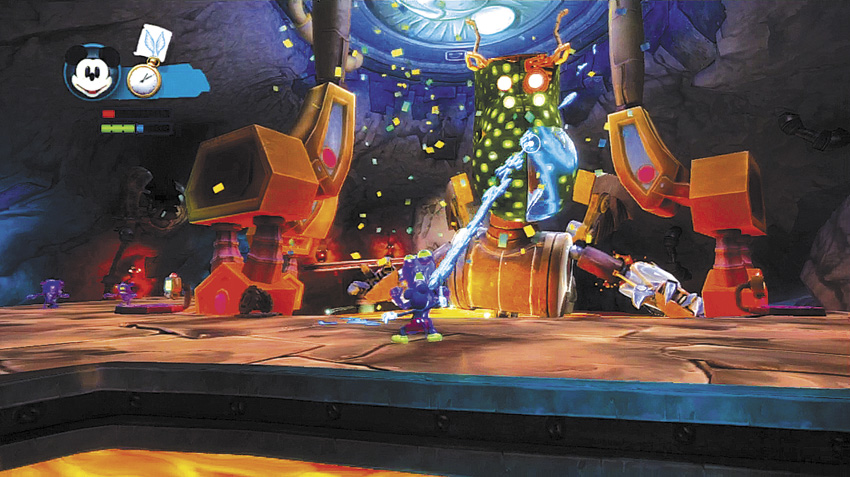
Remember that there will be a confetti explosion when you fully paint a section, so you can move on to another.
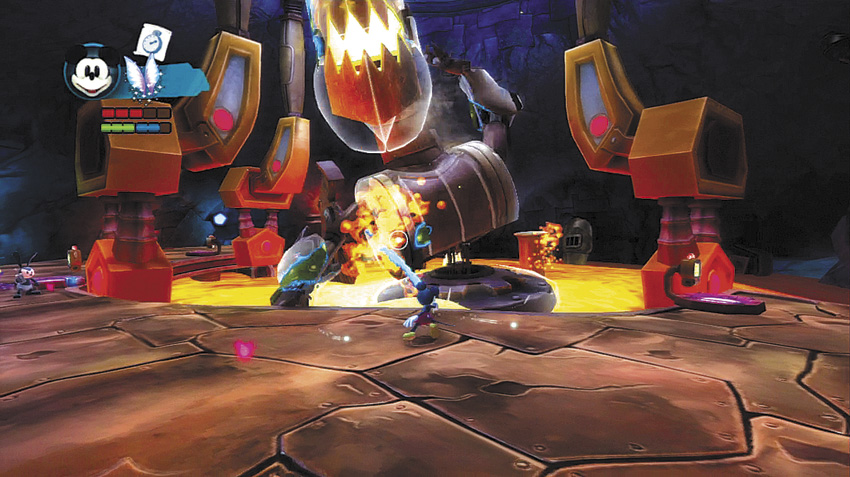
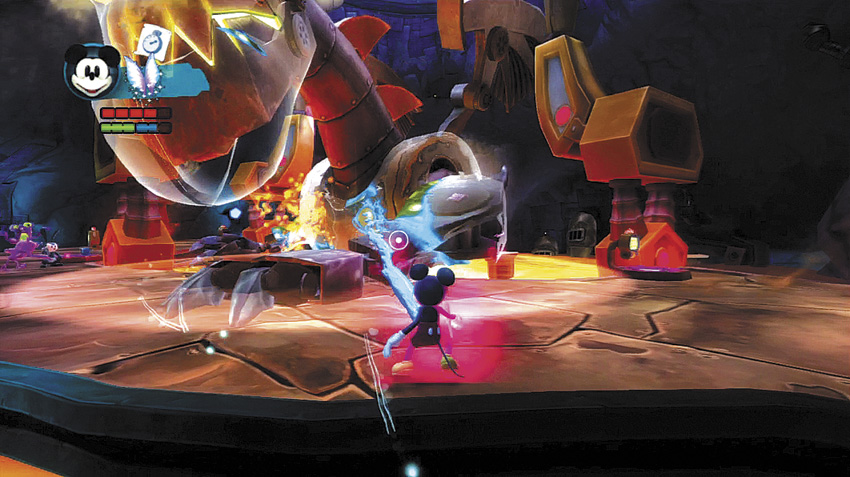
The Dragon uses the same bag of tricks to attack you. Be careful when he raises his fist, because that means he’s ready to smash the platform.
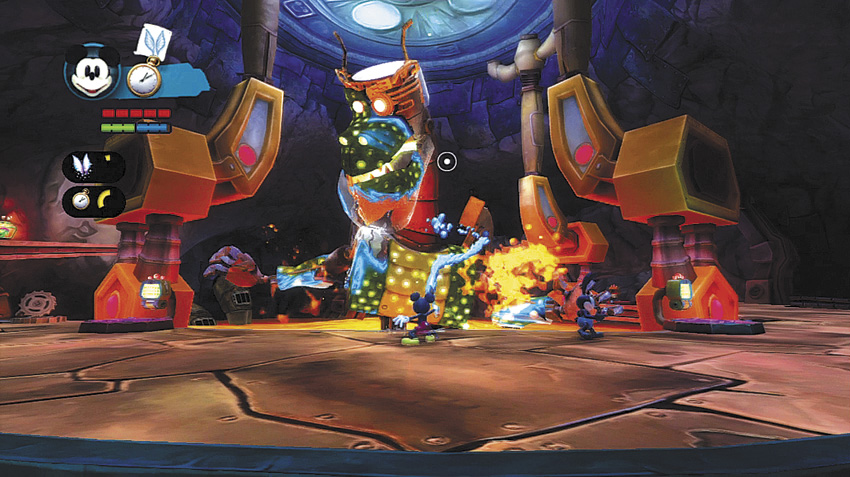
Continue painting in the shell. Remember that you can use the Watch and Fairy Sketches to take advantage of the Dragon.
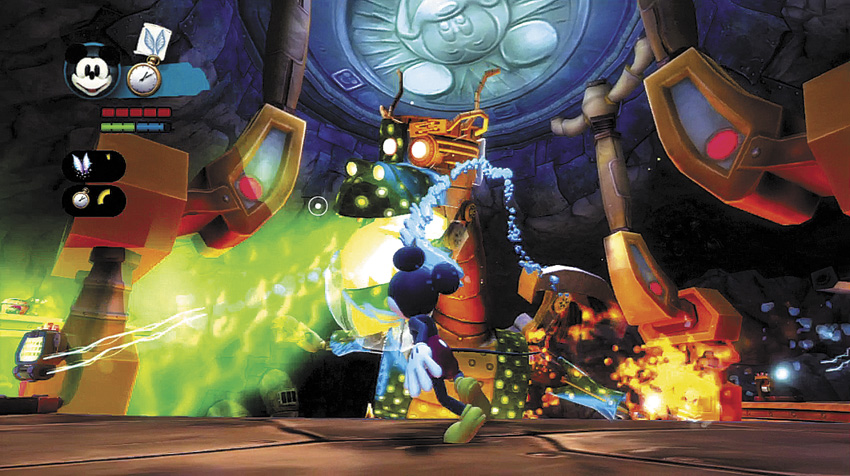
The Dragon also uses the same Thinner breath attack. Be sure to avoid that.
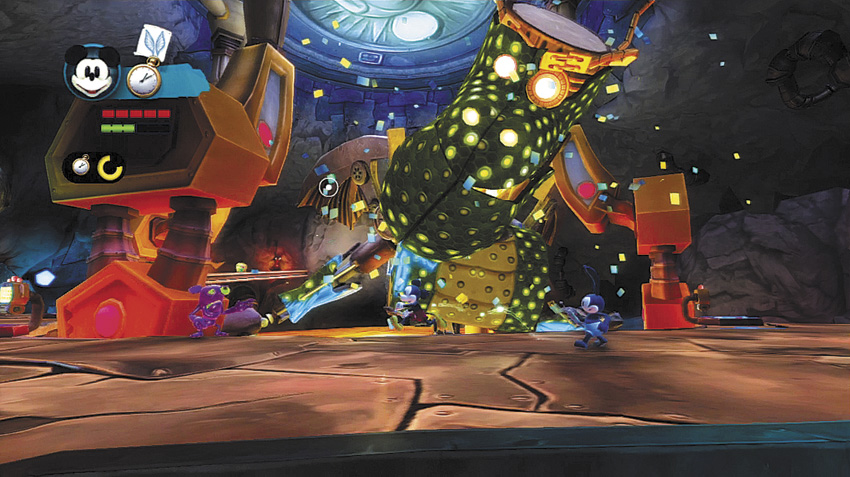
At any point Oswald can shock the Dragon to stun him, making him slump over.
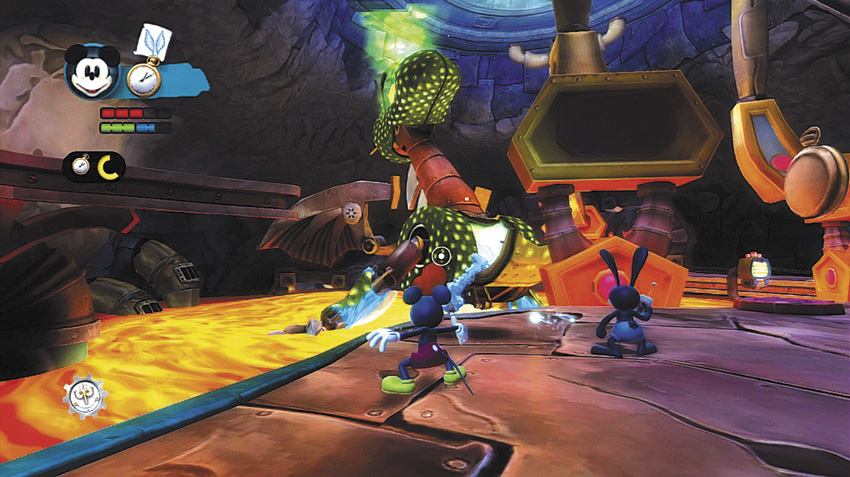
A breath attack directed at the ceiling causes more boulders to fall, so dodge accordingly.
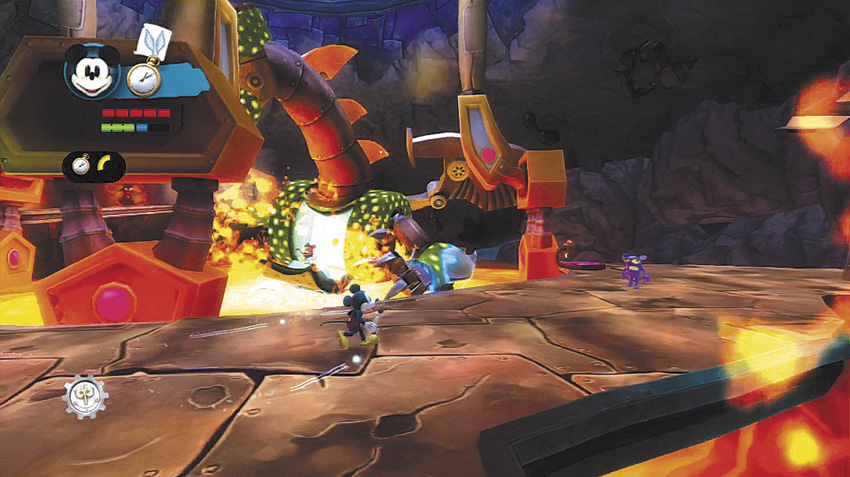
Once the shell is fully restored, another Spatter pilot emerges from a compartment in the chest. Spray it with some Paint to finish off the Dragon.
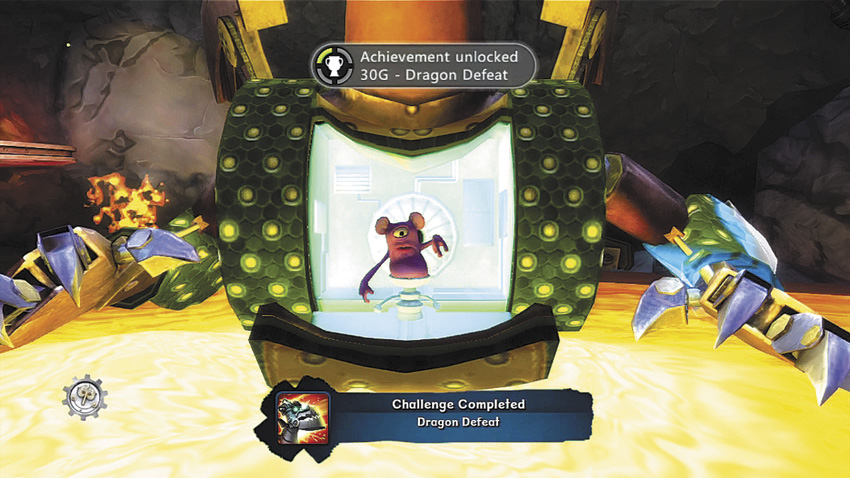
When the Dragon has been beaten, you complete the Dragon Defeat challenge.
Friendly Dragon Pin
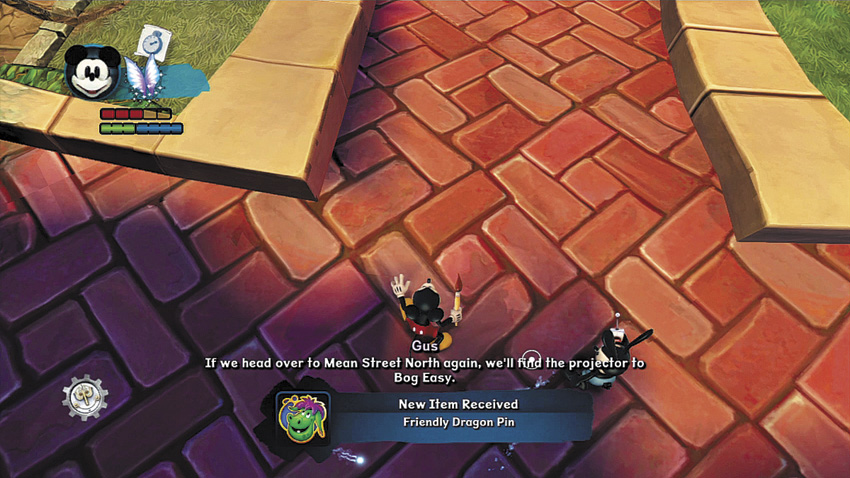
For taming the Dragon using Paint, you are awarded the Friendly Dragon Pin when you return to Mean Street South.
Dragon Defeat Challenge

PlayStation 3 Trophy: Silver
Xbox 360 Gamer Points: 30
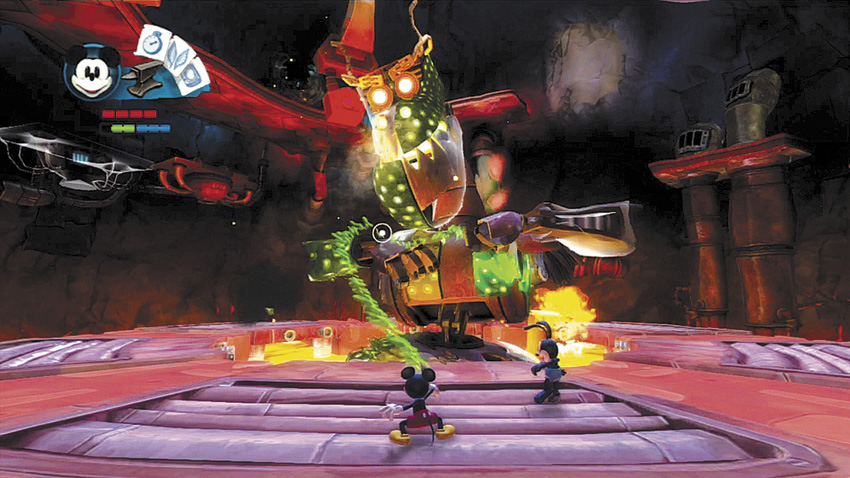
The first part of the Blotworx Dragon Thinner fight plays out pretty much the same as when you used Paint. Your objective is, of course, to thin out all the Dragon’s shell instead of Painting it.
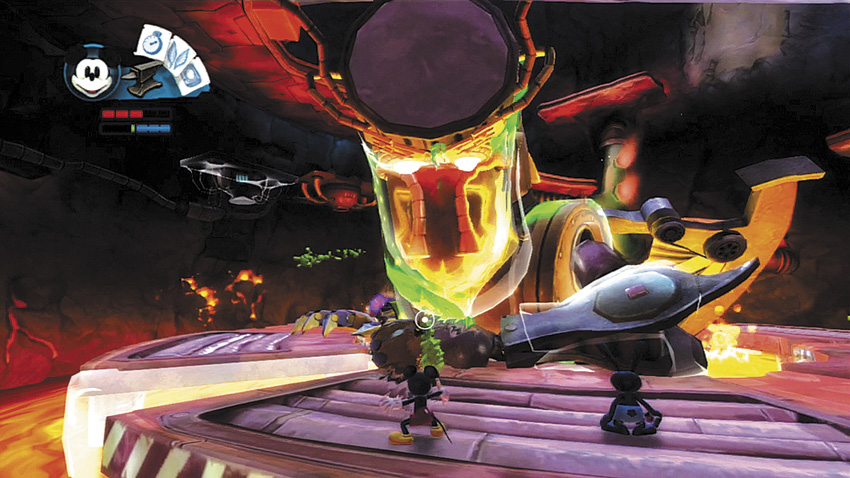
The Dragon uses the same attacks, including the rising fist smash and Thinner breath attack.
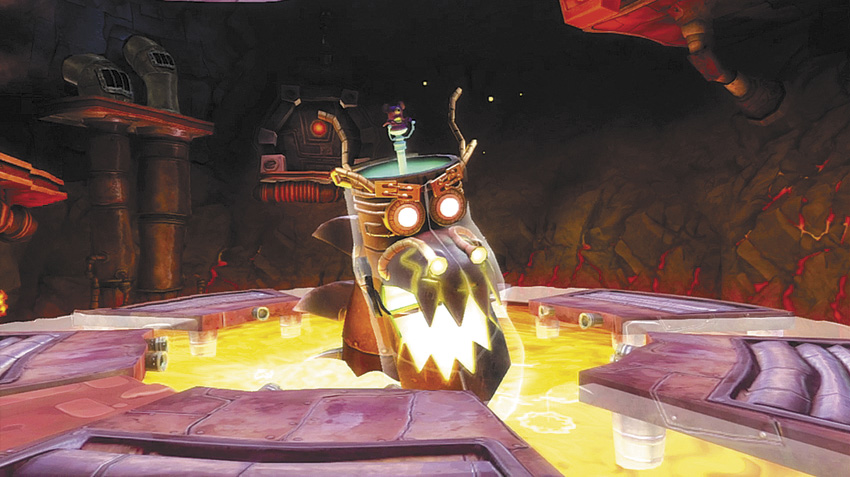
After you thin out the top half of the Dragon, the Spatter pilot emerges and the Dragon sinks up to its neck in the lava.
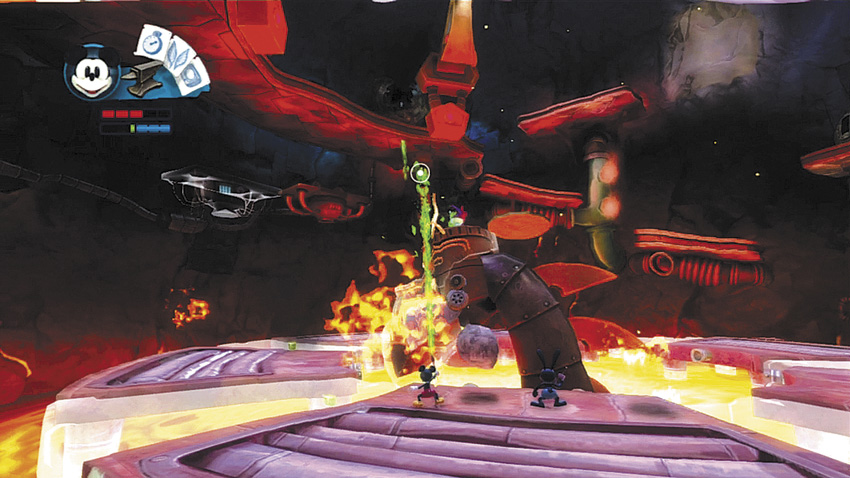
Spray the Spatter with Thinner while dodging the rocks that fall from above.
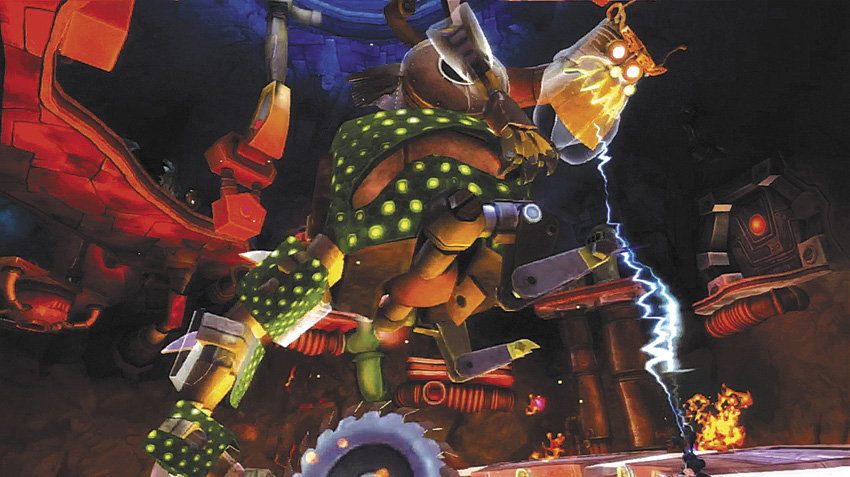
The Dragon leaps out of the lava and begins to attack with the saw on its tail.
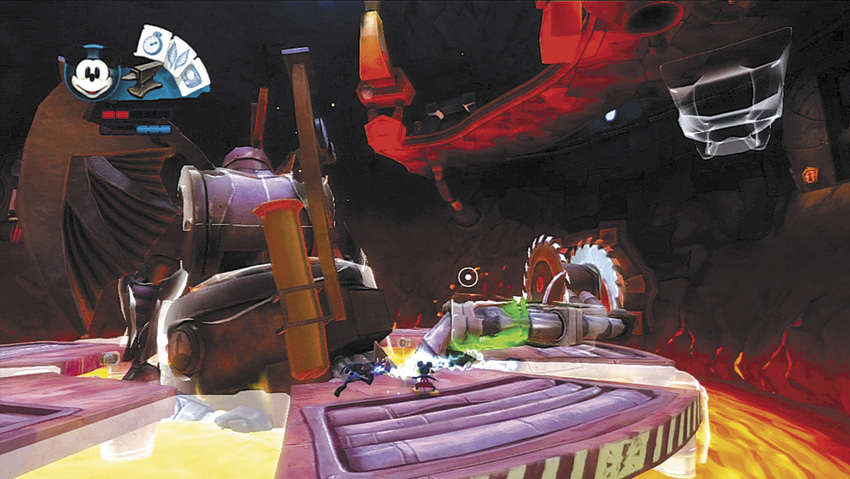
Avoid the saw attack, and thin away any pieces of shell on the lower half of the body and tail.
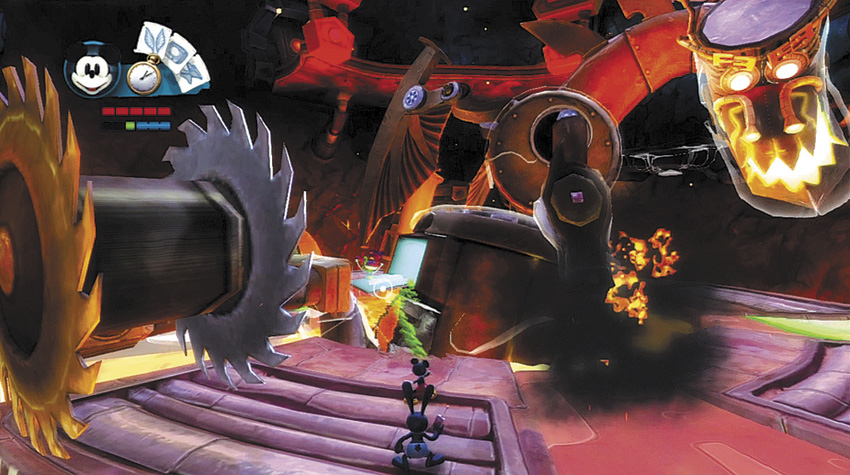
When the Dragon’s shell has been completely removed, the Spatter opens up his secret hiding spot in the Dragon’s back. Give him a final spray of Thinner until the Dragon goes into a tantrum.
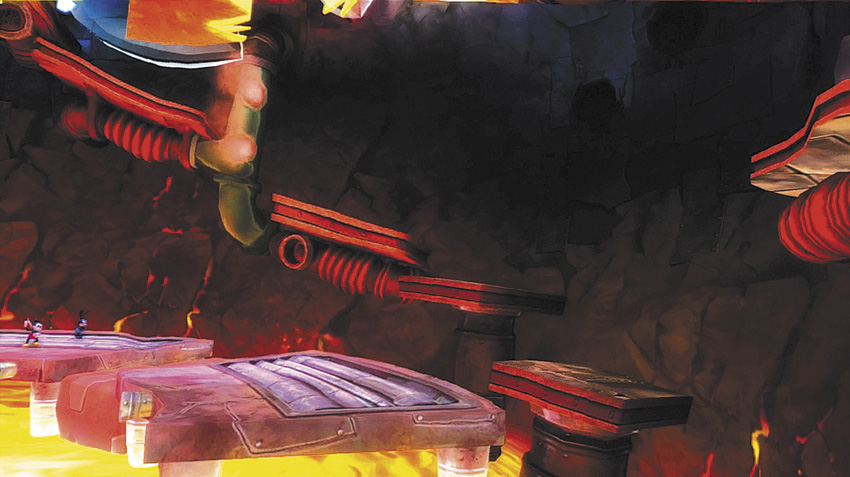
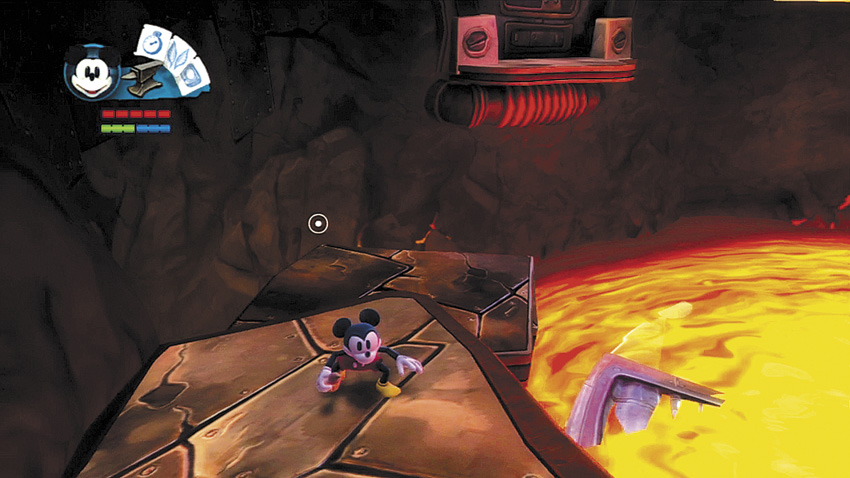
Just as in the Paint version, an earthquake causes the lava to rise. Instead of taking the path made of fallen rocks, you have to climb a series of platforms sticking out from the walls.
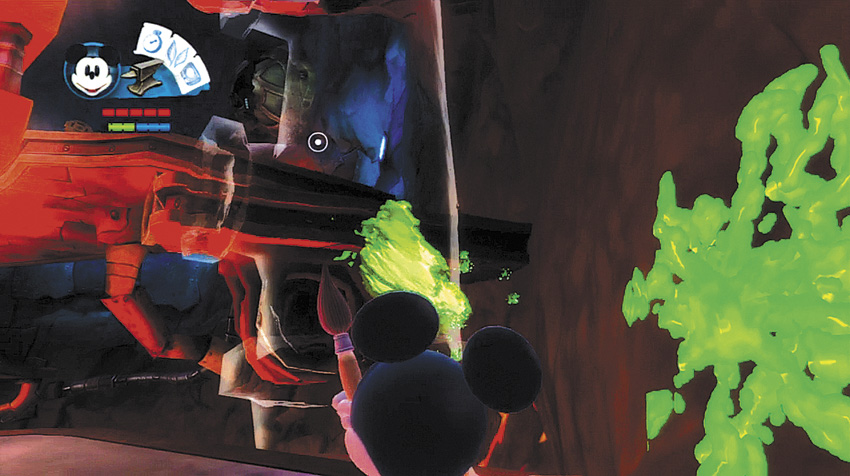
The steam pipe in the middle of the platform stairs must be thinned before you can progress.
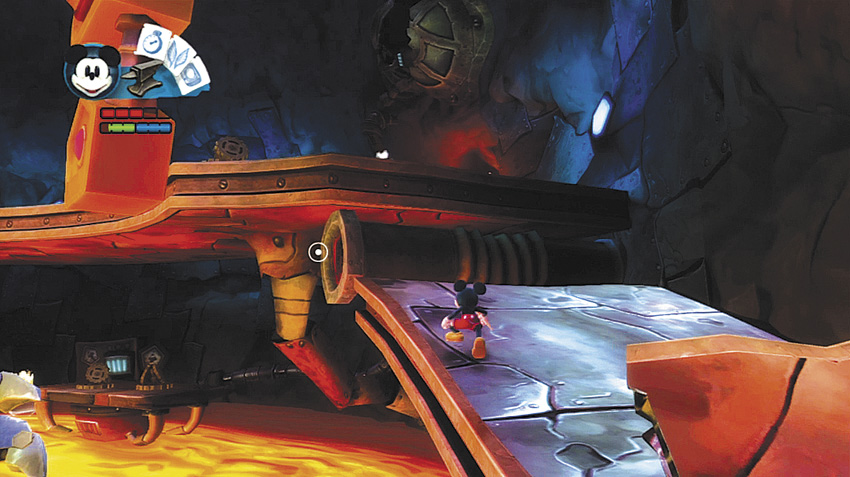
After you pass the pipe, look for one more ledge before you reach the second arena against the Dragon.
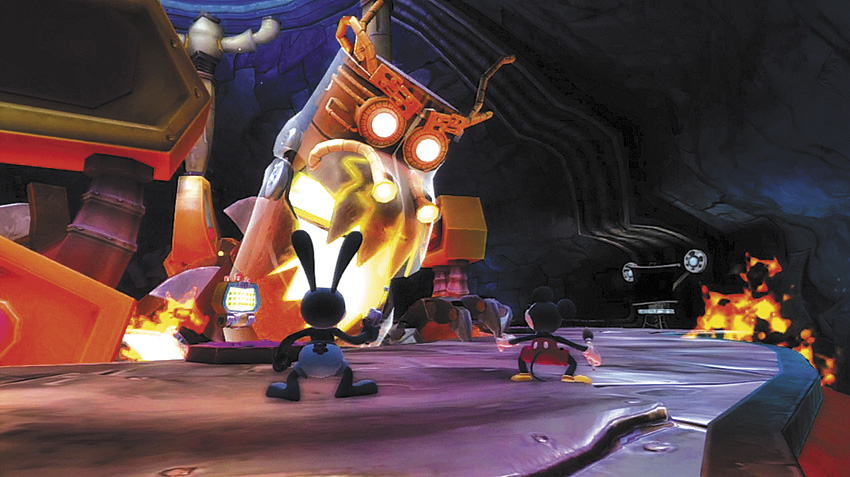
The Dragon returns in the second lava pool looking for payback.
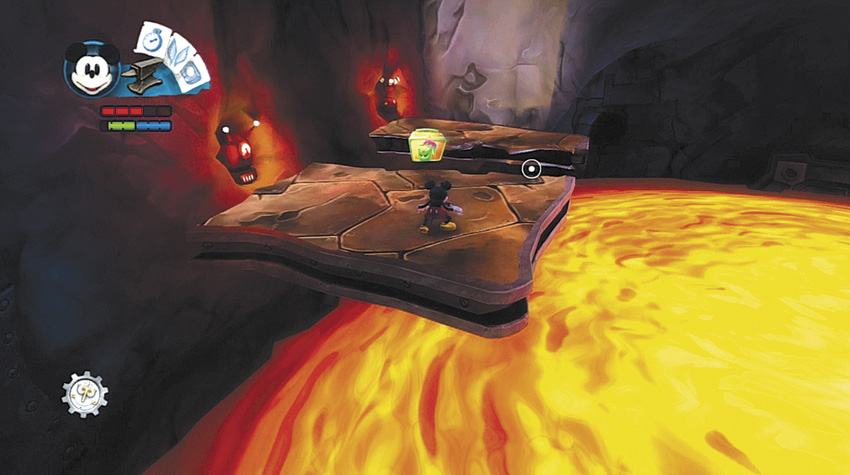
Be sure to pick up the Pete’s Dragon Lunchbox and Gold Pin on the raised platform as you did in the Paint version of the fight.
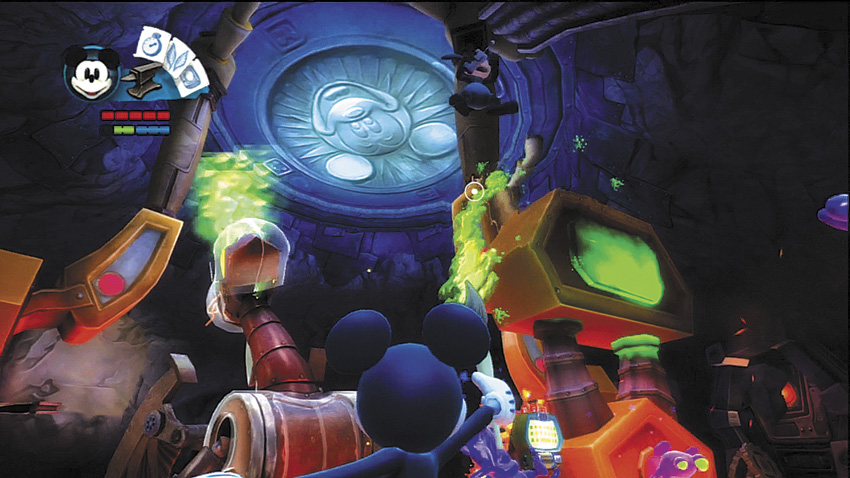
To win this part of the fight, you have to thin out the three large metal supports holding up the ceiling. Spray these with Thinner as the opportunity arises. You should position the support beams between you and the Dragon so that his Thinner breath attack hits the support beams instead of you.
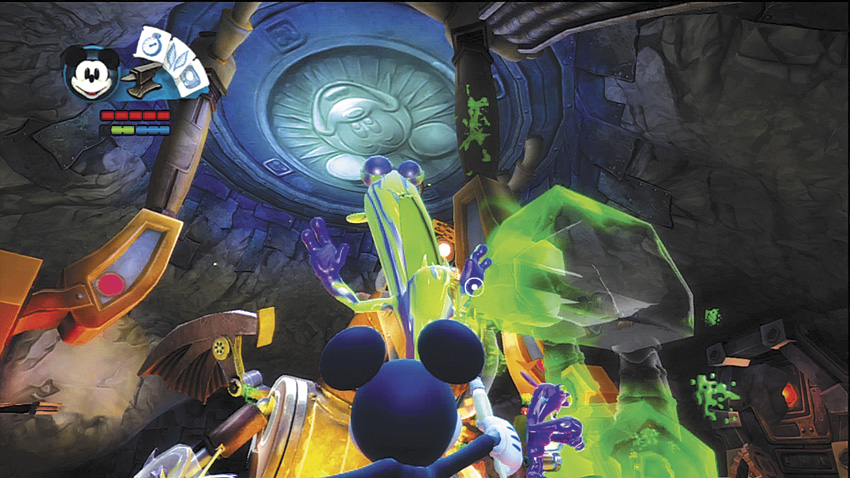
The Spatters annoy you in this version of the fight, too. Thin them out or flick them off the edge into the lava.
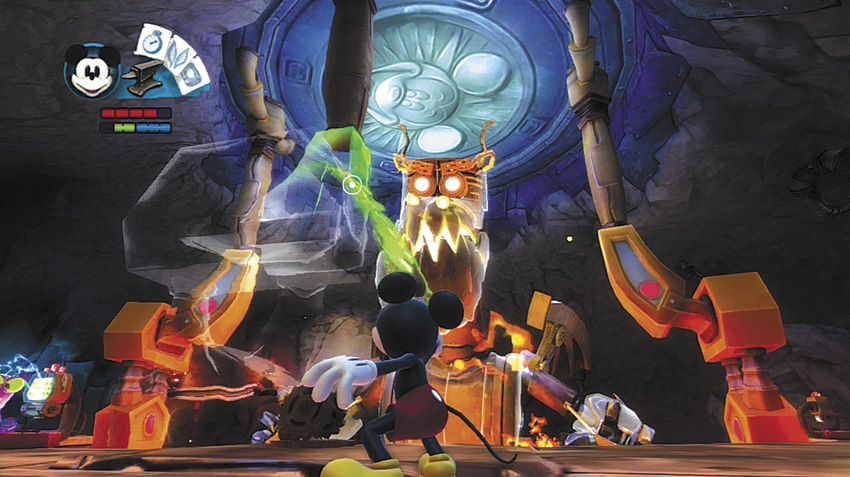
You only need to thin out the orange metal parts that form the base of each support; you can ignore the gray upper portions.
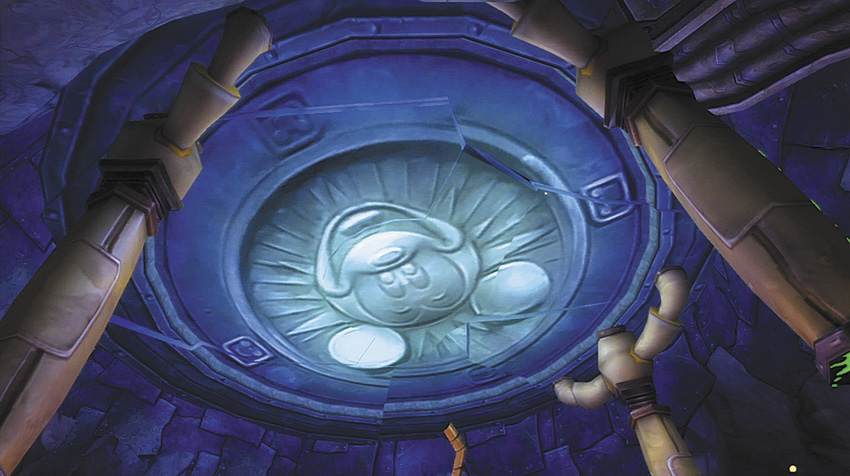
As the supports weaken, the ceiling begins to crack. Keep an eye out for more falling boulders.
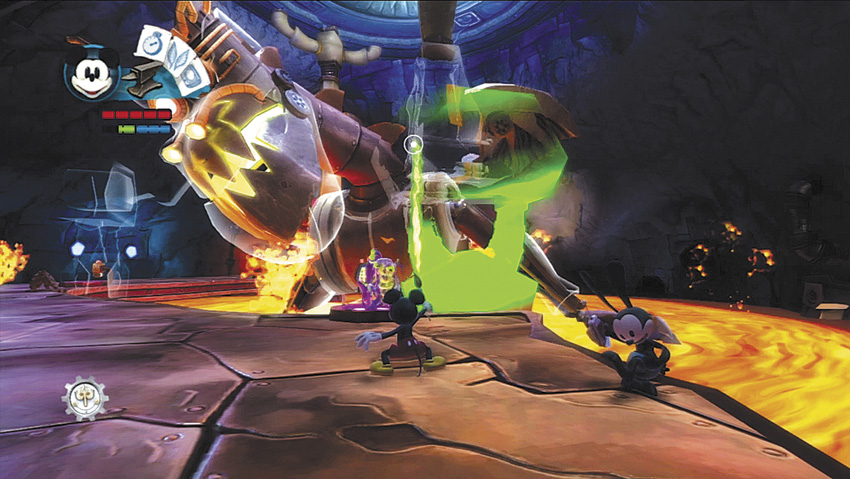
Finally, thin out the last support beam and get ready to watch the show.
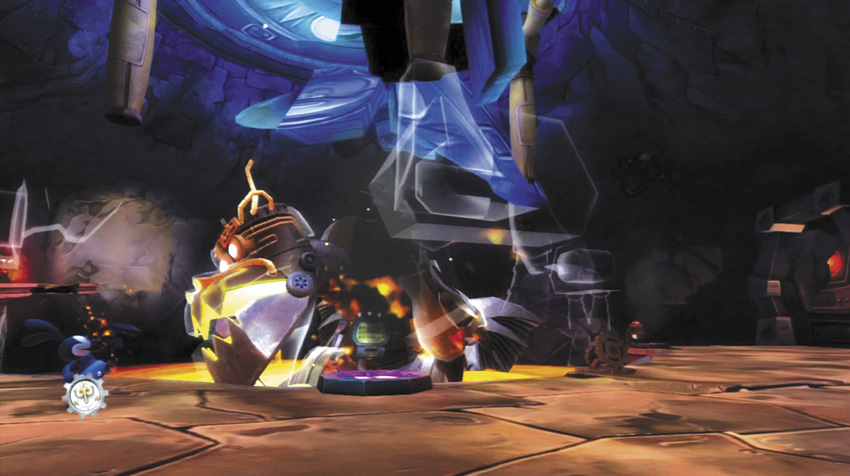
When all the support beams are gone, the ceiling collapses on top of the Dragon. The rubble overwhelms the Dragon and buries him. Victory at last!
Ring of Fire Pin
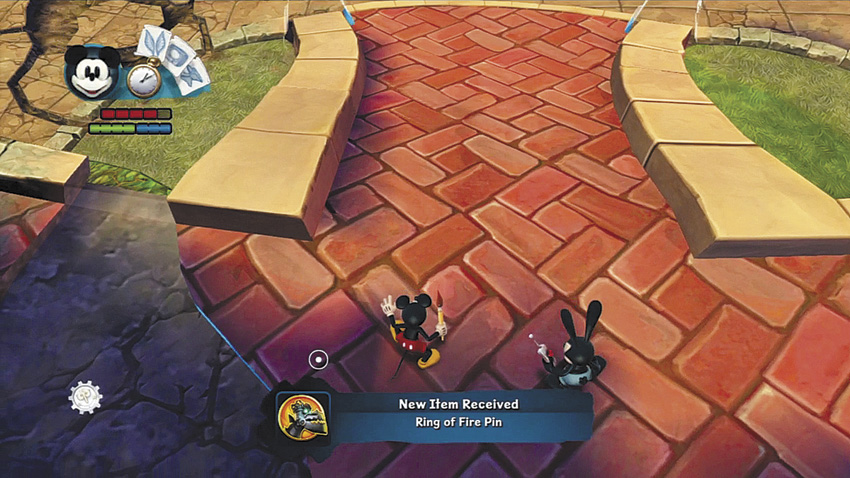
For using Thinner to defeat the Dragon, you receive the Ring of Fire Pin upon your return to Mean Street South.
Bronze Pin

Search for a red chest with a Bronze Pin at the end of the secret entrance to the Mad Doc’s Lab.
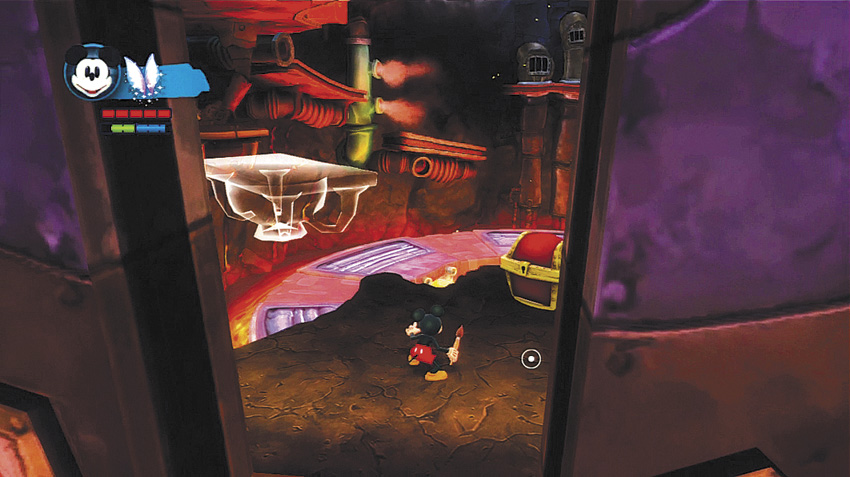
If you entered the Mad Doctor’s Lab using the secret Old Mill (Version 2) projector, you begin at a special entrance above the initial ring arena. This entrance provides access to a red chest and allows you to skip the whole first half of the Dragon fight.
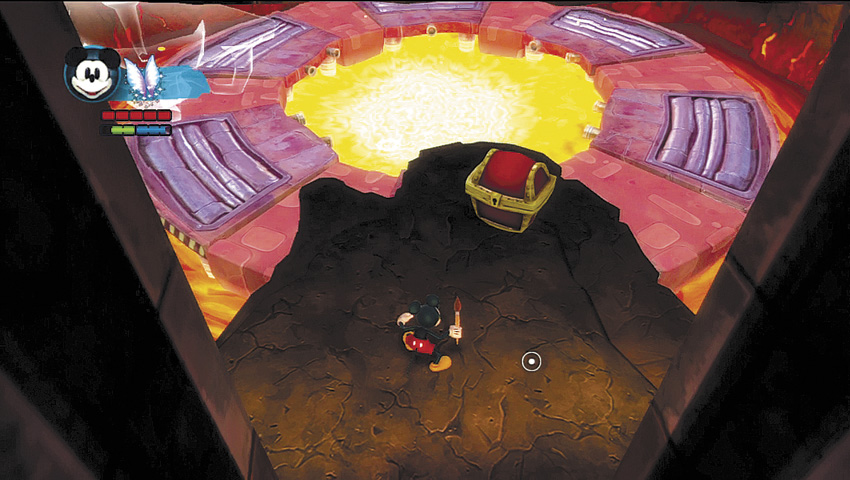
At the end of a small passage is a red chest. From here you can skip directly to the upper platform and the final stage of the fight. Just be careful of the rampaging dragon and the rising lava!