
Disney Epic Mickey 2: The Power of Two Guide Walkthrough Episode 1
D.E.C. (Version 2)
LEVEL BREAKDOWN
Collectibles
- Bronze Pin
- Concept Art 32
- Golden E-ticket
- Silver Pin (x3)
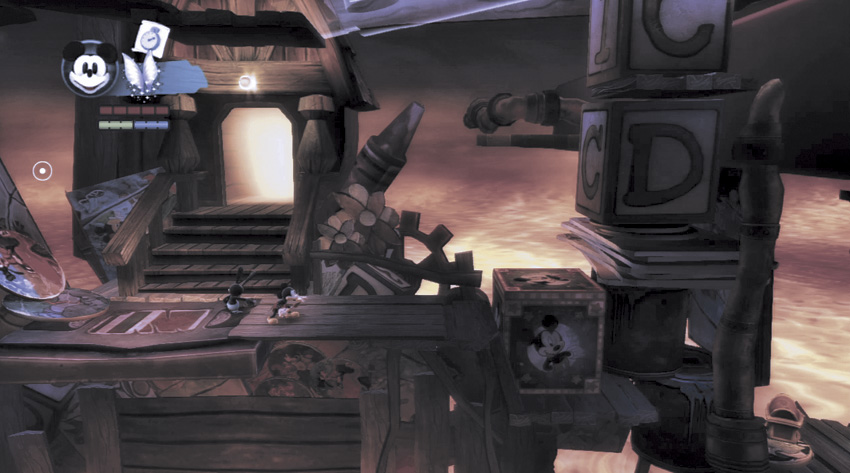
You enter the second D.E.C. area in what looks like a dead end. Don’t be fooled. You can use the jack-in-the-box to the right to leap up to the next section.
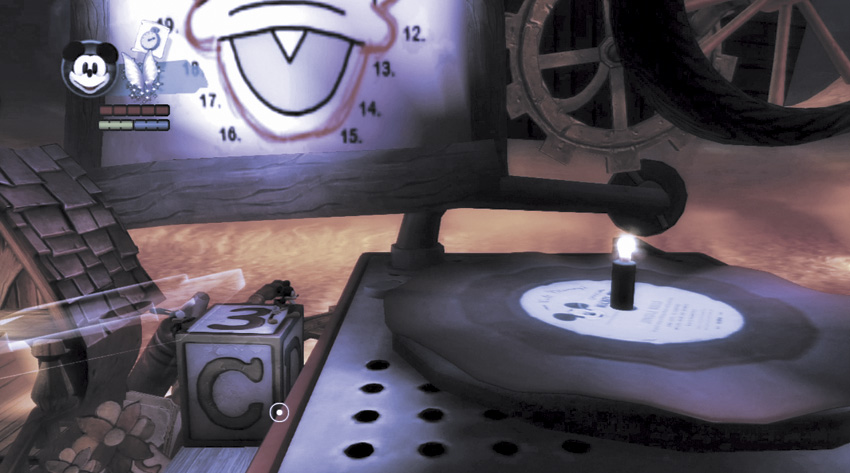
The jack-in-the-box vaults you up to the turntable. From here you can head up to the top path or descend to the bottom path for extra rewards.
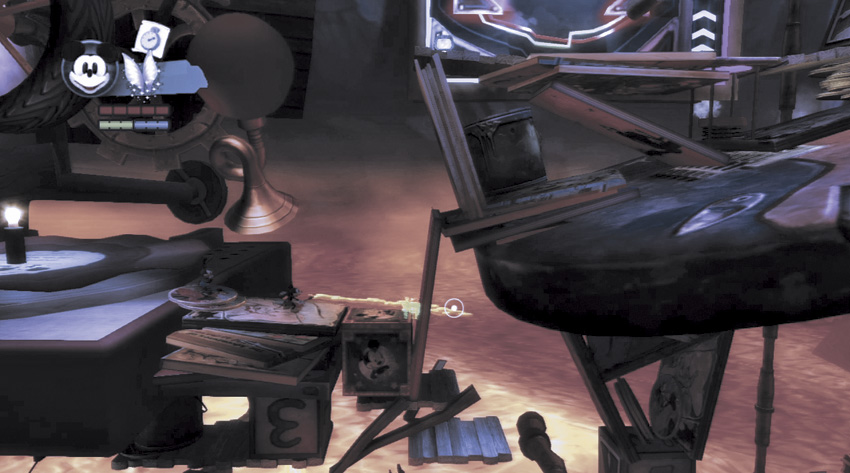
To go to the bottom path, walk to your right and thin the red book next to the jack-in-the-box. You’ll use the jack-in-the-box to climb higher in the level, but for now you want to avoid it.
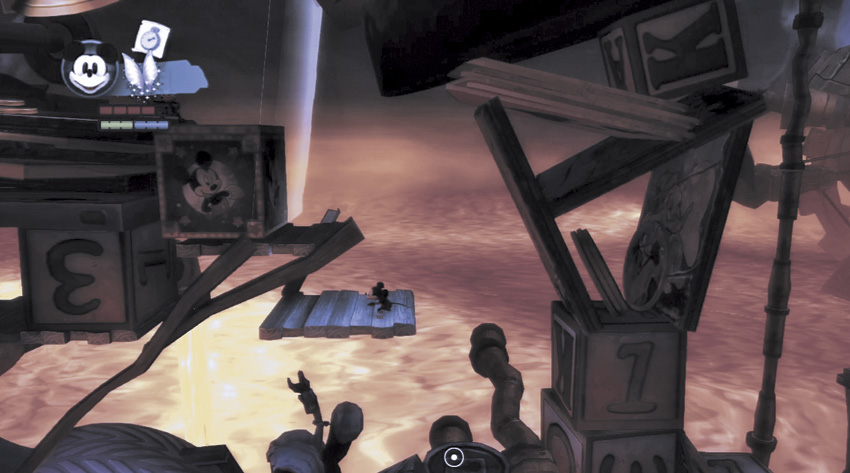
Jump or glide over the jack-in-the-box and land on the wooden platform past the thinned-out book. This route grants access to the lower path and one of the red chests.
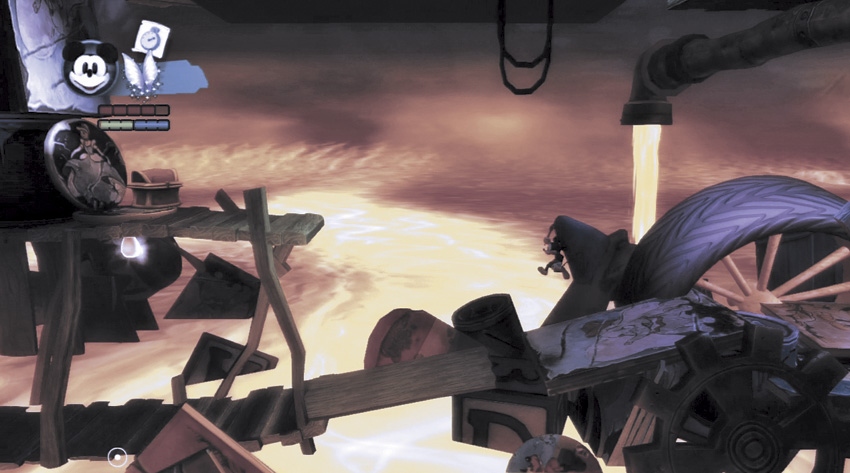
Drop to the lowest path just above the lava lake. Proceed left and look for a resource chest on a small platform above the main walkway.
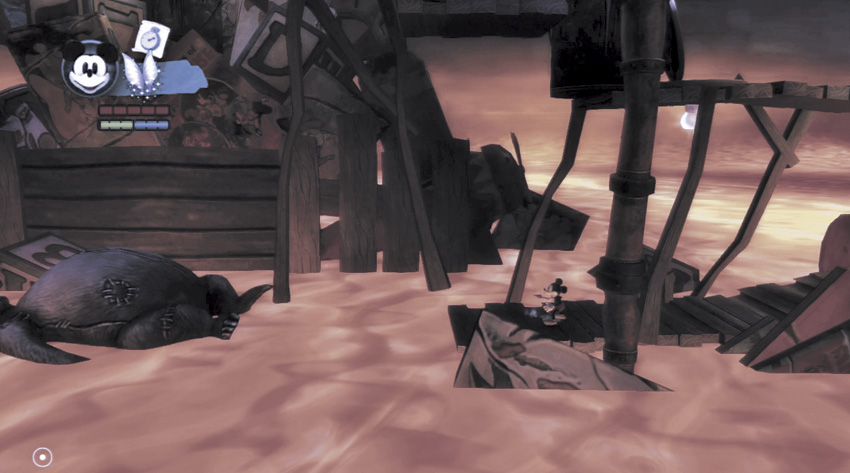
Continue left until you reach the lava lake. You must hop across various floating objects in the lake to make it to the far side and avoid getting scorched.
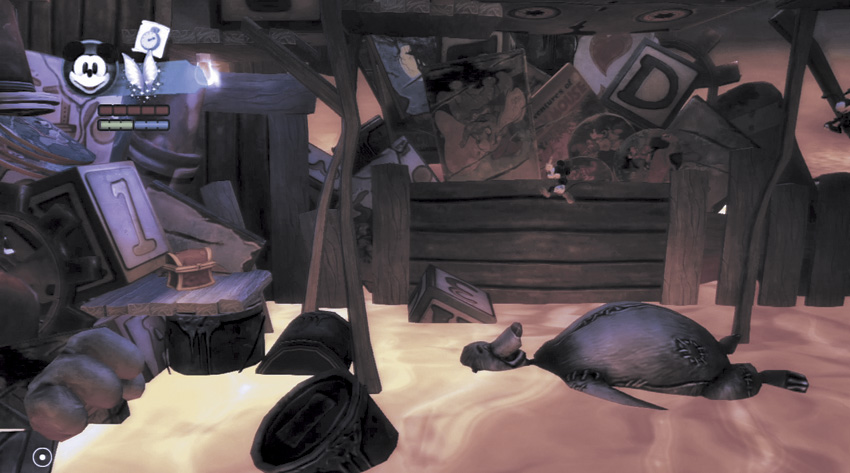
Be careful as you cross the lava lake: The floating bear begins to sink into the lava as soon as you land on it. You only have a second to prepare your next jump to reach the far side.
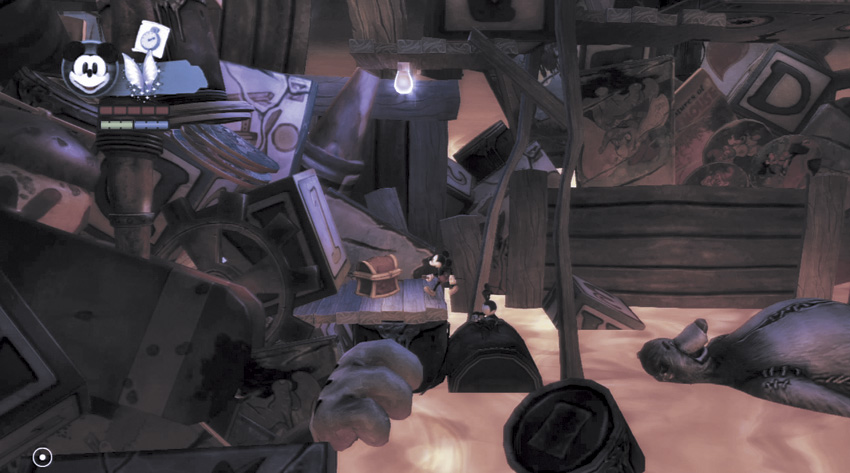
Stop on the small wooden platform and use a Spin Attack to open the resource chest here. It looks like that’s it for this area, but it’s not. Look up!
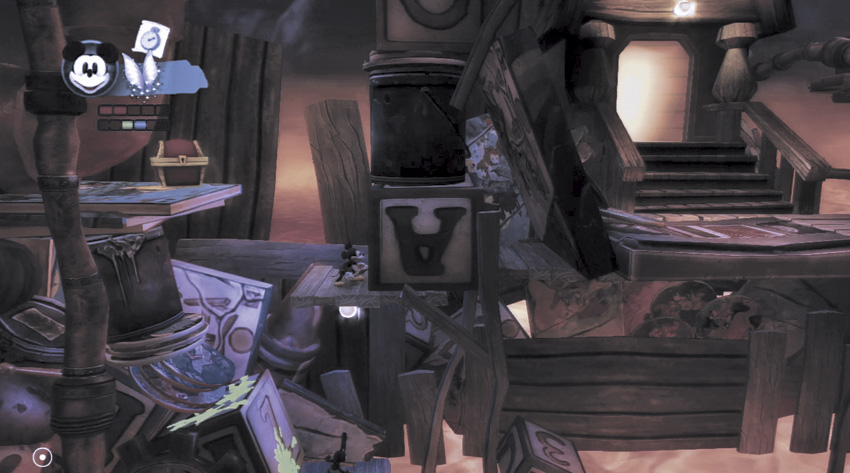
If you scramble up the block wall, you can double-jump or glide to another wooden ledge. You’ll see the entrance to your right (through an impassable wall) and a pile of books to your left with the first red chest.
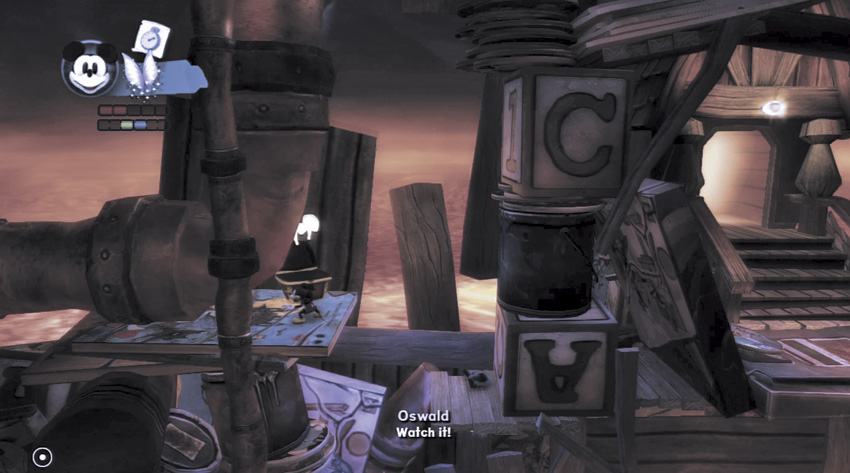

Leap up to the book pile and open the red chest. Your reward for a long trek is a Silver Pin.
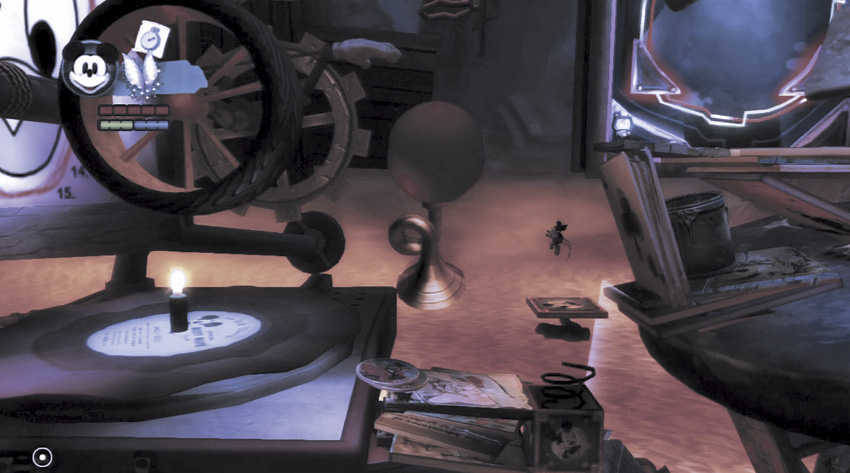
Now return to the jack-in-the-box at the turntable. Use the jack-in-the-box to vault up to the top of the horn with the red ball. Bounce off the red ball on the horn and over to your left and onto the spinning wheel.
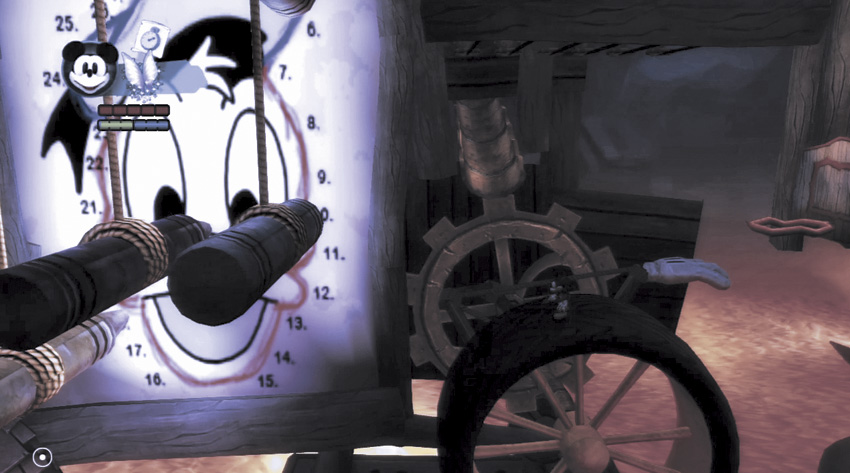
Jump or glide until you reach the top of the wheel and gain your balance. Run, then double-jump or glide up to the first hanging crayon.
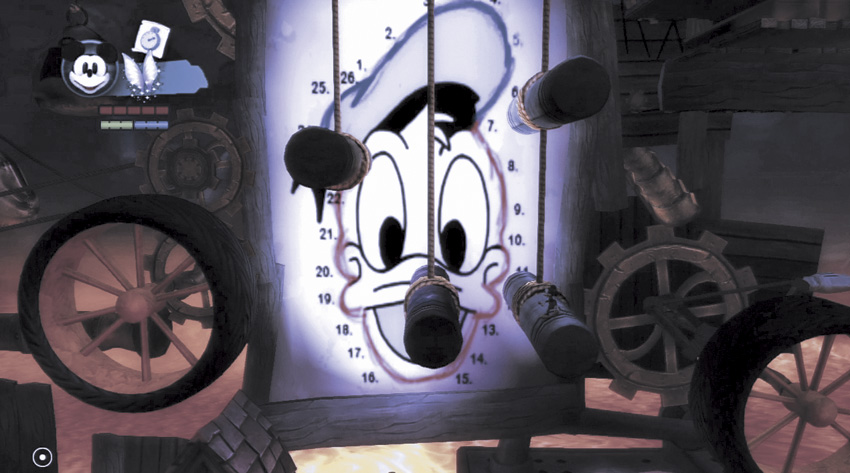
Hop on hanging crayons as you continue to the left. If you start to slip off a crayon,press against it to grab the edge and pull yourself back up.
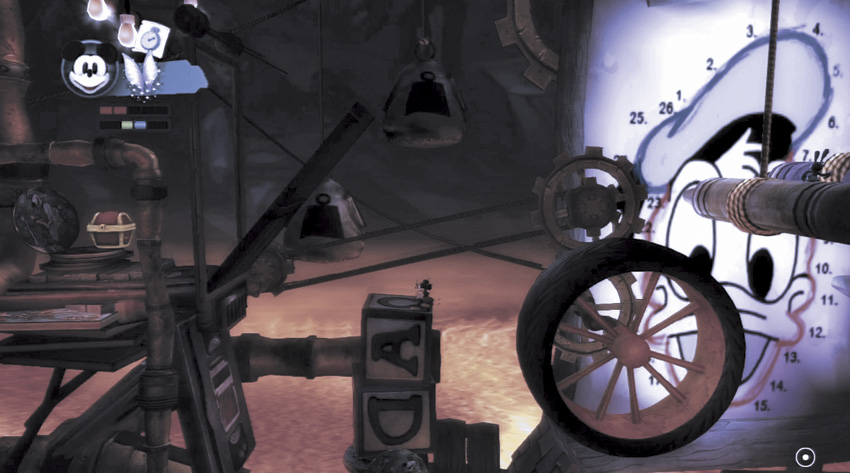
Leap off the last crayon and onto the next wheel. Run on it to lower the small drawbridge.
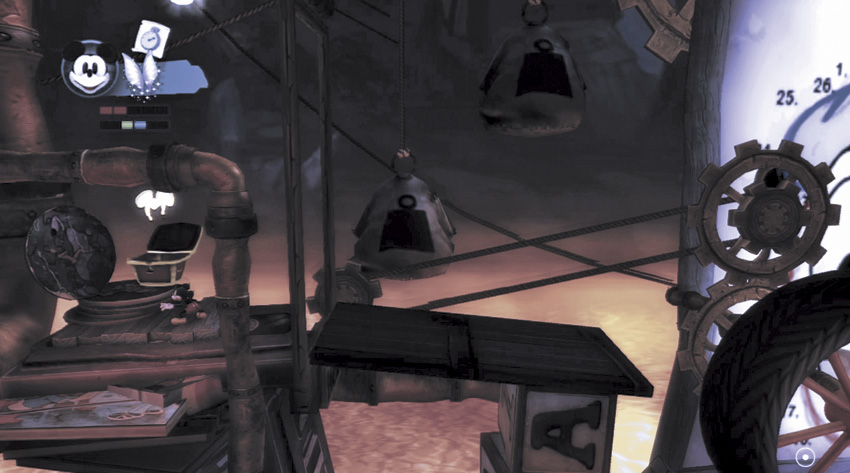
Walk up to the platform holding the second red chest. Use a Spin Attack to open the chest and gain another Silver Pin.
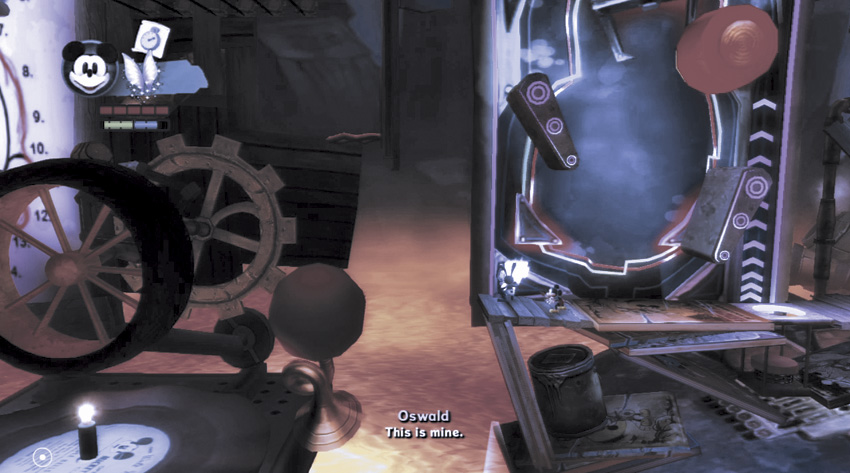
Return to the turntable area. Use the jack-in-the-box to vault up, but this time land to your right on the bottom portion of the pinball machine. Oswald should shock the control panel to activate the machine.
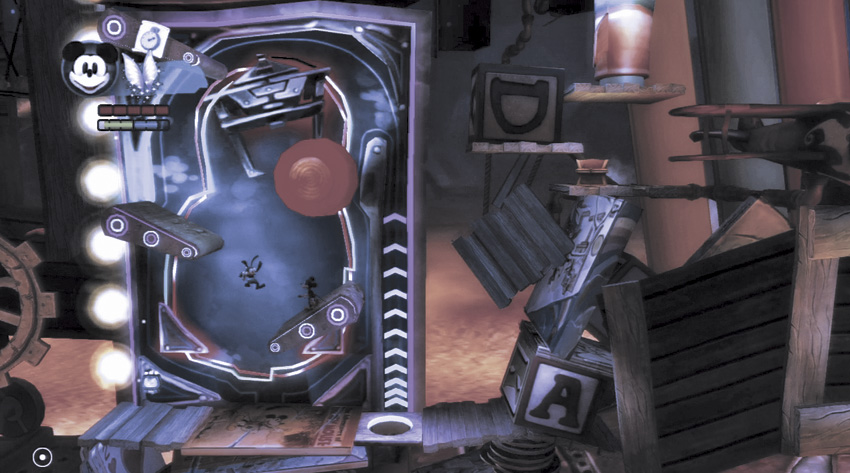
With the flipper activated, you can now jump back and forth up the pinball machine until you reach the top. The red bumper provides extra spring if you need it.
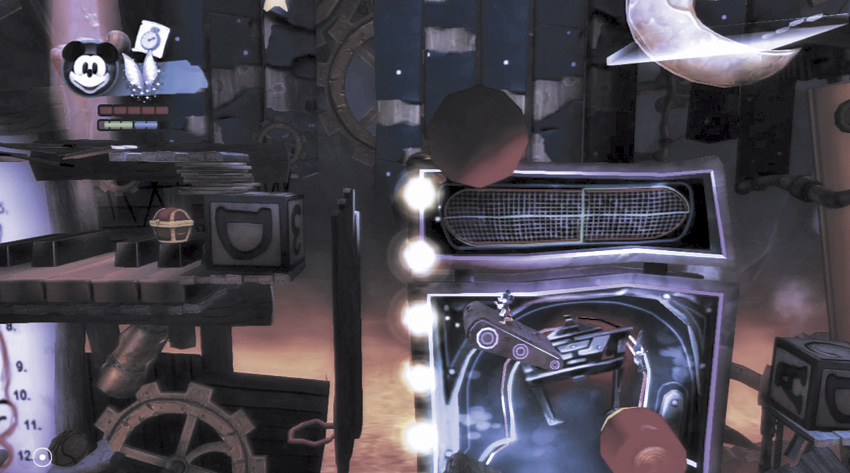
The pinball machine provides you the easiest route to the top path; but you’ll need to backtrack if you want that Silver Pin. Look to the left and you’ll spot the third red chest on the piano.
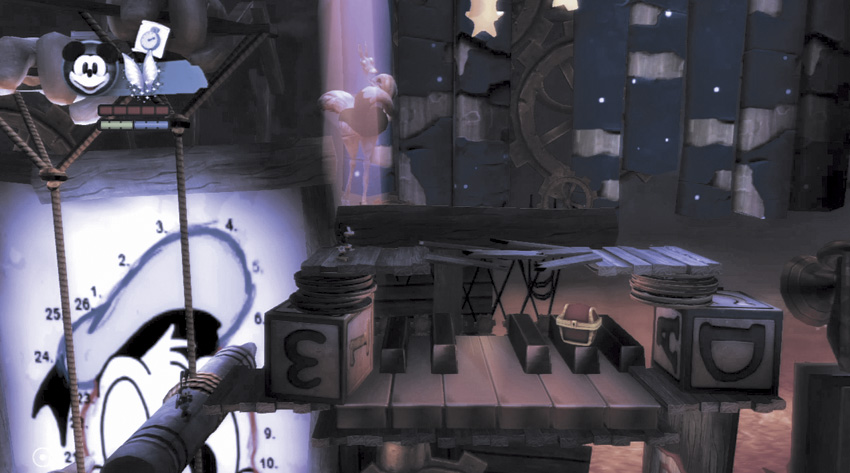

The third red chest rests on the piano keys. You’ll need to come back with an Anvil Sketch to break open the floor above the piano so you can drop to it. Inside you’ll find a Bronze Pin.
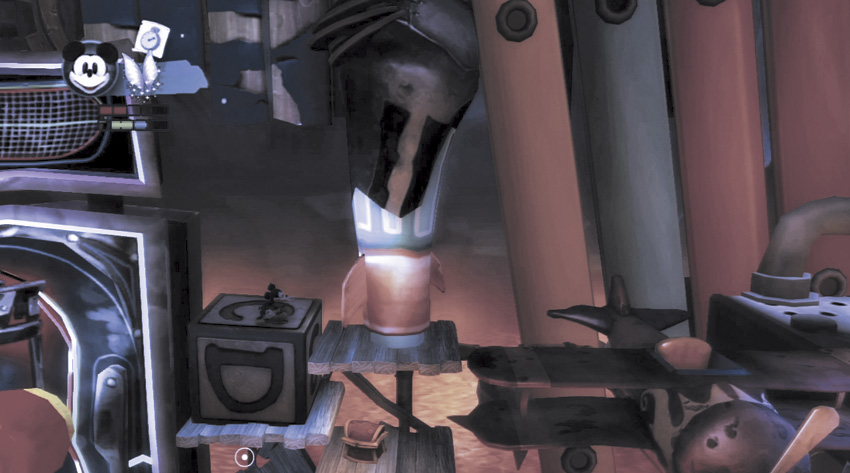
To fetch some extra resources, jump off the right side of the pinball machine and land on the block. Thin the rocket to your right that blocks the way.
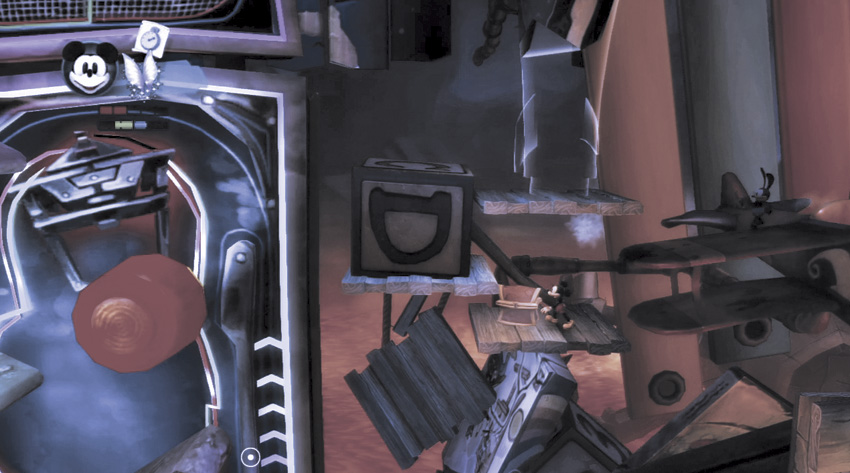
Hop off the landing with the rocket and onto the plane. The plane’s wings will tilt depending on which side you put your weight on, so move to the left and it will tilt so you can reach the small platform with the resource chest.
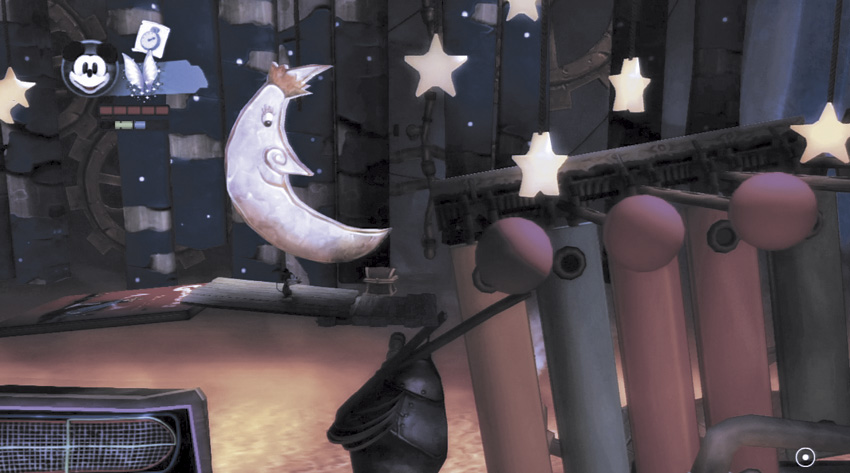
Cross the platform below the moon. At the end, smash open the resource chest for some extra goodies and prepare for a series of challenging jumps ahead.
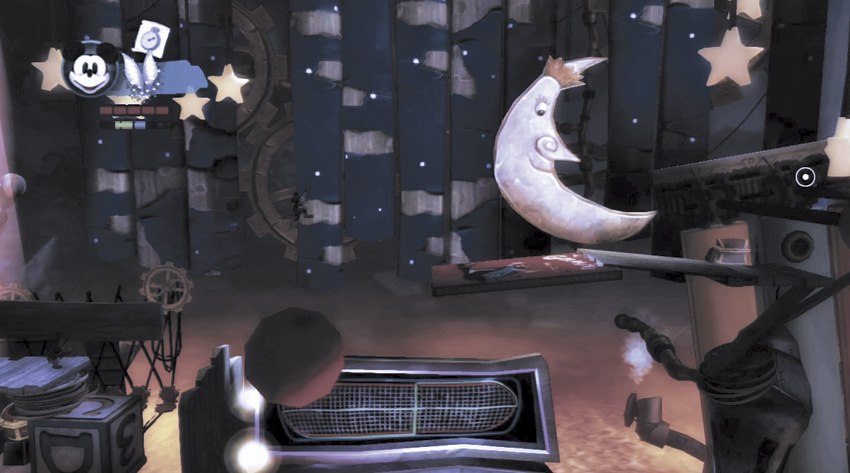
Return to the top of the pinball machine and jump on the red bounce ball. As you leap in the air, spray Paint to the right to fill in the thinned-out book near the moon.
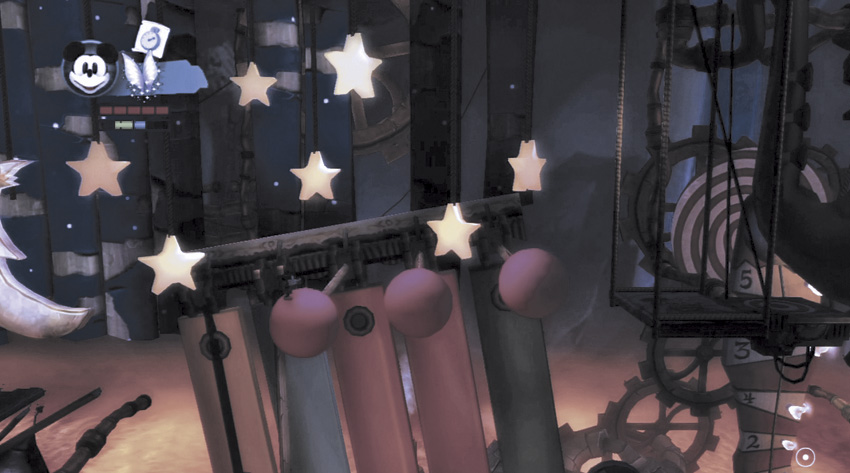
Next, race across the xylophone. As you jump on a mallet, it drops and strikes the xylophone. To make it across safely, you must jump quickly from one mallet to the next without stopping.
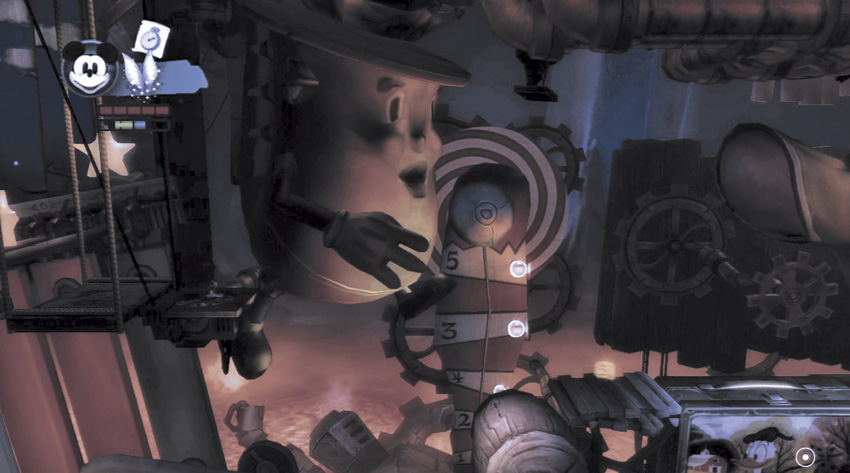
Continue until you reach the hanging saxophone. The saxophone will spit out a golden E-ticket to the platform to the right.
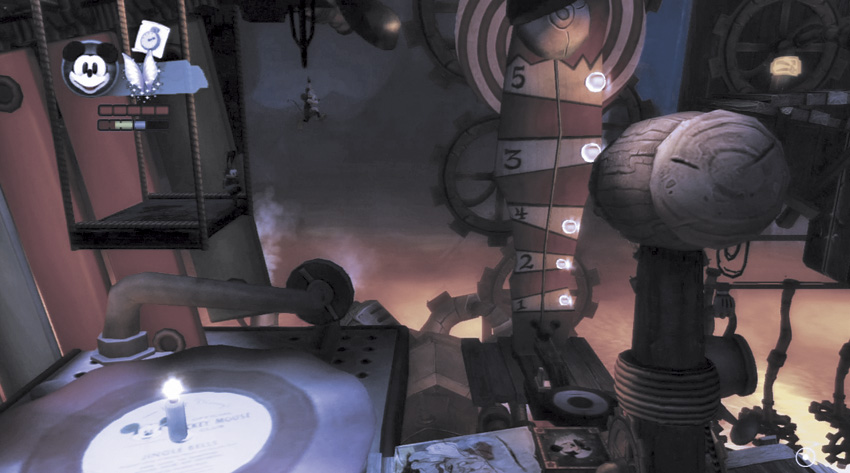
Drop to the turntable below. Use a Spin Attack to cushion your fall and land gently.
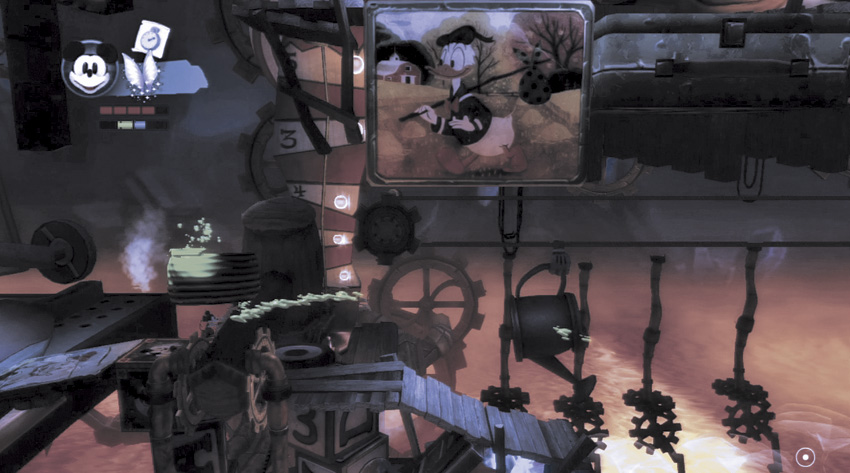
Thin the clamp holding the large mallet in place. The mallet falls and sets the machines in motion in the background.
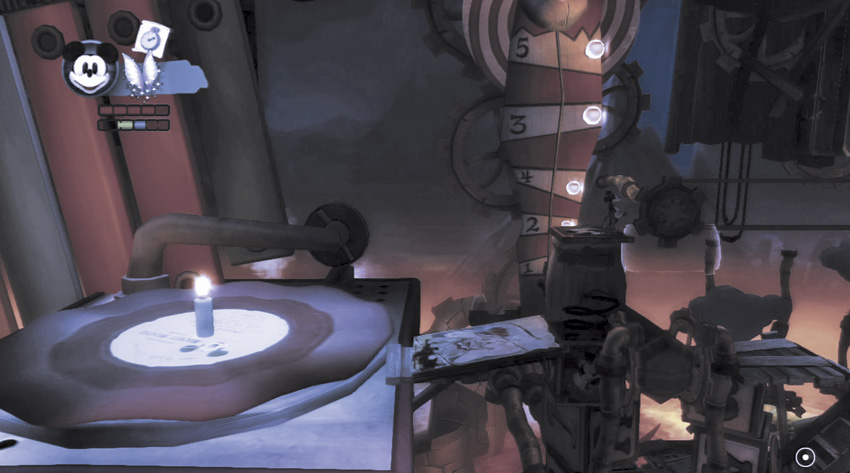
Use the jack-in-the-box to propel yourself up to the string of lunch boxes on the upper path.
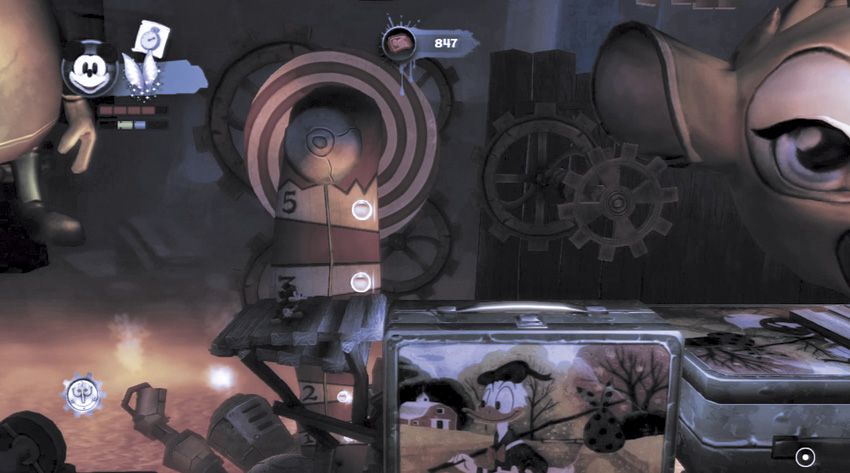

When you land at the edge of the lunch boxes, you gain the golden E-ticket. Continue on the path until you are near the exit.
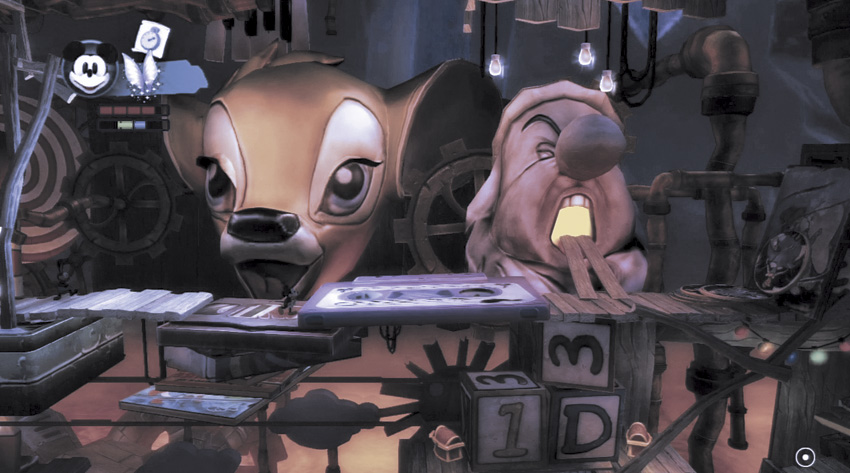
Thin the purple cassette tape in front of the exit. This gives you access to the path under the upper path.
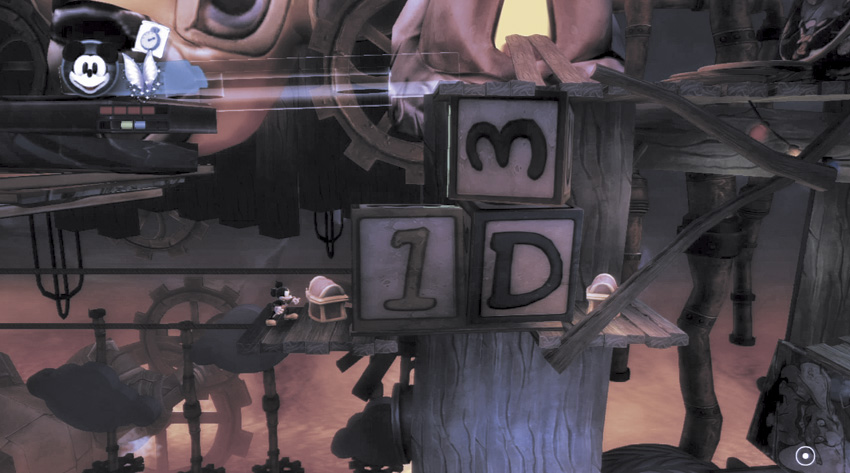
Drop to the first ledge. Use a Spin Attack to open the resource chest, and then drop to the path below.
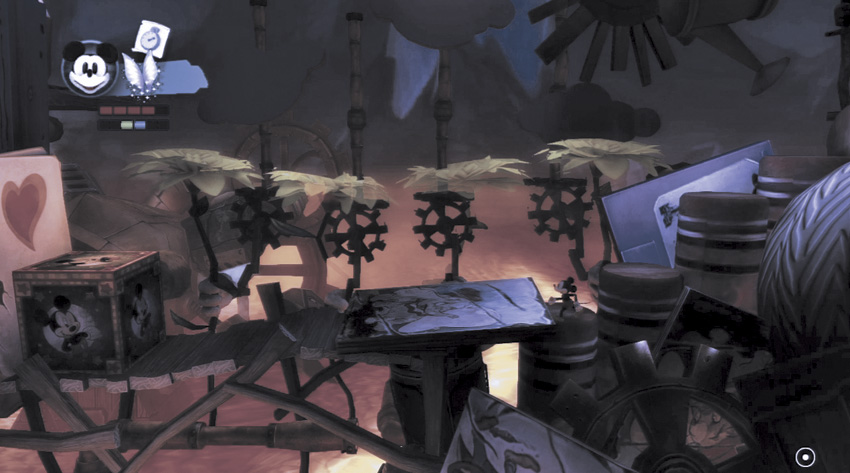
At the bottom, you can proceed right or left. Right takes you to a concept sketch; left takes you to a jack-in-the-box that box that will take you back to the upper path that leads to the exit.
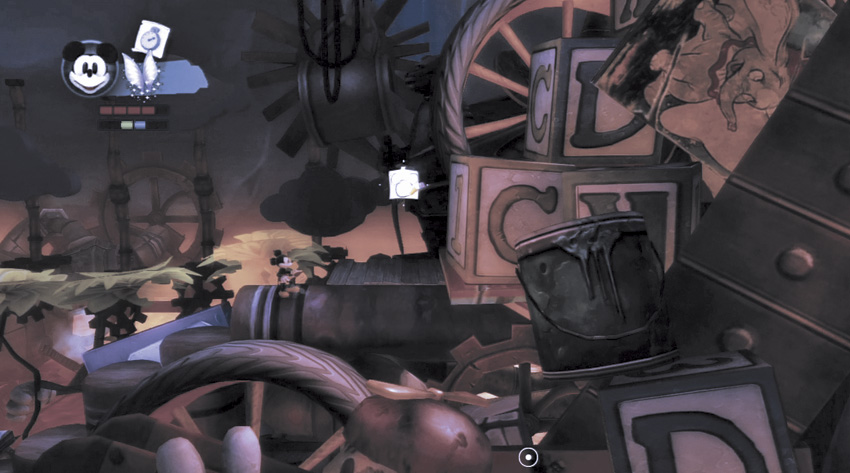
Go right and climb the stacked crayons. The platform at the top holds Concept Art 32 to add to your collection.
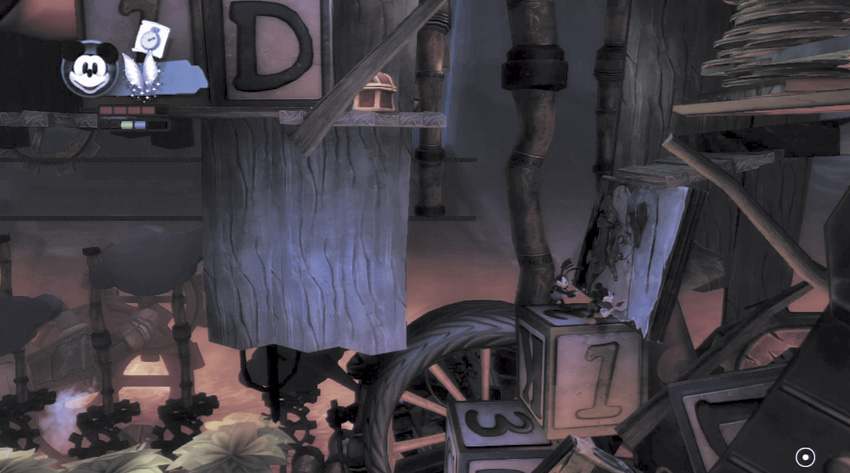
If you continue past the concept art to your right, you can climb several more blocks. At the top, double-jump or glide to leap back to the left and claim the resource chest on the small ledge.
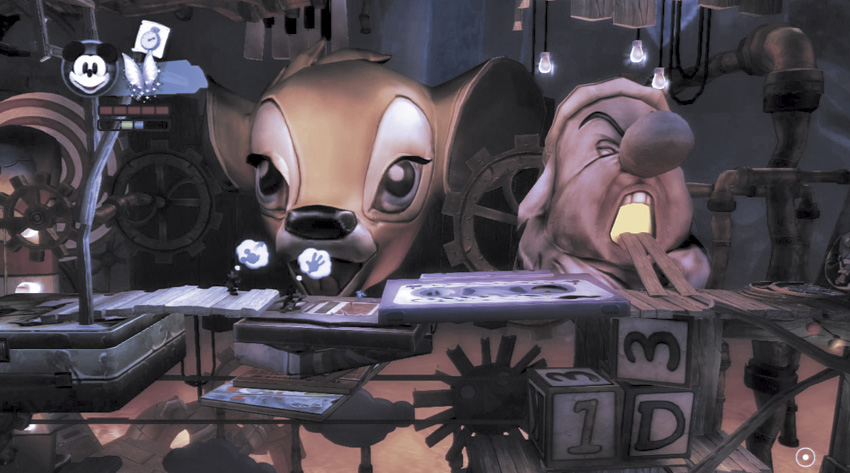
Return to the top path near the exit. Stand in front of the purple cassette tape and have Oswald toss Mickey high up in the air.
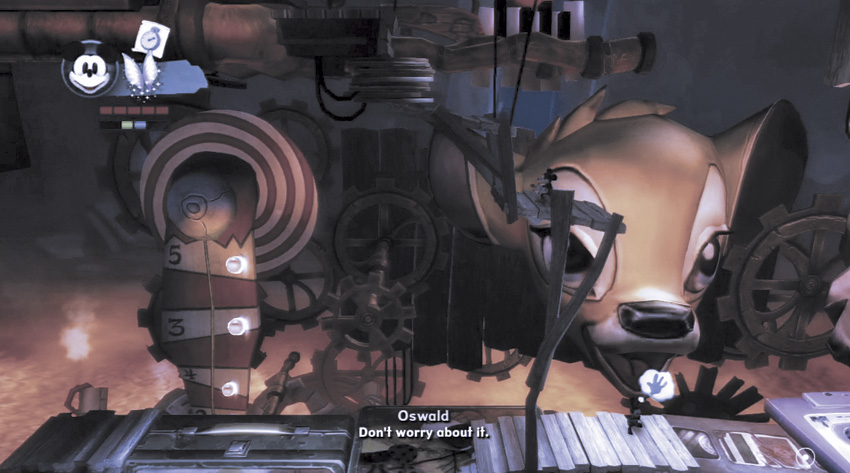
Mickey can then reach the small wooden platforms rising to the left. Double-jump up each one until you hit the summit.
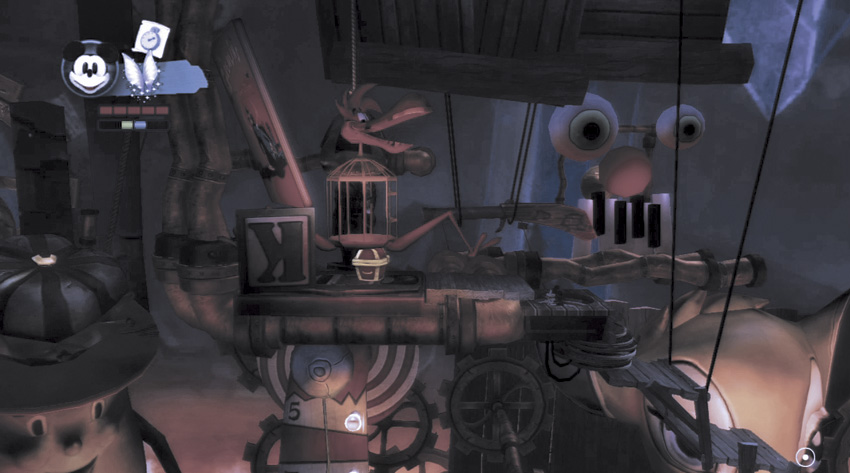
You’ll see the final red chest locked in a cage. Stand on the red target to the right of the cage and watch it slowly lift up.
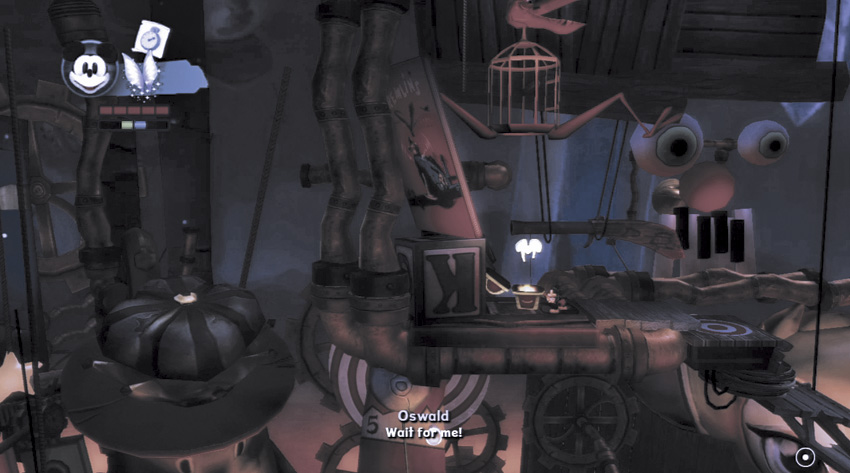
Rush over to the red chest and use a Spin Attack to open it. The last treasure of the level is a Silver Pin.
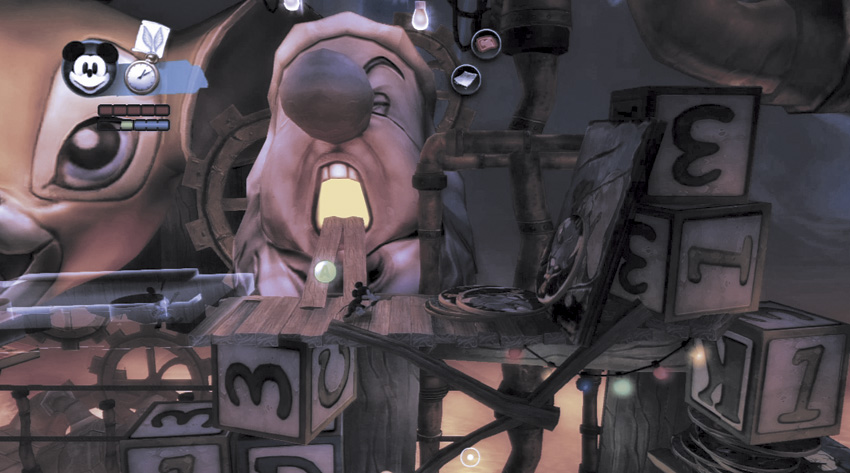
Head back down, gather Oswald, and approach the exit. When you’re ready to enter Rainbow Falls, climb the planks leading into the glowing mouth and hit the Action Button.