
Disney Epic Mickey 2: The Power of Two Guide Walkthrough Episode 1
Rainbow Falls
EXPLORING THE FALLS
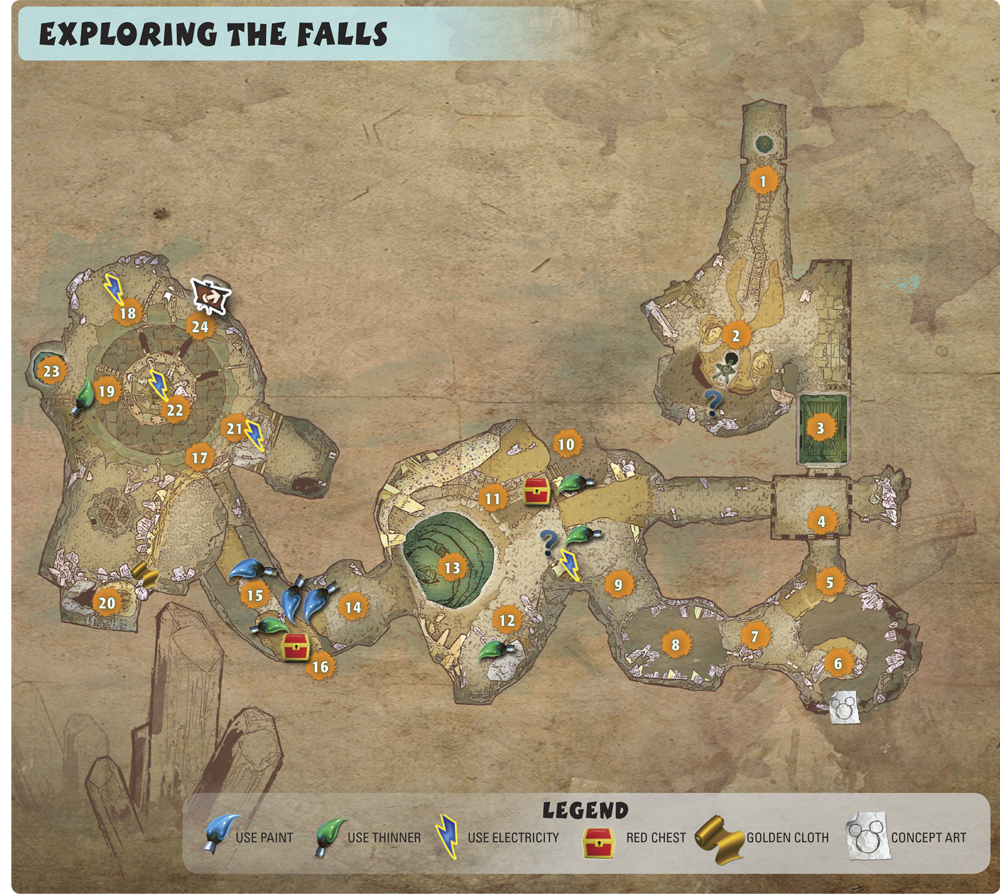
LEVEL OVERVIEW
The multi-colored Paint that runs through the Rainbow Falls usually gets collected and used to power the projectors throughout Wasteland.Something has gone wrong at the Falls, and you have to rectify the problem to power up the machines and get the projectors back online. Fixing the Falls will present a dilemma: A projector leads to the Angel Side of Rainbow Caverns and a hatch leads to the Devil Side of Rainbow Caverns. Which way will you choose?
LEVEL BREAKDOWN
Challenges
- Projector Corrector
Collectibles
- Bronze Pin
- Concept Art 6
- Golden Cloth
- Silver Pin
Enemies
- Sweepers
Quests
- Operation Gremlin Drop
Things to Do
- Dip yourself in Invisible Ink to pass the Security Eye
- Use Boomarmerang to get concept art by the first Thinner falls
- Free Gremlin from behind a toon wall
- Pick up Bronze Pin by Paint geyser
- Defeat enemies by the Thinner Falls
- Dip yourself in Indelible Ink to pass through Thinner waterfall
- Cross the large balancing rock safely
- Get Silver Pin from secret area above balancing rock
- Fix the machines in the Projector Substation
- Activate either the projector to Rainbow Caverns (Angel Side) or the hatch to Rainbow Caverns (Devil Side) based on how you fix the machine
- Exit to Rainbow Caverns
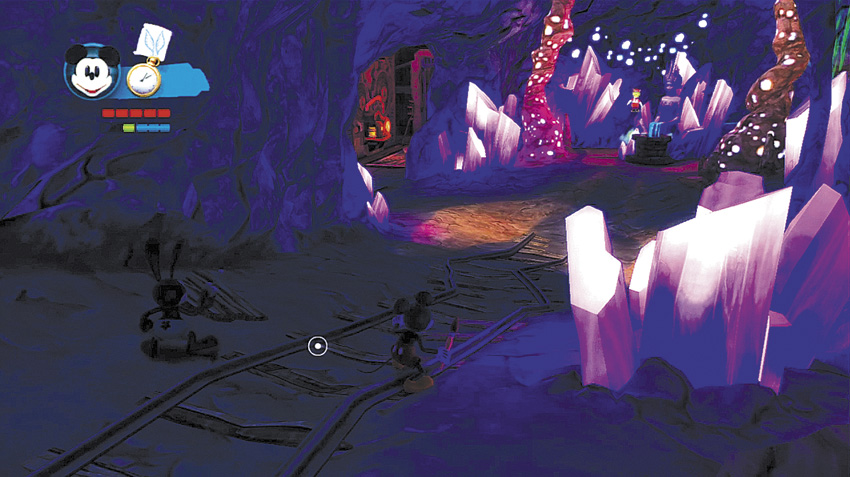
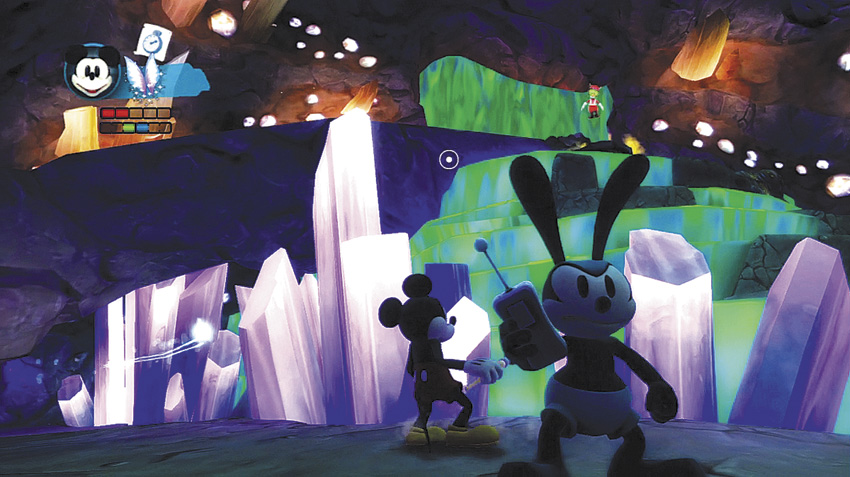
Purple gemstones sparkle around you when you enter the tunnels leading up to the Rainbow Falls. Continue straight ahead and you’ll spot Gus floating near a magical Ink Well.
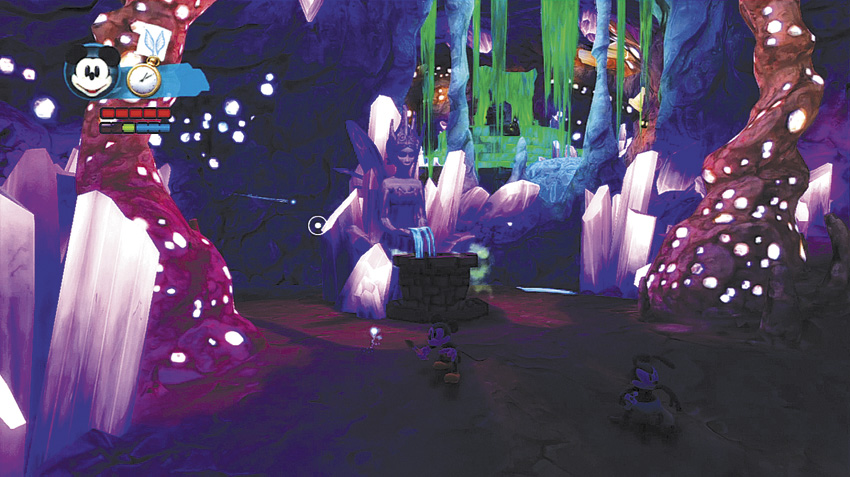
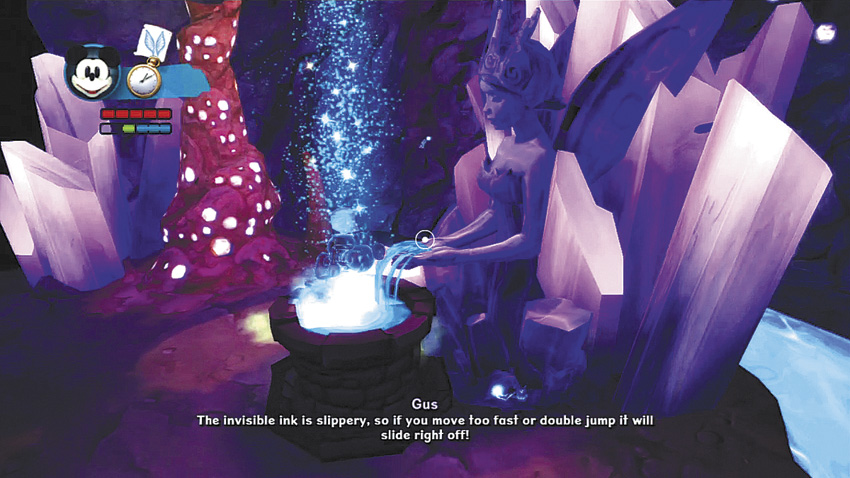
Gus explains that an Ink Well with blue liquid contains Invisible Ink that will turn you invisible. You must walk while you’re covered with Invisible Ink, however, or the Ink slides off your body. Double-jumping or gliding will make it come off more quickly. Jump into the Ink Well and turn invisible.
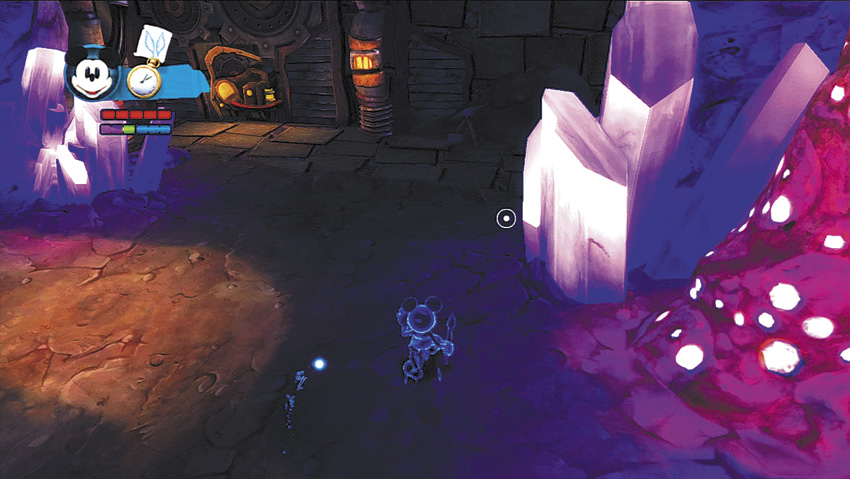
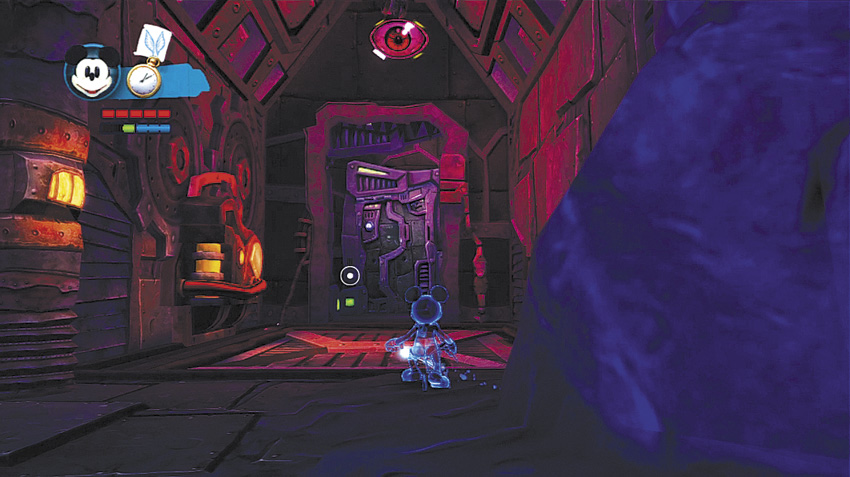
While invisible, walk slowly around the corner and toward the malfunctioning Security Eye above the door. Because you’re invisible, you can walk past the Eye. If the Invisible Ink slides off, though, the eye spies you immediately and the door shuts.
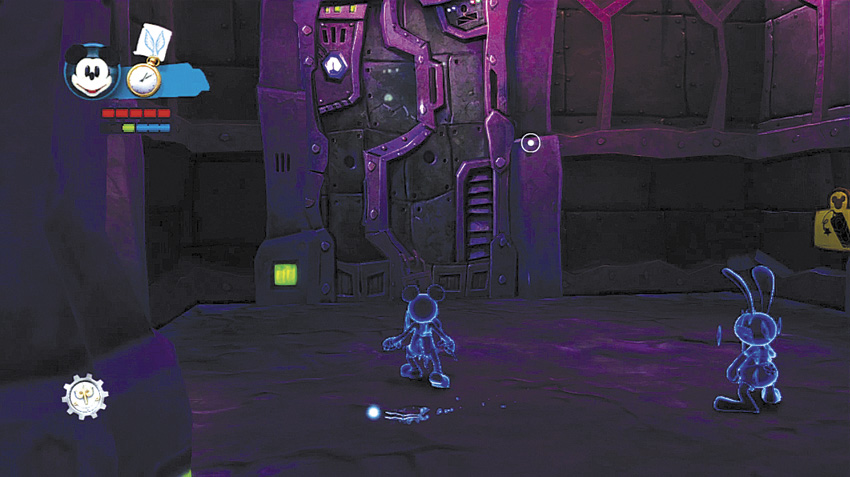
The next room has three doors. The door to the left (with the padlock) can be thinned out. Behind it is the fireworks that can be used to blow open the door on the right (shortcut to Waypoint 10). You can also Spin Attack the door in front of you, which ensures that you don’t miss any points of interest in the area.
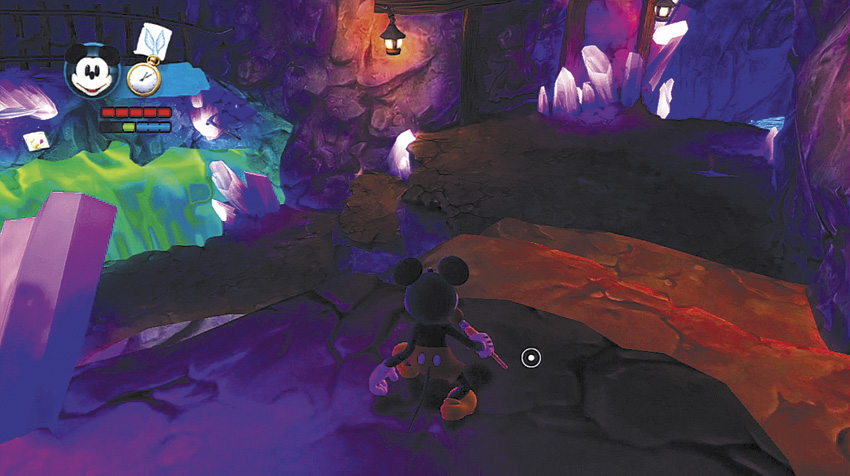
A large chamber stretches out before you. To the left, a stone ledge juts over a horseshoe-shaped Thinner falls. To the right, the passage continues towards a Paint geyser.
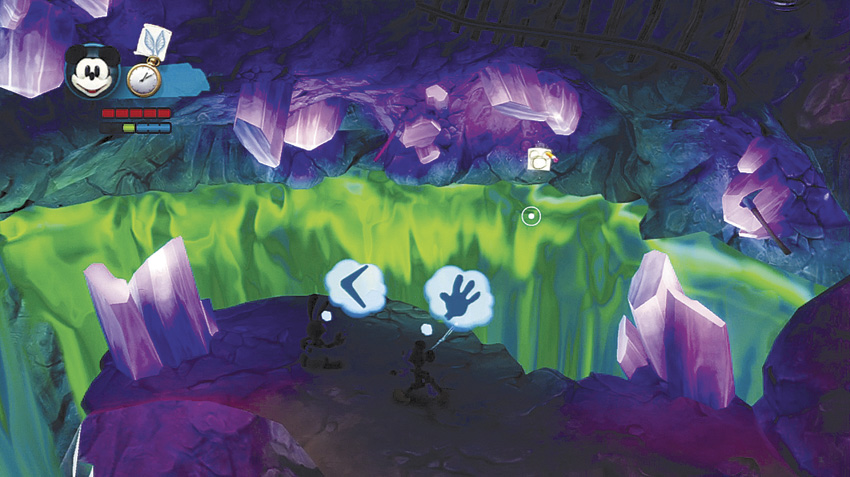
Go left first and walk out on the stone ledge overlooking the Thinner falls. You’ll see a piece of concept art on the far side, but it’s impossible to jump out and grab it without falling into the Thinner. Instead, have Oswald throw his Boomarmerang to snag the treasure. There is also a hidden Mickey symbol under the toon bridge opposite of the concept art.
Concept Art 6
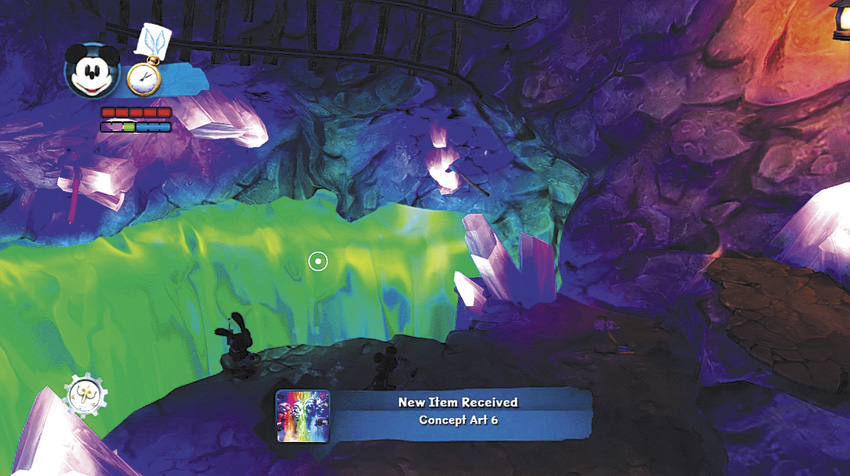
You can miss this piece of concept art if you aren’t looking carefully. It rests atop the Thinner falls a short distance past the Security Eye. Oswald must throw his Boomarmerang to retrieve it safely.
OPTIONAL QUEST
FINDING THE HIDDEN HEROES
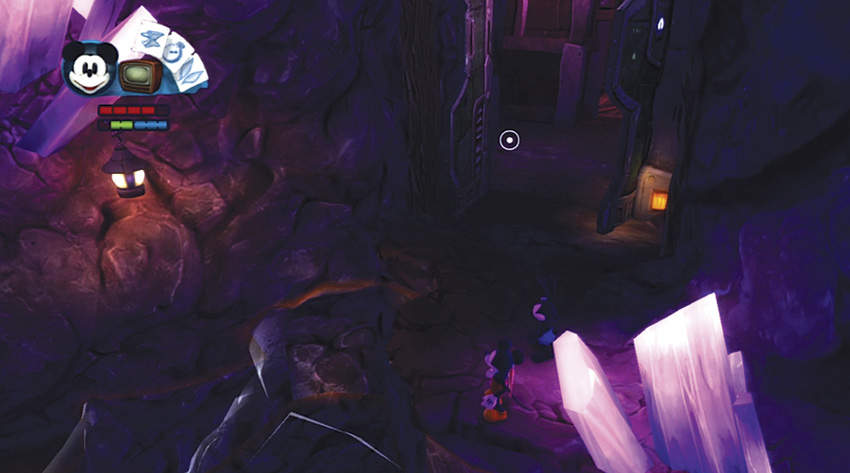
Look for a hidden Mickey under the toon bridge opposite of the concept art. Be careful not to fall through the steps as you thin them out to see the hidden Mickey.
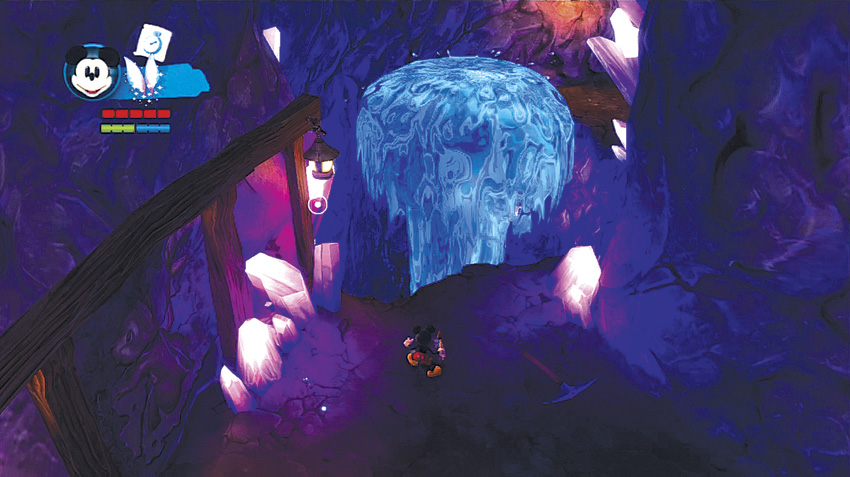
A Paint geyser shoots up periodically at the end of this tunnel. You can safely jump on a geyser, so wait for it to lower before you double-jump or glide on top of it.
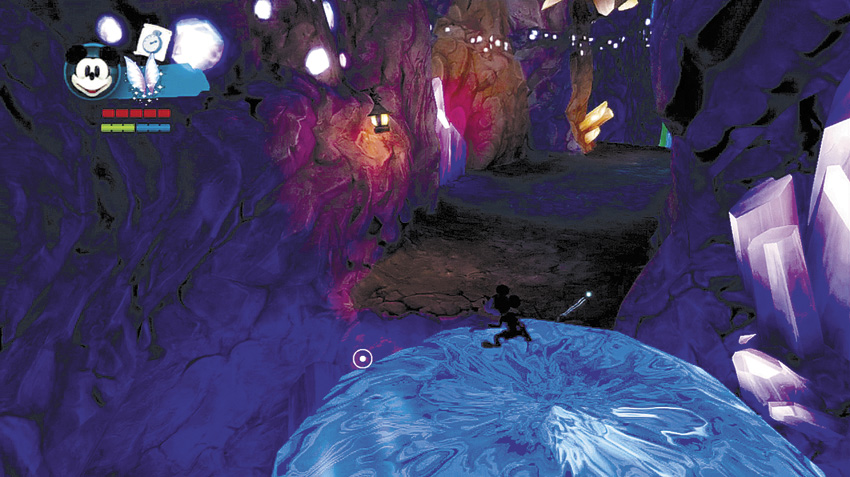
Ride the geyser up to its high point and then double-jump or glide to the nearby ledge.
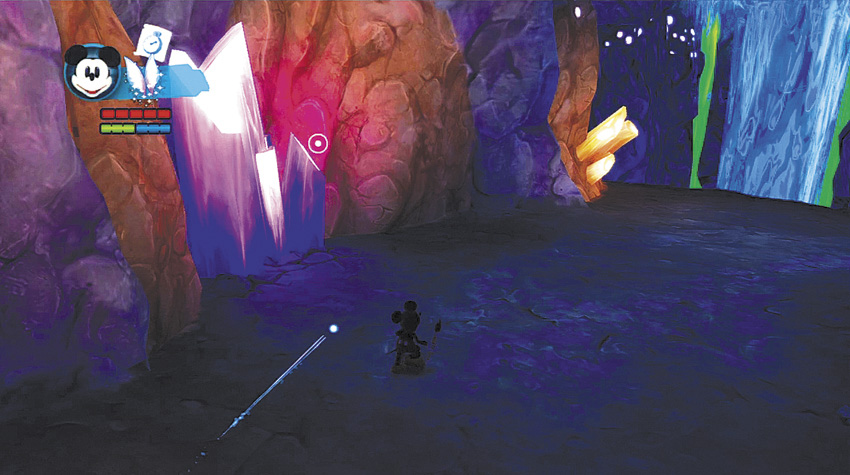
A long ledge connects the two Paint geysers. Before you continue on to the second geyser, look at the wall to your left. There are several thinnable spots to explore.
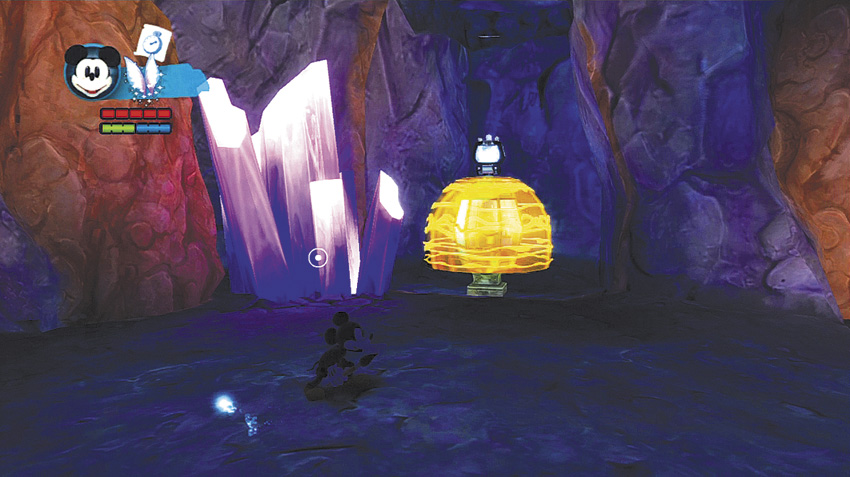
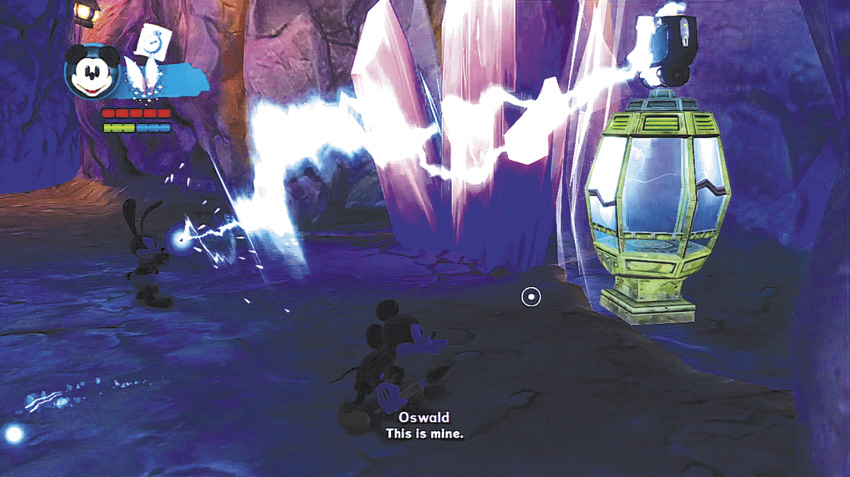
Thin the wall next to the purple gemstones to uncover a hidden Gremlin. If Oswald uses his Electricity to deactivate the shield, Mickey can Spin Attack the cage and free the Blue Gremlin. He conked his head during the quakes and ended up trapped, and , and now he’s thankful for the rescue. He also relates a clue to you: There’s a secret area above the large balancing rock ahead!
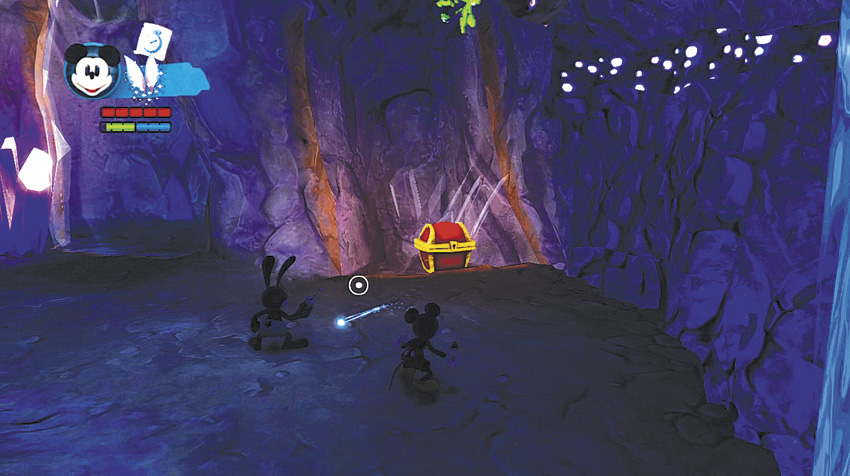
Before you leap off the ledge, spray more Thinner to your left on the wall near the geyser. It uncovers a red chest hidden inside with a Bronze Pin.
Bronze Pin
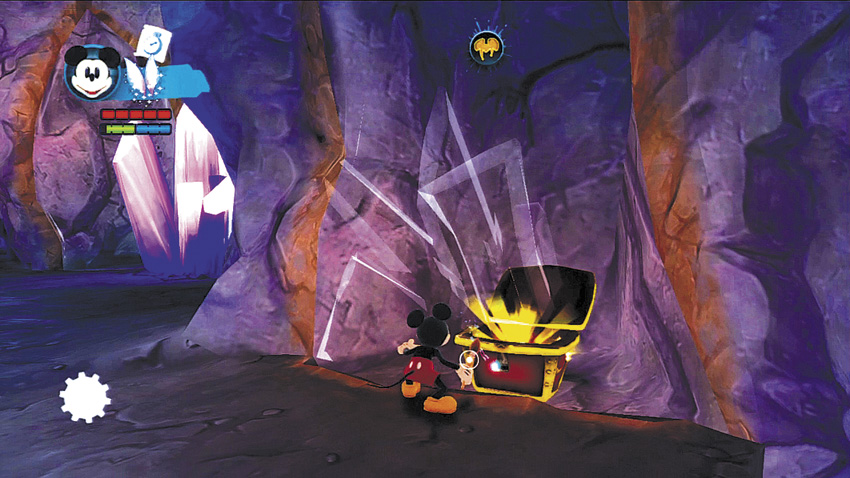

This one can be hard to find if you don’t know where to look. Spray Thinner on the wall next to the second Paint geyser in the tunnels and uncover a red chest. Open the chest for another Bronze Pin.
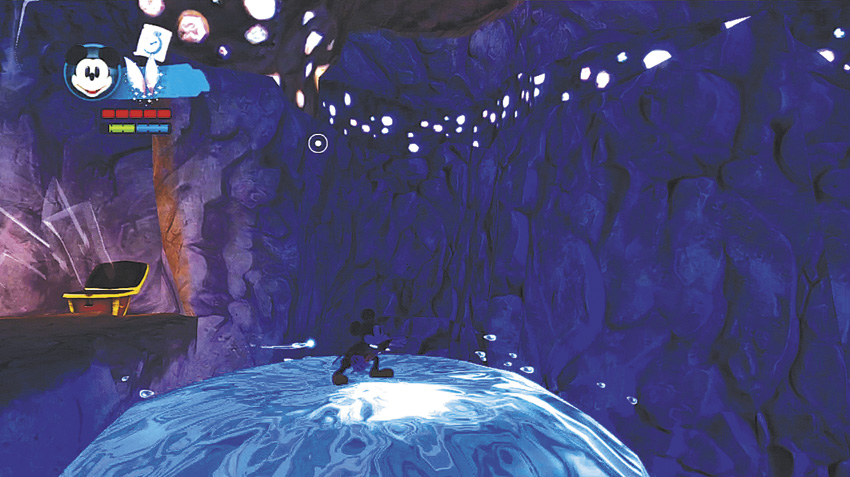
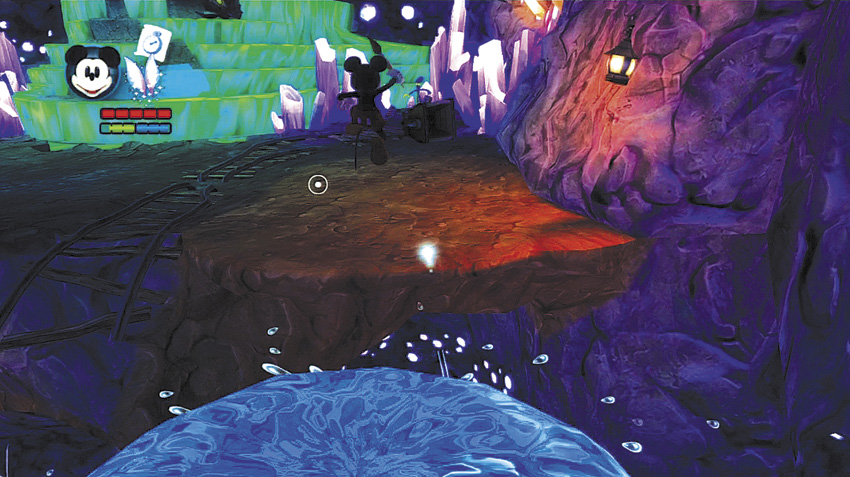
As you did with the first geyser, double-jump or glide over to the geyser at its low point and ride it up to its high point. Leap across to the ledge that leads to the Stairstep Falls.
Sweeper
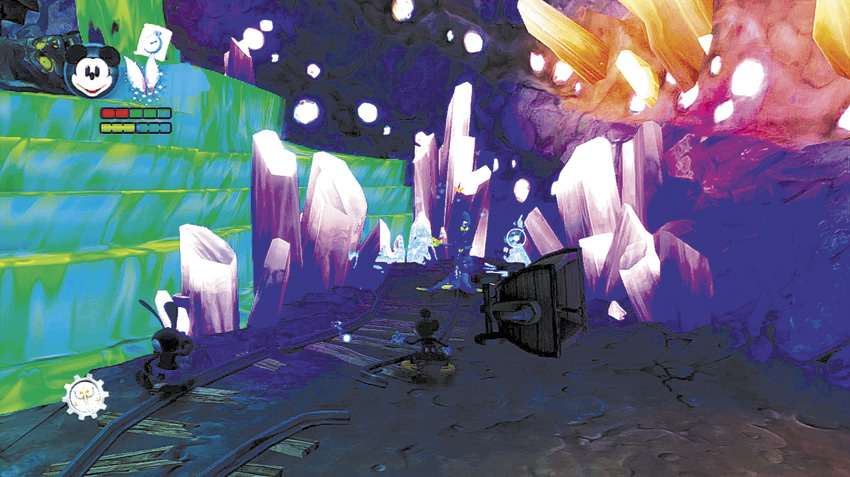

The dangerous Sweeper has two primary attacks: a ranged bucket of Thinner and its namesake body sweep that can knock you off ledges. Prioritize Sweepers because they can attack you both at range and up close, and the Sweeper’s Thinner frequently removes toon objects, which can cause further hazards in combat.
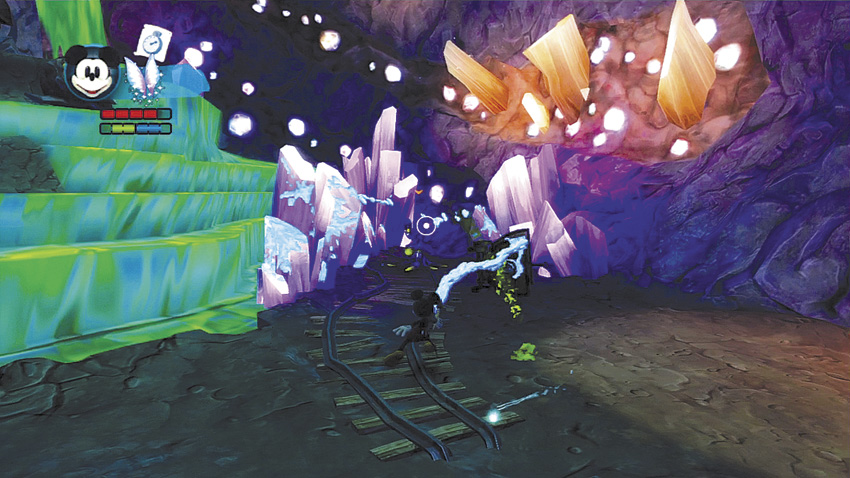
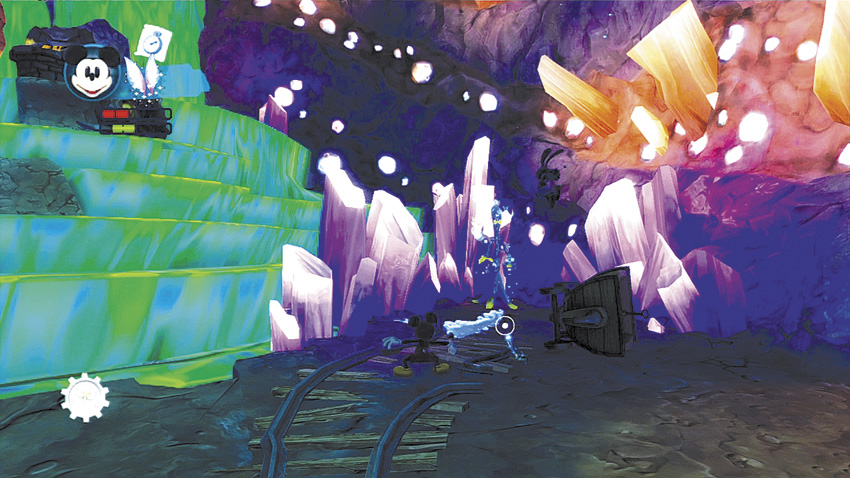
A Sweeper guards the area in front of the Stairstep Falls. Paint or thin the Sweeper before it heaves buckets of Thinner on your head. Once you’ve dealt with the Sweeper, you can work your way around the falls to your left.
OPTIONAL QUEST
FINDING THE HIDDEN HEROES
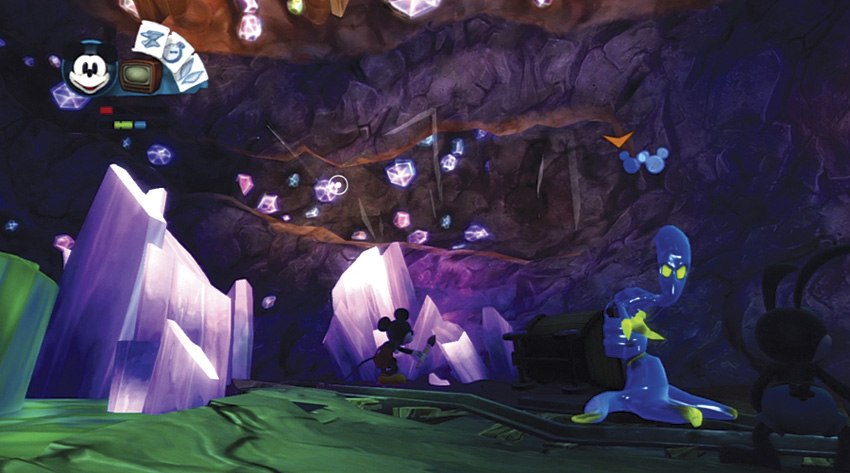
Thin out the wall to the right of Stairstep Falls to uncover a hidden Oswald.
OPTIONAL QUEST
THANKS FOR THE MEMORIES
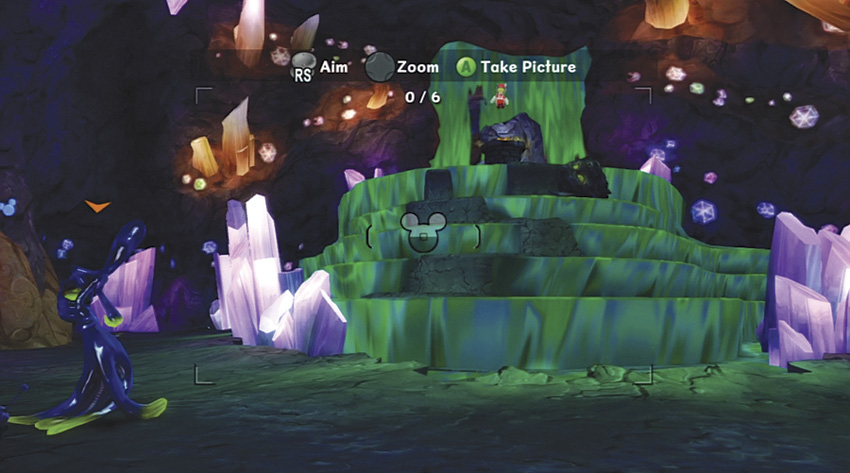
Snap a picture of Stairstep Falls if you’re working on the Rigger Greene portion of Moody’s quest.
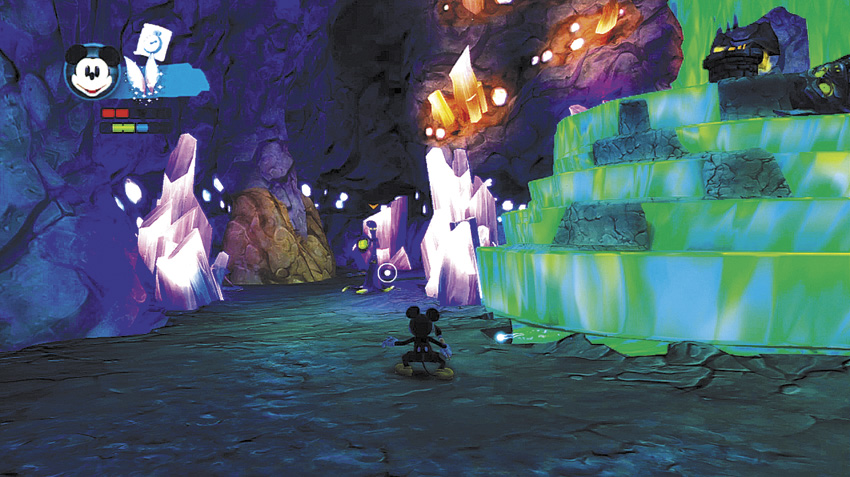
A second Sweeper guards the left side of the falls. Tag team Mickey and Oswald against the Sweeper and turn it into an ally or a puddle before you lose too much health.
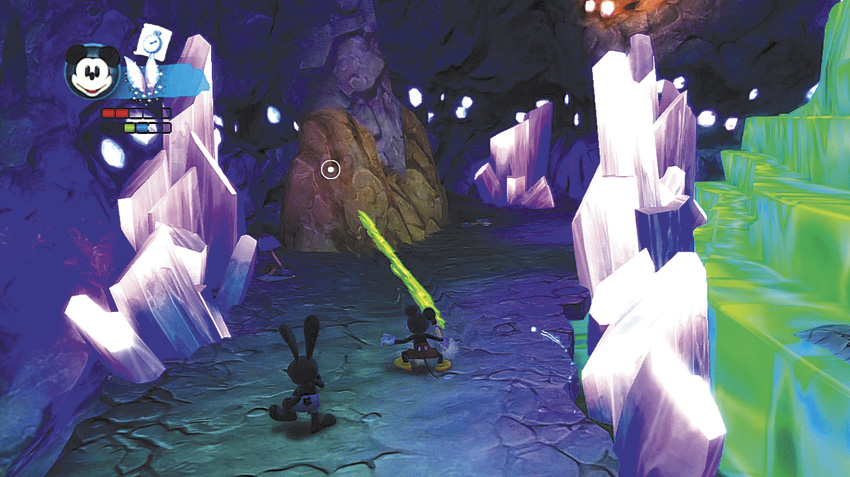
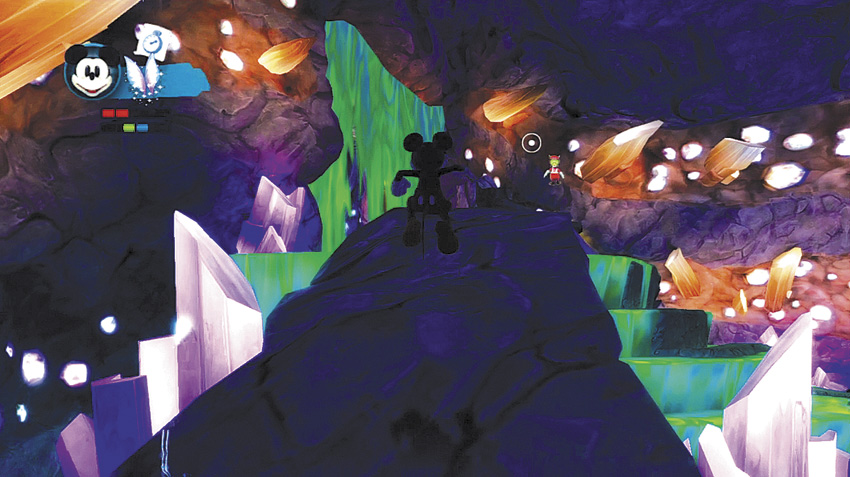
With the second Sweeper out of the way, thin the base of the rock column against the wall next to where the Sweeper started. The column crumbles and falls on the Stairstep Falls, creating a safe path up to the top.
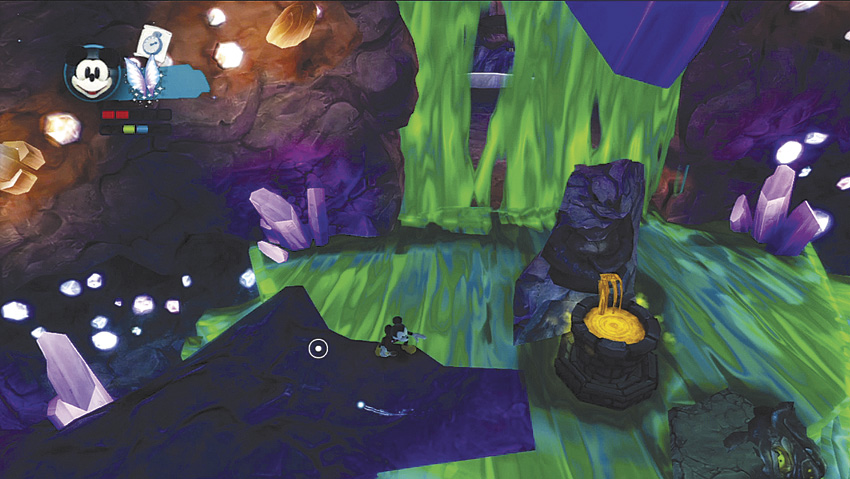
An Ink Well full of Indelible Ink sits atop the falls. If you hop into the golden liquid, the Ink Well coats you with Indelible Ink, which allows you to walk through Thinner without damage.
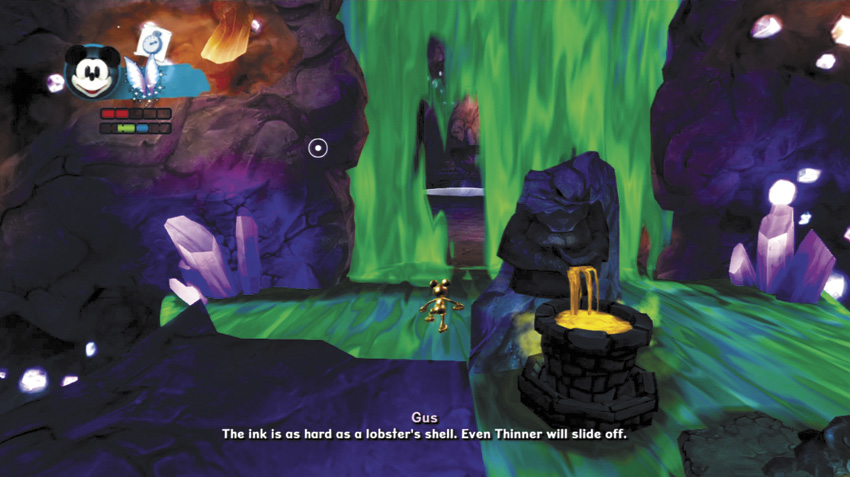
If you move too quickly or you are hit by an enemy your Indelible Ink coat will shake loose. Walk slowly through the Thinner on top of the falls and under the Thinner waterfall behind it.
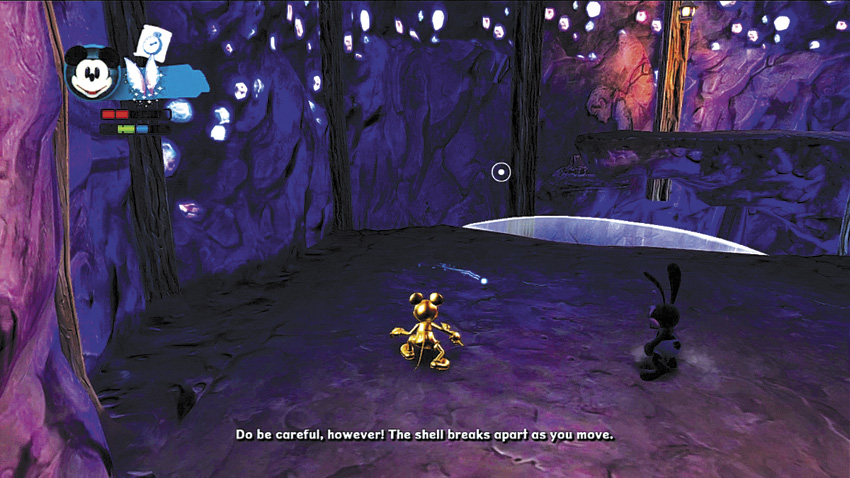
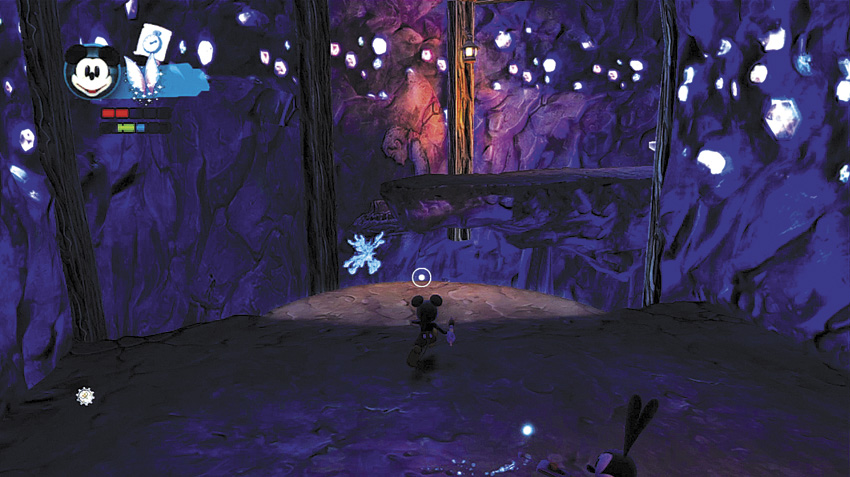
Enter the room behind the Thinner waterfall and paint the ledge on the far side. Now you can double-jump or glide over to the large balancing rock.
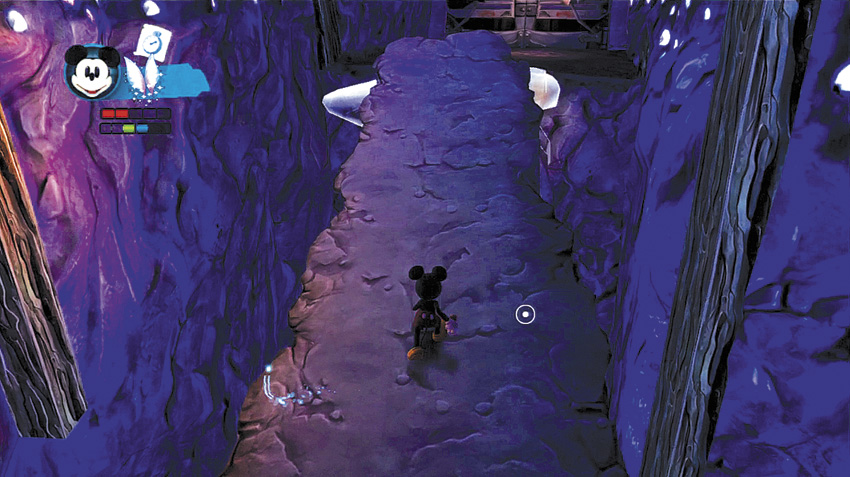
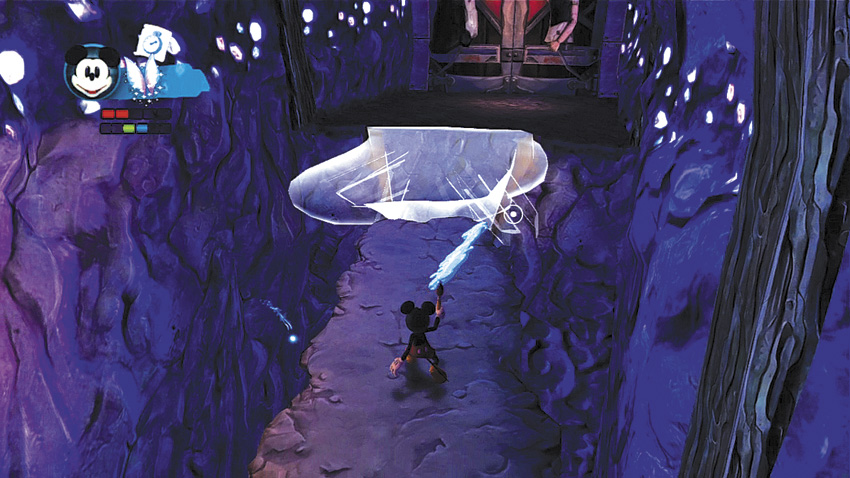
The balancing rock acts like a seesaw. Put weight on one end and it tips in that direction; stand in the middle and it remains balanced. Once you’re on the rock, get to the middle so that it levels out. Paint in the thinned out platform on the far side in front of the Prince Charming and Sleeping Beauty doors.
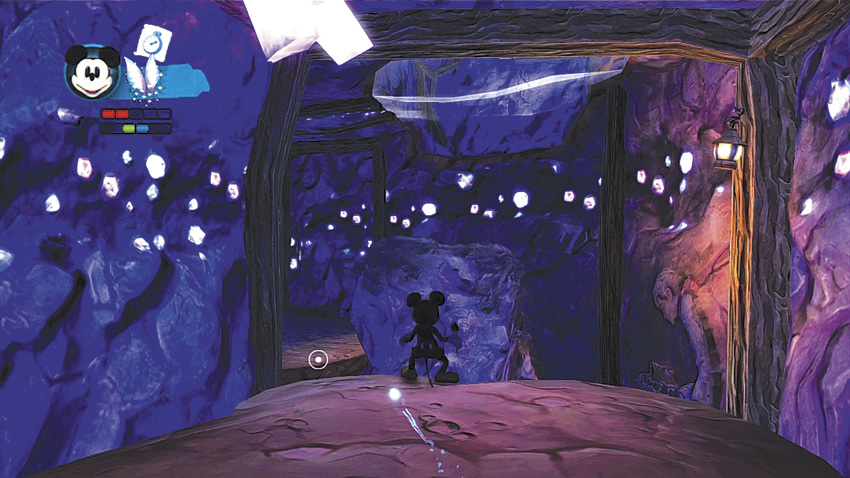
Now for the secret area the Blue Gremlin spoke of earlier. Turn around on the balancing rock until your back is to the door and look at the far wall. Part of the wall and ceiling can be thinned. Go ahead and thin that out so you’ll have a ledge to reach.
OPTIONAL QUEST
FINDING THE HIDDEN HEROES
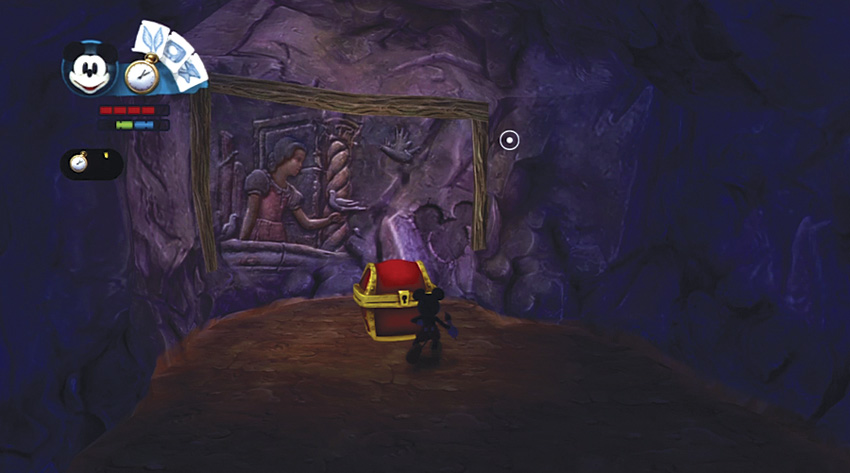
Discover another hidden Mickey inside the secret room above the balancing rock.
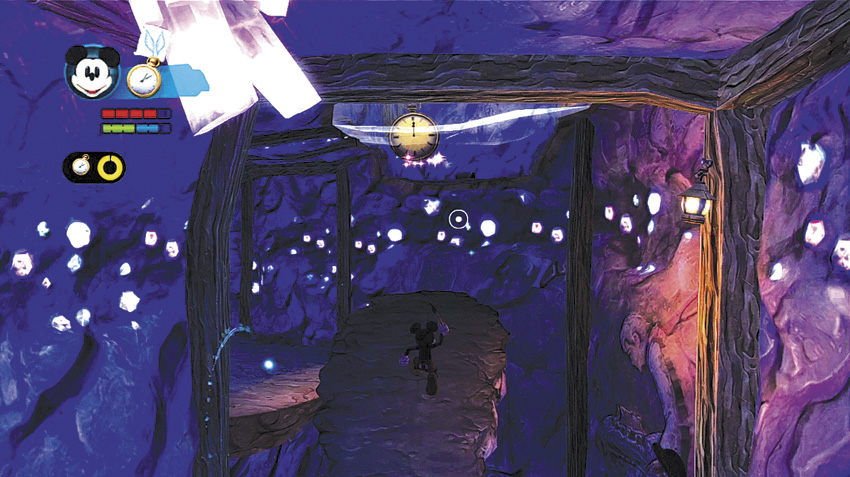
If you’ve got one, use a Watch Sketch here to slow down time. You’ll need the extra time to keep the balancing rock up high as you make the leap to the exposed ledge. Go to the far end of the balancing rock so that the other end tips up towards the exposed secret area. Run full speed to the edge of the balancing rock and double-jump over to the exposed ledge. (Oswald can glide up if he wants.)”
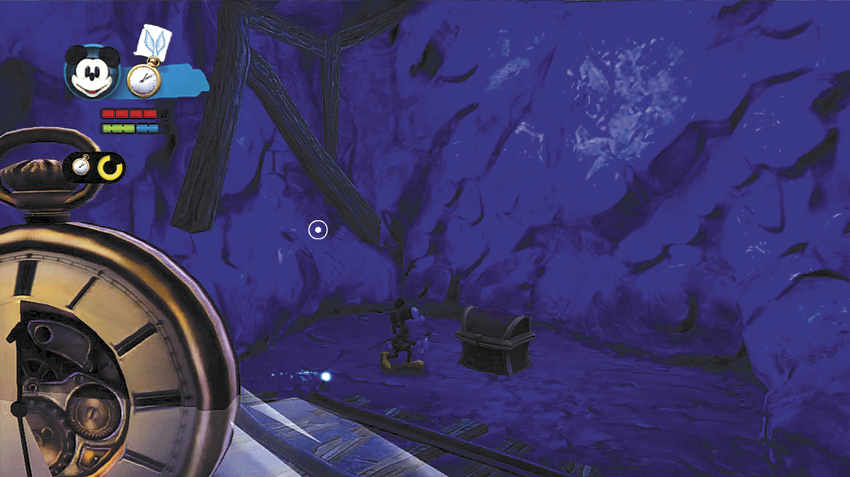
Smash open the resource chest on the ledge. That may seem like your reward, but there’s more.
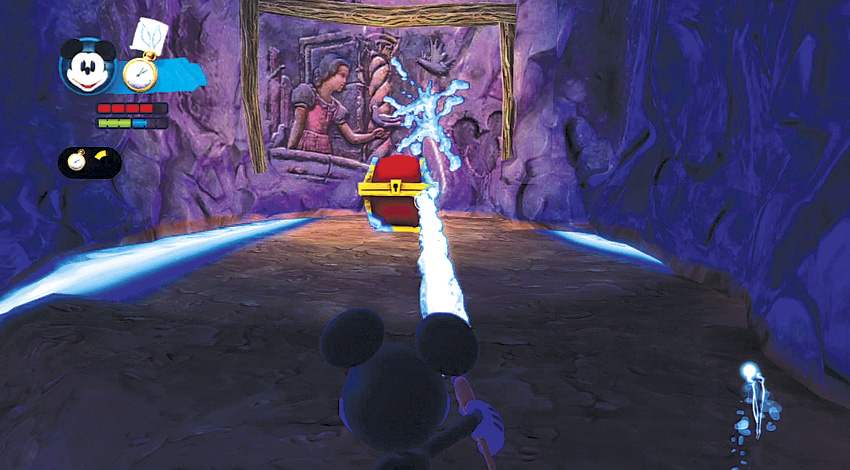
Turn around and paint the area closed so that you can no longer see the balancing rock. Hop up on the new floor and paint the thinned-out red chest in front of the drawing on the wall. You’ve just earned a Silver Pin.
Silver Pin
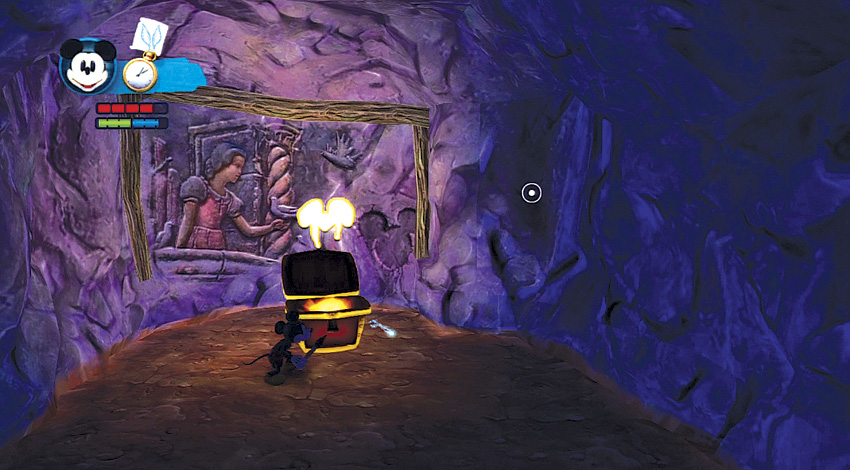

Smash open the resource chest on the ledge. That may seem like your reward, but there’s more. Turn around and paint in the thinned out toon in front of you so that you no longer see the balancing rock. Hop up on the new floor and paint in the thinned out red chest in front of the drawing on the wall. You’ve just earned the game’s trickiest Silver Pin.
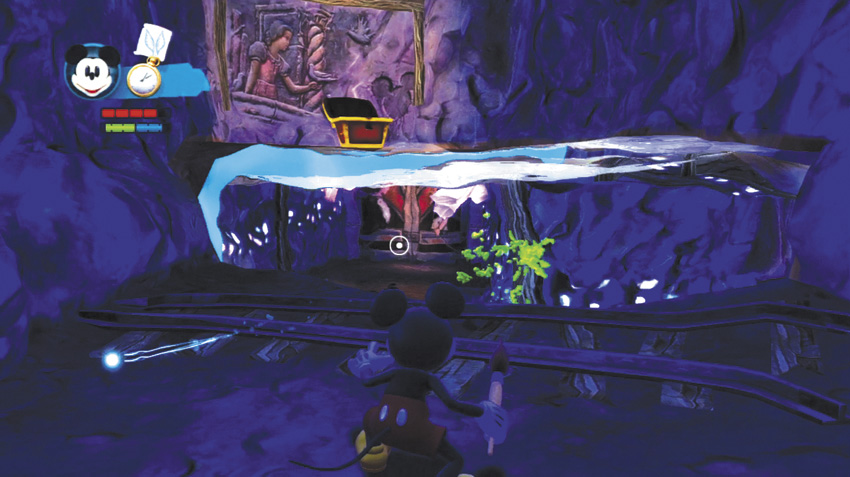
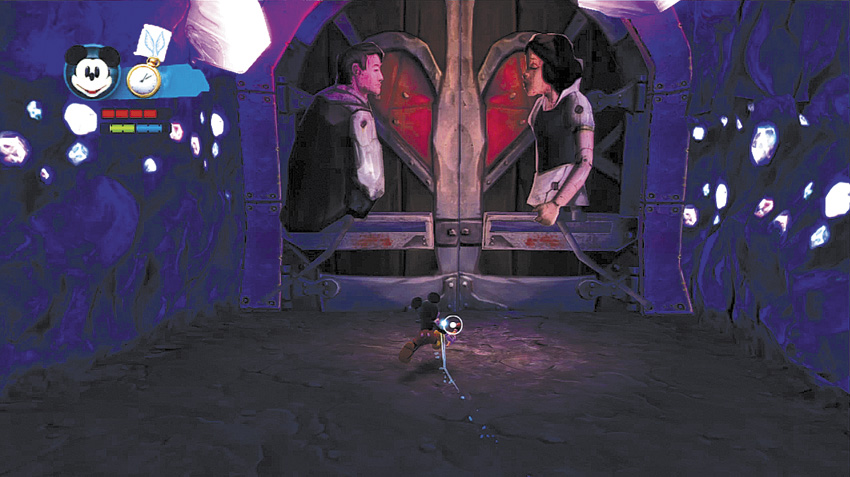
After you have the Silver Pin, jump back to the ledge and thin the ceiling again. Jump down to the balancing rock and cross to the exit doors. Oswald and Mickey must now push the figures of Prince Charming and Sleeping Beauty together to unlock the door.
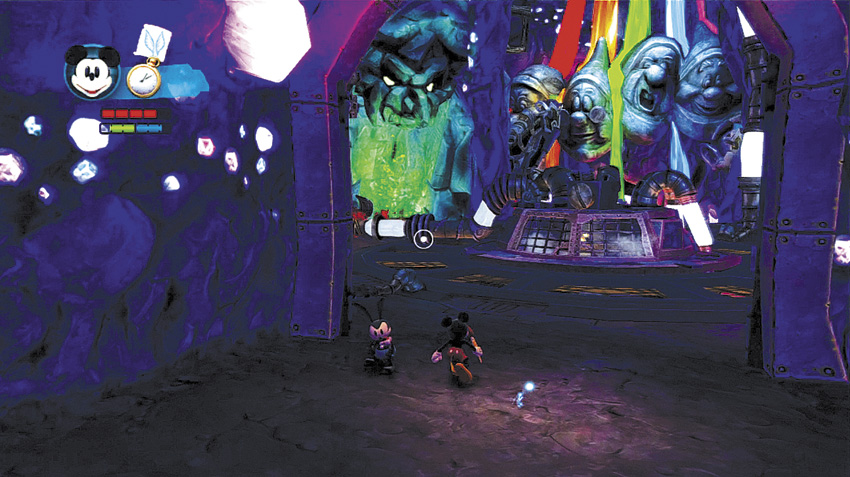
You have reached the Projector Substation, with the majestic Rainbow Falls in the background. Once you divert the Paint from the Falls and then fix the machine, the projectors around Wasteland will be working again.
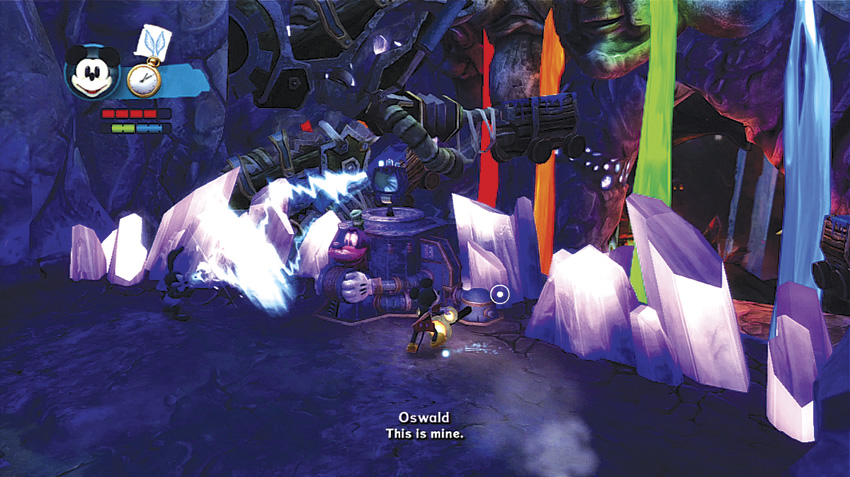
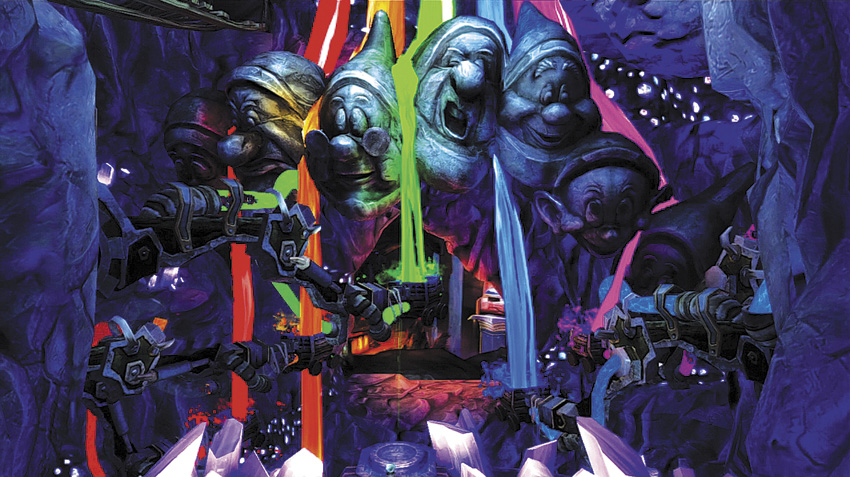
Circle around the big machine in the middle of the room and look for the smaller machine overlooking the Falls. As Mickey pulls the lever on the machine, Oswald should shoot the control panel with Electricity to activate it. Conduits shoot out from the walls, and the multicolored Paint from Rainbow Falls fills the tubes and channels toward the substation.
OPTIONAL QUEST
ENCYCLOPAEDIA WASTELANDICA

Take a picture of the Rainbow Falls and return it to the Camera Shop for a reward!
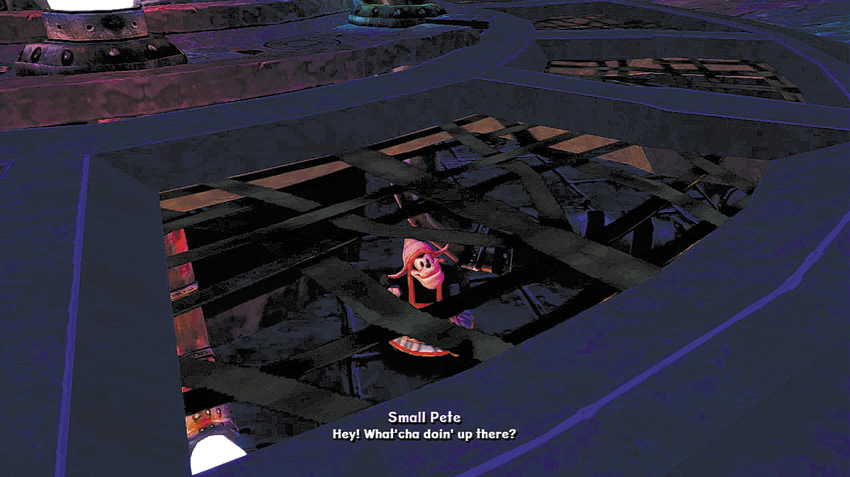
Small Pete hollers up at you after you turn on the machine in front of the Falls. He’s been trying to fix the projectors since the quake, but you’ve turned on the Substation too soon! Now you’ll have to help him fix the problems if you want to get the projectors running again. Small Pete identifies the problems around the substation for you, then continues to yell at you while you attempt to make things right.
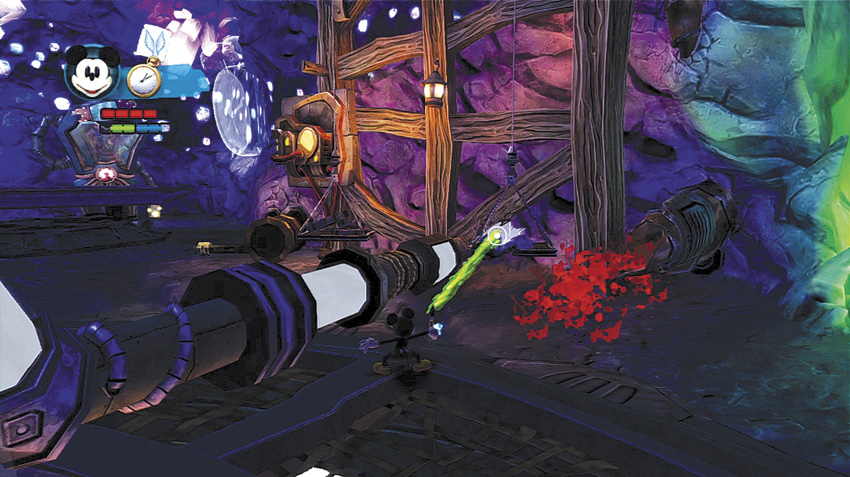
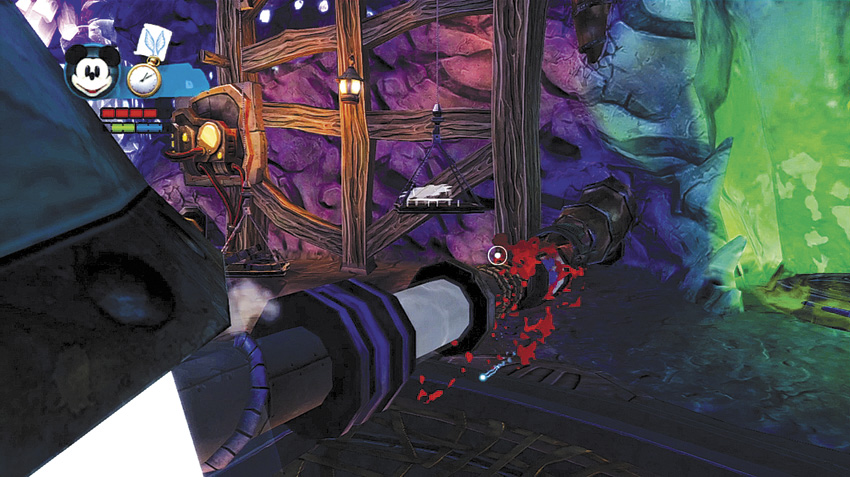
Head over to the long tube first. You can slide this tube either left or right if you thin the gears and shift the weighted platforms around. If you slide the tube to the right and connect to the gushing paint nozzle, you begin the process of opening the hatch to the Devil Side of Rainbow Caverns. If you slide the tube to the left and connect it to the second nozzle, you begin the process of opening the projector to the Angel Side of Rainbow Caverns.
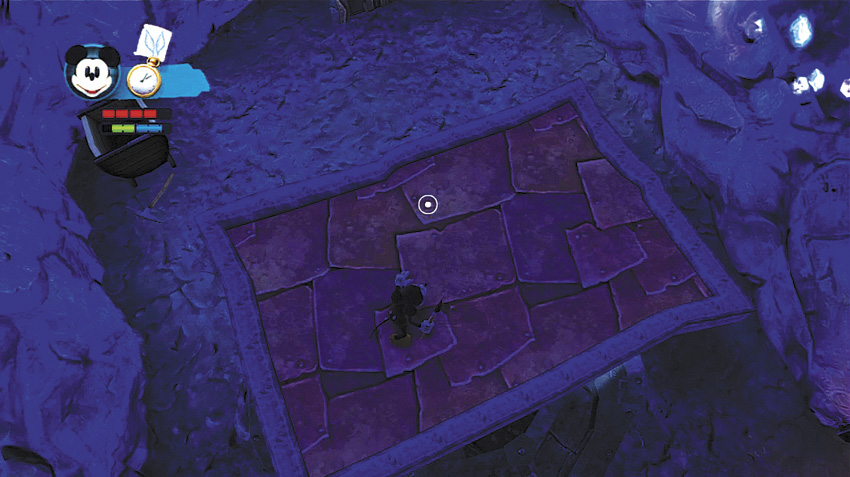
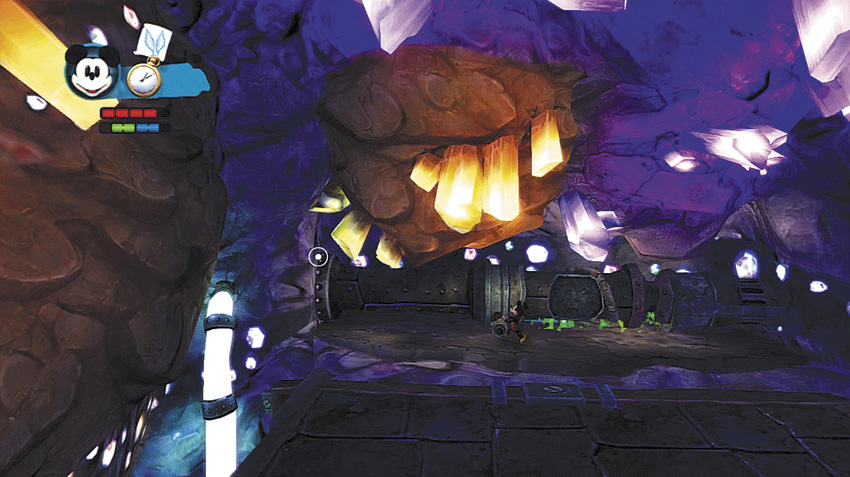
Take the rising platform to the upper level of the facility next. Jump off the platform and onto the ledge with the Thinner tube. If you want to access the Angel Side, grab the handle on the left side and pull it until the tube is closed. If you want to access the Devil Side, thin out the rock above to break the pipe.
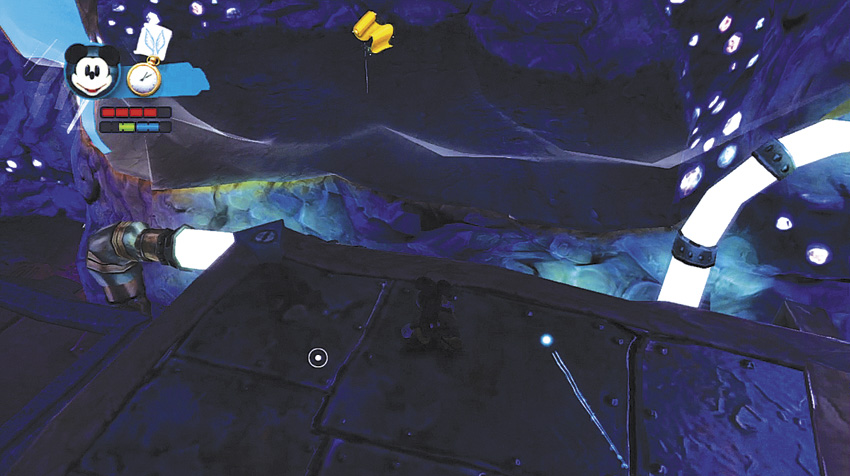
A Golden Cloth sits inside the toon wall next to the Thinner tube. Spray the wall and then jump over to the ledge from the platform and claim your prize.
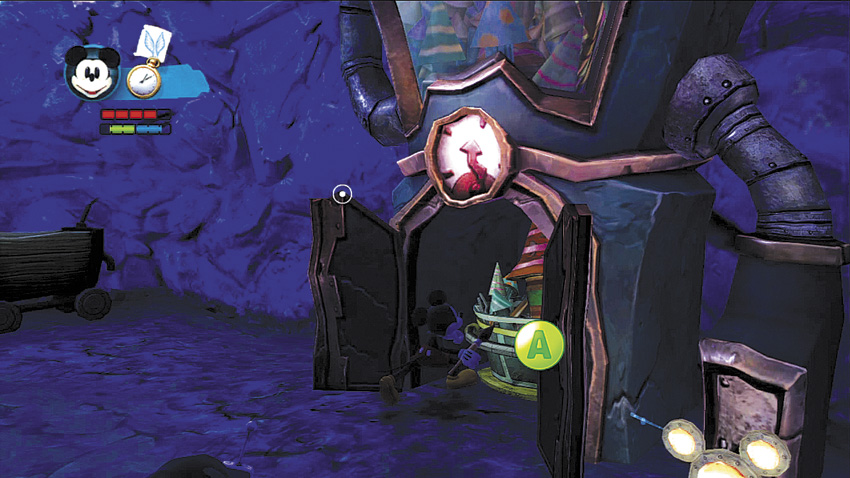
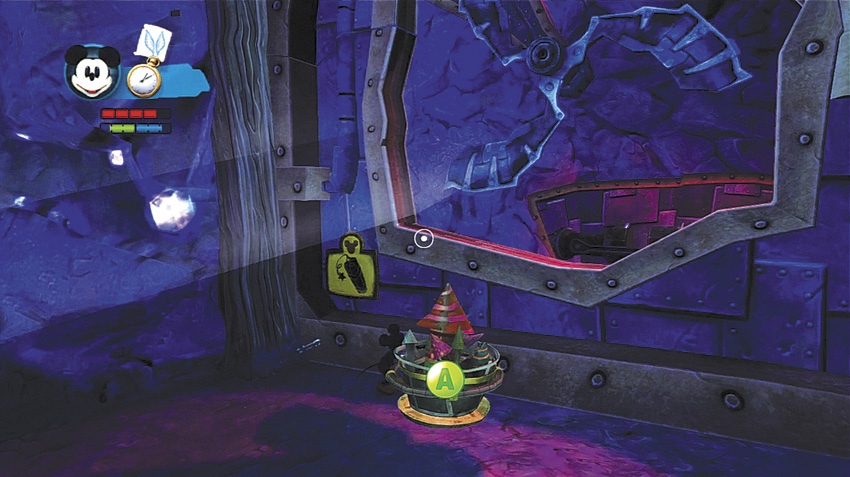
Descend to the floor again and look for a fireworks shed near the back wall. Pull the lever to open the shed door and drag the fireworks out into the main area and over to the Dynamite sign on the wall.
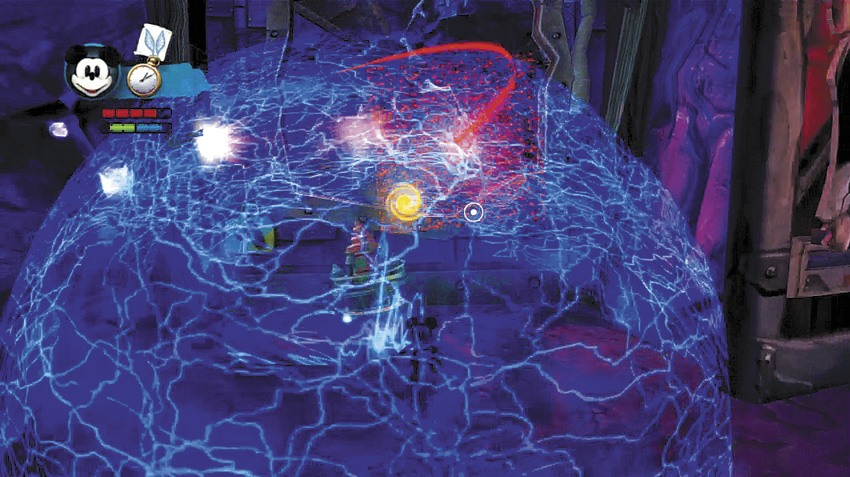
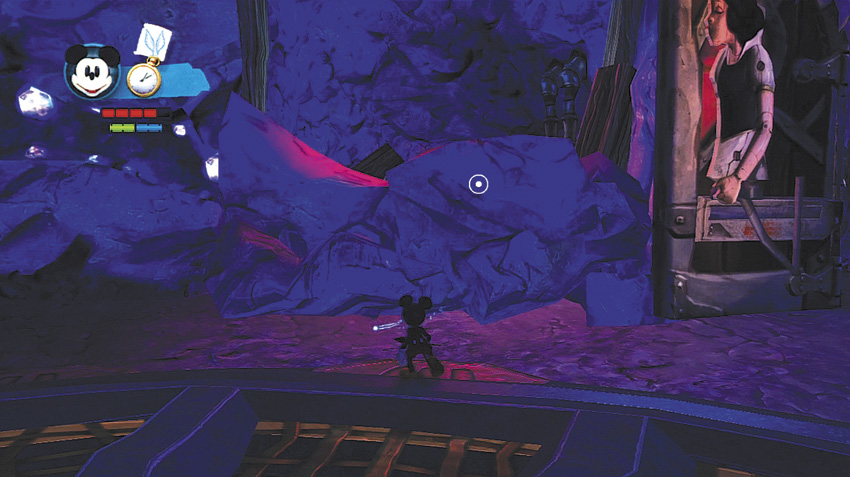
Ignite the fireworks with Oswald’s Electricity charge and blow up the fan to proceed on the Devil Side path. Alternately, you can use the giant Watch on the wall (or your Watch Sketch) to slow the fan down so you can jump through it to proceed on the Angel Side path.
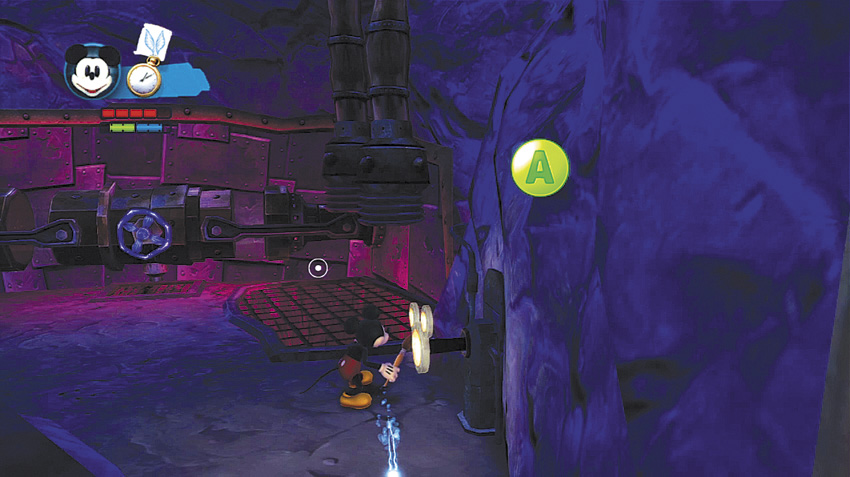
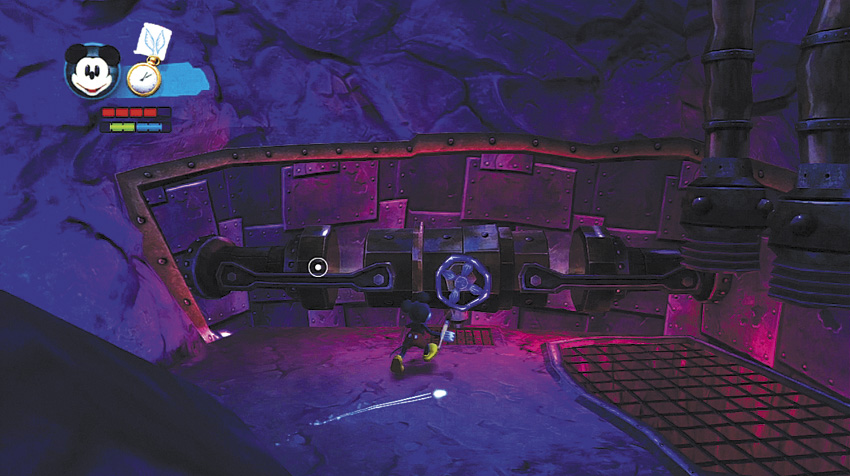
Enter the room behind the fan. Spin the valve on the tube in the back. If you jumped through the fan rather than destroyed it, pull the lever next to the tube to exit.
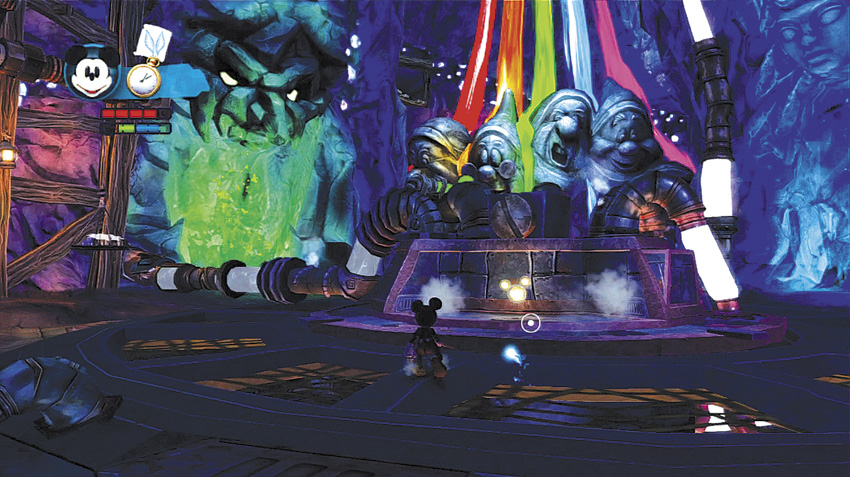
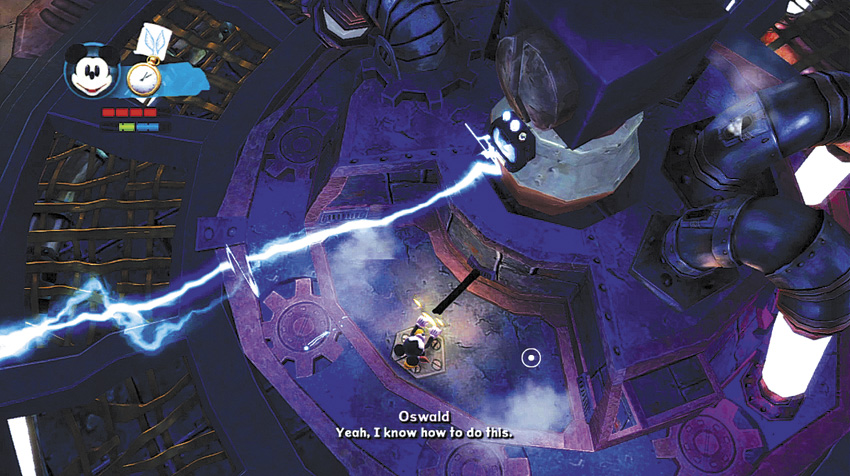
Return to the central machine. All problems should be fixed now. As Mickey pulls the main lever, Oswald should juice up the machine with his Electricity.
Projector Corrector

Playstation 3 Trophy: Bronze
Xbox 360 Gamer Points: 20
From almost the beginning of the game you’ve been on a quest to fix the projectors. When you get the Projector Substation back in order, you finally do. Your biggest reward for all your hard work is that you can finally use the projectors to travel around Wasteland. A nice consolation prize is that you complete the “Projector Corrector” challenge.
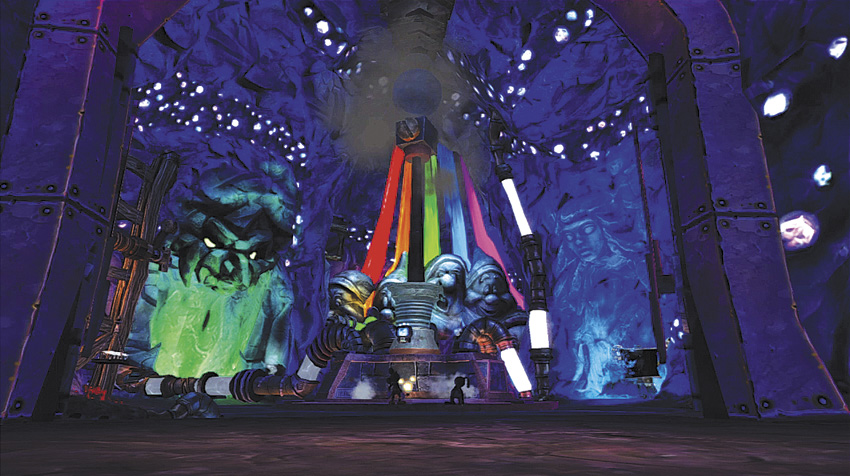
The projectors are now active across Wasteland. If you followed at least two of the three steps for the Devil Side, you can exit through the D.E.C. hatch (Waypoint 20). If you followed at least two of the three steps for the Angel Side, you can exit through the projector (Waypoint 21). Depending on your choice, your experience in Rainbow Caverns will be completely different.
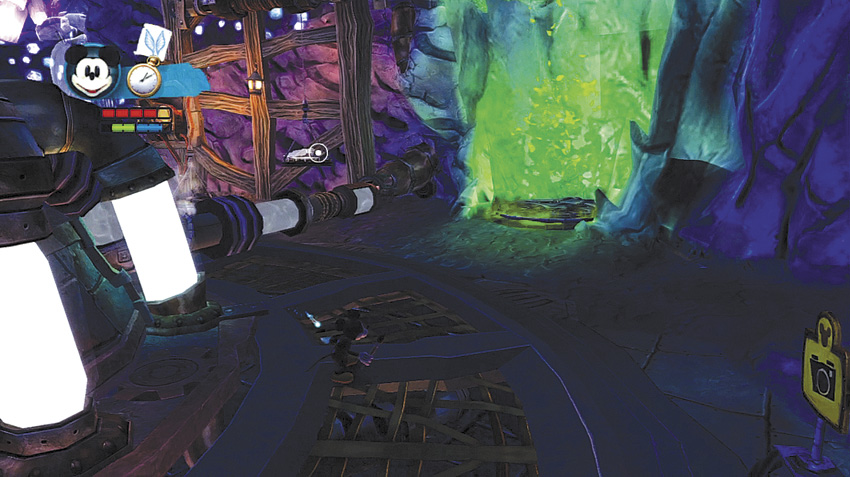
The hatch to the Devil Side of Rainbow Caverns activates once the entire substation is fixed. Carry out all the steps and return here last. You enter the D.E.C. (Version 3) from the hatch.
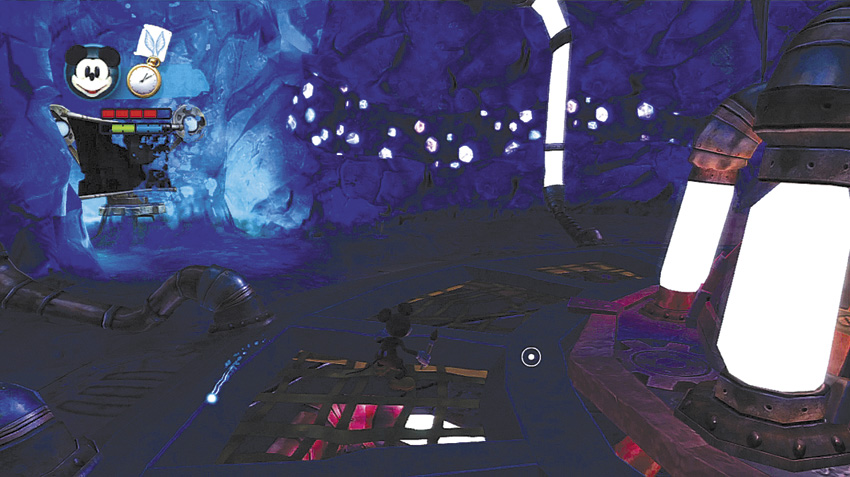
The projector to the Angel Side of Rainbow Caverns activates once the entire substation is fixed. Carry out all the steps and return here last. You enter the “Building a Building” (Version 1) cartoon from the projector.