
Assassin's Creed IV: Black Flag Guide Side Quests
Charts & Collectibles
It’s possible to while away countless hours by exploring the Caribbean. These seas feature dozens of unique locations, many of which are not visited at all during the course of the main storyline: remote islands, caves, shipwrecks, ancient Mayan ruins and burgeoning settlements where you can purchase supplies.
Though your agency, curiosity and cupidity are restricted by Desynchronization boundaries in Sequence 03, completing the double-bill of main story Memories that begins with “A Single Madman” and ends with “This Old Cove” at the beginning of Sequence 04 is all you need achieve to unlock the entire Caribbean map. With only three potential destinations off-limits until later story developments, you could spend days venturing between the many islands… and still not see all that the entire area has to offer.
Navigation Tips
Before we continue with our guide to every major location in the Caribbean, we should remind you how to make a permanent mark upon it. While Viewpoints are used to unfog the map and reveal collectibles for each locality (usually one for smaller islands, perhaps a handful for larger destinations, and several for cities), you must conquer Naval Forts to reveal portions of the wider map. If you look closely, you will notice that the Caribbean is divided into 11 zones. Each of these corresponds to a local fort. Complete the objectives to take that base by force, and all undiscovered locations within the zone will be automatically revealed on the map. In addition, all uncharted collectibles – that is, those that appear on isolated sand bars and beaches – are also documented.
The following points will also help you during your travels:
- The coordinates system employed in the game is extremely easy to use. Each point (and therefore location) on the map has a unique set of coordinates expressed as “xxx,yyy”. 0,0 is in the southwest corner; 1000,1000 in the northeast.
- The poster supplied with this guide provides a fantastic overview of the entire Caribbean region. It’s especially useful for plotting a route between uncharted collectibles.
- All vessels and sea creatures that you will encounter are broadly determined by the fort zone that you are traveling through. We dedicate a page to each zone, with guidance on what you might encounter within the borders of its unique region.
- Remember that every location that you visit (and Viewpoint that you Synchronize with) is a potential Fast Travel destination.
Hunting Collectibles: Useful Tips
- The custom marker function on the main map is phenomenally useful when you are looking for collectibles. The icon for the item in question is physically displayed on the screen when you look in its direction, even if it is obstructed by walls or is too distant to behold.
- Items above or below Kenway’s current position are slightly grayed-out on the mini-map. If in doubt, always visit the main map to apply a custom marker – these help to solve any elevation-based doubts in seconds.
- Once you have picked up all collectibles and completed side quests local to a specific area, its icon appears in gold on the main map. There is also a brief fanfare and an automatic display of the information provided by the Collectibles Button to herald this achievement.
- Even if you have yet to conquer a fort in a Caribbean zone, sailing close to a beach or sandbar that features a collectible item will lead to a prompt to press I to view that location. This also serves to permanently mark the item in question on your map.
- Finding all dig sites for Treasure Maps is hugely rewarding, and this is something that we cover in great detail (including classic “X marks the spot!” pictures) throughout this section.
Elite Design Plan Directory
Many top-tier Jackdaw upgrades can only be purchased once you have acquired a requisite design plan from a specific location. This table documents all steps required to collect all “Elite” design plans.
Elite Design Plans
Upgrade |
Further Information |
|
Elite Hull Armor |
Open a specific Treasure Chest in the San Ignacio Wreck (visited during a main story Memory ). |
|
Broadside Cannons – Elite Set |
Open a specific chest while exploring the The Blue Hole underwater shipwreck. |
|
Elite Ram |
Open a specific chest while exploring the La Concepcion Shipwreck |
|
Elite Round Shot Strength |
Open a specific chest while exploring the Kabah Ruins underwater shipwreck. |
|
Elite Mortars |
Open a specific chest while exploring the Antocha Shipwreck. |
|
Elite Swivel Guns |
Open a specific chest while exploring the Devil’s Eye Caverns underwater shipwreck. |
|
Elite Heavy Shot Strength |
Find the Treasure Map while exploring the Ambergris Key cave, then visit Misteriosa to dig. |
|
Elite Fire Barrel Strength |
Collect the Treasure Map from Santanillas, then visit San Juan to dig. |
|
Elite Heavy Shot Storage |
Pick up the Treasure Map from Cayman Sound then go to Petite Caverne to dig |
|
Elite Mortar Storage |
Obtain the Treasure Map from Tortuga and visit the dig site at Matanzas. |
|
Elite Fire Barrel Storage |
Obtain the Treasure Map from Kenway’s Fleet then visit Isla Providencia to dig. |
|
Elite Harpoon Strength |
Collect the Treasure Map from Mariguana Island, then excavate the chest from Andreas Island. |

Legend
Icon |
Collectible Type |
Reward |
|
|
Chest |
Money (usually anything between 200 to 300 |
|
|
Animus Fragment |
Required to complete Abstergo Challenges and unlock cheats, as well as Emblems and Titles for the Multiplayer mode. Animus Fragments are often found on rooftops or in trees, and usually require brief sessions of climbing or free running to obtain. If they appear suspended in the air, a Leap of Faith is usually required to reach them. |
|
|
Treasure Map |
These are found next to cadavers. They lead to buried chests. |
|
|
Buried Chest |
Design plans for the Jackdaw’s elite upgrades, and 3,000 to 4,000 |
|
|
Mayan Stone |
Reward for the Mayan Stela puzzles, where you must align an overlay with natural elements in the scene. Once you have them all, they unlock the Mayan Outfit. |
|
|
Song Sheet |
New songs for the Jackdaw’s crew to sing while you sail the Caribbean. Song Sheets (also known as “shanties”) will begin to float away once Kenway moves within a certain range. You must time and direct your approach carefully to catch them before they disappear, which often entails free running over a very specific route. |
|
|
Letter |
Letters that can be read in the Animus Database. These reveal details about the life of a previous Sage. |
|
|
Manuscript Page |
Visual excerpts from the mysterious Voynich Manuscript that can be studied via the Animus Database. These are always guarded, and appear in the center of a small Restricted Area. |
|
|
Viewpoint |
Synchronizing Viewpoints unfogs the map in the corresponding area. |
|
|
Tavern |
After a mandatory fist fight to “unlock” it, each tavern enables you to access three features: hiring crew members, playing minigames, and buying information about convoys to plunder. |
|
|
Templar Hunt |
Completing all four Templar Hunts will reward you with the keys required to unlock the Templar Armor in the Great Inagua hideout. |
|
|
Assassin Contract |
Each contract fulfilled offers a reward of 1,000 |
|
|
Naval Contract |
Completing these missions leads to a reward of 1,200 to 2,400 |
|
|
Warehouse |
Plundering these will net you small-to-medium amounts of all types of cargo, as well as a financial reward if you manage to complete the raid with no alarm bells rung. |

 ), and occasionally ammo.


 . Buried chests can only be excavated once you have the corresponding Treasure Maps.


 , plus an additional bonus if you do not trigger open conflict.
 , depending on their difficulty.
Map Directory
|
Zone |
Icon |
Name |
Coordinates |
|
Dry Tortuga |
|
Havana |
(240,607) |
|
|
Fort Dry Tortuga |
(254,749) |
|
|
|
Cape Bonavista |
(179,593) |
|
|
|
Salt Key Bank |
(495,634) |
|
|
|
Florida |
(409,815) |
|
|
|
Matanzas |
(333,650) |
|
|
|
San Ignacio Shipwreck |
(379,770) |
|
|
Eleuthera |
|
Nassau |
(633,784) |
|
|
Fort Eleuthera |
(726,784) |
|
|
|
Andreas Island |
(579,720) |
|
|
|
Abaco Island |
(606,835) |
|
|
|
Cat Island |
(742,695) |
|
|
Gibara |
|
Great Inagua |
(845,468) |
|
|
Fort Gibara |
(657,521) |
|
|
|
Crooked Island |
(807,541) |
|
|
|
Mariguana Island |
(880,544) |
|
|
|
Salt Lagoon |
(749,625) |
|
|
|
Jiguey |
(565,539) |
|
|
Antocha Shipwreck |
(630,660) |
||
|
|
Black Island |
(985,626) |
|
|
Conttoyor |
|
Fort Conttoyor |
(102,547) |
|
|
Tulum |
(70,405) |
|
|
|
Sacrifice Island |
(37,533) |
|
|
Castillo de Jagua |
Castillo de Jagua |
(356,556) |
|
|
|
Arroyos |
(192,563) |
|
|
|
Pinos Isle |
(335,469) |
|
|
|
Cayman Sound |
(327,334) |
|
|
|
The Black Trench |
(215,449) |
|
|
Cruz |
|
Cabo de Cruz |
(566,390) |
|
|
Grand Cayman |
(397,324) |
|
|
|
San Juan |
(479,487) |
|
|
|
Devil’s Eye Caverns |
(487,357) |
|
|
Punta Guarico |
|
Punta Guarico |
(776,399) |
|
|
Cumberland Bay |
(679,381) |
|
|
|
Principe |
(992,422) |
|
|
|
Tortuga |
(882,370) |
|
|
|
Petite Caverne |
(901,263) |
|
|
Chinchorro |
|
Fort Chinchorro |
(124,357) |
|
|
Corozal |
(42,268) |
|
|
|
Santanillas |
(217,250) |
|
|
|
Ambergris Key |
(55,178) |
|
|
|
La Concepcion Wreck |
(181,296) |
|
|
Serranilla |
|
Fort Serranilla |
(347,140) |
|
|
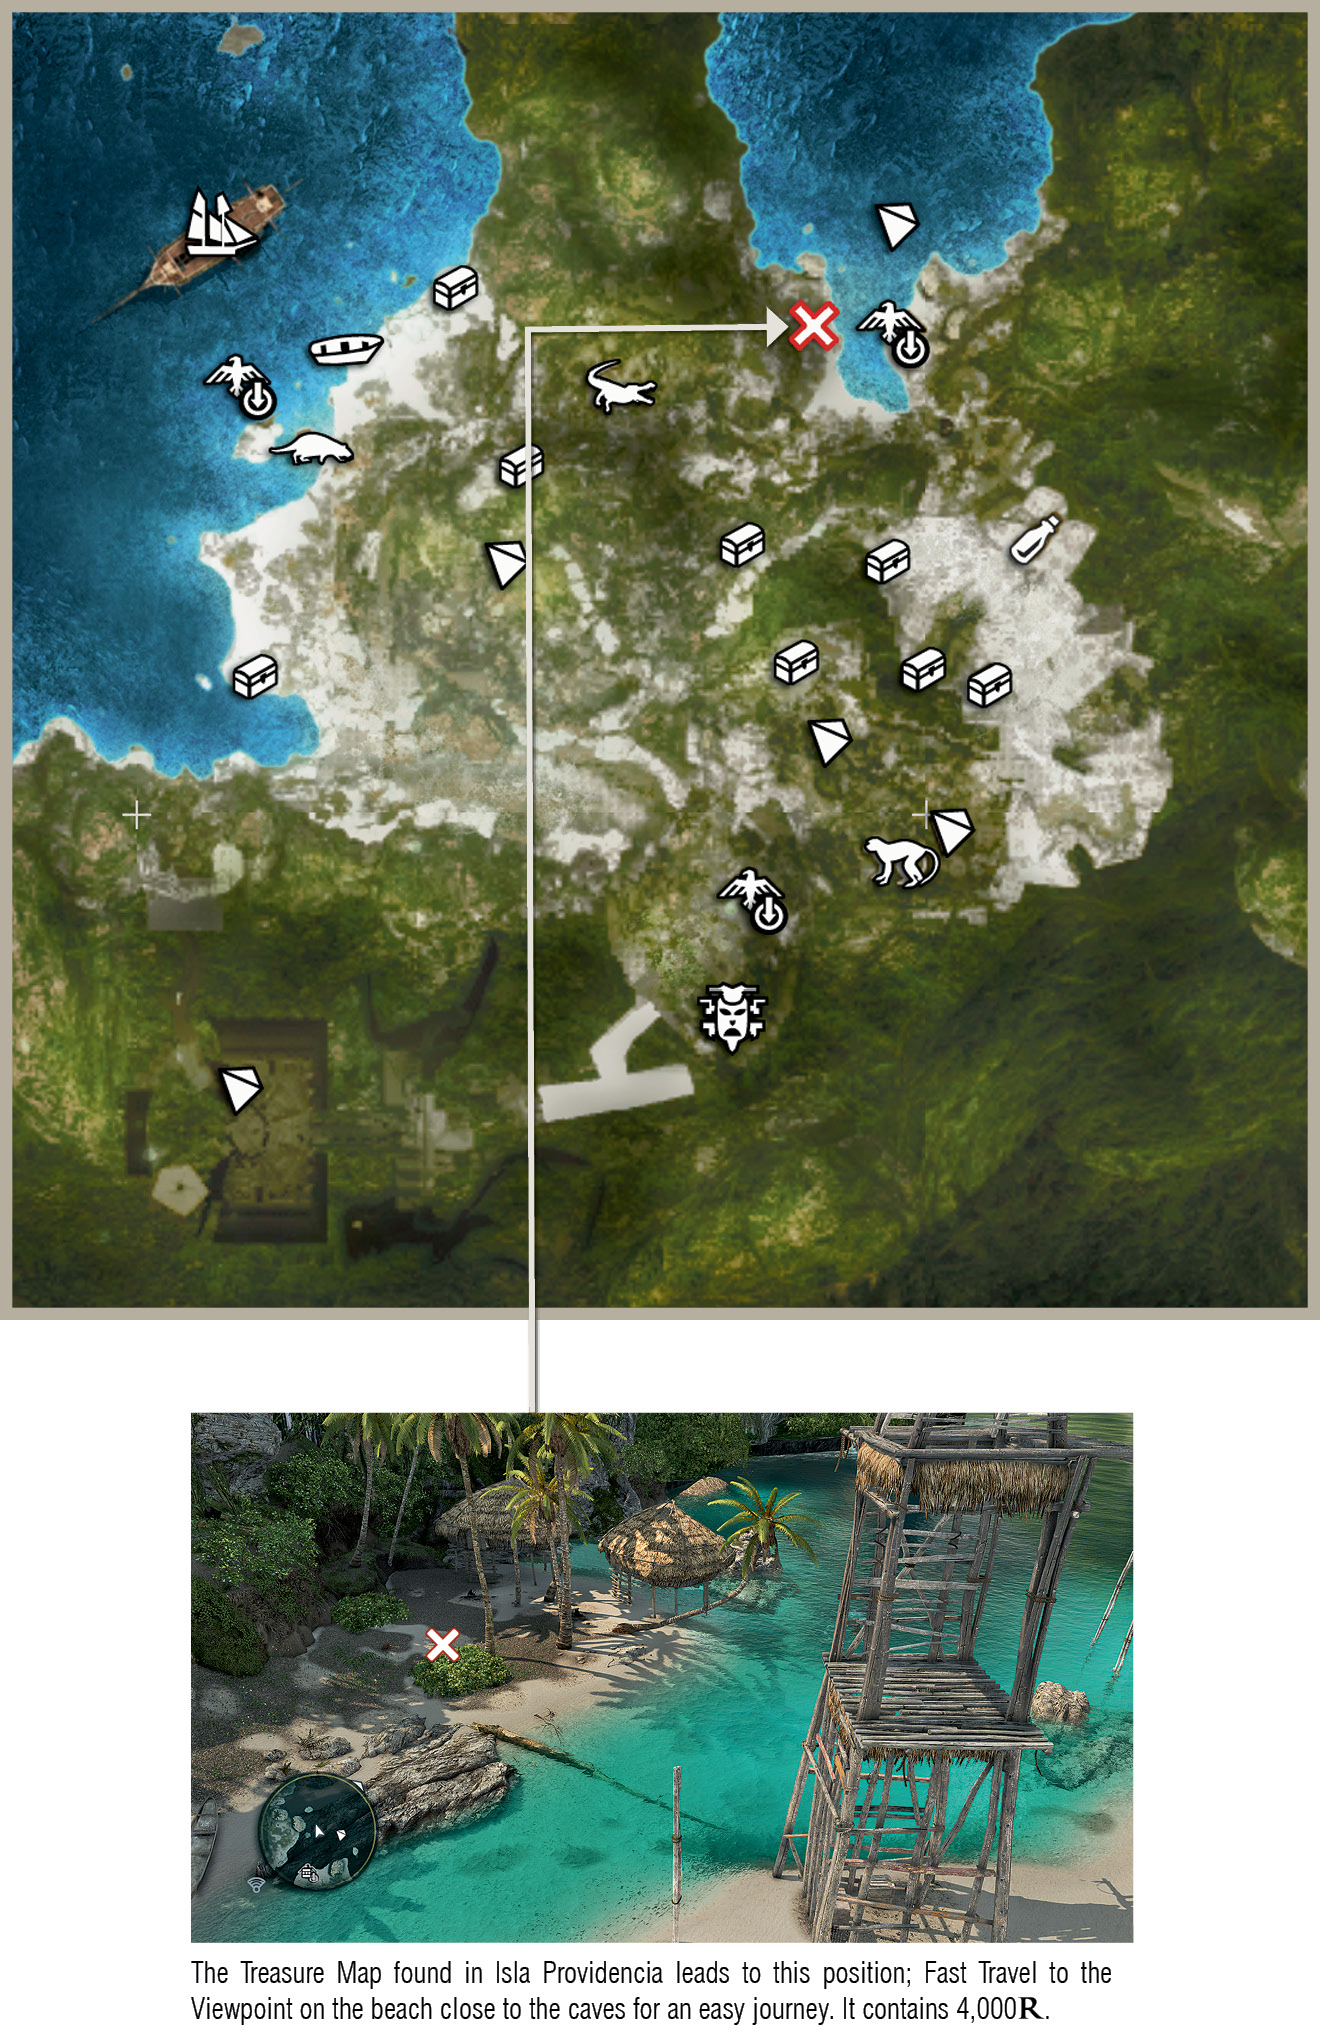
Isla Providencia |
(502,44) |
|
|
|
Misteriosa |
(307,195) |
|
|
|
New Bone |
(442,118) |
|
|
Charlotte |
|
Fort Charlotte |
(470,272) |
|
|
Long Bay |
(525,253) |
|
|
|
Anotto Bay |
(621,277) |
|
|
|
The Blue Hole |
(471,170) |
|
|
Navassa |
Kingston |
(623,172) |
|
|
|
Fort Navassa |
(728,219) |
|
|
|
Île à Vache |
(843,140) |
|
|
|
Kabah Ruins |
(769,145) |
|
|
|
Mystery Island |
(980,79) |


Havana (240,607)
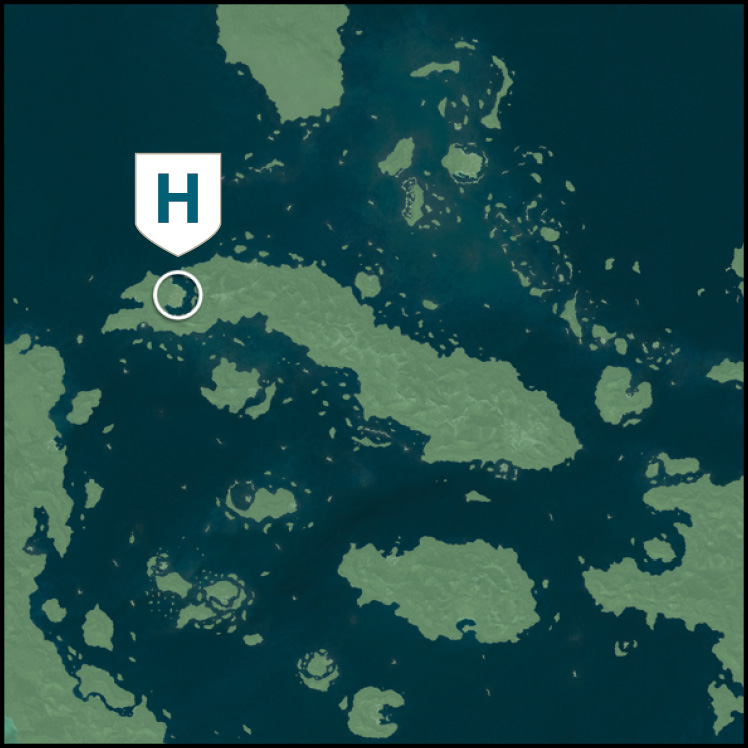
Key Details
|
Availability |
First visited during Sequence 02, “Lively Havana”; available as a naval destination after “This Tyro Captain” at the start of Sequence 03. |
|
Activities |
Assassin Contract x6, Templar Hunt x1, Warehouse, Treasure Map x1, Save Pirates |
|
Amenities |
Tavern, harbormaster, general store, local officer |
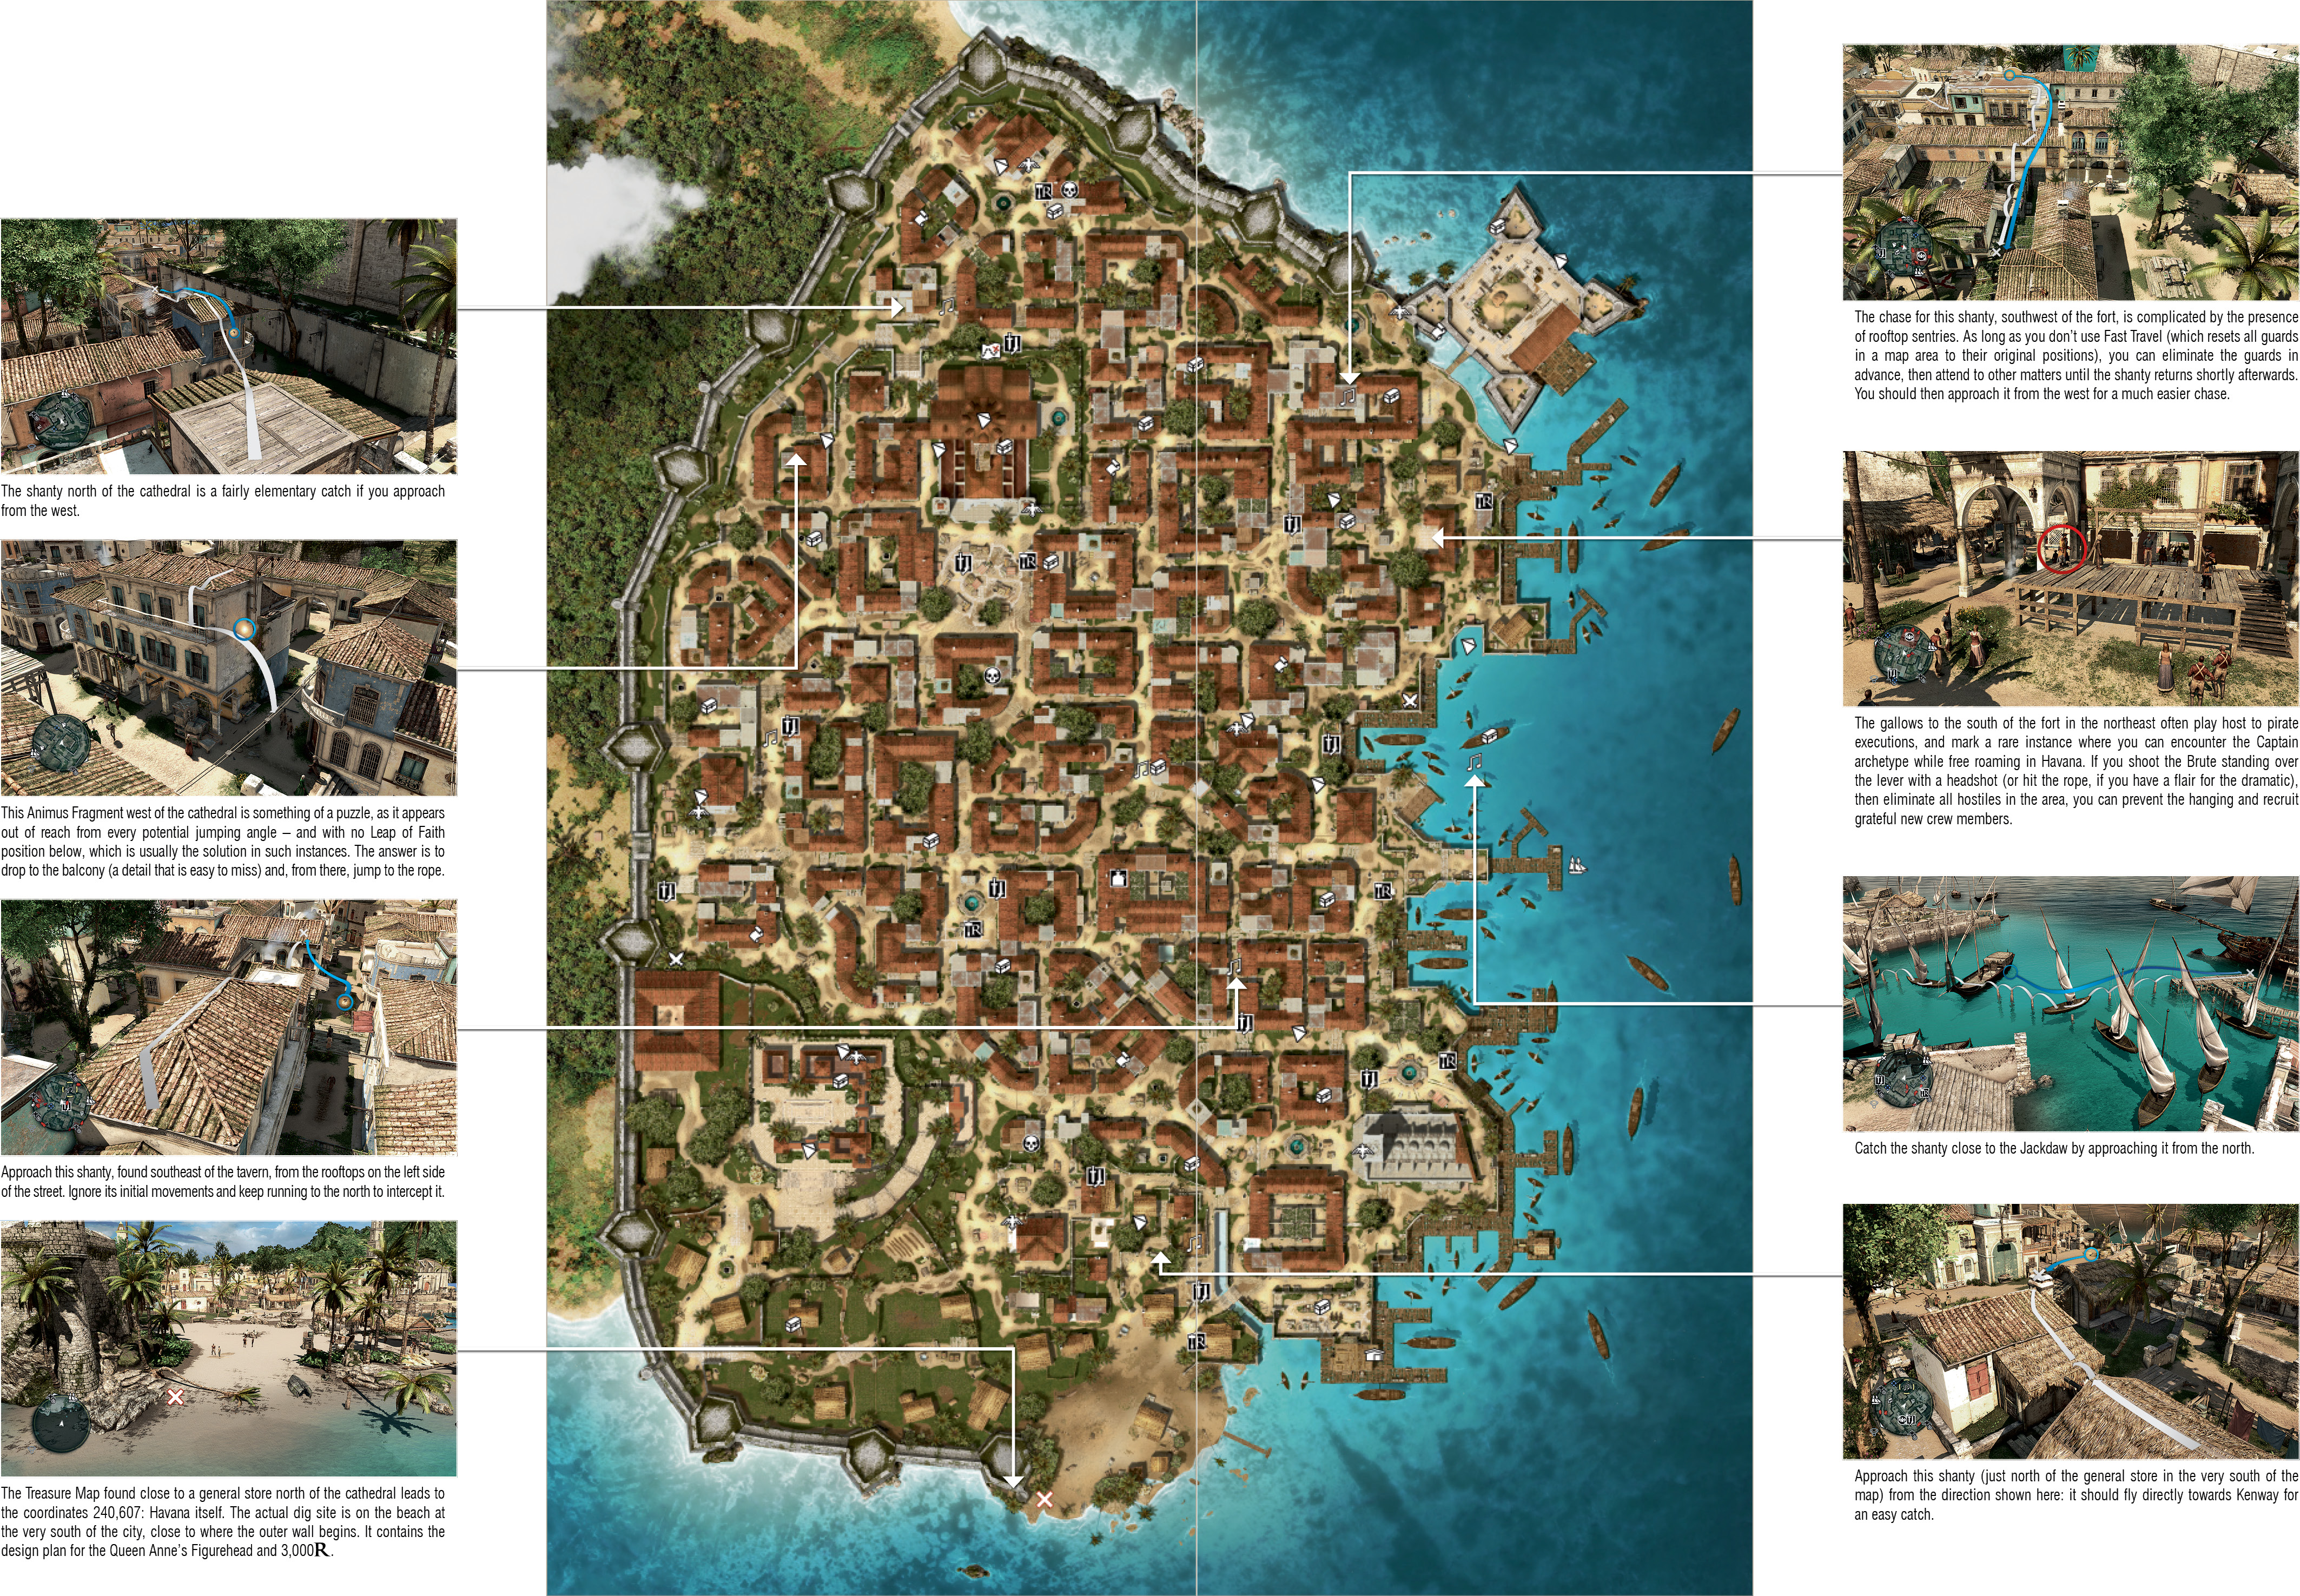
Notes
- The vast majority of potential hostiles in Havana are low-rank Spanish soldiers. Gunners are extremely rare, though you will find many rooftops guarded by eagle-eyed Scouts. Unless you raid the warehouse in the southeast or attempt to stop an execution, Brutes and Captains are almost never seen.
- Havana has three major Restricted Areas: the fort to the northeast (which you visit during “…And My Sugar?” in Sequence 02), the Governor’s Mansion and its grounds to the southwest (the stage for the events of “Mr Walpole, I Presume?” shortly afterwards) and a warehouse in the southeast, which cannot be raided until you complete “Sugarcane And Its Yields” in Sequence 03.
- It is prudent to leave the act of Synchronizing with the Viewpoint on the fort in the northeast until you are ready to collect the Treasure Chest and Manuscript Page secured within its heavily guarded interior. If you followed our walkthrough for “…And My Sugar?” closely, you will already have the Animus Fragment on the northeast outer wall.
- Your trip to Havana during Sequence 02 will almost certainly be the first time that you come into contact with the Manuscript Page collectible. These are always positioned in a small Restricted Area with anything between two and five guards in the vicinity. Opening these yields a modest sum of reales and an image that you can view in the Animus Database.
- Havana features a number of small rectangular Restricted Areas that contain standard Treasure Chests, with guards stationed at likely entrances. You can reach these via the rooftops if you wish to avoid a fight, though the sentries are usually of the generic soldier archetype.
- Until Sequence 07, when Nassau becomes a more suitable location for the task, Havana is the best place to visit if you need to recruit large numbers of crew for the Jackdaw without taxing Kenway’s purse. There are numerous “save pirates” locations in the city, and these rarely feature opponents more challenging than a Scout or Gunner.


Dry Tortuga (254,749)
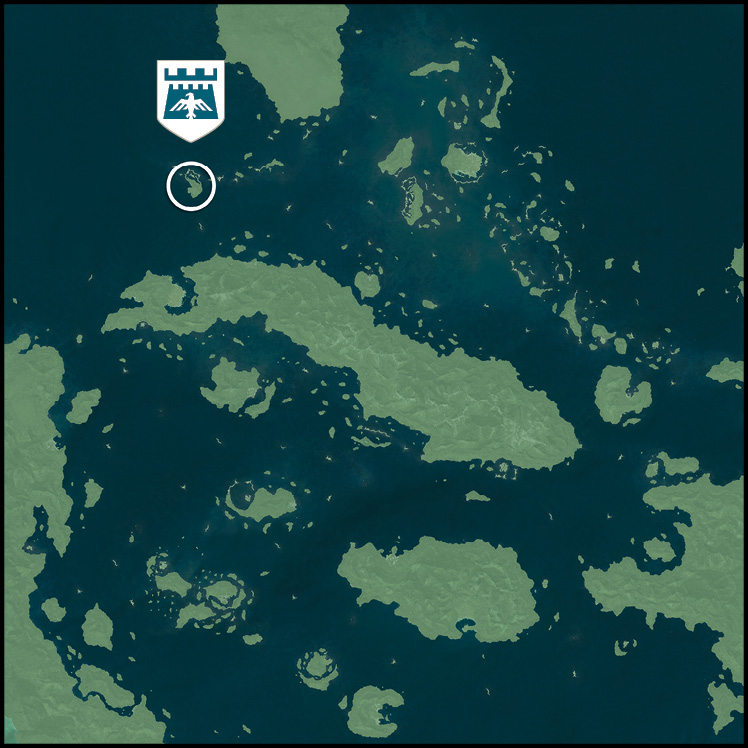
Key Details
|
Availability |
|
|
Activities |
Naval Contract x1 |
|
Amenities |
Harbormaster, local officer |
FORT DRY TORTUGA

Region Notes
It makes sense to conquer Dry Tortuga at an early stage in the story, as its Restricted Area complicates journeys into Havana. After you complete the liberation, look out to sea: a wave of gunboats usually arrives, only to be wiped out by the commandeered defenses.
The ships in the Dry Tortuga region are predominately mid-level schooners and gunboats, which makes it effectively identical to the Eleuthera zone in terms of plunder. You may occasionally encounter abandoned brigs, their decks ablaze, with crates on their decks that contain cargo. This is actually true of all regions, but worthy of note in this area during Sequence 03: it’s one of the only potential sources of metal at that stage in the story unless you set out to hunt brigs and frigates close to the Gibara-Punta Guarico border.
The channel leading south from Cape Bonavista (including the Conttoyor fort) is blocked by a Desynchronization boundary until Sequence 04.
Bull sharks are common in this region.
The Legendary Ship “El Impoluto” can be found north of the fort.
Cape Bonavista (179,593)
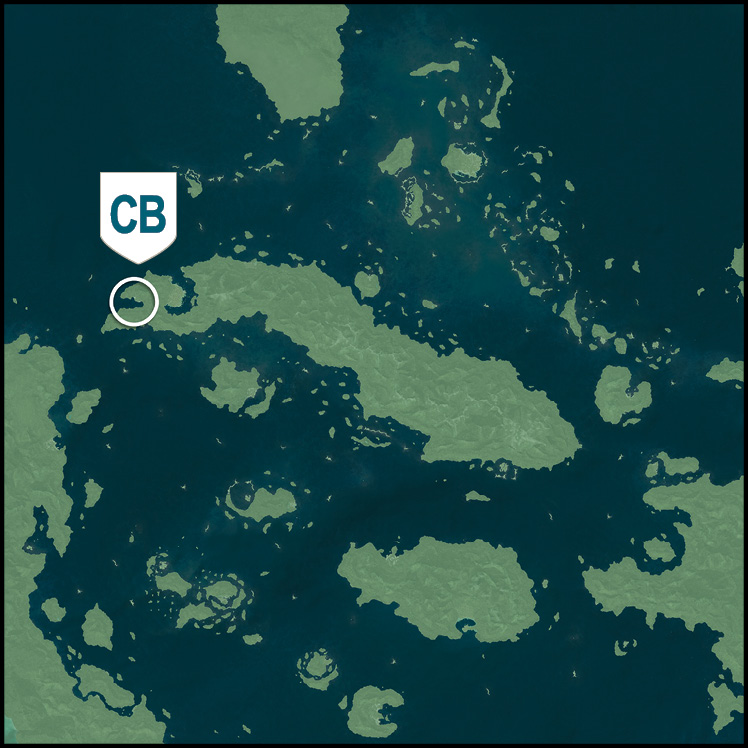
Key Details
|
Availability |
Sequence 03 in free roam; first visited during Sequence 01, “Edward Kenway”. |
|
Activities |
Mayan Stela x1, Treasure Map x1 |
|
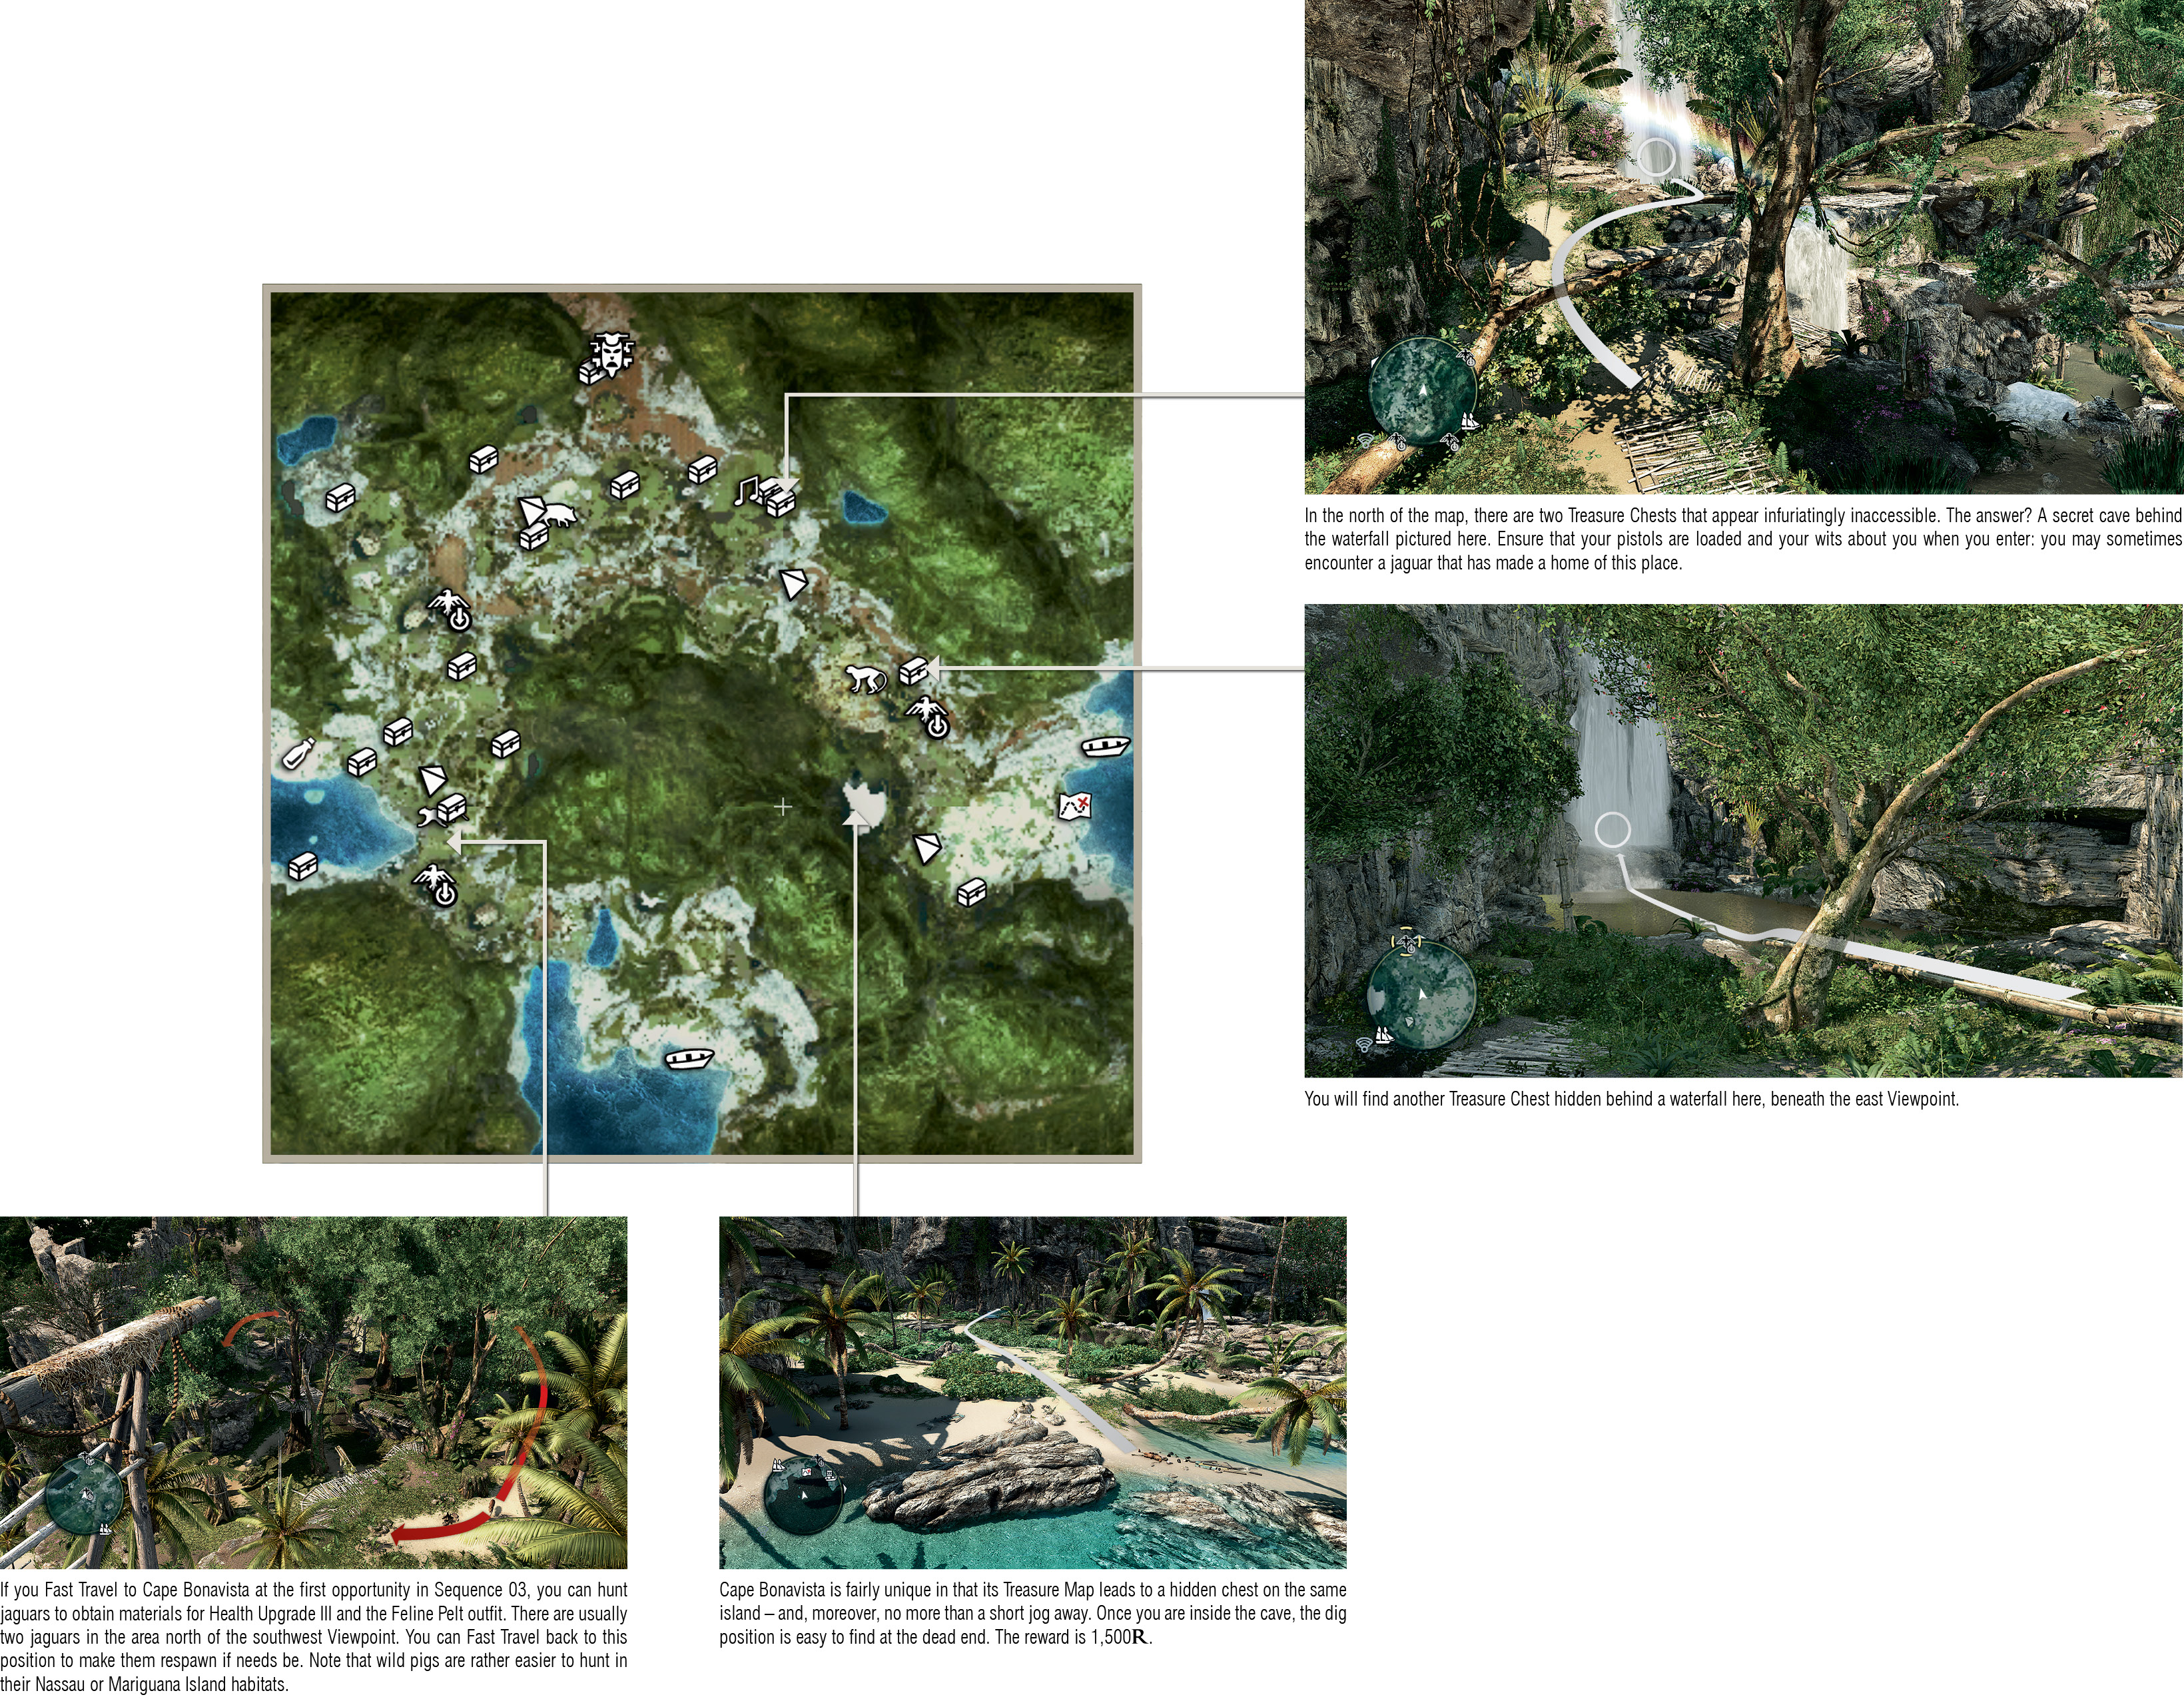
Wildlife |
Jaguar, wild pig, howler monkey |
Notes
- If you took our advice to Synchronize with all Viewpoints while pursuing Duncan Walpole during Sequence 01, returning via Fast Travel to pick up all collectibles in Cape Bonavista is a routine exercise.
- The channel leading south from Cape Bonavista (past Fort Conttoyor) is blocked by a Desynchronization boundary until Sequence 04.
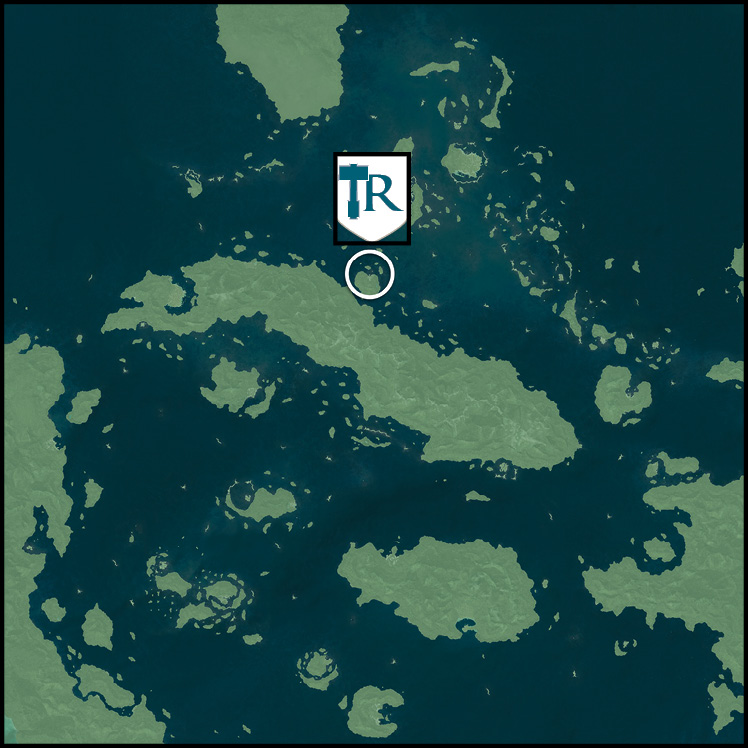
Salt Key Bank (495,634)
Key Details
|
Availability |
Sequence 03; first visited during Memory 03, “Prizes And Plunder”. |
|
Activities |
Assassin Contract x2, Treasure Map x1 |
|
Amenities |
Dock, tavern, harbormaster, local officer |
Notes
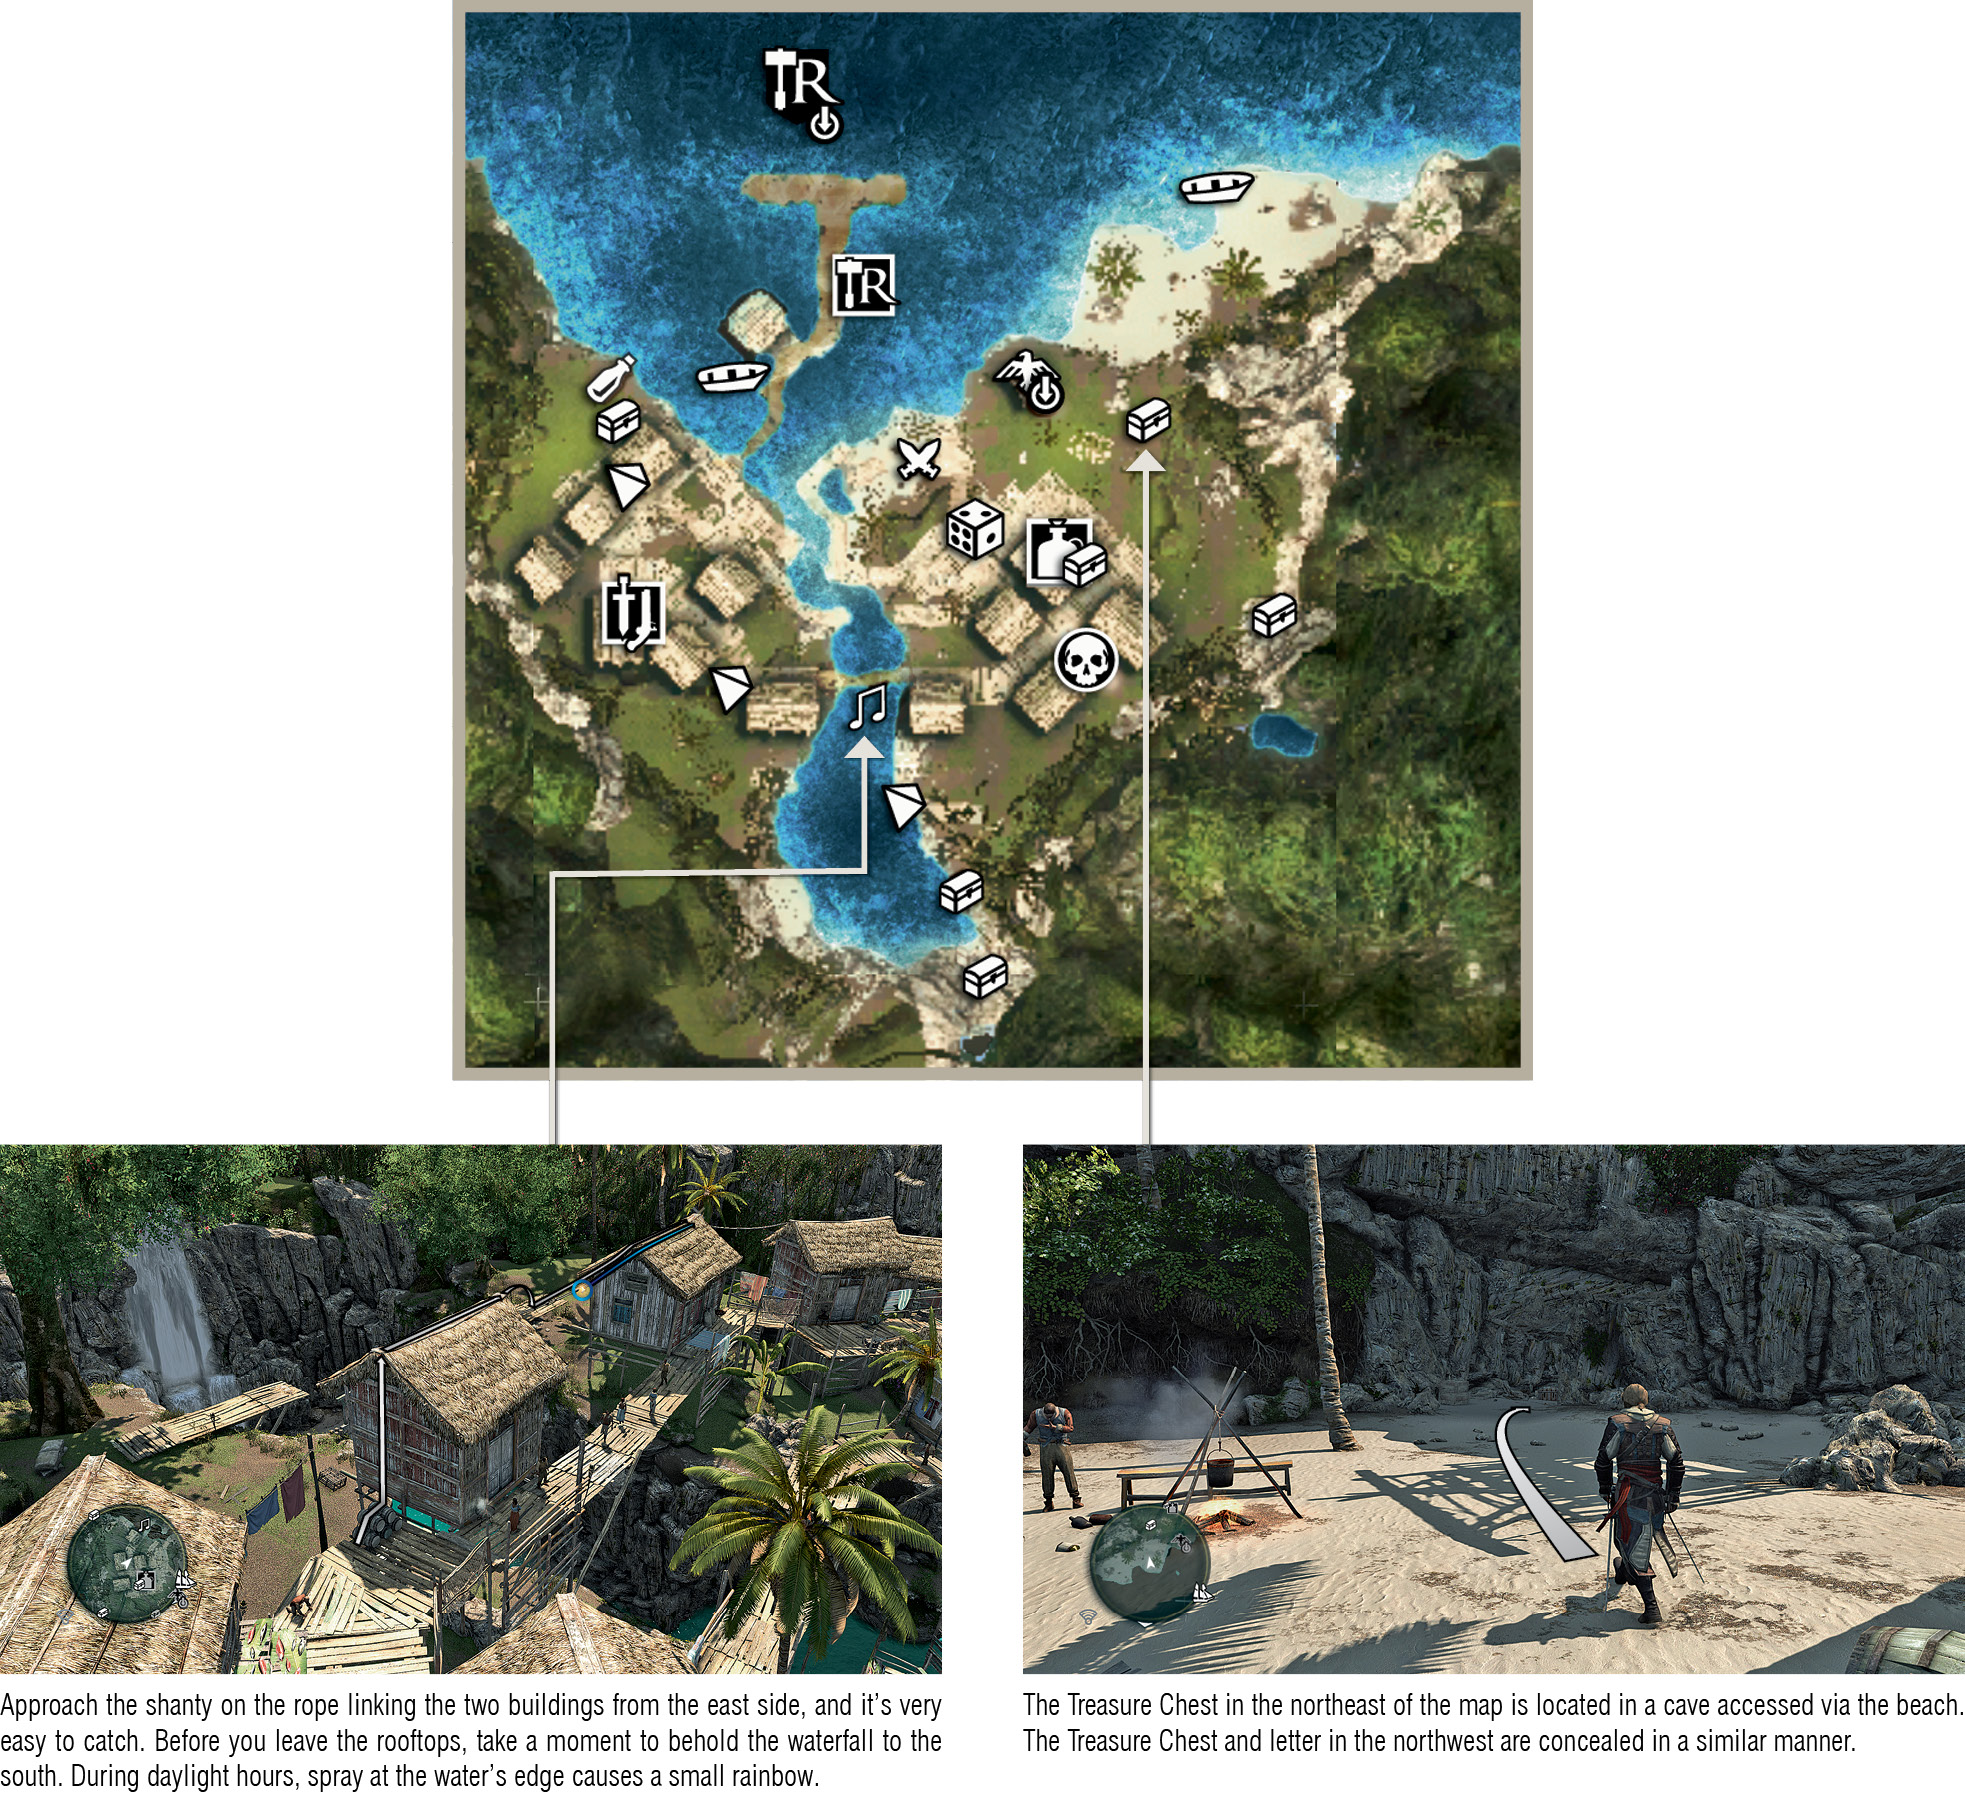
- Like Andreas Island to the northeast, Salt Key Bank boasts all the essential amenities you might need during breaks from piratical activities… but Andreas Island has more convenient geography for short essential trips. That said, Salt Key Bank has the benefit of a general store, and is by far the prettier and livelier of the two destinations. You’ll find that you use both whenever you are actively plundering in the zone surrounding the fort at Gibara.
Key Details
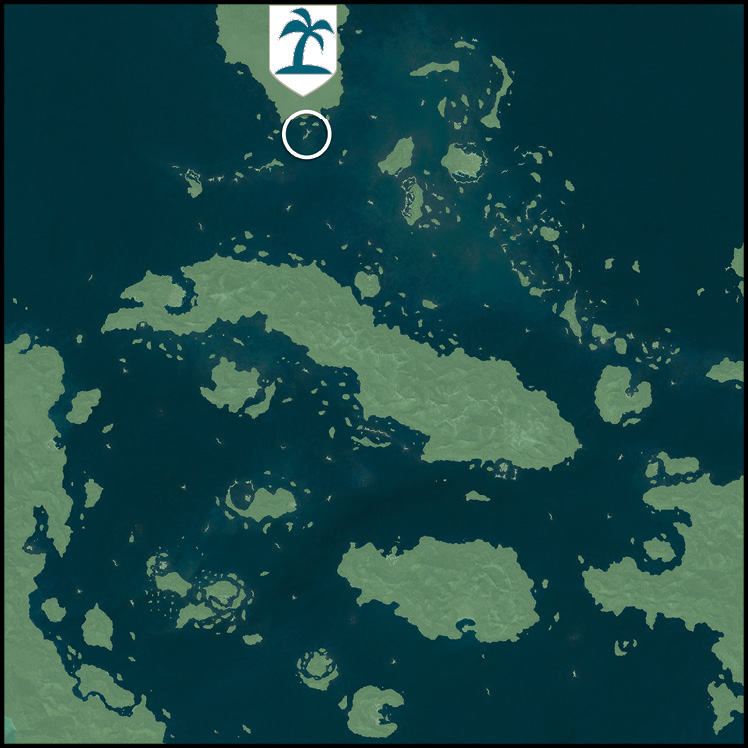
Florida (409,815)
Key Details
|
Availability |
|
|
Activities |
Abandoned ships |
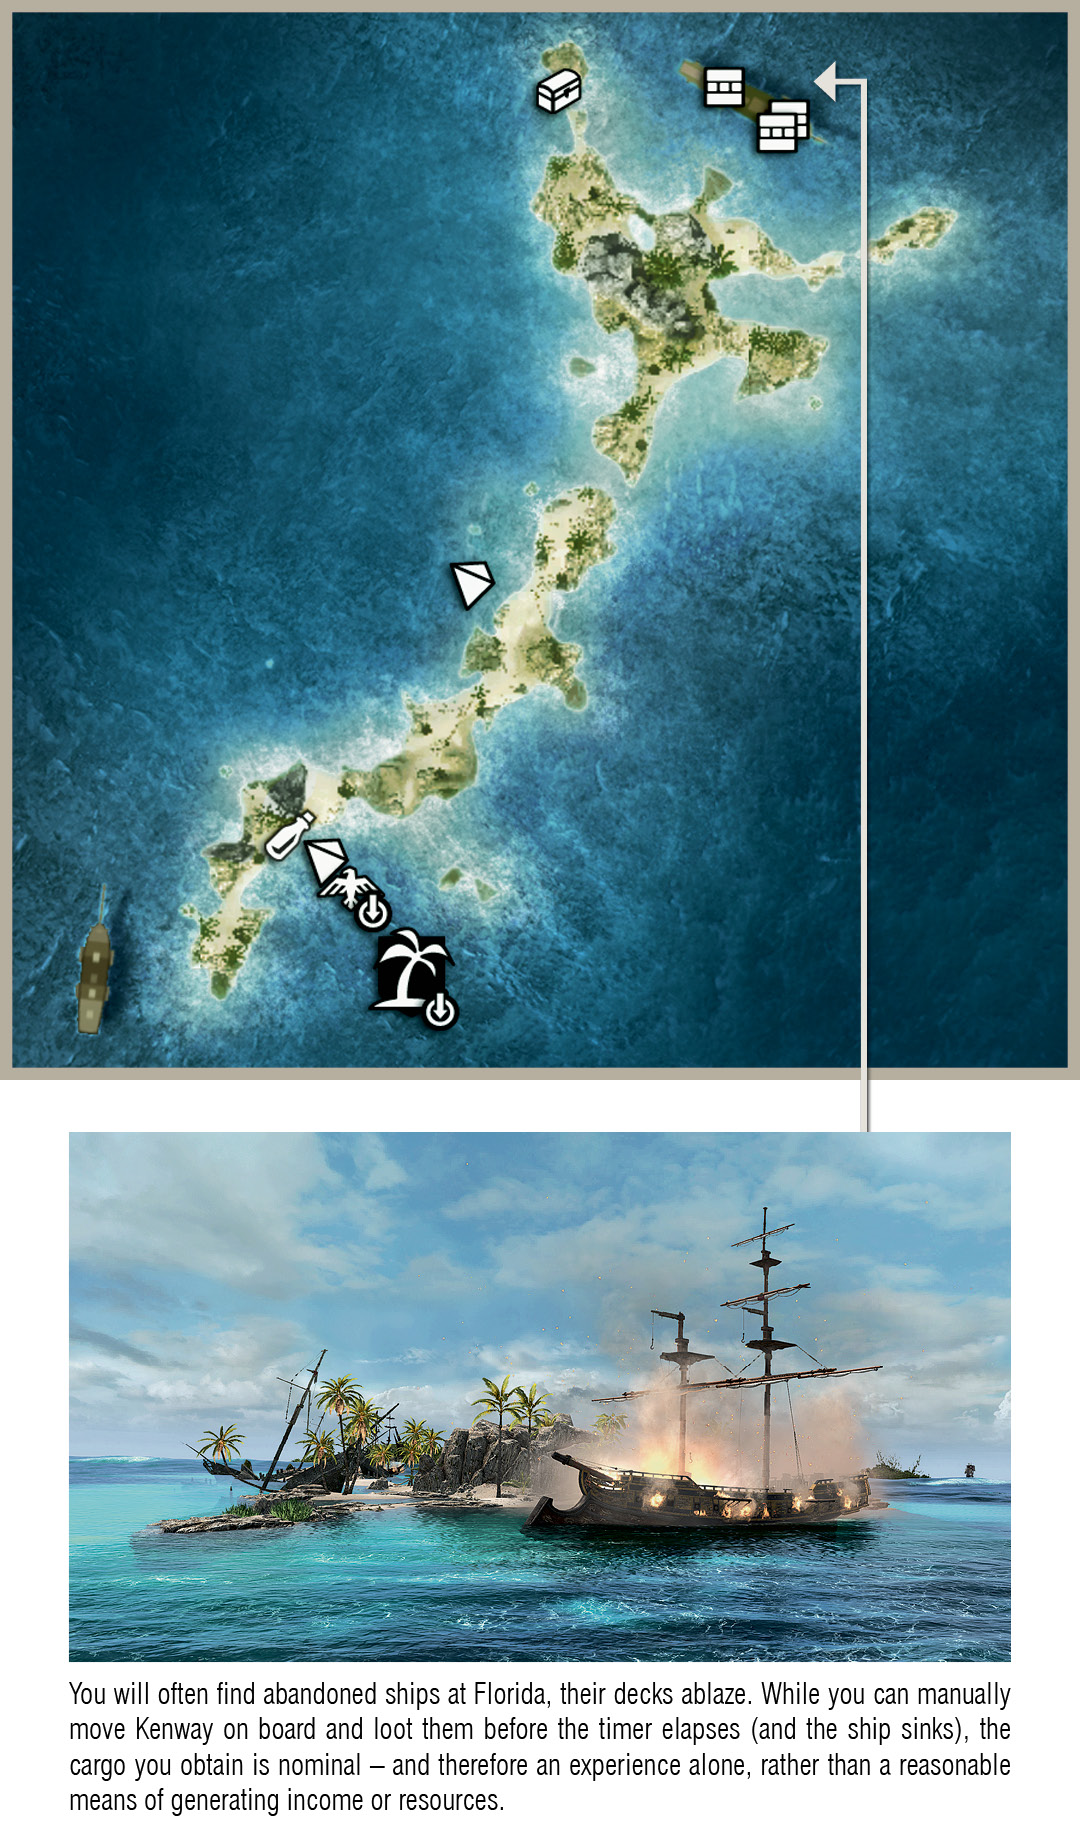
Notes
- This island is evidently a snare for incautious helmsmen, and has accumulated debris and ruined hulls washed onto its rocky shores by the tides. There are only a handful of collectibles here, all straightforward acquisitions. You can actually loot the bodies of the Spanish sailors found at the center of the island.
- There are usually numerous dolphins swimming off the shore of this island. The view over the ocean during sunrise and sunset can be particularly striking.
Matanzas (333,650)
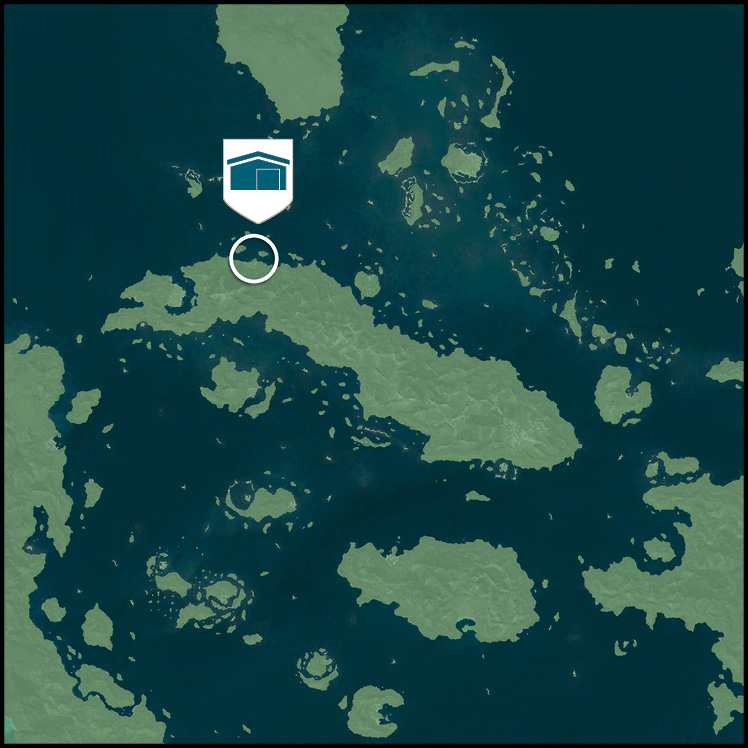
Key Details
|
Availability |
|
|
Activities |
Warehouse x1 , Mayan Stela x1, Save Pirates |
|
Amenities |
Dock |
|
Wildlife |
Crocodile |
Notes
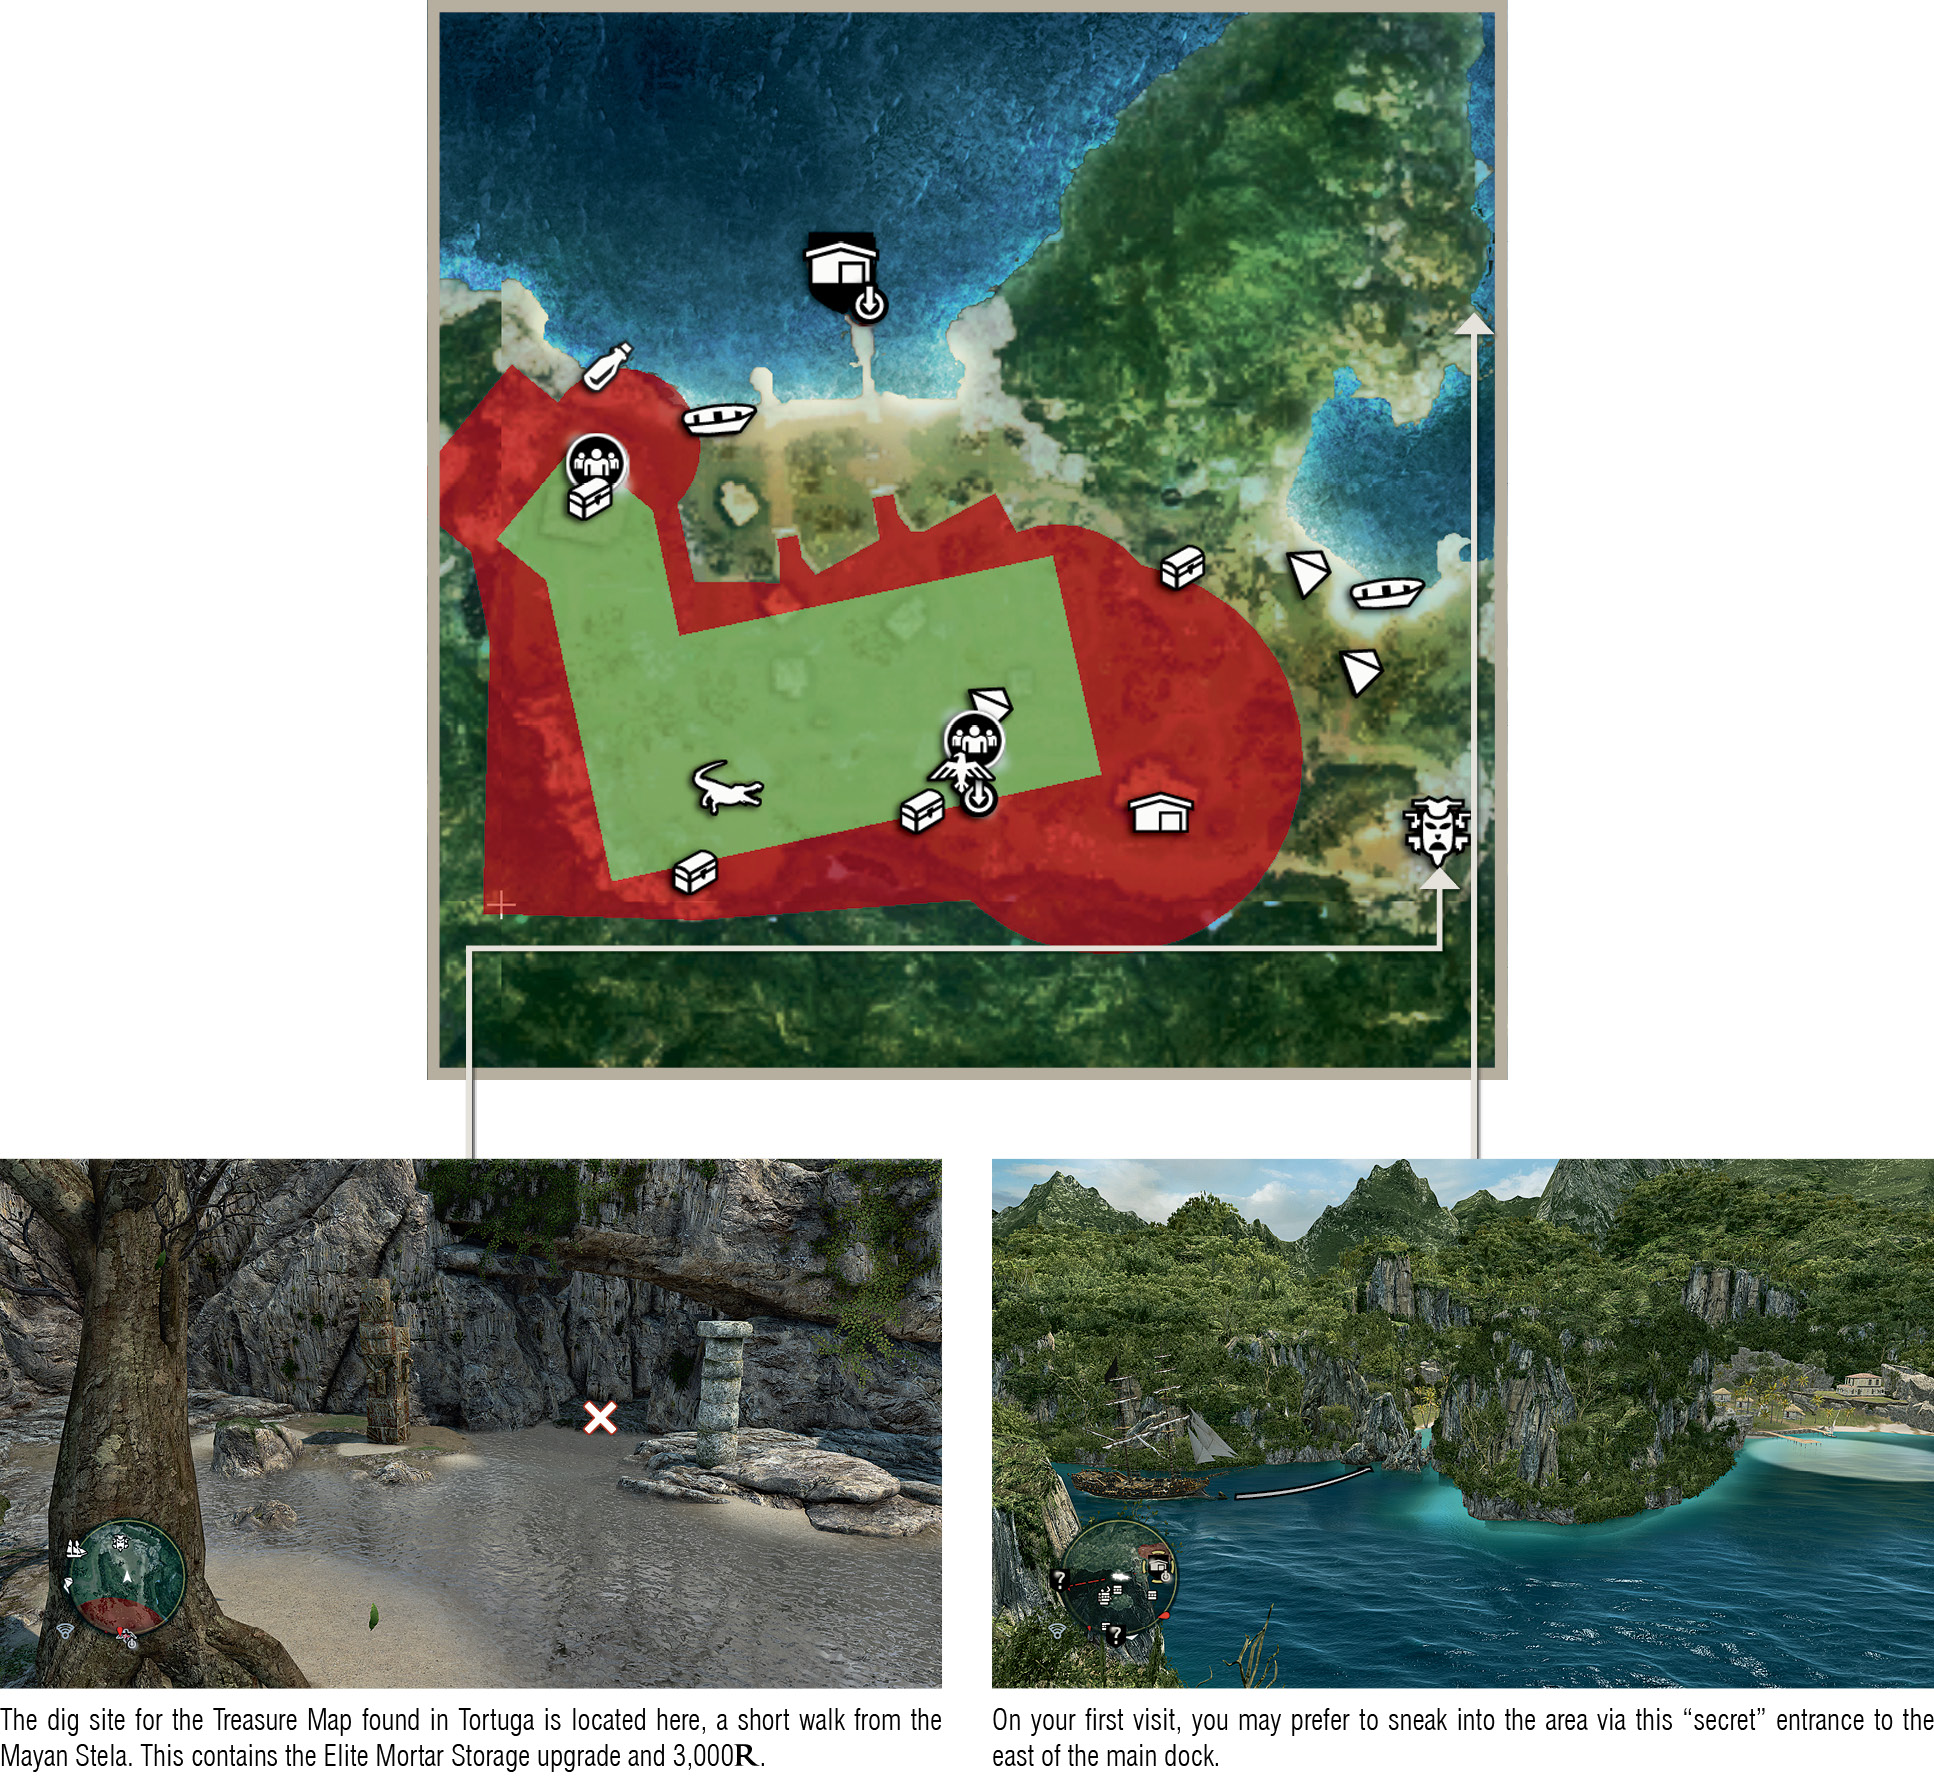
- As the site of a warehouse, Matanzas is usually heavily defended. Approaching from the sea, through a sizable Restricted Area, you will find most routes laid with mines (which you can destroy with the swivel gun), and as many as eight gunboats protecting the dock. Destroying all of these will almost certainly raise your Wanted Level, which will lead to a Pirate Hunter arriving within minutes. There is, however, a secret entrance that you can use (illustrated in a screenshot on this page), where you can anchor the Jackdaw out of sight and swim to shore. Though the swim takes a few minutes, you can return instantly by using a rowboat. Sailing in from the sea, there are instances where you will find Spanish gunboats attacking their British equivalents around the dock area.
- If you want to raise your Wanted Level in a hurry to prey on the Hunters sent to seek out the Jackdaw (a very high-level activity), the gunboats guarding this area can be of great use. Destroy them all, Fast Travel to another location, then return for another bout of vandalism.
- The majority of the map lies within a Restricted Area, where soldiers will attack Kenway after identifying him as an interloper – or, worse, ring one of three alarm bells to summon reinforcements. See the Side Quest section for a stealth-based approach to ransacking this warehouse with relative ease.
- Moving around this island and picking up collectibles is much easier once you acquire the Blowpipe at the end of Sequence 04.
- To make travel through the region much easier, we advise that you conquer Eleuthera during Sequence 03. This is simple to achieve once the story provides you with automatic Jackdaw upgrades in the Memories prior to “Sugarcane And Its Yields”.
- Hammerhead sharks can usually be found north of the fort. You can hunt two of these to gain resources to craft the Pistol Ammo Pouch II upgrade. You may also wish to acquire a third if you intend to obtain the Shark-Hunter Outfit, which also requires that you hunt the online-only white whale.
- Though a perfect area for low-level piracy early in the story, the Eleuthera zone is something of a “crèche” area for those training for villainy on the high seas. Ships are weak, carry small quantities of cargo, and metal – a vital resource for upgrades – can only be found in random floating crates.
- The large expanse of sea in the northeast features some sizeable groups of gunboats and schooners. They are found in sufficient numbers to perhaps trouble the Jackdaw at low upgrade levels, but are barely worth the time once you have invested in new equipment and fittings. You’ll find the same kinds of vessels, without the complications or long journey, around Abaco Island and Andreas Island.
- Cat Island to the south, home to a warehouse, is always surrounded by a large Restricted Area.
- An isolated beach on the island to the northwest of the fort features a Treasure Chest and one of the more remote letters.
- The Brothers-In-Arms, a pair of Legendary Ships, are found to the east of the fort.
Eleuthera (726,784)
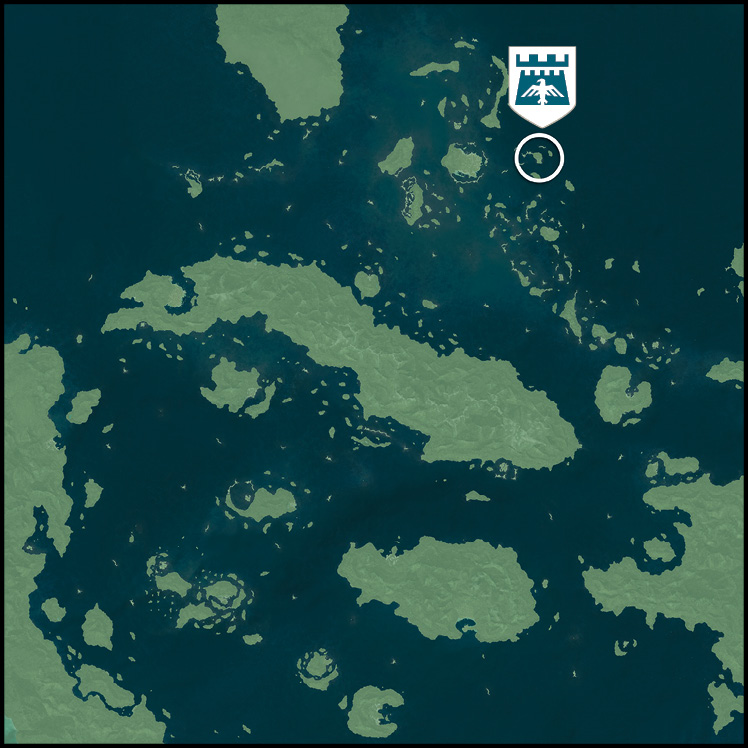
Key Details
|
Availability |
|
|
Activities |
Naval Contract x1 |
|
Amenities |
Harbormaster, local officer |
FORT ELEUTHERA

Region Notes
Nassau (633,784)
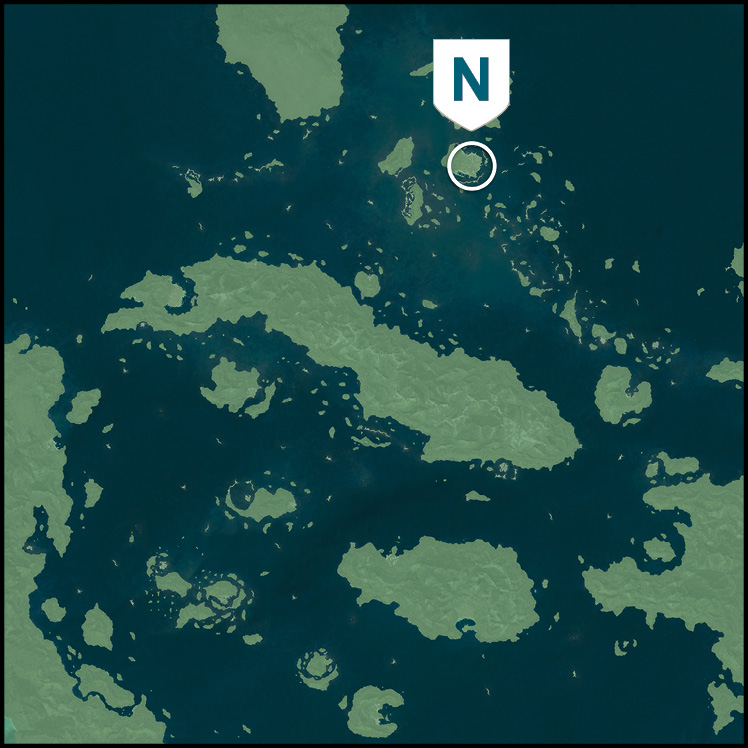
Key Details
|
Availability |
Sequence 03; first visited directly after “This Tyro Captain”. |
|
Activities |
Templar Hunt x1, Assassin Contract x2, Warehouse x1, Treasure Map x1, Save Pirates |
|
Amenities |
Tavern, harbormaster, general store, local officer |
|
Wildlife |
Wild pig, crocodile, rabbit |
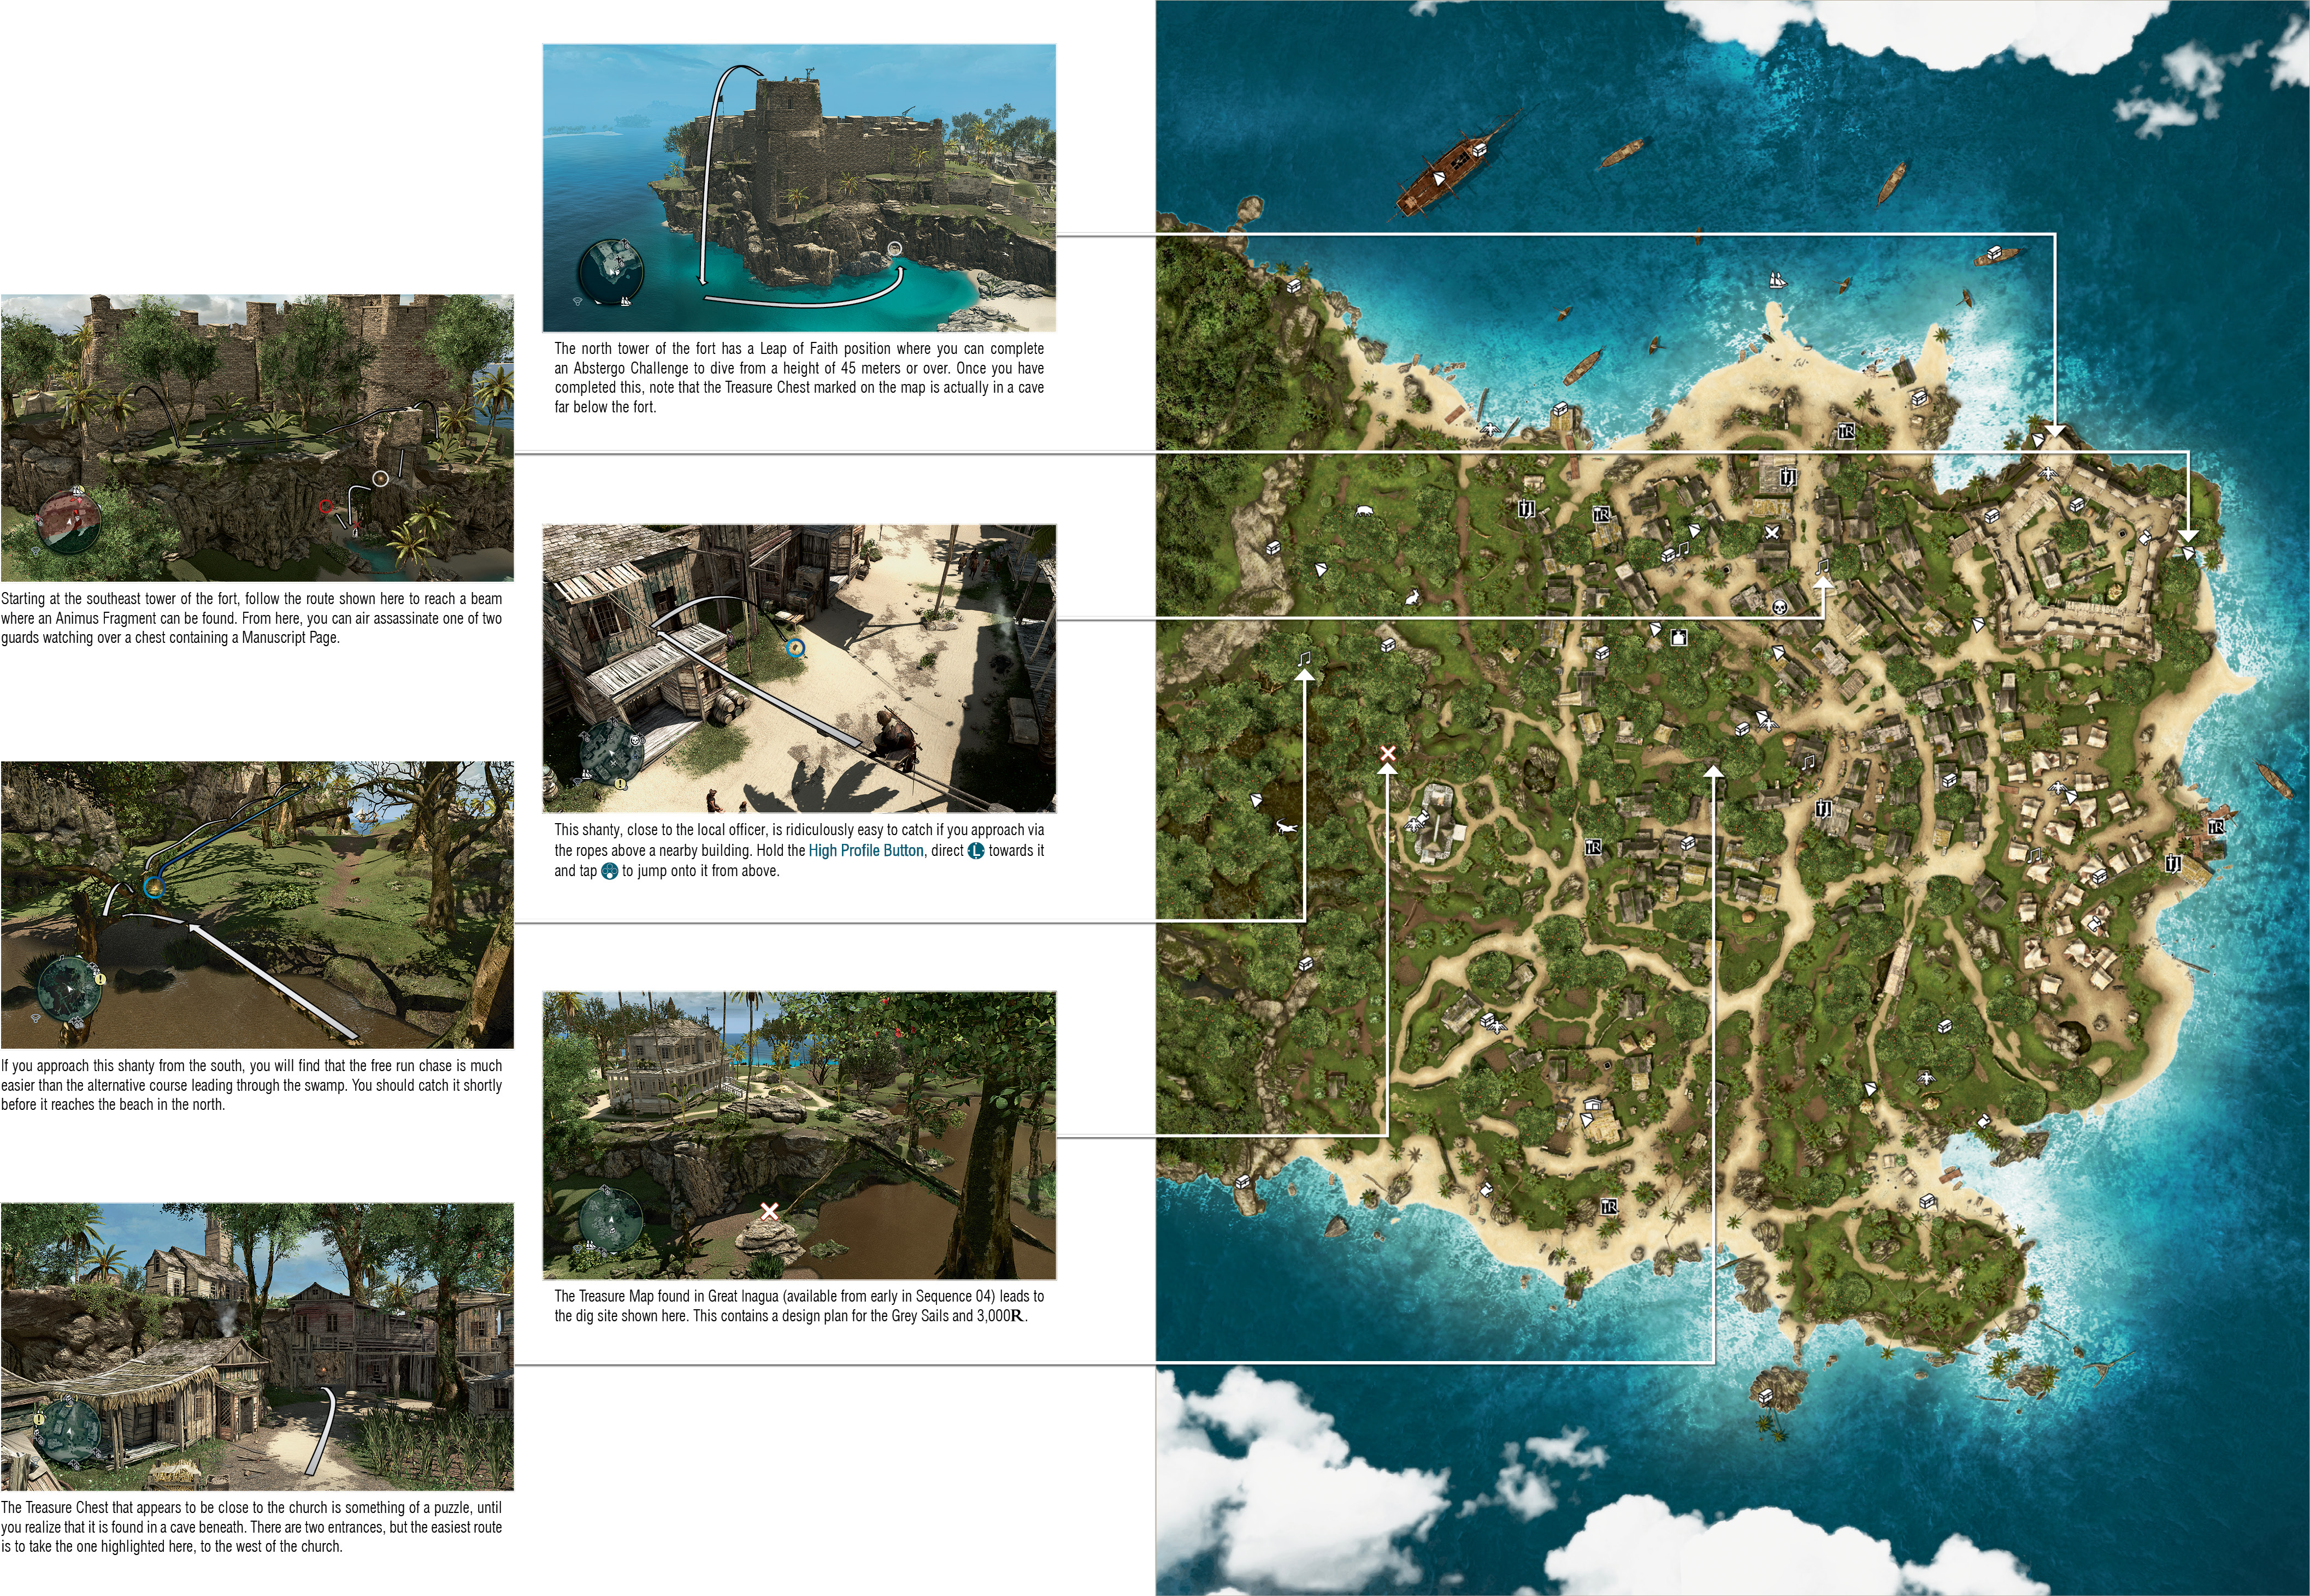
Notes
- While it isn’t necessarily lawless, Nassau is almost entirely free of enemy patrols, sentries and Restricted Areas from Sequence 04 to Sequence 07. This is definitely the best time to Synchronize with all Viewpoints and pick up the majority of collectibles, if you are so inclined.
- Until Sequence 07, the fort in the northeast contains pirates that, though they appear as enemies on the mini-map, will not attack Kenway unless he provokes them – but they will brusquely push him aside if he stands in their path. This becomes a well-guarded Restricted Area at a later date, so it makes sense to visit the Viewpoint and open the Treasure Chests beforehand. The Animus Fragment close to the southwest tower must be obtained with a Leap of Faith from the wooden winch into the hay cart far below. You can leave the Animus Fragment on the wall of the north tower until later: you will automatically collect this during a main story Memory.
- In Sequence 07 and beyond, Nassau becomes the most convenient place to recruit crew members: there are always a number of available “save pirates” activities to complete.
- There is a Treasure Chest and an Animus Fragment on a frigate anchored a little to the west from the Jackdaw. The Fragment is located at the very top of the mainmast and, in the absence of lifts on this vessel, it’s a long climb – but the view over Nassau is worth the effort.
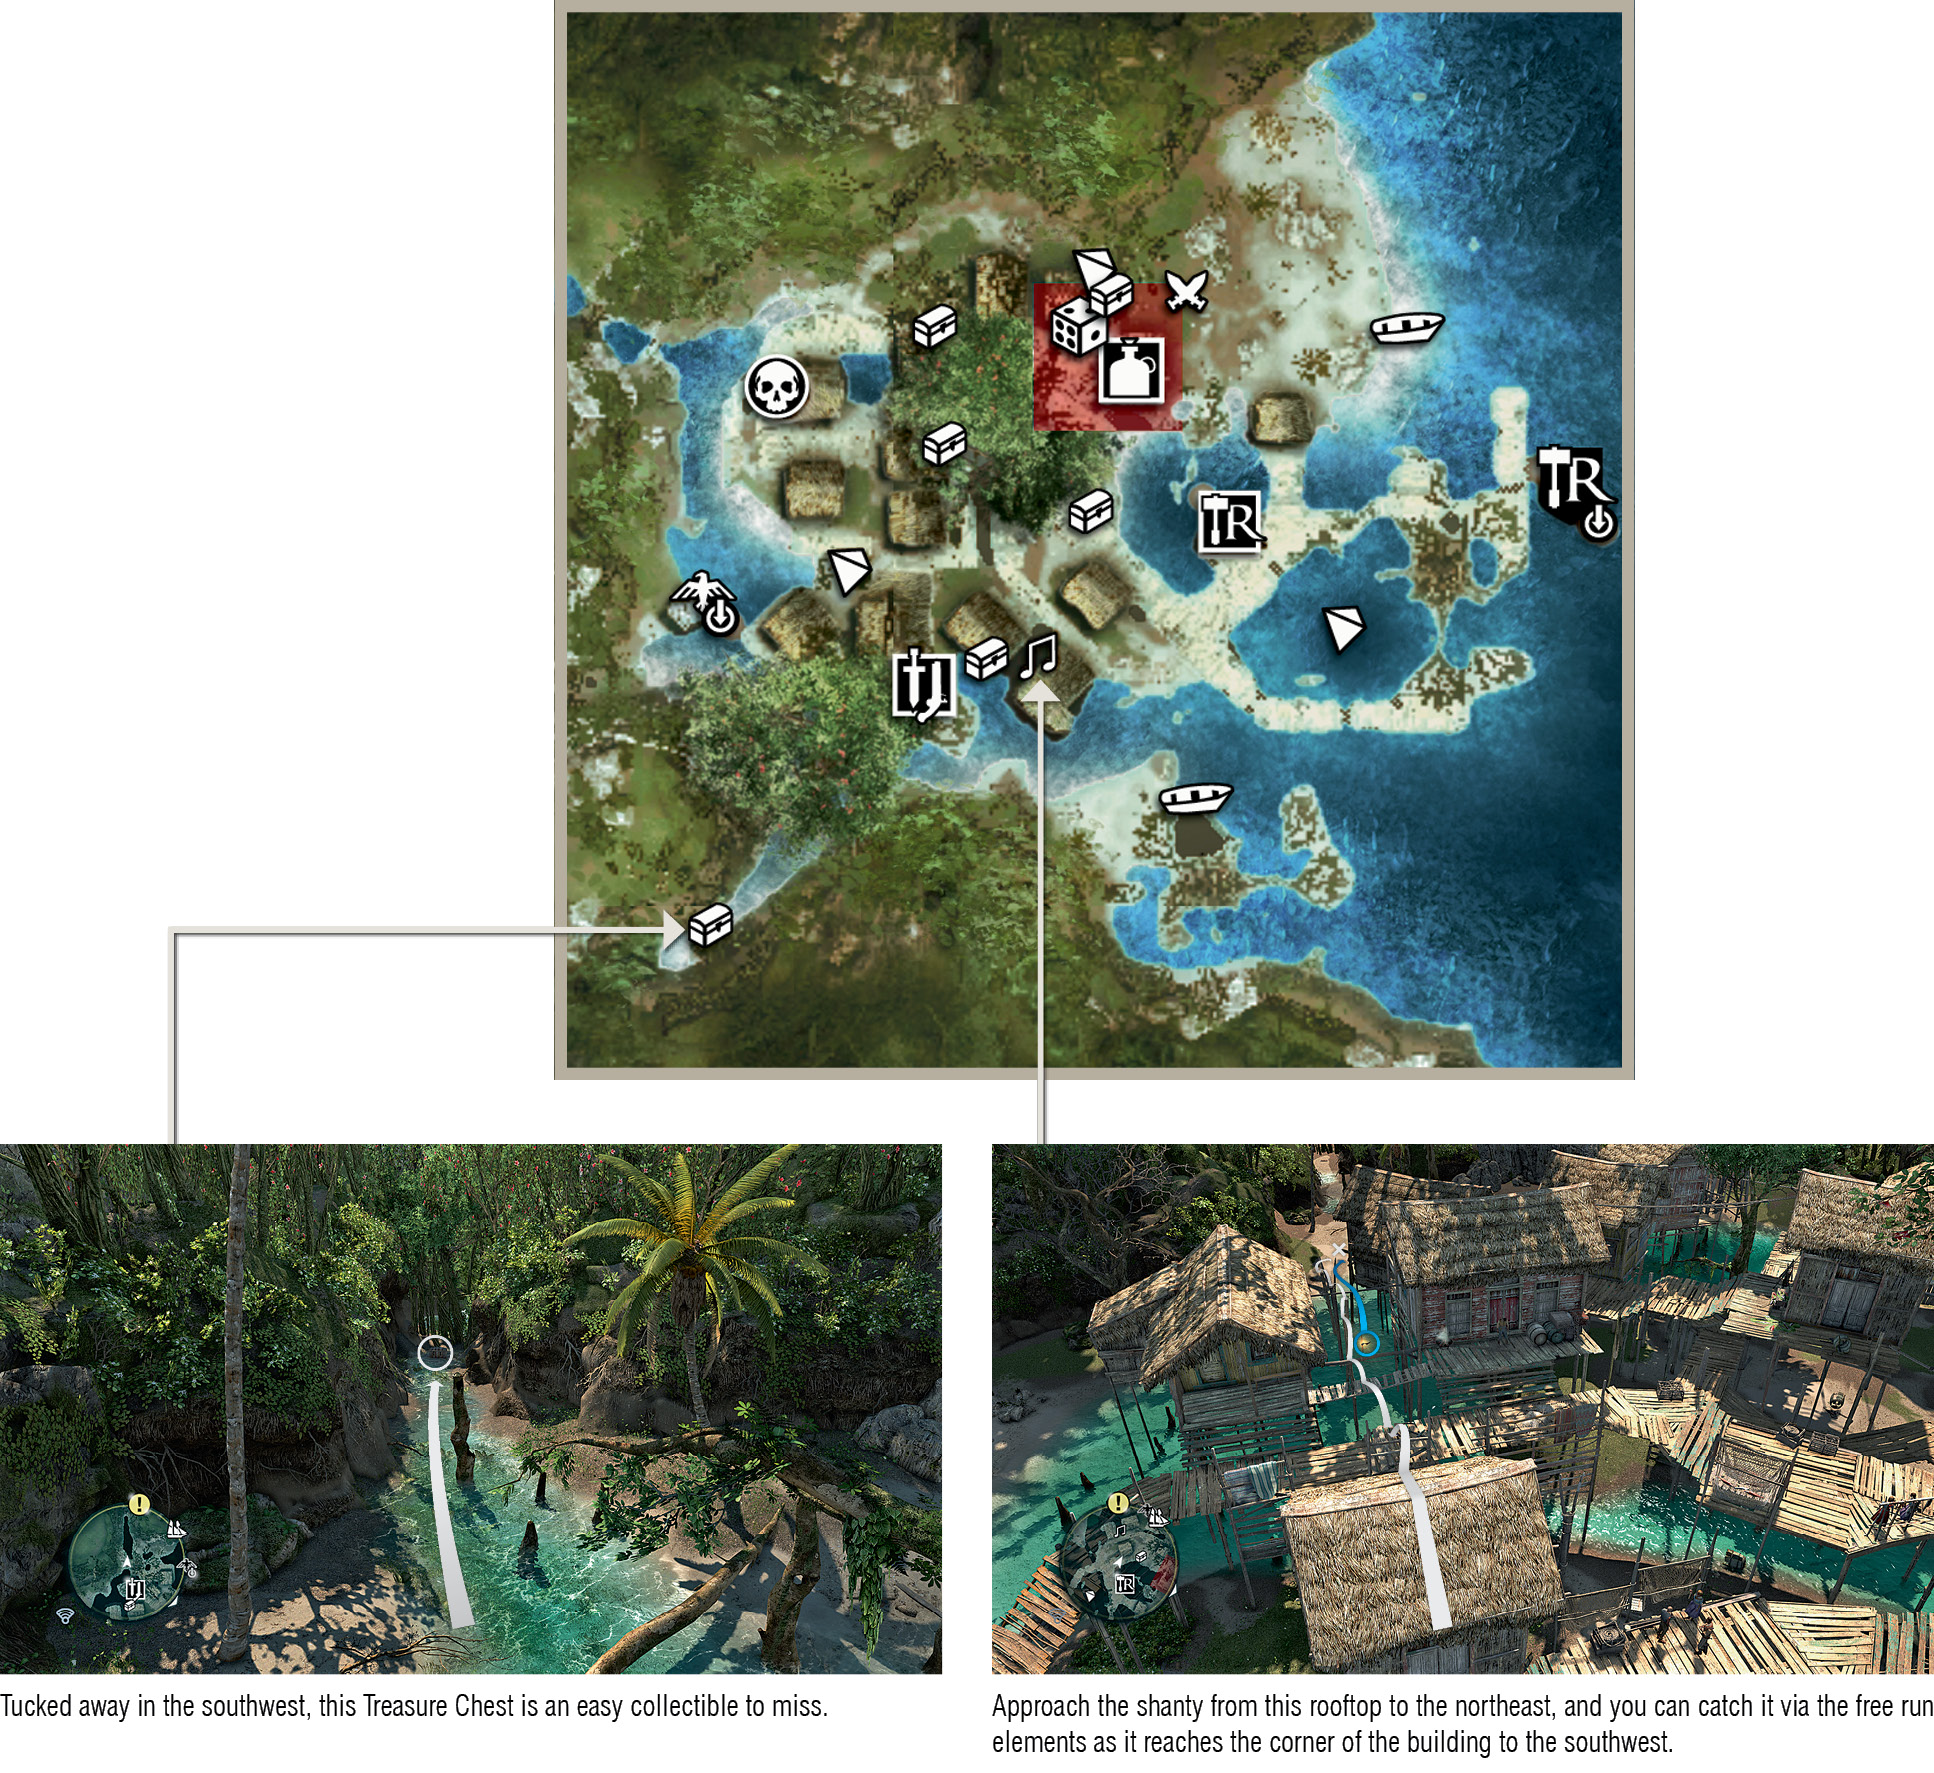
- The shanty in the camp on the east side of the town is much easier to catch if you approach it directly from the north. From the south, its course twists and weaves awkwardly through the tents.
- Nassau presents a first opportunity to hunt rabbits, used to craft the Smoke Bomb Pouch II upgrade, but they’re far from plentiful. Climb into a tree in their marked habitat and use Eagle Vision to identify them. If there are none in sight, or others are reluctant to emerge after you shoot a first, Fast Travel to a nearby Viewpoint to “reset” all animals in the area. If you are hunting these animals in Sequence 04 or later, note that they are easier to find in Kingston.
- You can hunt wild pigs (required for the Pistol Ammo Pouch I upgrade) in the northwest of the map, though these animals are more plentiful on Mariguana Island.
- Crocodiles are common in the waters to the west. You need two pieces of their leather to craft the Pistol Holster IV upgrade, which is a definite bonus if acquired early in Sequence 03. Shoot them from the safety of land, and be sure to check the general area with Eagle Vision to avoid nasty surprises before you jump into the water to skin them.
- There is a small warehouse in the south of the town, covered by a reasonably large Restricted Area. Though the haul is always modest, there is a simple strategy that will enable you to raid it within no more than a minute.
- You will probably encounter your first opportunity to start a Templar Hunt in Nassau. All four episodes of this side story take place in the town, and you can complete them in a fairly leisurely 20 minutes.
Andreas Island (579,720)
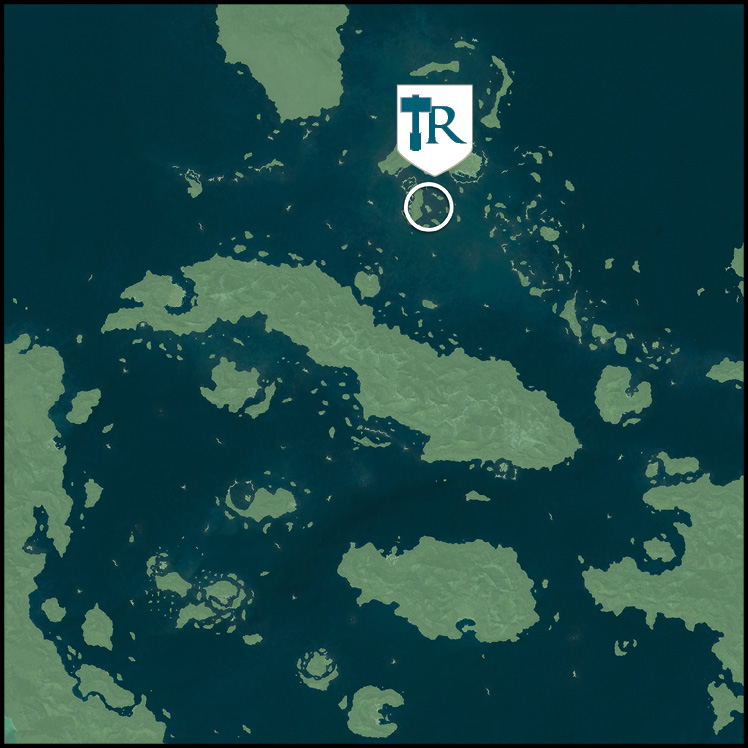
Key Details
|
Availability |
Sequence 03; visited in Sequence 03, “Sugarcane And Its Yields”. |
|
Activities |
Assassin Contract x2, Treasure Map x1 |
|
Amenities |
Dock, tavern, harbormaster, local officer |
|
Wildlife |
Green iguana (rare) |
Notes
- You may find Andreas Island covered by a Restricted Area, with a low-level brig and three stationary schooners guarding approaches from the north and east. Sail in from the south (or Fast Travel) to avoid combat.
- Andreas Island is a perfect base for piracy in the very early stages of the story, as it has almost everything you could possibly need. There’s a dock for fast transitions between land and sea, a local officer to deal with your Wanted Level, and a tavern for recruiting crew and locating convoys. The nearby shipping routes south of Nassau contain easy spoils if you are seeking capital to begin upgrading the Jackdaw in Sequence 03.
- The Treasure Map at the south tip of the island leads to 606,835: Abaco Island. See overleaf for details.
- Though marked as a habitat, green iguanas are seldom seen on this heavily populated pirate camp. Abaco Island and Great Inagua are better hunting grounds for this creature.

Abaco Island (606,835)
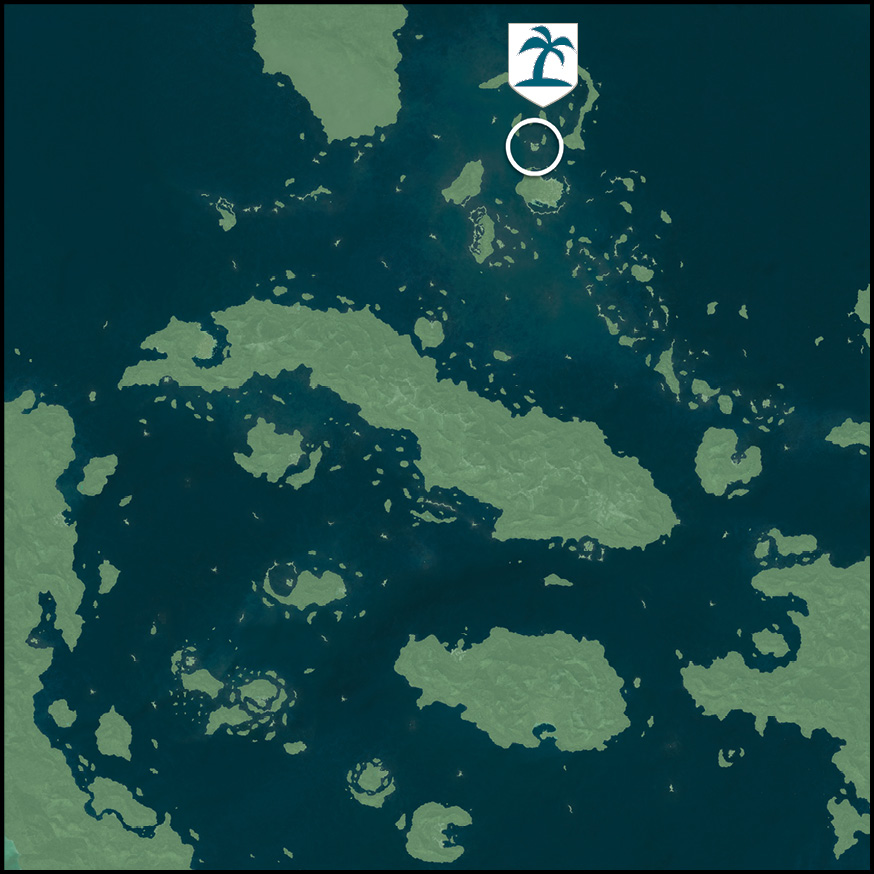
Key Details
|
Availability |
Sequence 03; the first location you sail to during “This Tyro Captain”. |
|
Activities |
Treasure Map x1, Save Pirates |
|
Wildlife |
Ocelot, green iguana |
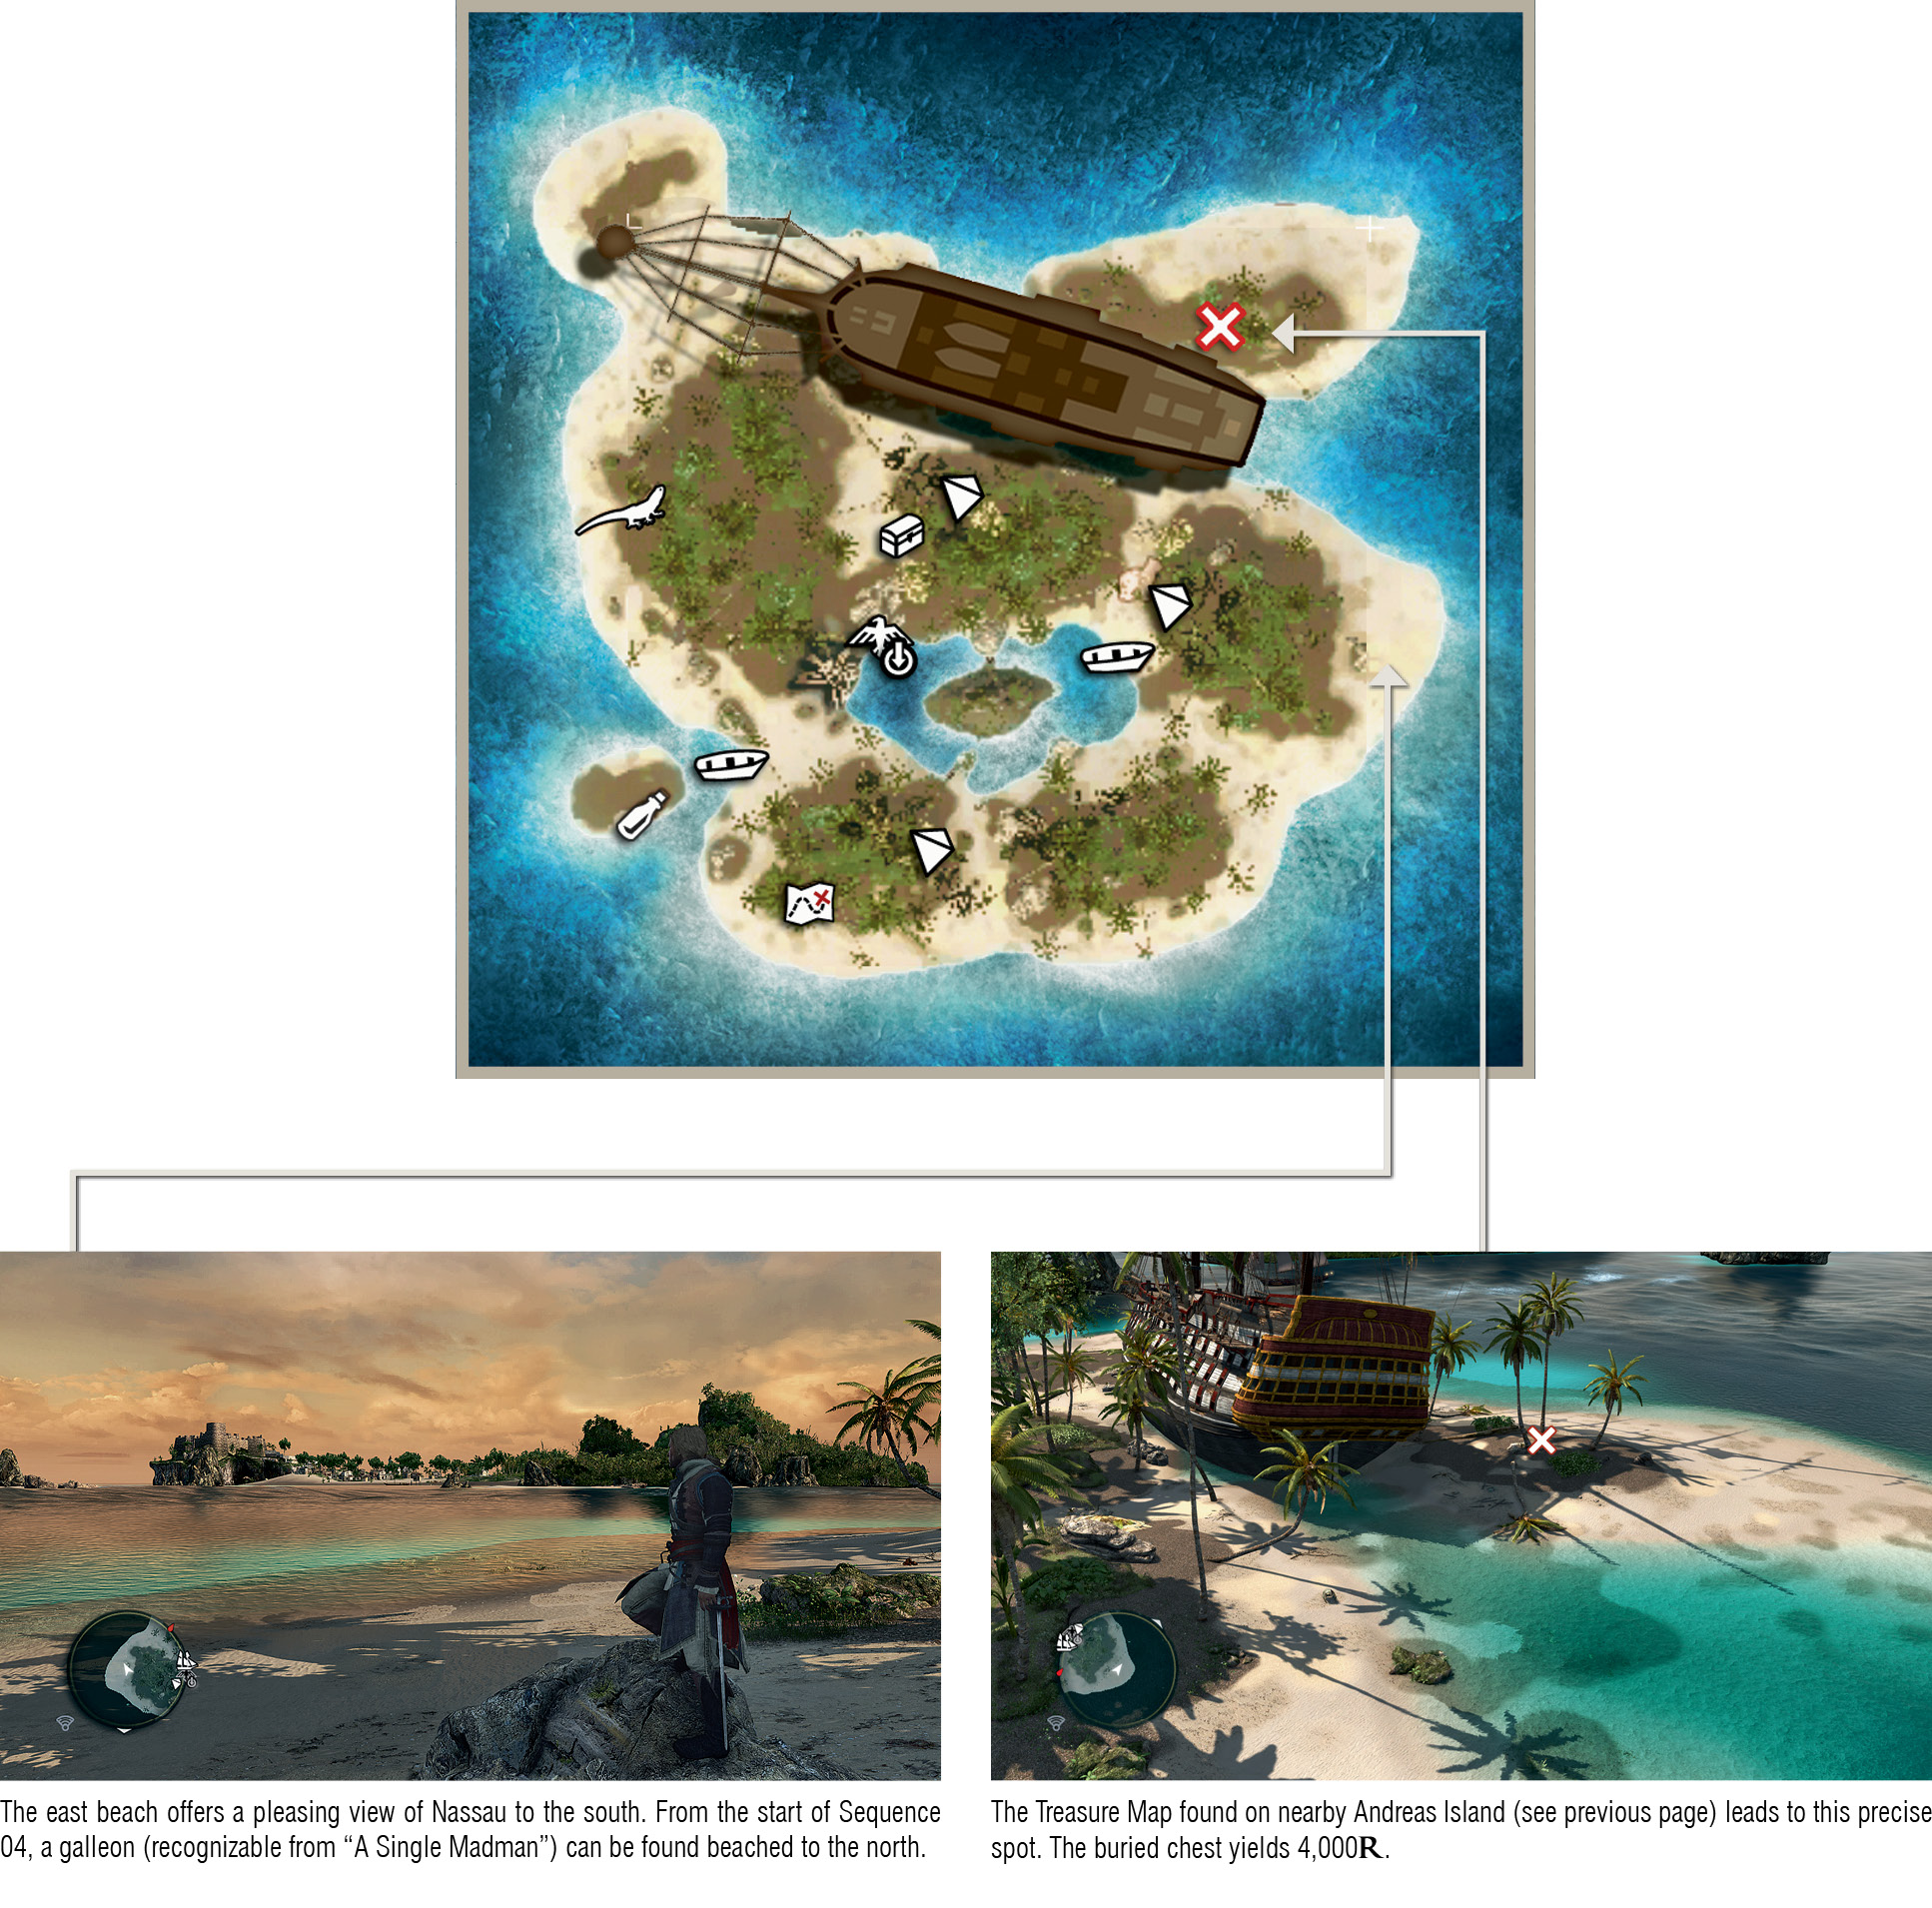
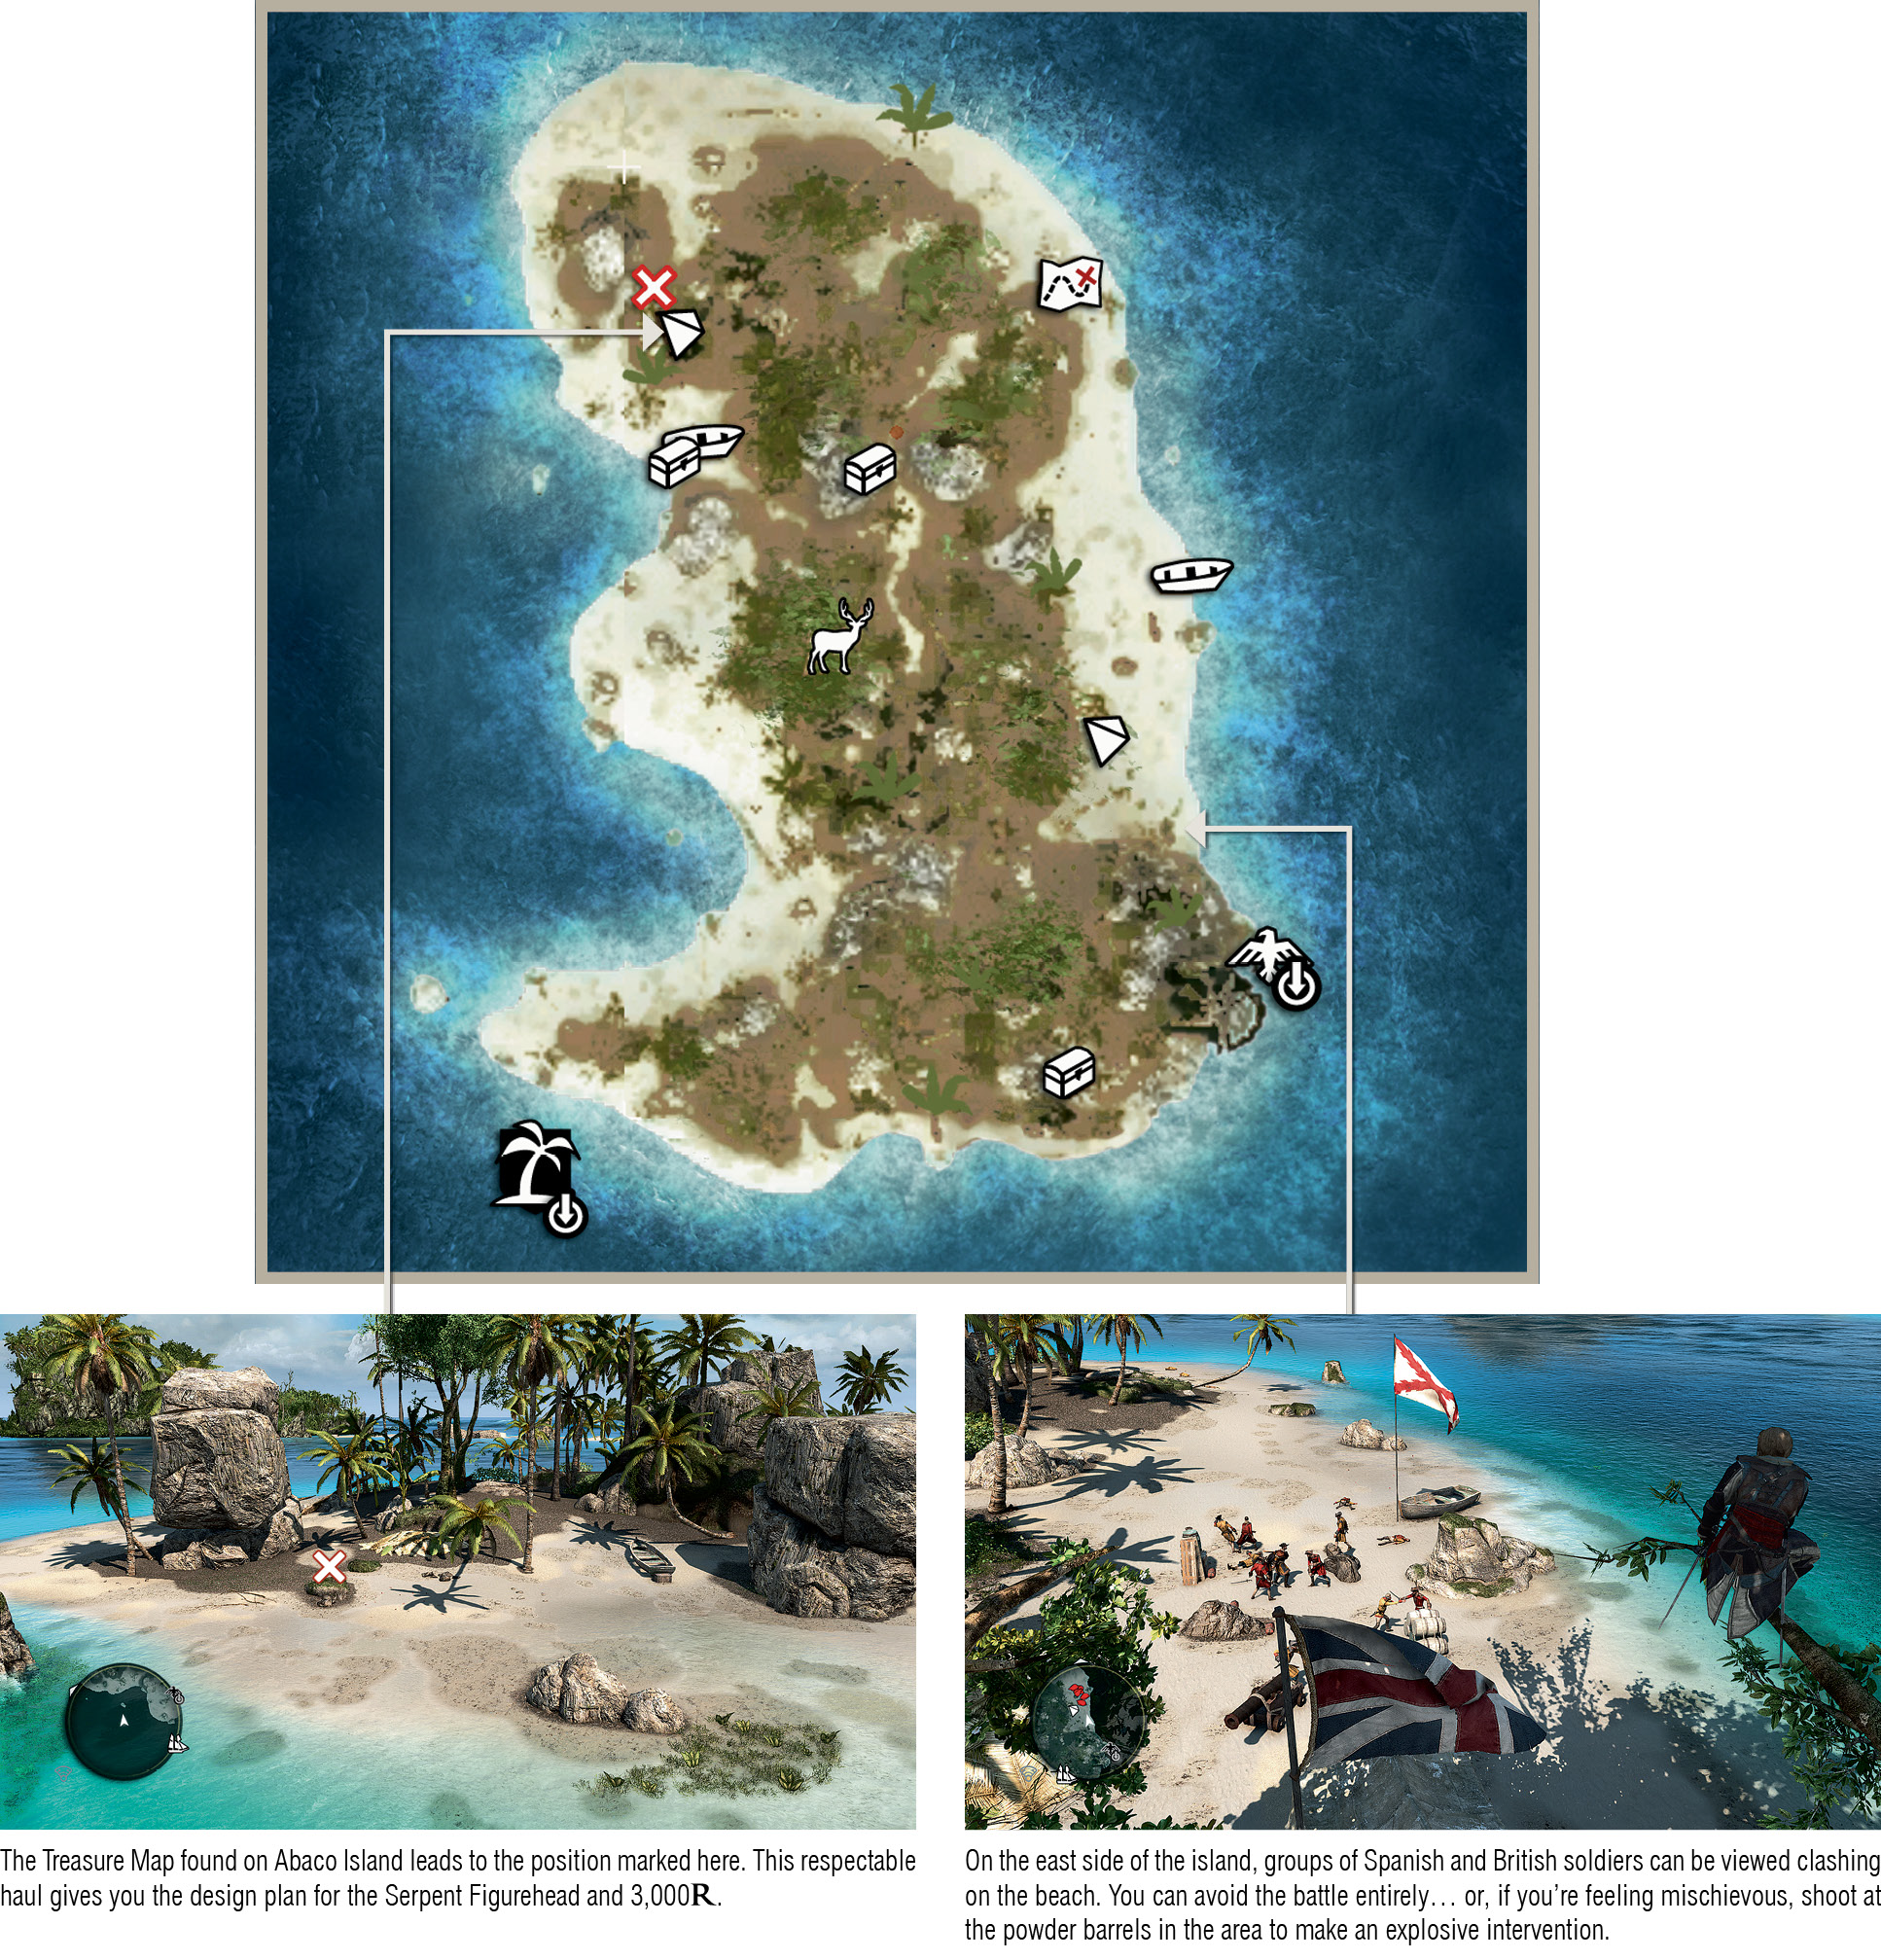
Notes
- The Treasure Map found in the southwest of the island leads to 749;625: Salt Lagoon.
- The waters surrounding Abaco Island are usually teeming with low-level schooners: easy pickings should you need to repair the Jackdaw or lower your Wanted Level without expenditure, but offering minimal cargo returns.
- This is a location that you can clear of all collectibles in a very short visit. All three Animus Fragments require a little climbing, but no especially noteworthy feats of athleticism.
- You may encounter instances where the entire island is covered by a temporary Restricted Area, with soldiers guarding pirate prisoners. Another, smaller-scale crew recruitment opportunity can be found with a pirate fighting a group of adversaries.

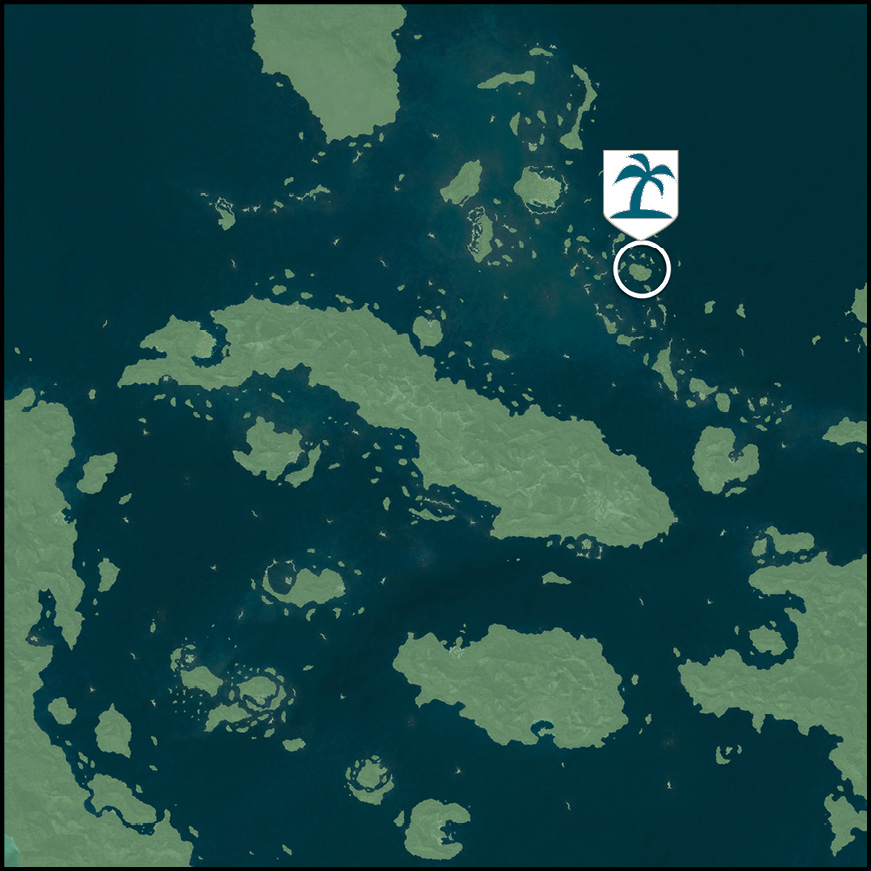
Cat Island (742,695)
Key Details
|
Availability |
Unavailable until Sequence 03, “Sugarcane And Its Yields”. |
|
Activities |
Warehouse x1, Mayan Stela x1 |
|
Amenities |
Dock |
|
Wildlife |
Howler monkey |
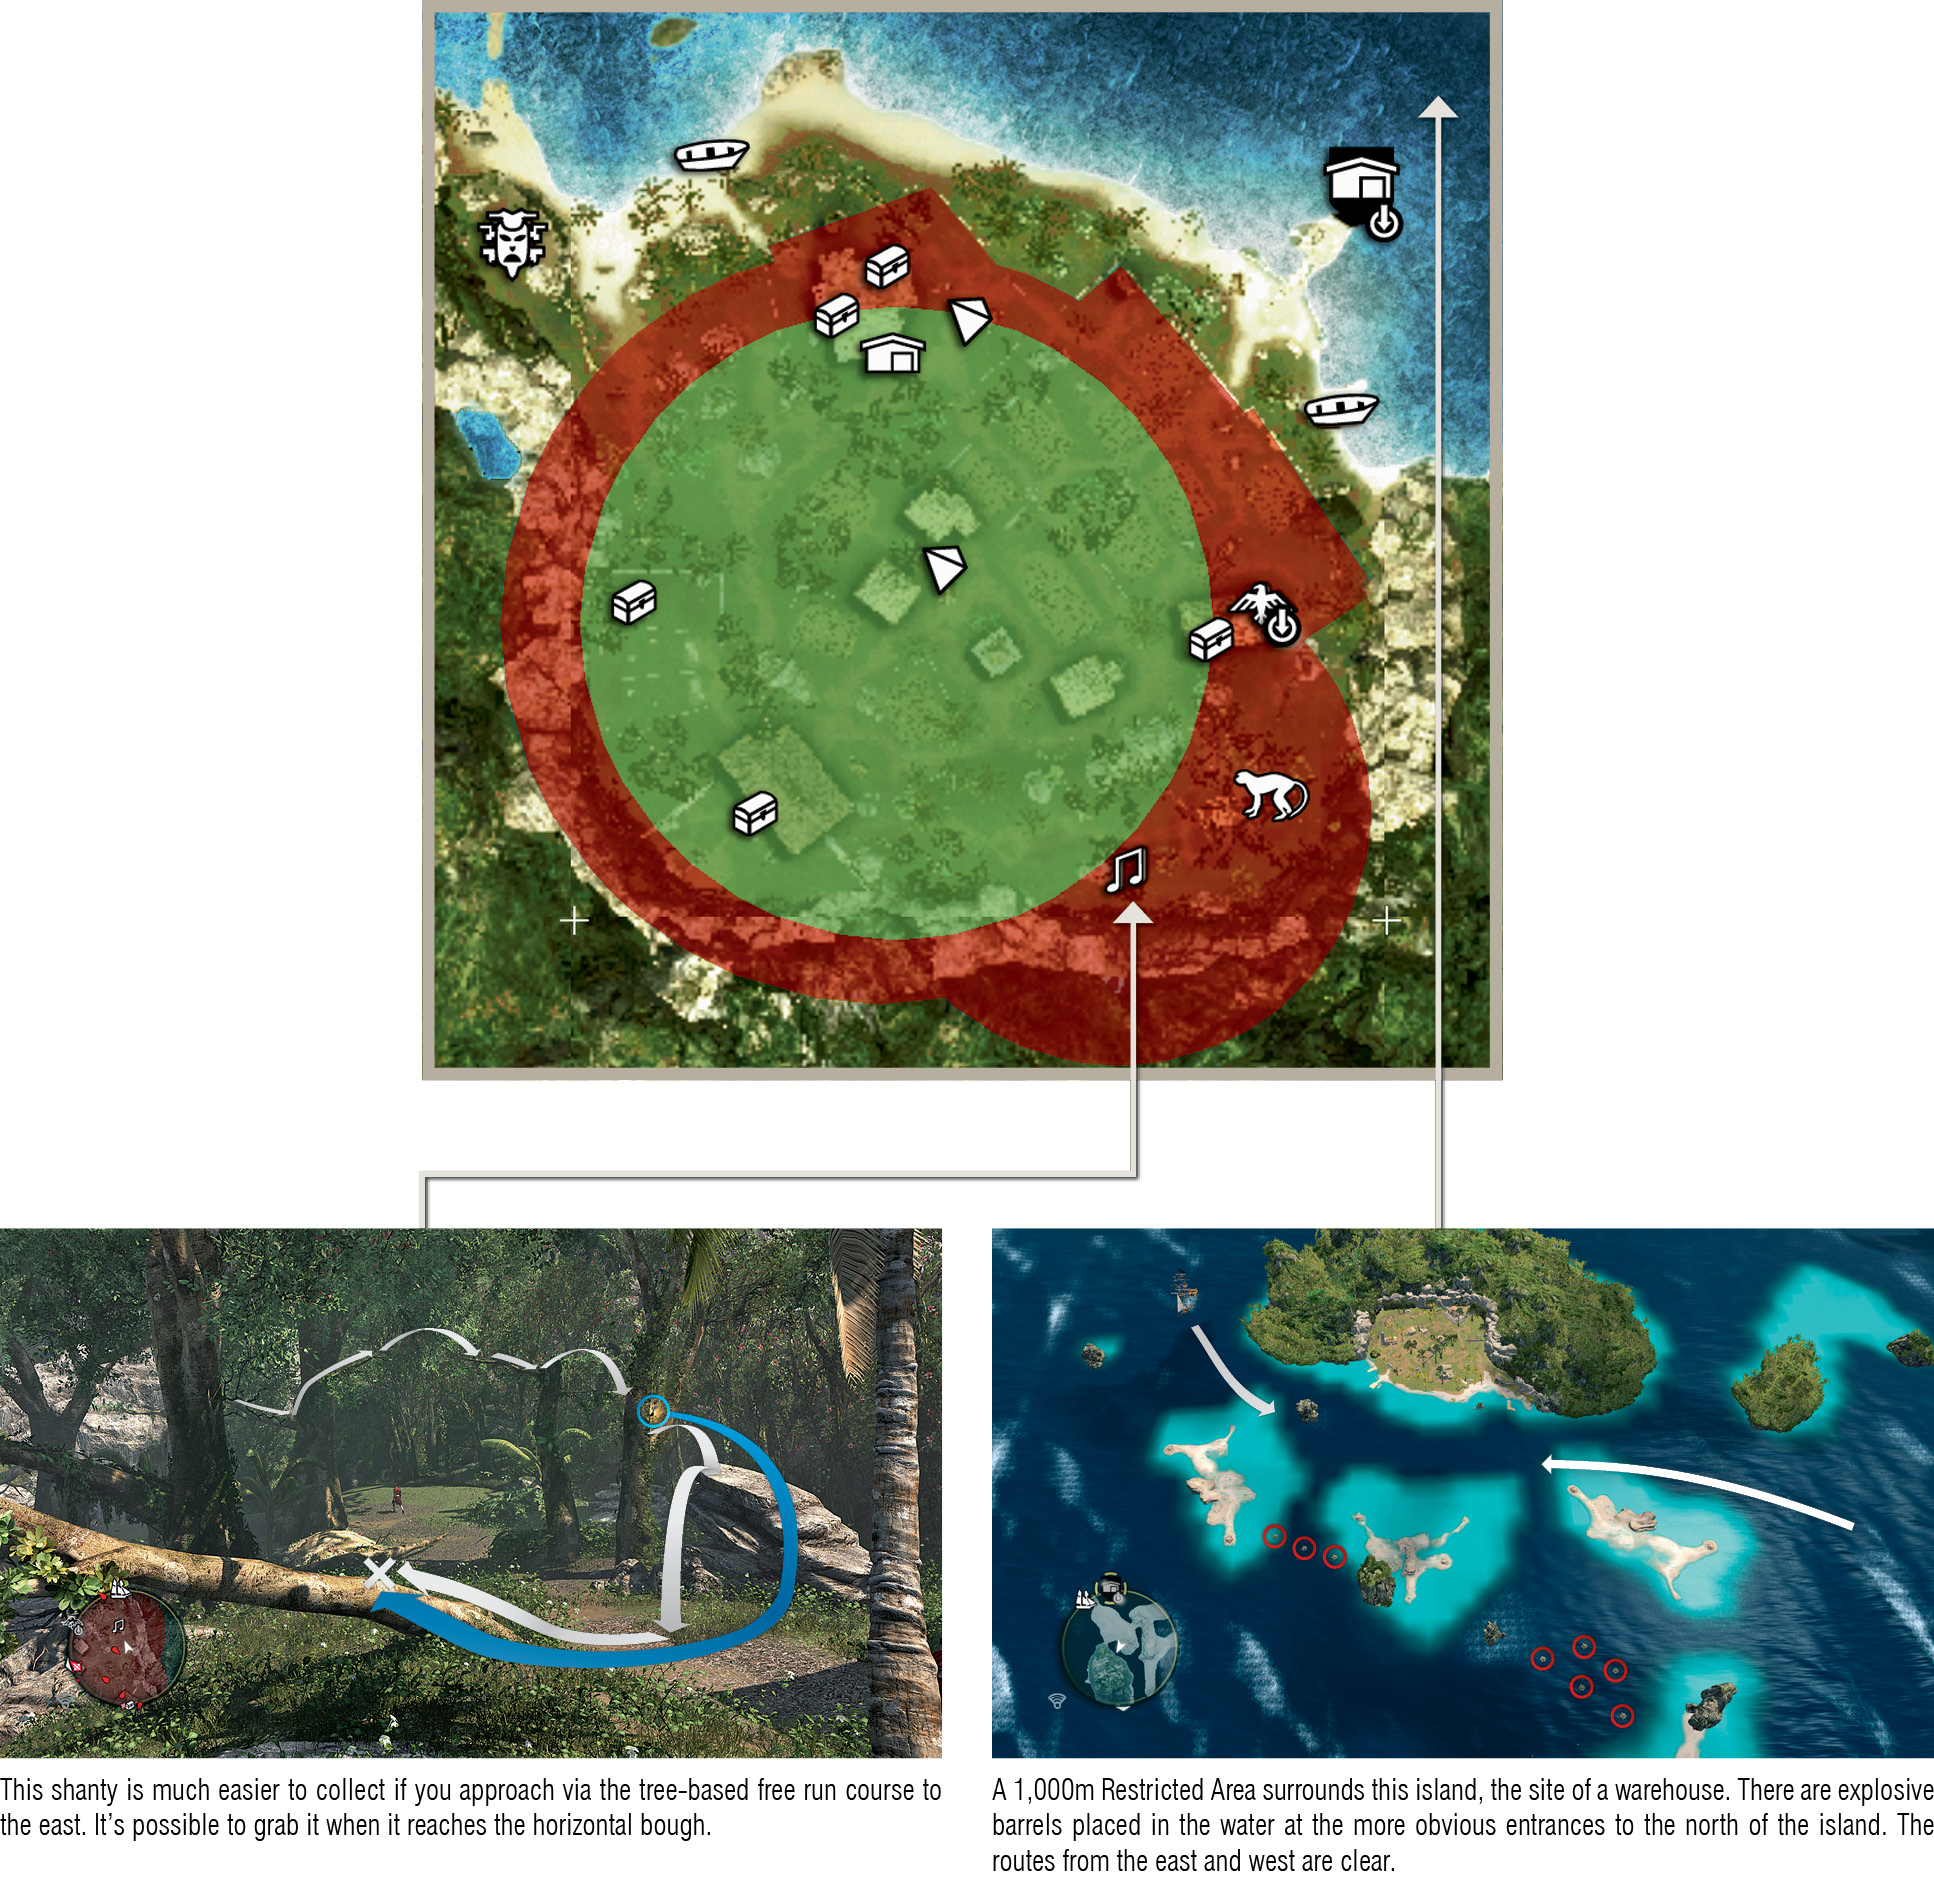
Notes
- This is the first warehouse location that you are likely to encounter, as it is the primary setting for “Sugarcane And Its Yields” – an early Memory that both introduces and unlocks the concept of raiding warehouses. The process of raiding it in subsequent instances is broadly identical to your story-mandated visit, with the exception of the “key holder” position: he now patrols an area closer to the house. This is, however, a very minor inconvenience.
- When the time comes to clear the area of collectibles, it’s prudent to make the visit coincide with a warehouse raid. If you opt for something of a rampage, note that there are powder kegs next to the warehouse itself, and close to the plantation manor house. These can suffice to lure most soldiers in the area to one position.
- Howler monkeys are plentiful on the southeast side of the map: they have a curiously high appearance rate, even if you are hunting with pistols. You will need two for the Dart Pouch I upgrade that you can acquire at the end of Sequence 04. Any others acquired can be sold for a profit of 100
 per skin.
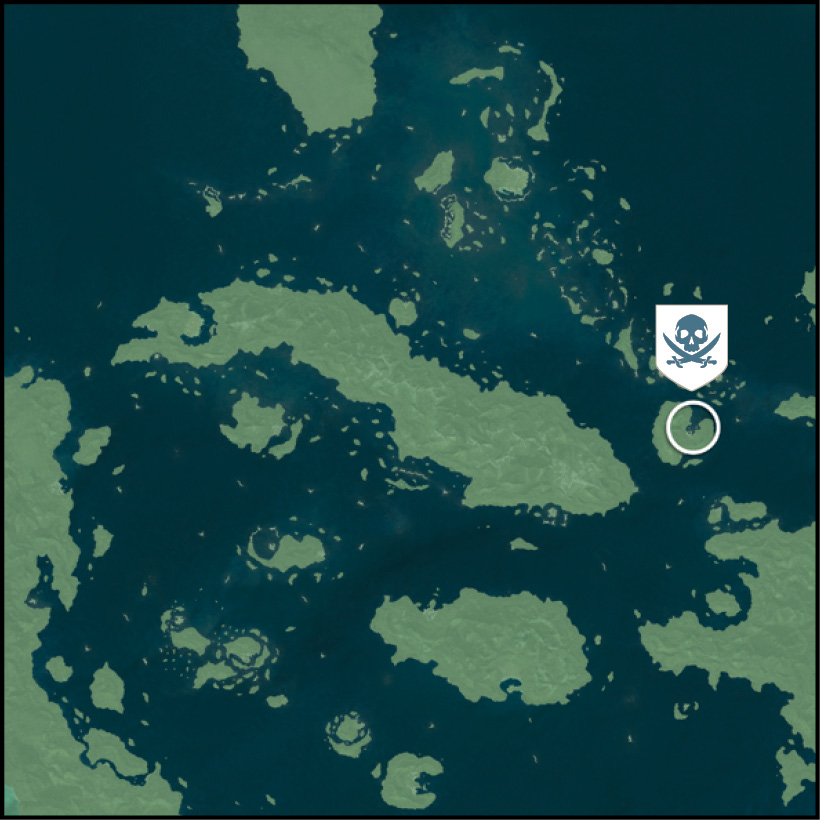
Great Inagua (845,468)
Key Details
|
Availability |
Visited during Sequence 03, “A Single Madman”; fully unlocked for exploration after Sequence 04, “This Old Cove”. |
|
Activities |
Treasure Map x1 |
|
Amenities |
Available for purchase |
|
Wildlife |
Green iguana, wild pig, white jaguar |
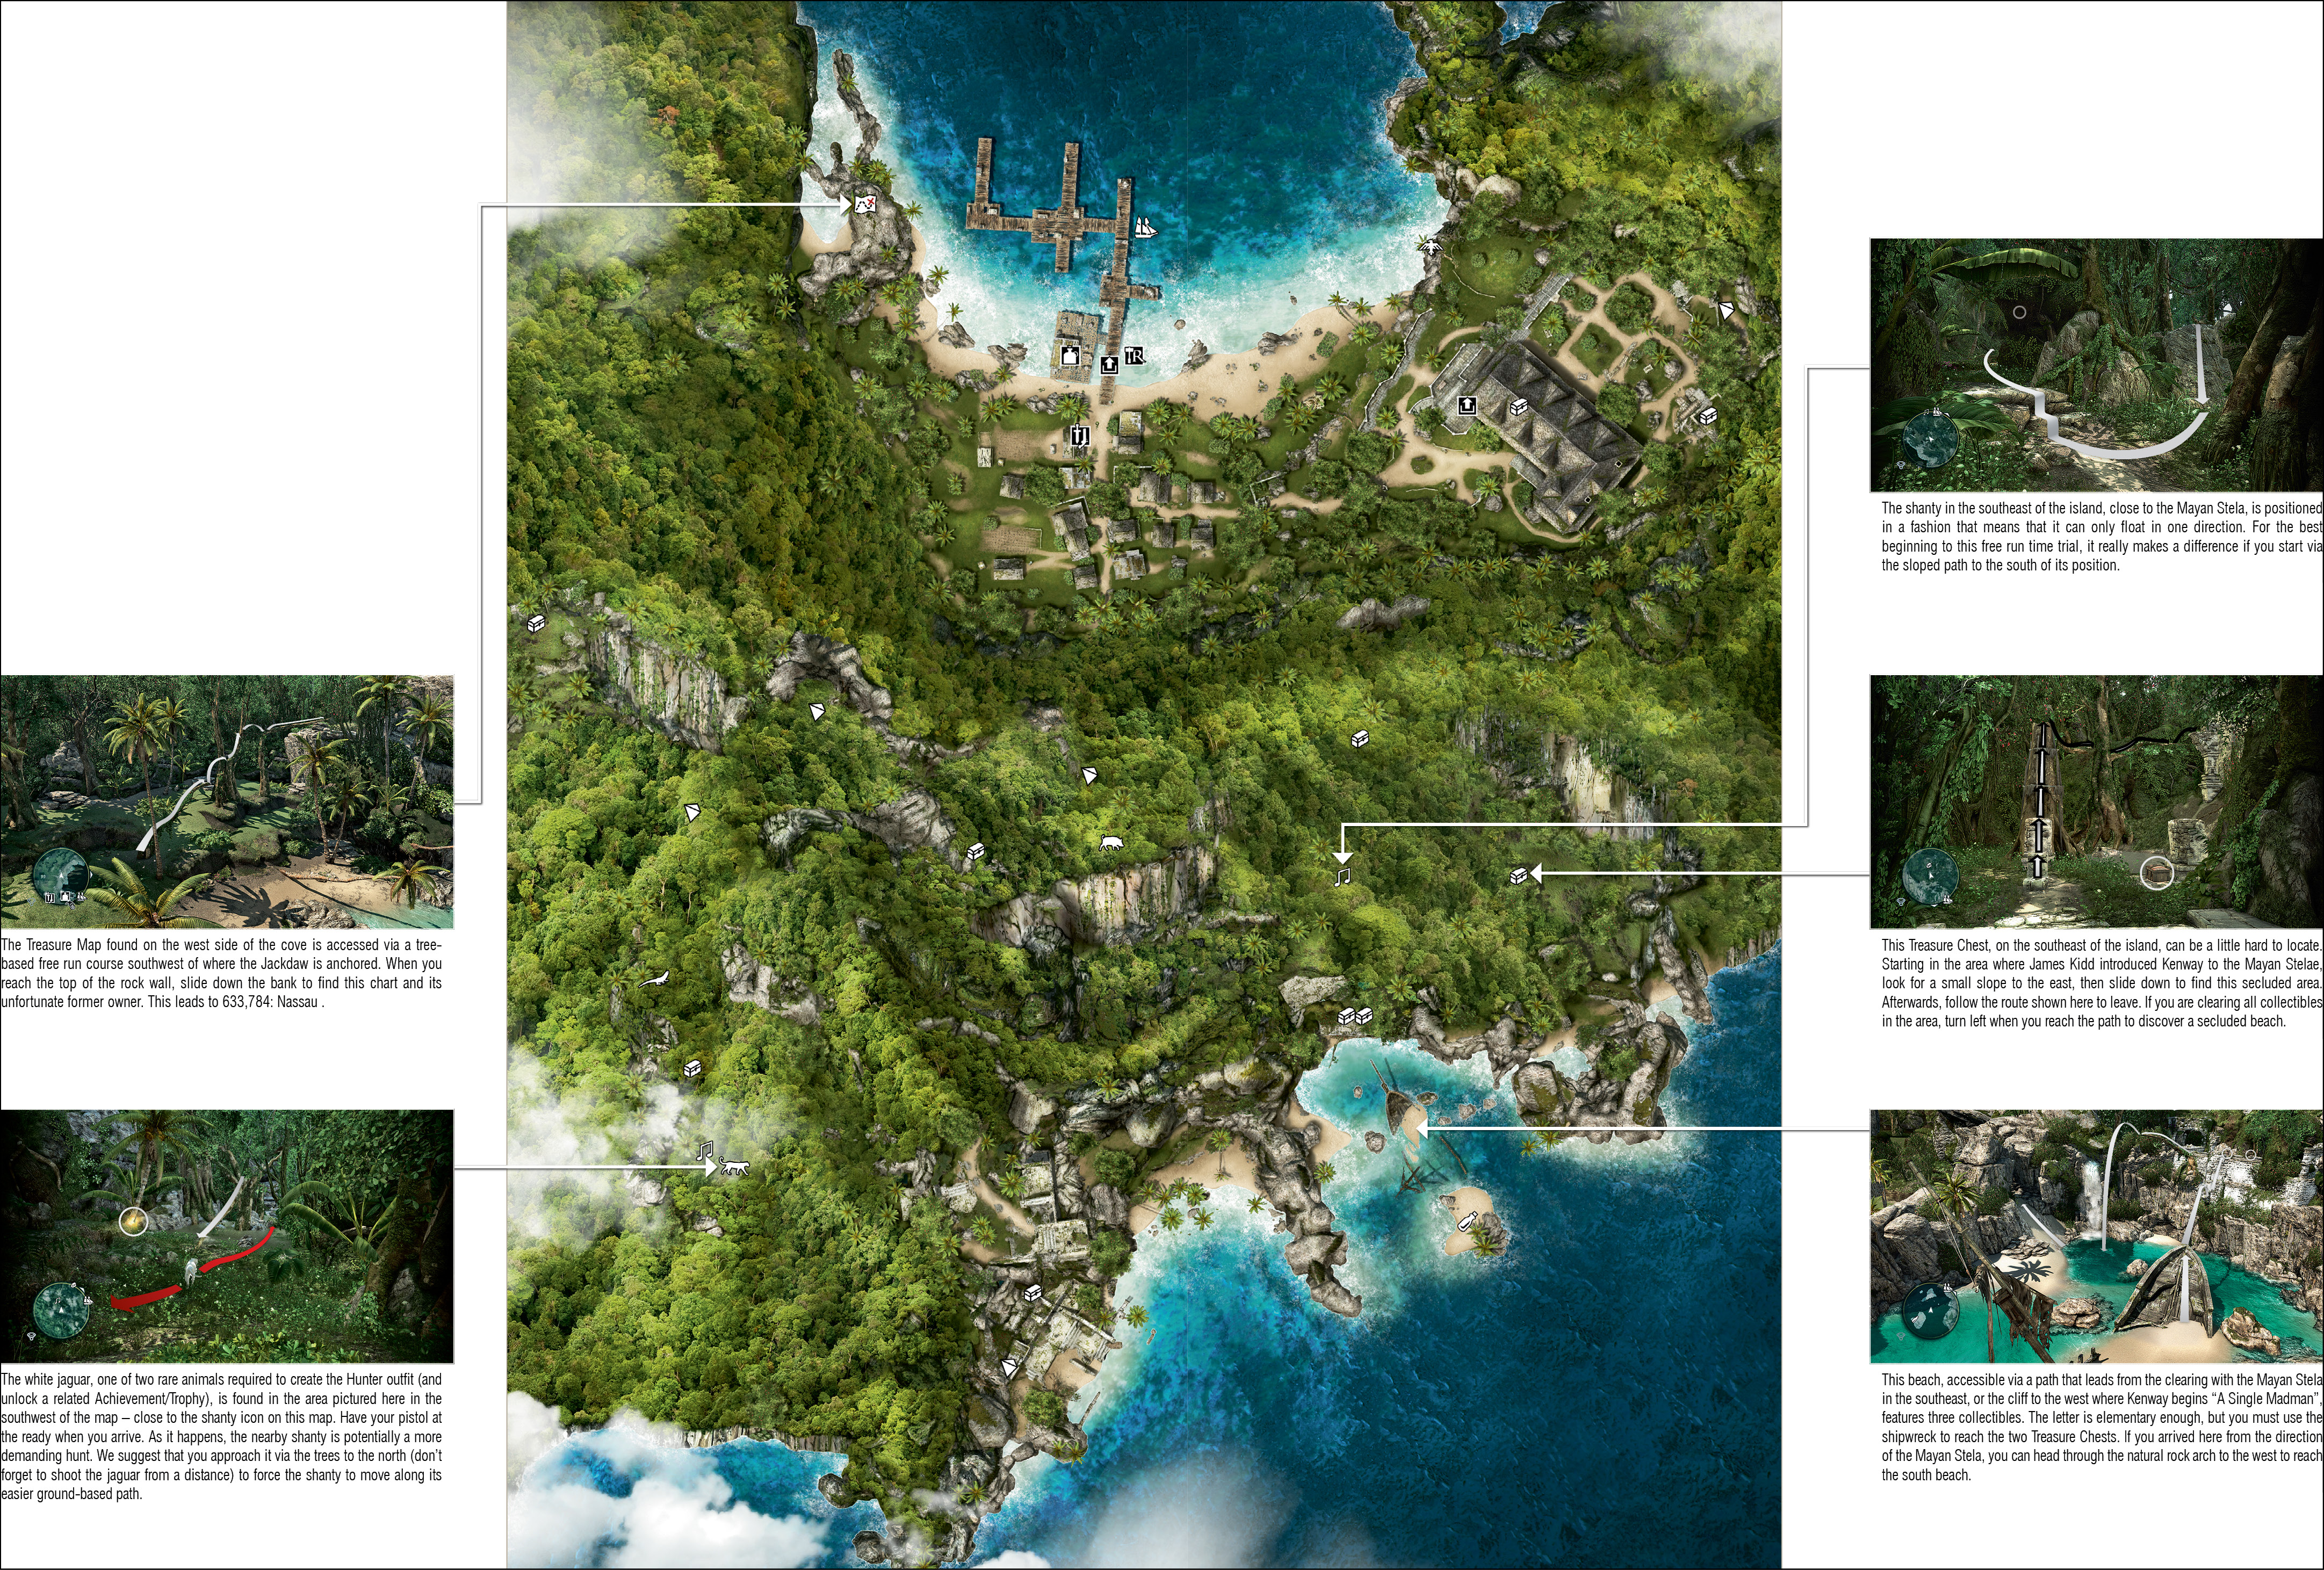
Notes
- Though you have the option to upgrade facilities at the Great Inagua hideout from Sequence 04, Kenway’s ill-gotten gains are better invested in the Jackdaw. Work on the cove settlement is more of a late-game activity, when you will probably have more money than you can spend.
- Kenway’s manor plays host to all ship models and works of art that you can collect or purchase. You can also change his equipment there.
Gibara (657,521)
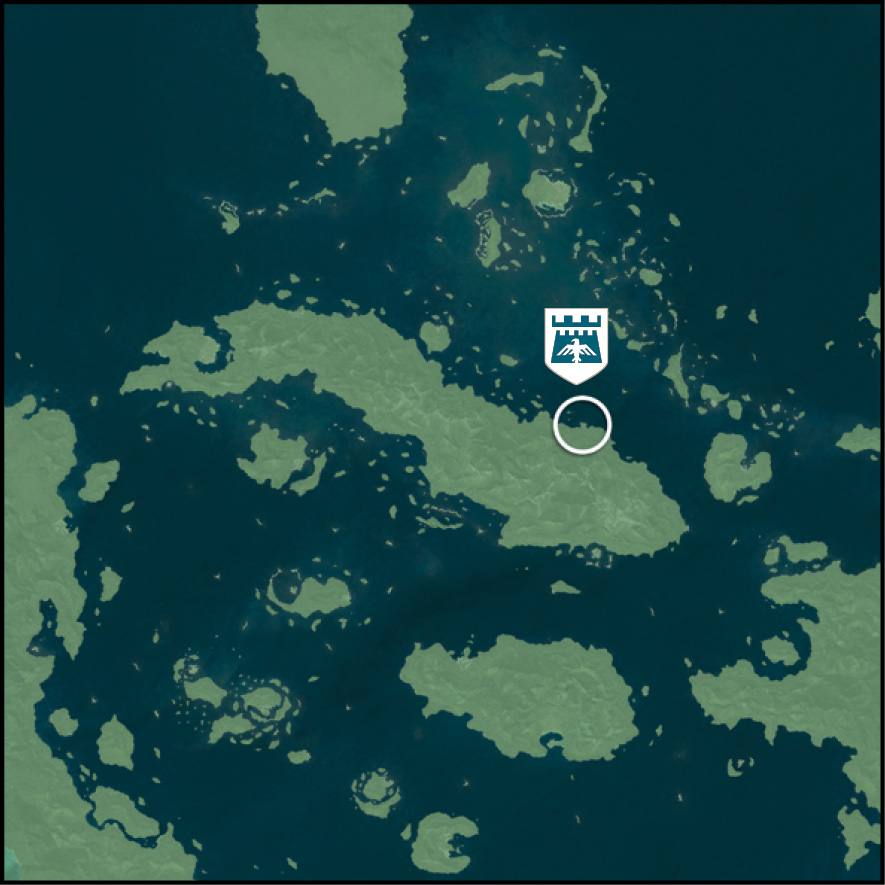
Key Details
|
Availability |
|
|
Activities |
Naval Contract x1 |
|
Amenities |
Harbormaster, local officer |

Region Notes
- This is another fort that you can reasonably hope to conquer in Sequence 03.
- Great Inagua to the east (south of Crooked Island and Mariguana Island) is inaccessible until “A Single Madman” at the end of Sequence 03, when the south approach to the island plays host to the beginning of the Memory. The seas further south are covered by a Desynchronization boundary until Sequence 04 is officially underway after the events of “This Old Cove”.
- The north of this zone features the same varieties of gunboats and schooners typical to the upper third of the Caribbean map. If you would like to upgrade the Jackdaw far beyond the standard progression curve during Sequence 03, however, you will find that the border area between Gibara and the Punta Guarico region to the south features brigs and frigates that can carry metal (otherwise scarce in the north), wood and cloth in reasonably large quantities. This is a good area to practice combat and boarding with such vessels when you are ready to graduate from the modest challenge posed by smaller ships.
- You can find bull and hammerhead sharks in this area.
Crooked Island (807,541)
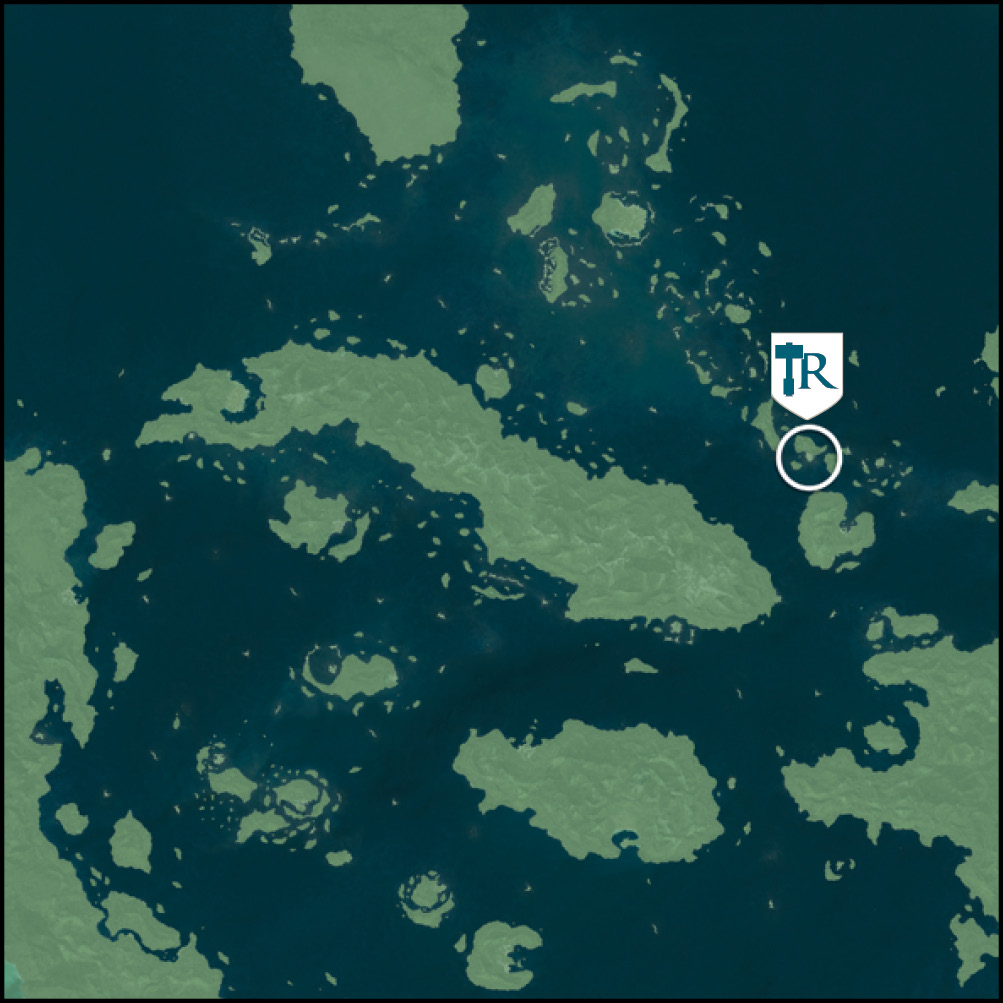
Key Details
|
Availability |
|
|
Activities |
Assassin Contract x2 |
|
Amenities |
Dock, tavern, harbormaster, local officer |

Notes
- This fishing village has a routine set of collectibles that are all easily found without exertion. You can clear the entire island with a five-minute sweep of the area.
- Crooked Island is most interesting early in the story, prior to “A Single Madman” at the end of Sequence 03. The much larger island of Great Inagua to the south is inaccessible prior to this point, and the seas further south of it militarized by a Restricted Area, and ultimately blocked by a Desynchronization boundary. However, you can find British and Spanish brigs and frigates in this locality. For power gamers looking to explore and upgrade the Jackdaw well beyond the difficulty curve, this provides access to a resource that is scarce in Sequence 03: metal. As it offers a local officer, tavern and a potential means to escape from hostile vessels, Crooked Island is the perfect base for raids on the more powerful ships.
- Directly south of Crooked Island, on the west coast of Great Inagua, you will find Spanish brigs and frigates. However, as these tend to sail in groups, they present a formidable challenge. A better hunting ground can be found to the west, just south of Mariguana Island, where you can often find a British frigate (which is usually engaging Spanish schooners). With a relatively modest set of upgrades, and a considered approach to your attack, you can wreak havoc on this vessel before it can bring its guns to bear and demonstrate its superior firepower.
Mariguana Island (880,544)
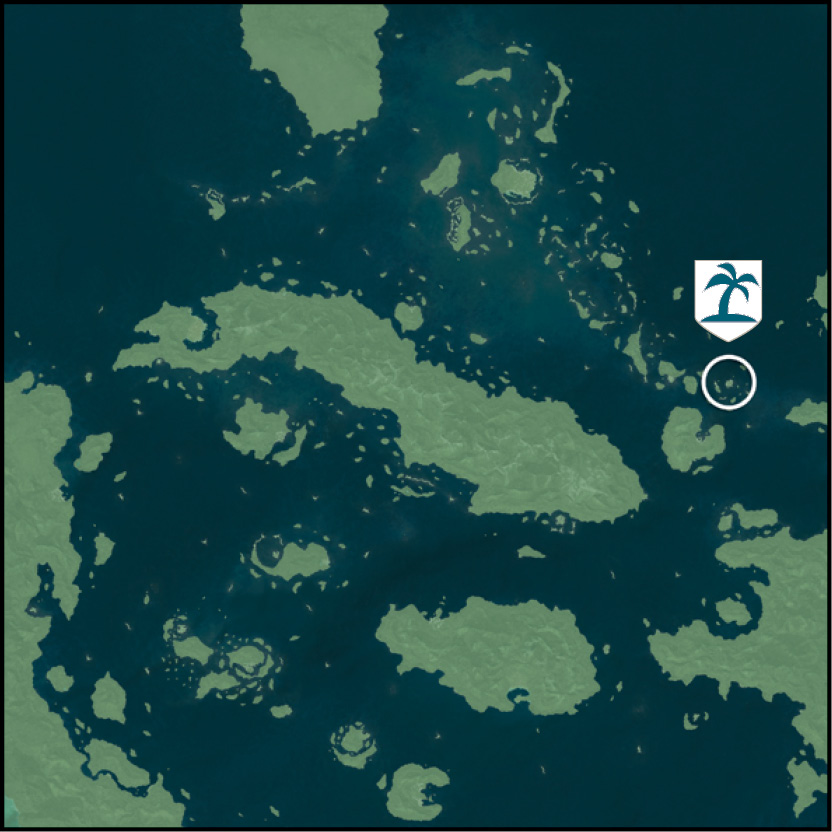
Key Details
|
Availability |
Sequence 03; first visited during Sequence 06, “Devil’s Advocate”. |
|
Activities |
Treasure Map x1, Save Pirates |
|
Amenities |
Dock |
|
Wildlife |
Wild pig |
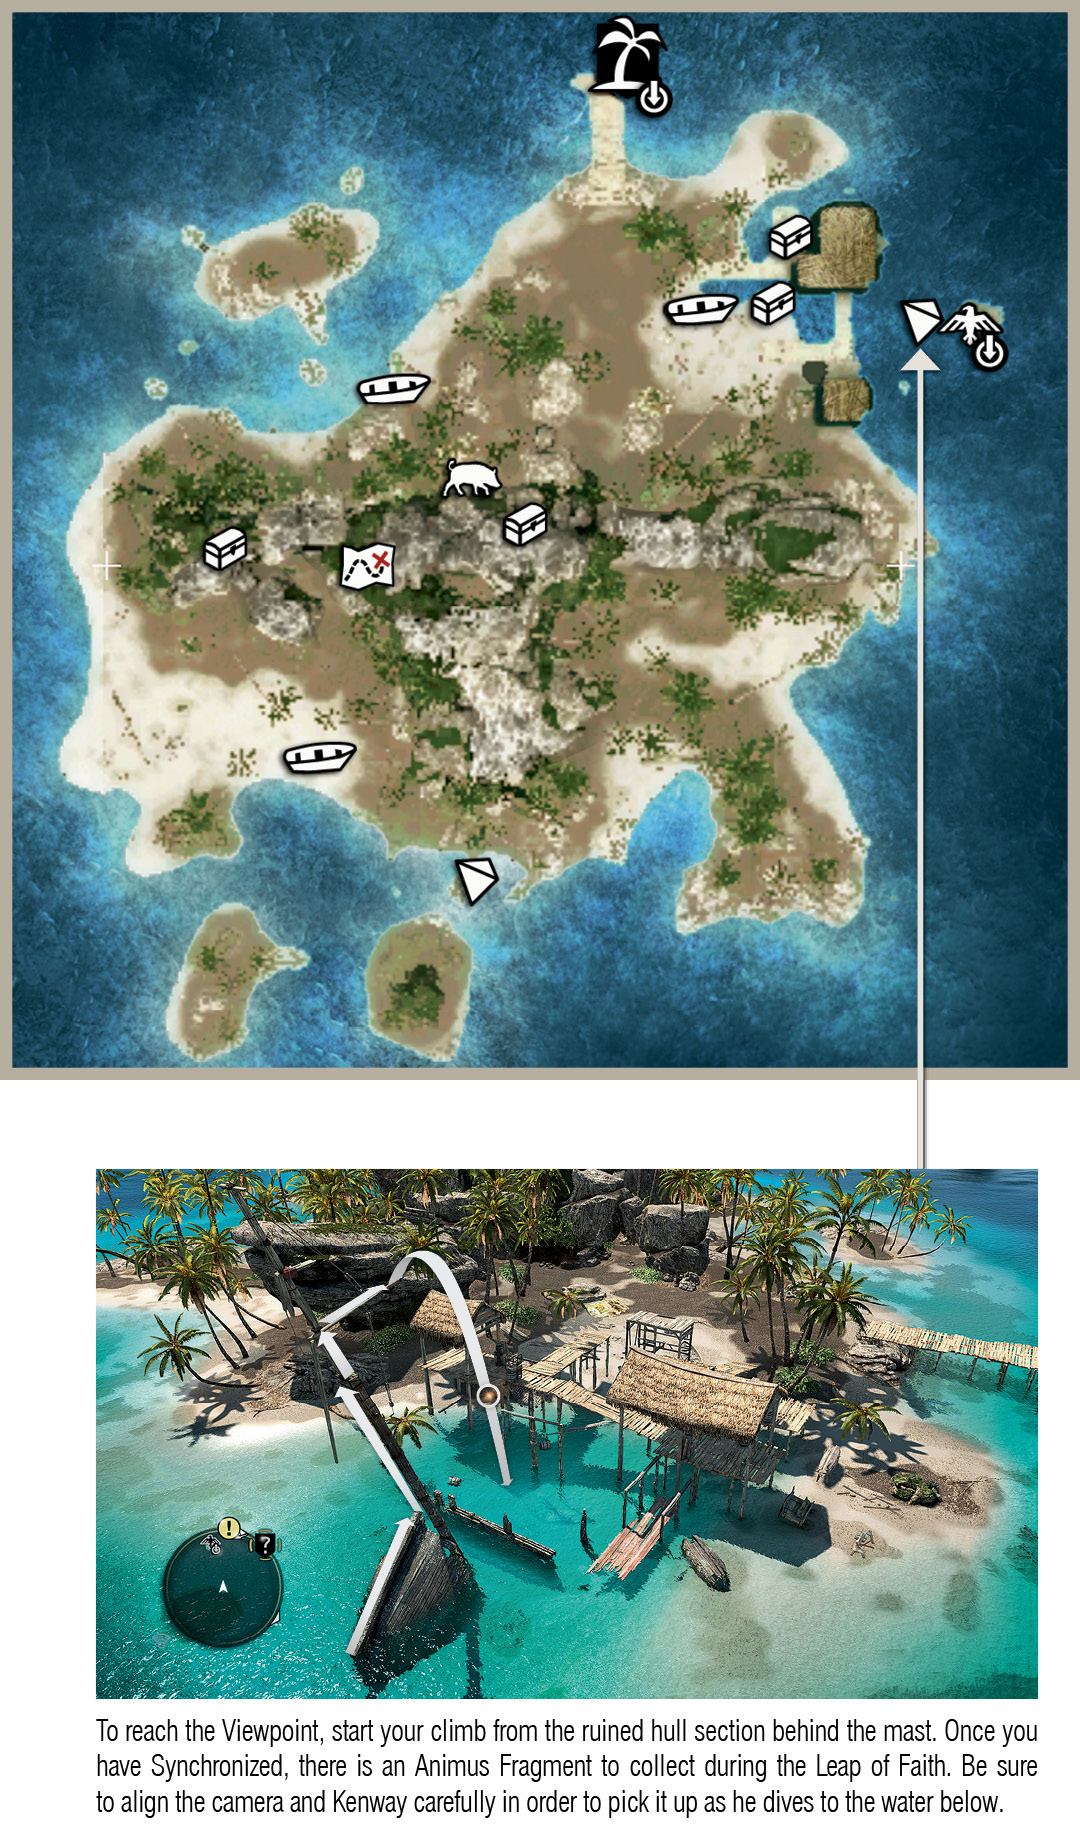
Notes
- Wild pigs are plentiful on Mariguana Island. You need two of their hides to craft the Pistol Ammo Pouch I upgrade.
- The Treasure Map found in the cave on the west side of the small island leads to 579,720: Andreas Island. The buried chest contains the design plan required to purchase the Elite Harpoon upgrade – so this is a journey that anyone who regularly spends time hunting at sea should make as soon as possible.
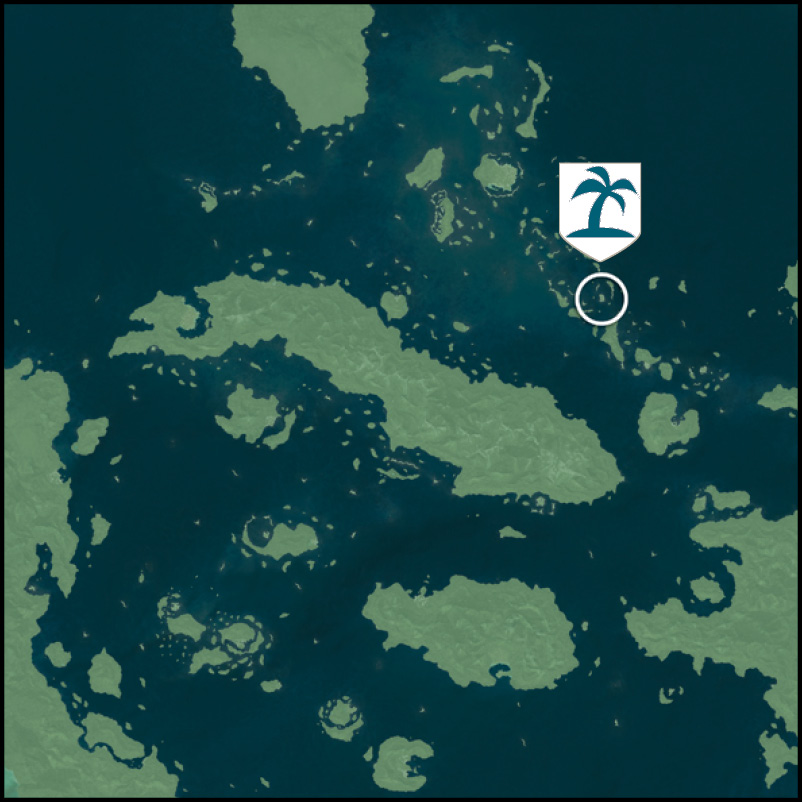
Salt Lagoon (749,625)
Key Details
|
Availability |
Sequence 03; visited during Sequence 03, “Proper Defenses”. |
|
Activities |
Treasure Map x1 |
|
Wildlife |
Deer |
Notes
- Deer are common on Salt Lagoon, so it’s easy to hunt two and create Health Upgrade II in the crafting menu.
- The Treasure Map found on the northeast beach leads to 442,118, a warehouse location in the far south of the map known as New Bone (inaccessible until Sequence 04). Unless you are focusing on exploration and Jackdaw upgrades, it makes sense to leave this trip until after you first visit Kingston in the main storyline.
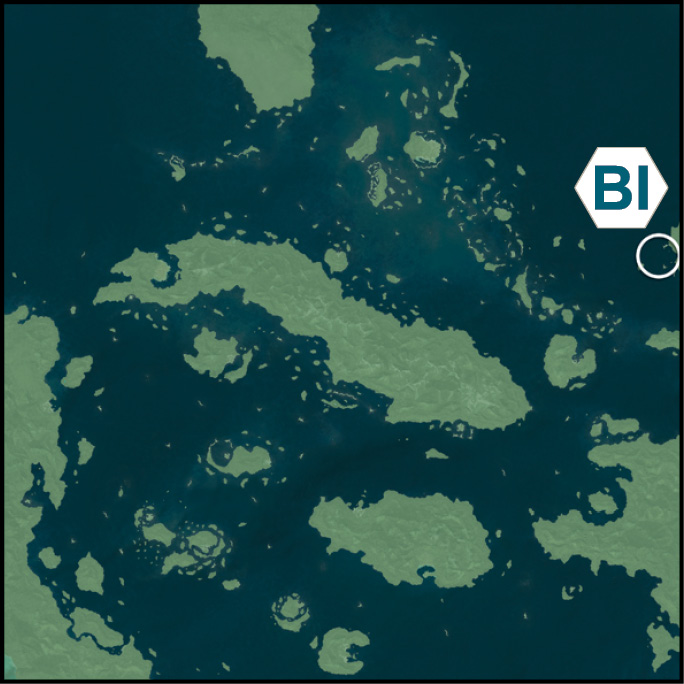
Black Island (985,626)
Key Details
|
Availability |
Sequence 03; only in special limited-edition versions of Assassin’s Creed IV, or as a preorder bonus. |
|
Activities |
Special reward chests |

Notes
- Though the obvious path lies on the free run course to the north when you first arrive, swimming to the south presents a faster route to the Viewpoint.
- Black Island is covered by a Restricted Area, but it’s very lightly guarded when compared to other locations with warehouses. There are few guards close to the alarm bells, making it easy to prevent the arrival of reinforcements, and the key holder can often be found right in front of the warehouse itself when you first approach it; he will subsequently walk to the nearby house. Raiding the warehouse, a one-time event, rewards you with a nominal amount of cargo, but unlocks Captain Morgan’s Pistols: one of the three special unlockable items available here.
- Collectibles found on Black Island do not count towards your Progress Tracker totals. There are two “standard” Treasure Chests with the usual rewards, plus two gold chests that contain treasures that once belonged to Captain Morgan. The gold chest close to the Viewpoint contains his redingote, a distinct outfit for Kenway to wear. The second gold chest, on the east side of the island, contains the Black Ship’s Sails and the Black Ship’s Figurehead: two appearance upgrades for the Jackdaw.
- When you are ready to leave, either swim back to the Jackdaw or use the rowboat on the northeast of the island – it’s right back where Kenway started.
Conttoyor (102,547)
Key Details
|
Availability |
|
|
Activities |
Naval Contract x2 |
|
Amenities |
Harbormaster, local officer |

Region Notes
- Situated on an island at the center of the main channel leading south from Havana, Conttoyor’s location makes it possible to circle the fort to rake it with broadsides. However, as the area is shrouded in a perpetual storm until after the assault is completed, high winds, low visibility and waterspouts can turn a fairly routine assault into a chaotic struggle as nature and the fort’s defenses conspire to scuttle the Jackdaw. The Reinforced Hull upgrade and meaningful advances in raw firepower are baseline requirements for a safe attack. If your Jackdaw isn’t yet up to the task, it’s wiser to hug the coastline close to Cape Bonavista to slip by without conflict.
- You can encounter harpooning sites for killer whales throughout the zone. You need to catch two of these to craft the Dart Pouch II upgrade after you obtain the Blowpipe during “Overrun And Outnumbered” in Sequence 04.
- After liberating the fort, there are some reasonable prizes to be found at sea in the Conttoyor area: brigs laden with metal, and occasional high-level schooners packed with cargo. However, the prominent position of the fort itself can complicate matters: it will open fire on vessels that sail within 500 meters. As you may have noticed, ships sunk by forts leave no cargo. “Claim” a vessel by opening fire on it, though, and the pirates manning the fort’s weapons will leave it alone.
- Be careful around the main entrance to Tulum: this is close to the border of the Chinchorro region (and the fort’s Restricted Area), which may bring you into contact with very high-level ships.
Tulum (70,405)
Key Details
|
Availability |
Locked until Sequence 04, “Nothing Is True…”. Can be freely explored from the end of the Sequence. |
|
Activities |
Mayan Stela x1 |
|
Wildlife |
Jaguar, crocodile, capuchin monkey |
Notes
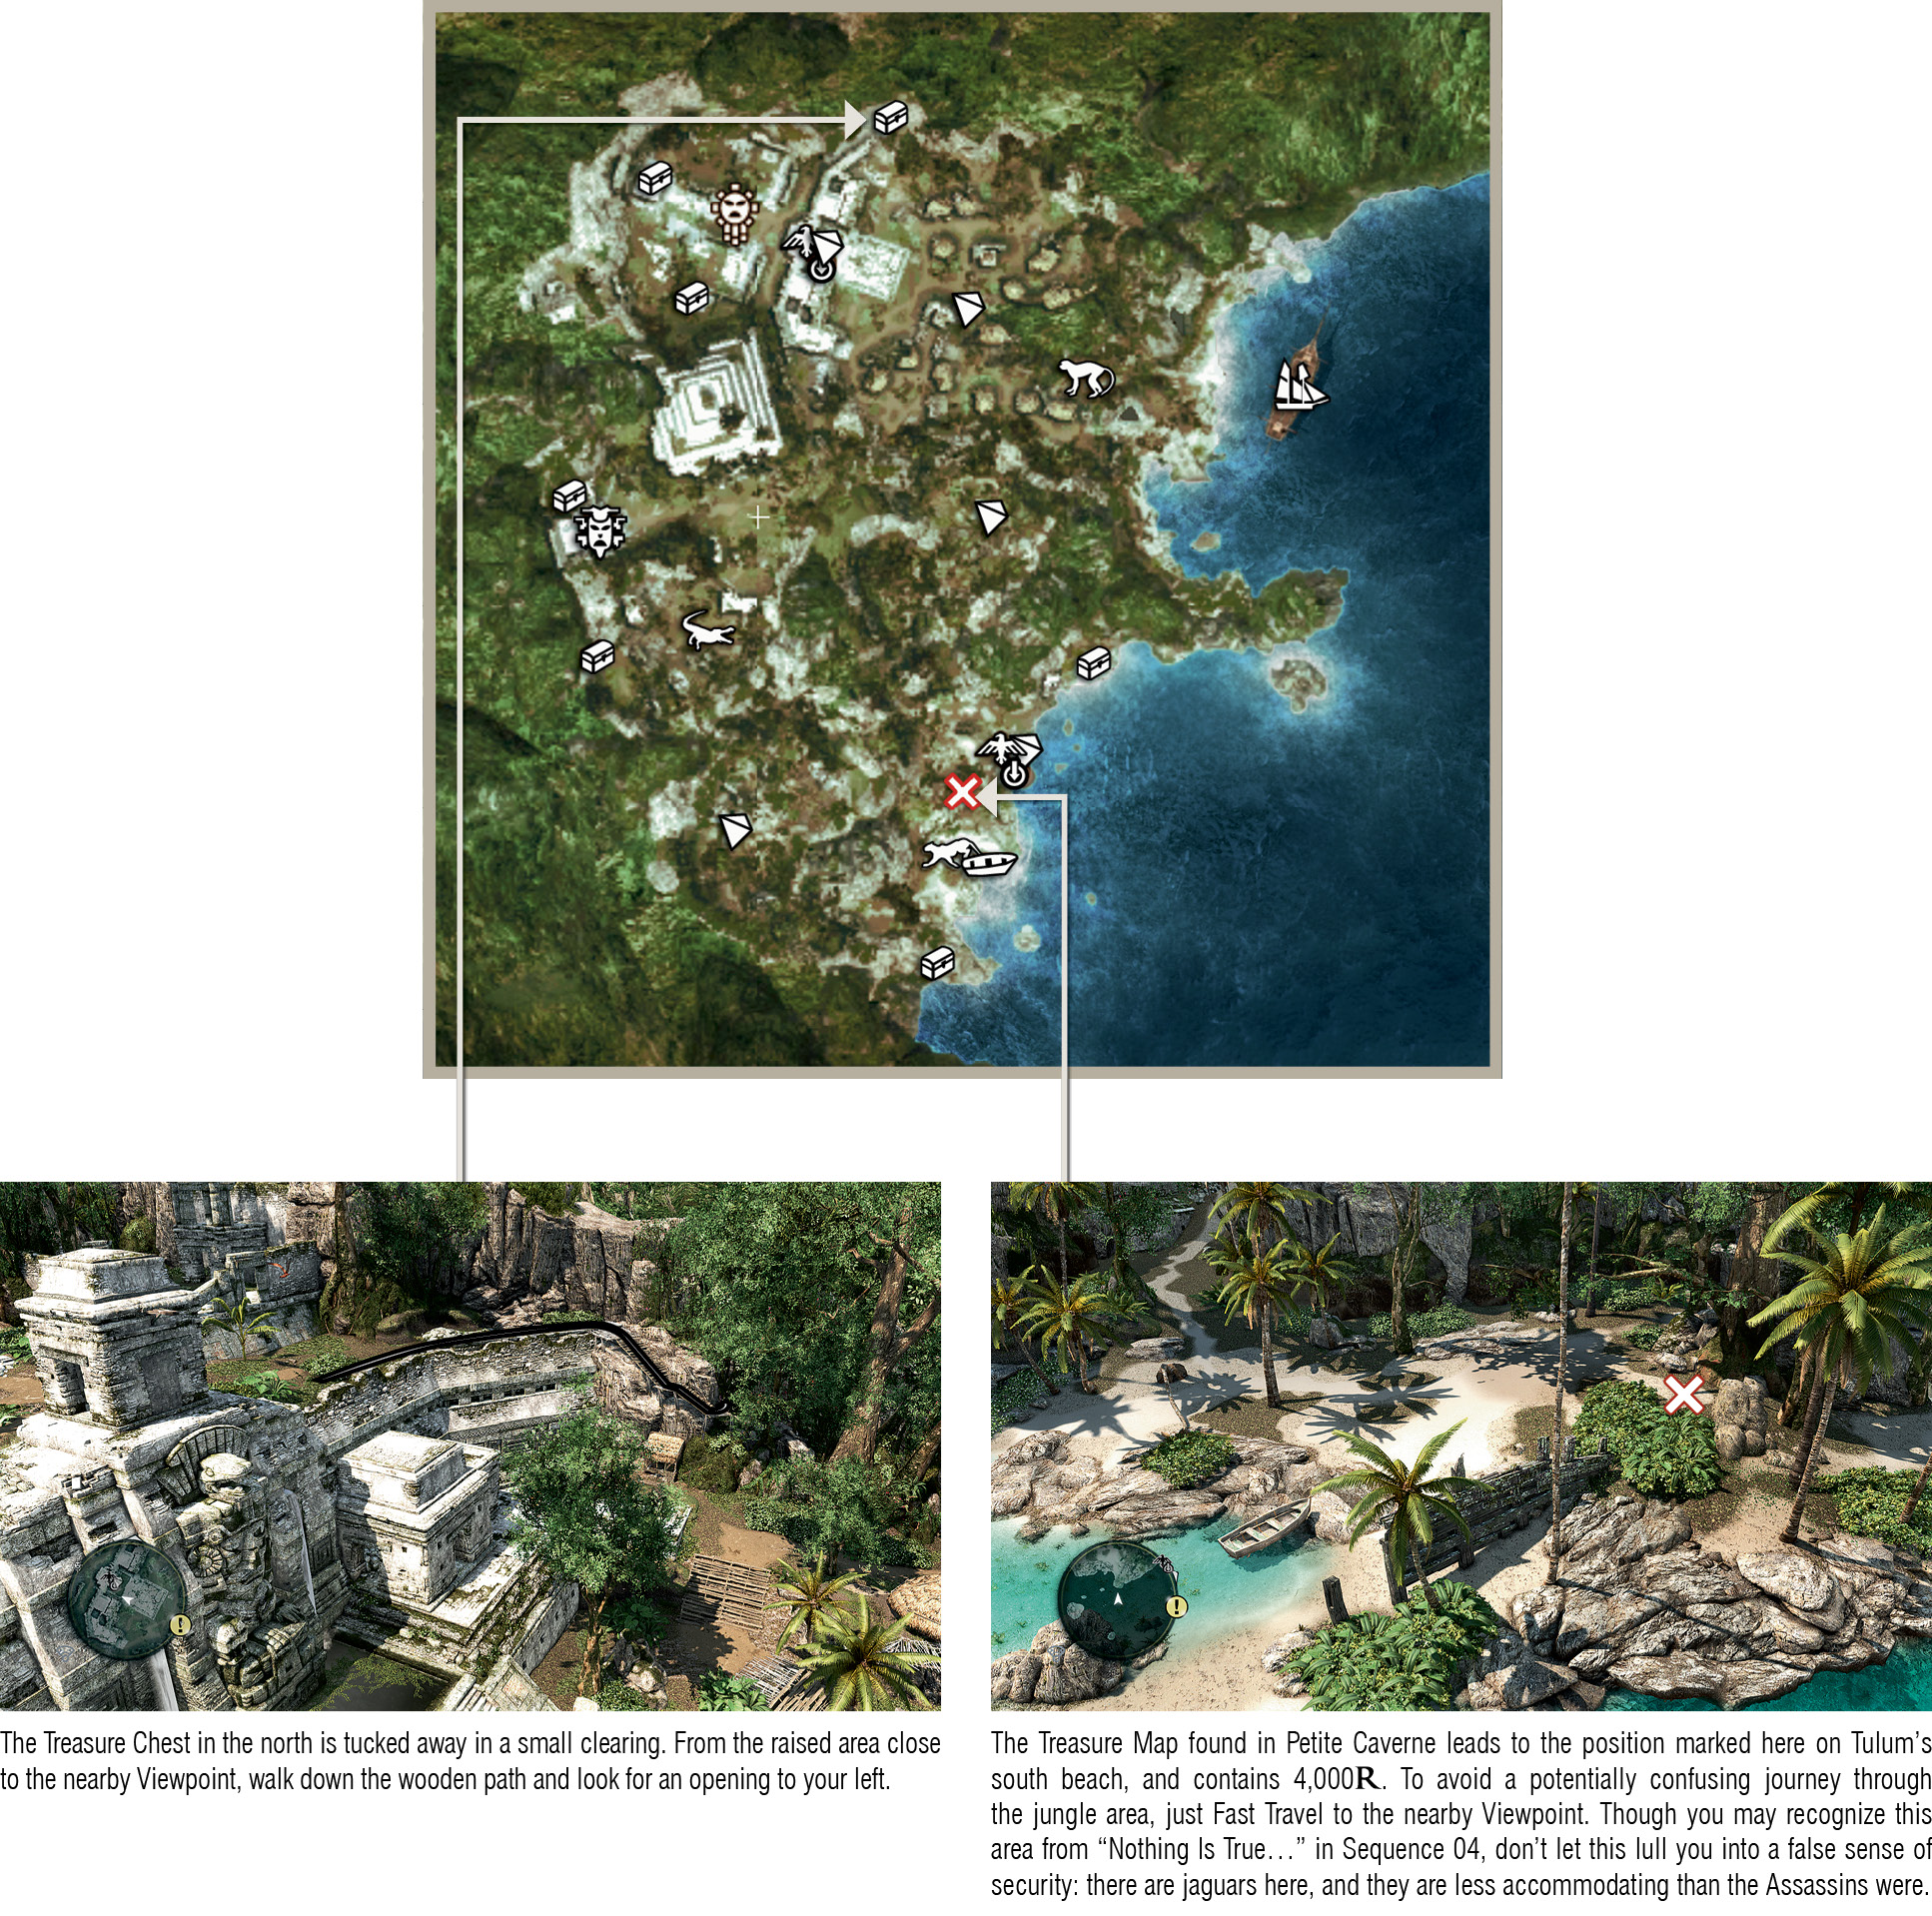
- If you follow our walkthrough for “Nothing Is True…” closely , you will collect four Treasure Chests, two Animus Fragments and perhaps even solve a Mayan Stela puzzle before you complete the Memory. You may also find that you automatically encounter and collect additional collectibles during “Overrun And Outnumbered” a little while afterwards, which makes Tulum one of the less intensive sites for picking up objects. In a standard playthrough of Sequence 04, we tend to find that there are only a handful of remaining collectibles for the area.
- You can find three types of animal in Tulum, but it is unquestionably the jaguar capital of the Caribbean: they are commonplace in the jungle and beach area to the south. Capuchin monkeys are fairly easy to find in the north, east of the ruins, though crocodiles are found in more appreciable numbers on the west side of Nassau.
- Once you have all 16 Mayan Stones, the Mayan Outfit is acquired by interacting with the marked door in the northwest. As you approach the Viewpoint from below, look for a door to the left, then follow the corridor.
Sacrifice Island (37,533)
Key Details
|
Availability |
Sequence 04; only in special limited-edition versions of Assassin’s Creed IV, or as a preorder bonus. |
Notes
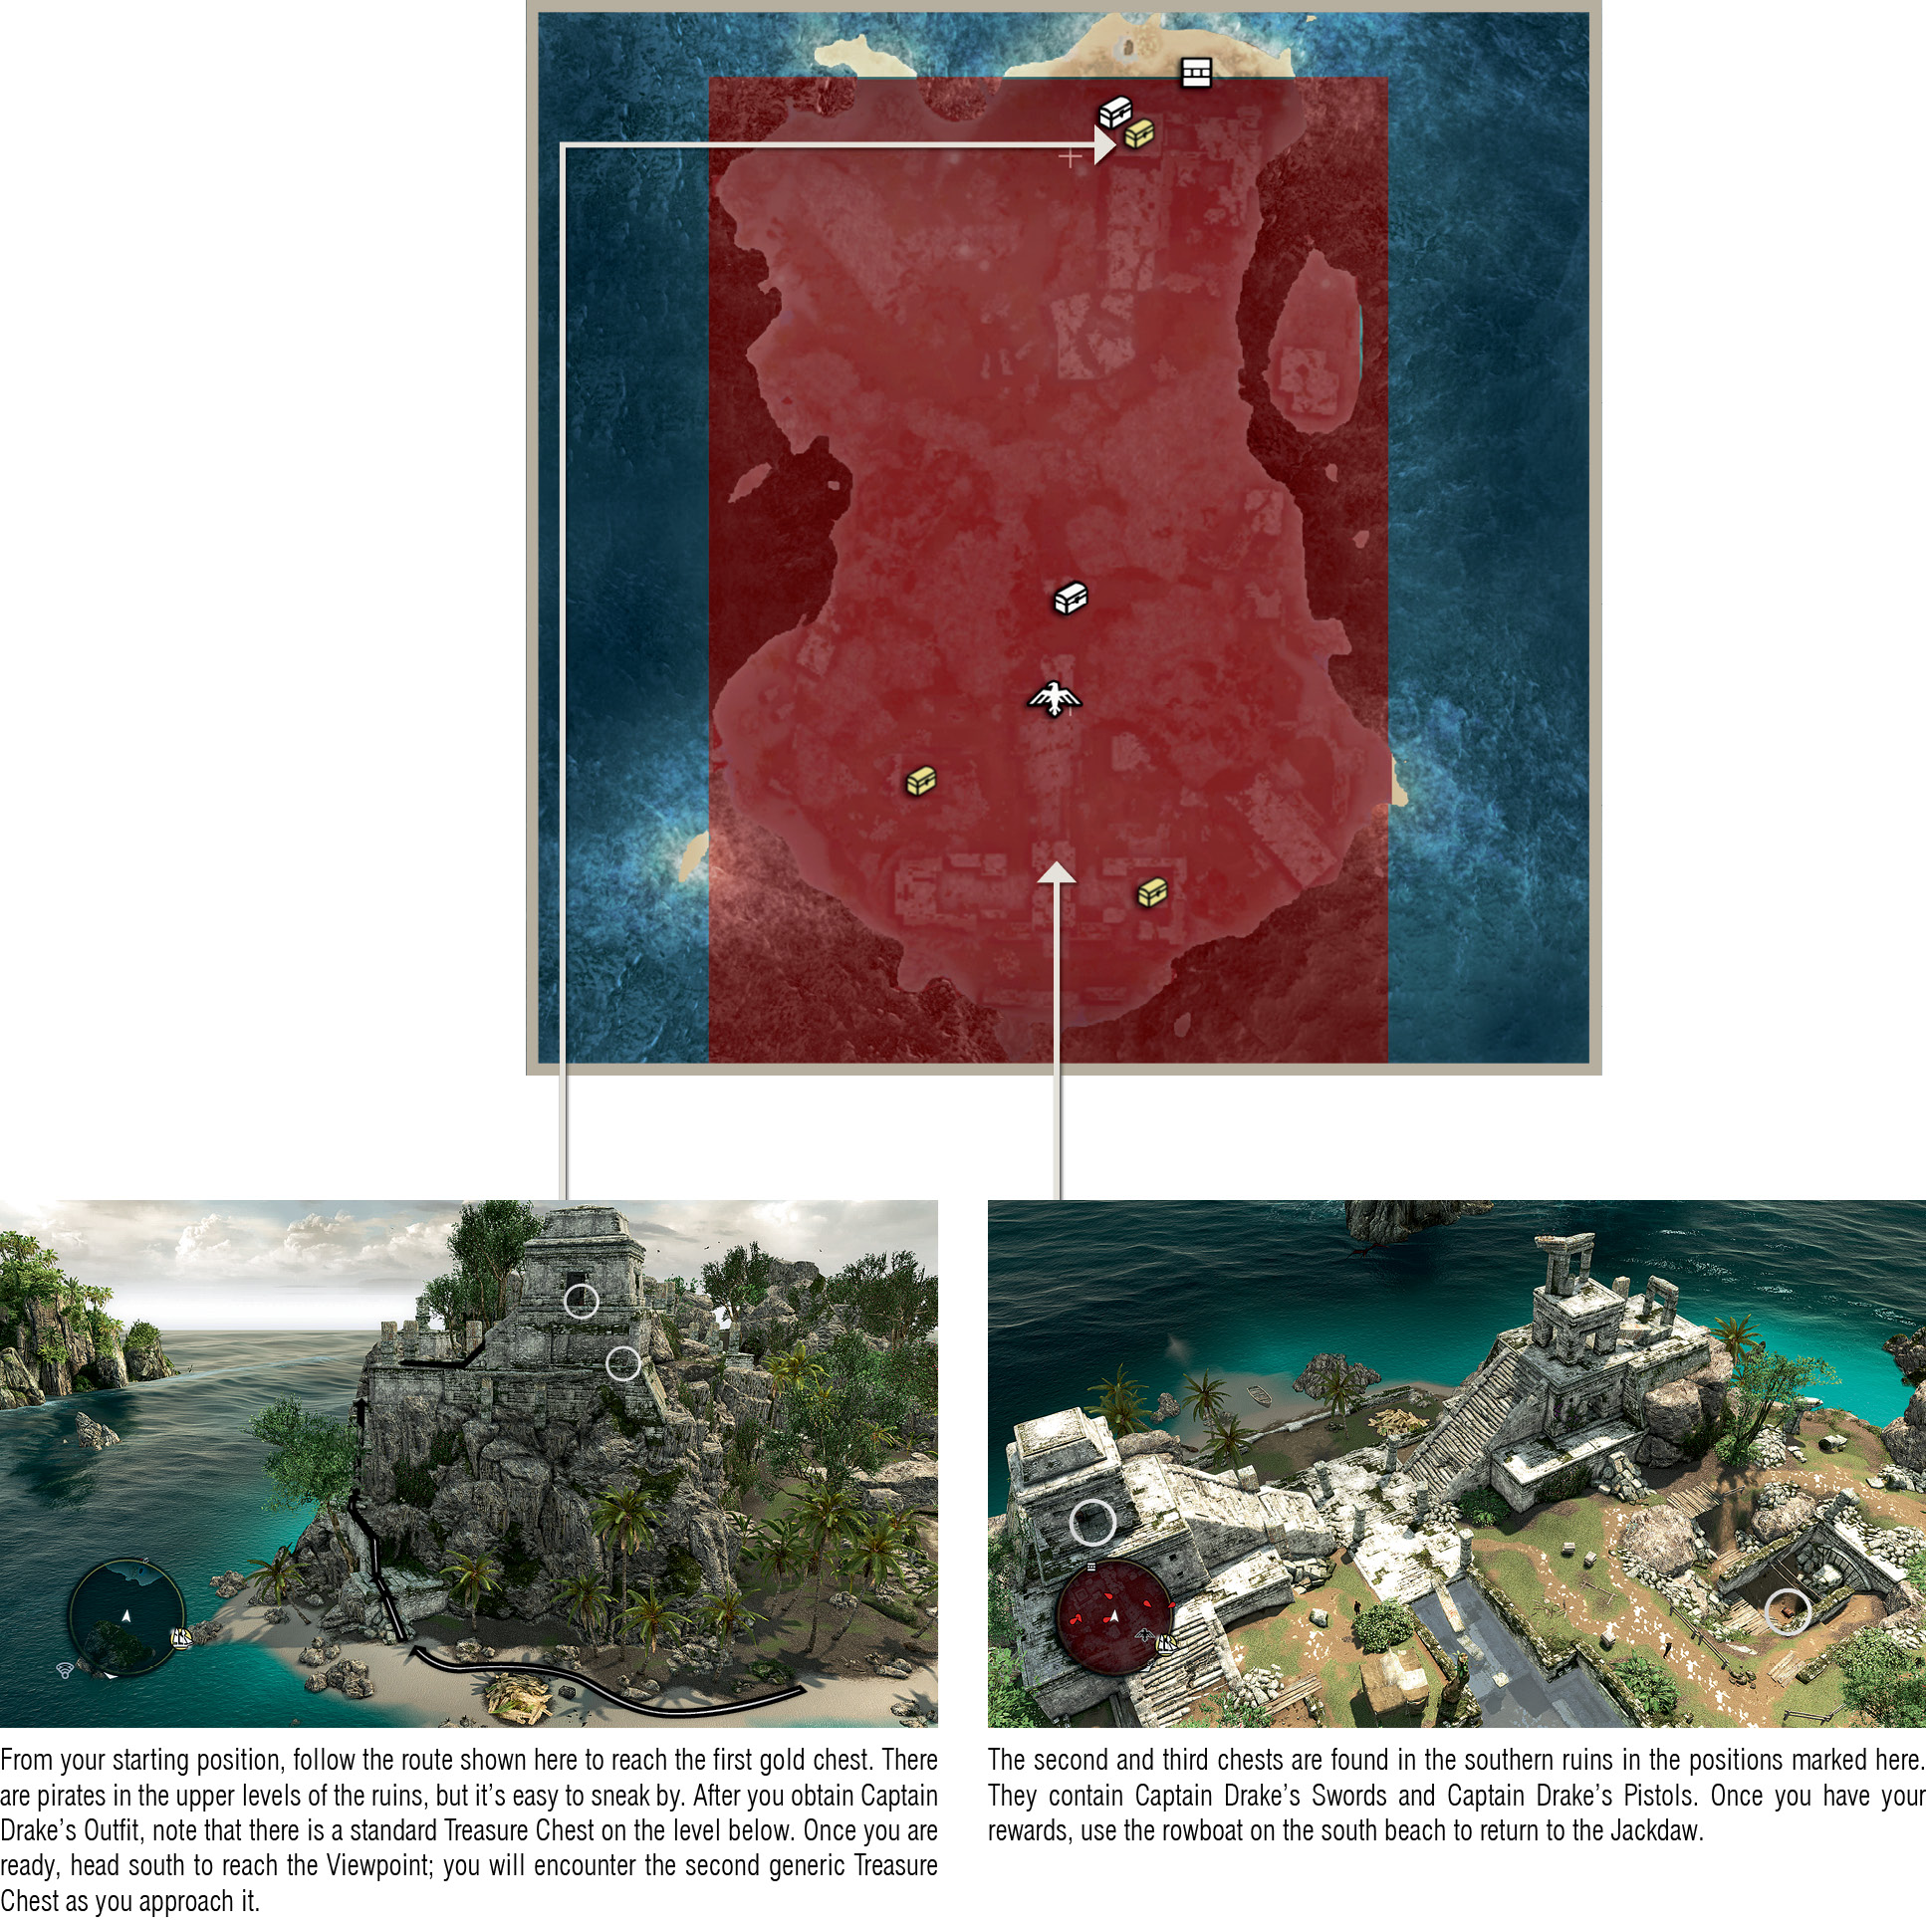
- Covered almost entirely by a Restricted Area, this island features three special treasures to obtain from gold chests. There are also two standard Treasure Chests: these do not count towards your Progress Tracker totals.
- The pirates in the region will attack Kenway if they identify him as a trespasser.
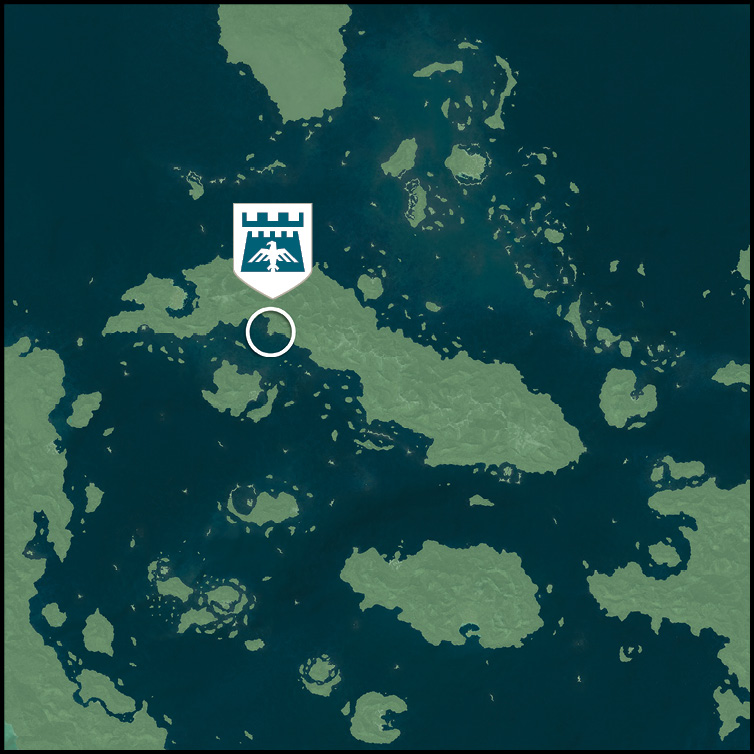
Castillo de Jagua (356,556)
Key Details
|
Availability |
|
|
Activities |
Naval Contract x1 |
|
Amenities |
Harbormaster, local officer |
Region Notes
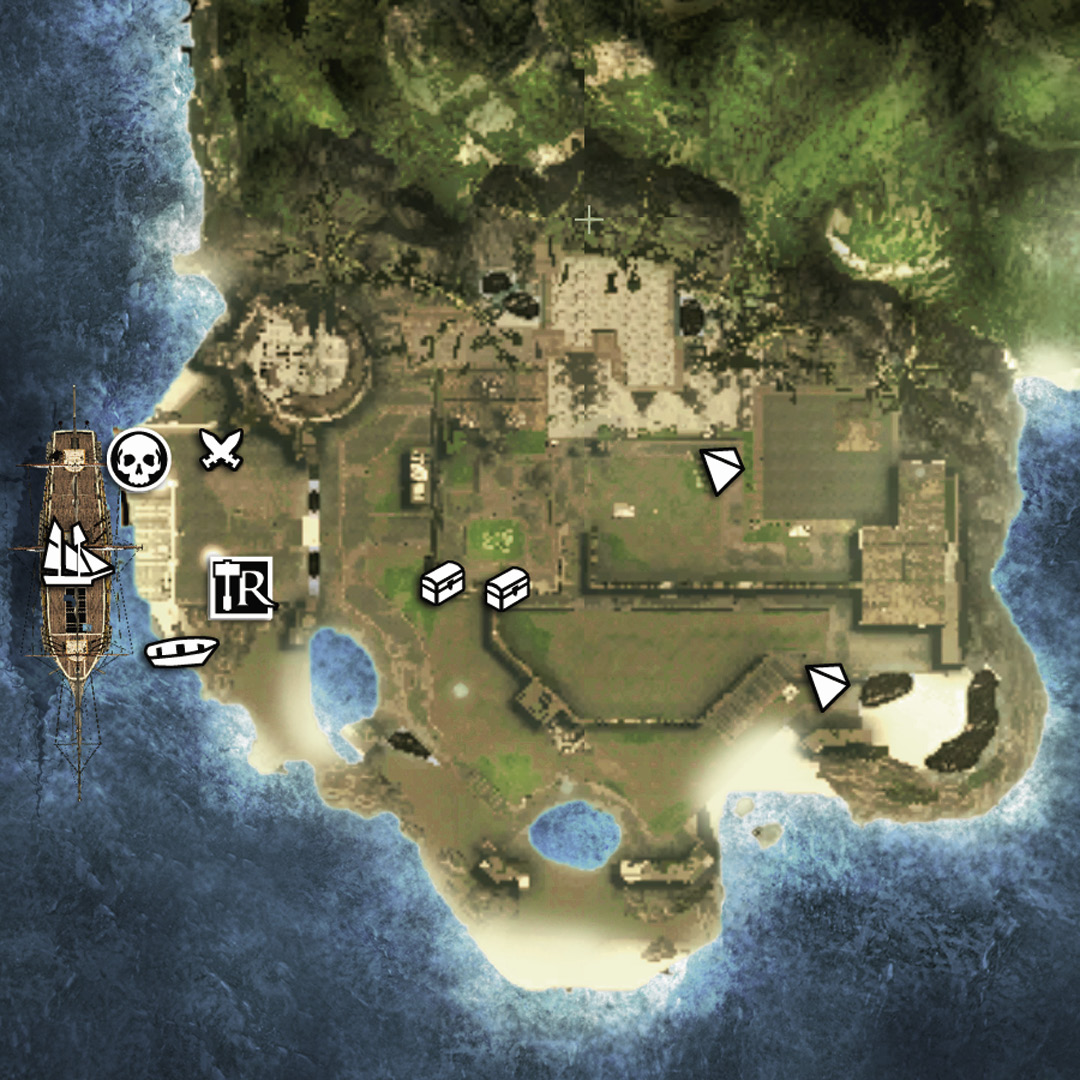
- This is probably the easiest of the Level 2 forts to conquer. As its Restricted Area covers a fairly large portion of the zone (including Pinos Isle to the south), it makes sense to accomplish this feat before you explore. The approach along the coast from Arroyos to the west is often free of enemy ships.
- High-level gunboats and schooners are common in this area, often accompanied by low-level frigates.
- Be very careful in the south of the zone, especially when engaging in piracy near to Cayman Sound. The close borders between fort regions means that you can potentially encounter ships sailing in from the Chinchorro zone. We’ve seen men o’ war in these waters, which could be a nasty surprise if you are engaging a weaker ship that shares their allegiance…
- The waters north of the reef at Cayman Sound often feature battles between British and Spanish vessels, so be ready to take opportunities for salvage or opportunistic plunder whenever you are in the area.
- Humpback whales are common in this region.
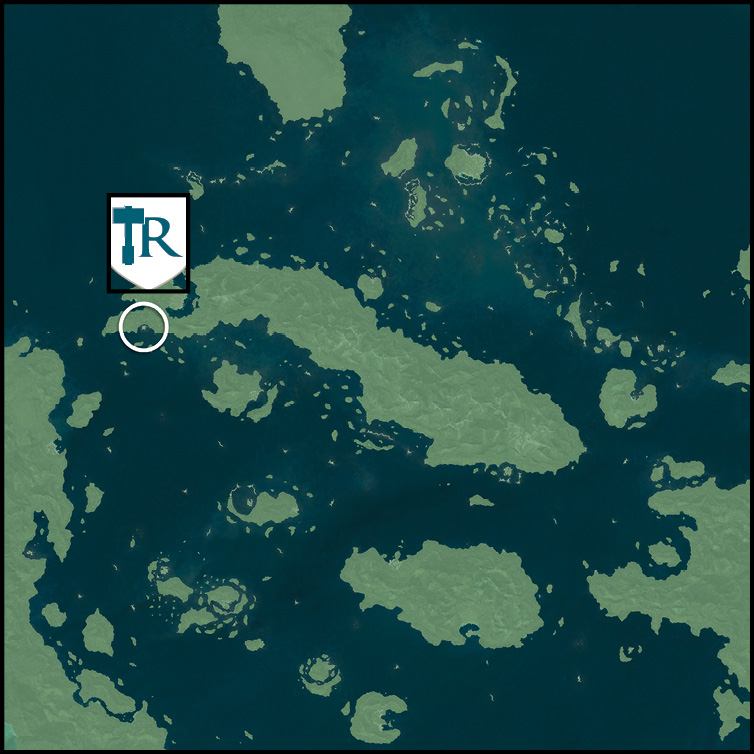
Arroyos (192,563)
Key Details
|
Availability |
|
|
Activities |
Assassin Contract x2 |
|
Amenities |
Dock, tavern, harbormaster, general store, local officer |

Notes
- Think carefully before engaging in piratical actions against Spanish vessels close to Arroyos. This fishing village is protected by a small Spanish fleet consisting of several gunboats stationed on all main approaches, and a Level 29 frigate closer to the shore. That said, a deliberate assault on these vessels can be profitable: the frigate is usually groaning with cargo, and the gunboats all drop valuable ammunition.
- The first Assassin Contract available in Arroyos requires a journey to Pinos Isle to the southeast. This is guarded by two frigates, so you may wish to leave the commission until later if the Jackdaw is at low upgrade levels.
Pinos Isle (335,469)
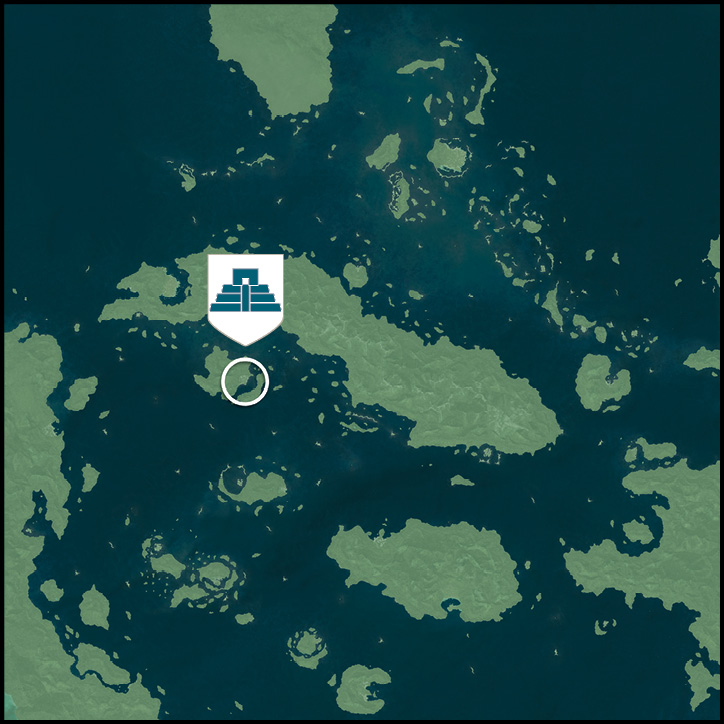
Key Details
|
Availability |
|
|
Activities |
Mayan Stela x2, Treasure Map x1, Save Pirates |
|
Wildlife |
Black jaguar |
Notes
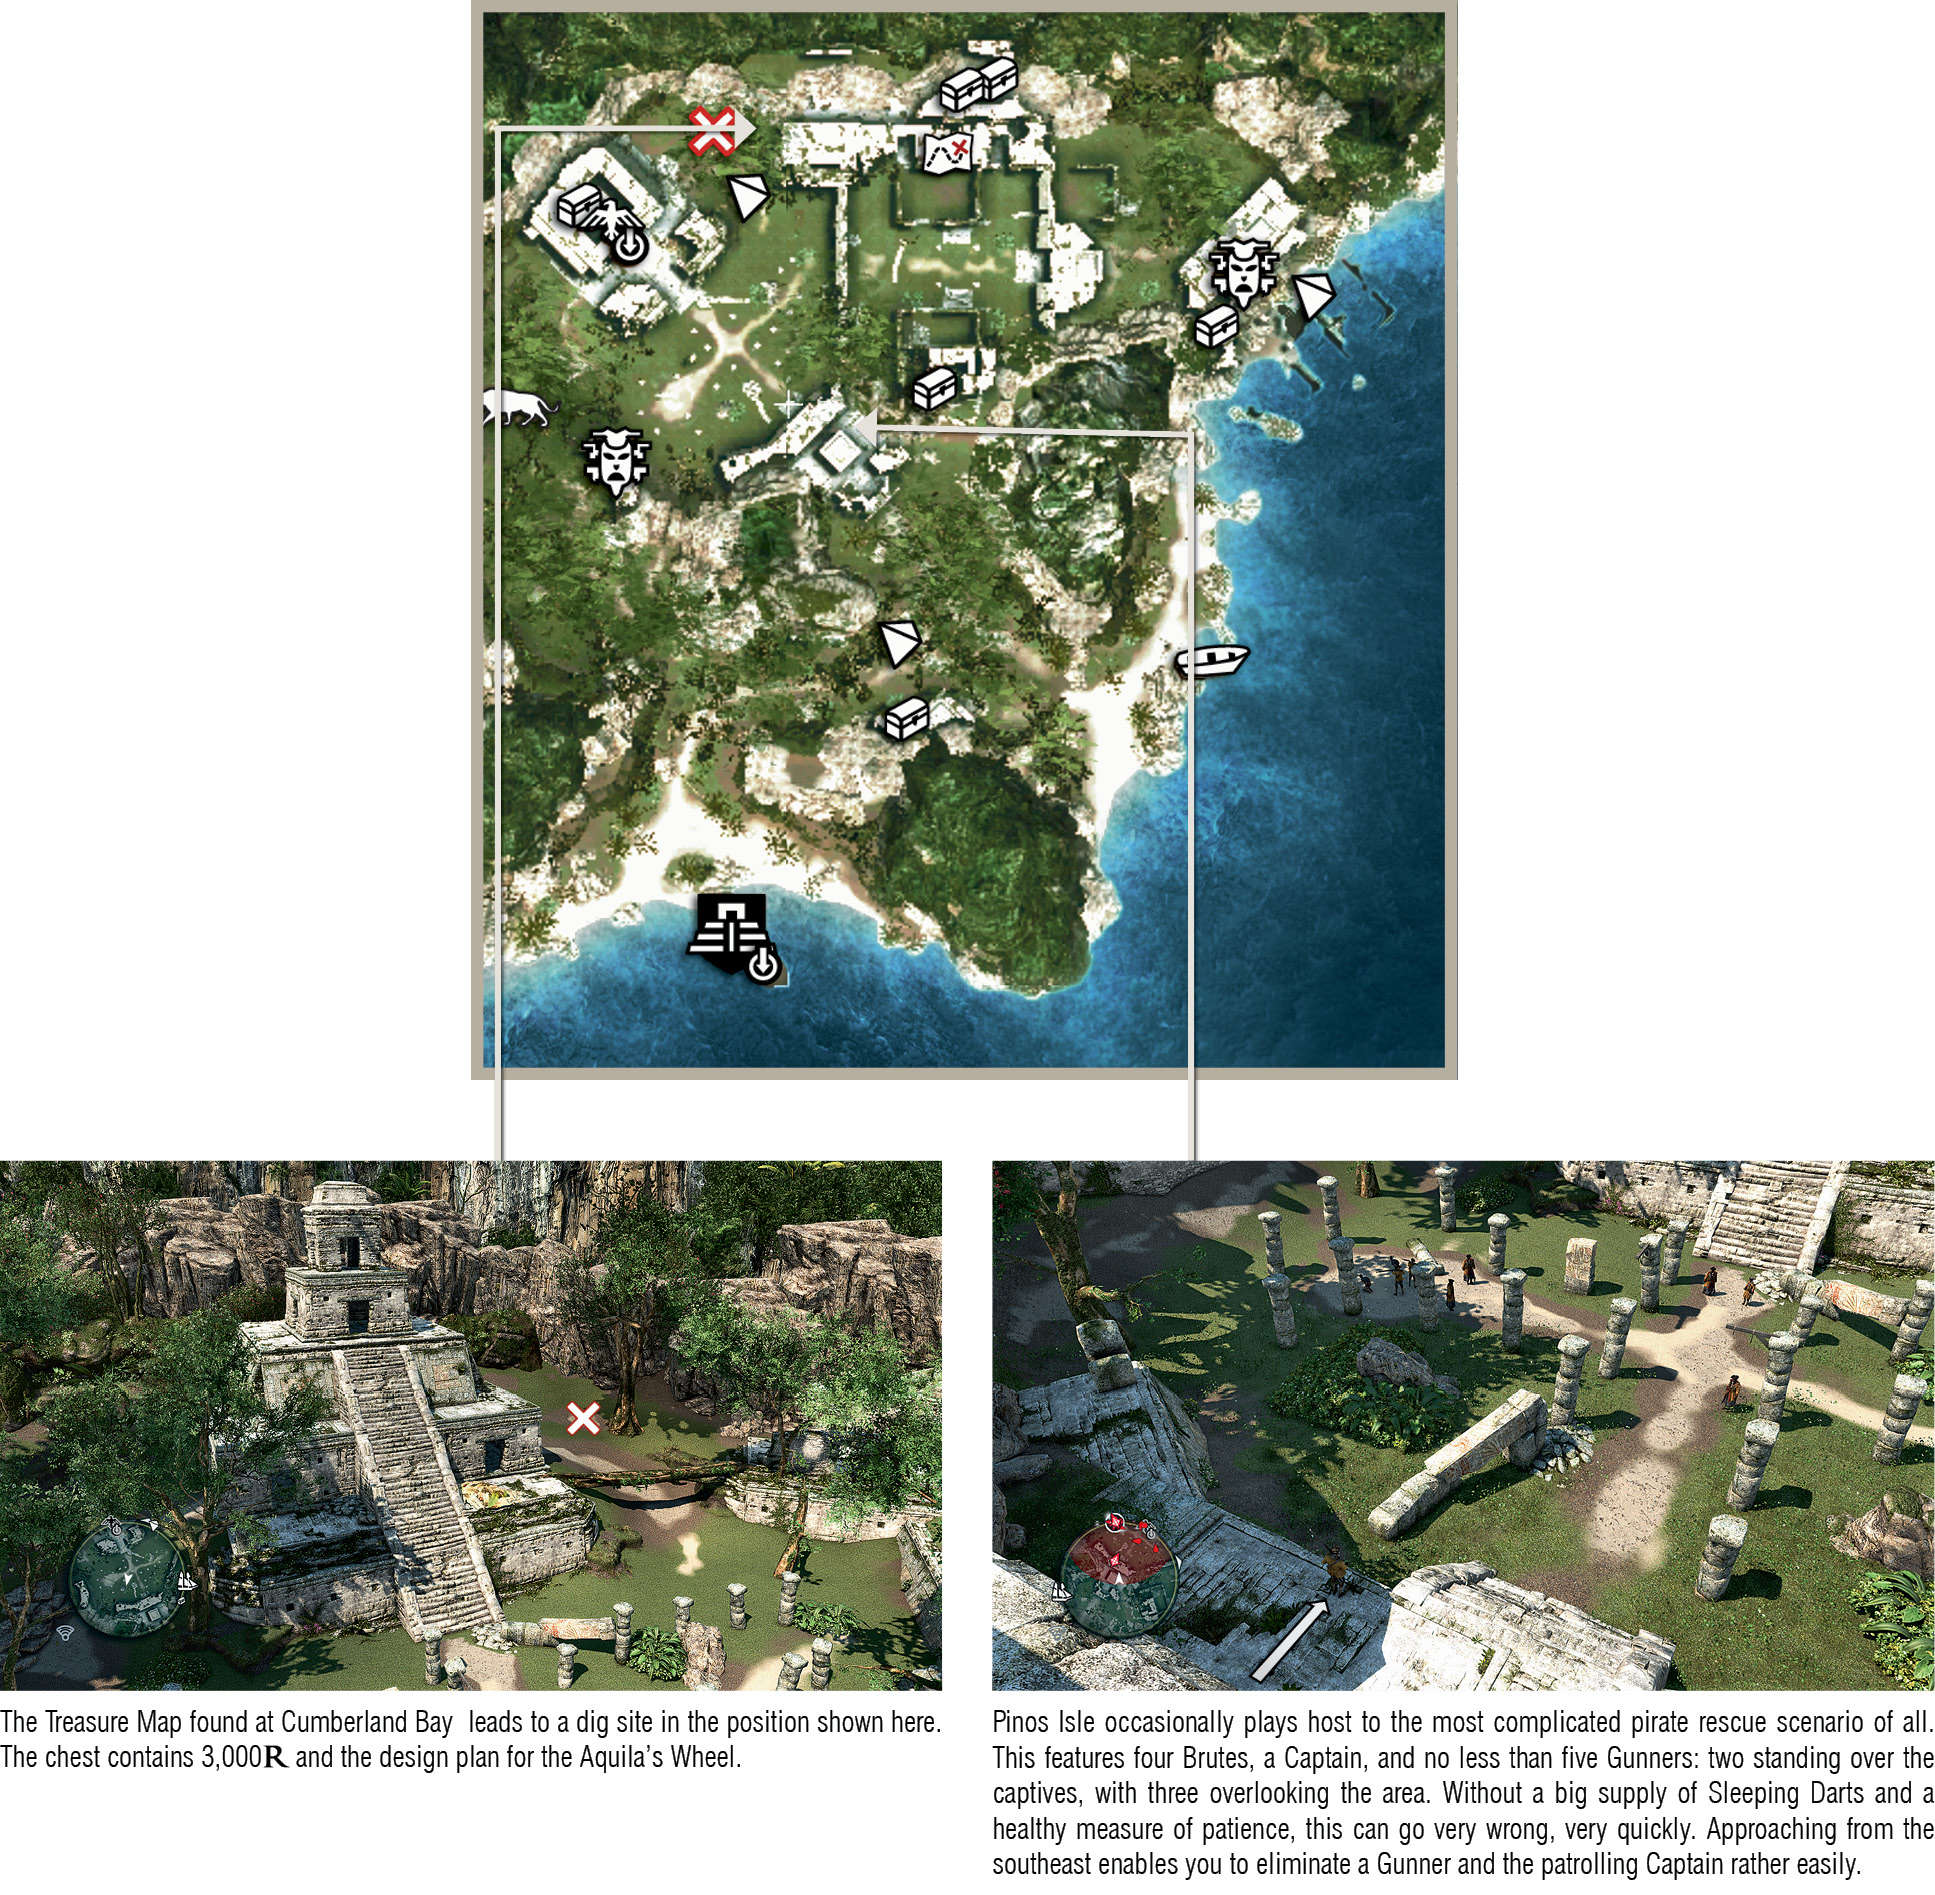
- Both the north and south approaches to this island are guarded by frigates. Those who incautiously sail headlong to engage either will learn a valuable lesson in naval tactics: they can deliver multiple broadsides before you can reply in kind. Worse still, the narrow channel negates the Jackdaw’s advantage in terms of speed and maneuverability. The best tactic is to anchor just out of range of these frigates, then hit them with mortar fire. With Reinforced Mortars, it should take no more than three direct hits to soften them up for boarding. If you destroy both frigates in one visit, they will not respawn.
- Pinos Isle is home to black jaguars in the west, so activate Eagle Vision regularly to identify them before they begin to stalk Kenway. Their pelts are required to craft the Sleep Dart I upgrade and, much later in the story, the Rope Dart Pouch I upgrade. Watch carefully as you approach the Viewpoint: in the absence of the major “save pirates” scenario, you may witness a black jaguar stalk and kill a Spanish explorer.
- The Treasure Map found east of the Viewpoint leads to 327,334: Cayman Sound, a short sail directly to the south.
- There is a rowboat on the east beach. We suggest that you leave the collectibles in the northeast until last to minimize backtracking: the Mayan Stela (at the top of the cliff, with the dig site below), an Animus Fragment (collected during the Leap of Faith to the beach) and a Treasure Chest (on the beach).
- Cayman Sound is surrounded by a Restricted Area that extends approximately 1,000m from the island, which almost reaches Grand Cayman to the east and makes your approach through the reef from the north (the only available route) rather complicated. These are busy seas, packed with brigs and high-level frigates. Once inside the calm waters, you will find three gunboats and a frigate of middling firepower. While it is possible to swim to shore from outside their detection range (which takes a few minutes), it makes more sense to destroy them. Blast the frigate with mortar fire from the north, and the gunboats are easy fodder for a broadside when they sail to engage. Destroying the ships will permanently lift the Restricted Area.
- This is one of only two habitats where the hutia is common and easy to hunt. As the second (Long Bay) is only unlocked in Sequence 10, a visit here is the best way to obtain the Smoke Bomb Pouch I upgrade early in the story.
- The Treasure Map found on the northeast of the island leads to 901,263: Petite Caverne . In addition to a monetary reward, the buried chest there also contains a design plan for the Elite Heavy Shot Storage upgrade – so it’s definitely worth the trip.
- Facing north, you may be lucky enough to view a battle between British and Spanish ships. As the island lies at an intersection of five zones (three close to its entrance), this can involve a varied cast of vessels. These can be quite beautiful to watch from a distance. We saw a large twilight engagement involving a man o’ war, and its mortar fire was quite a sight to behold.
- The Taino Assassin Templar Hunt story begins on the shores of this island, but soon ranges further afield.
Cayman Sound (327,334)
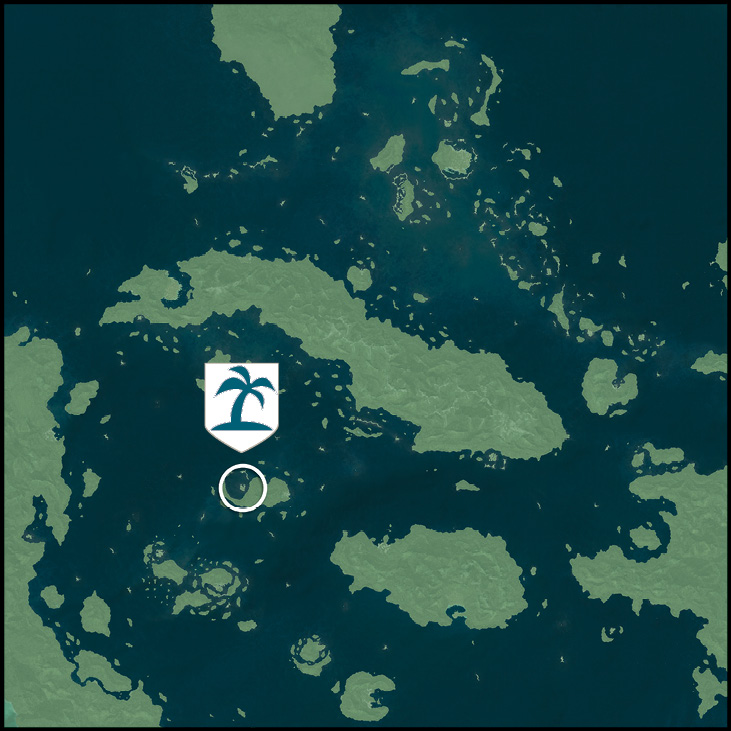
Key Details
|
Availability |
|
|
Activities |
Templar Hunt x1 , Treasure Map x1 |
|
Wildlife |
Hutia |
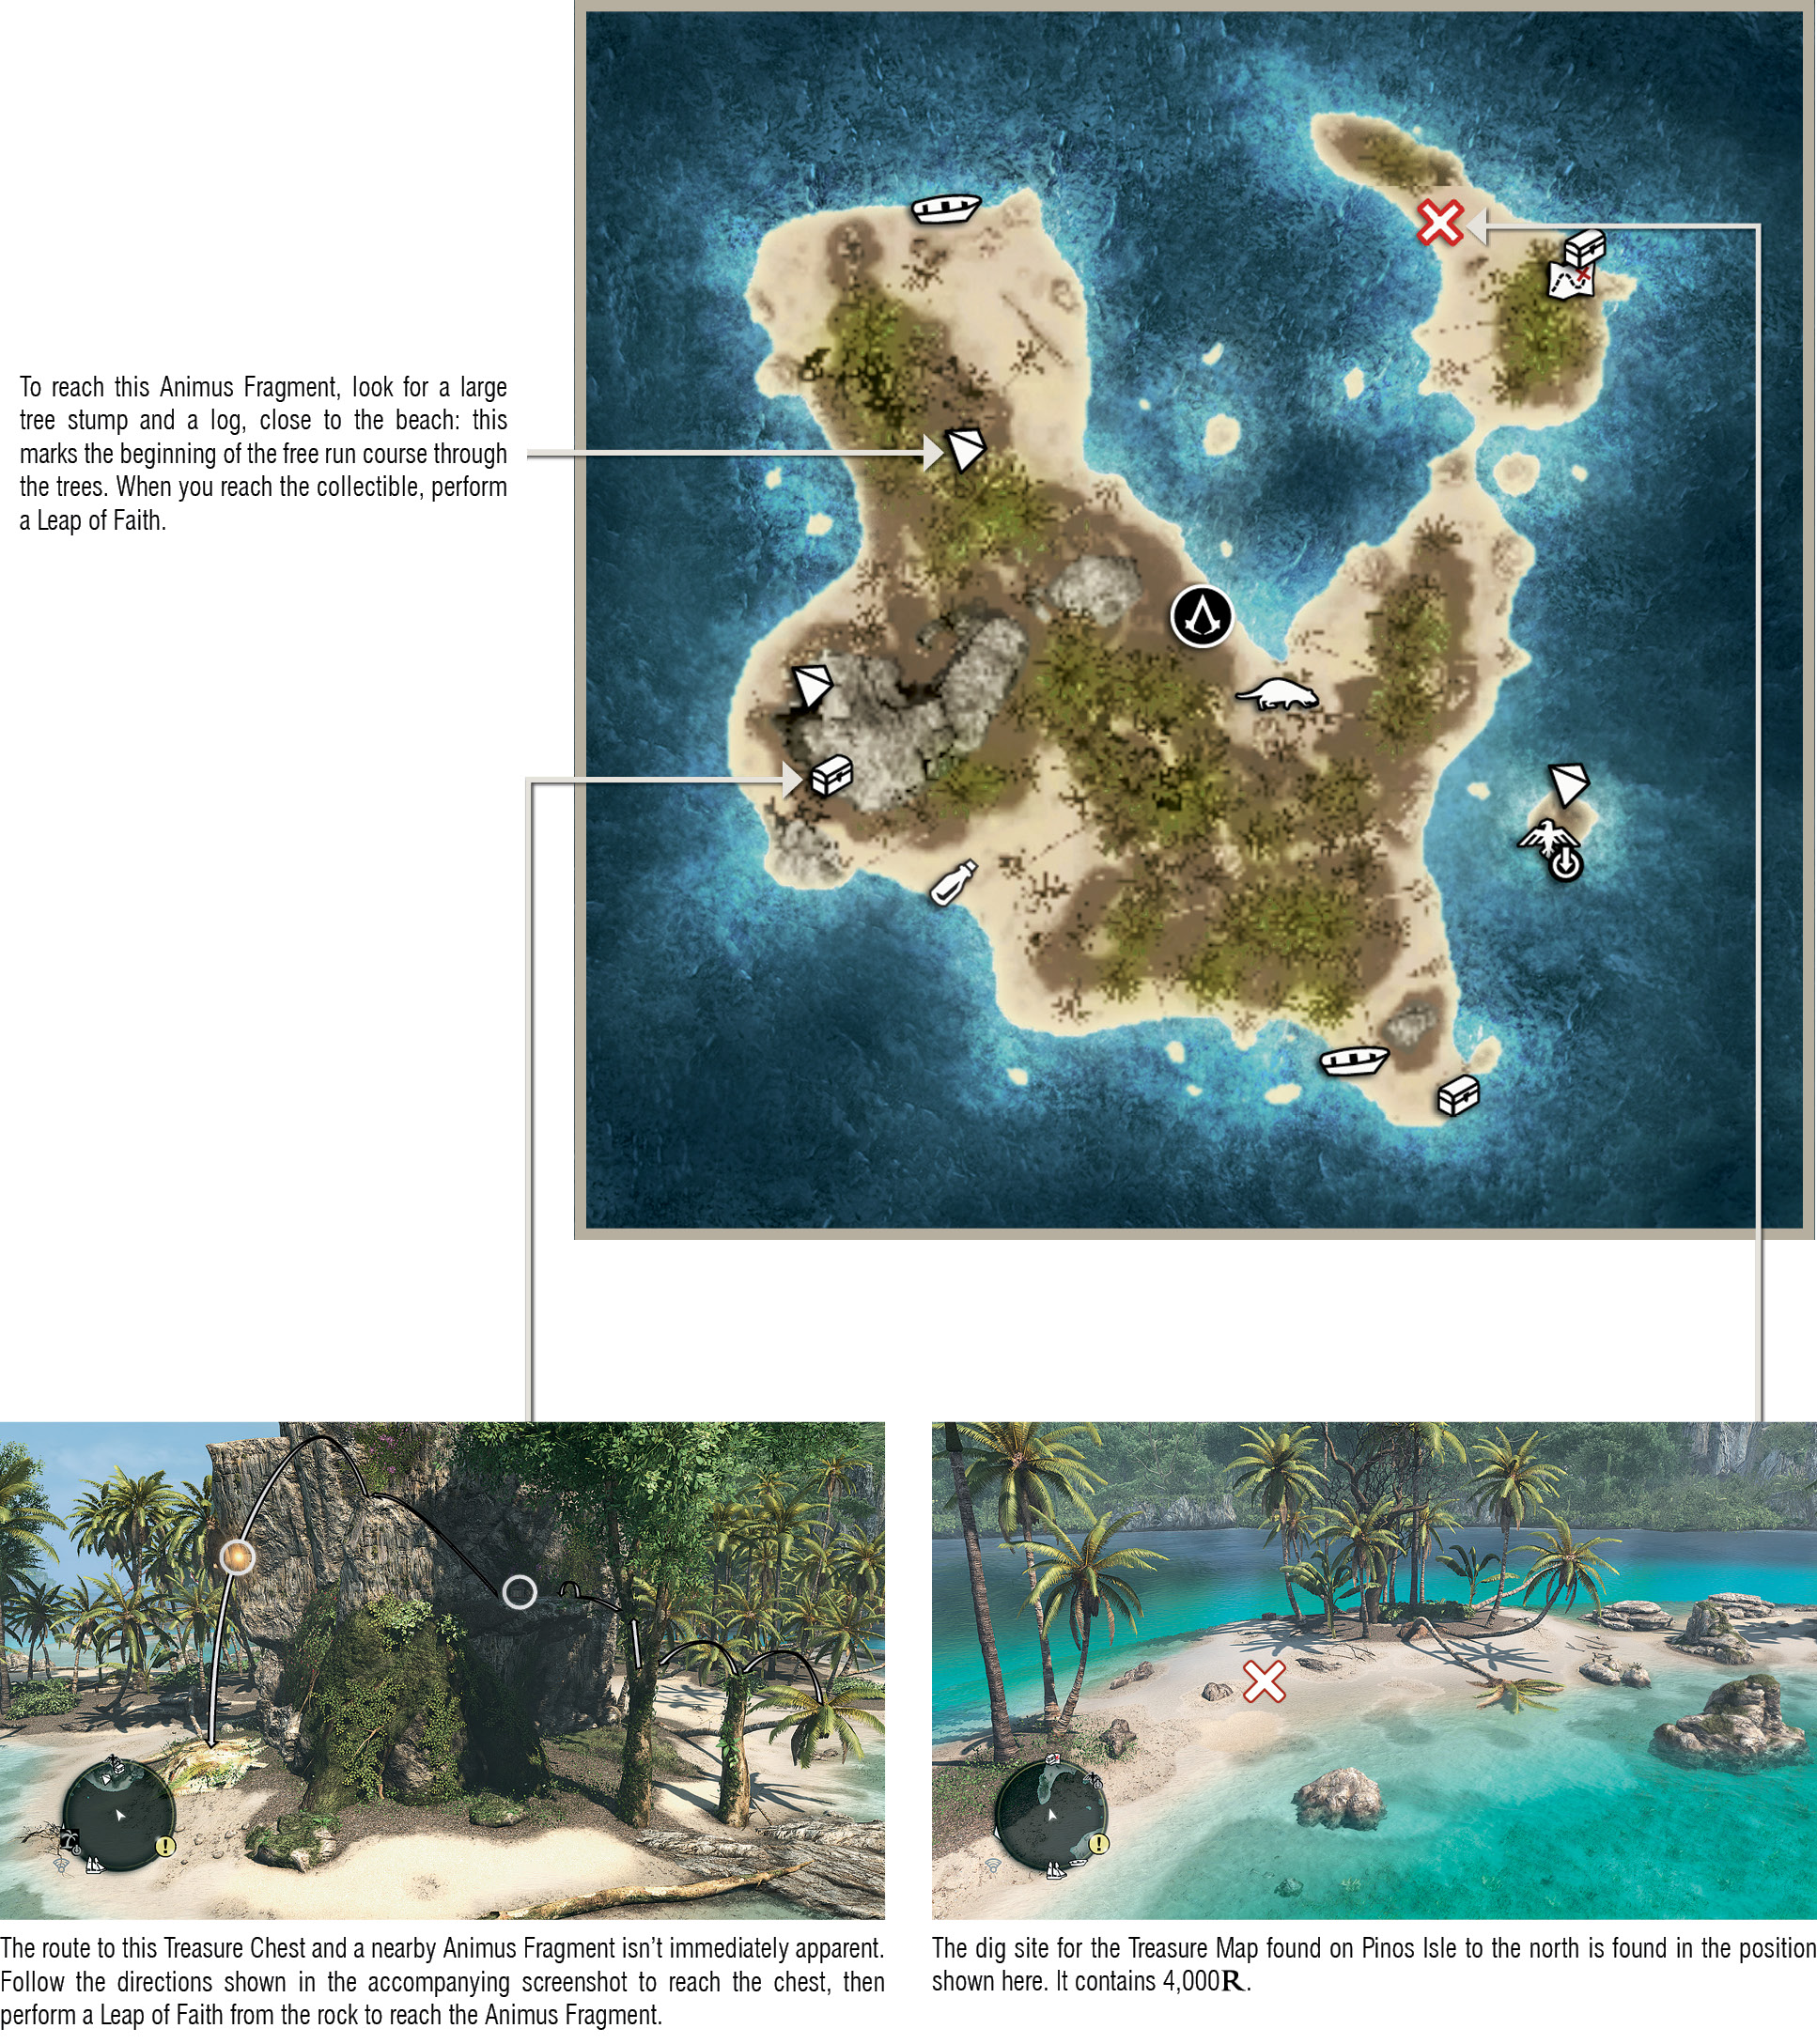
Notes
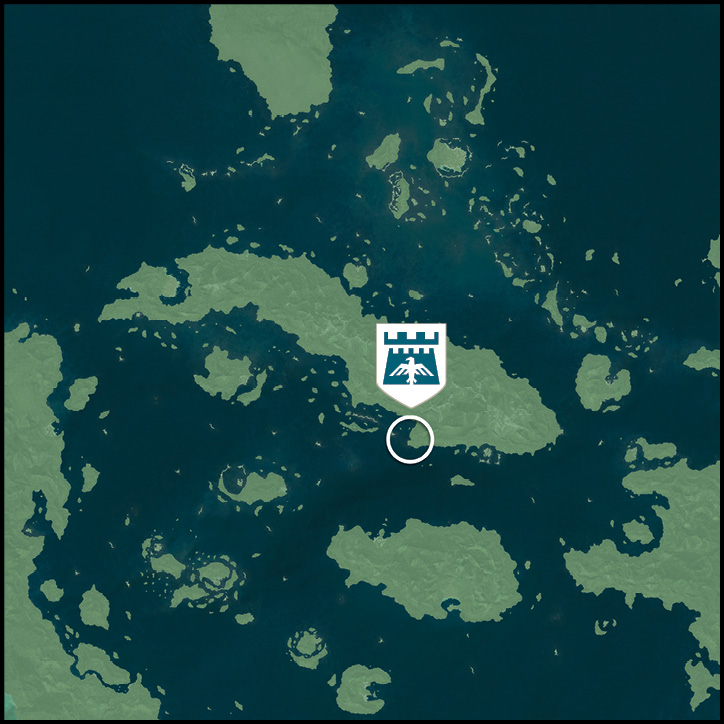
Cabo de Cruz (566,390)
Key Details
|
Availability |
|
|
Activities |
Naval Contract x1 |
|
Amenities |
Harbormaster, local officer |

Region Notes
- When you are ready to liberate this fort, it makes sense to move in along the coast from the west, as this usually enables you to sail through the Restricted Area without encountering enemy ships.
- This fort is close to the fort at Charlotte to the south, so you may frequently encounter cross-pollination of ship types near to the border – especially around Grand Cayman. This might include men o’ war sailing in pairs, so it pays to be cautious. The Restricted Area surrounding Charlotte extends as far as the Devil’s Eye Caverns dive site and to within 200m of Grand Cayman, so treat this area with the respect it warrants until the Jackdaw is equipped to deal with all eventualities.
- Killer whales are regularly encountered here.
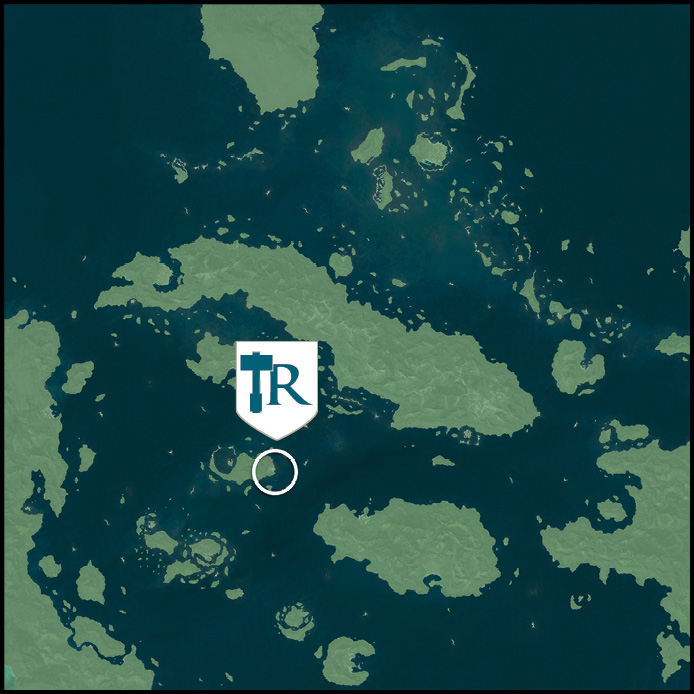
Grand Cayman (397,324)
Key Details
|
Availability |
|
|
Activities |
Assassin Contract x2 , Treasure Map x1 |
|
Amenities |
Dock, tavern, harbormaster, general store, local officer |
Notes
- Grand Cayman is a great staging post for campaigns against the men o’ war from the Charlotte fort zone that sail close to this full-featured docking location. The small islands to the south are almost tailor-made for cat and mouse engagements against ships that are perhaps a little too powerful for the Jackdaw to handle in the open sea.
- The storm to the southeast is a permanent feature until you liberate Fort Charlotte.
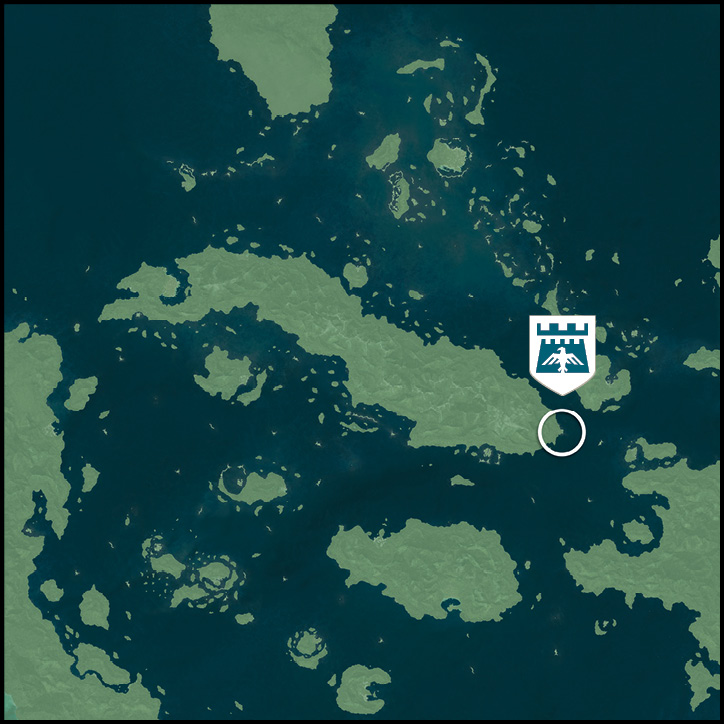
Punta Guarico (776,399)
Key Details
|
Availability |
Locked until Sequence 05, “The Forts”. |
|
Activities |
Naval Contract x1 |
|
Amenities |
Harbormaster, local officer |
FORT PUNTA GUARICO
Region Notes
- Though its Restricted Area exists from the moment that you can sail the Caribbean, and the location itself can be identified through the spyglass, this fort can only be conquered during a main story Memory at the start of Sequence 05.
- The presence of frigates in this area (some of which may sail north of the regional border, close to Great Inagua) makes it a natural stepping-stone once you tire of a thin diet of gunboats and schooners to the north.
- Bull sharks can be found in the waters to the north and south of the fort.

Cumberland Bay (679,381)
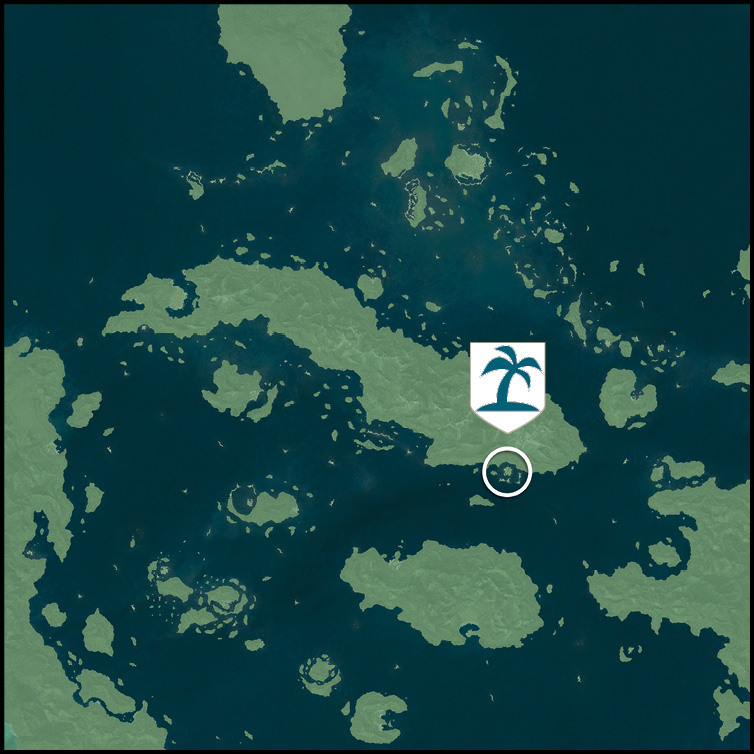
Key Details
|
Availability |
|
|
Activities |
Treasure Map x1, Save Pirates |
|
Wildlife |
Ocelot |
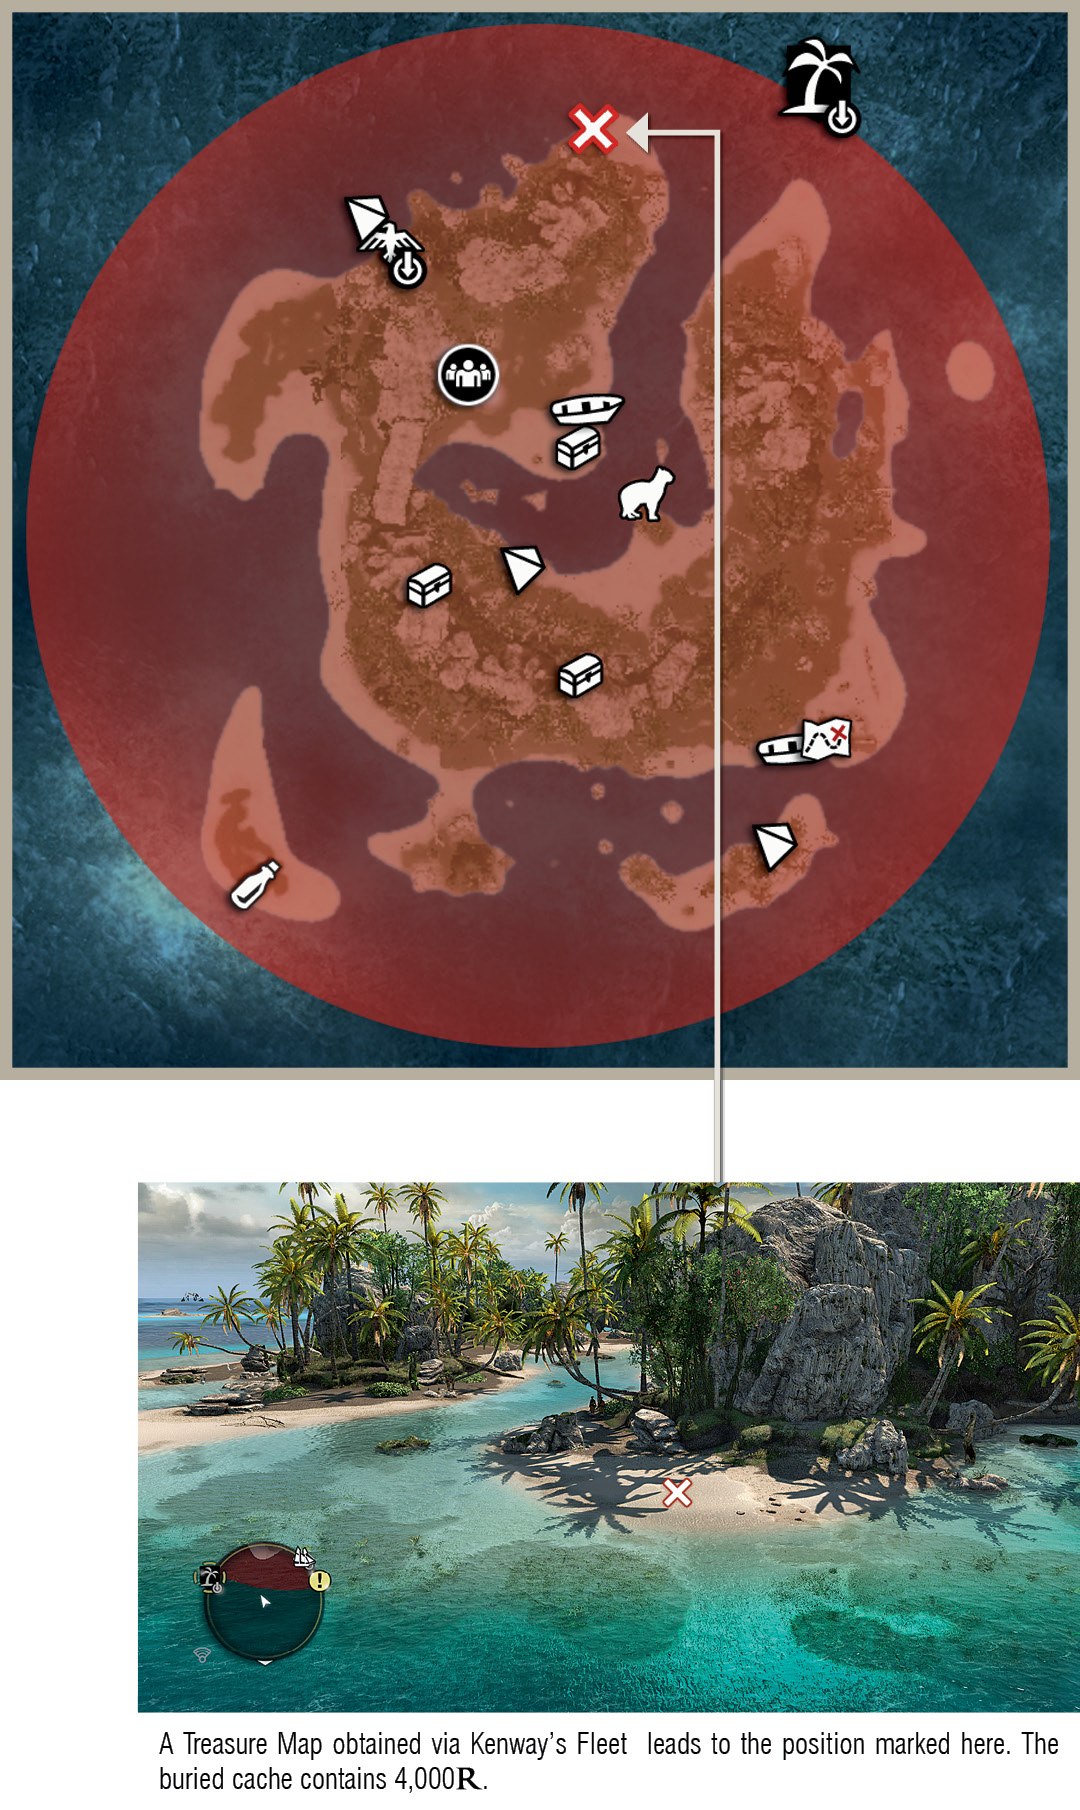
Notes
- Unless the challenge interests you, this location is awkwardly sandwiched between two forts until you liberate Cabo de Cruz to the west and Punta Guarico to the east. Note that you cannot liberate Punta Guarico until you begin the first Memory of Sequence 05.
- There is a man o’ war anchored to the south, and it will attack without provocation if you move within its detection range. Given the number of ships in this area, this can be disastrous if the Jackdaw is not yet suitably equipped. However, if you sail here from the west, you can slip behind the man o’ war without incident. You will need to anchor the Jackdaw approximately 100m from the shore on that side of the island to avoid detection but, if you’re not equipped to fight for access, this is a perfectly serviceable compromise. Once you destroy the (admittedly low-level) man o’ war, the Restricted Area is lifted.
- You may encounter Spanish soldiers on the island. They will ignore Kenway unless he behaves in a manner that infuriates them. This includes using pistols to hunt the island’s boundless supply of ocelots – or, for that matter, Spaniards.
- The Treasure Map found on the southeast beach, close to the rowboat, leads to 335,468: Pinos Isle.
Principe (992,422)
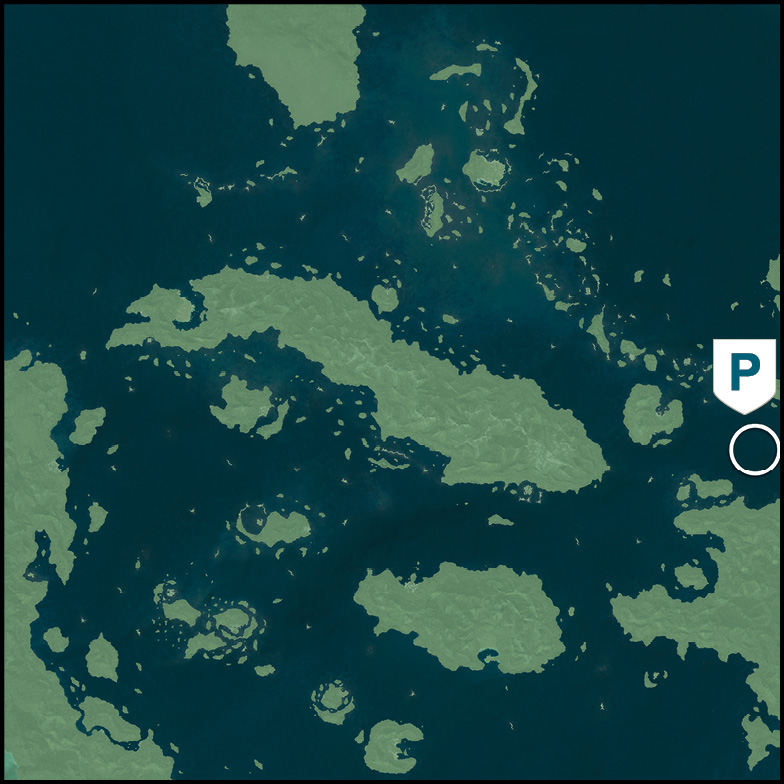
Key Details
|
Availability |
Locked until Sequence 09, “Trust Is Earned”; available for exploration thereafter. |
|
Wildlife |
Deer, howler monkey, jaguar |
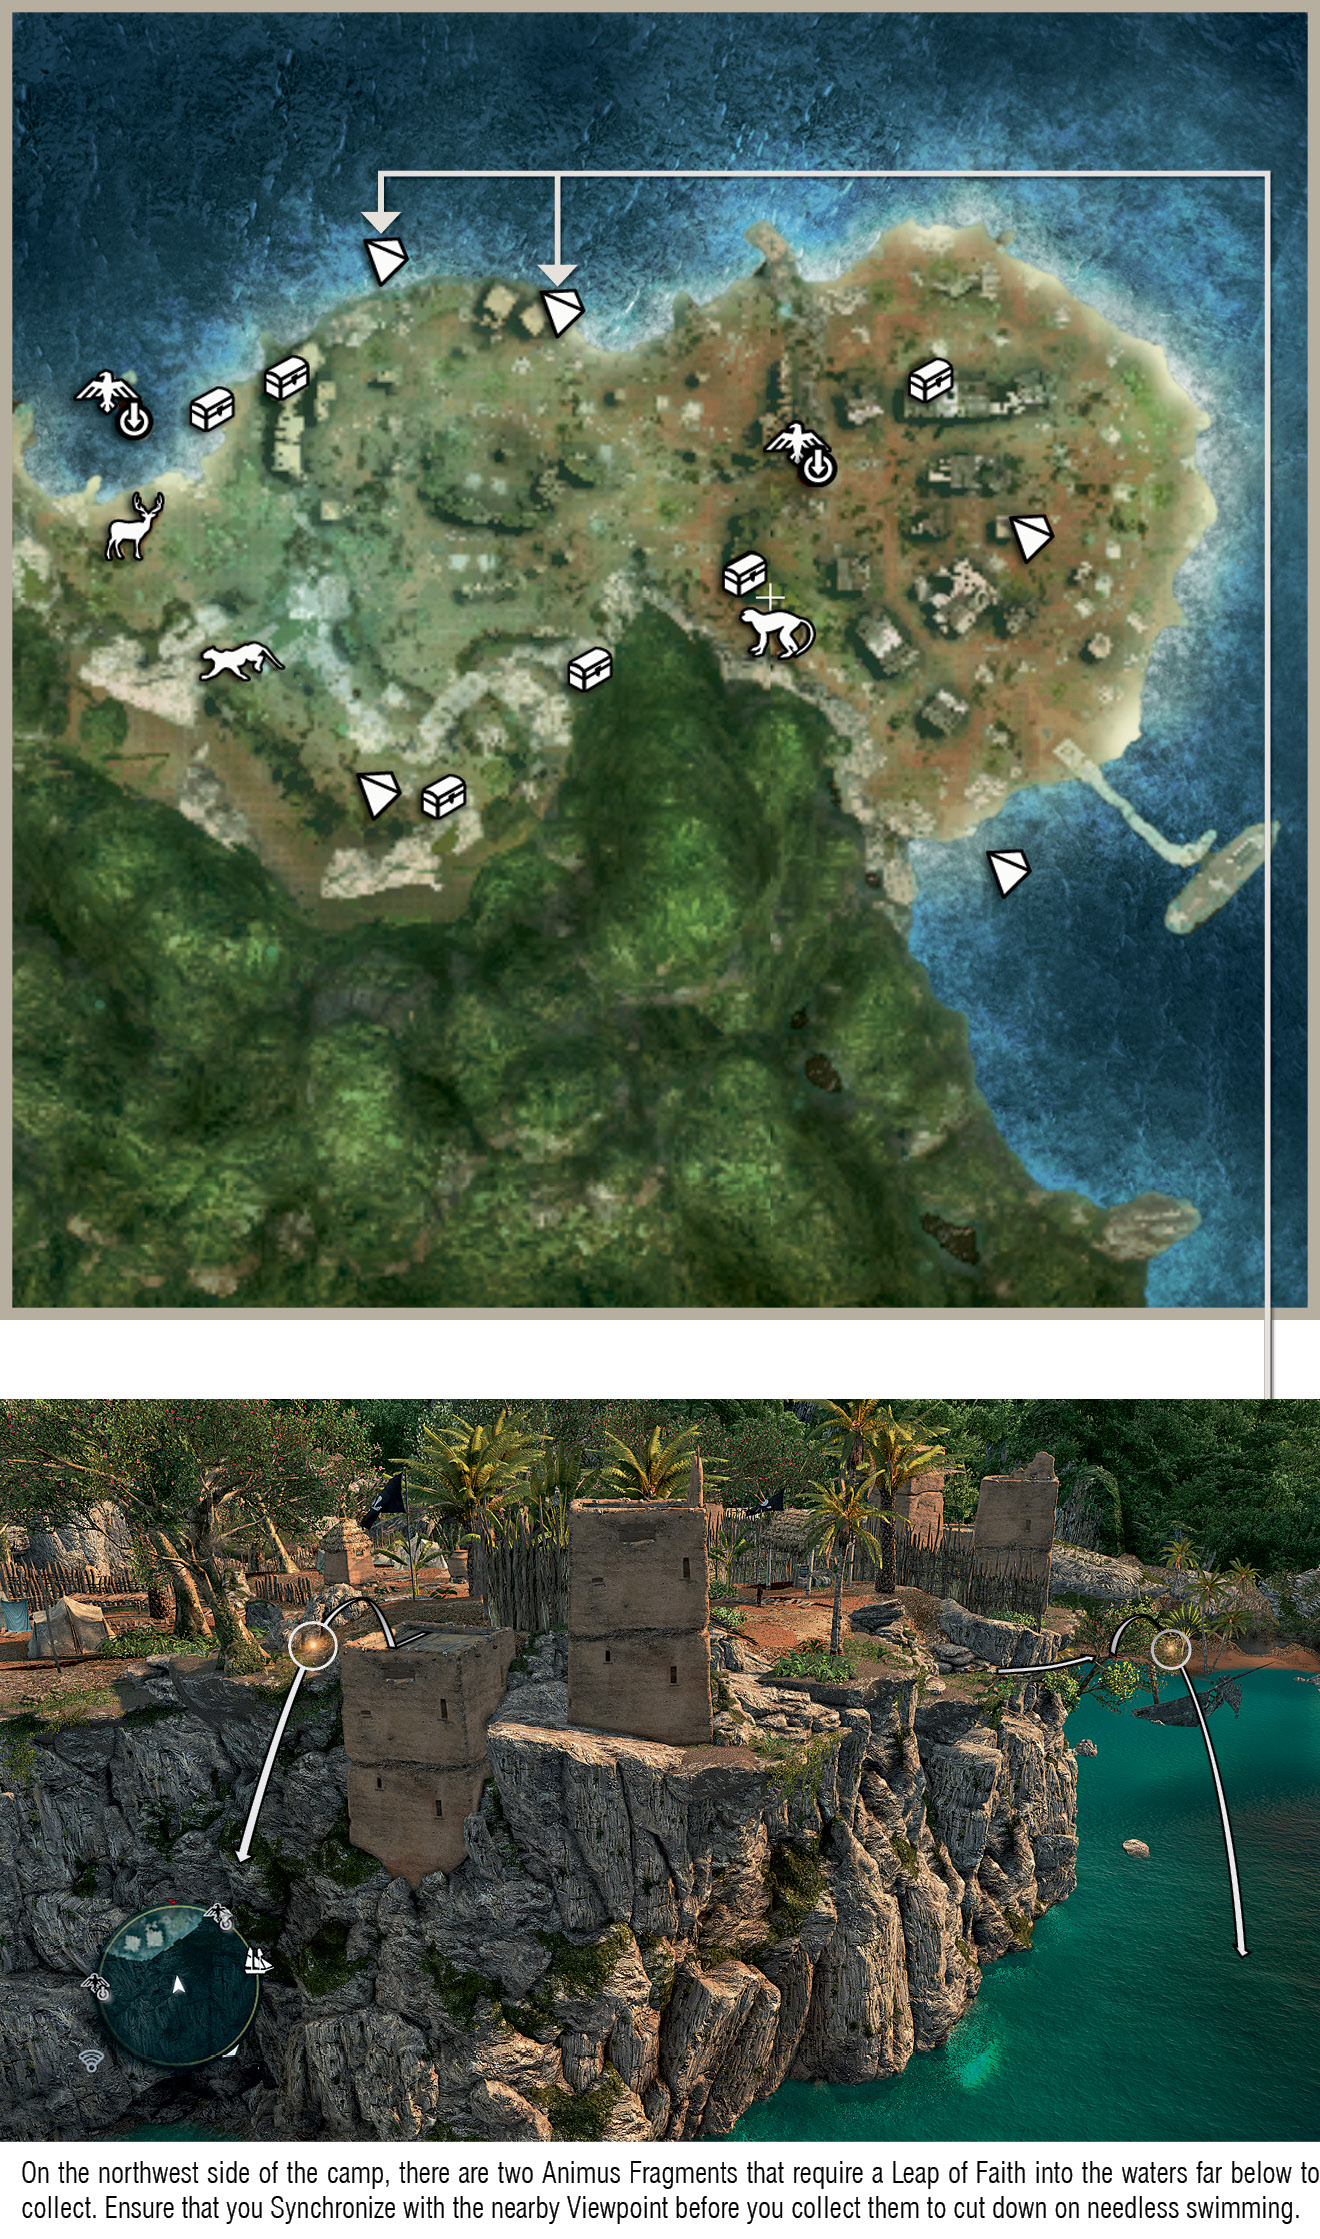
Notes
- A return to Principe to pick up collectibles should take no more than five minutes. It’s a very easy area to clear.
- Though howler monkeys are fairly common in the trees of this location, deer are particularly rare. You can usually find one jaguar on the west side of the map, on the path you took to meet with Bartholomew Roberts during “Trust Is Earned”. As there are powder kegs to be found here, this sets up a rather unorthodox hunting opportunity…
- The pirates on this island will not trouble Kenway if he extends the same courtesy. That said, they will react angrily to pistol fire. This could be problematic in the camp area on the east side, where there are many Captains and Brutes.
Tortuga (882,370)
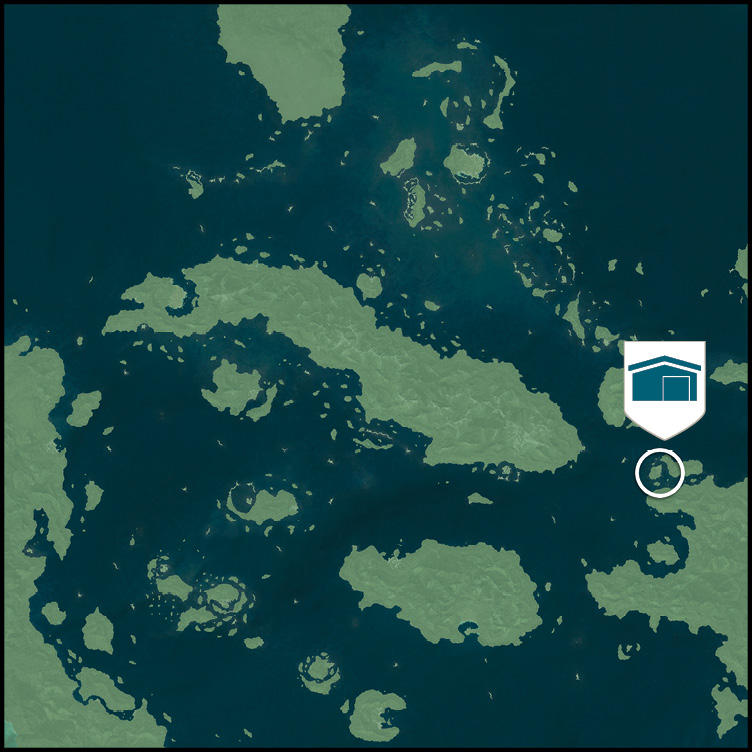
Key Details
|
Availability |
|
|
Activities |
Warehouse x1 , Mayan Stela x1, Save Pirates |
|
Amenities |
Dock |
|
Wildlife |
Howler monkey |

Notes
- All potential approaches to this island – from the north, west and east – are blocked by mines, and each guarded by a single frigate. If you destroy the frigate on the east channel, however, you can sail in (destroying the fire barrel mines to ensure safe passage) and calmly anchor the Jackdaw close to the dock (which may be occupied by a gunboat). The other frigates will be oblivious to your presence. Note that engaging the ships in the other channels may lead to all nearby vessels in the area joining the fray.
- The three stationary frigates are actually easy pickings, as it takes them a little while to move. With a direct approach, upgraded chain shot and mortars, you can incapacitate them before they can bring their guns to bear for solid cargo rewards.
- Though by no means impossible, the warehouse here is relatively difficult to ransack with an efficient stealth approach before you obtain the Blowpipe at the end of Sequence 04.
- The Treasure Map found on the east beach leads to 333,650: Matanzas, another warehouse location. This contains the design plan for the Elite Mortar Storage upgrade in addition to a reward of reales, so it’s a worthwhile journey. See the Warehouses section.
Chinchorro (124,357)
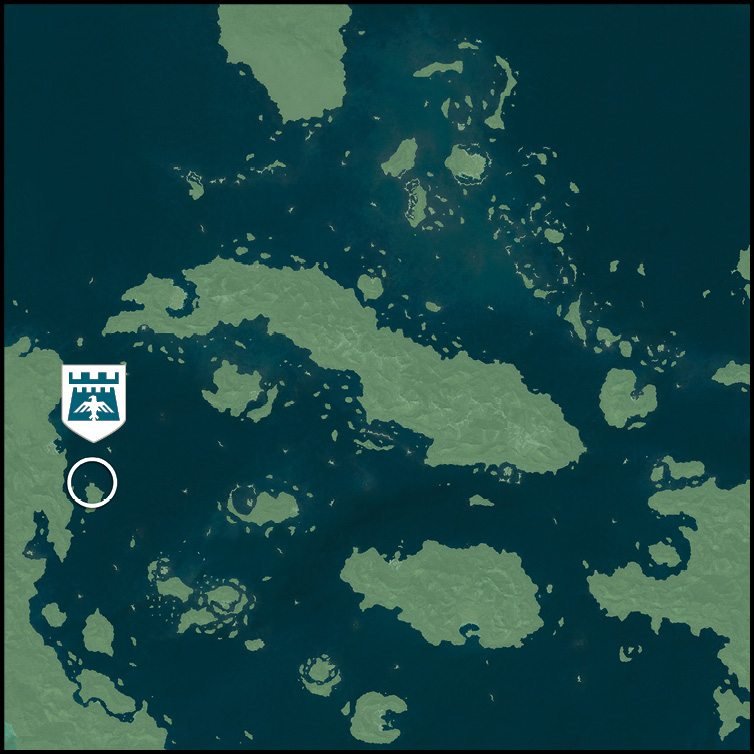
Key Details
|
Availability |
|
|
Activities |
Naval Contract x2 |
|
Amenities |
Harbormaster, local officer |

Region Notes
- This fort’s Restricted Area borders on the approach to Tulum, so be wary whenever you sail in or out of the Brotherhood base.
- The process of conquering this fort is more complicated than most, largely because you begin the assault with a preconceived idea of how the battle might unfold… only to see the clear skies cloud. A thunderstorm ensues, followed by the arrival of powerful brigs – and then the storm worsens. When you finally reach land, with the Jackdaw barely fit for kindling in the dock, the lashing rain makes the task of eliminating all three Captains much more fraught than usual. Suffice to say: this is a fort best left until the Jackdaw and Kenway have been augmented by the majority of possible upgrades.
- High-level brigs and frigates are common in this zone.
- Humpback whales can be found in the Chinchorro region, though you are slightly more likely to encounter them in the waters south and east of Kingston.
Corozal (42,268)
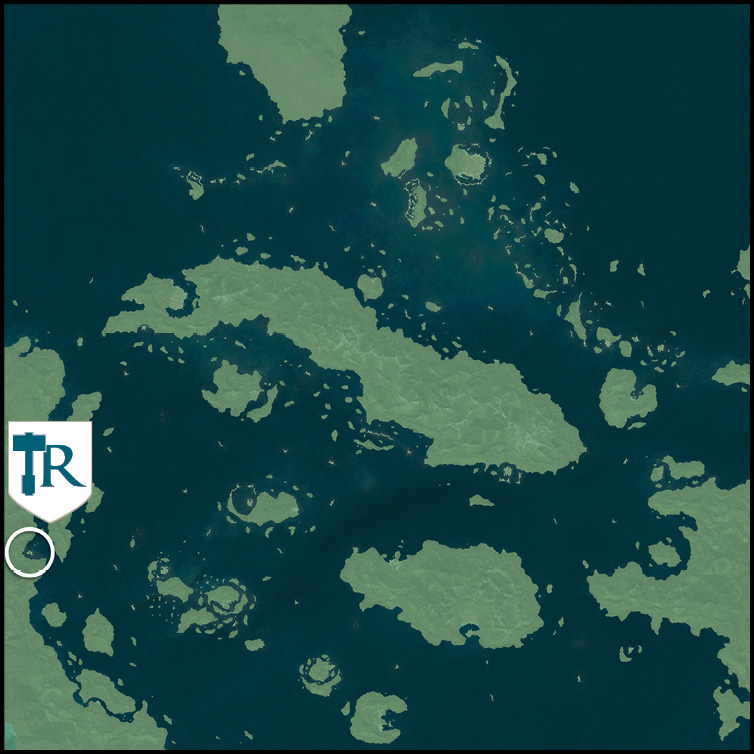
Key Details
|
Availability |
|
|
Activities |
Assassin Contract x2 , Treasure Map x1 |
|
Amenities |
Tavern, harbormaster, local officer |
|
Wildlife |
Rabbit (rare) |

Notes
- Corozal is surrounded by a Restricted Area, with a Level 34 man o’ war guarding the approach. Destroy this ship, and you can enjoy free passage to and around this location in future.
- This is one of only two locations where you can find a Manuscript Page outside of the three main cities. As usual, this lies within a small Restricted Area, though the two pirates guarding it are nothing to fear.
- The Treasure Map found here leads to 58,183: Ambergris Key . Note that you cannot visit that destination until Sequence 06.
- Though you can find rabbits here, they’re not at all common. Kingston is a much better place to hunt these creatures.
- The seas to the east and south of this settlement are usually teeming with mid-level ships, which makes it a great place to sink vessels with abandon, grab the flotsam that they leave behind, then hightail it back to the local officer to reduce your Wanted Level before Hunters arrive.
Santanillas (217,250)
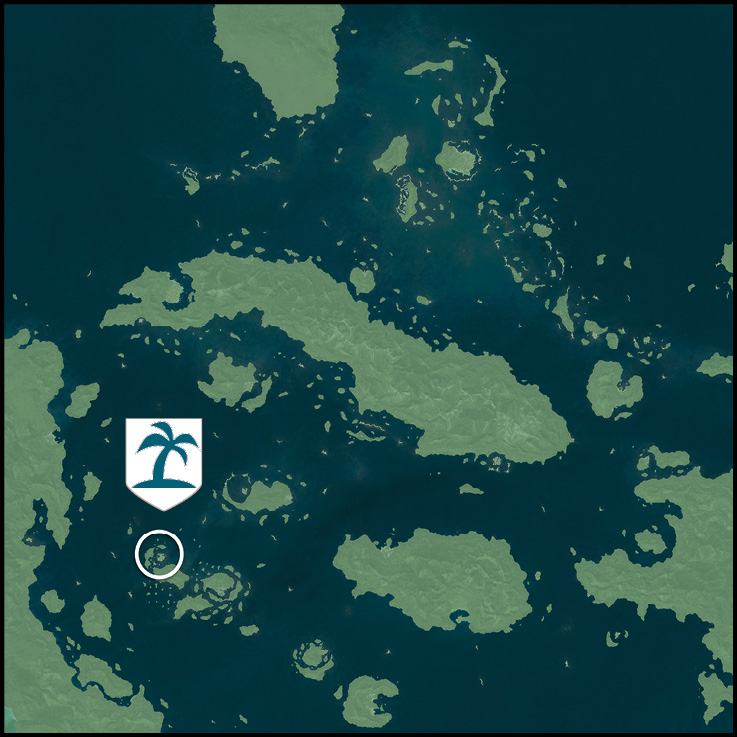
Key Details
|
Availability |
Sequence 03; visited during Sequence 10, “Murder And Mayhem”. |
|
Activities |
Mayan Stela x2, Treasure Map x1, Save Pirates |
|
Wildlife |
Deer |
Notes
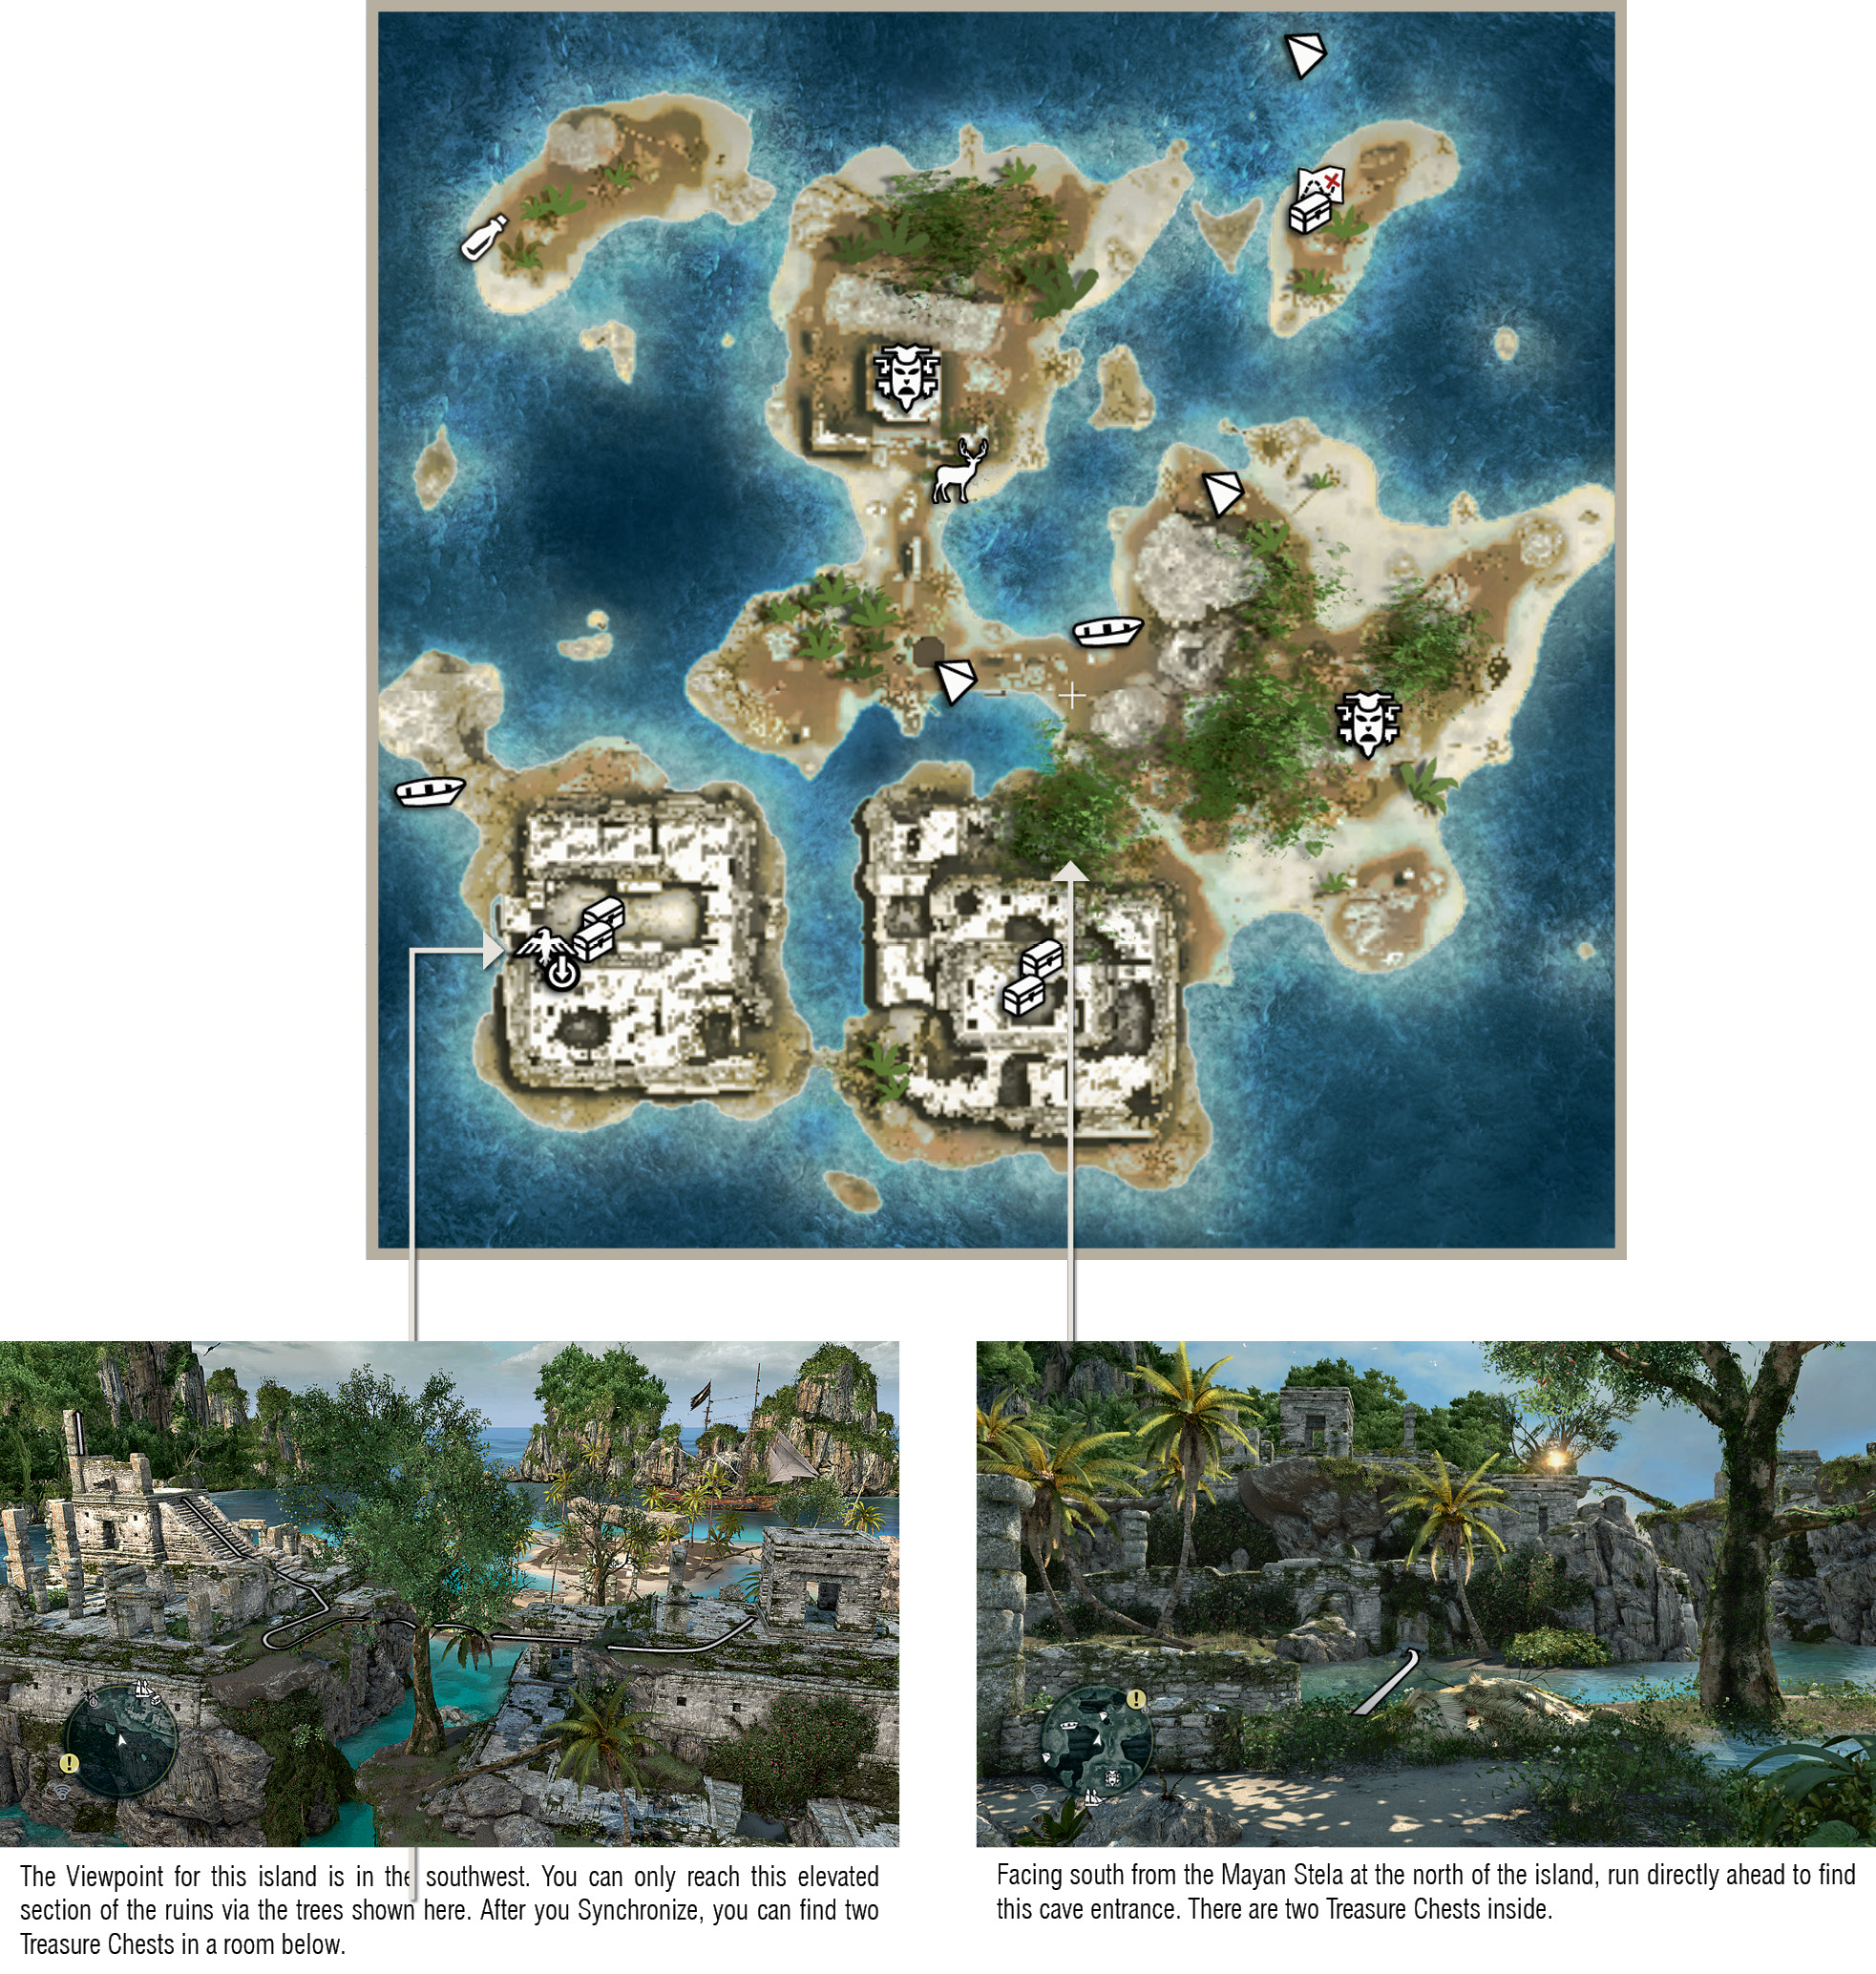
- This island is surrounded by a Restricted Area. The southwest channel is covered by mines, with a brig standing guard to the north. If you approach from the south, note that an area extending from Misteriosa to the west extent of the “dragon’s teeth” (rocky outcrops) south of this island is usually shrouded in thick fog and assailed by strong winds, making navigation perilous.
- You may also encounter groups of Spanish soldiers on the island. Though they will generally ignore Kenway, pistol fire will immediately arouse their ire.
- Deer can be quite plentiful here. Though you should already have Health Upgrade II by the time you arrive, a spree with Sleep Darts from a position of concealment can lead to a stock of hides to sell and bones to craft dart ammunition with.
- The Treasure Map on the northwest beach leads to a dig site at 479,487 (San Juan, a dive site) that contains the Elite Fire Barrel Strength upgrade. Note that you cannot visit this destination until Sequence 06. See the Underwater Shipwrecks & Caves chapter.
- You can reach the Mayan Stela on the east side of the island via trees to the north and south.
Serranilla (347,140)
Key Details
|
Availability |
|
|
Activities |
Naval Contract x1 |
|
Amenities |
Harbormaster, local officer |

Region Notes
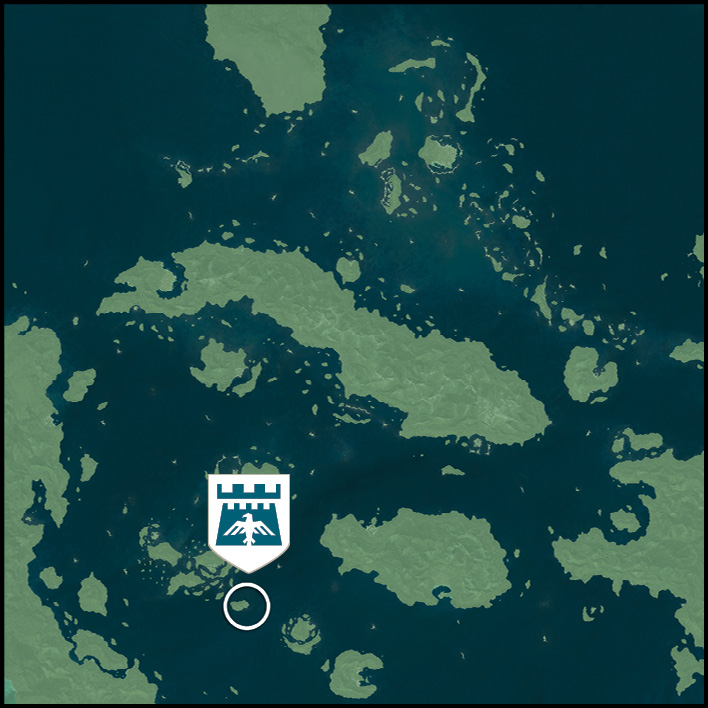
- This fort represents a noteworthy hazard for explorers, as its Restricted Area touches upon two destinations but its sheer firepower precludes an assault with a weak Jackdaw. All but the very best captains will need the penultimate upgrades for key Jackdaw features before they attempt to conquer it.
- Mid-level men o’ war are more common in this region than any other. Once you reach the stage where you are prepared to settle for naught but the most valuable prizes, this is a great area to hunt in. For its sheer variety of high-level ships, the north of this zone (bordering on Chinchorro to the west and Charlotte to the east) is almost unrivalled. The area south of the fort tends to feature large fleets.
- The Legendary Ship known as La Dama Negra can be engaged in the waters to the southwest of the fort.
- A beach to the west of the Serranilla zone features a letter. Players collecting these fascinating missives should make a detour to pick this up when they are in the area.
- This zone is a habitat for the great white shark.
Isla Providencia (502,44)
Key Details
|
Availability |
Locked until Sequence 08, “Marooned”; available for exploration from Sequence 09. |
|
Activities |
Mayan Stela x2, Treasure Map x1, Save Pirates |
|
Wildlife |
Black jaguar, crocodile, red howler monkey |
Notes
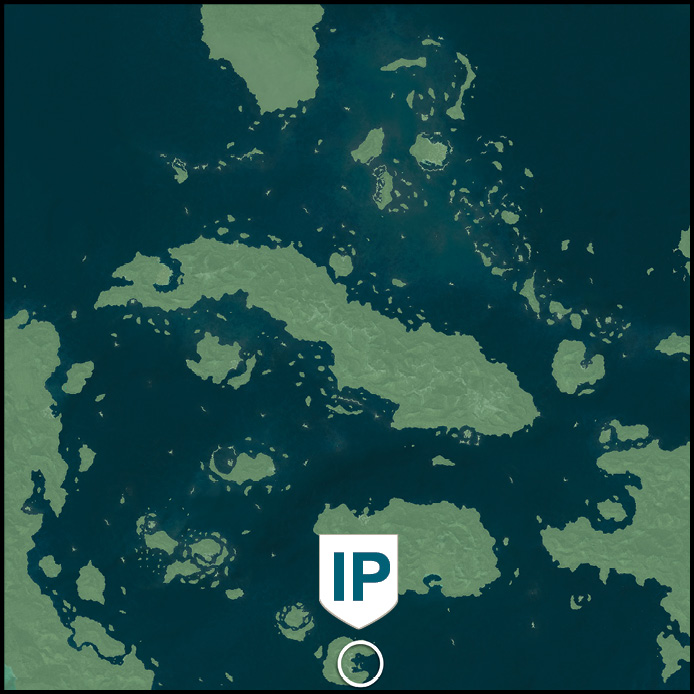
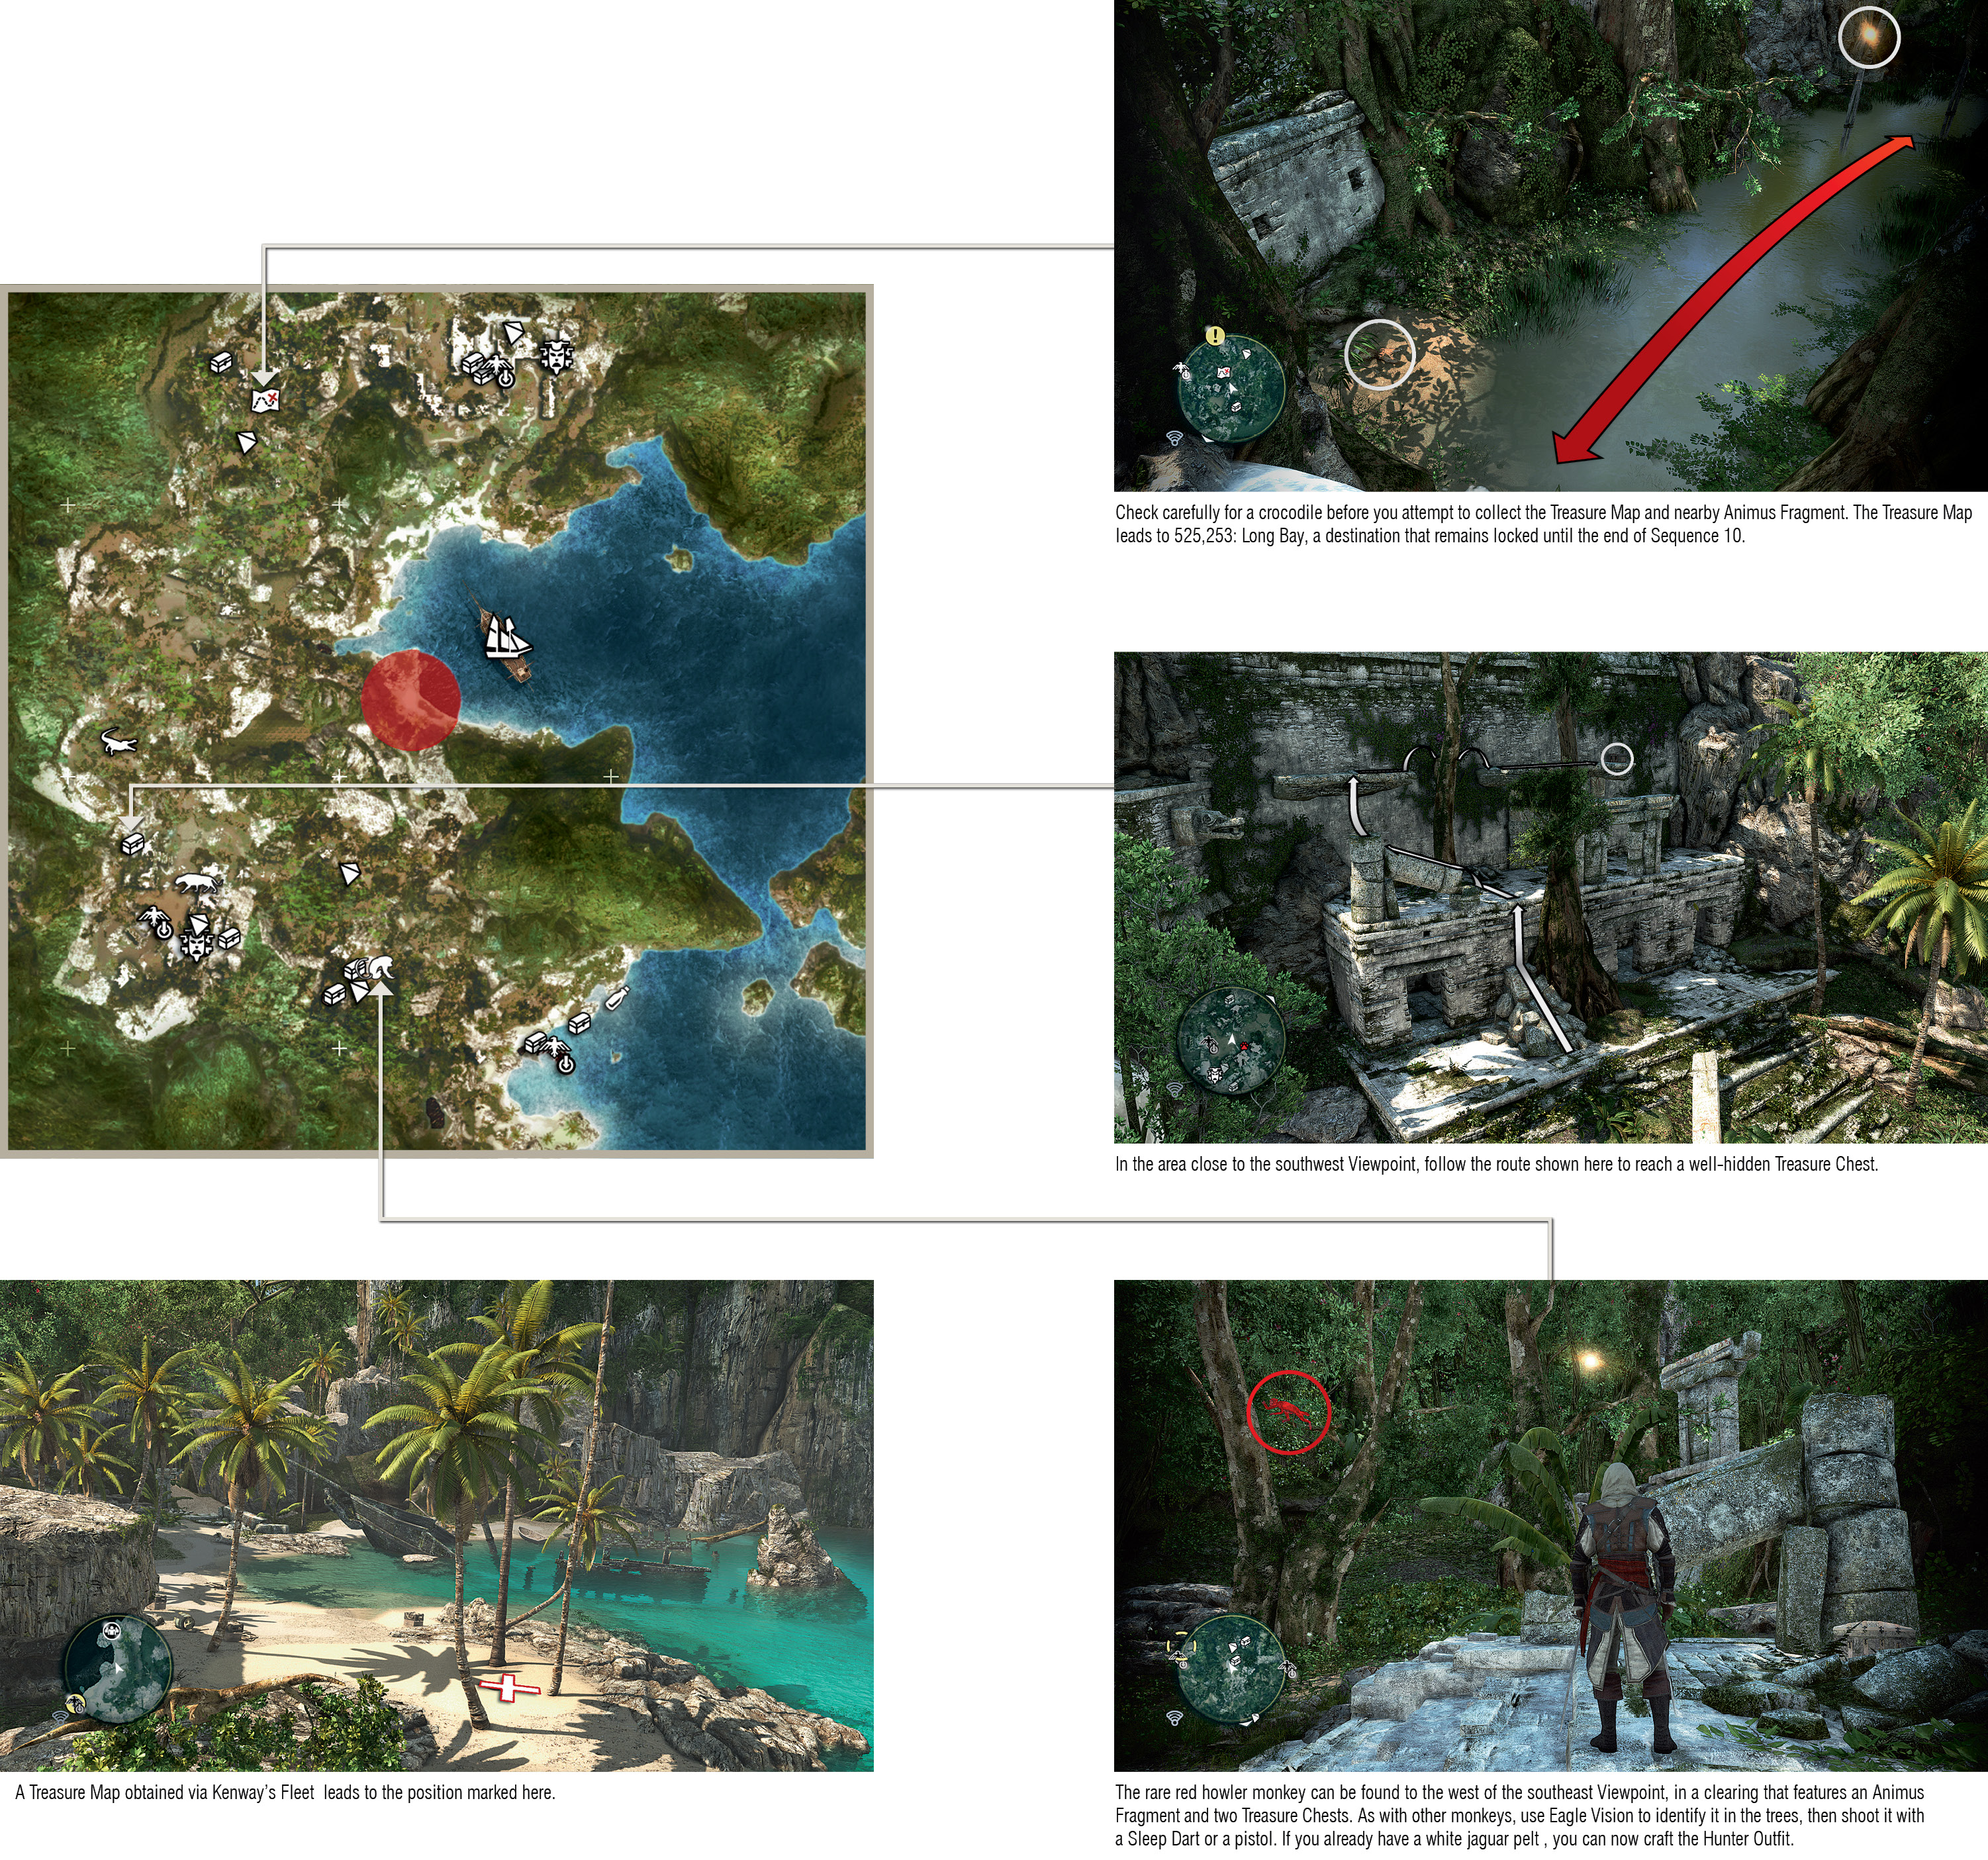
- If you sail manually or Fast Travel to the island marker after the end of Sequence 08, Kenway begins on the beach in the middle of the map. It makes sense to Fast Travel to the Viewpoint to the south (your start point for “Marooned”), and pick up all collectibles in that general area. You can then move to the north to complete your sweep of the island.
- With word evidently having spread about this location following Kenway’s escape, don’t be surprised to encounter soldiers on the island. You may find pirates to save on the beach close to where the Jackdaw is anchored, and a Restricted Area covering the north Viewpoint, with the vicinity patrolled by soldiers (including two Gunners in sentry positions).
- Black jaguars are far more common in the south of the island than during your first visit, so try to always have pistols or Sleep Darts at the ready to disable them from a safe distance. They do not appear in the north.
Misteriosa (307,195)
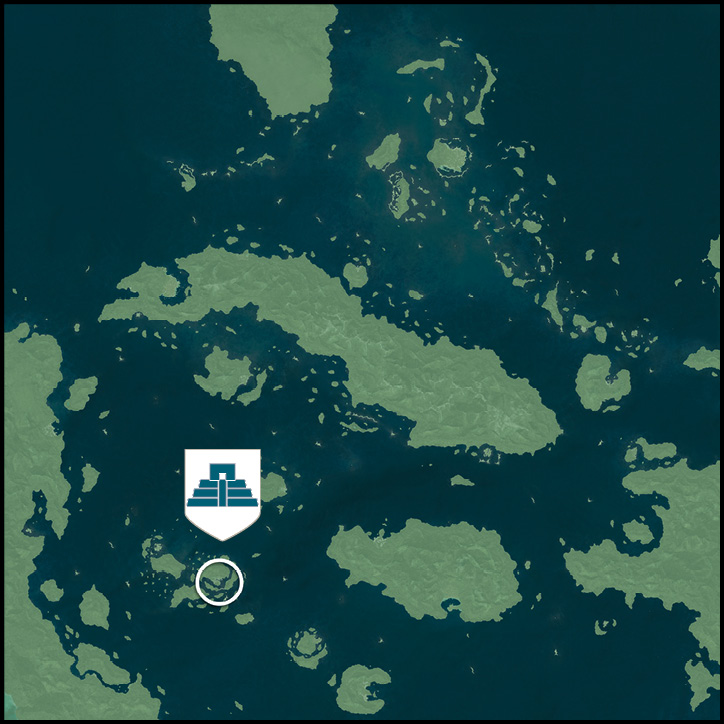
Key Details
|
Availability |
Sequence 04; this is also Kenway’s starting position at the beginning of Sequence 10 after the conclusion of “Trust Is Earned”. |
|
Activities |
Mayan Stela x2, Treasure Map x1 |
|
Wildlife |
Capuchin monkey |
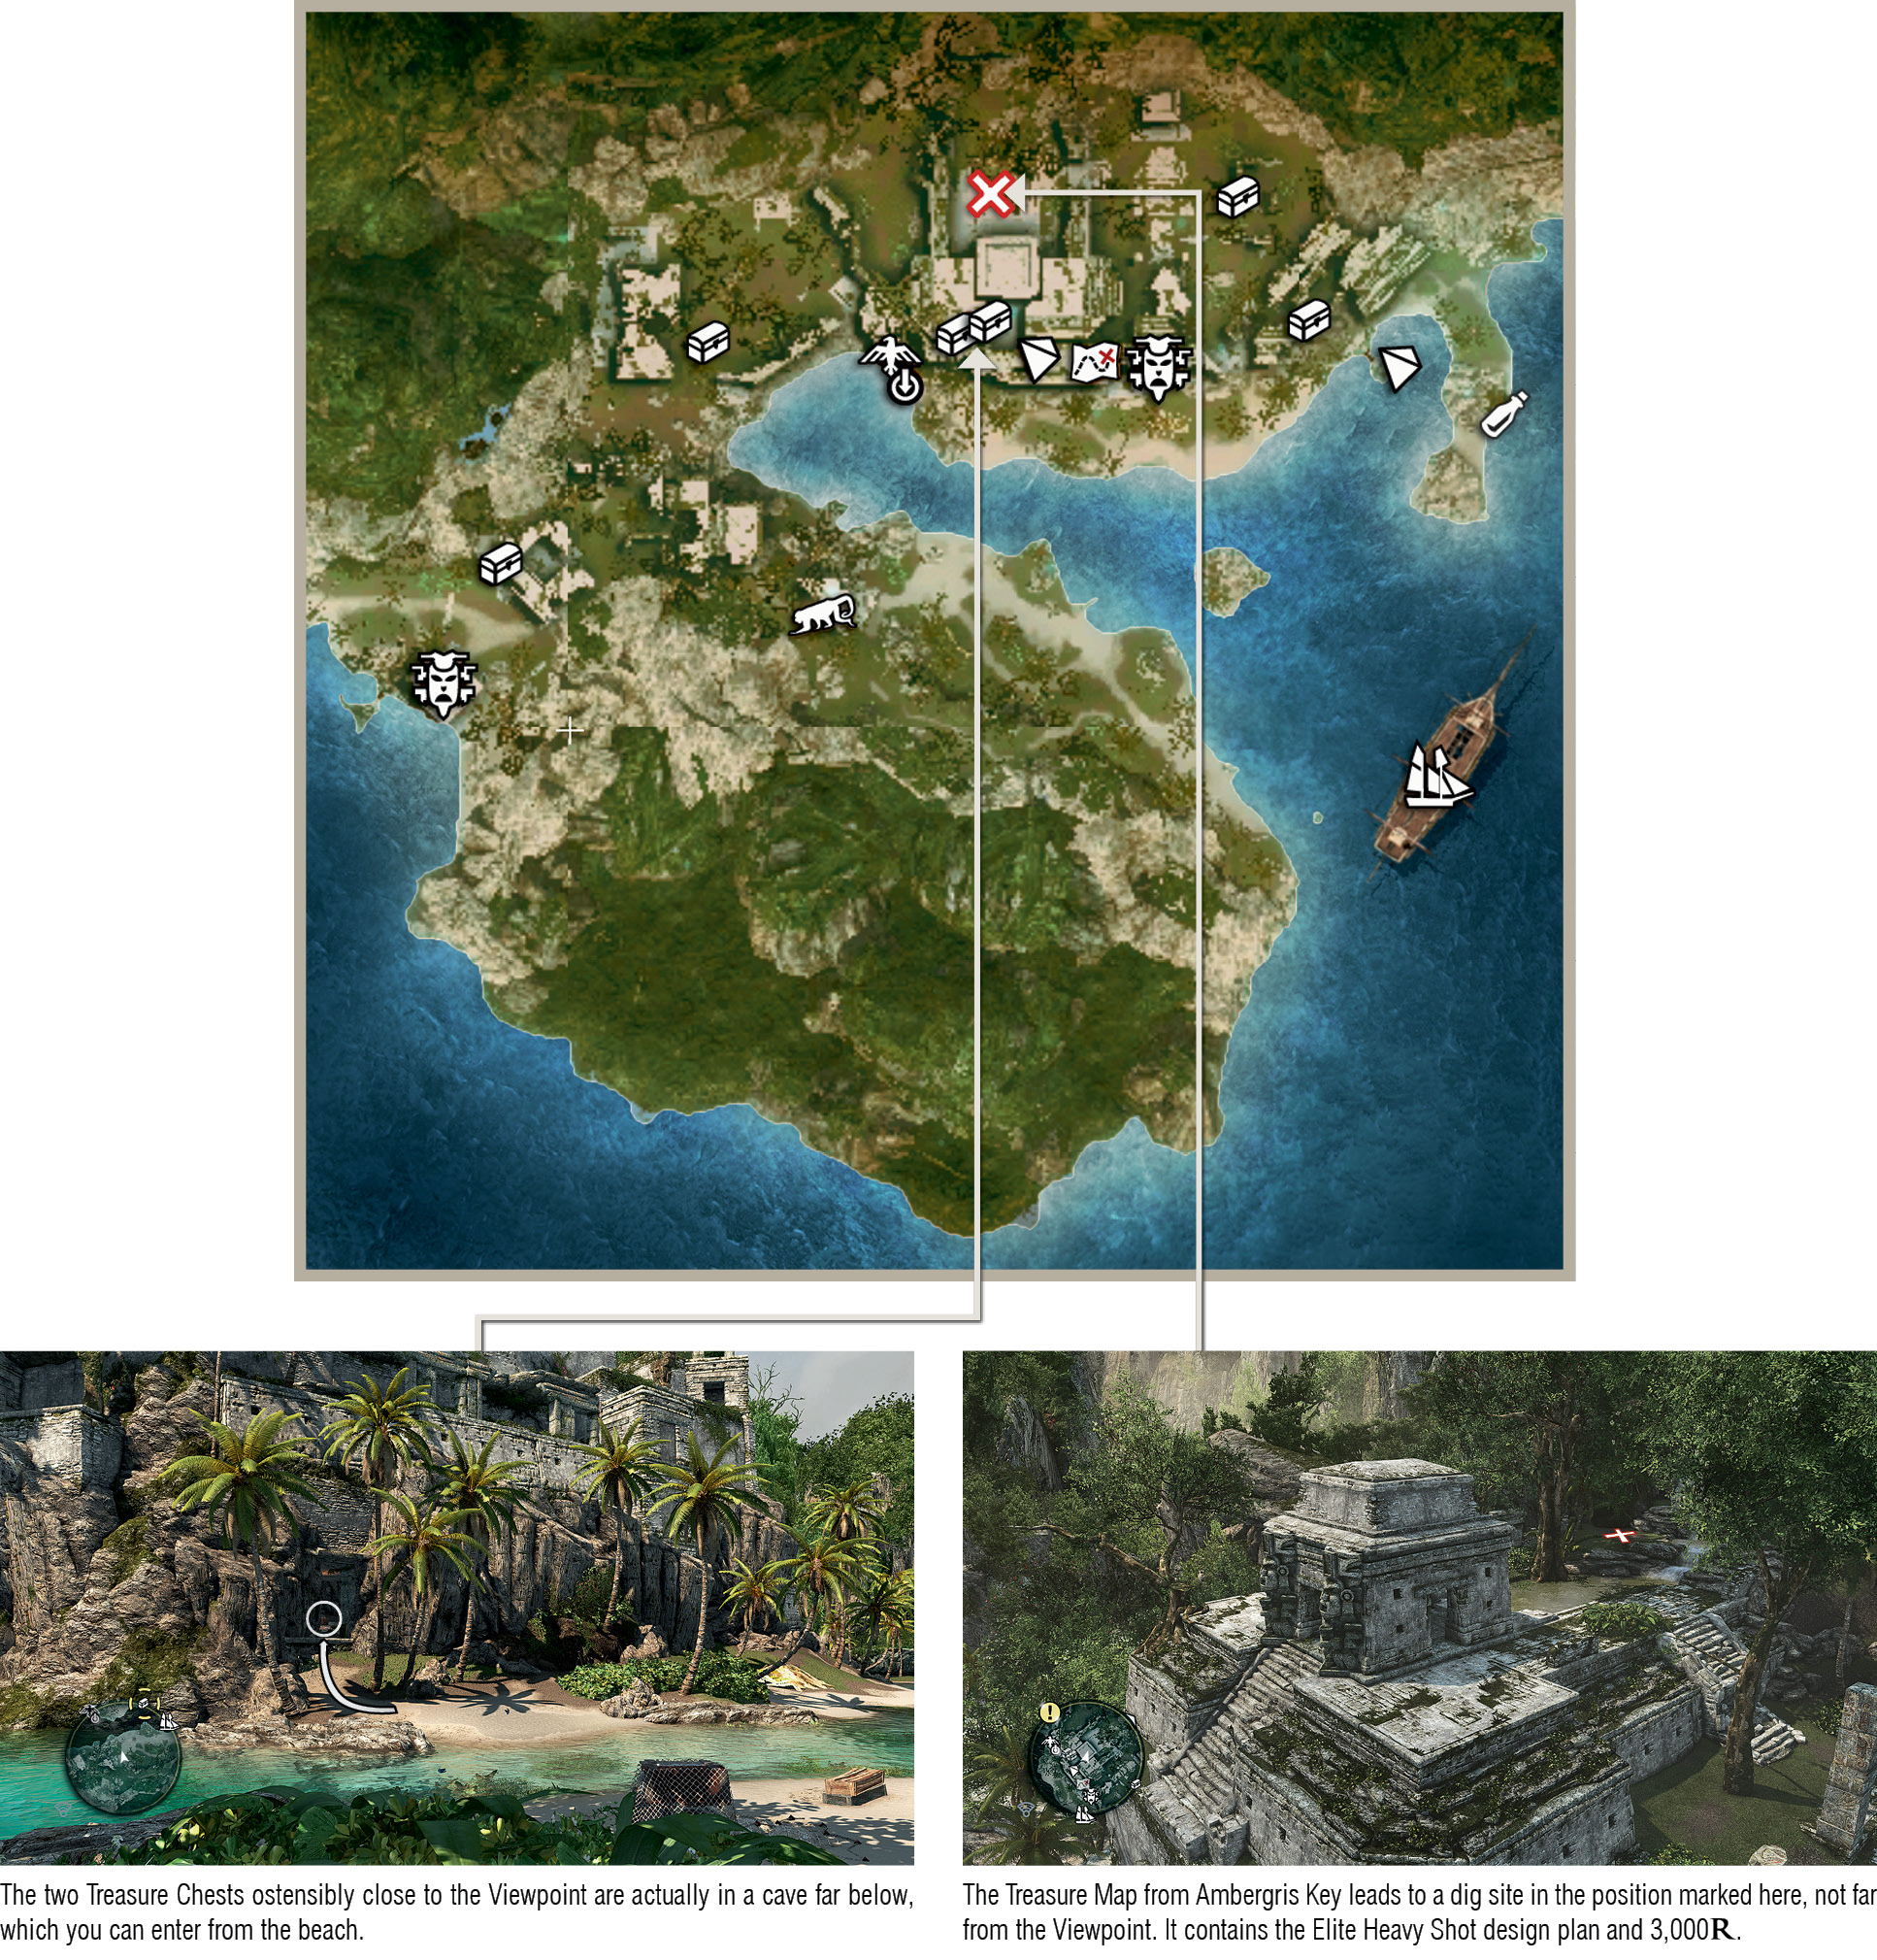
Notes
- A sandbank obstructs the Jackdaw’s access to this (quite breathtaking) destination from the south, though you can sail right to the shore from the north and west. The seas to the west are often covered with heavy fog and battered by high winds.
- This is definitely a location where the ability to mark collectibles with a custom marker is a huge benefit. This enables you to determine their precise elevation in relation to Kenway, which can prevent confusion and wasted journeys.
- The Treasure Map found not far below the Mayan Stela to the east leads to 623,172: Kingston.
- A Leap of Faith from the Misteriosa Viewpoint will automatically complete the “Dive from 45m” Abstergo Challenge if you have yet to do so elsewhere.
New Bone (442,118)
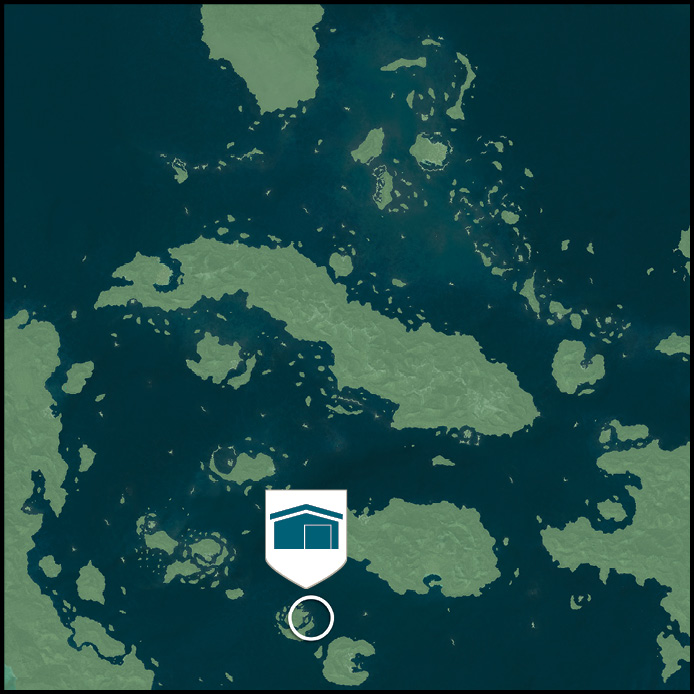
Key Details
|
Availability |
|
|
Activities |
Assassin Contract x2 , Warehouse x1 , Mayan Stela x1 |
|
Amenities |
Dock, harbormaster, local officer |
|
Wildlife |
Capuchin monkey |
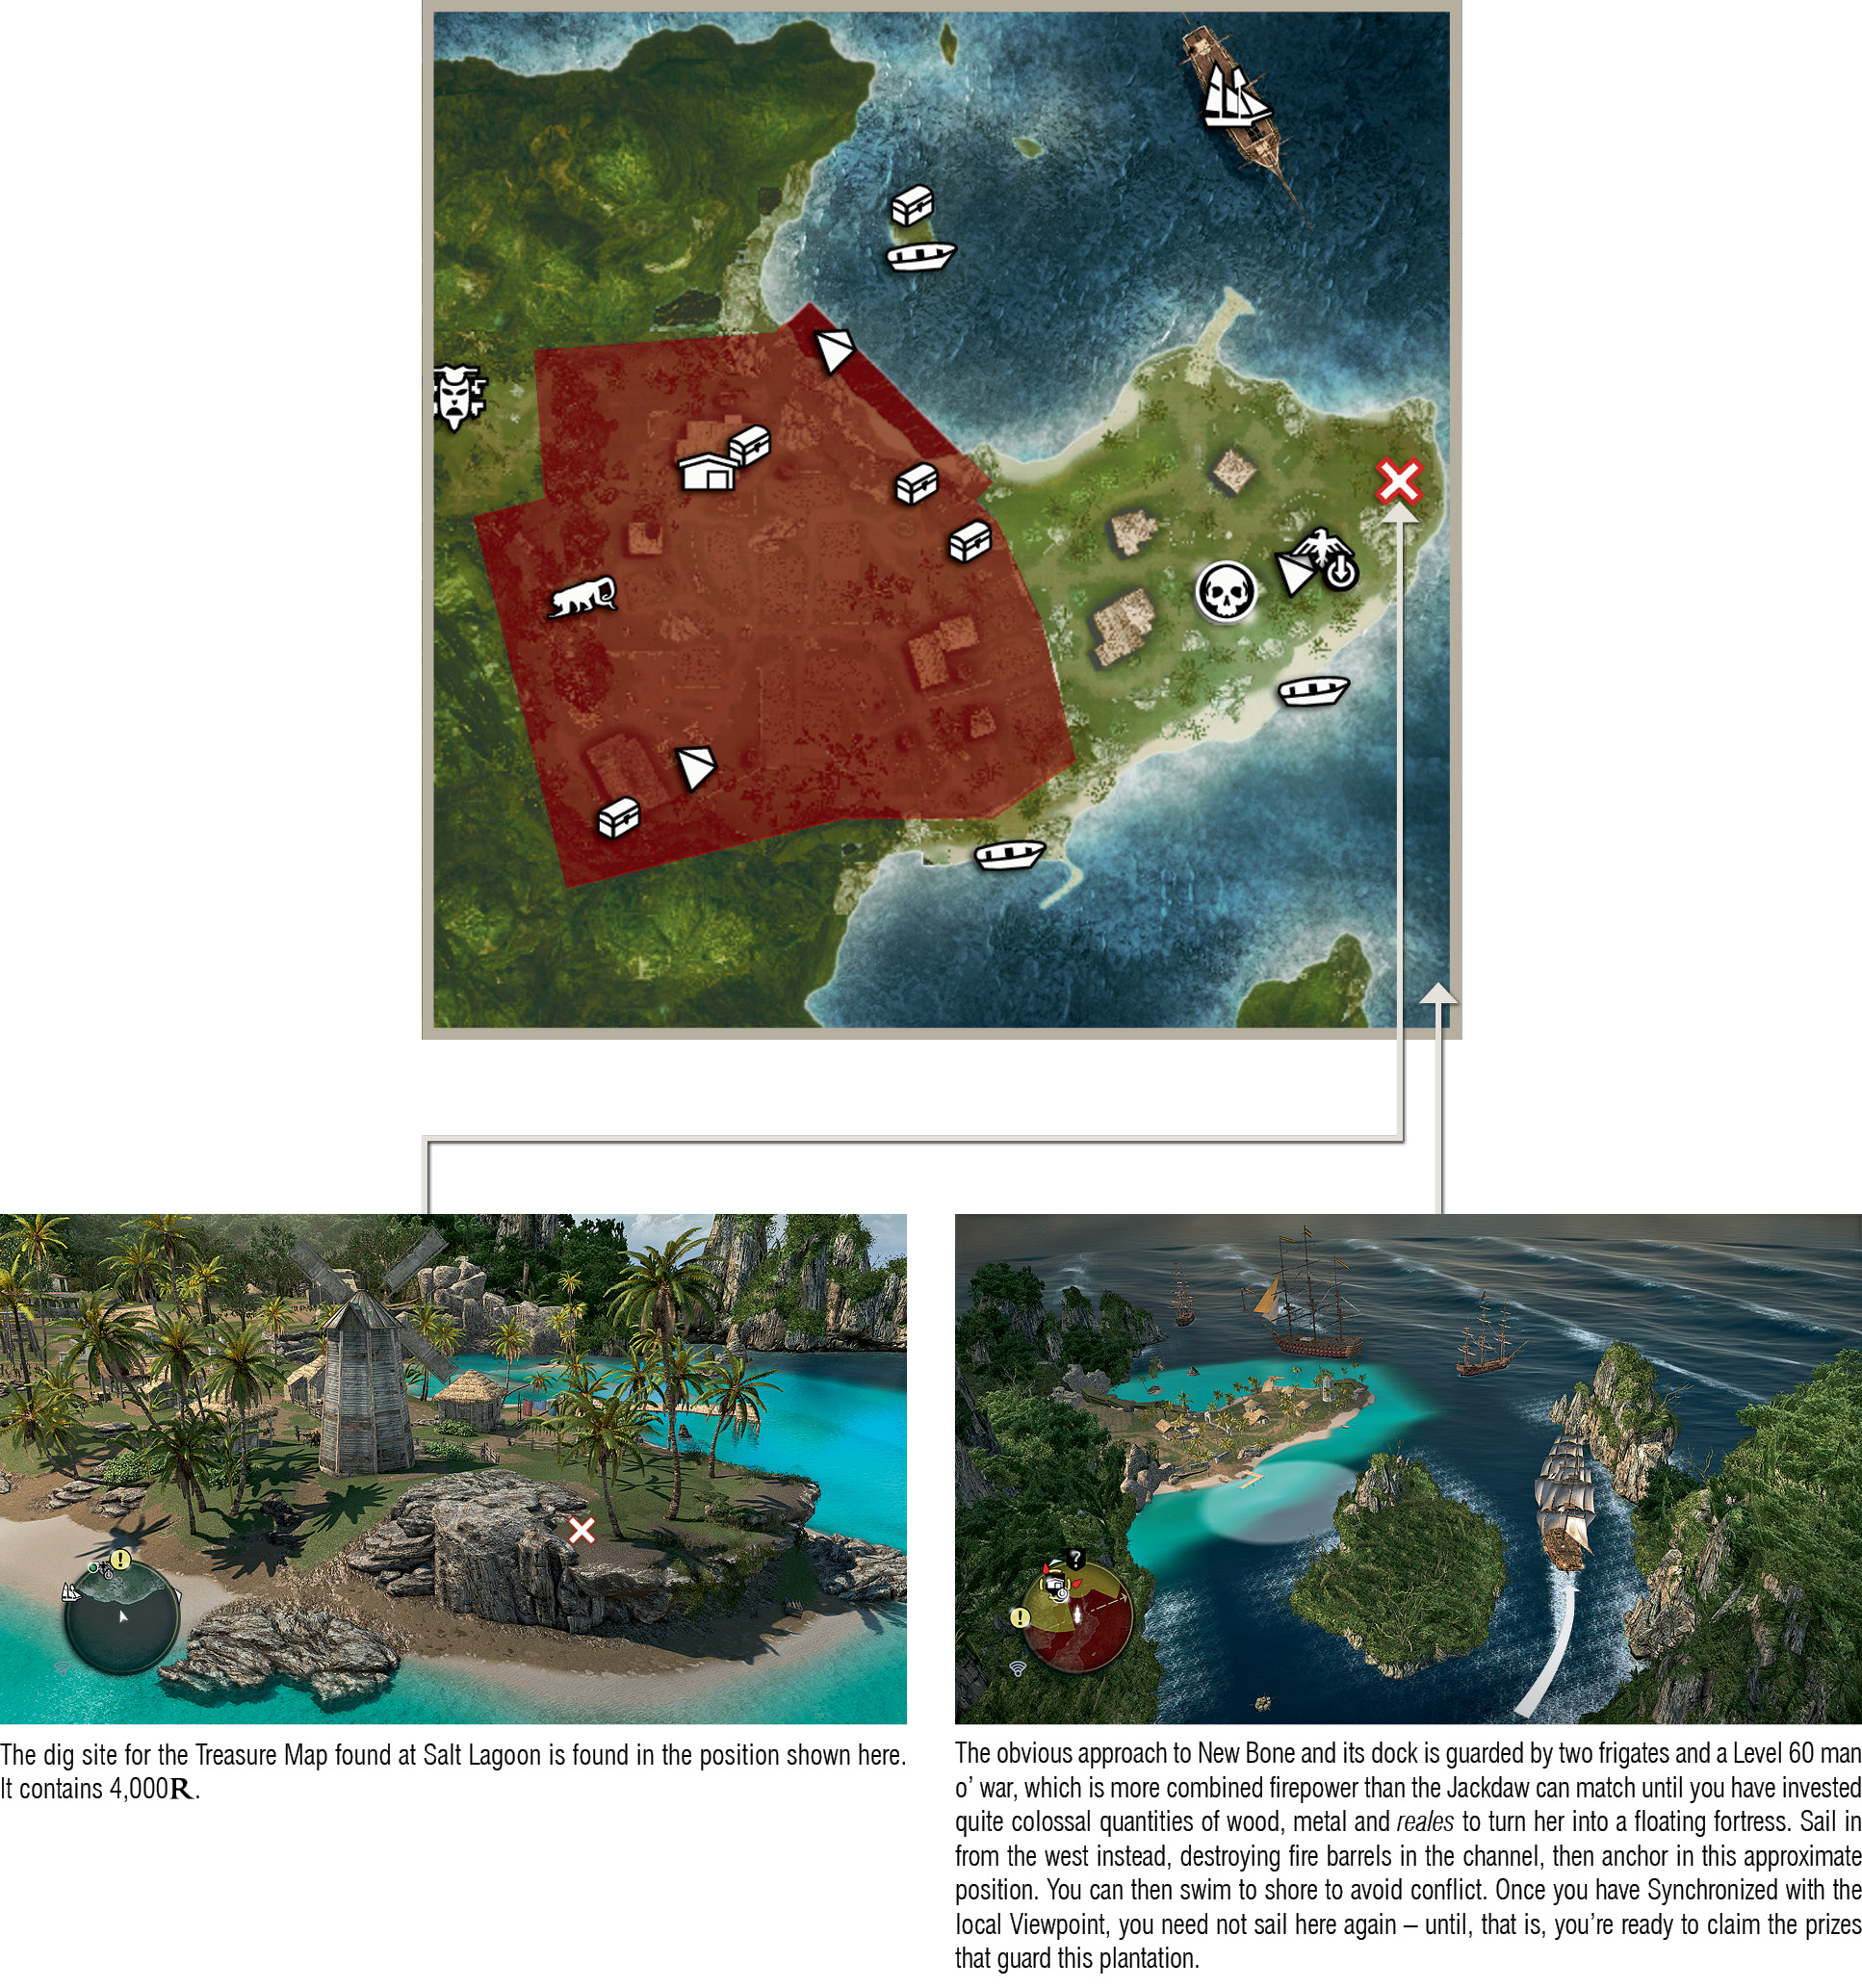
Notes
- The Animus Fragment close to the Viewpoint can be collected by riding (or, from the Viewpoint, jumping to) the blades of the windmill.
- It’s better to leave collectibles on the island until you have finished a warehouse raid, as this will naturally thin the numbers of the local guards. Though the area around the manor house in the southwest is heavily guarded at the front, it’s easy to sneak behind the building to open the Treasure Chest. From there, you only need eliminate the Gunner on the rooftop, then free run through the trees to reach the Animus Fragment on top of the flag pole. If you leave these two collectibles until last, you can then Fast Travel directly to your next destination, or the nearby Viewpoint.
- The high-level warships guarding this plantation make excellent additions to Kenway’s Fleet, though it will take a well-upgraded Jackdaw to defeat them.
Charlotte (470,272)
Key Details
|
Availability |
|
|
Activities |
Naval Contract x2 |
|
Amenities |
Harbormaster, local officer |

Region Notes
- The Charlotte zone has only one location situated close to its Restricted Area, and you can’t actually visit that destination until Sequence 10. You could, potentially, leave this fort until relatively late in the story.
- Like Conttoyor in the far northwest, the area surrounding the Charlotte fort is covered by a perpetual storm until you conquer it. The challenge here, though, is negotiating rogue waves while evading fire from the fort. Success requires a blend of fine seamanship, patience and Jackdaw upgrades.
- Though its men o’ war are less noteworthy than those found in the neighboring Serranilla region, Charlotte’s waters feature top-level brigs. Even with the Jackdaw bursting at its ultra-reinforced seams with firepower, these vessels are easily underestimated during battles against multiple vessels. Don’t make that mistake, and treat these opponents with a commensurate degree of respect. To the northwest of the fort, the convergence of five zones close to the Cayman Islands destinations makes for an interesting potential hunting circuit.
- The waters surrounding the fort contain a ready supply of great white sharks.
Long Bay (525,253)
Key Details
|
Availability |
Locked until Sequence 10, “The Observatory”; available for free exploration in Sequence 11, after “Delirium”. |
|
Activities |
Mayan Stela x1 |
|
Wildlife |
Hutia, howler monkey, crocodile |
Notes
- SPOILER WARNING! Unless you are particularly stoic about minor spoilers, we suggest that you avoid reading any further until you complete Sequence 10.
- The west beach is a good hunting ground for hutia. Crocodiles are common in the pools found in the jungle between the two northern Viewpoints, while howler monkeys can be found throughout the location.
- The Guardians are, naturally, less than ecstatic whenever they discover that Kenway has returned. They appear in the same approximate positions as during your story-based journey through the island, and still have the same proclivity for peppering Kenway with darts in the initial stretch of jungle from the start position. As before, use a combination of Eagle Vision and Sleep Darts to neutralize them without direct confrontation.
- Hunting for Treasure Chests is much easier if you use the Custom Marker function on the main map, especially in the cave system.
- The Mayan Stela here is the last one you will encounter if you have already collected the stones from all other sites. If this is the case, head to Tulum to claim your reward.
- The Animus Fragment in the southwest of the map is collected automatically during the closing minutes of Sequence 10.
- If you have already found most (or all other) letters, take a moment to study the small, well-tended area where you find the one for Long Bay, then consider its significance…
Kingston (623,172)
Key Details
|
Availability |
Sequence 04; first visited during Sequence 05, “Traveling Salesman”. |
|
Activities |
Templar Hunt x1 , Assassin Contract x6 , Warehouse x2 , Save Pirates |
|
Amenities |
Tavern, harbormaster, general store, local officer |
|
Wildlife |
Howler monkey, deer, rabbit |
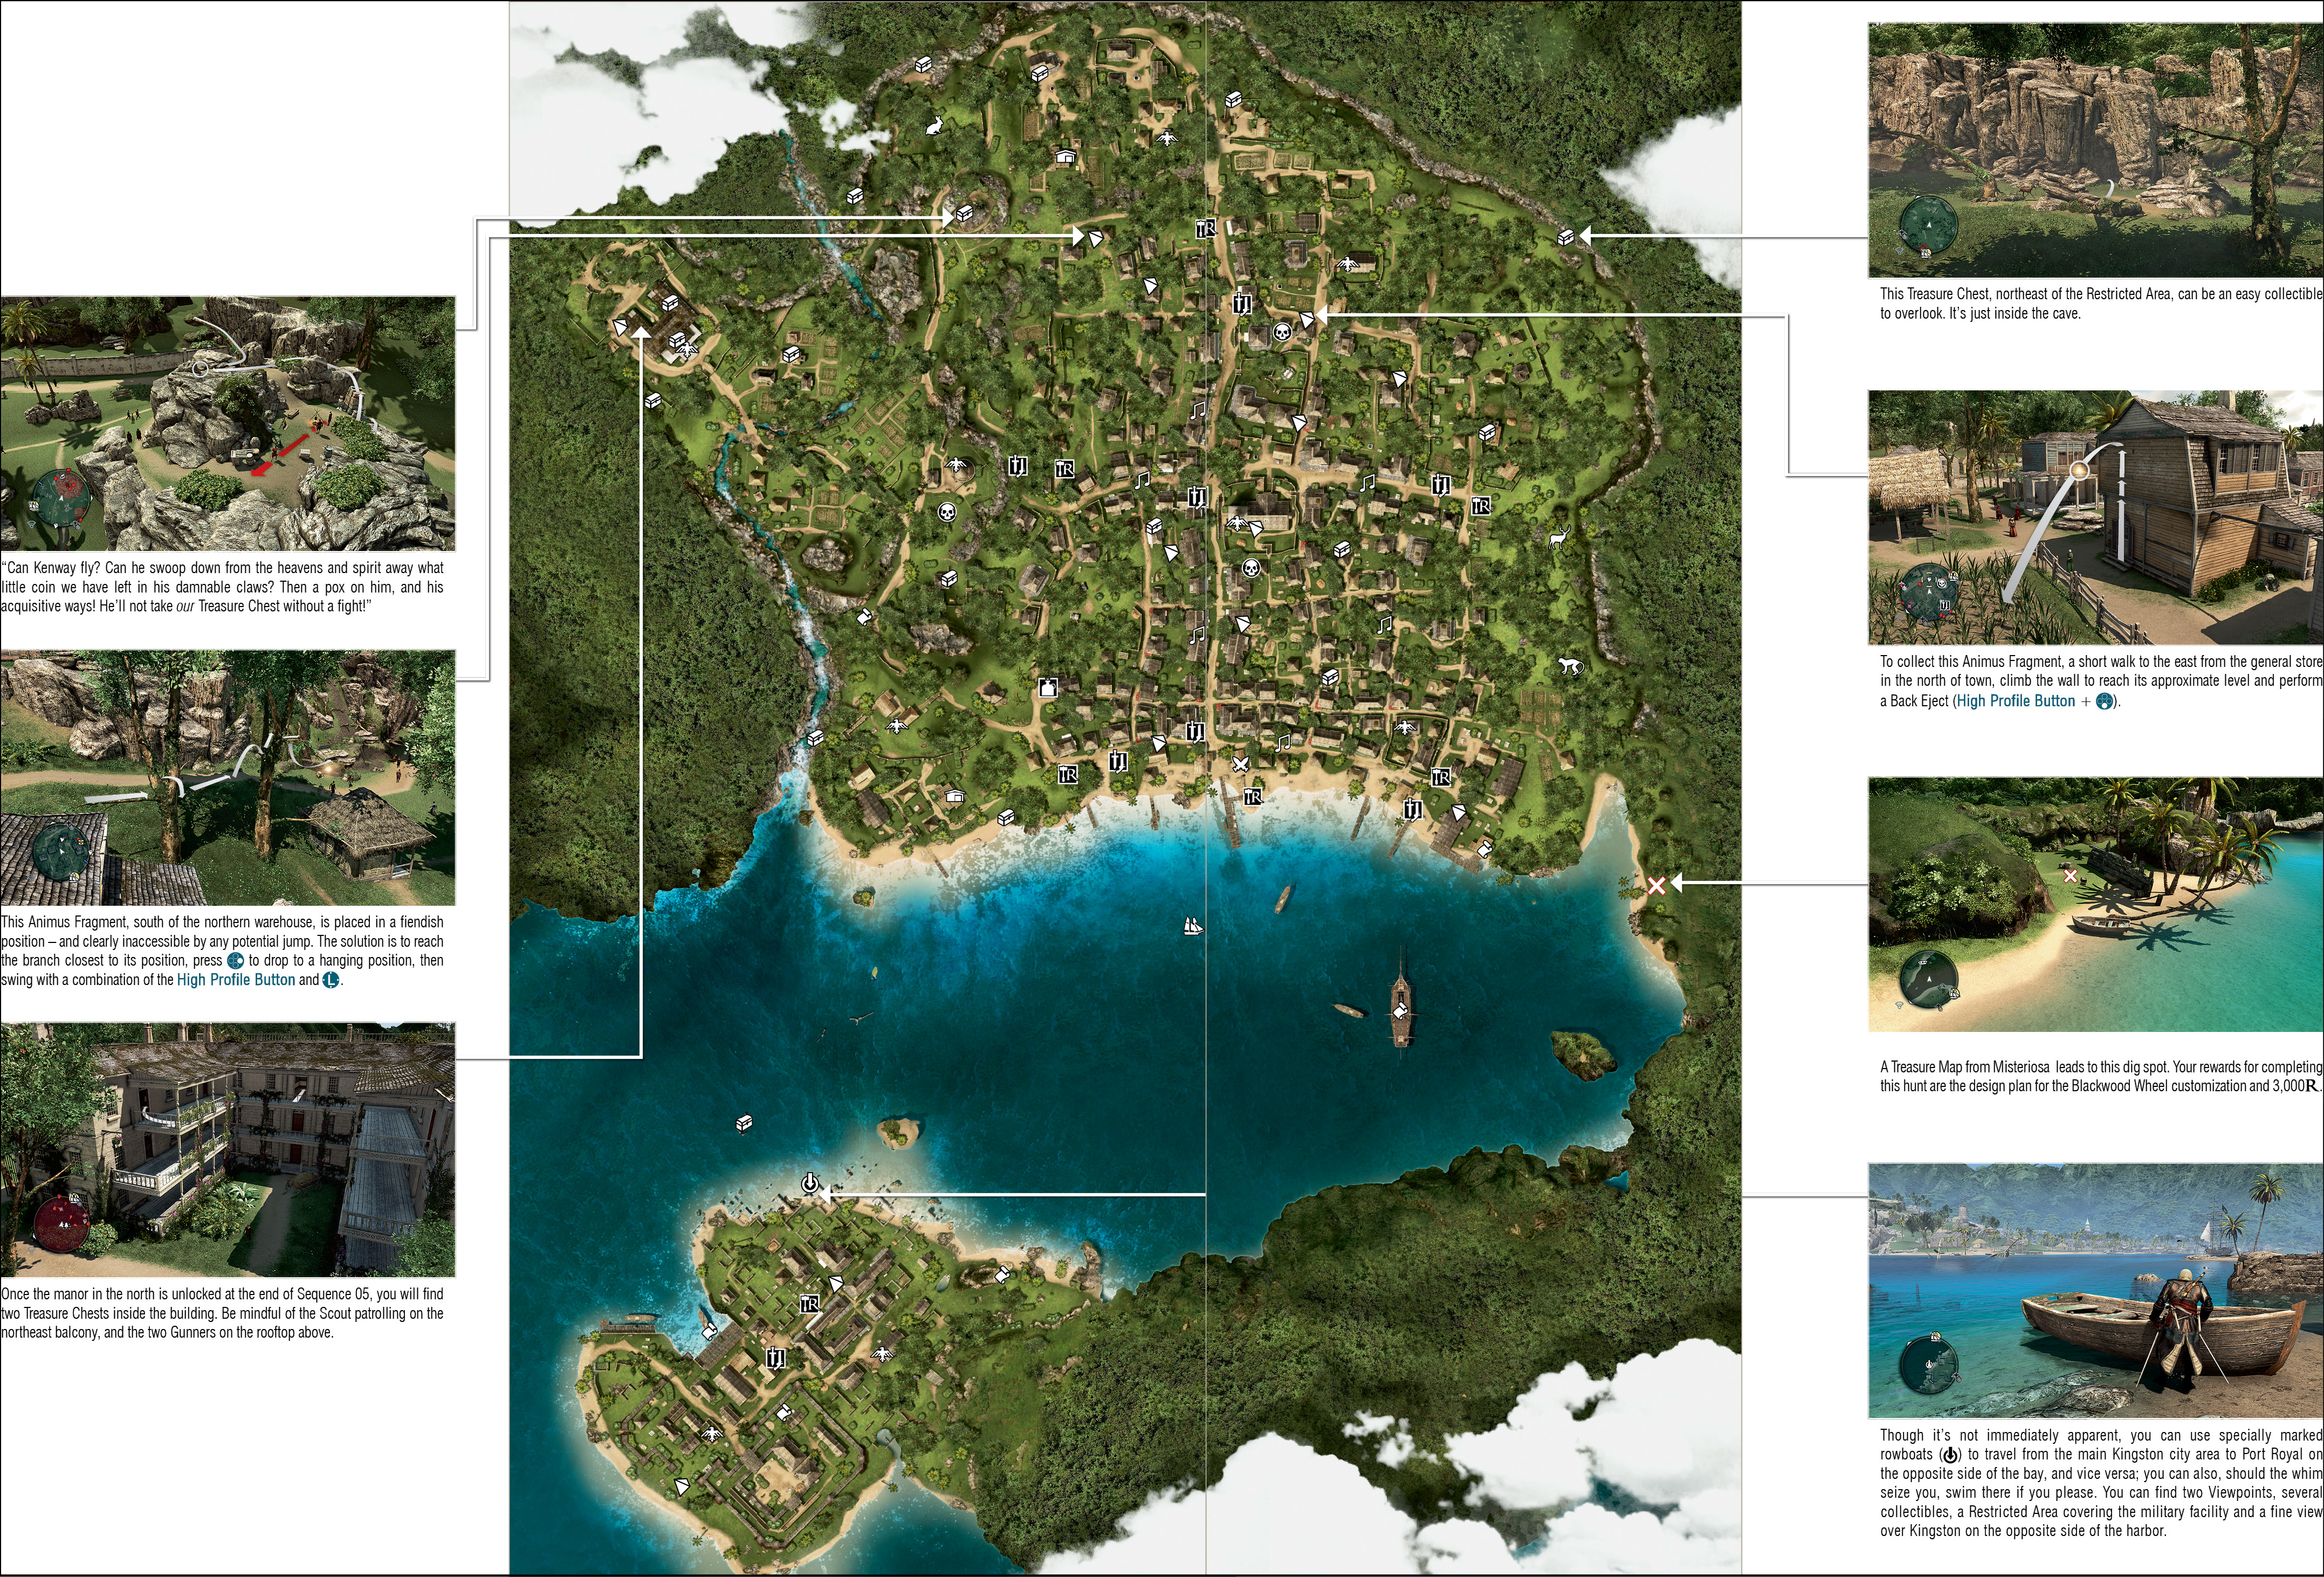
Notes
- Though Kingston isn’t officially visited during the story until Sequence 05, you are free to explore almost every destination on the Caribbean map prior to your journey to Tulum early in Sequence 04. It isn’t possible to 100% Synchronize the city until the end of Sequence 05, but that doesn’t mean that you can’t make a start.
- Unlike Nassau and Havana, Kingston features all possible enemy archetypes – and, on occasion, in dangerous numbers.
- There are four major Restricted Areas in Kingston: a warehouse in the southwest (which offers surprisingly high yields of cargo for relatively little effort), another warehouse in the north , and a plantation in the northwest with an imposing manor house behind it. The manor itself is inaccessible until the events of “Unmanned” at the conclusion of Sequence 05. There is also a small plantation on the east side of the island where Kenway’s presence will not be tolerated.
- We suggest that you leave the Manuscript Page in the southeast of the map until you complete the first Memory of Sequence 09. This makes it easier to complete one of its two Optional Objectives.
- Along the far west side of the map, there’s a waterfall and a stream that leads to the seafront to the south. For a reason we cannot adequately explain, climbing it from south to north is a simple pleasure. You may occasionally find pirates held at gunpoint close to the waterfall below the Restricted Area, so have your wits and the Blowpipe ready to intervene.
- The six shanties found in Kingston are all concentrated in the center of the city. It makes sense to clear all nearby rooftops of Scouts and Gunners, then collect all of them at once. Be careful to avoid Fast Travel within the location during this process: this will restore all sentries to their original positions.
- It’s possible to climb the moving blades of the windmill (look for the Viewpoint close to the Restricted Area in the northwest). If you would like to reach the top to admire the full view, even if only for a moment, start on the lowest of the four blades.
- You can hunt rabbits in the field to the west of the northern warehouse; these are more plentiful than anywhere else in the Caribbean. On the green expanse on the east side of the map (which is rather larger than the Synchronized area viewed on the in-game map would have you believe), howler monkeys and deer are commonplace. If you have yet to acquire the upgrades that each animal’s skins can unlock, Kingston is an easy place to pick them up. There’s a certain degree of overlap between the habitats. If you need to make small but respectable sums of reales, a north-to-south sweep of the area as yet untouched by the steady creep of the city will usually bring you into contact with at least a dozen animals.
- In addition to a Manuscript Page, the frigate anchored to the east of the Jackdaw also plays host to a “save pirates” scenario. This involves two Gunners with weapons trained on the captives, two Brutes standing guard over the chest, a patrolling Captain, a standard soldier at the front of the vessel and a Gunner on the mainmast platform.
- Fort Charles in the Port Royal area is heavily guarded, with numerous Brutes and Captains. When the time comes to pick up its collectibles, you may wish to employ the services of drunken pirates in the area to create diversions. There is a tree close to the northeast wall that offers an easy route for infiltrations.
Navassa (728,219)
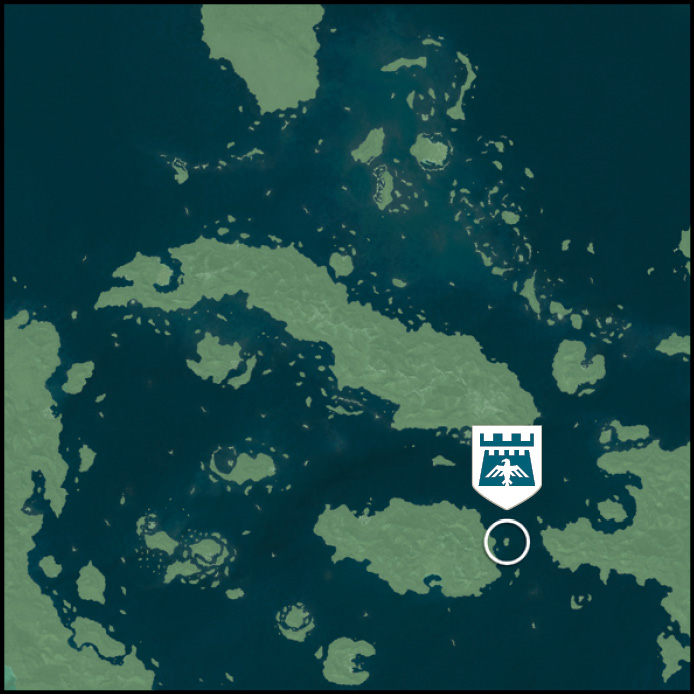
Key Details
|
Availability |
|
|
Activities |
Naval Contract x2 |
|
Amenities |
Harbormaster, local officer |

Region Notes
- If the Jackdaw has a reasonable level of improvements (with the Reinforced Hull upgrade and basic weapon enhancements a bare minimum requirement, even for expert captains), it makes sense to liberate the Navassa fort in Sequence 05, before or after you first visit Kingston.
- A beach to the east of the fort has a letter, which players looking to experience every last scrap of story (if not collectibles) may wish to pick up when they sail past.
- You can witness some epic battles between Spanish and British ships south of Kingston. These usually feature ships common to the Navassa area if you are departing straight from the port, but may involve more powerful ships from the Charlotte region if you sail there.
- This region is the second potential hunting site for humpback whales.
- You can find the HMS Prince far southeast of the fort. This may be the first Legendary Ship that the Jackdaw can plausibly tackle.
Île à Vache (843,140)
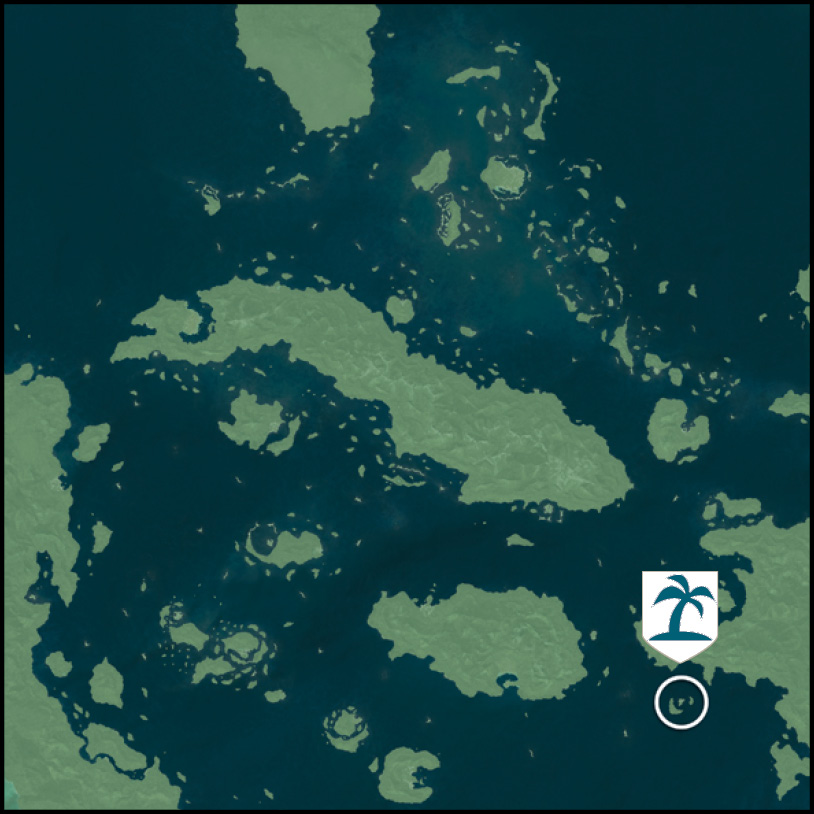
Key Details
|
Availability |
|
|
Activities |
Assassin Contract x2, Treasure Map x1 |
|
Amenities |
Tavern, harbormaster, local officer |

Notes
- This location is surrounded by a Restricted Area when you first arrive, with a frigate guarding the most obvious approach north of the island. You can, however, easily bypass a confrontation here by sailing in from the south instead.
- Pirate brigs operate in this area, which can make for a fascinating backdrop as you explore the island: the local British ships (including the frigate guarding the island) are always quick to engage them. You can profitably jump into these battles if you wish: the pirates will at least draw fire away from the Jackdaw.
- This is one of only two locations outside of the three main cities where you can encounter a Manuscript Page.
- The Treasure Map located on the northeast beach leads to 565,539: Jiguey, a cave west of the fort at Gibara.
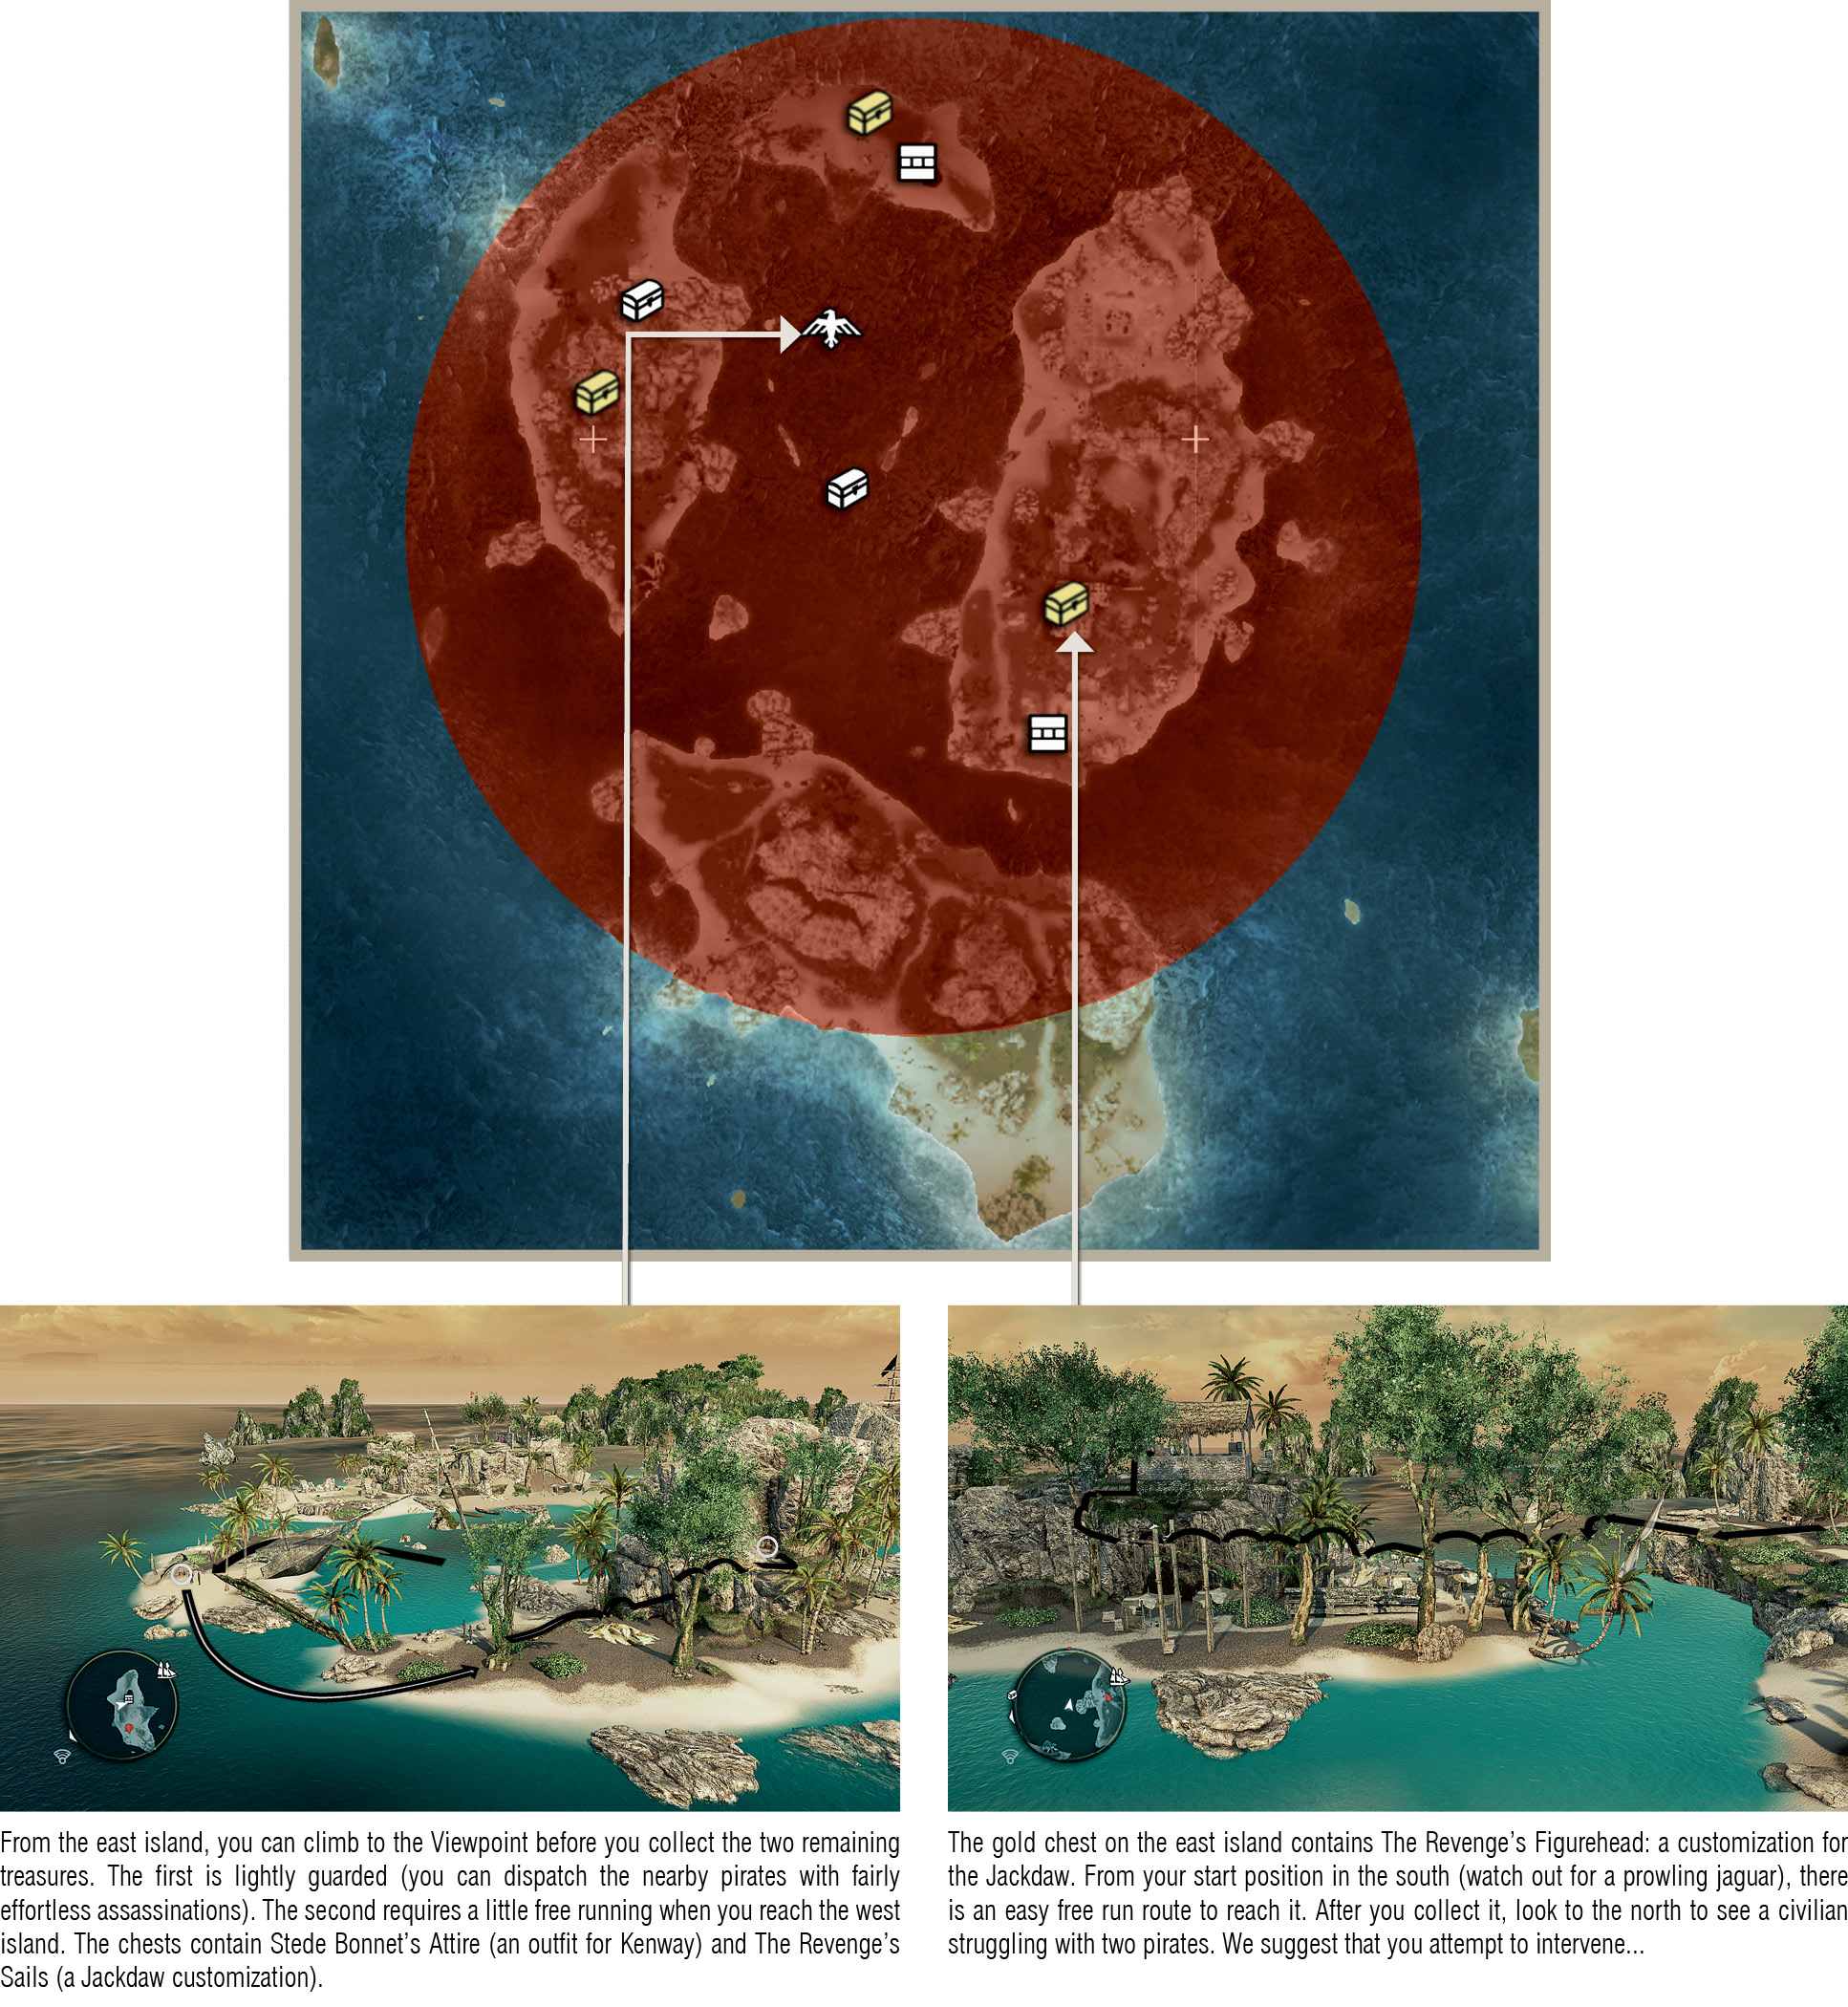
Mystery Island (980,79)
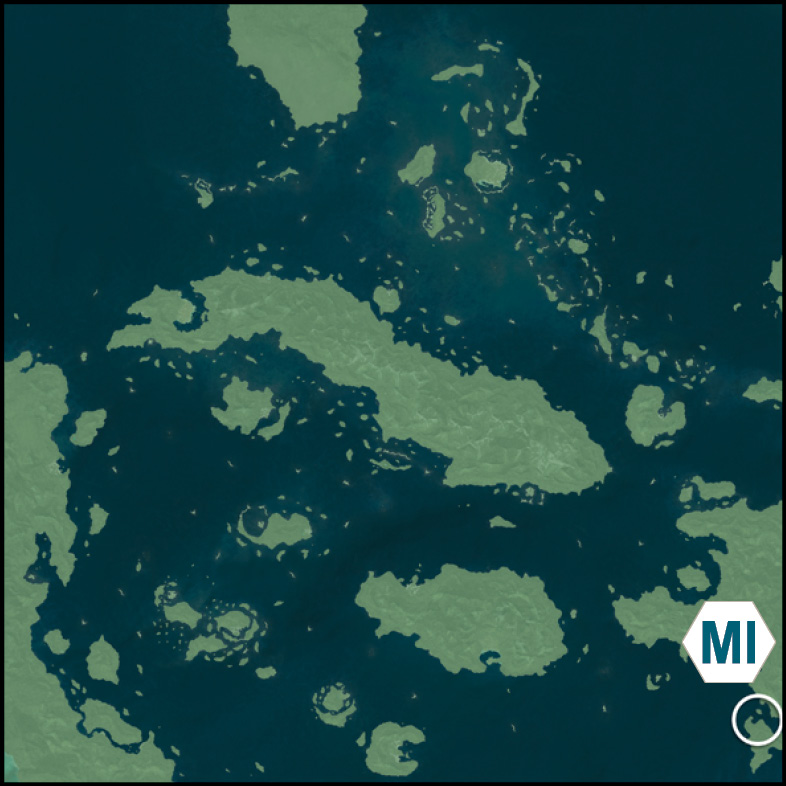
Key Details
|
Availability |
Sequence 04; only in special limited-edition versions of Assassin’s Creed IV, or as a preorder bonus. |
|
Wildlife |
Jaguar, crocodile, rabbit (all rare) |
Notes
- Much like Sacrifice Island in the northwest of the Caribbean map, this location features three special treasures to obtain from gold chests. There are also two standard Treasure Chests: these do not count towards your Progress Tracker totals.
- Most of this location is covered by a Restricted Area. Though the number of pirates guarding the island is generally light, they will attack without hesitation after identifying Kenway as an interloper.
- On the north of the east island, two pirates fight for the entertainment of six spectators. They will all turn on Kenway if he makes his presence known.