In this final combat-focused section, we offer a selection of useful tips and suggestions that will help you make the most of Kenway’s abilities, and to adjust the difficulty of the combat system to suit your personal needs.
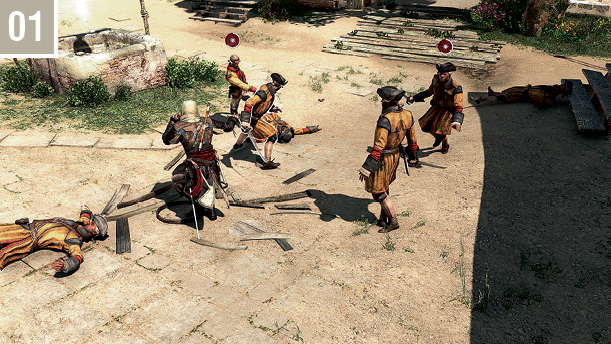
If you are finding a specific battle too challenging in later Sequences, and don’t care for stealth tactics unless strictly necessary, Berserk Darts can be your salvation. Every time you tap with these equipped, you instantly and effectively remove a target from the equation, even the most challenging archetypes. After you strike a handful of enemies, you can usually run away, and the remaining “sane” enemies will be busy fighting their crazed former allies – and you can then step in to finish off survivors afterwards (). To make things easier during the opening stages of the brawl, you can parry by constantly holding , and simultaneously press to use the blowpipe. The only threat you have to pay attention to is firearms, which you can easily survive by using human shields.The parry move (hold ) makes you practically invincible in many battles. Even if he is facing away from an incoming blow, Kenway will still block it. Whenever you feel completely outnumbered, or need to select a new tool to suit the situation, use this to buy a little time as you plan your next gambit. You can even move (though slowly) while parrying, which enables you to reposition Kenway to a more advantageous location. The only attacks that can break your defensive stance are ranged weapons (both grenades and firearm shots), axe strikes from Brutes, and very occasional grabs by an enemy (which you can counter by tapping ).
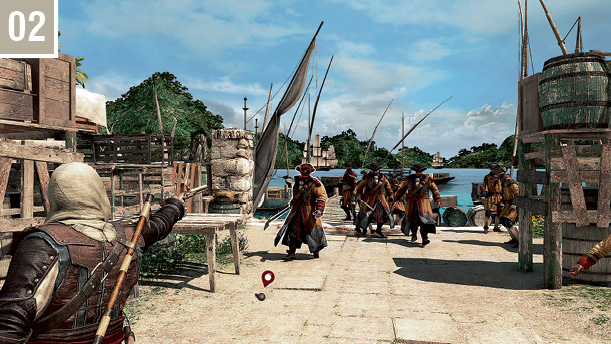
Whenever a grenade is thrown, don’t panic and feel the need to sprint away. You usually have ample time to plan your next move, though it’s prudent to abandon an active Kill Streak to be safe – a lengthy kill animation can be problematic here. As the grenade comes to rest, other enemies tend to immediately cease their attacks and retreat, resuming direct hostilities only after it explodes. This is a feature that you can easily take advantage of. As soon as you notice that a grenade has been bowled by a Brute, be ready to deflect any final blows, then hold the High Profile Button to quickly move out of the blast radius and make the most of the few seconds of respite that this offers you. This can be invested in pistol headshots against the most dangerous foes among your opponents () or Blowpipe dart strikes (both soporific and stimulant varieties). Alternatively, a Smoke Bomb dropped at the precise moment that a grenade first lands may freeze all affected enemies until the device explodes…In emergency situations, don’t forget that Smoke Bombs offer an instant reprieve, and sufficient time for a handful of easy kills while your opponents choke in the cloud. Even against a large group of advanced archetypes, a couple of Smoke Bombs can be all it takes to emerge victorious.
Once you unlock it in Sequence 11, we strongly recommend that you experiment with the Rope Dart. Though it takes a little practice to master the timing and targeting, pressing will cause Kenway to pull any opponent to the ground (), enabling you to perform a finishing move and therefore initiate a Kill Streak. You can repeat this whenever your Kill Streak is interrupted.

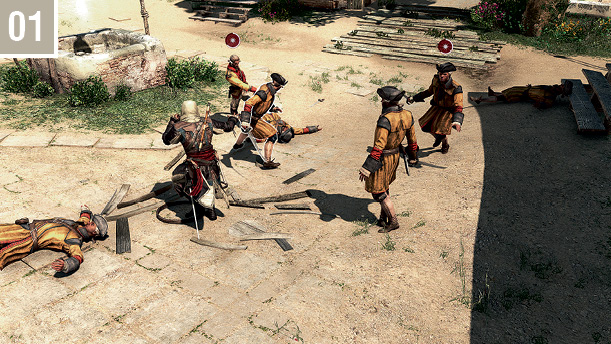
 with these equipped, you instantly and effectively remove a target from the equation, even the most challenging archetypes. After you strike a handful of enemies, you can usually run away, and the remaining “sane” enemies will be busy fighting their crazed former allies – and you can then step in to finish off survivors afterwards (
 ). To make things easier during the opening stages of the brawl, you can parry by constantly holding
  , and simultaneously press
  to use the blowpipe. The only threat you have to pay attention to is firearms, which you can easily survive by using human shields.The parry move (hold
  ) makes you practically invincible in many battles. Even if he is facing away from an incoming blow, Kenway will still block it. Whenever you feel completely outnumbered, or need to select a new tool to suit the situation, use this to buy a little time as you plan your next gambit. You can even move (though slowly) while parrying, which enables you to reposition Kenway to a more advantageous location. The only attacks that can break your defensive stance are ranged weapons (both grenades and firearm shots), axe strikes from Brutes, and very occasional grabs by an enemy (which you can counter by tapping
  ).
).

 ) or Blowpipe dart strikes (both soporific and stimulant varieties). Alternatively, a Smoke Bomb dropped at the precise moment that a grenade first lands may freeze all affected enemies until the device explodes…In emergency situations, don’t forget that Smoke Bombs offer an instant reprieve, and sufficient time for a handful of easy kills while your opponents choke in the cloud. Even against a large group of advanced archetypes, a couple of Smoke Bombs can be all it takes to emerge victorious.

 will cause Kenway to pull any opponent to the ground (
 ), enabling you to perform a finishing move and therefore initiate a Kill Streak. You can repeat this whenever your Kill Streak is interrupted.