
Assassin's Creed IV: Black Flag Guide Freedom Cry DLC Memories
Memory 6: A Scientific Inquiry
Optional Objectives
|
In the Name of Science!
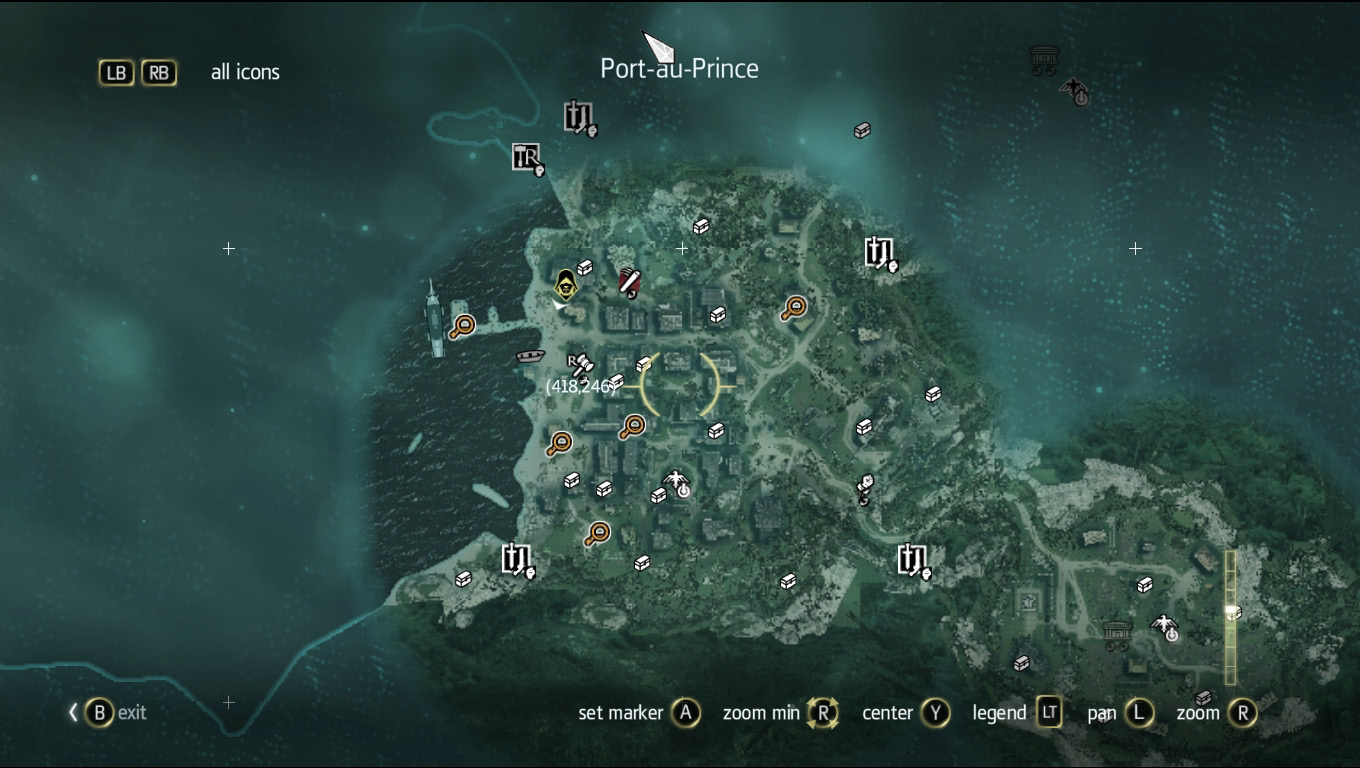
This mission is actually a little different than your standard missions. Five individual activities are marked on your map with magnifying glass icon and you can complete them in any order. You need to complete only three of the five activities to move on, but if you want to complete both Optional Objectives you’ll need to do all five without killing anyone; just make sure you put your weapons away and use nothing but your fists to avoid any accidental murder.
We’ll list the activities and where they appear, but the order in which you do them is totally up to you. Before you can start you must first listen in on a conversation between a scientist and a slave owner.
Start by heading toward the beach to reach the waypoint.
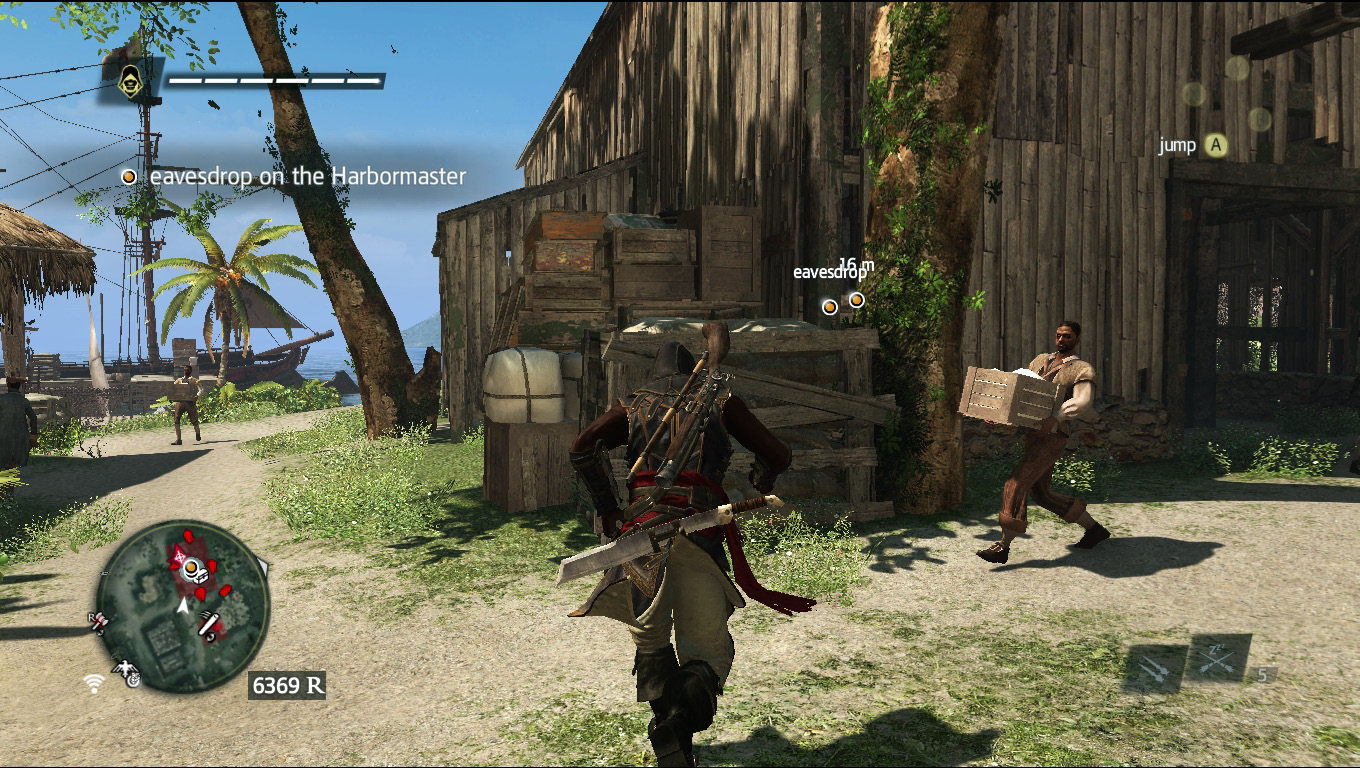
Climb the south side of the farm to the second story, where your targets are.
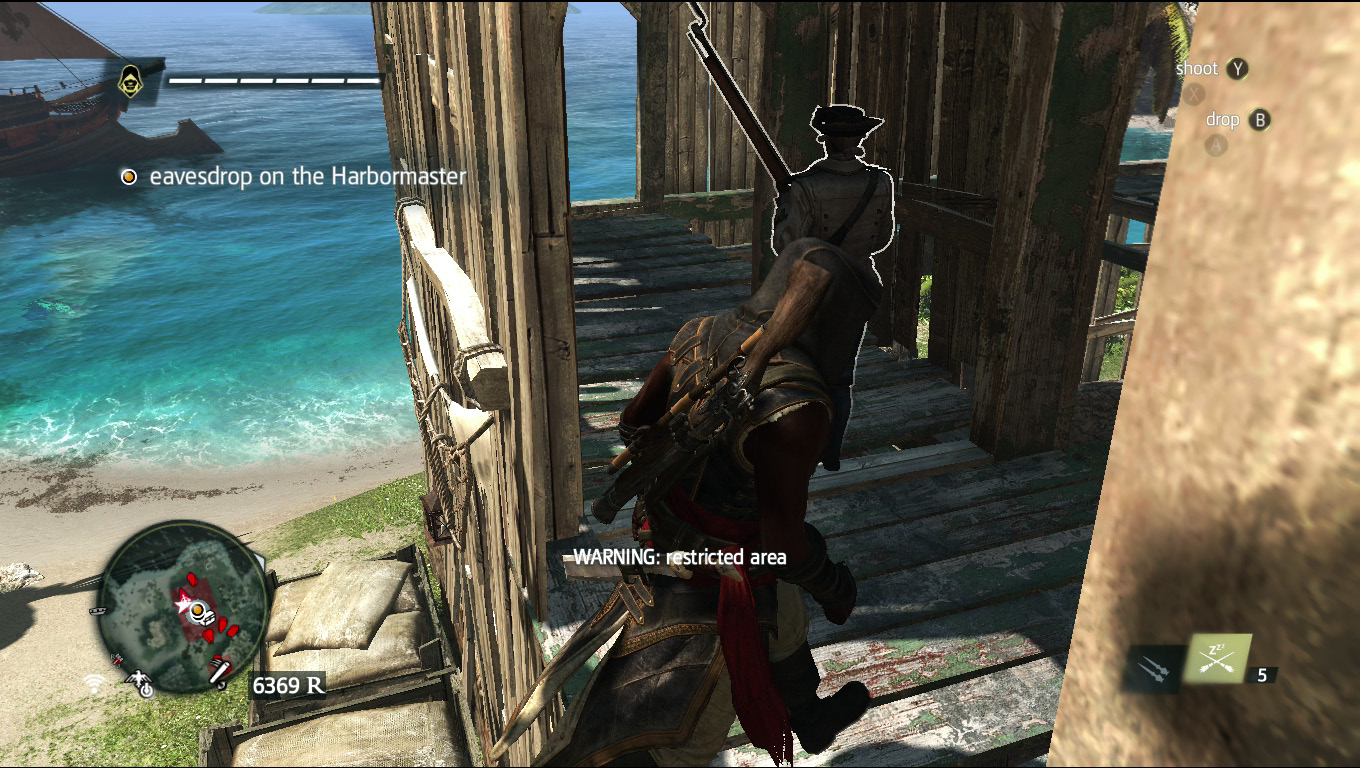
Take out the gunner on the left.
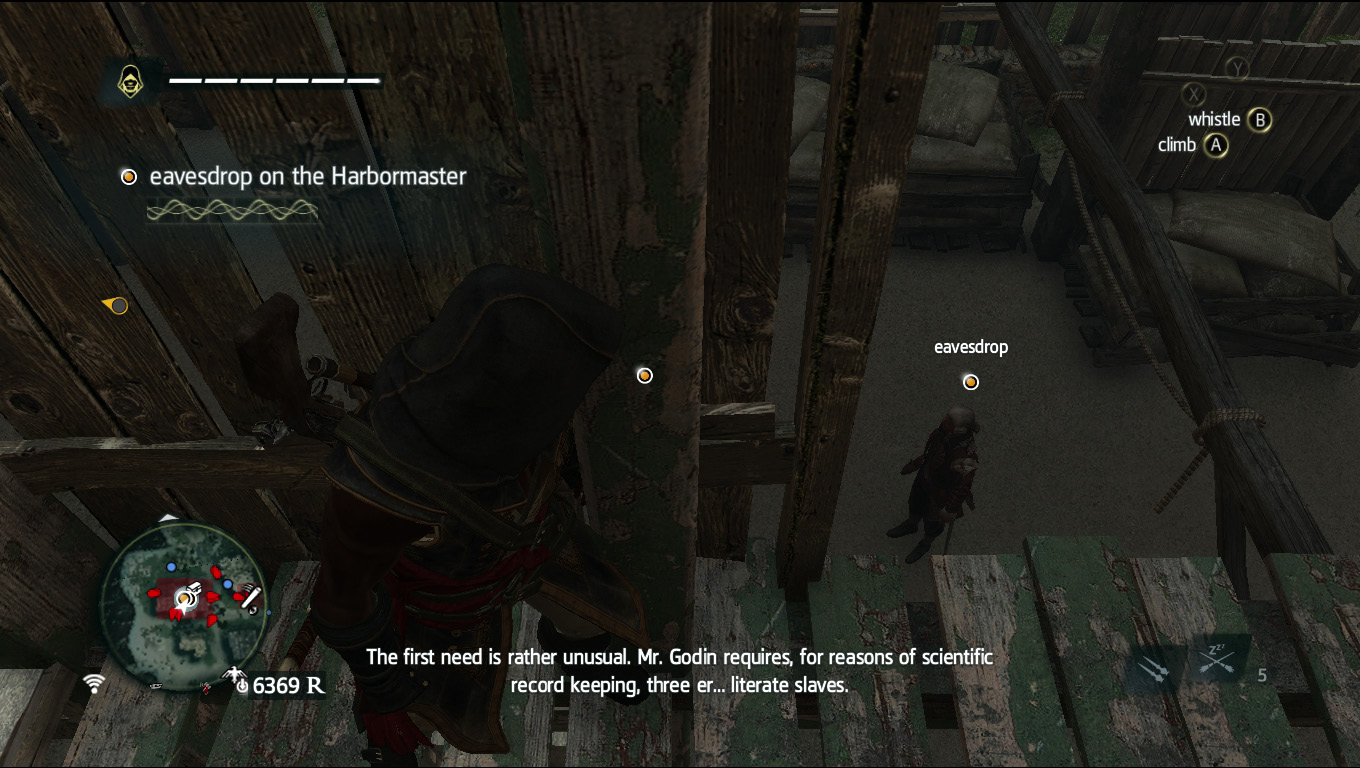
Head behind the wall to the right and listen in on the conversation. Make sure you’re hugging the wall, as displayed in the screenshot, to keep from being noticed by the guards that are surrounding the building.
Once the two men are done talking, they’ll clear out and you’ll have access to all five of the activities. Here is a list of each of the activities and the strategies you need to complete them without killing anyone:
Courier
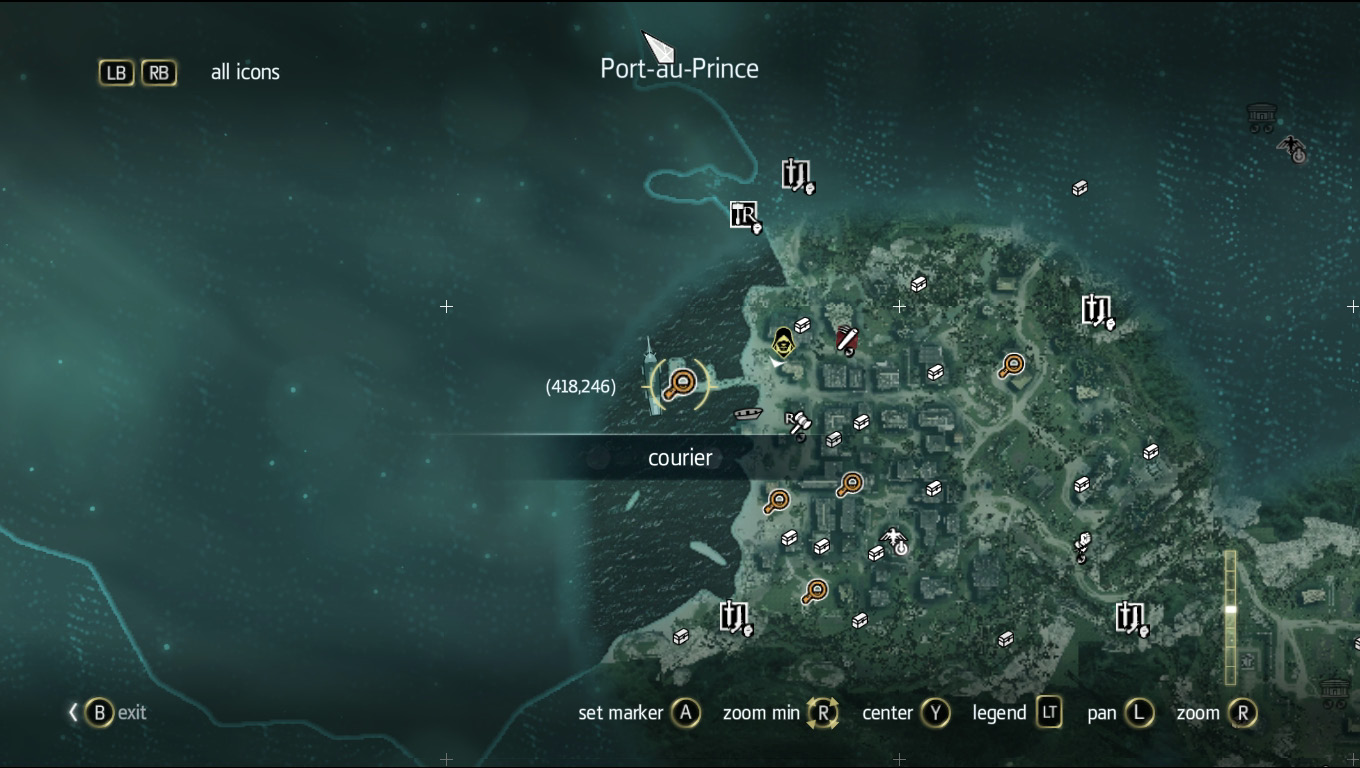
This is probably the simplest of the investigation activities. Simply walk to the boat docked just off the beach and the courier will jump off the boat into the sea and swim for the beach.
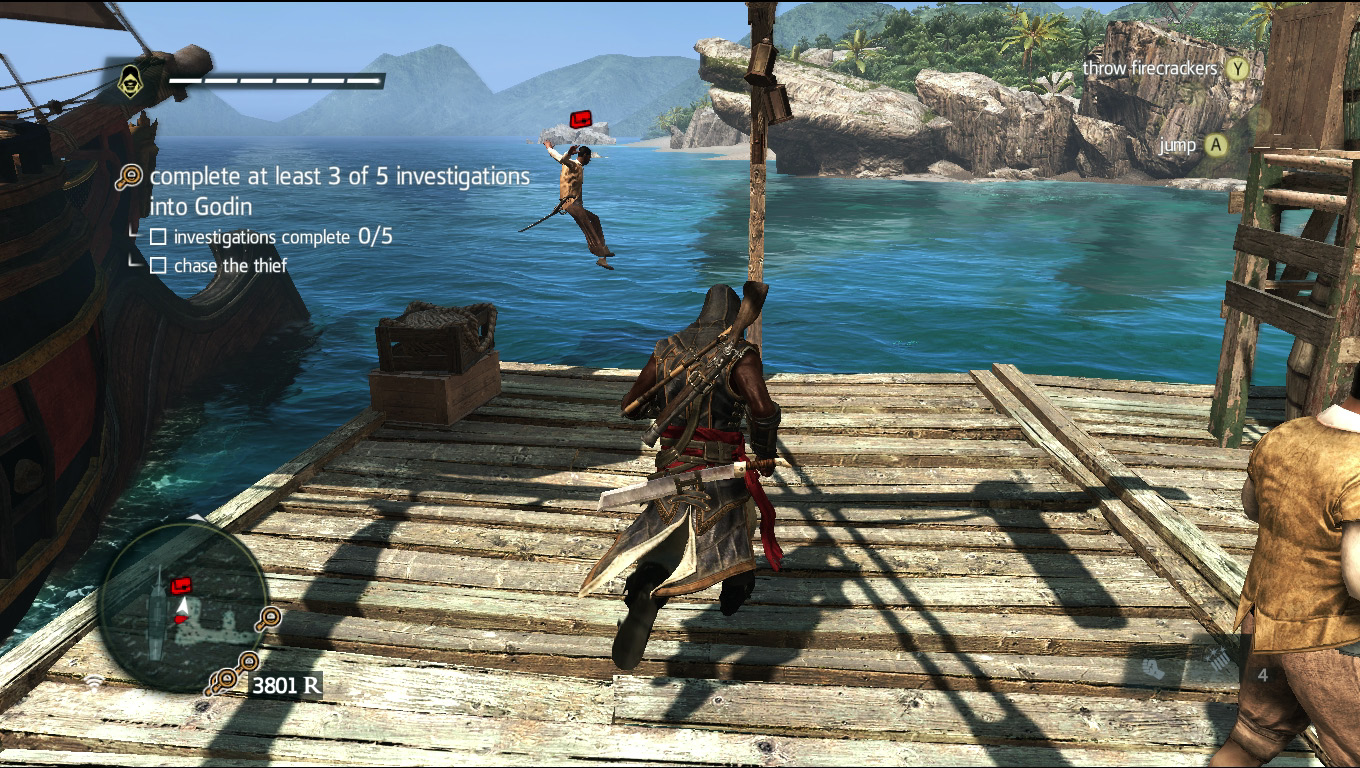
Instead of following directly after him by jumping in the water, just make your way back to the beach by walking up the dock, then turn left and wait for the courier to reach land.
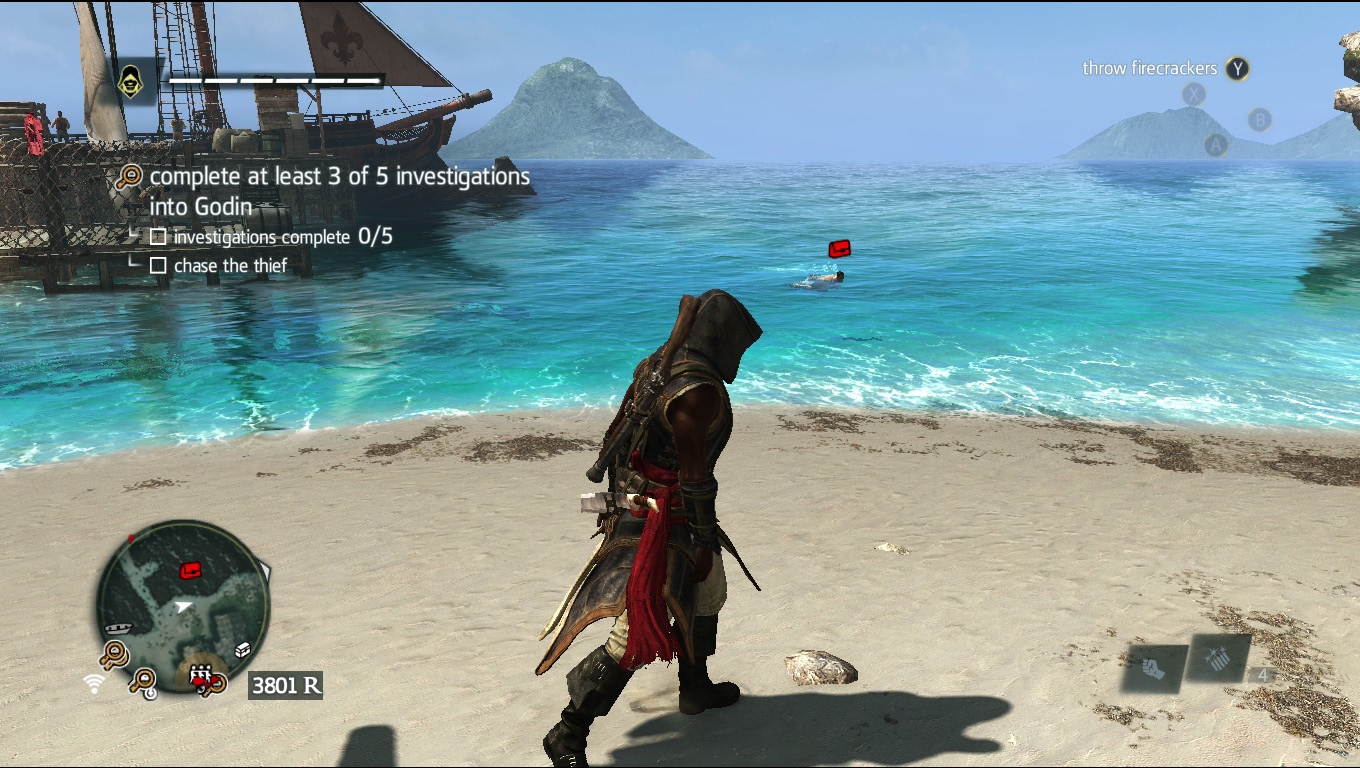
Make sure to tackle instead of knocking him out (just to be safe; this mission can get a little picky about what constitutes killing or not) and loot him to complete the investigation.
Fisherman
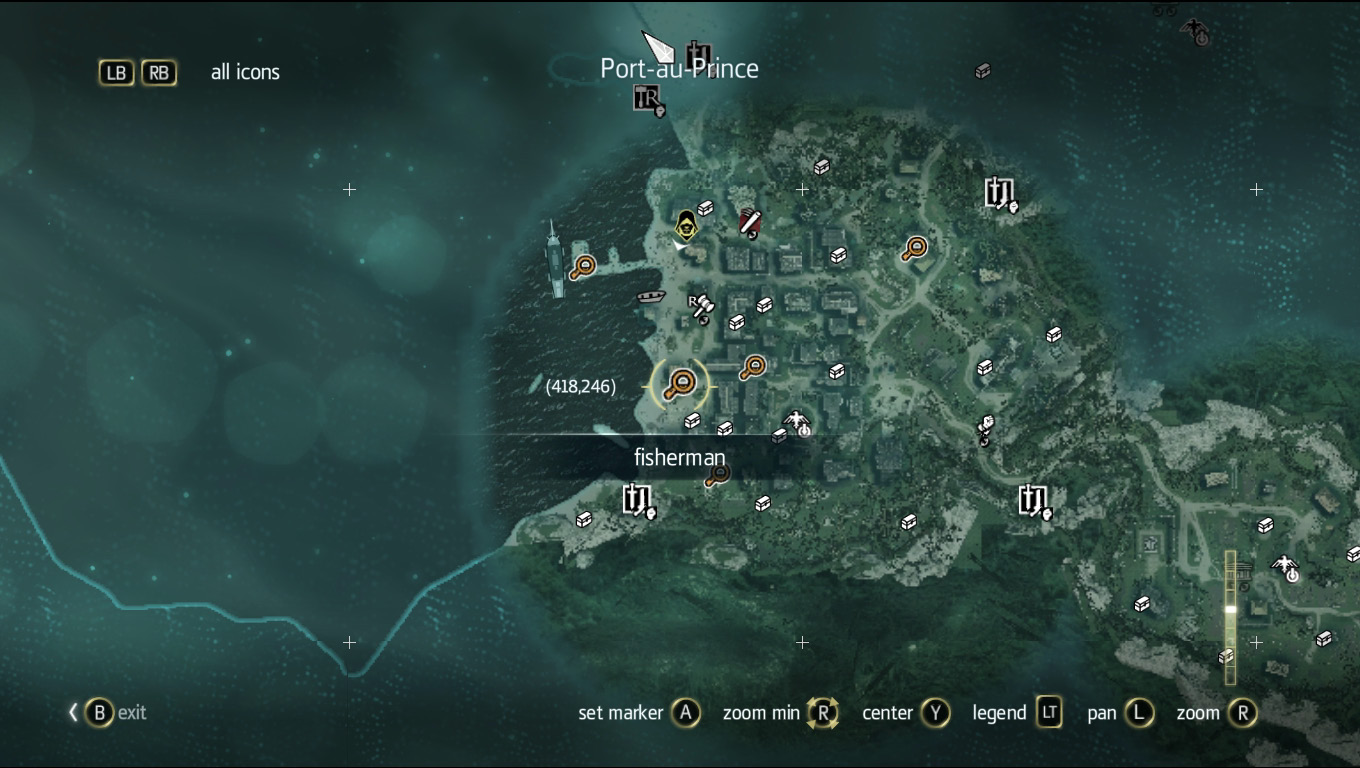
South along the beach is a fisherman, whose competition is fiercely out-fishing him. He wants you to free his competitor’s slaves for ... humane purposes—yeah, humane purposes.
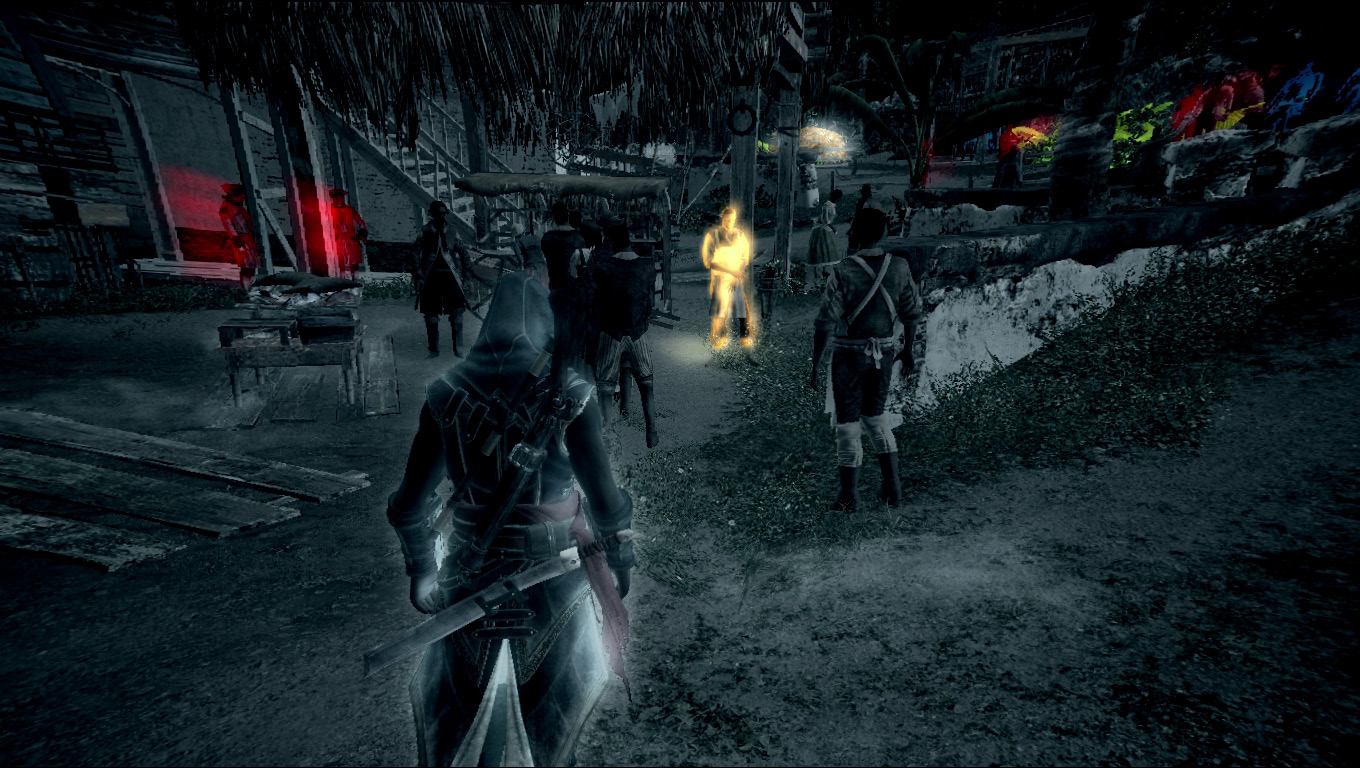
Make your way to the waypoint near the Carrier activity on the east side of the map. A man who holds the key to the slave pen nearby paces in and out of the restricted area where the slaves are being held.
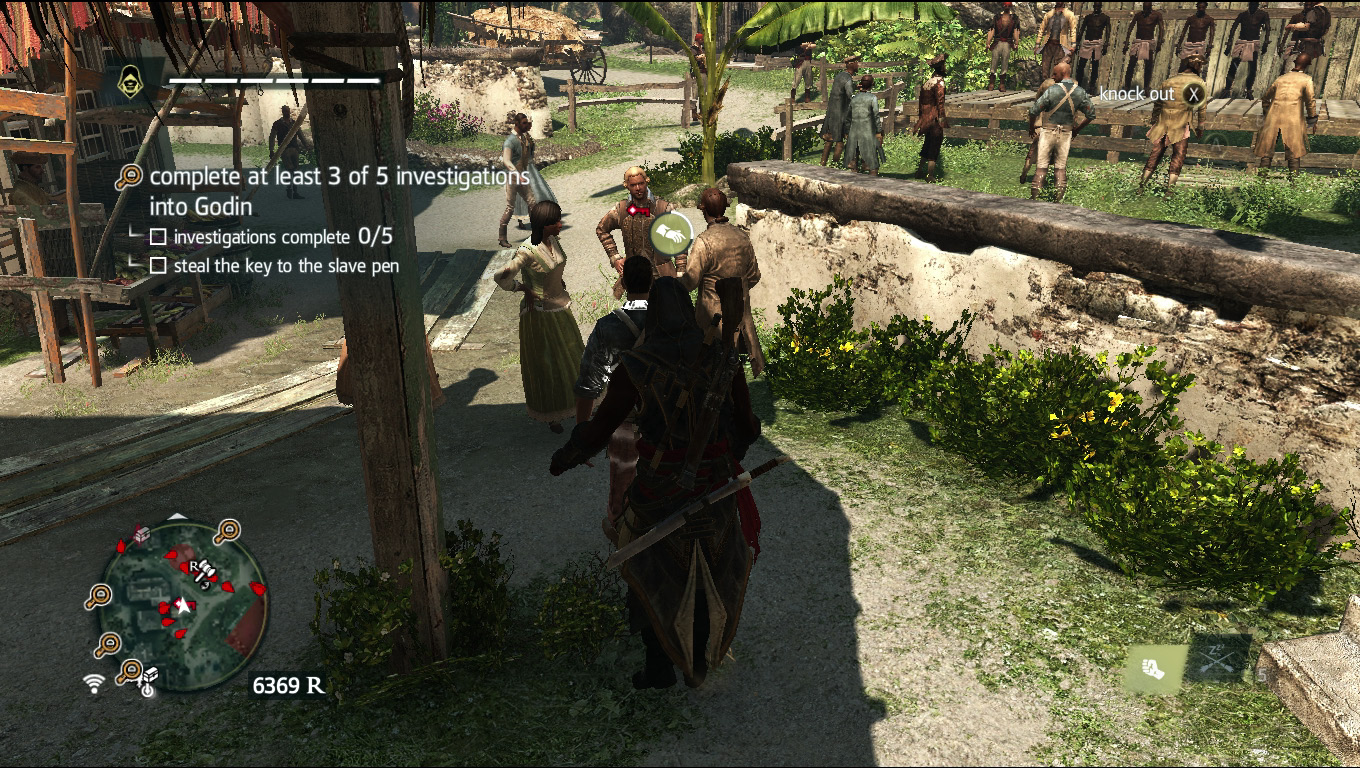
Pick his pocket to steal the key while he’s outside the restricted area.
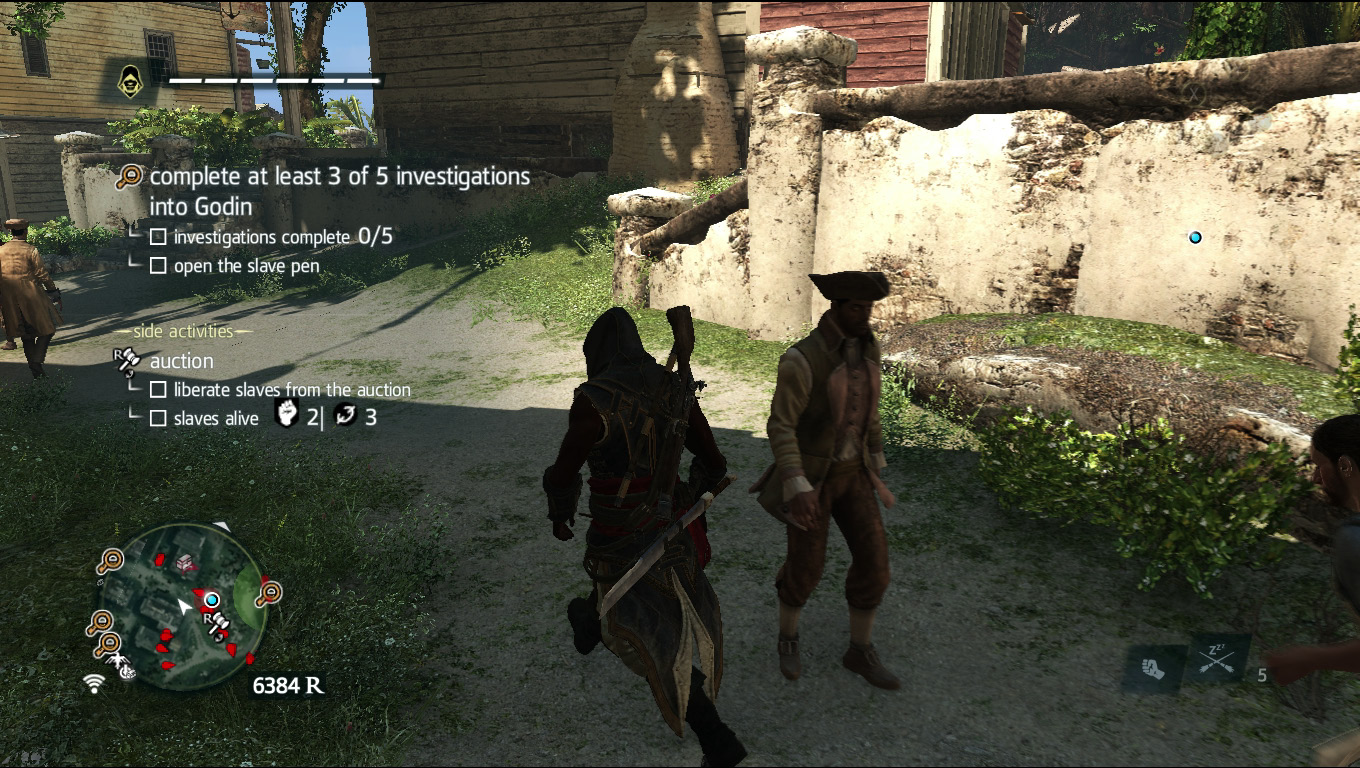
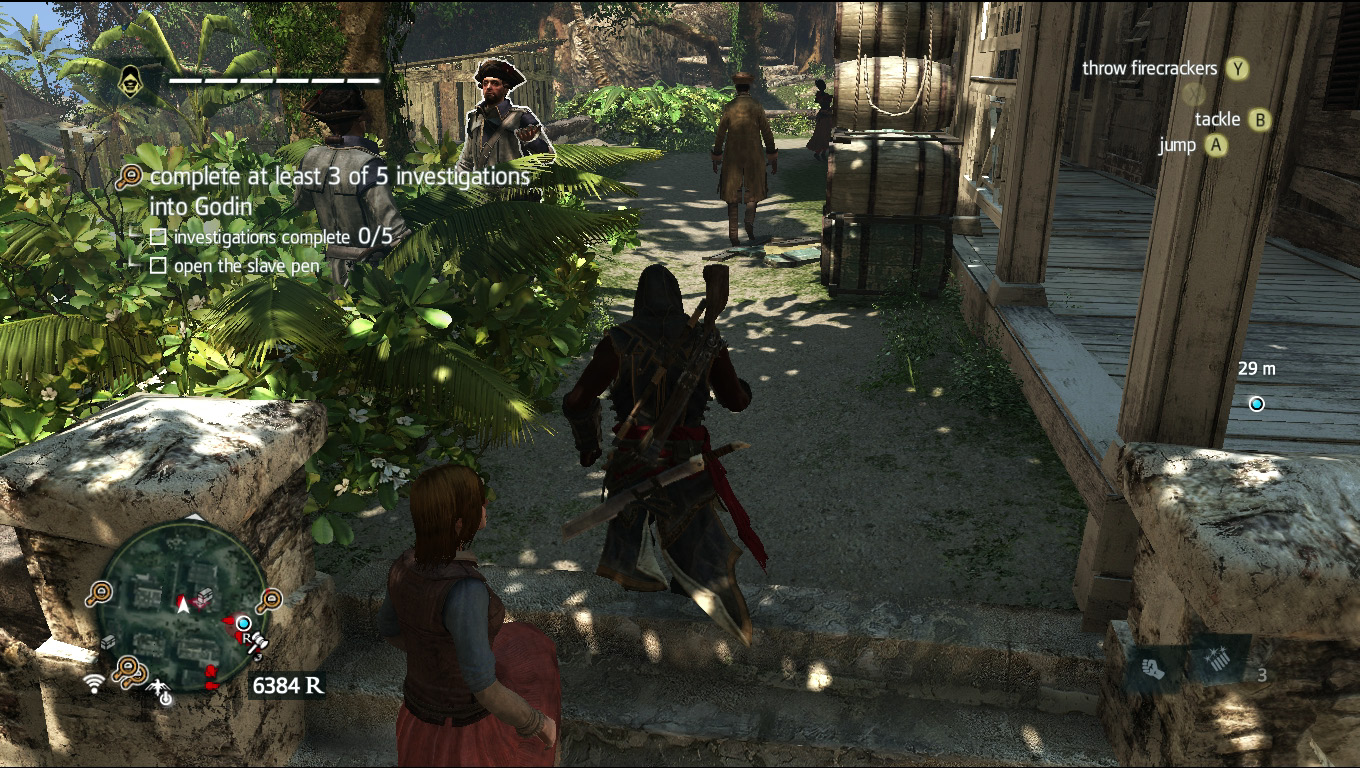
After you obtain the key, walk around the house connected to the restricted area.
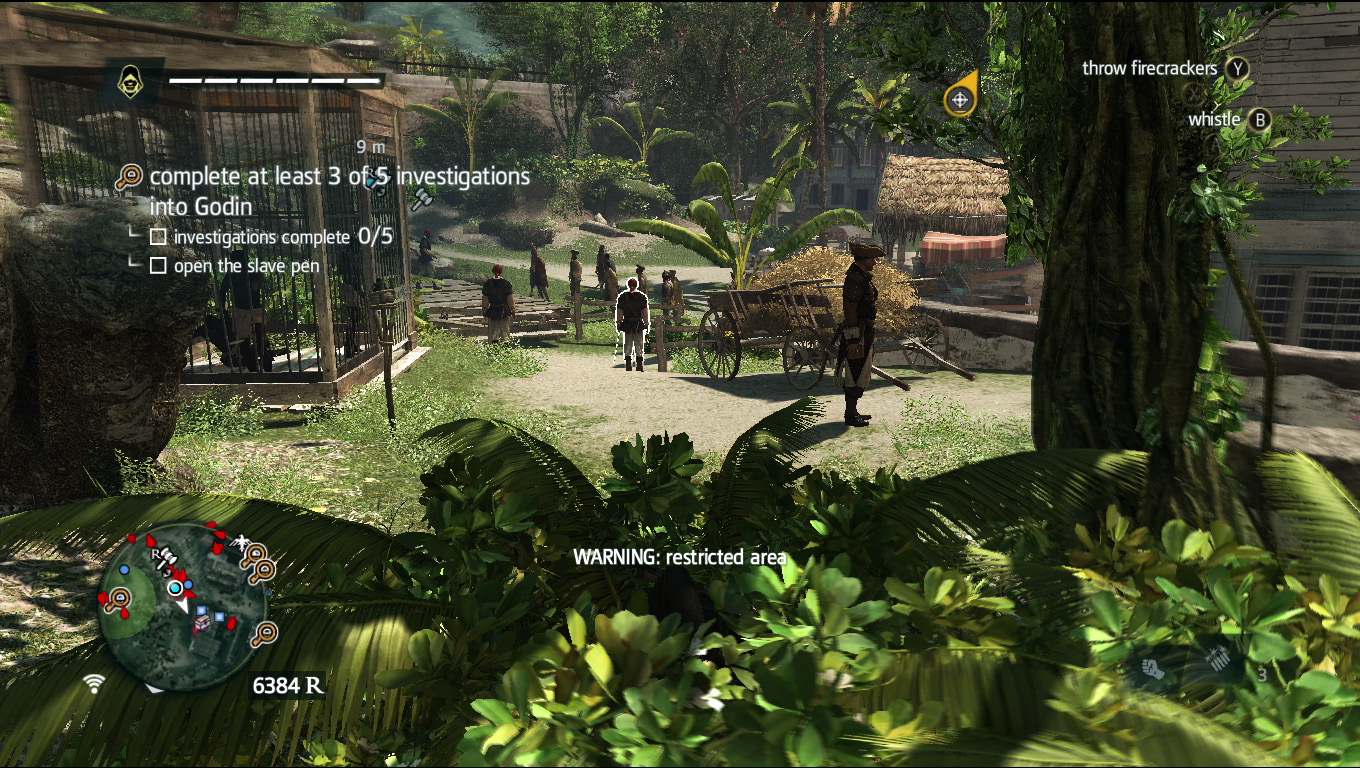
Wait in the bushes before trying to unlock the cell door and check your minimap to see if the gunman on the roof of the building nearest to your right is looking your way.
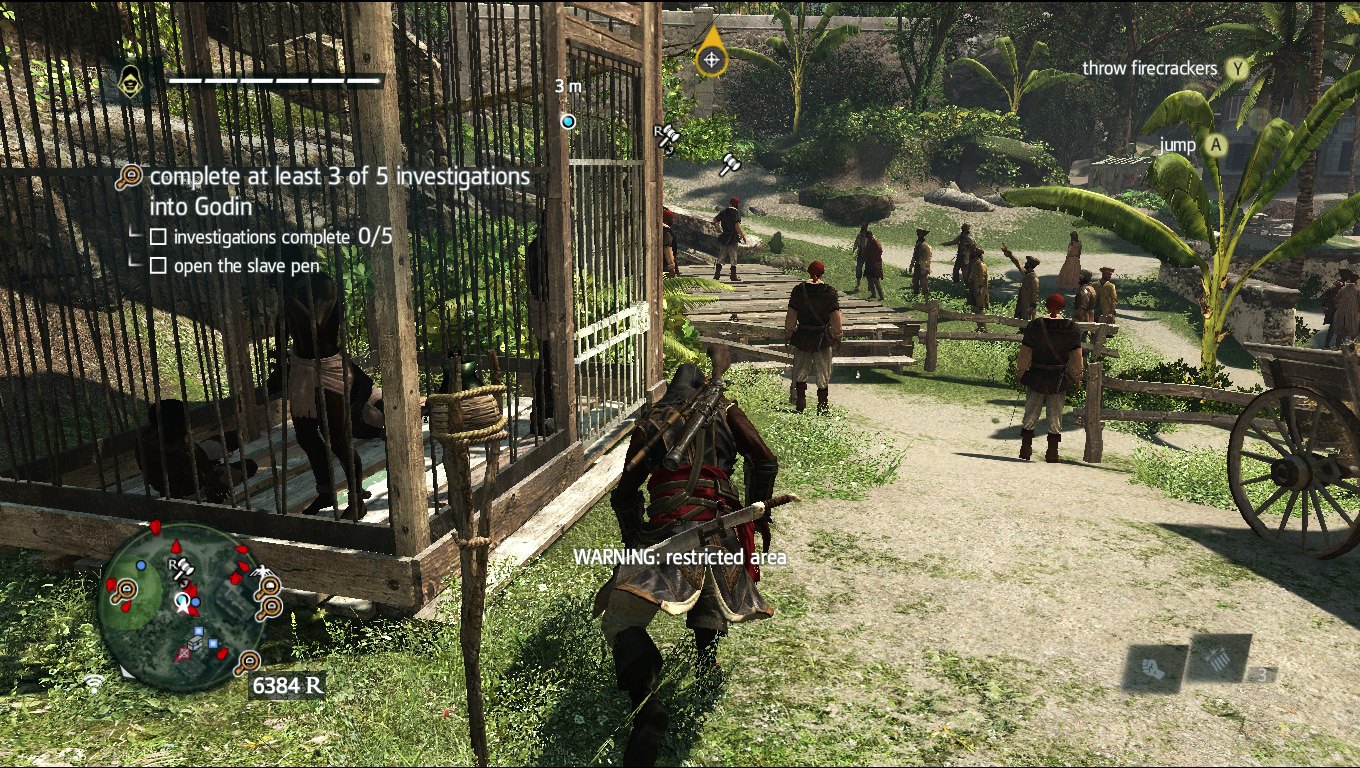
If the coast is clear, make a dash for the cell, open it, and then flee the scene.
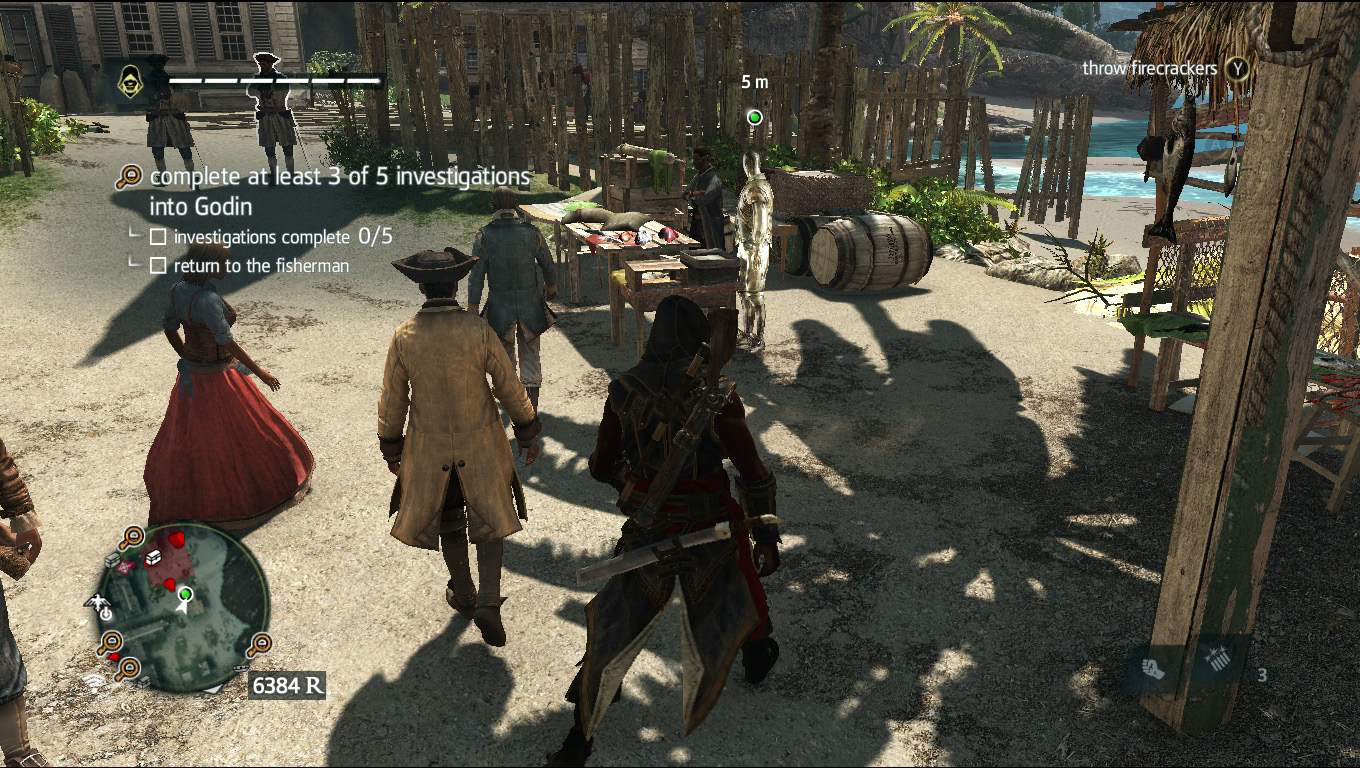
Once you shake off the overseers, return to the fisherman on the beach and he’ll give you the information you’re looking for.
Messenger
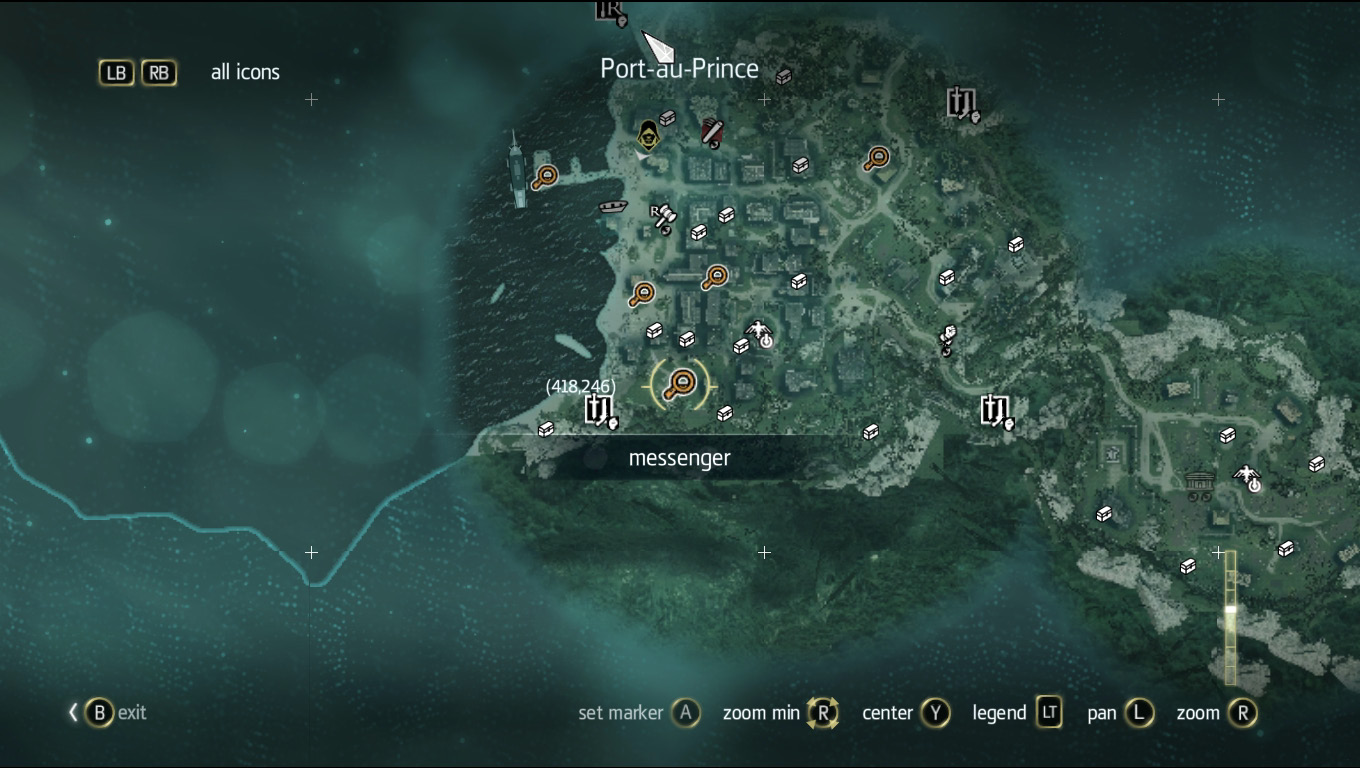
South of the Fisherman activity, just past the flag-flying fort, is a yellow circle that marks the general location of your next target.
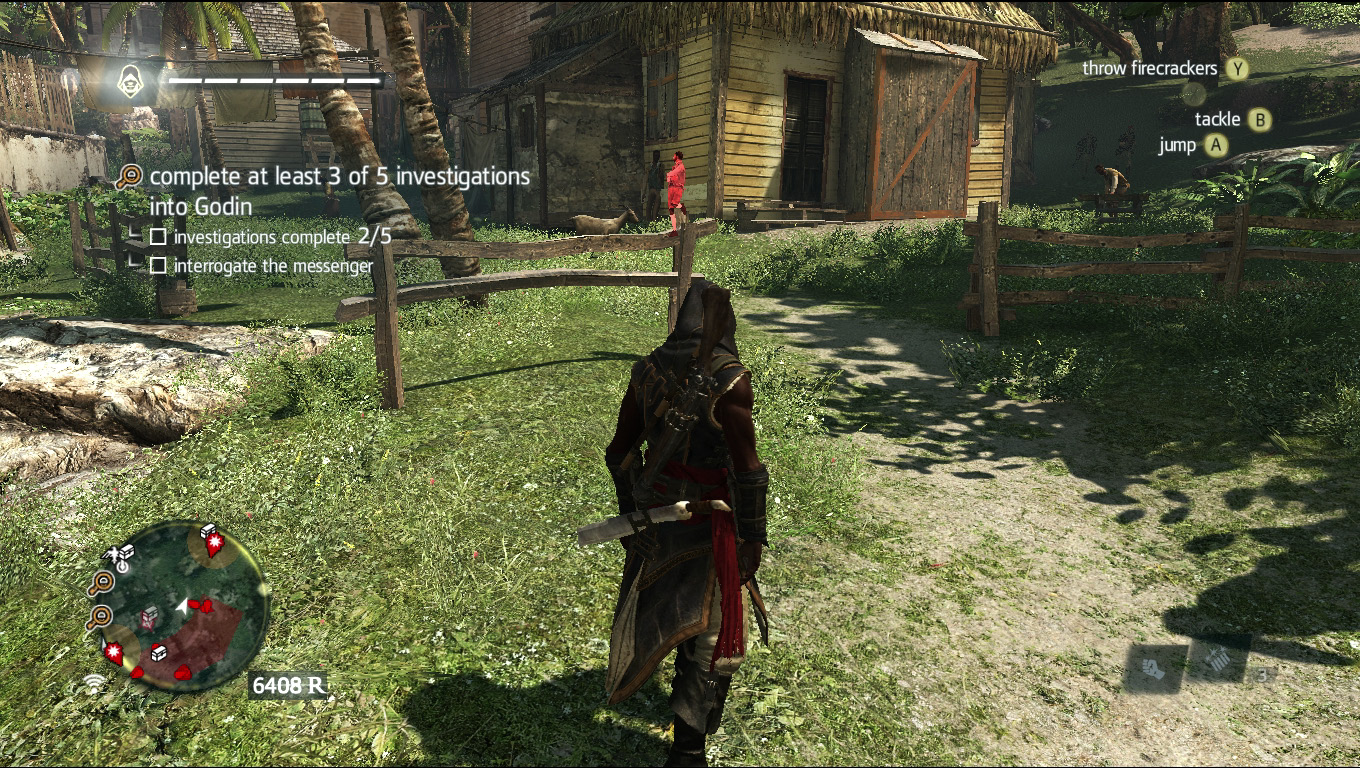
Use your eagle vision and look at the small, white, churchlike building slightly to your left to find the target.
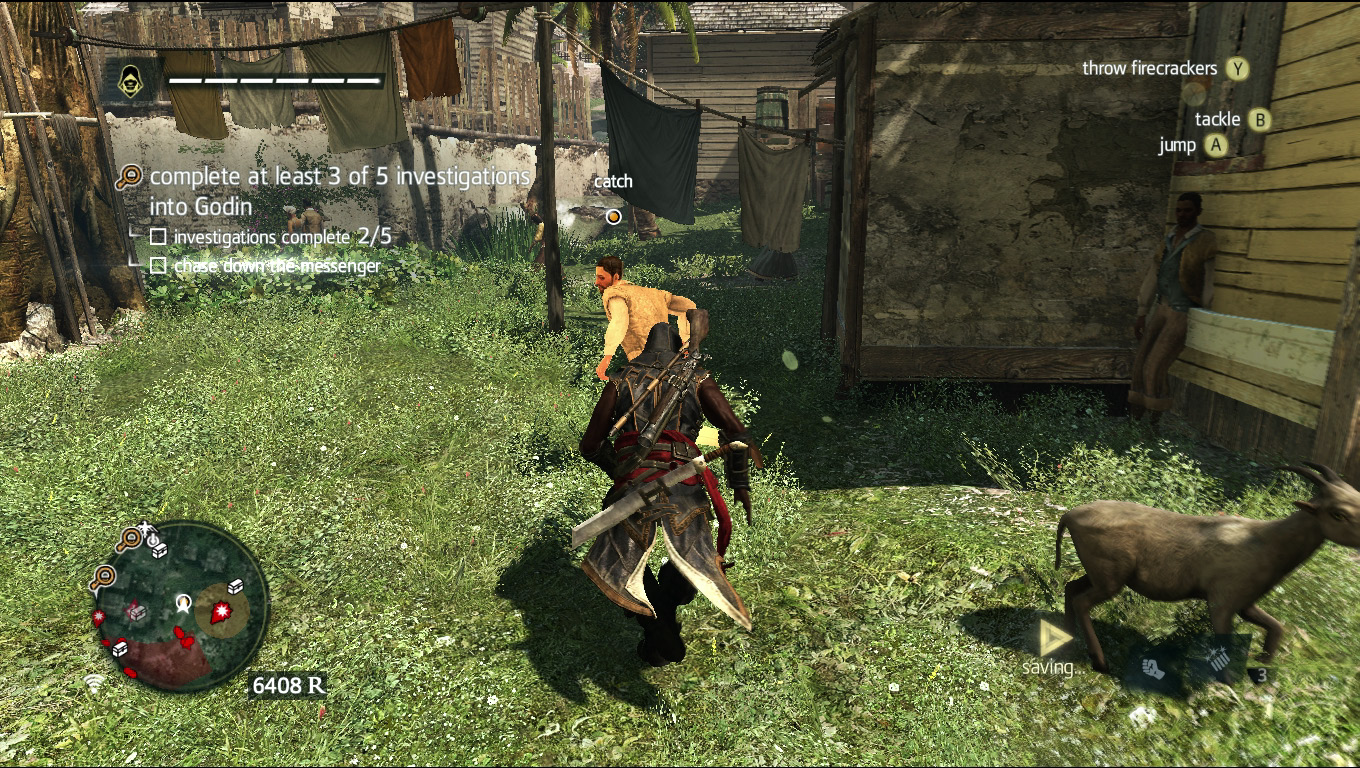
Make your way toward him, but be ready for him to start running. Tackle him as soon as you come into contact with him and he’ll sing like a canary.
When he’s done spilling his guts you can move onto the next activity.
Scientist
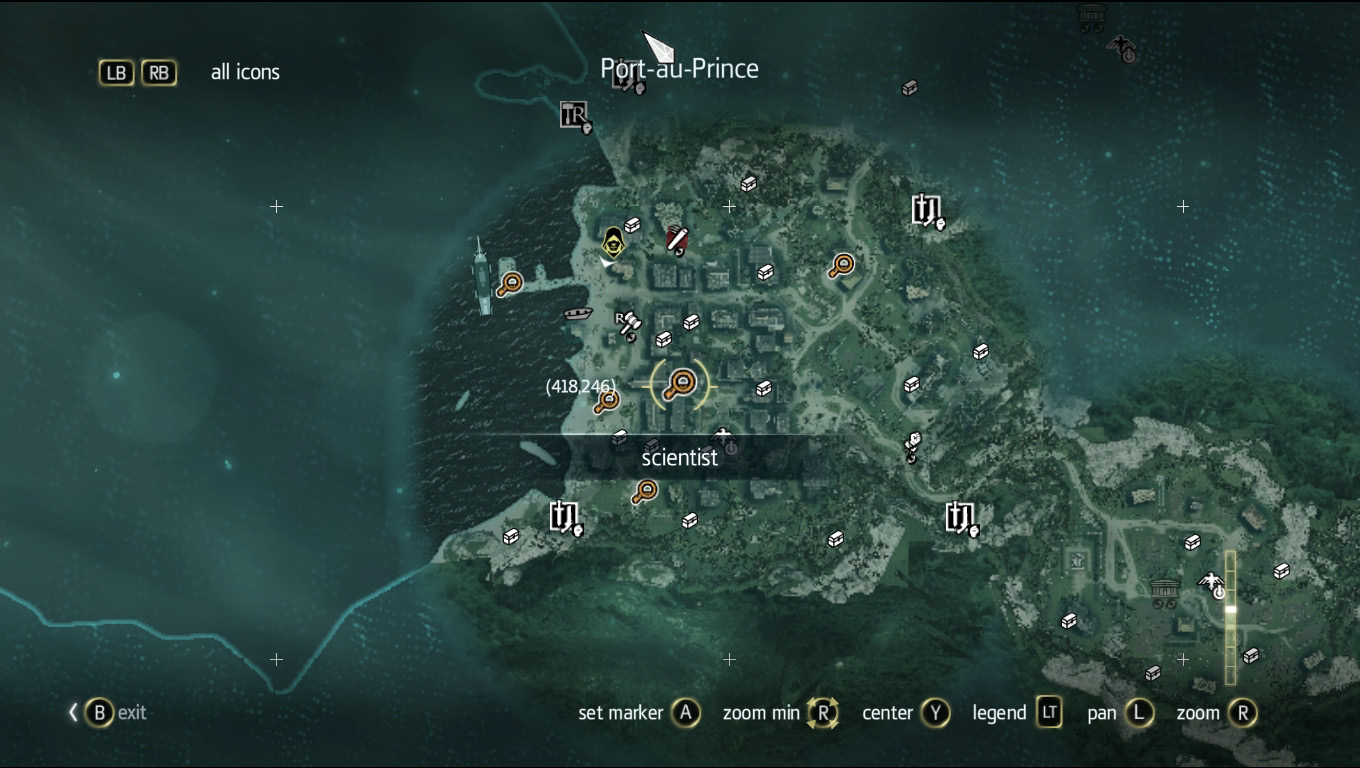
Just a little way from where you caught the Messenger is the Scientist activity.
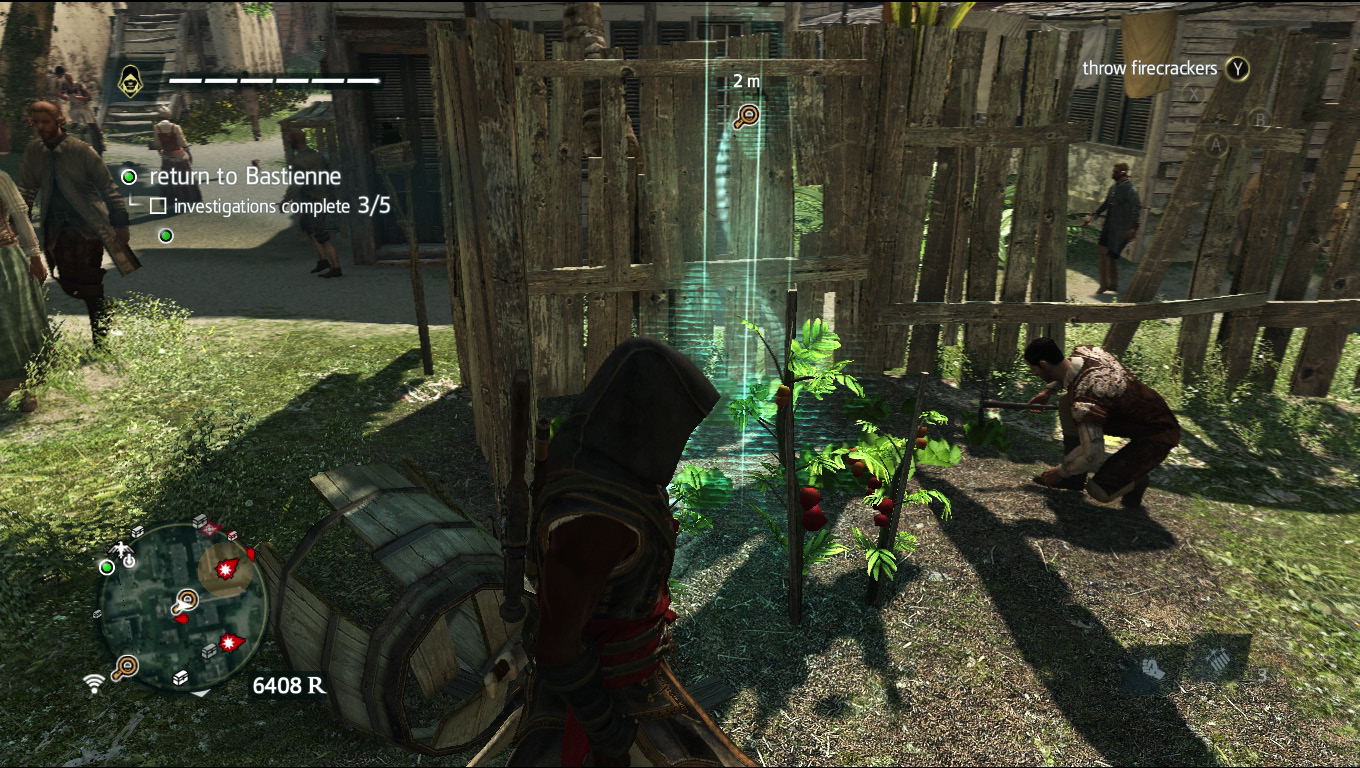
Walk in the spire of light and press up against the fence to listen in on the conversation.
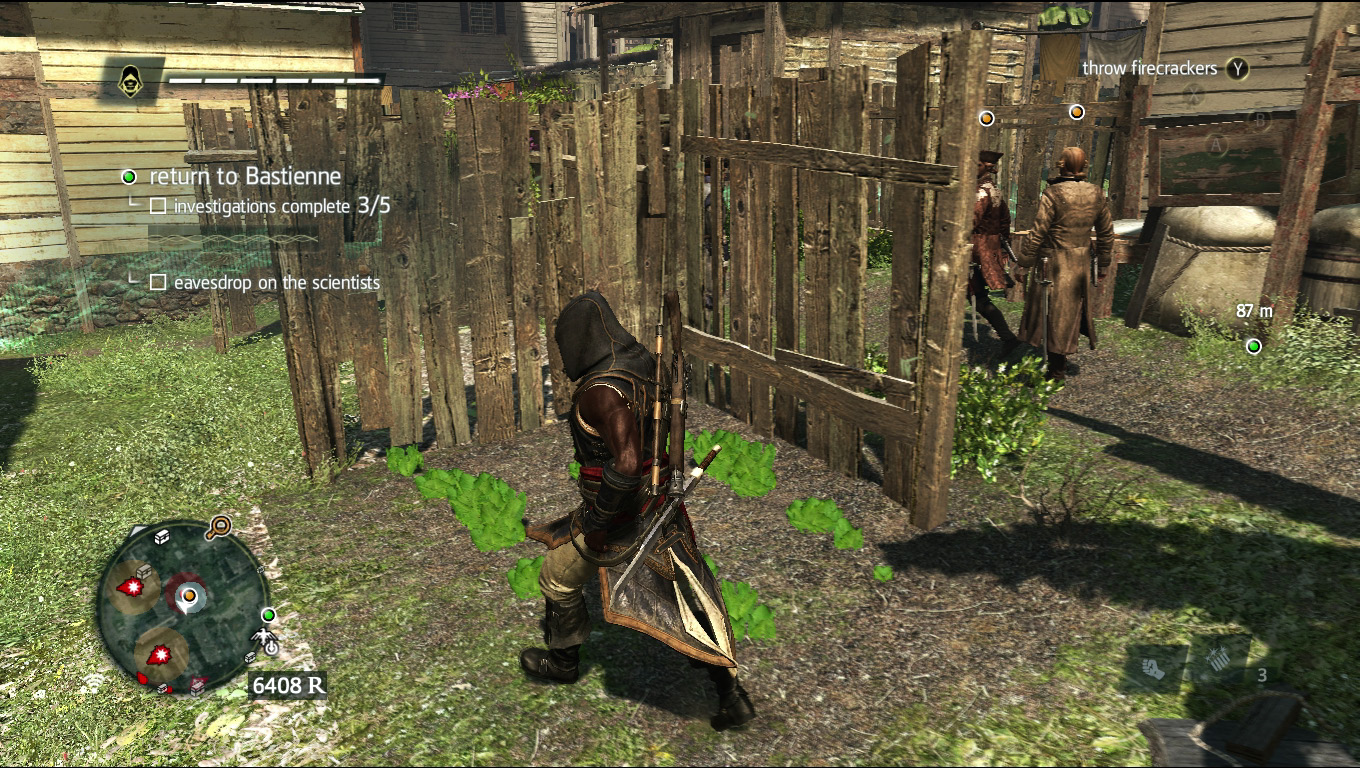
Stay on the other side of fence and follow them to stay inside the green circle as they walk past you.
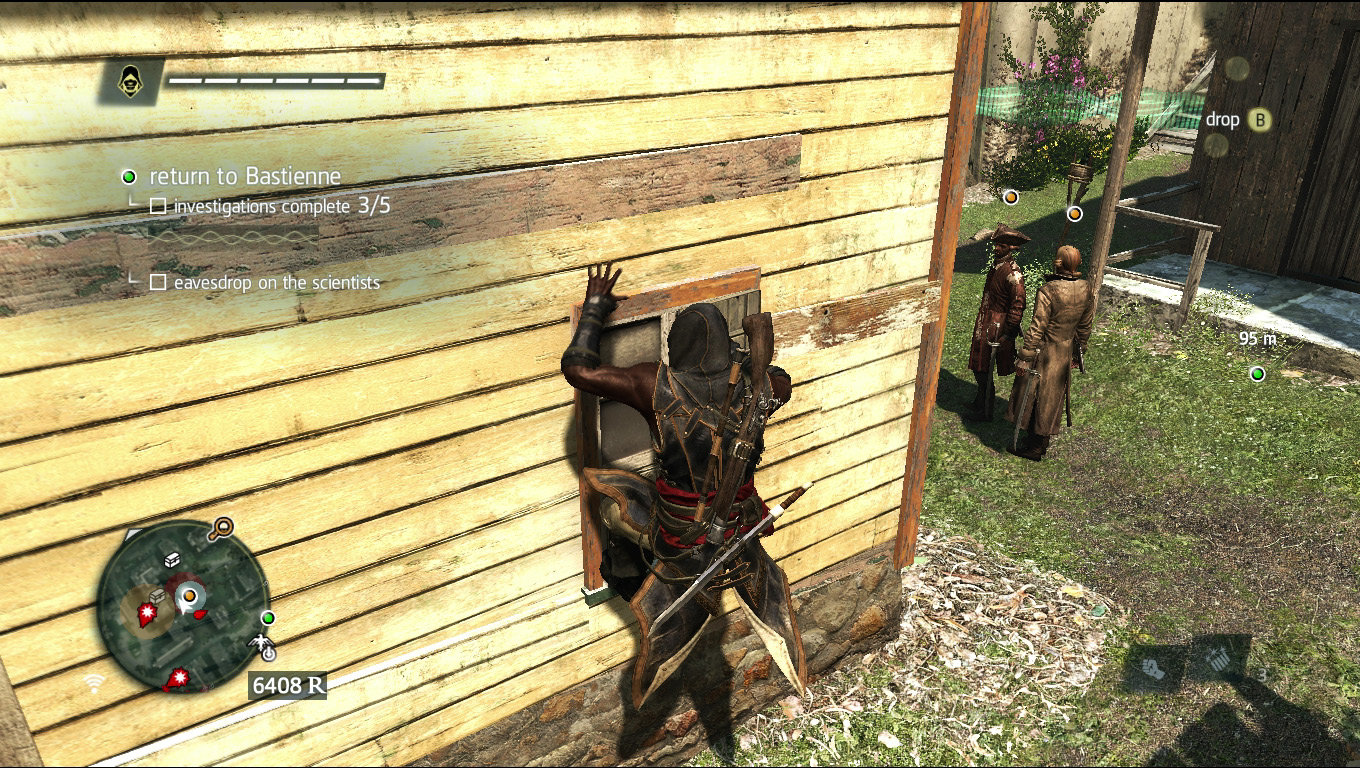
Climb onto the roof of the yellow house where the fence ends and move toward the tree branch on the roof’s other end.
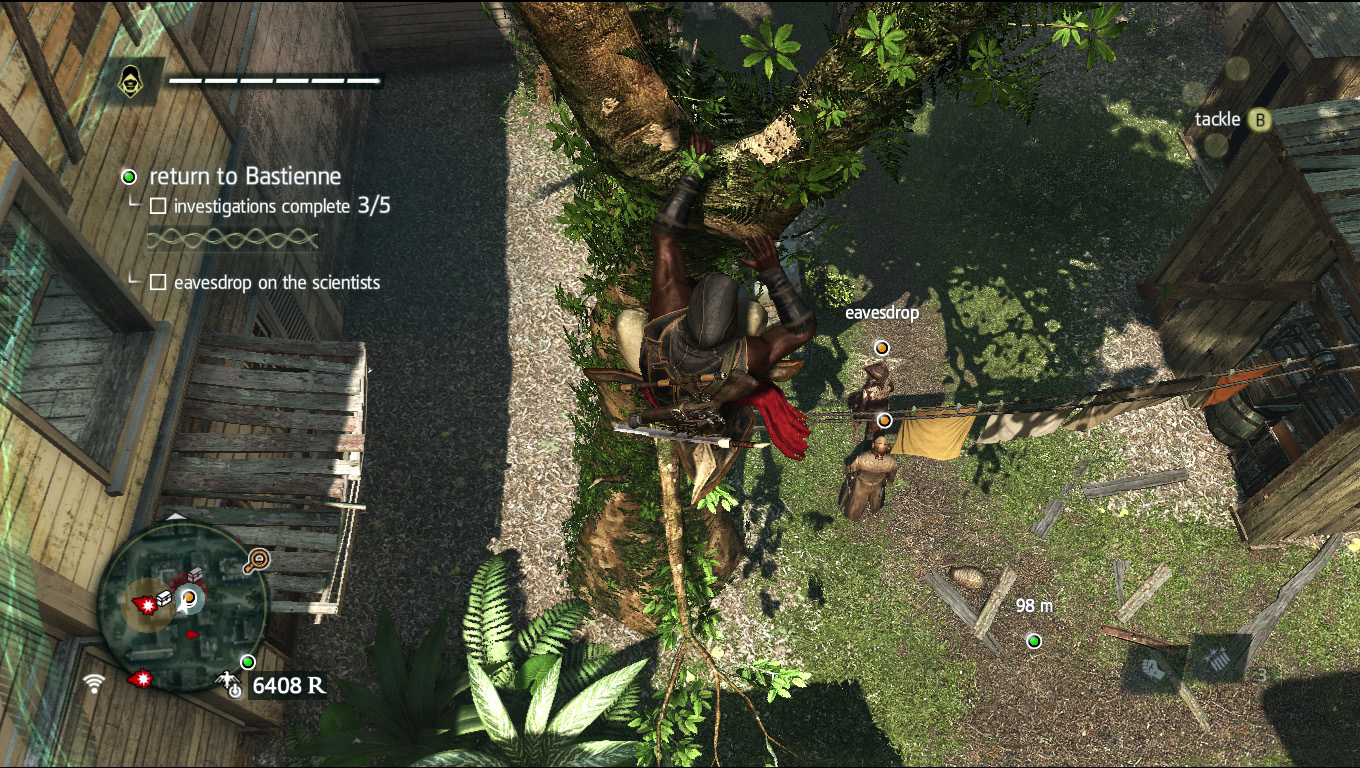
Jump onto the tree, then to the one in front of it and wait for the scientist and his cohort to continue on.
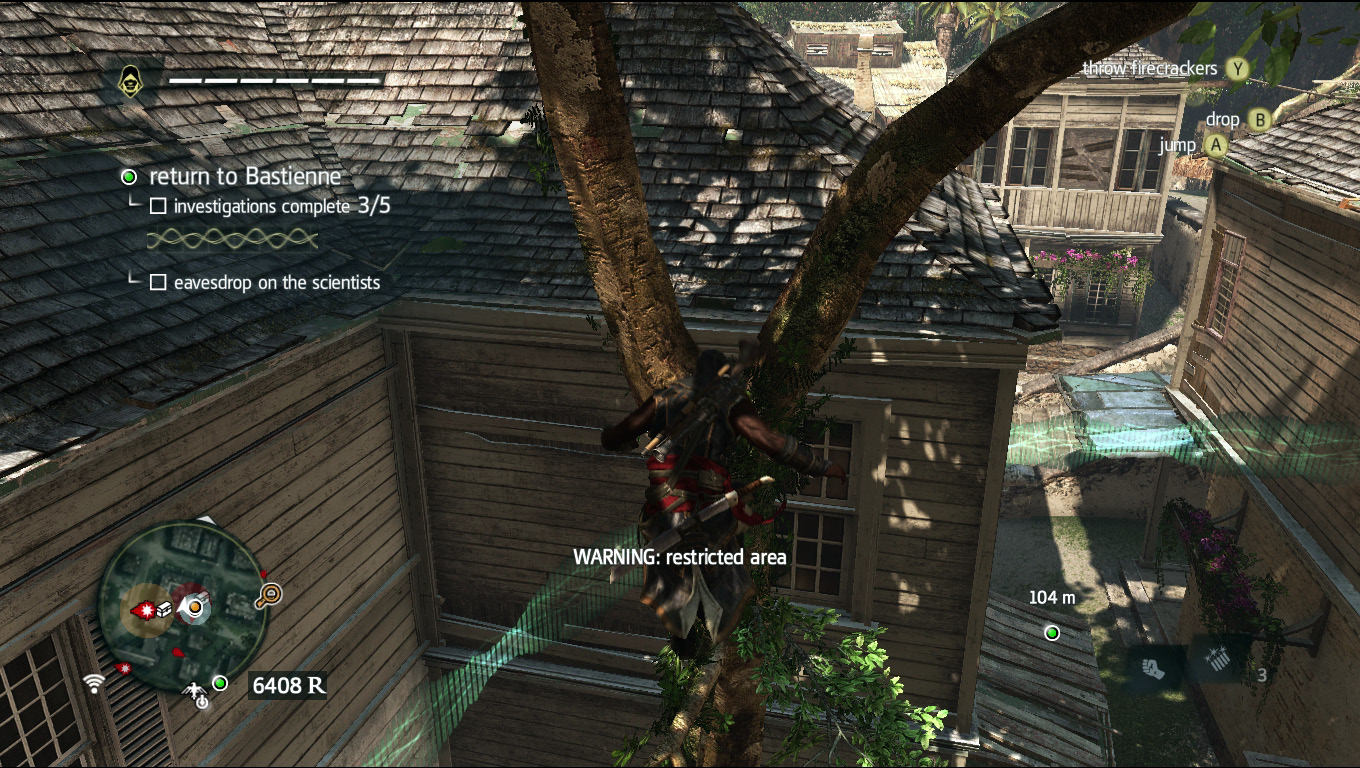
Once they start moving again, jump to the next tree and then onto the roof of the building just ahead of it.
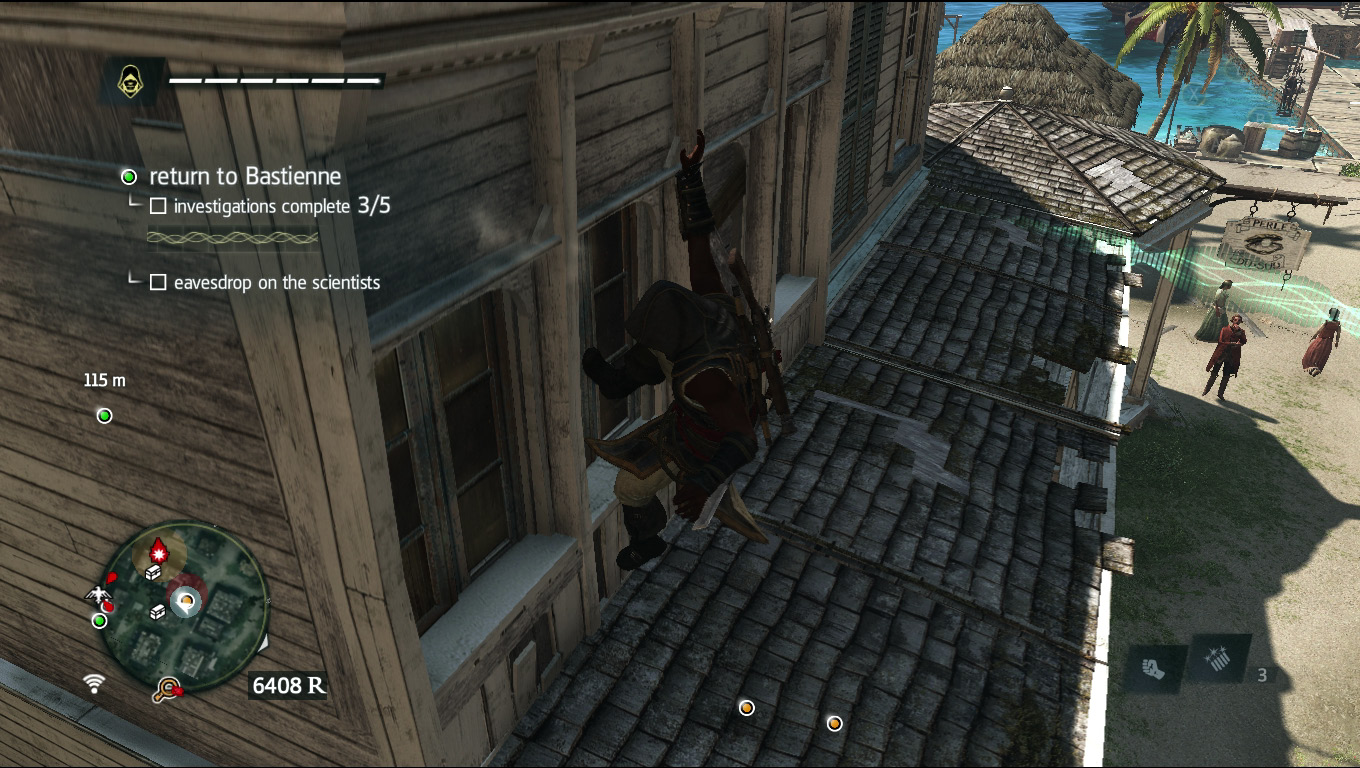
When the pair round the corner, jump down to the lower roof of the building you are on.
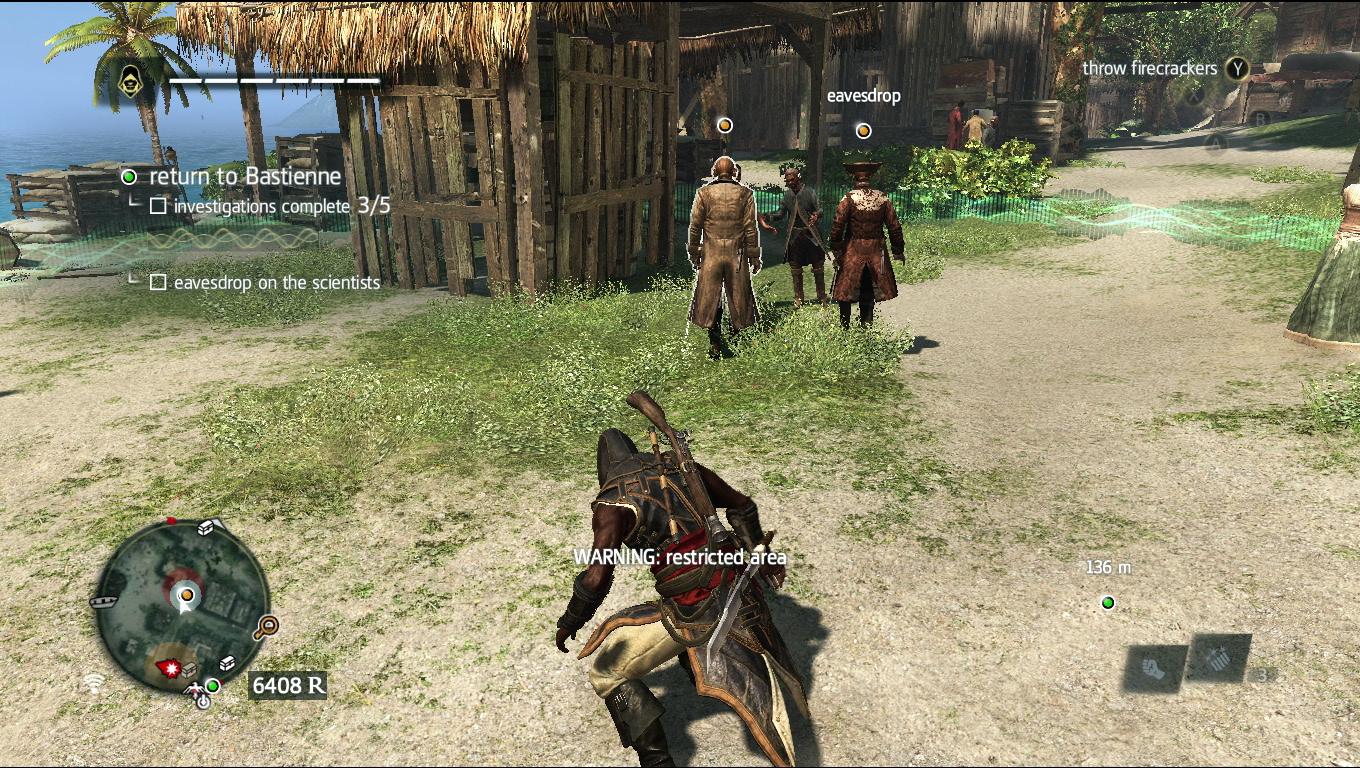
The pair will then move out into the open toward the shack just up ahead. Jump off the building and stay close behind them.
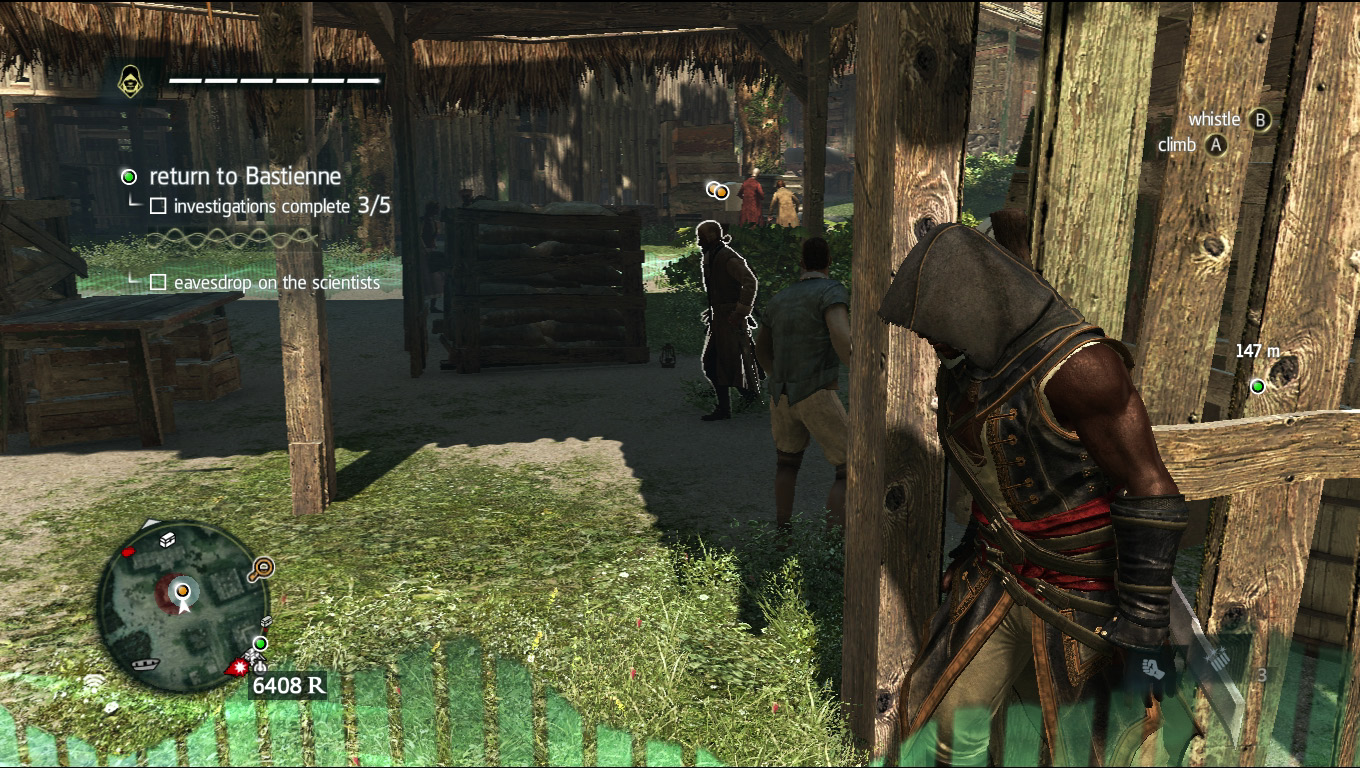
As they enter the shack through its front, work around the left side of it and lean up against the wall to listen in to the last bits of their conversation.
Once they’re done chatting, you’re free to move on to your next activity.
Carrier
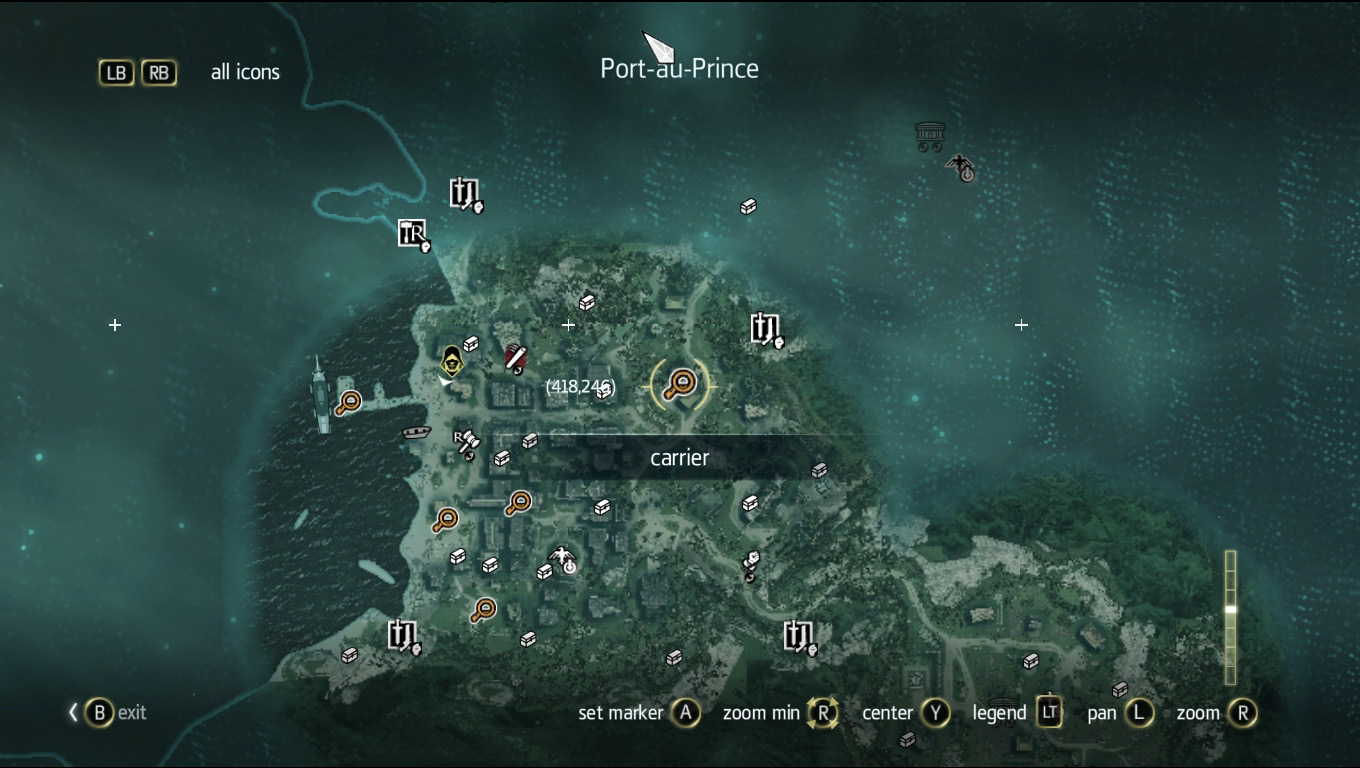
Just past the slave pens, where you freed the slaves for the Fisherman, is the Carrier.
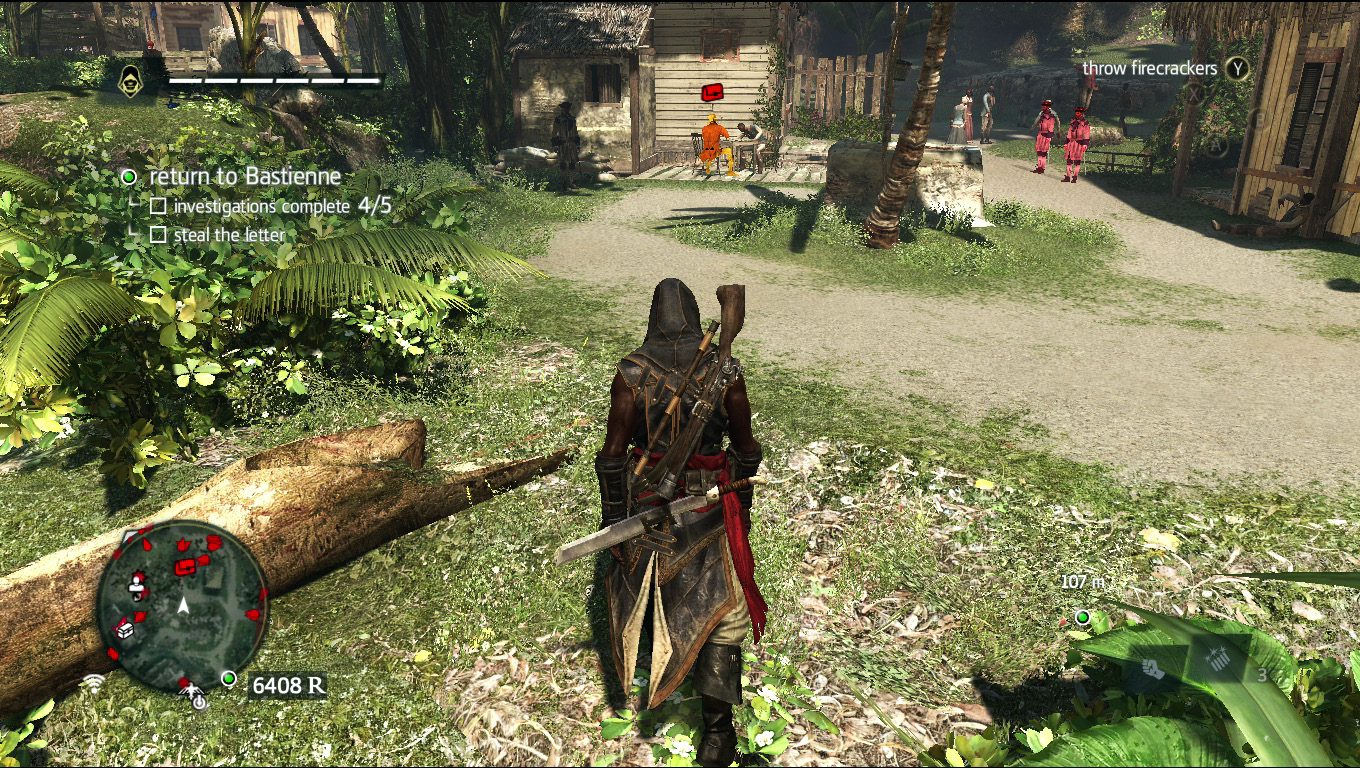
Once you’re in his general area, turn on your eagle vision to spot him—he’s arm-wrestling in front of a white house.
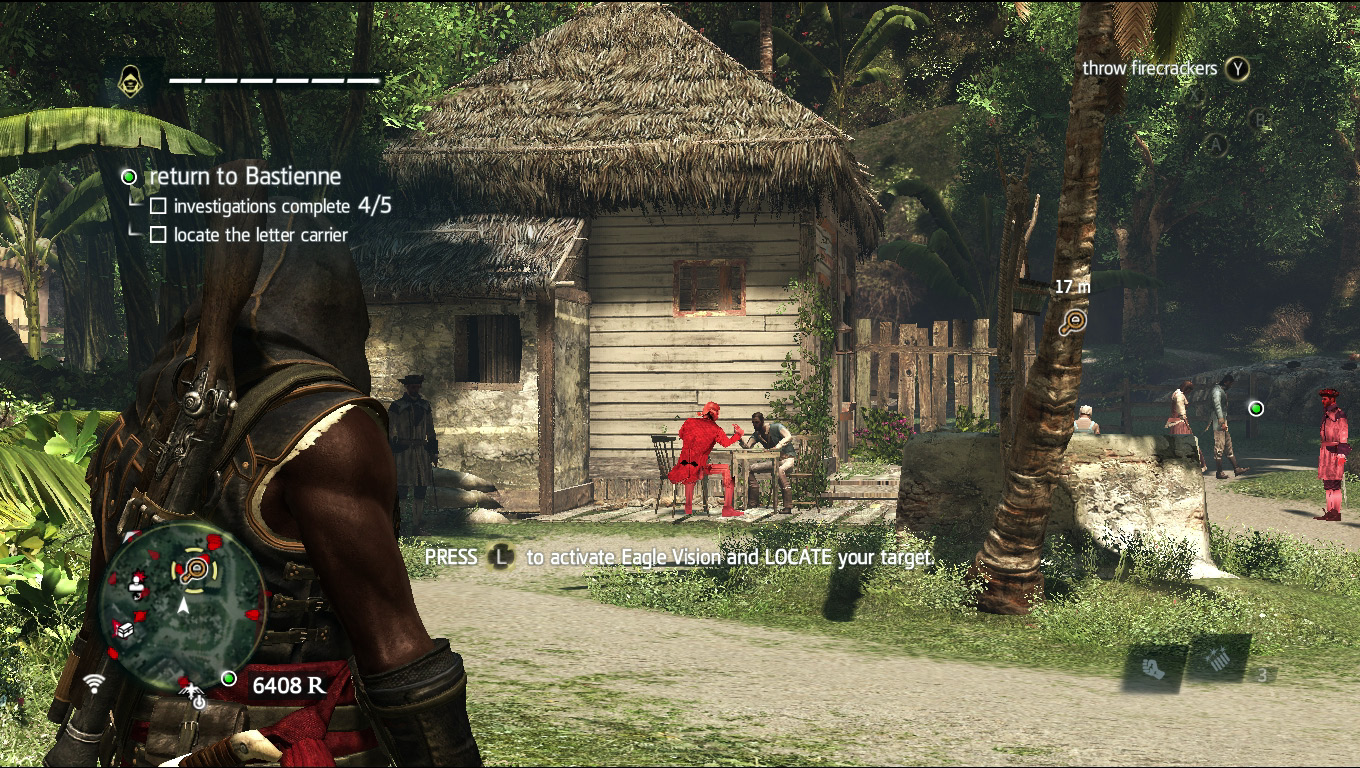
As soon as you get near he wraps up his game and begins to walk away. Stay close to him, but don’t tackle him outright; lots of overseers are in this area and getting the letter off his person will become very difficult if you agitate them.
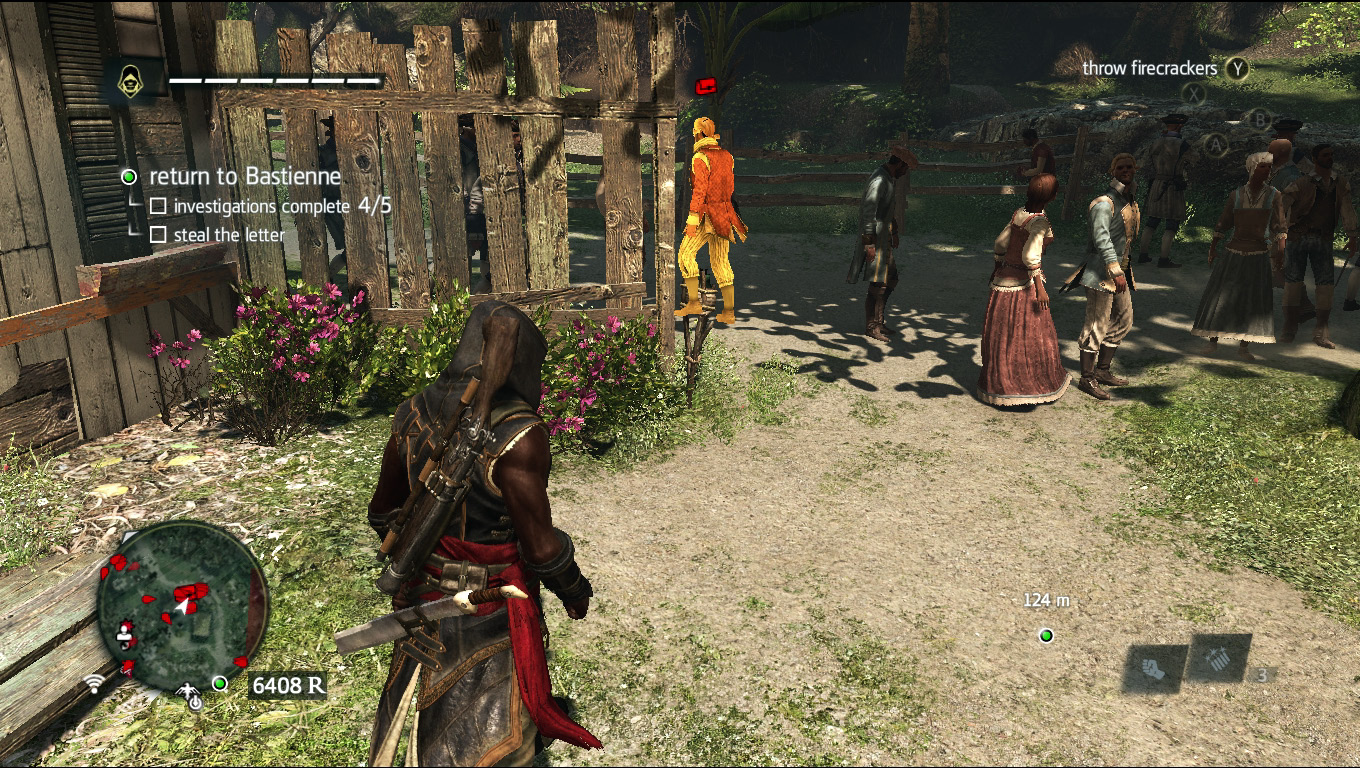
You’ll have two opportunities to pick his pockets: after the first corner he rounds ...
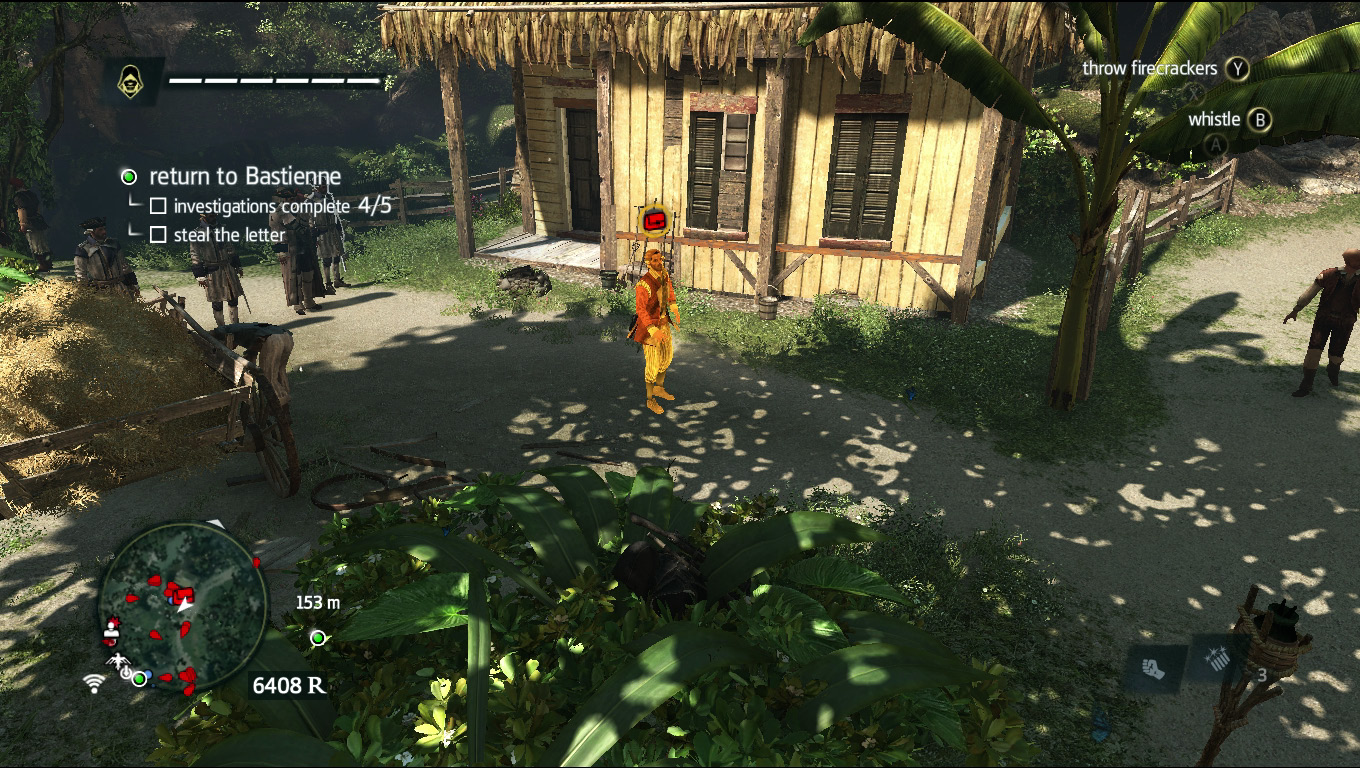
Or after he reaches the wall of guards just up ahead and then leaves (he stands in front of them for a bit, trying to contemplate a way around them, then turns around and looks for another way). Just wait in the nearby bushes for him to turn around, so he doesn’t spot you when he does.
Pick his pocket to get the letter and you finish the activity.
A Job Well Done
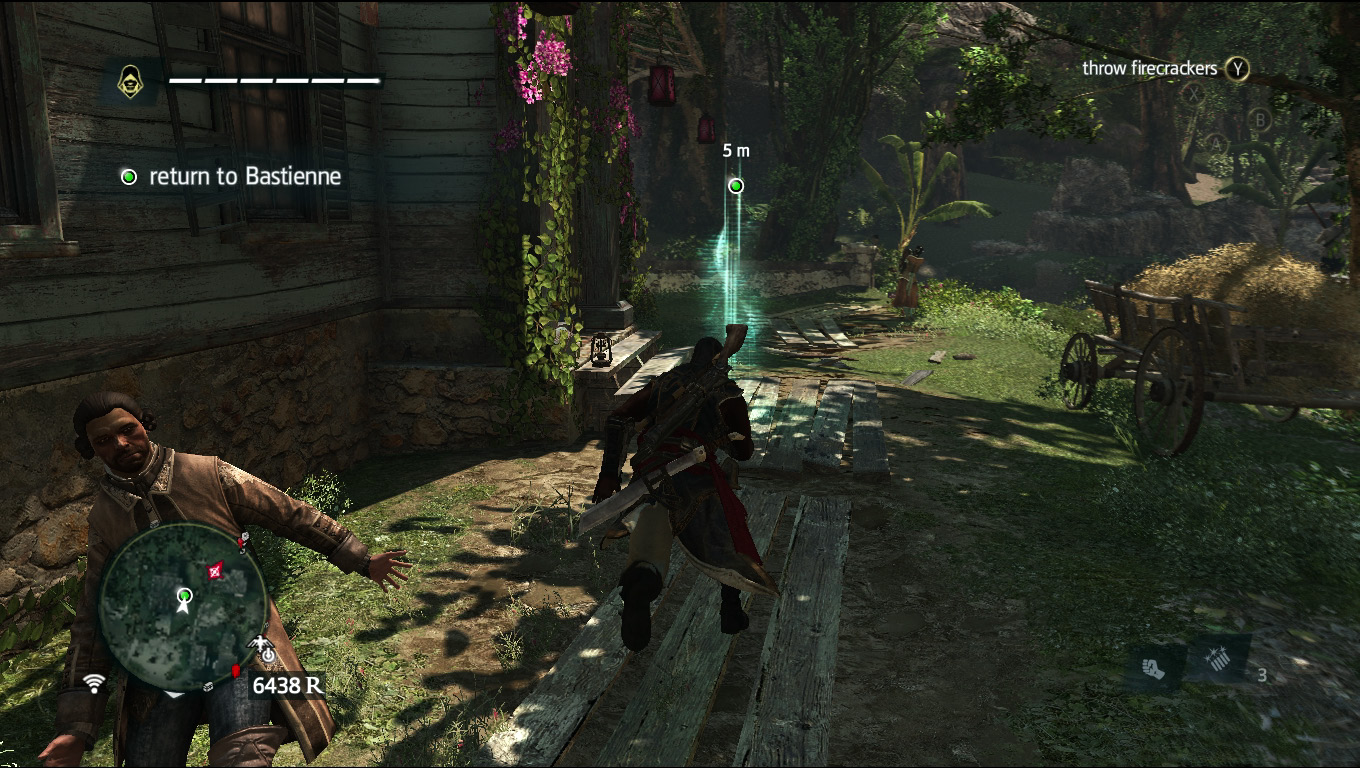
Head back to Bastienne’s to wrap up the mission, but make sure you head through the door marked by the waypoint or she won’t be inside the brothel.
MEMORY END
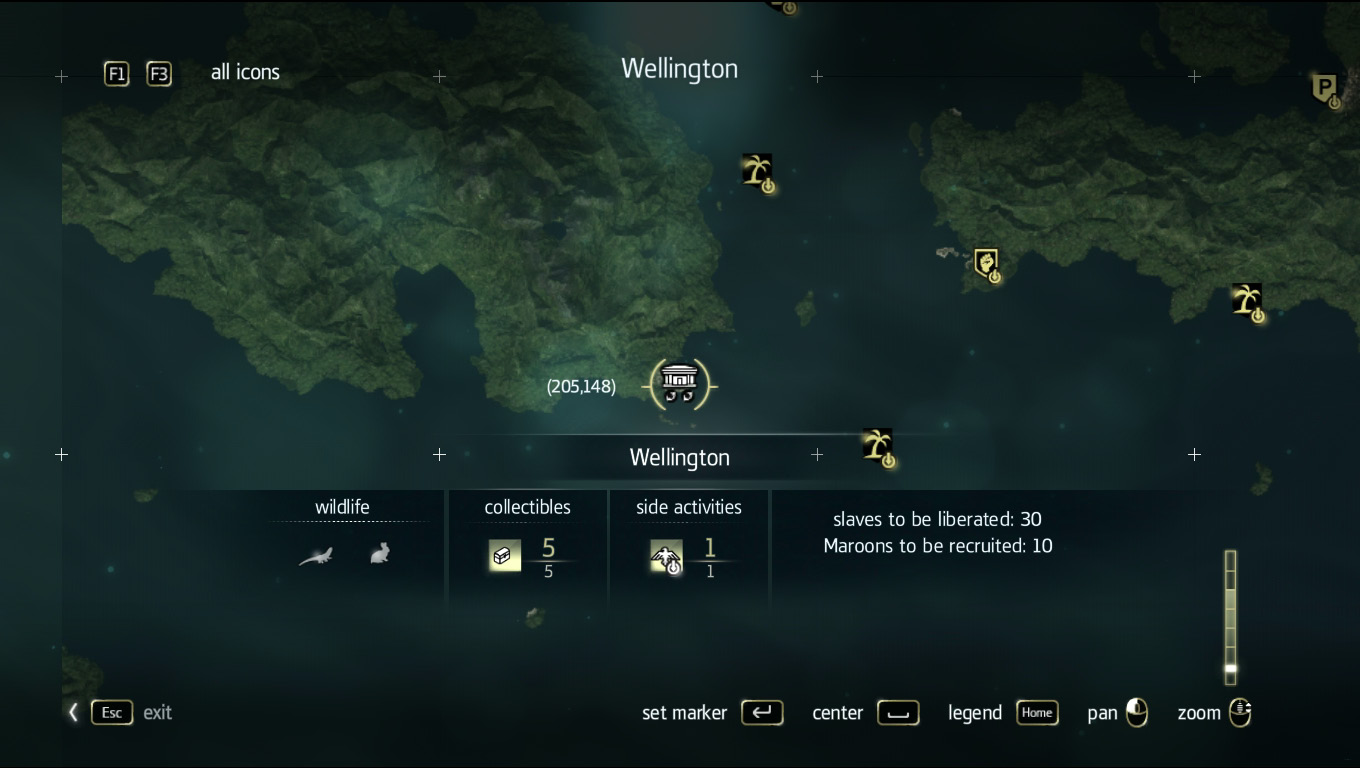
Once the Memory ends, you must liberate Wellington plantation before you can start the next Memory. You’ll find the plantation on the southwest corner of the West-Indies sea. Once you’ve finished that task, head back into Bastienne’s brothel to start up the next one.