
Assassin's Creed IV: Black Flag Guide Freedom Cry DLC Memories
Memory 1: The Calm Before the Storm
Optional Objectives
|
Trouble on the Horizon
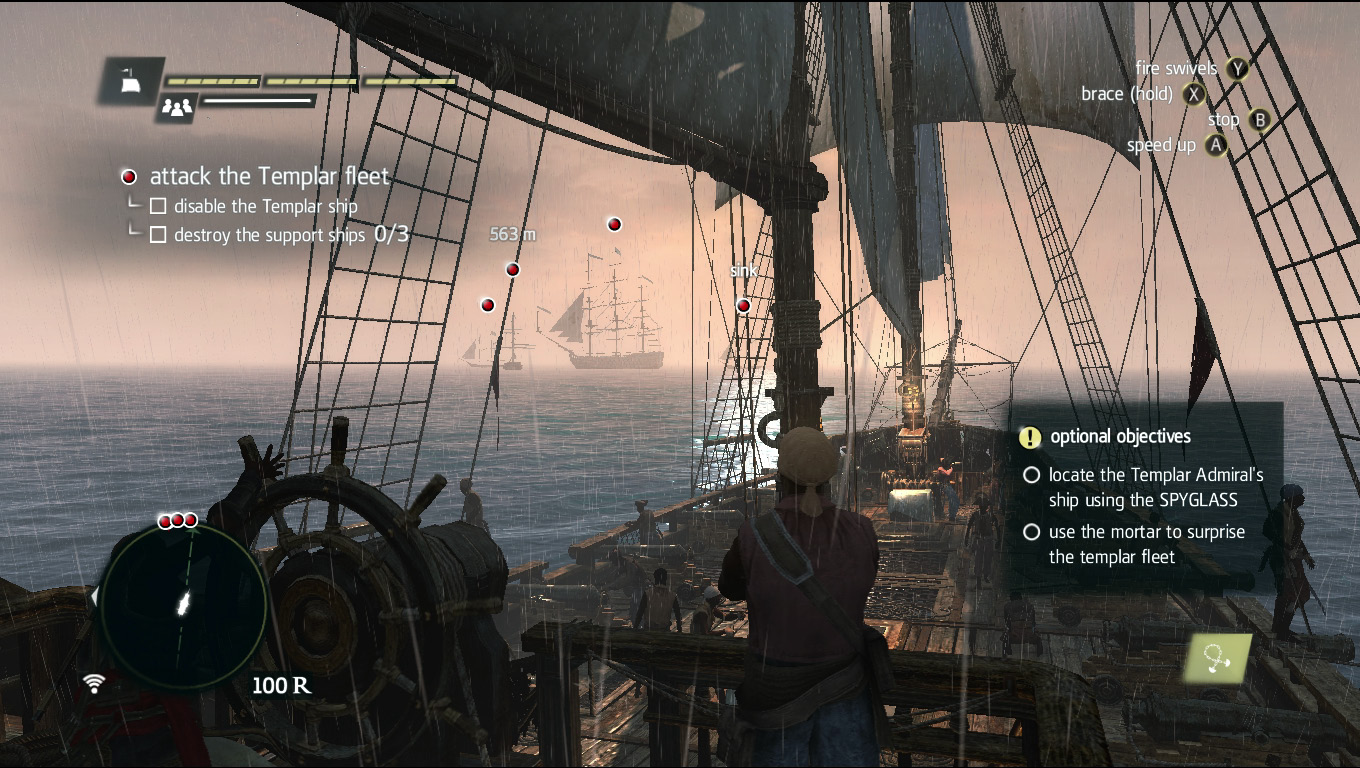
You start aboard a ship playing as Adewale—whom you should recognize if you played Black Flag’s main campaign. Up ahead and slightly to your left is a fleet of Templar ships that are in desperate need of sinking, but don’t get ahead of yourself; you can get both of the optional objectives out of the way before engaging them.
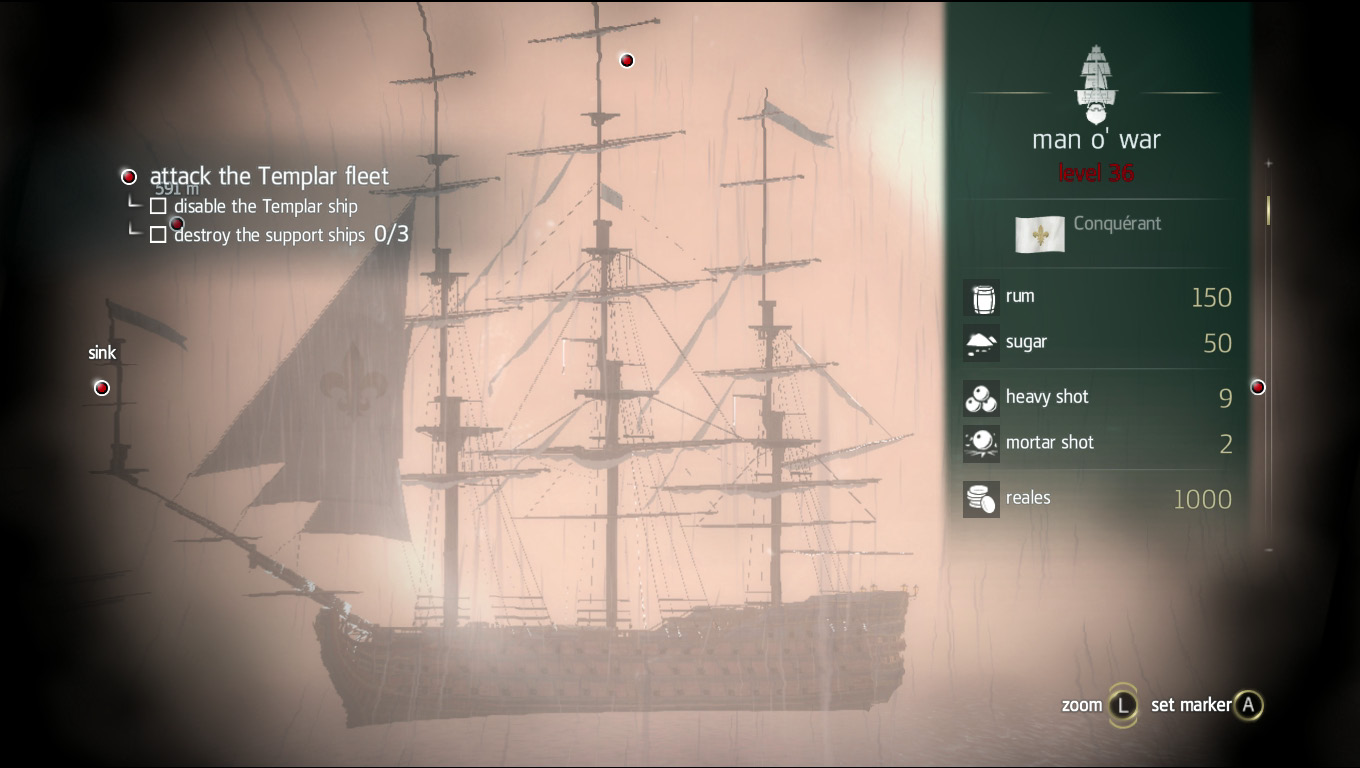
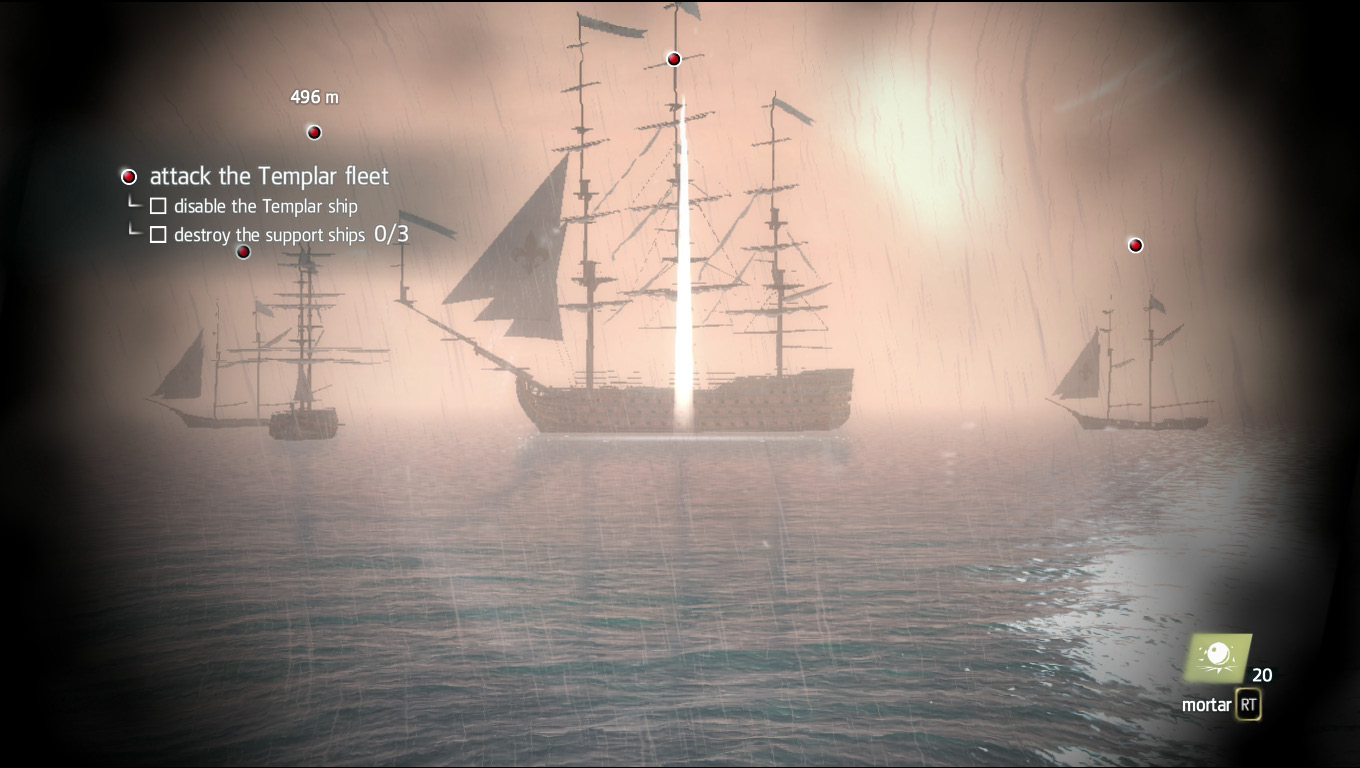
Now face the fleet and, without adjusting your speed, begin lining up a mortar strike on their location. You are not close enough to fire on them just yet, but if you wait it out until the moment the target goes red, you’ll land a surprise mortar attack on the Templars and complete your second Optional Objective, giving you 100% synchronization.
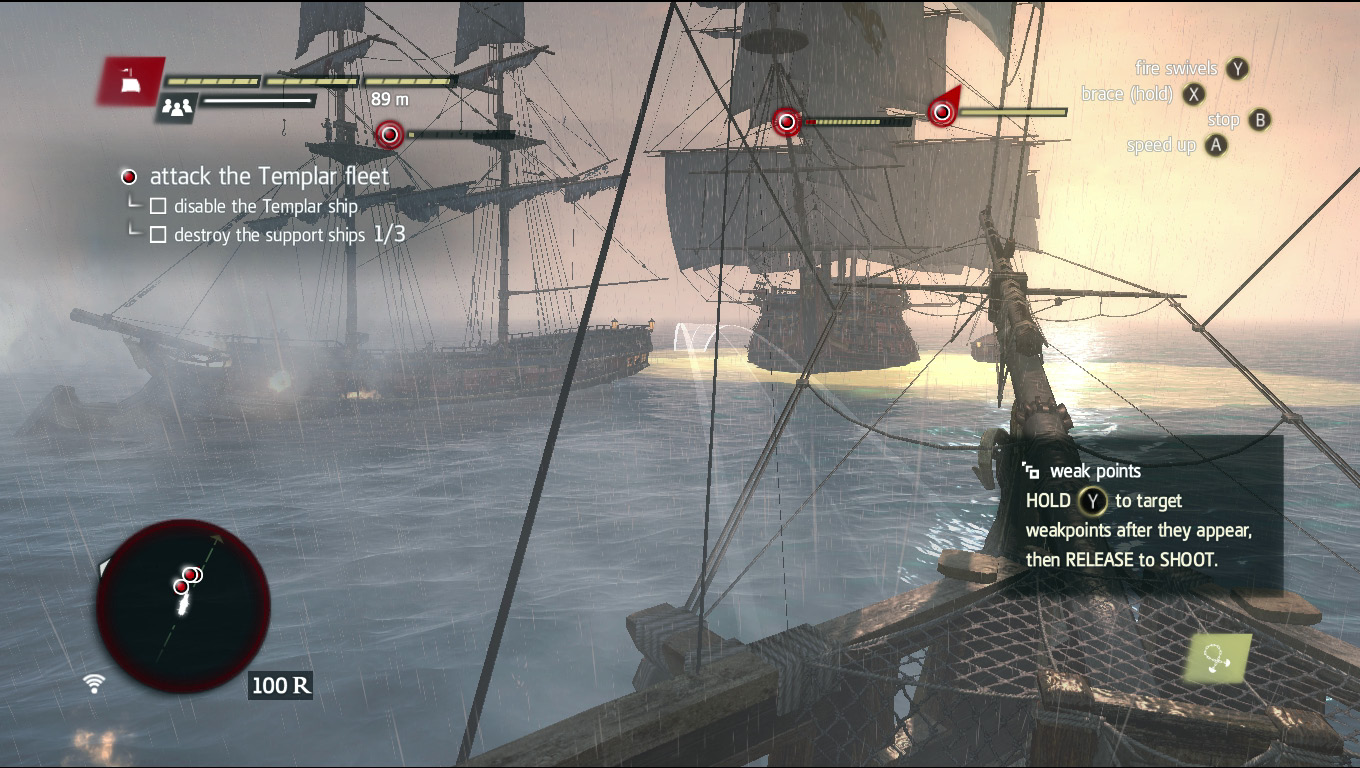
That mortar you fired forces the fleet to engage you, so be ready. While you navigate toward the fleet, continue firing mortars and use the chase cannons (aim in front of you to use the chase cannons) until you’re within range to use your broadside cannons (aim on either side of your ship to use your broadside cannons); just take care to watch out for the yellow and red spotlights that indicate return mortar fire.
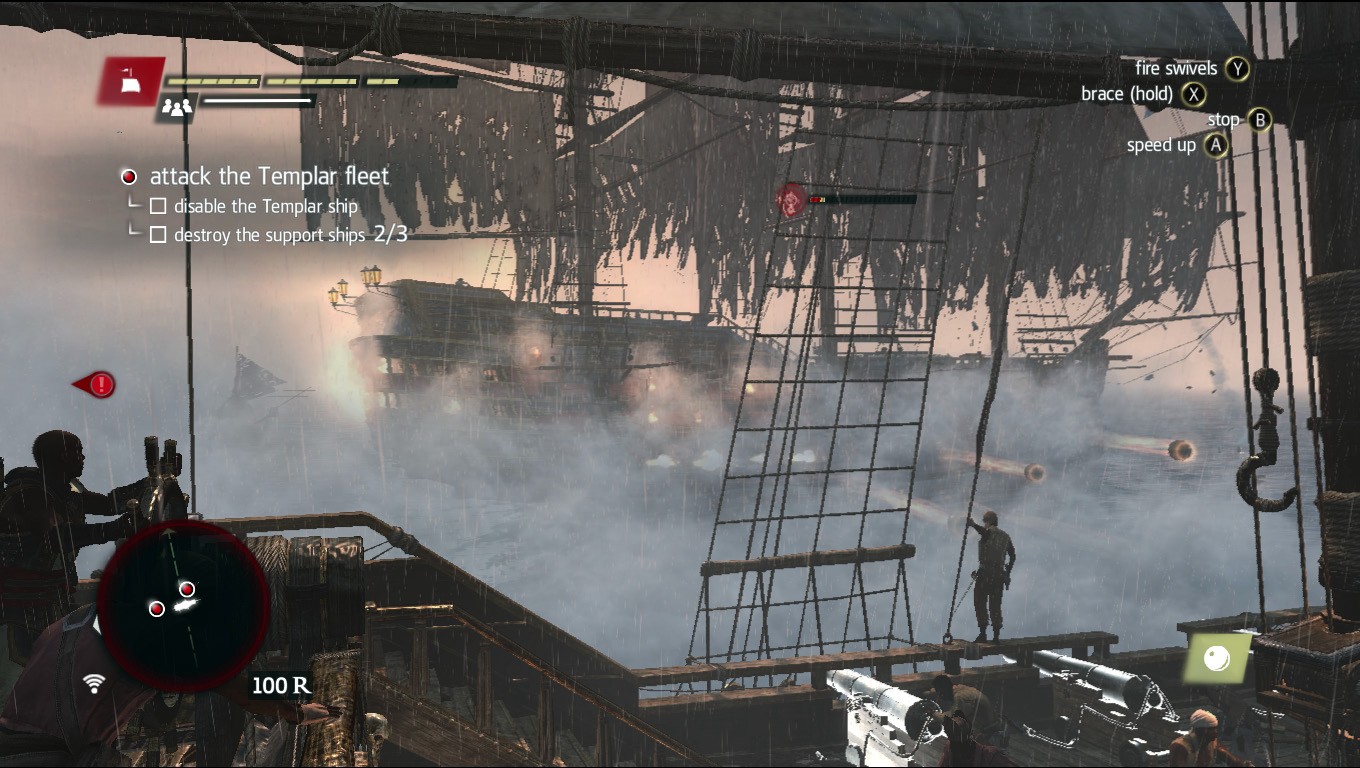
Try to circle the ships while unloading mortars and hitting them with broadside fire. Don’t get trapped in between any of their ships or you’ll find yourself the unfortunate victim in a cannon-fire mosh pit—that also means avoiding ramming any of the Templar ships, lest you be trapped beyond hope.
Once the man o’ war is disabled, you have two choices: board it and have your typical (but always awesome) fight on the deck of their ship, or sink it and dive underwater to collect the parcel that Adewale so desperately desires, as well as gain some extra reales.
Never Was Much of a Swimmer ...
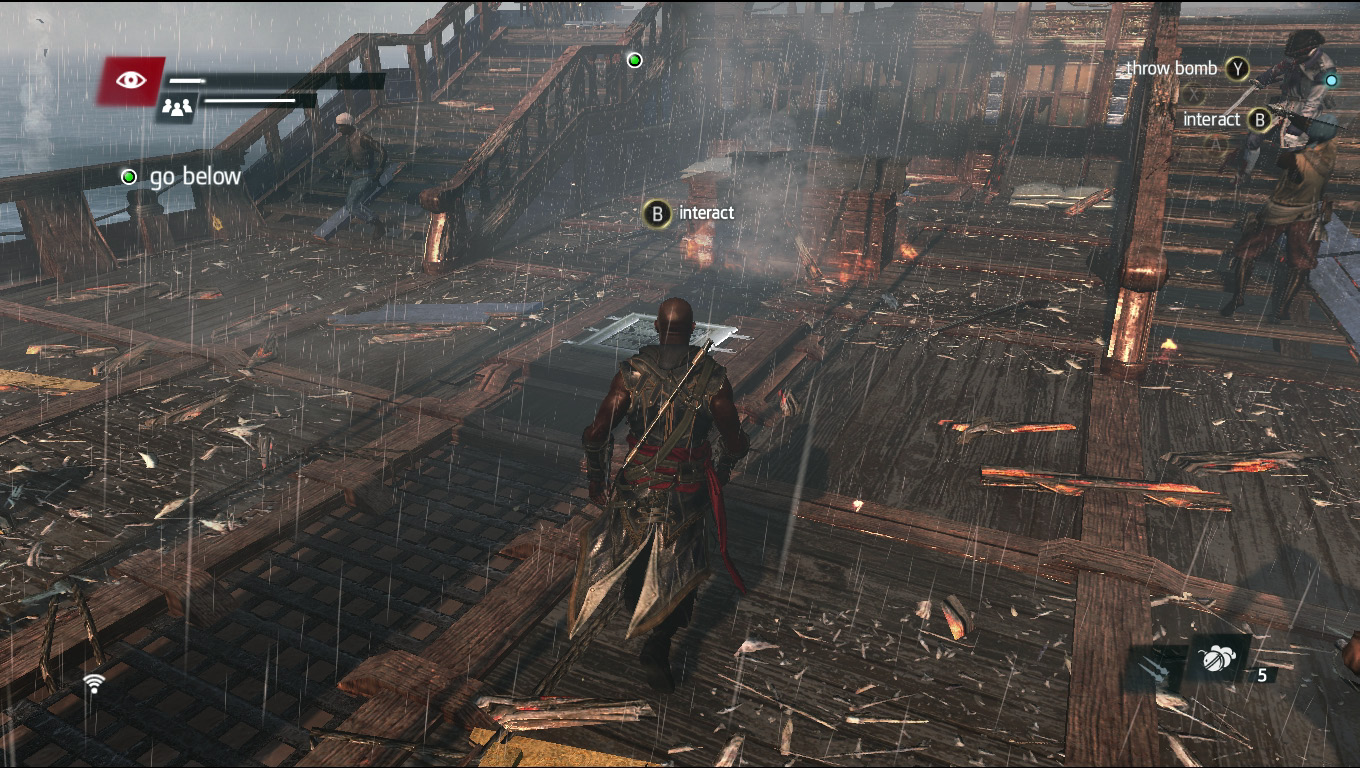
If you decided to board the ship, then prepare for a fairly standard battle. Defeat 10 crew members, two officers, and a captain before advancing. Use the swivel cannon (on either side of the ship’s wheel) that is facing the ship and try to knock out a few of the enemy ship’s crew before boarding. After you give your enemy a firm thrashing, your next objective is to head below deck to find the Templar and his parcel.
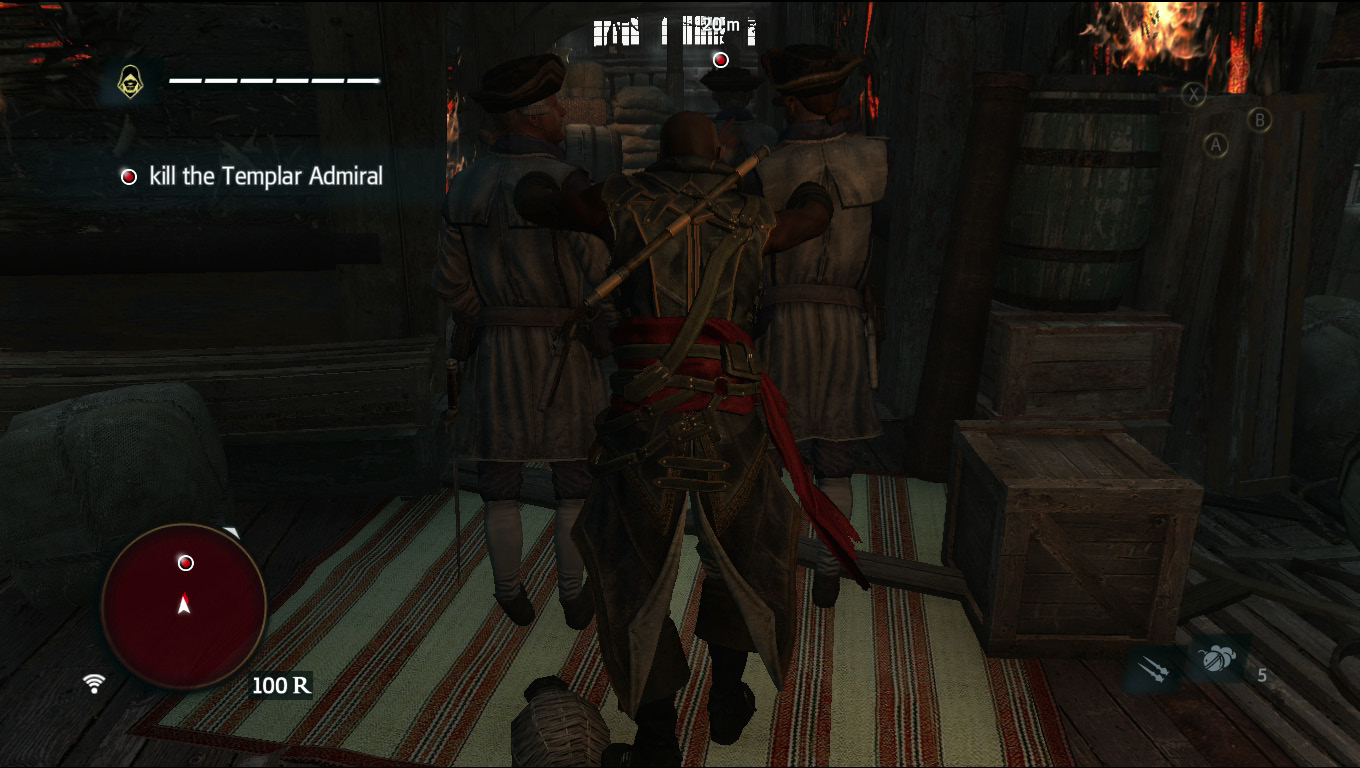
Ahead you face three guards and the Templar. Rush toward the two directly in front of you and double assassinate them. The third guard, who was standing in front of them, comes after you and, if you’re unlucky, the Templar likely sees you as well. The Templar wields a pistol and takes aim at you. You can back off into the room behind you to fight the guard or use him as a human shield when the Templar inevitably tries to shoot you, taking out the guard and wasting the Templar’s shot in the process. The Templar comes after you with his sword now. Just wait him out and counterattack when he strikes to defeat him with ease.
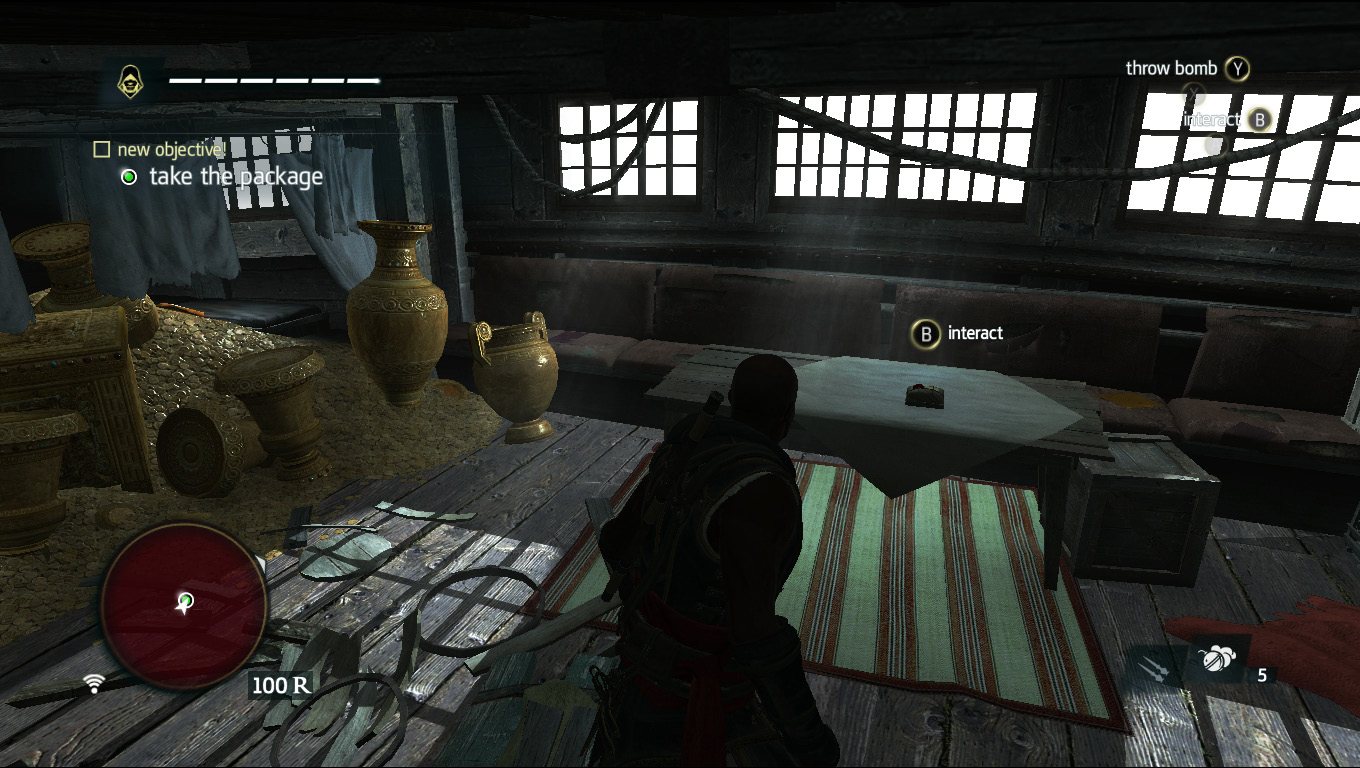
The parcel is sitting on the back table. Grab it and climb up the ladder directly behind you escape the ship.
Did Someone Say Treasure?
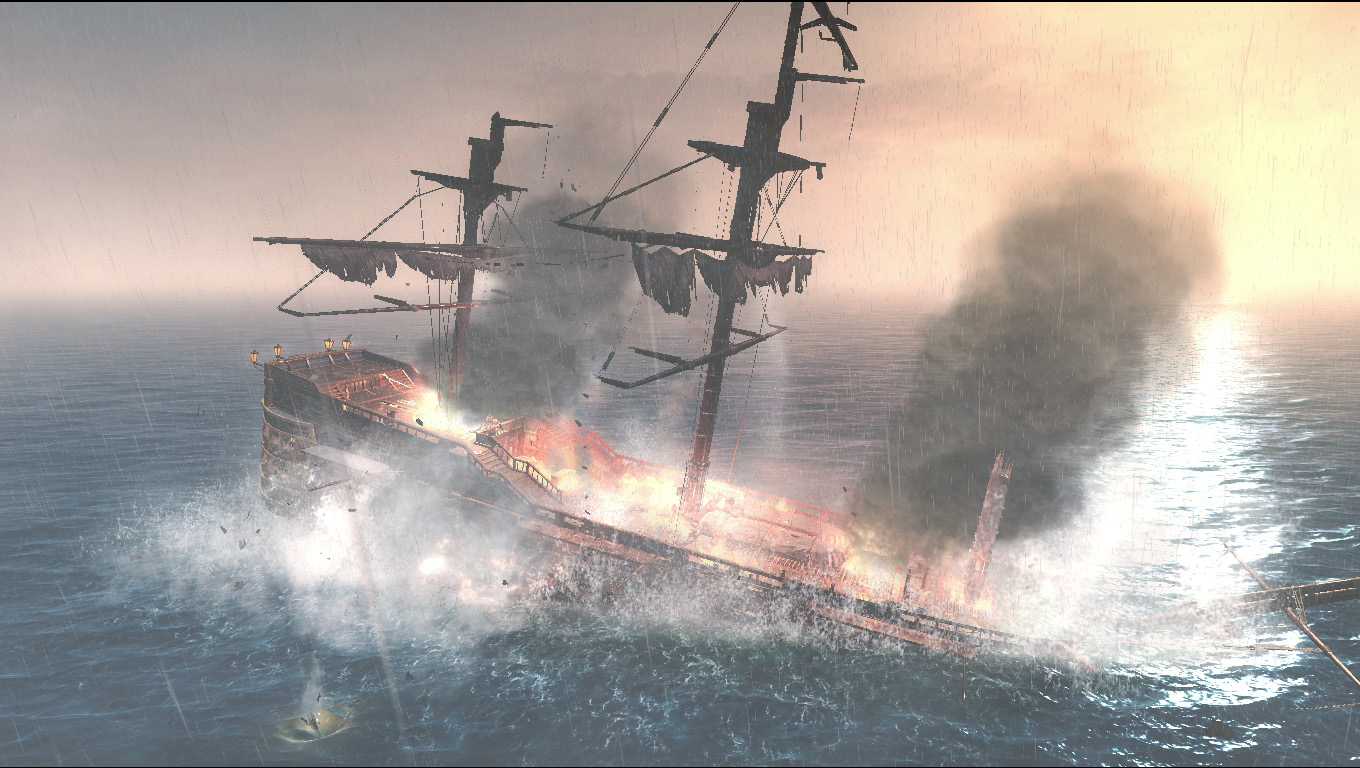
If you elect to sink the Templar ship, all you need to do once it is disabled is blast it to kingdom come and then dock near its wreckage to dive underwater.
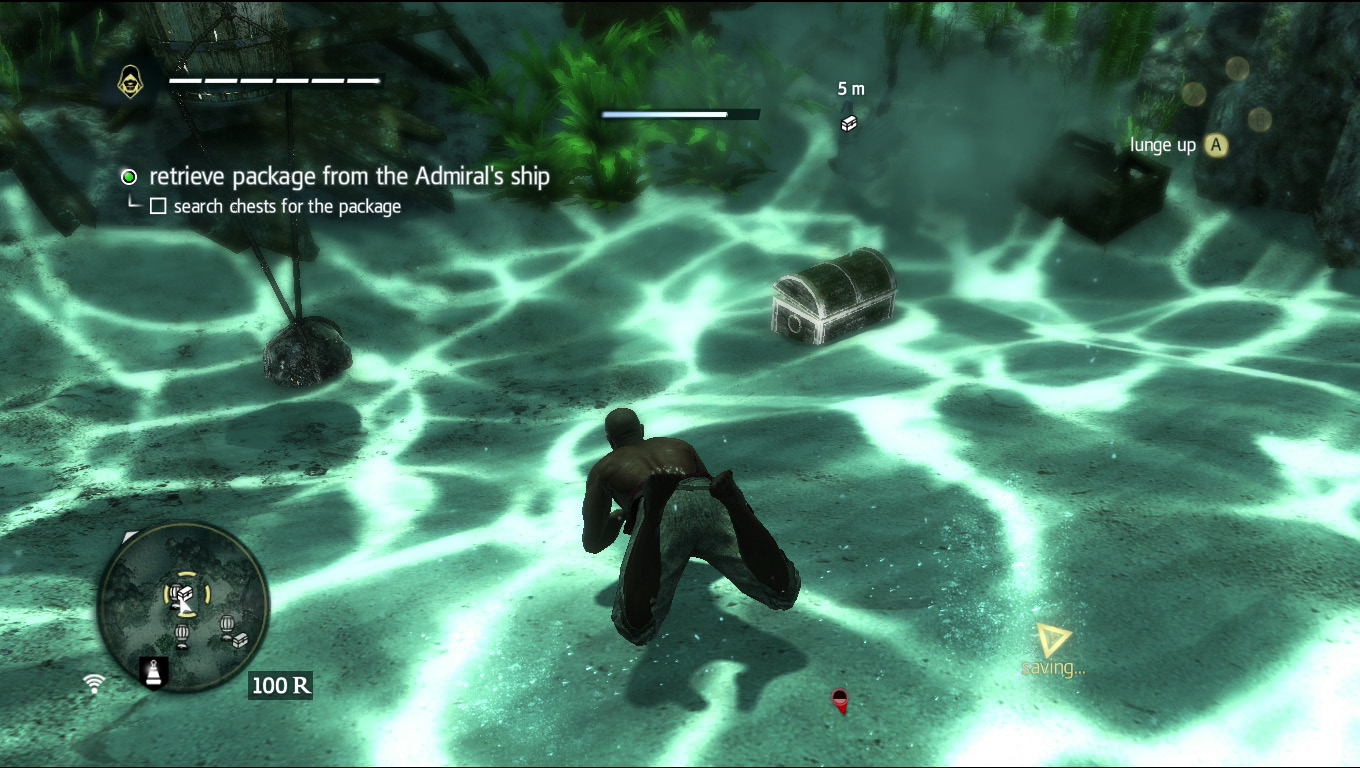
There are three treasure chests down here: all three have low amounts of reales, but one of them is carrying the parcel Adewale is looking for. The two chests containing the extra money are both stationed almost directly underneath two of the air barrels (the chests’ coordinates are 773, 296 and 733, 295). The chest you’re looking for is inside the wreckage of the Templar vessel just below the main deck.
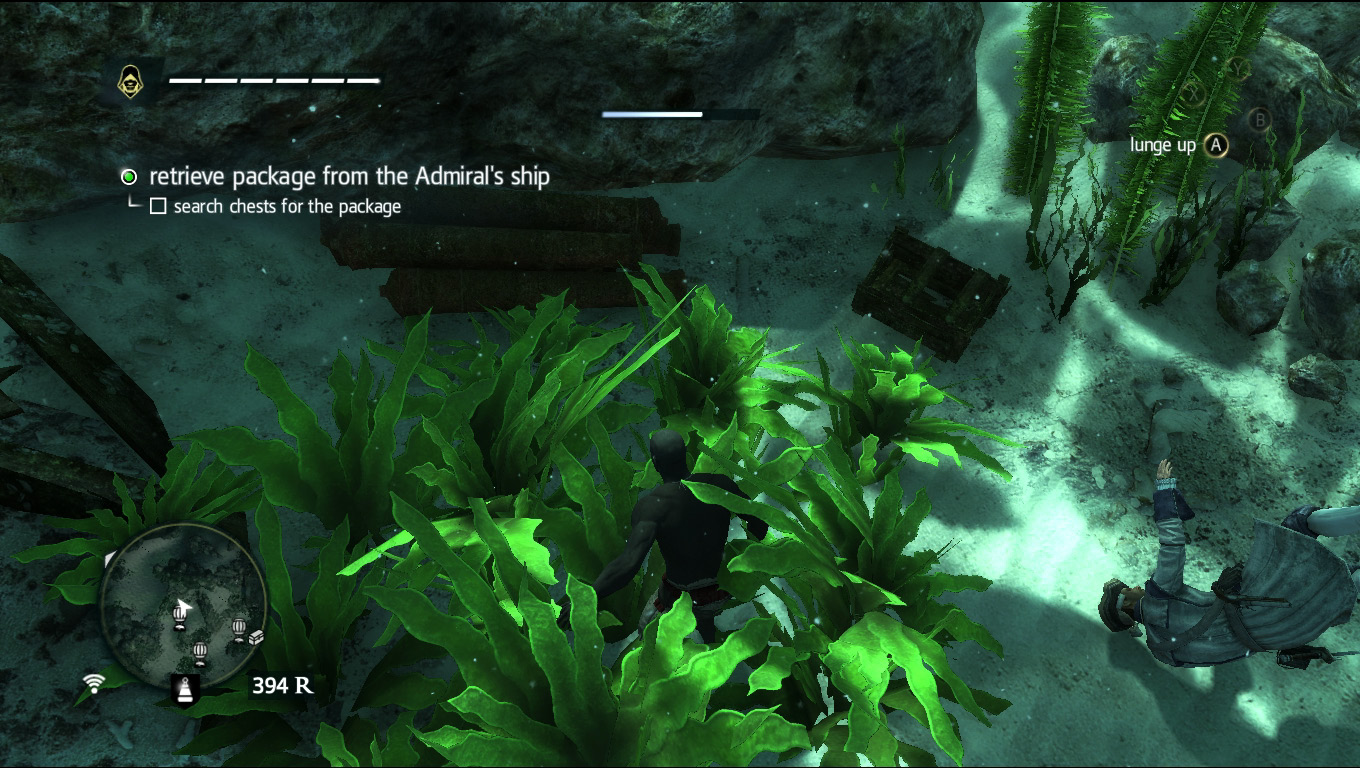
As usual, use the air barrels to resupply on oxygen whenever you’re getting low and stay close to ocean floor to avoid being detected by the sharks. If a shark’s got its eyes on you and you can’t seem to shake its gaze, you can always hide in the seaweed that is littered all around the ocean’s floor.
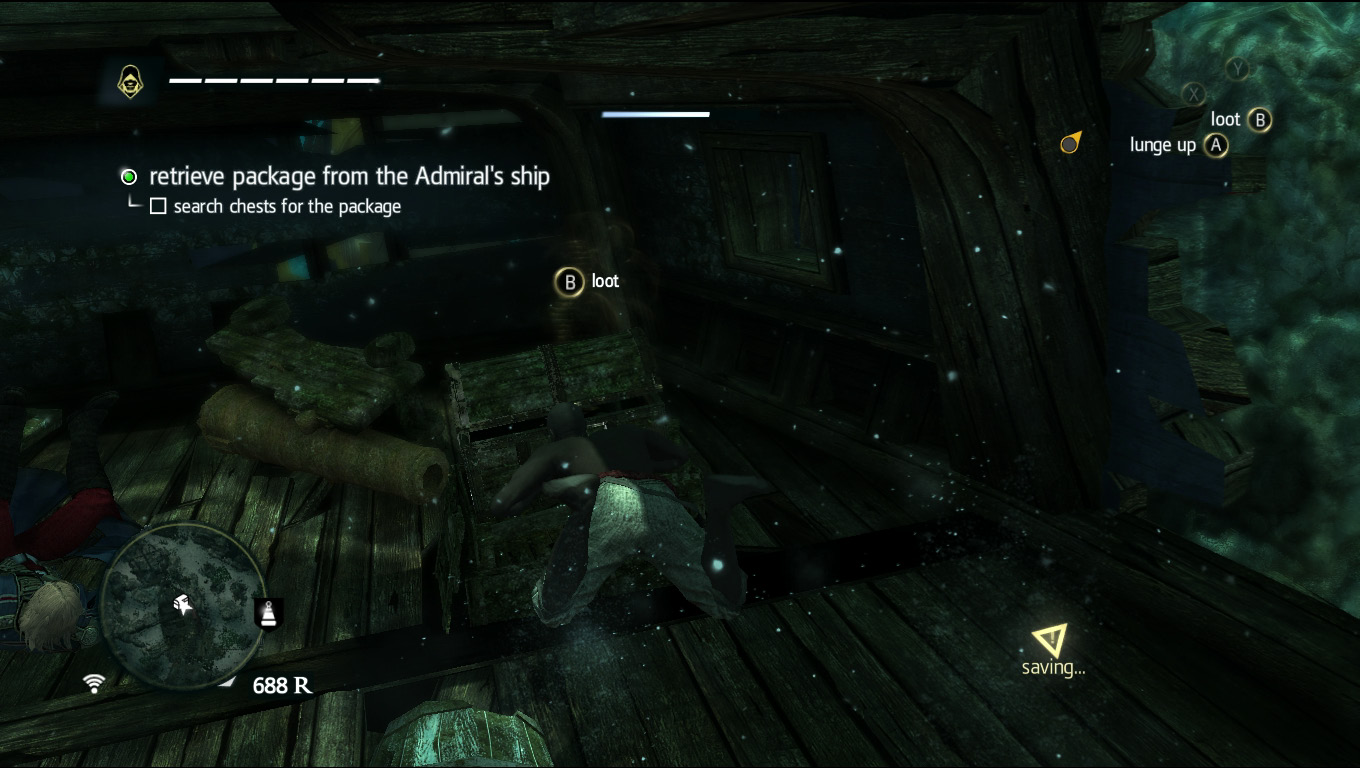
Once you reach the chest and take its contents, make your way back to the diving bell and ride it topside.
The Chaos During
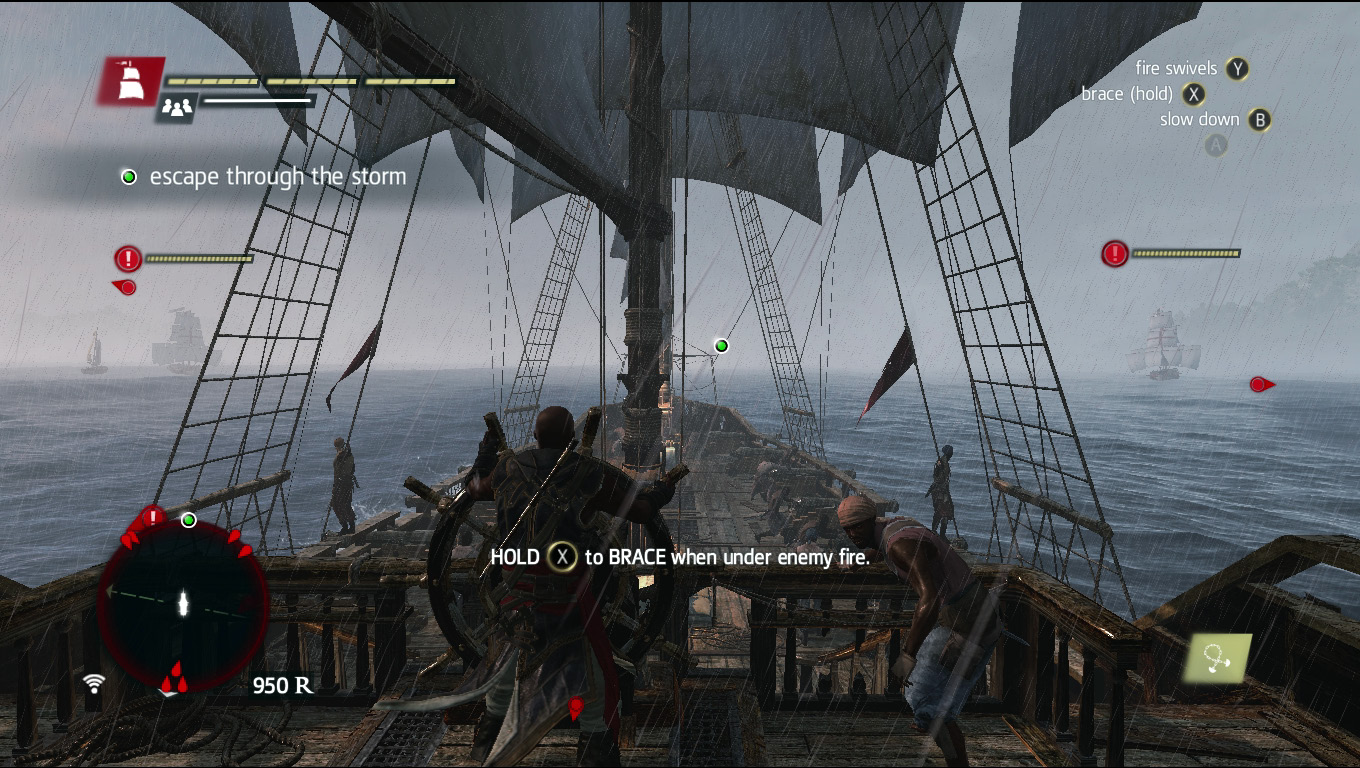
After you grab the parcel, backup arrives for the Templars (a bit late if you ask me). Adewale doesn’t like his odds, so retreat is the most practical option. Ignore the enemy ships in favor of heading straight for the waypoint. You’ll take some damage, but it’s nothing compared to being assaulted by water spouts and rogue waves. If you’re being targeted by enemy cannons, make sure to brace yourself to limit the amount of damage you take.
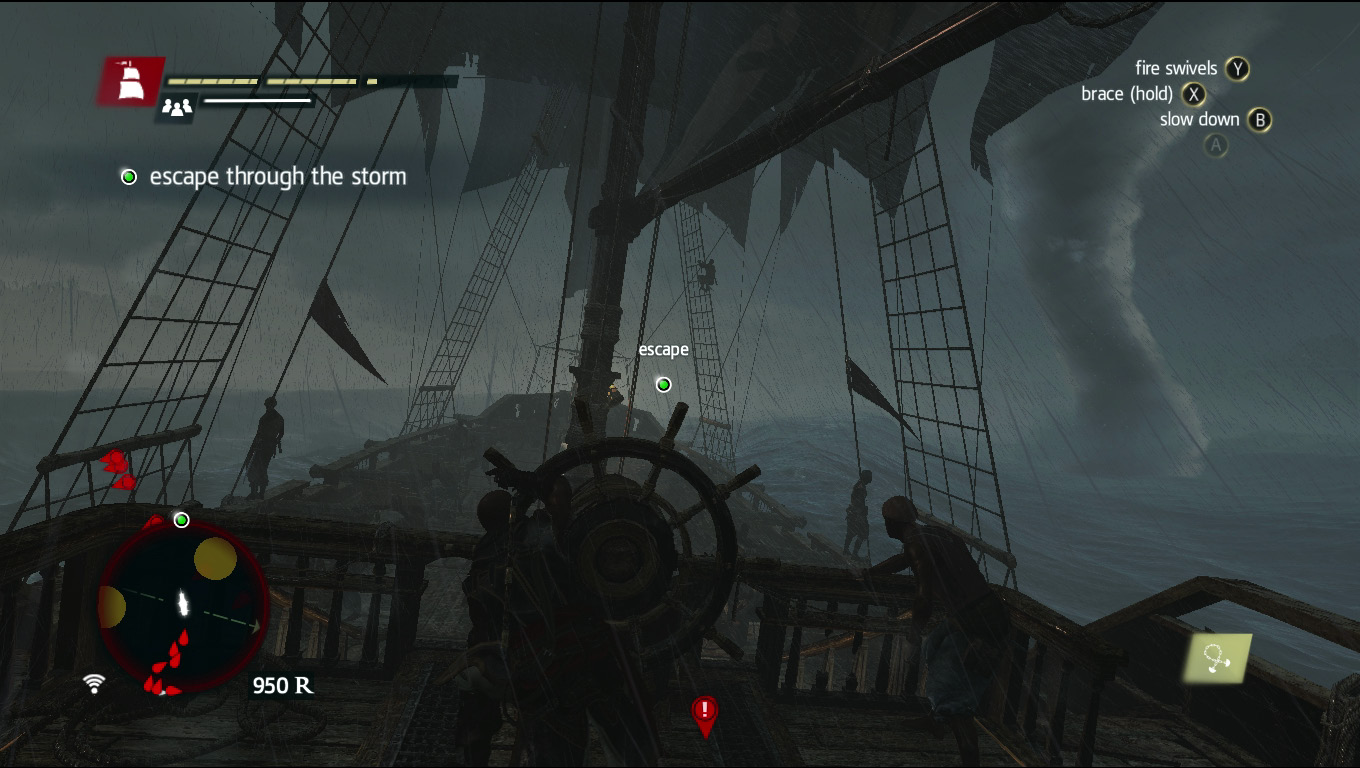
Avoid the water spouts at all costs. If you are close enough to one, it begins pulling you toward it. If it manages to suck you in, getting out before you become fish food can be nearly impossible. Go as far out of your way as you must to avoid them.
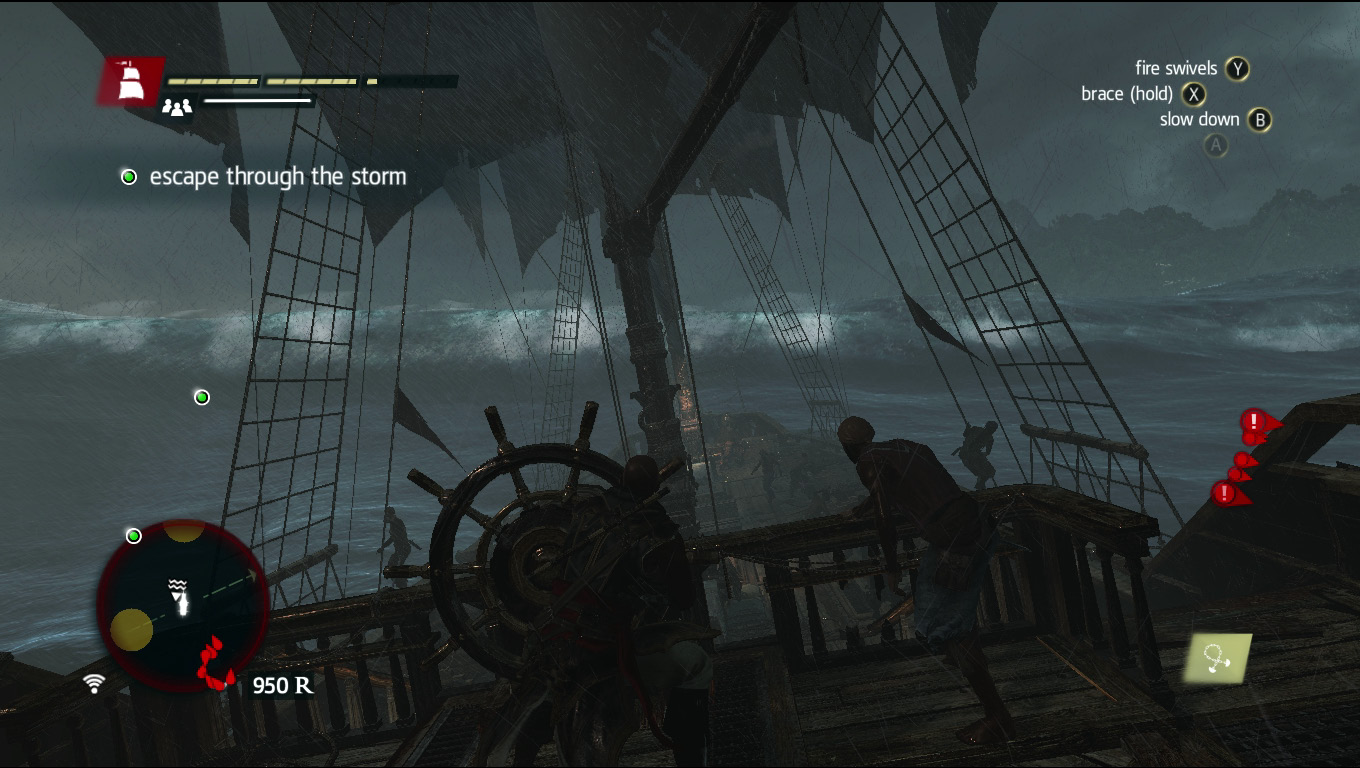
You also need to be wary of giant waves. These aren’t nearly as big of a deal as water spouts, but they can definitely deal a good chunk of damage if you’re not up to the challenge of weathering these waves. Take them head on; charge straight into them and don’t ride them diagonally and you’ll completely avoid taking damage. If that’s just not possible, make sure to brace yourself to limit the amount of damage you take when you’re hit by a wave.
Get close enough to the waypoint and a cinematic plays, marking the end of Memory 1.
MEMORY END