
Assassin's Creed IV: Black Flag Guide Freedom Cry DLC Memories
Memory 9: de Fayets Last Stand
Optional Objectives
|
A Means to an End
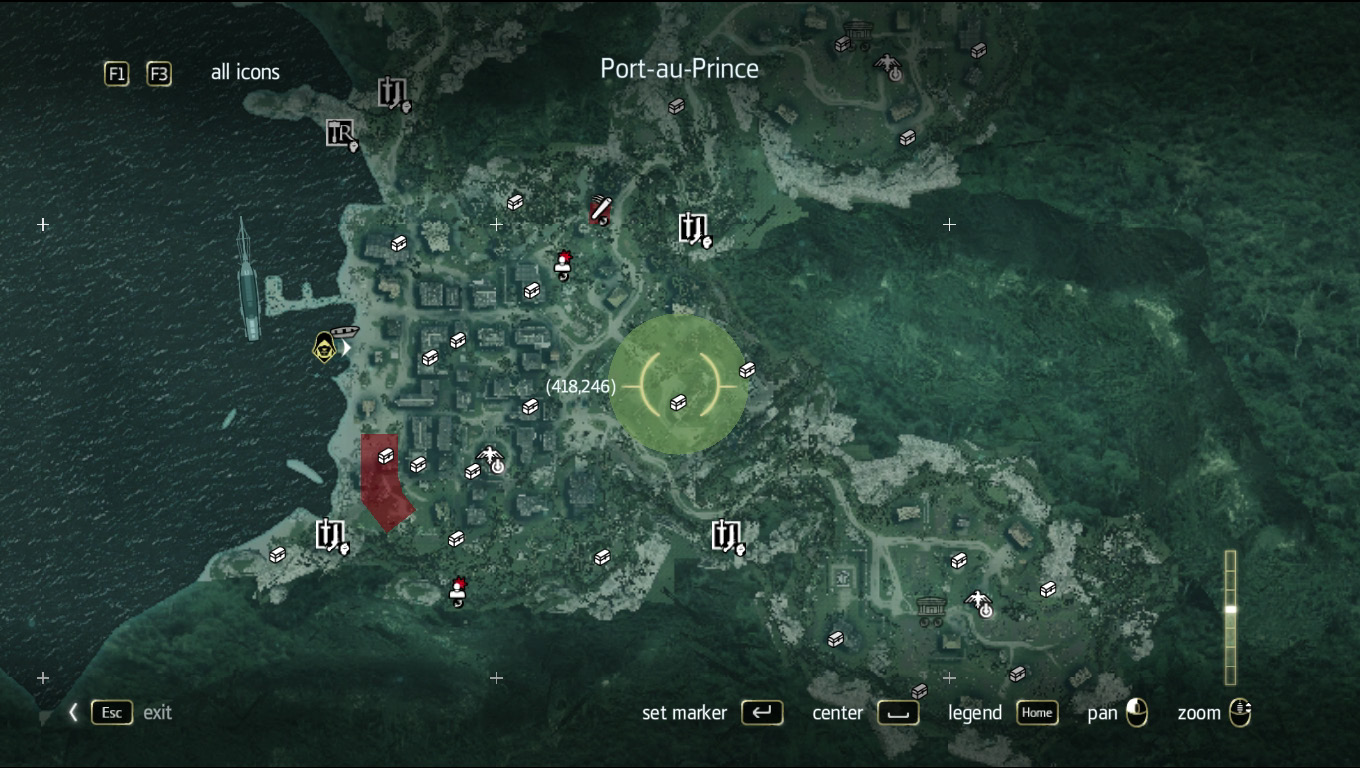
You start on the docks of Port-au-Prince and your objective takes you to the governor’s manor just outside the center of town. Taking out the governor and getting both Optionals is easier done than said, which means taking out the tyrant and achieving 100 percent synchronization will be a cakewalk—if you follow our lead.
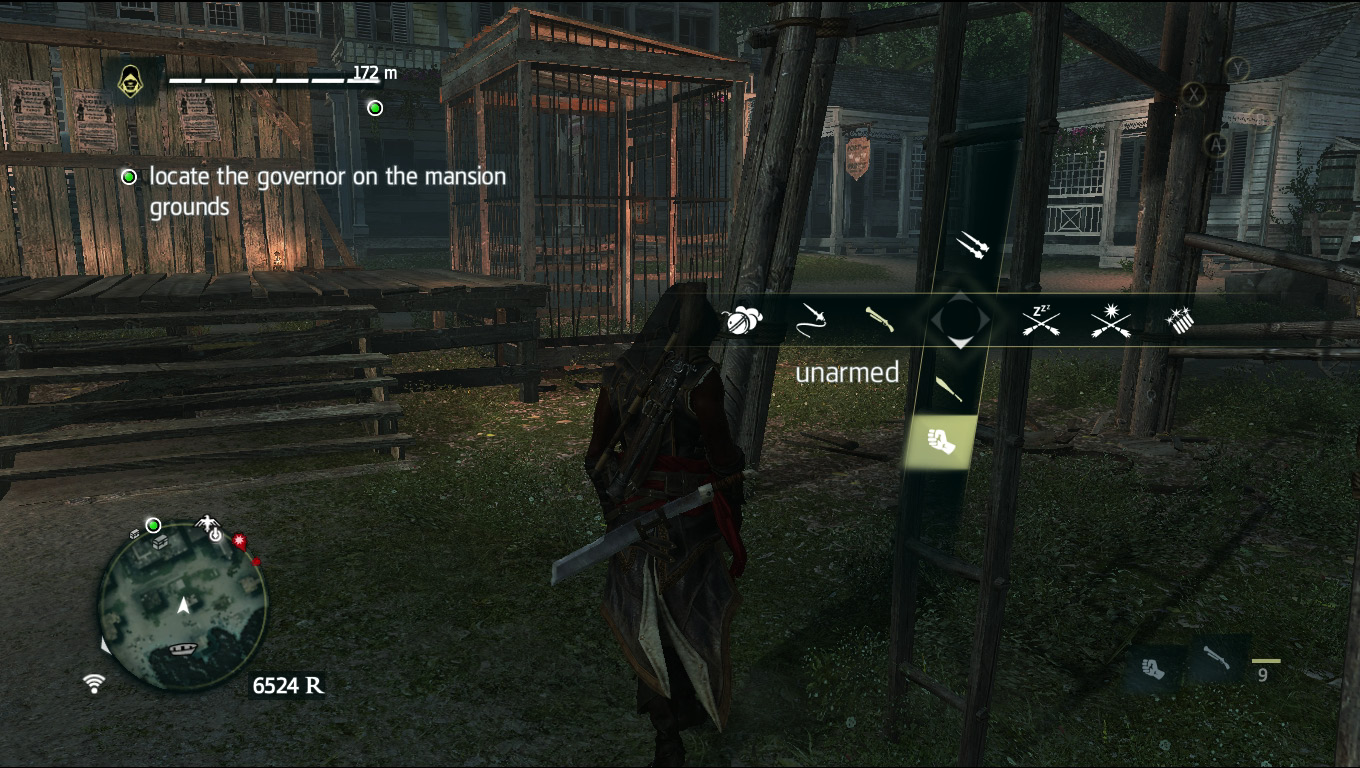
Start by selecting your fists as your primary weapon and equipping the blunderbuss as your secondary. Aside from the five guards you’re going to eliminate with your gun, you’ll have no reason to start fighting until it’s time to put de Fayet in a hole.
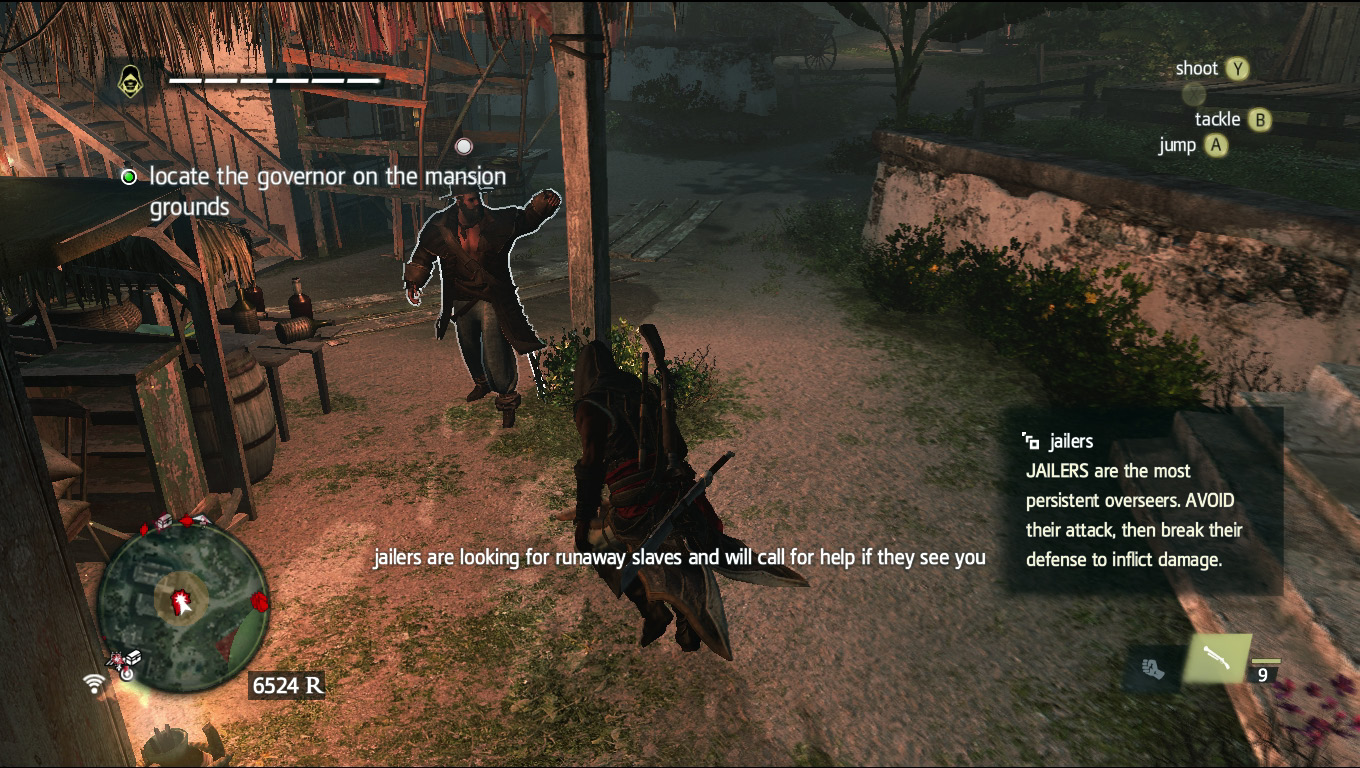
Head toward the governor’s manor. When you arrive on the street where the manor is, you see a jailer who is in desperate need of a minor case of unconsciousness. Knock him out and then head to the manor’s front gates.
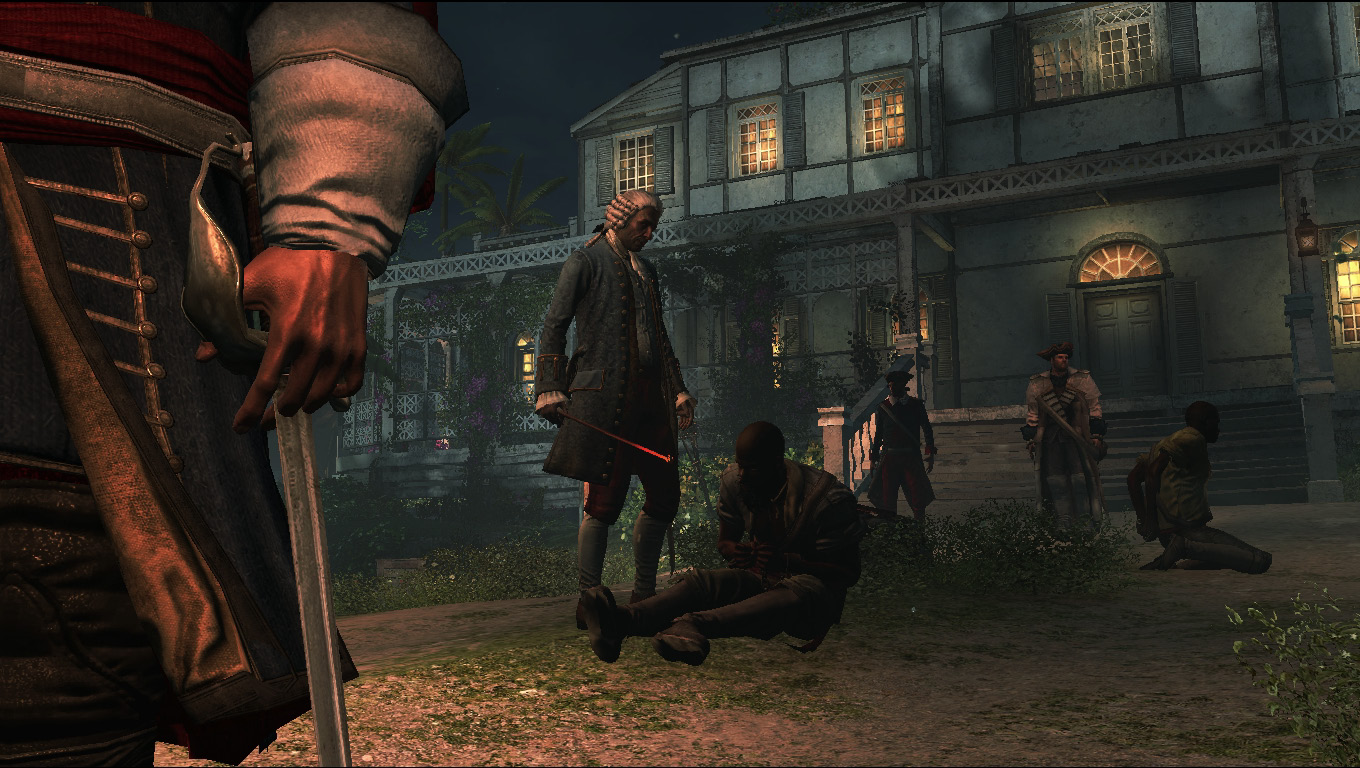
Six guards stand watch to prevent people like you from entering. Walk toward them until a cinematic showing de Fayet behaving like the swine he is plays.
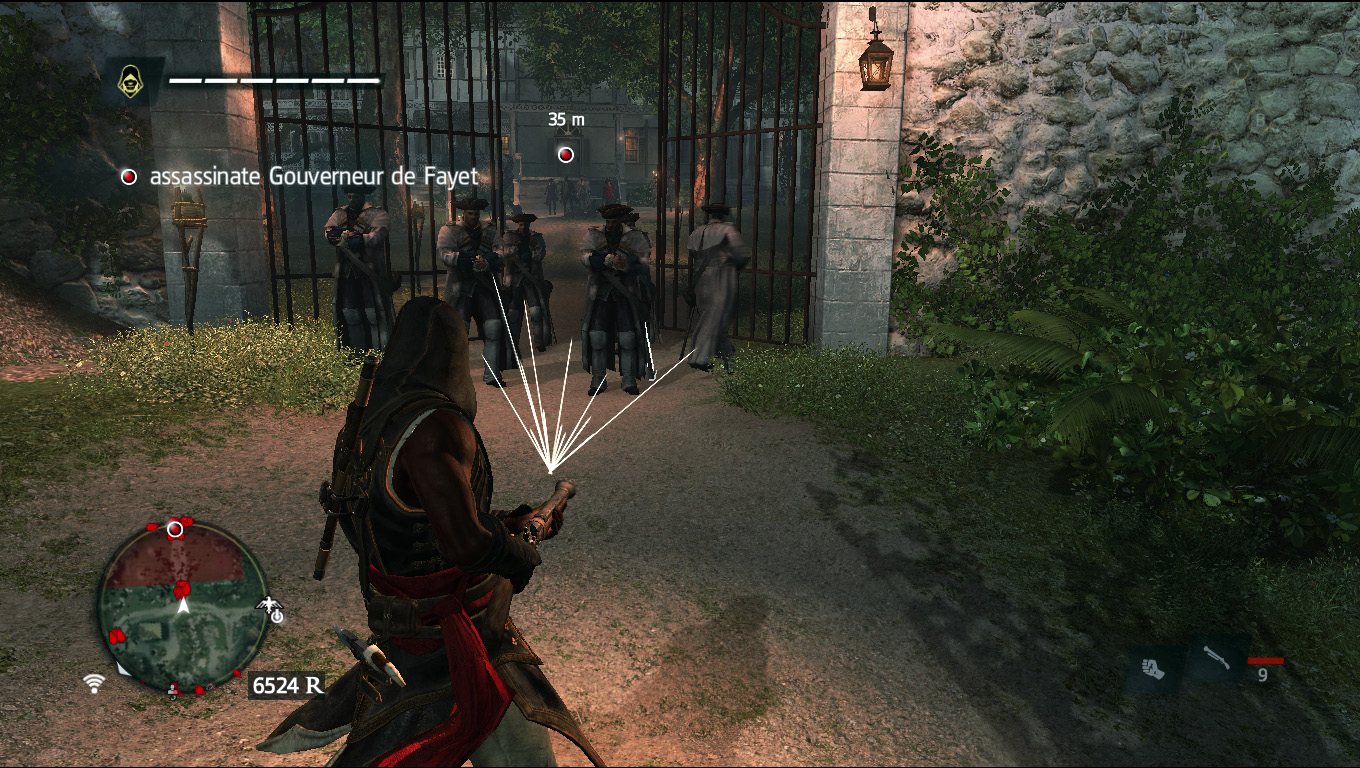
Now pull out your blunderbuss, quickly aim it at the group of guards and pull the trigger. This should net you the “Kill five guards ...” Optional.
The Final Stretch
After firing on the guards, de Fayet runs straight toward you, but not to fight; he’s taking off like a coward toward the fort on the southeast corner of Port-au-Prince. Knowing his destination, we can beat him there and set up an ambush for the gutless murderer. Be aware that a whole host of guards will be on your tail while you’re running, so don’t stop for anything and feel free to drop smoke bombs as you go to slow down your pursuers .
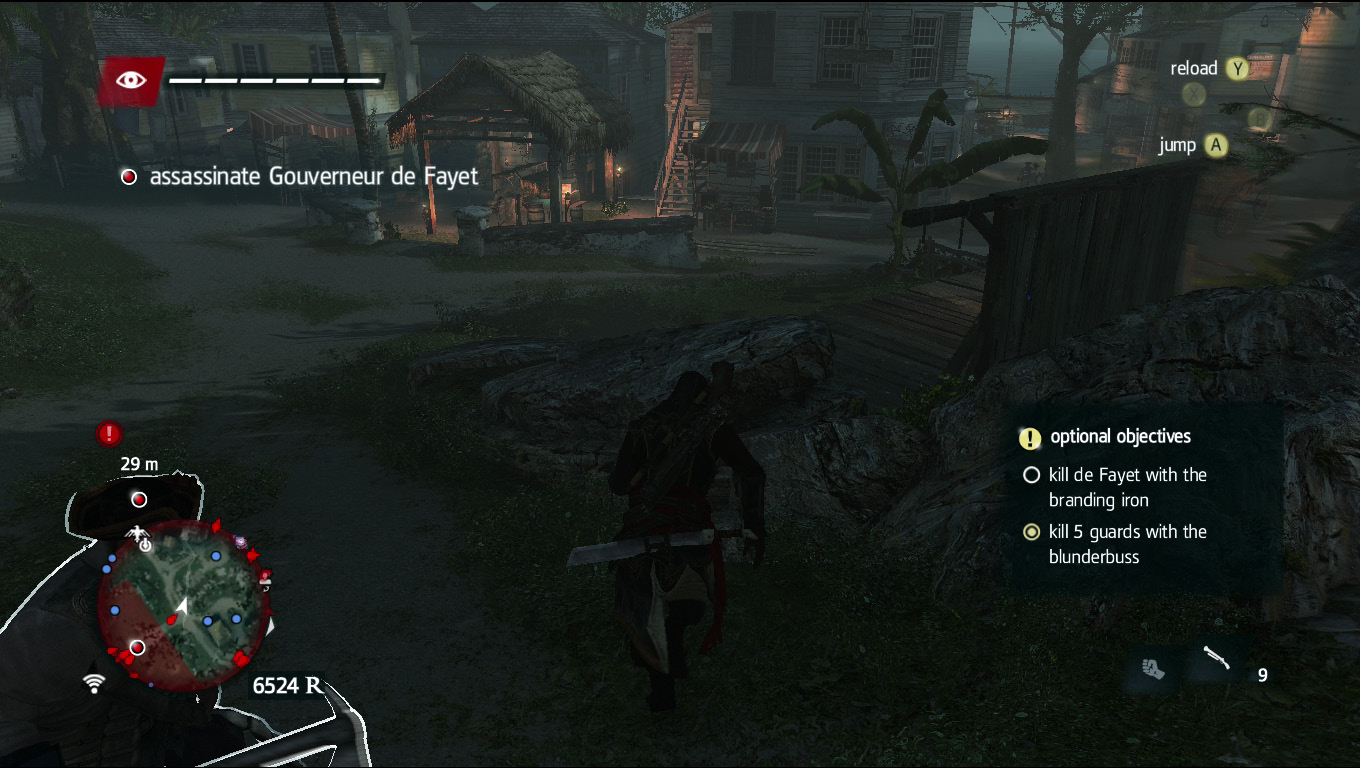
From where you shot the guards, take a right and then another immediate right onto the road just before the plaza, continuing past the auction stage on your right side.
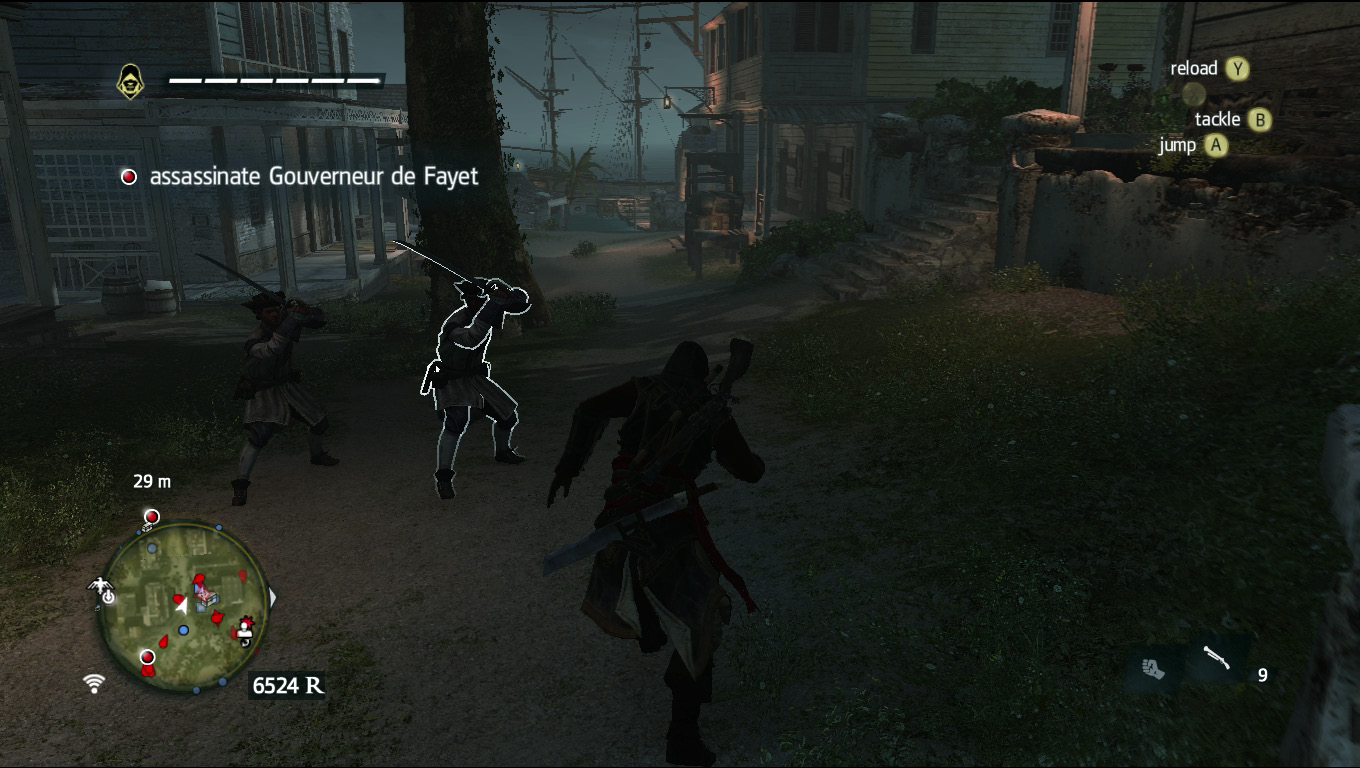
Ignore the guards that pop out in front of the large tree ahead and keep moving.
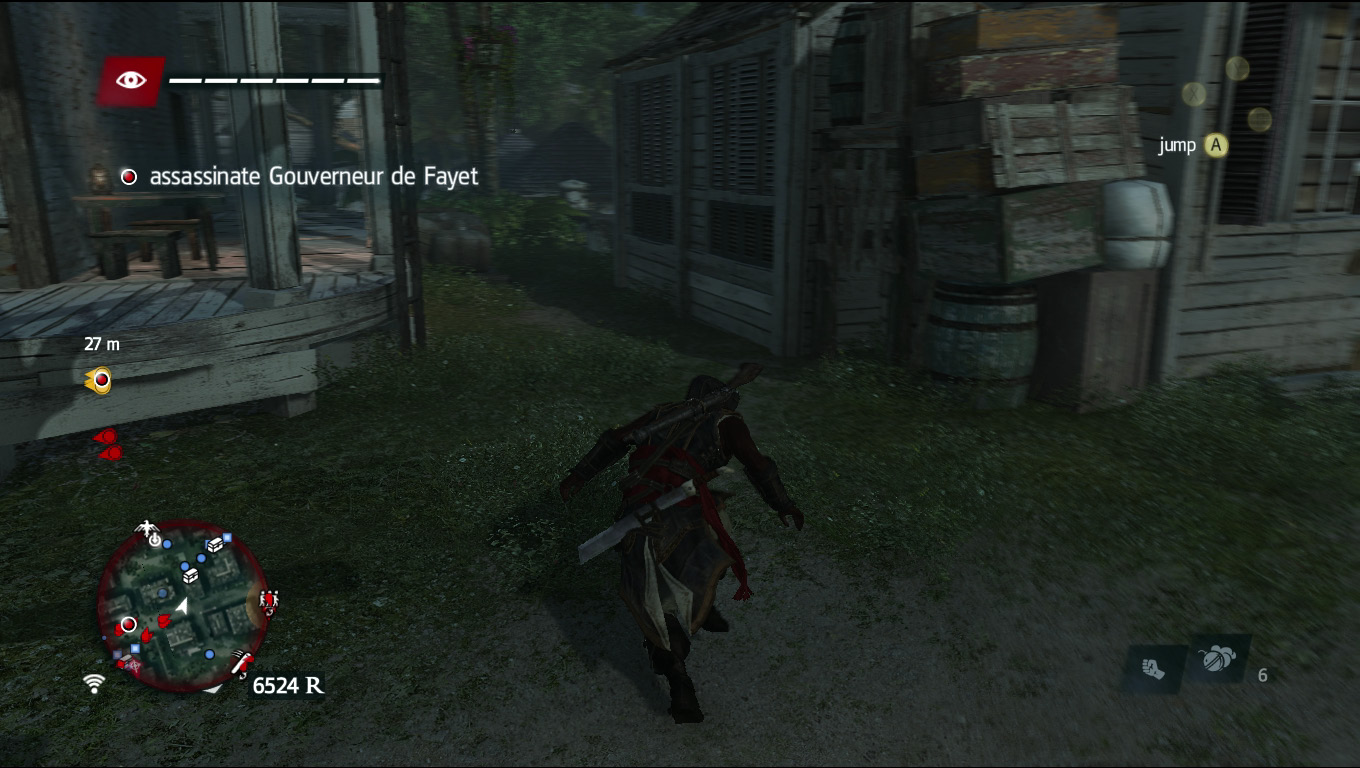
Take a left into the alleyway between the white house on the left and the house next to it, with the stack of crates and barrels leaning against its side.
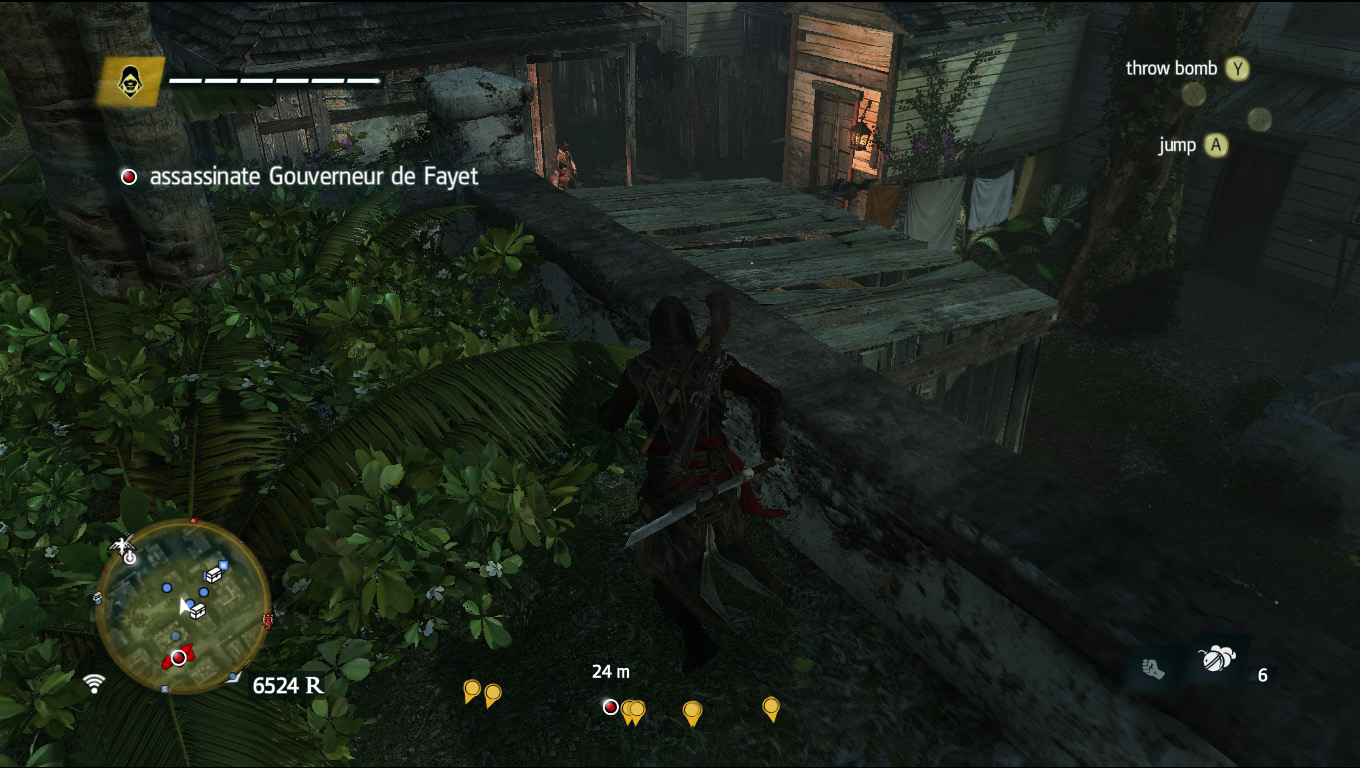
Run toward the bushes surrounding the tree ahead, then jump onto the shed to your right.
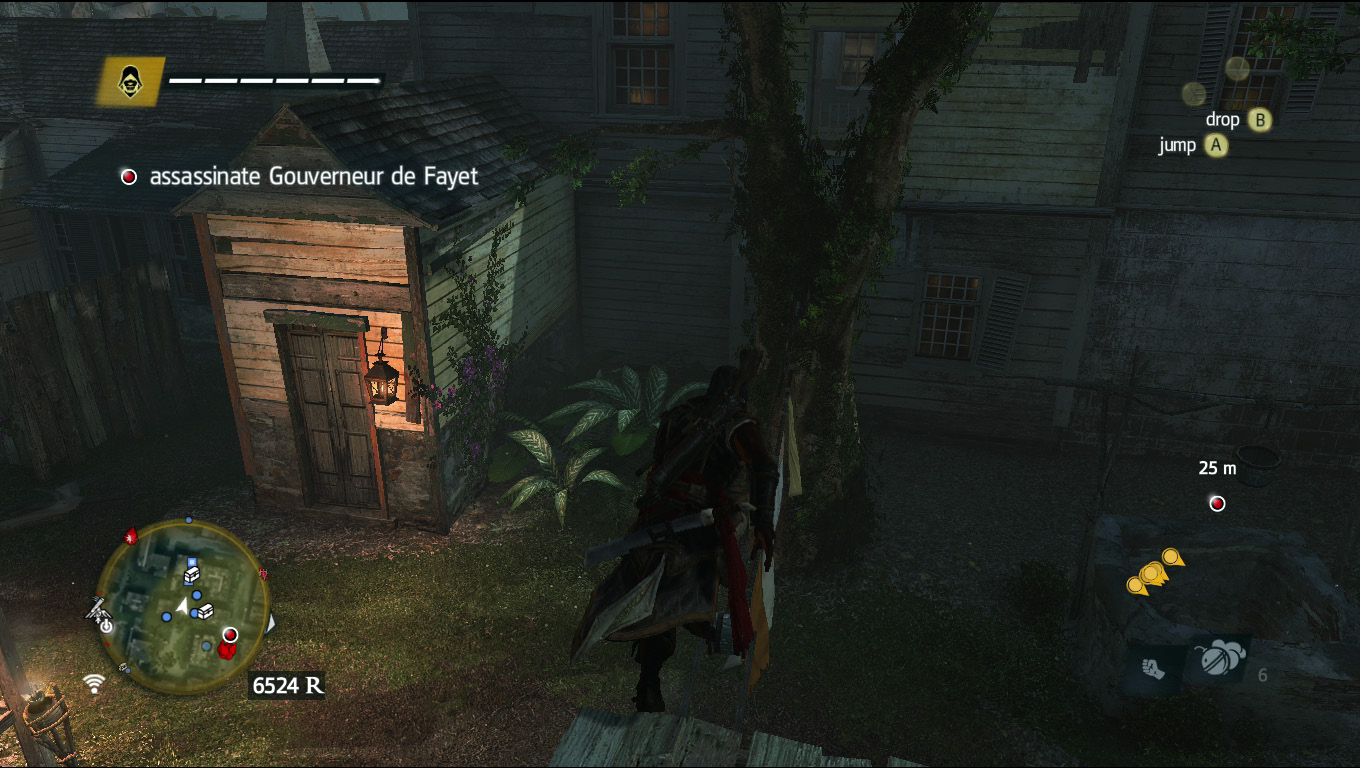
Run across the clothesline into the tree and climb onto the roof of the building directly in front of you.
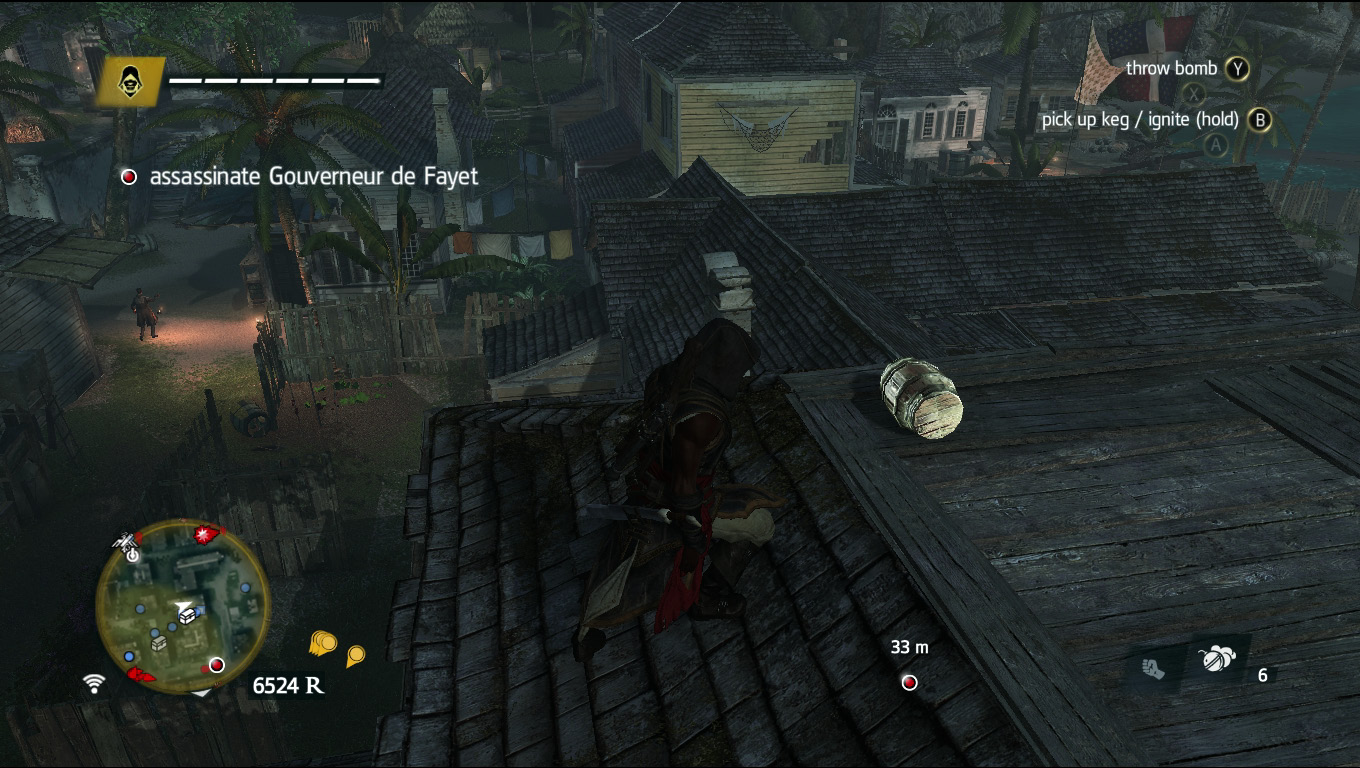
On the roof, turn left and jump to the roof of the building below the one you are standing on.
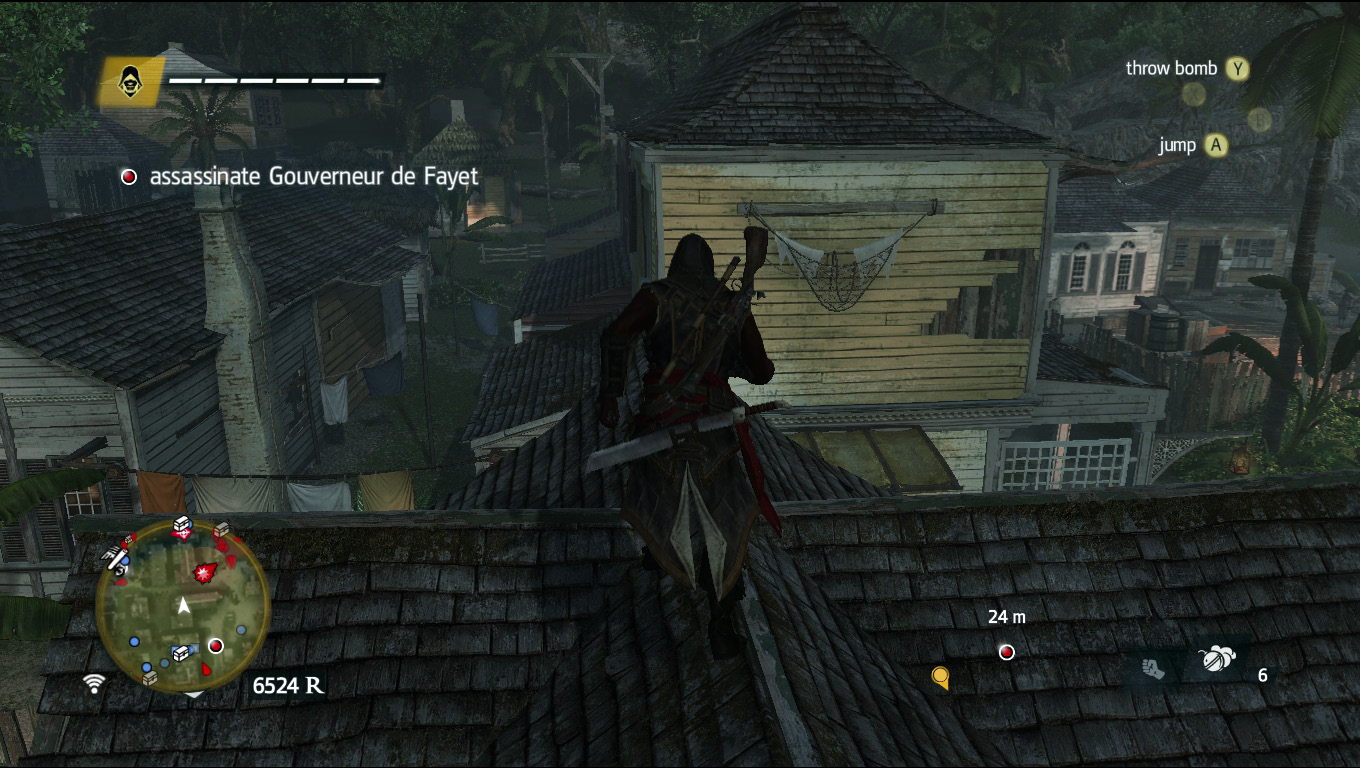
Head toward the yellow building ahead and climb onto its roof.
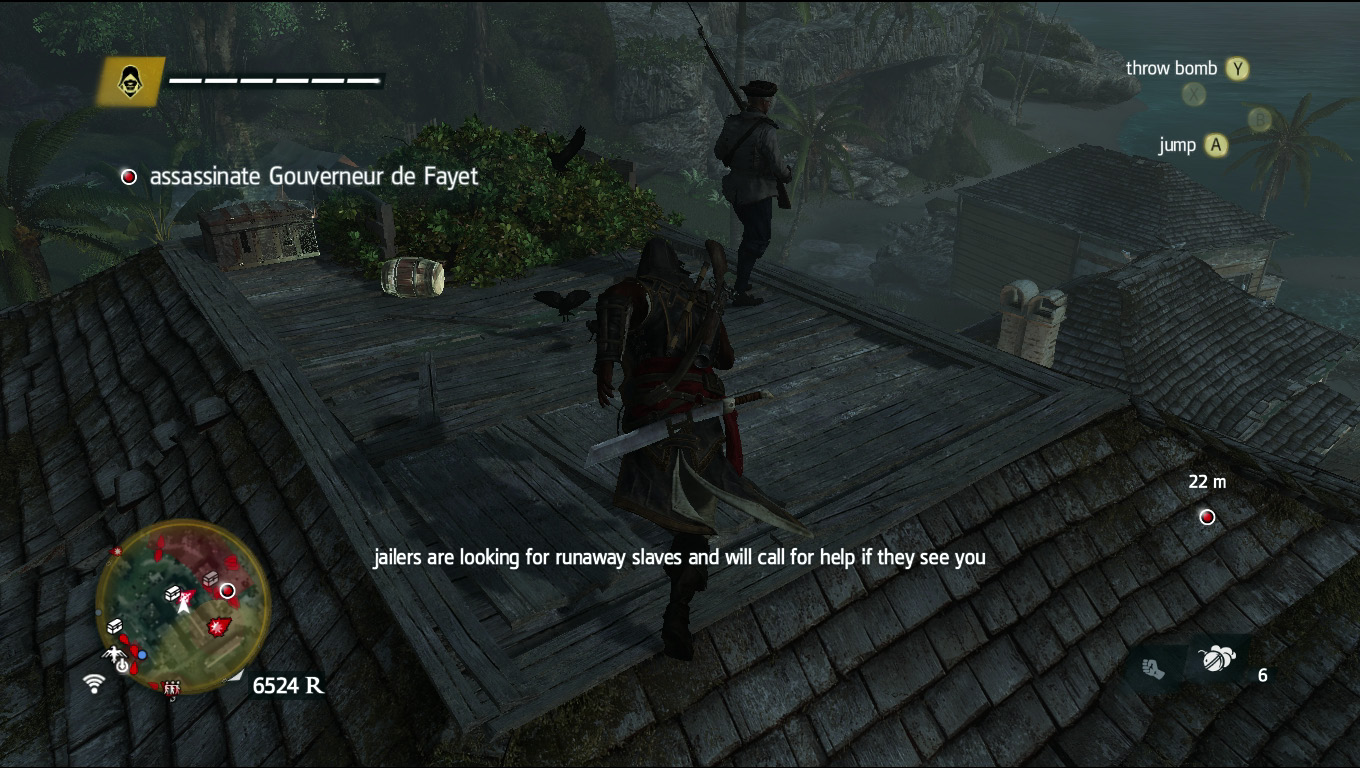
Take out the gunman on the far end of the roof.
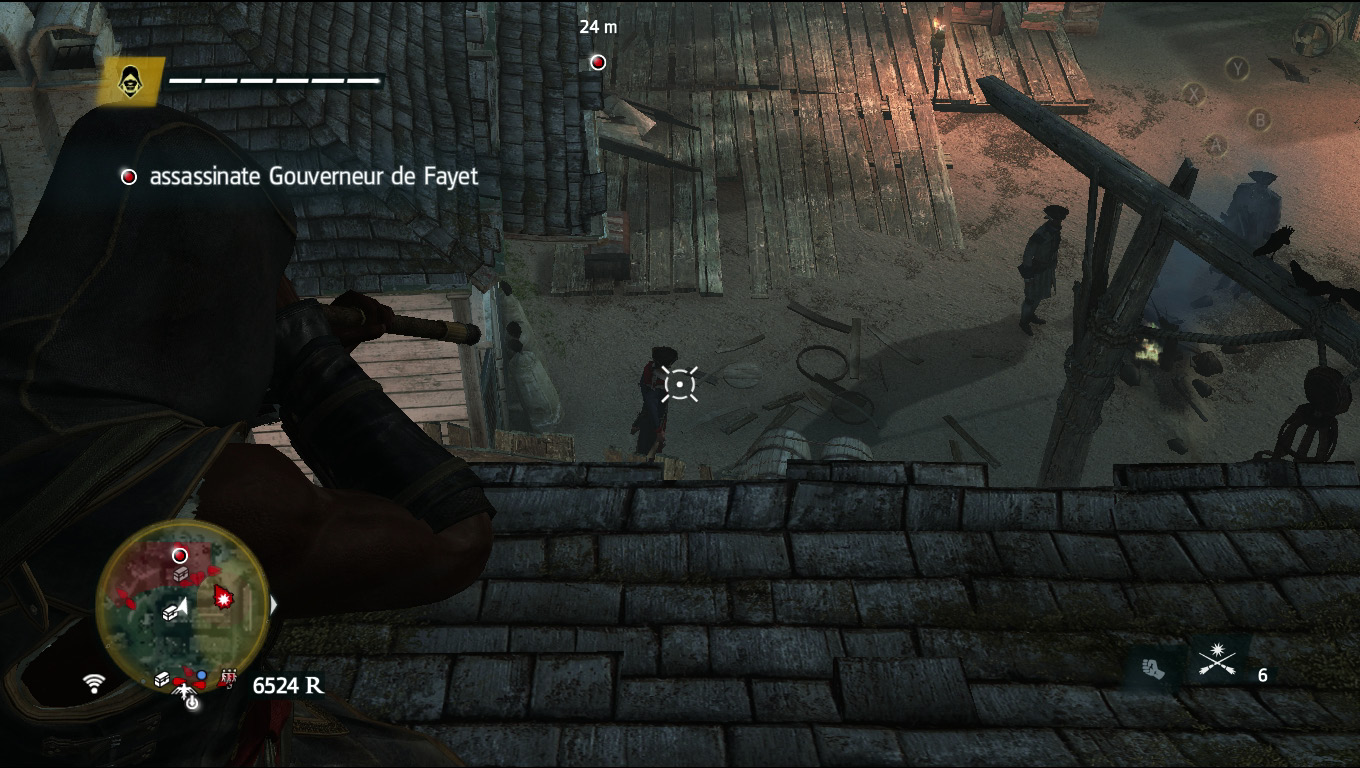
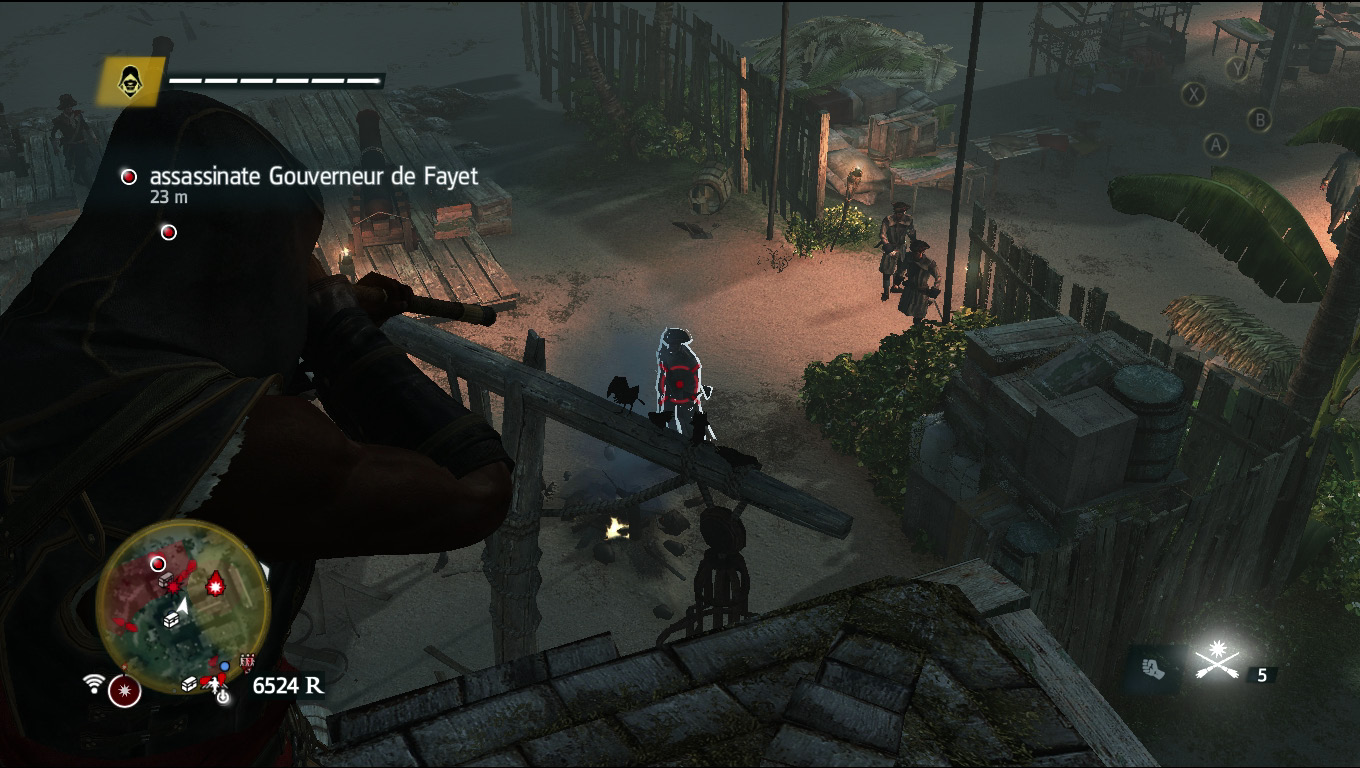
Turn and face west toward the fort below you (the governor should be inside it now, so you can use the waypoint he is marked with to point you in the fort’s direction), pull out your berserk darts and shoot the guard in the fort closest to you. If you are quick enough, you can also aim at the big, axe-wielding guard, who is standing near the fire pit, and tag him with a berserk dart too. If you’re not quick enough, he’ll move over to inspect the guard you just tagged with a dart, at which point you can go ahead and tag him then.
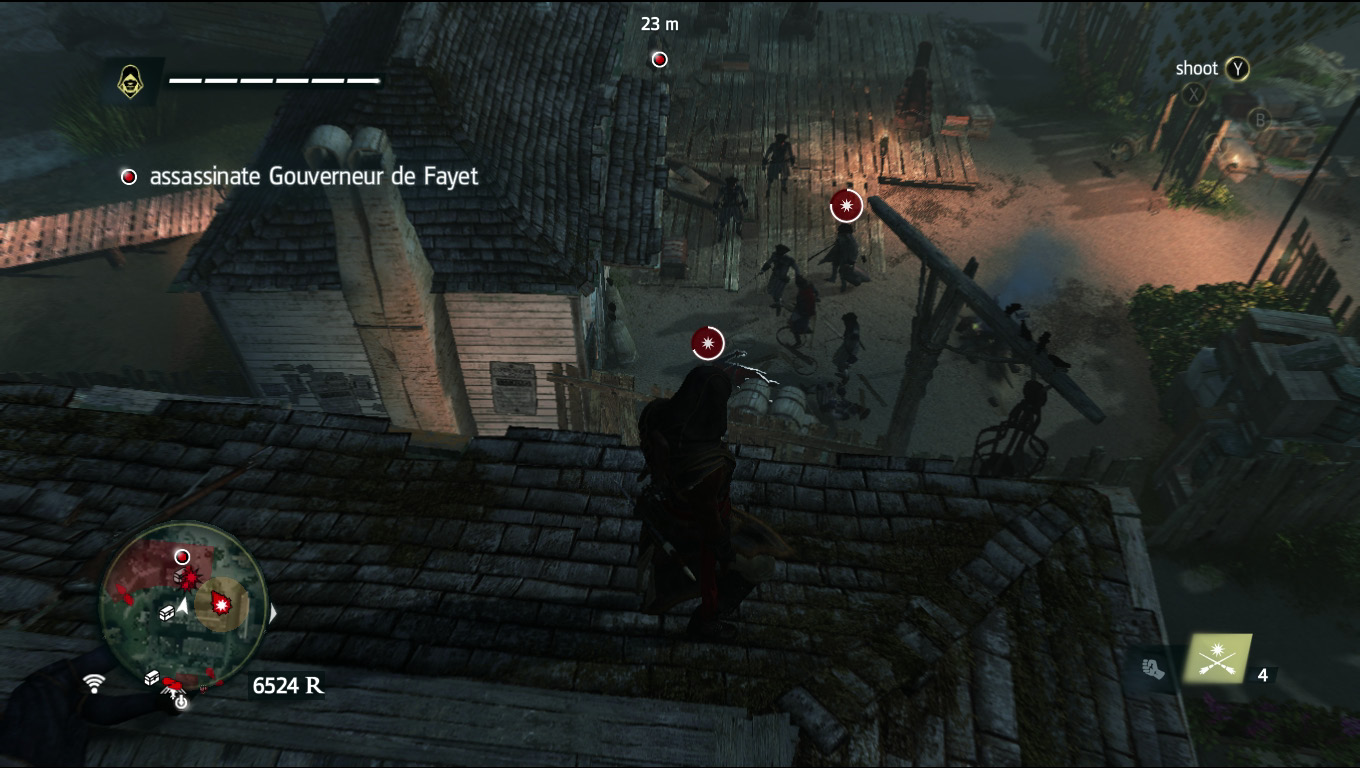
Sit back and wait for the guards you shot with berserk darts to turn on their allies and thin the number of soldiers that are in the fort.
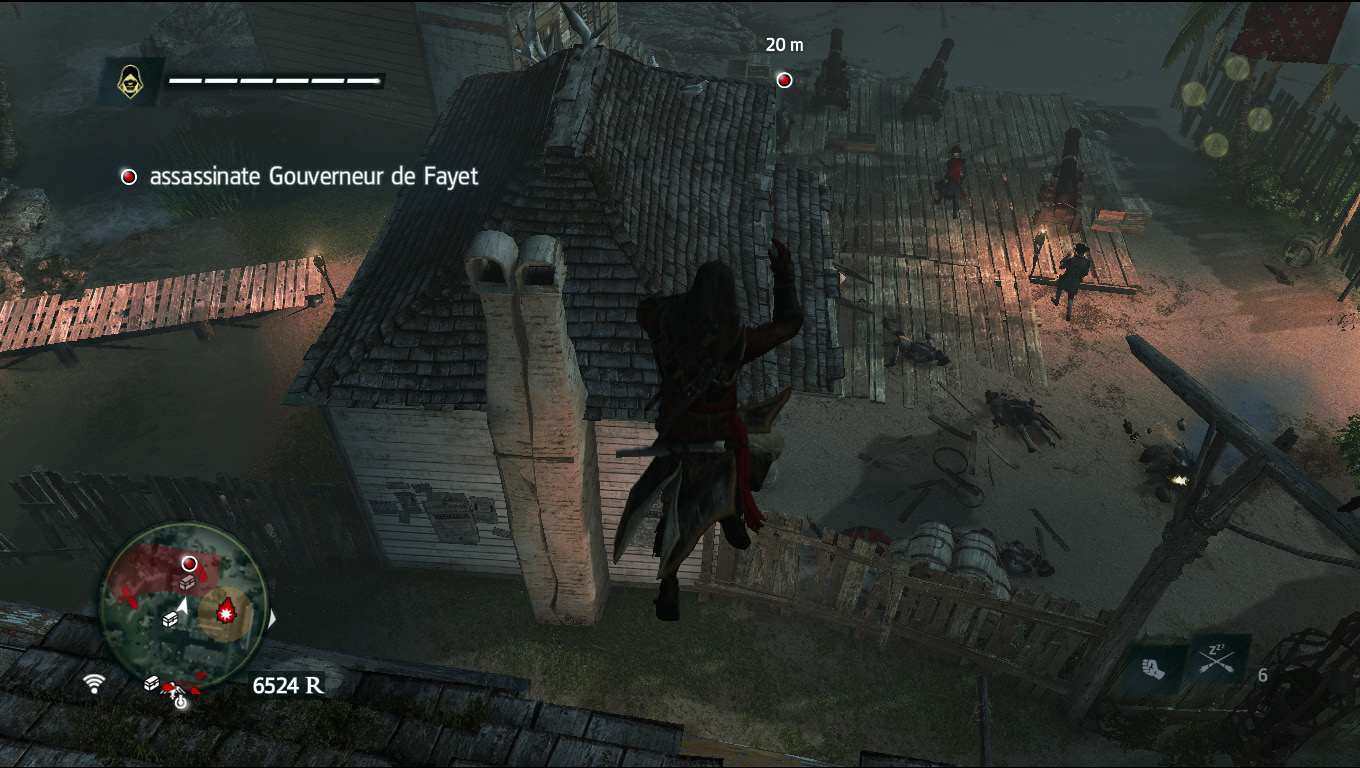
Once the guards are done with their rampage, jump down onto the roof of the building in the fort below you. Take care not to enter the governor’s line of sight by staying on the side of the roof nearest the building you just leaped from.
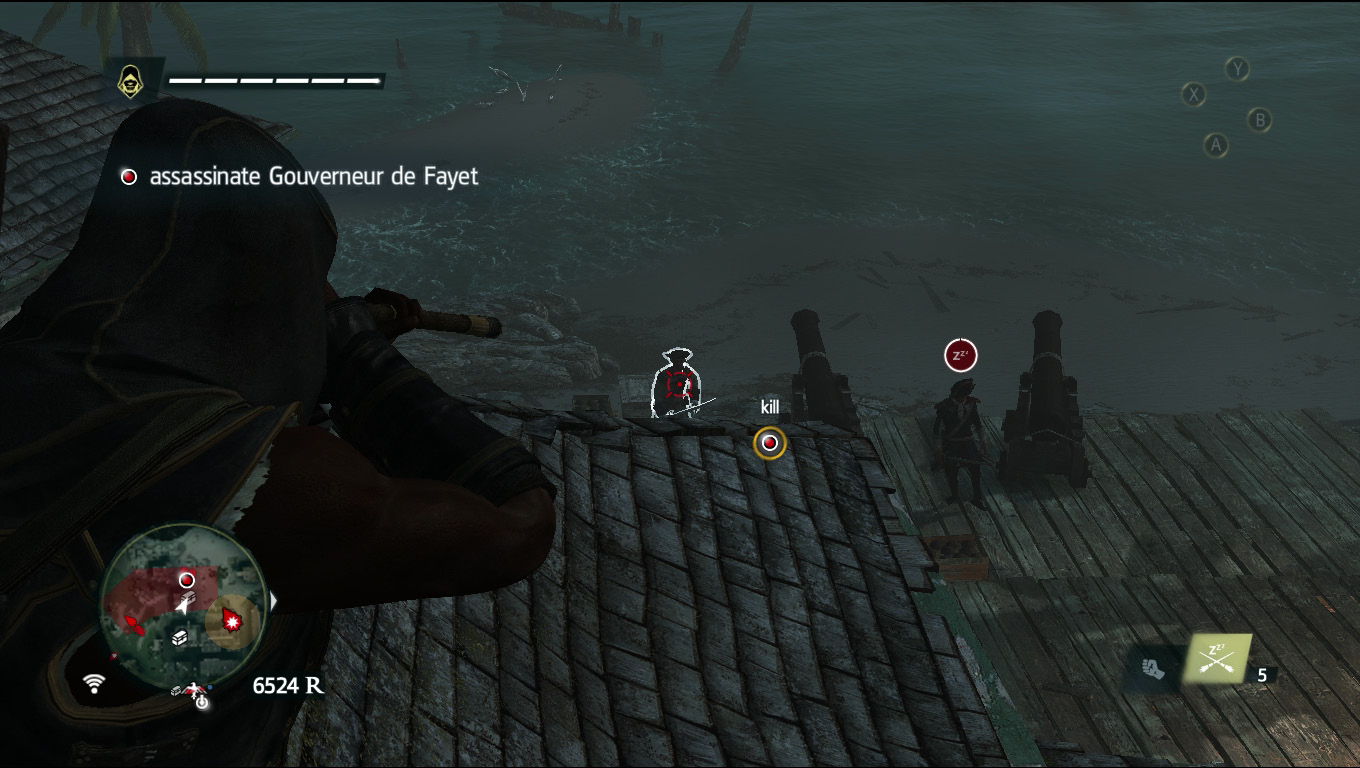
If there are any guards remaining, quickly shoot them with sleeping darts.
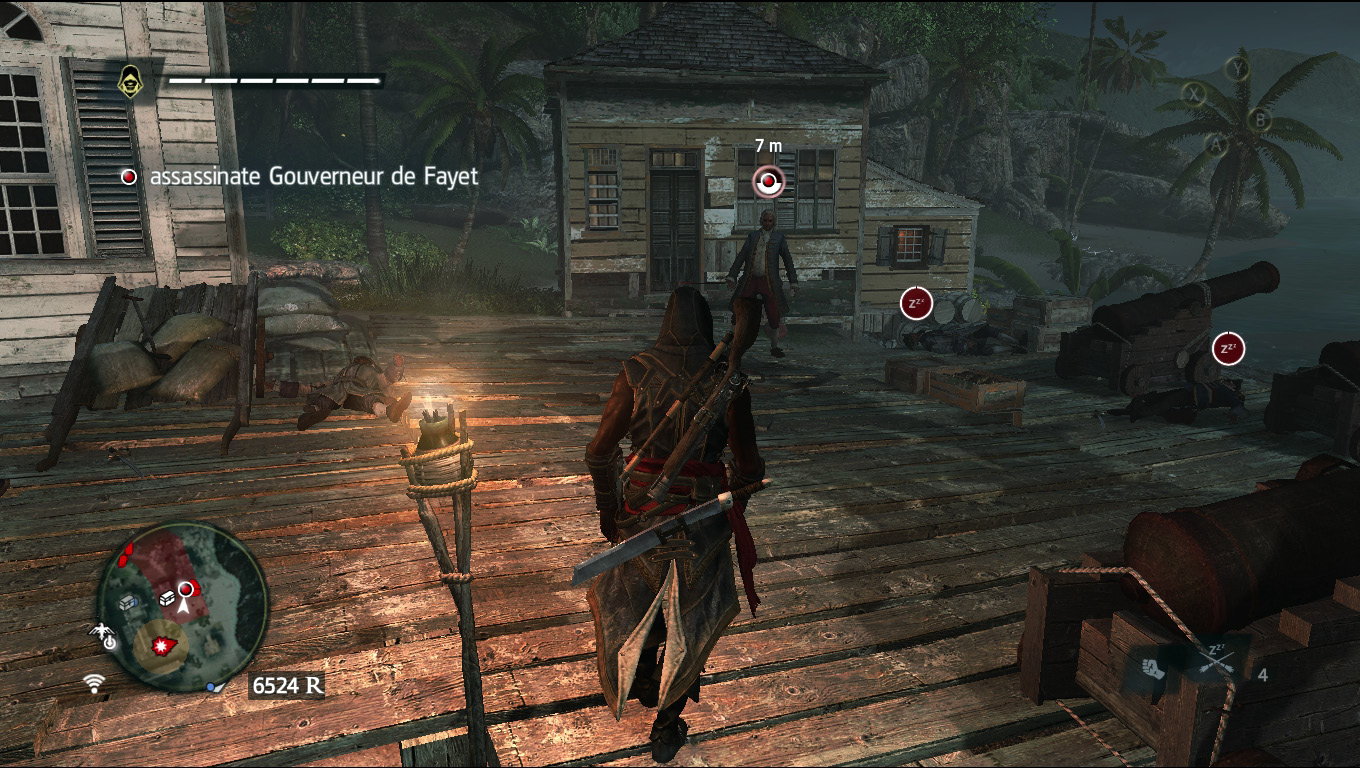
Now that the guards are knocked out, jump off the roof and approach the governor while still keeping your fists as your primary weapons.
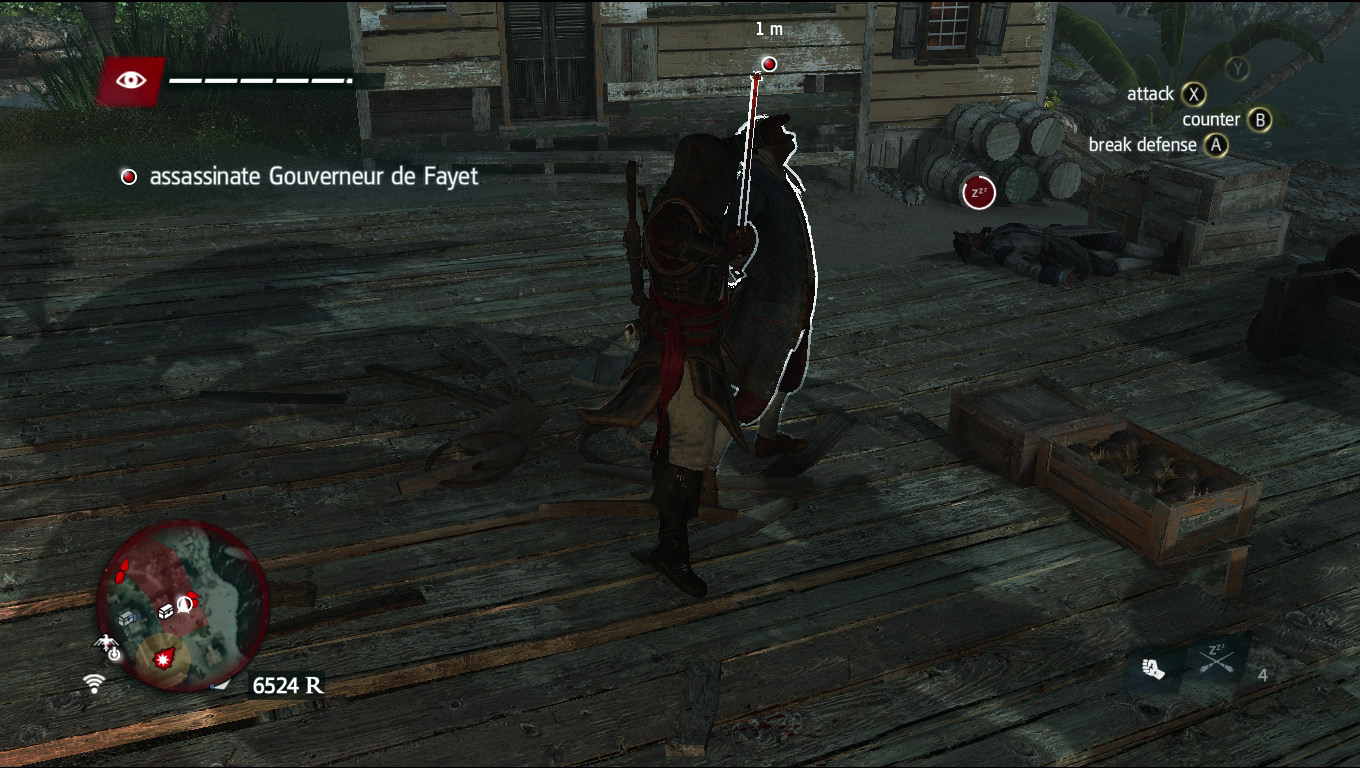
When the governor strikes at you, counter and then disarm (A button for the Xbox, X for PlayStation and E for PC)him to steal his branding iron. Wait for him to attack again. Counter and kill him to get your final Optional Objective.

Congratulations! You just completed Freedom Cry and, if you’ve been following our guidance on getting the optional objectives, you achieved 100 percent synchronization, which rewards you with the secret blunderbuss, the Dragoon.
Loose Ends
After the final cinematic ends and the credits roll, you’ll be loaded back into Port-au-Prince to do as you see fit. If there are any areas you haven’t finished, treasures you haven’t looted, or slaves you haven’t freed, get back out there and finish your work! You need only one more achievement now, after all. If you’re looking for any additional details, you can head over to the “Extras” section of the guide to find information about every location and item in the game.