
Assassin's Creed IV: Black Flag Guide Primer
Combat
The advice we offer here is designed to cover the fundamental features of the Assassin’s Creed IV combat system. Once open conflict becomes more demanding in later Sequences, you’ll find plenty of essential stats and additional strategies in the Reference & Analysis chapter.
Combat Basics
- Combat Mode: Once a fight begins, Kenway will automatically adopt a combat stance, and turn to face the enemy you direct him towards. Pay close attention to the white outline highlight that signifies your current target: this shows who you will be attacking. To change this, simply tilt
 in the direction of your preferred target.
 - Attack & Combo Attacks: To launch a melee attack on an opponent, press
 . The amount of strikes required before an opponent falls depends on the weapon type used. Attacking in this fashion is generally only of use when you face few opponents, or a single strong adversary. In battles featuring numerous assailants, you will be far more effective if you employ a counterattacking strategy.
 - Parry/Counter: Hold
 to make Kenway automatically block incoming melee attacks. If you only tap the button instead, you will set up a counter: see “Counter Techniques”.
 - Break Defense: Press
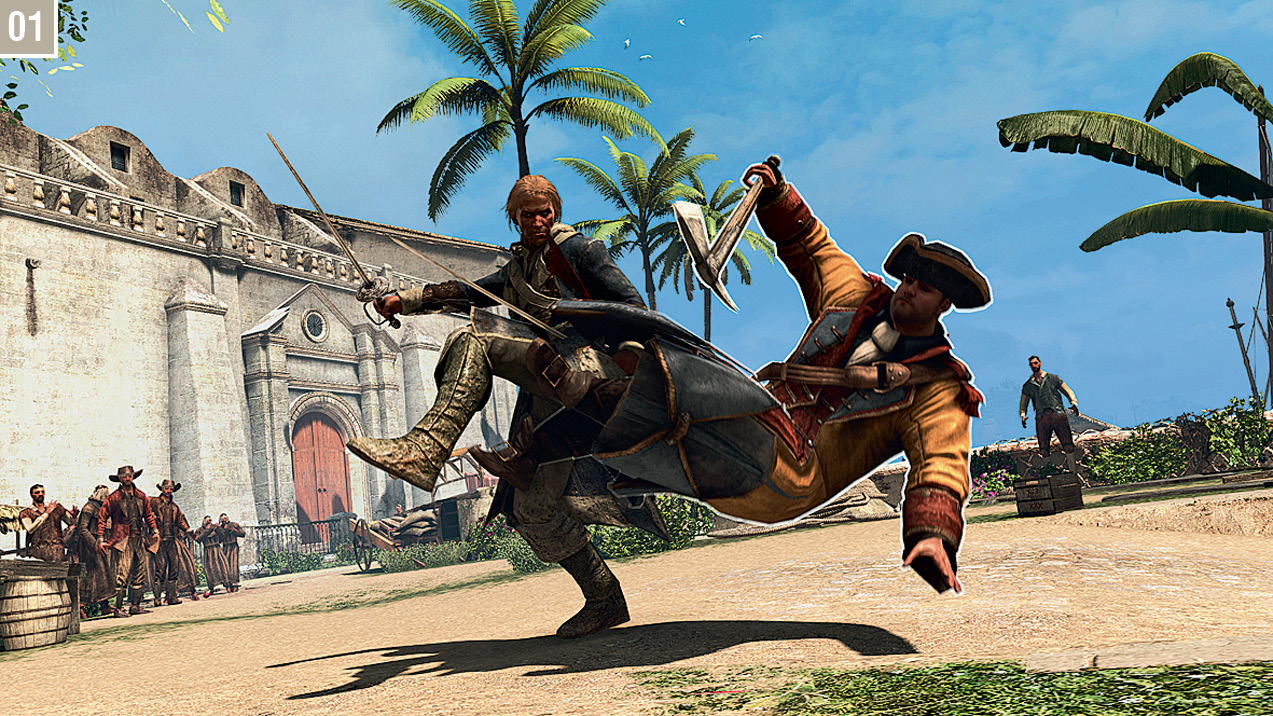
 to break an opponent’s guard, enabling Kenway to launch an assault before they recover. Performing this move twice consecutively on an opponent will cause Kenway to kick their feet from underneath them (
 ), rendering them vulnerable to an instant killing blow as they lie on the ground.

- Collecting & Dropping Weapons: Outside of combat, tap
 to collect or drop weapons. During a fight, you’ll need to hold the High Profile Button while you tap the button to achieve the same result. The safest way to immediately drop an acquired weapon is to select another one with
  or
or  .
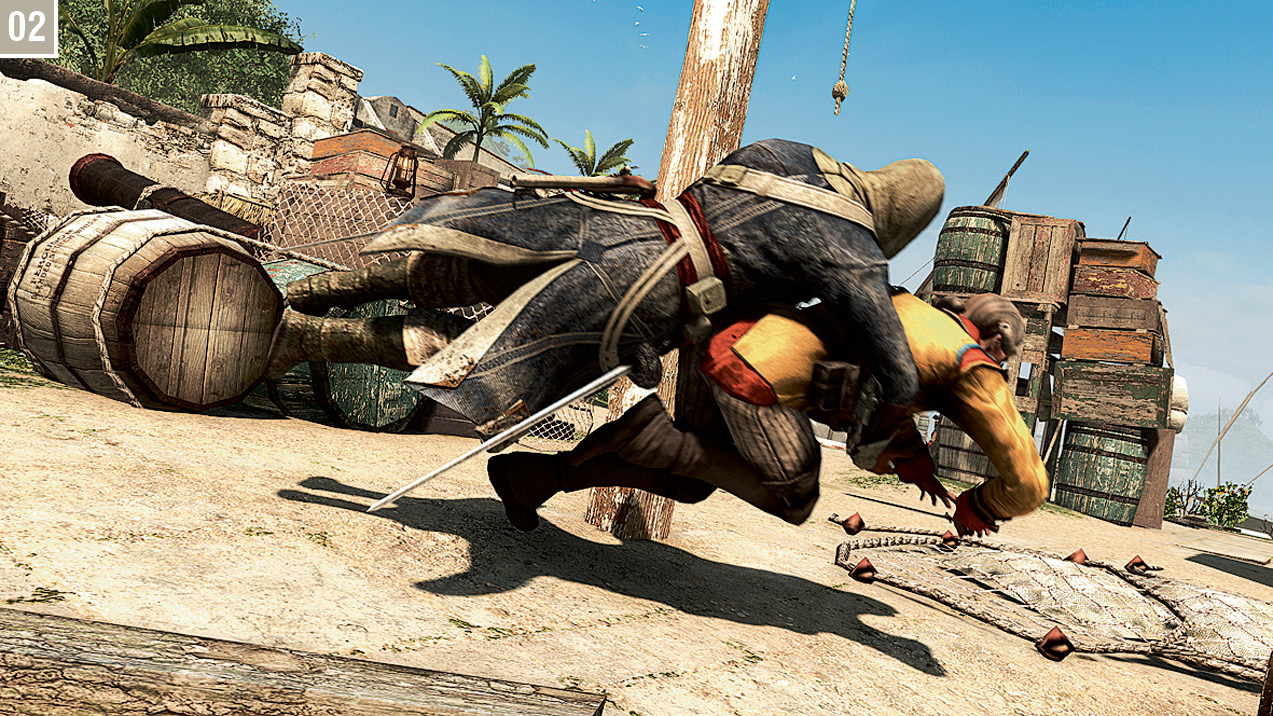
. - Tackle: A non-lethal technique, Tackle is employed while sprinting with the High Profile Button to knock a target to the ground. When Kenway is just behind his quarry, tap
 to make him leap and propel them from their feet (
 ).
).

- Escaping a Battle: To leave active combat, hold the High Profile Button. This restores standard
 control, enabling you to turn tail and escape. You can also use this technique to reposition Kenway if you feel that the initial battleground doesn’t favor him, or if a nearby location offers a strategic advantage. A narrow alleyway, for example, could limit the effectiveness of enemy marksmen.
Counter Techniques
The use of counterattacking moves is an all-important aspect of the Assassin’s Creed IV combat system: without it, fights become protracted and ridiculously difficult. To perform a counter, wait until you see the  icon appear above an opponent’s head (
 ). This indicates that they are poised to strike with a melee attack. Tap
  to set up your counter. (Don’t hold it – this would result in a basic Parry.)
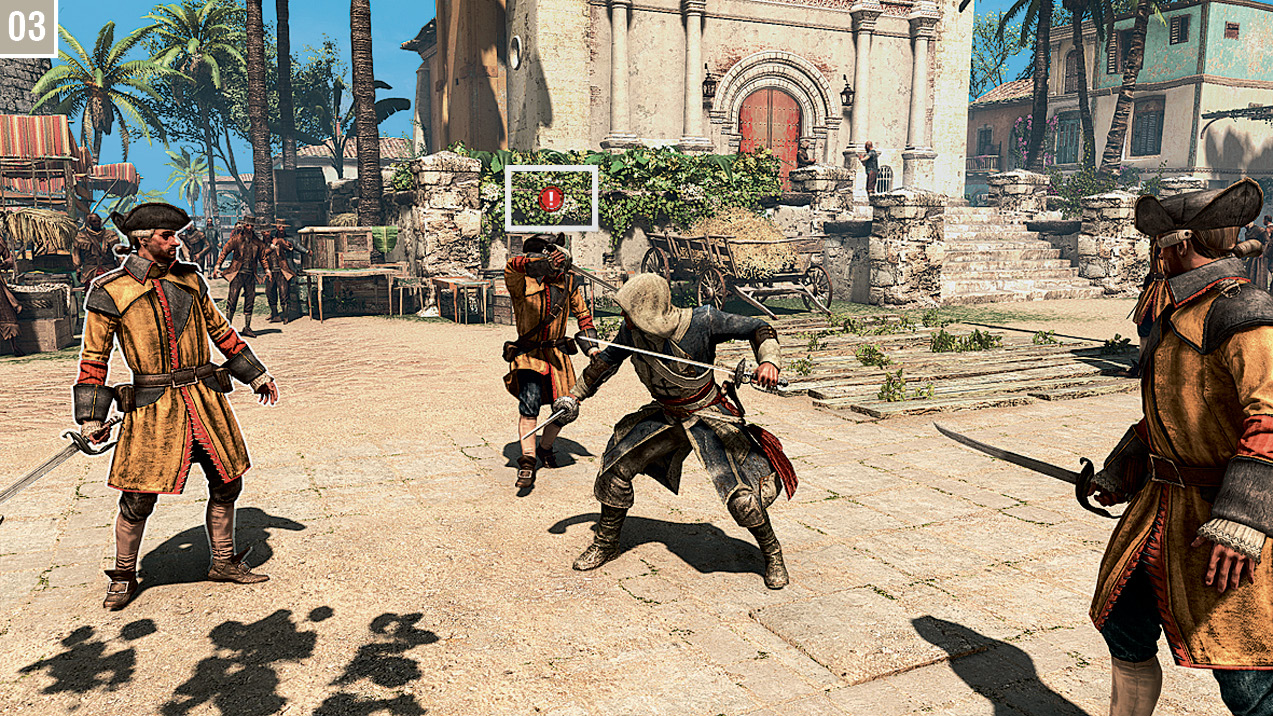
A successful  press initiates a temporary slow-motion state where you must tap a second face button to choose one of four counter moves (see below). If this window of opportunity passes, both the enemy attack and the counter attempt fail.
Counter Kill: Press  to kill an opponent instantly. This is by far the most effective and low-risk way to eliminate adversaries in large groups.
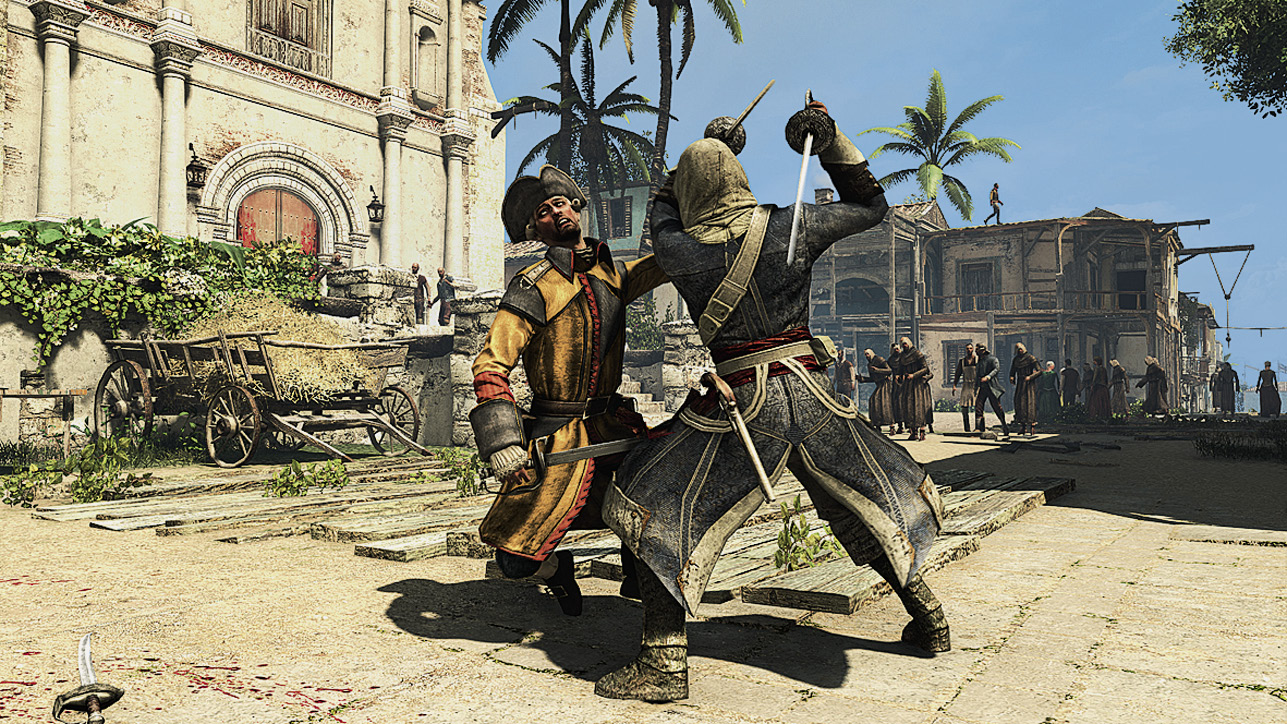
Counter Throw: Press  to hurl an opponent aside. You can use
  to influence the throwing direction. Thrown enemies can be finished with a single attack if you can reach them before they clamber to their feet. Propelling enemies from high buildings or into water is also fatal.

Counter Disarm: Press  to make Kenway deftly disarm his attacker. If Kenway is unarmed, he will claim his opponent’s weapon as his own; if he is already using another type of weapon, the opponent’s weapon will simply drop to the ground. To discard a weapon acquired from an adversary, just select one of your own weapons.
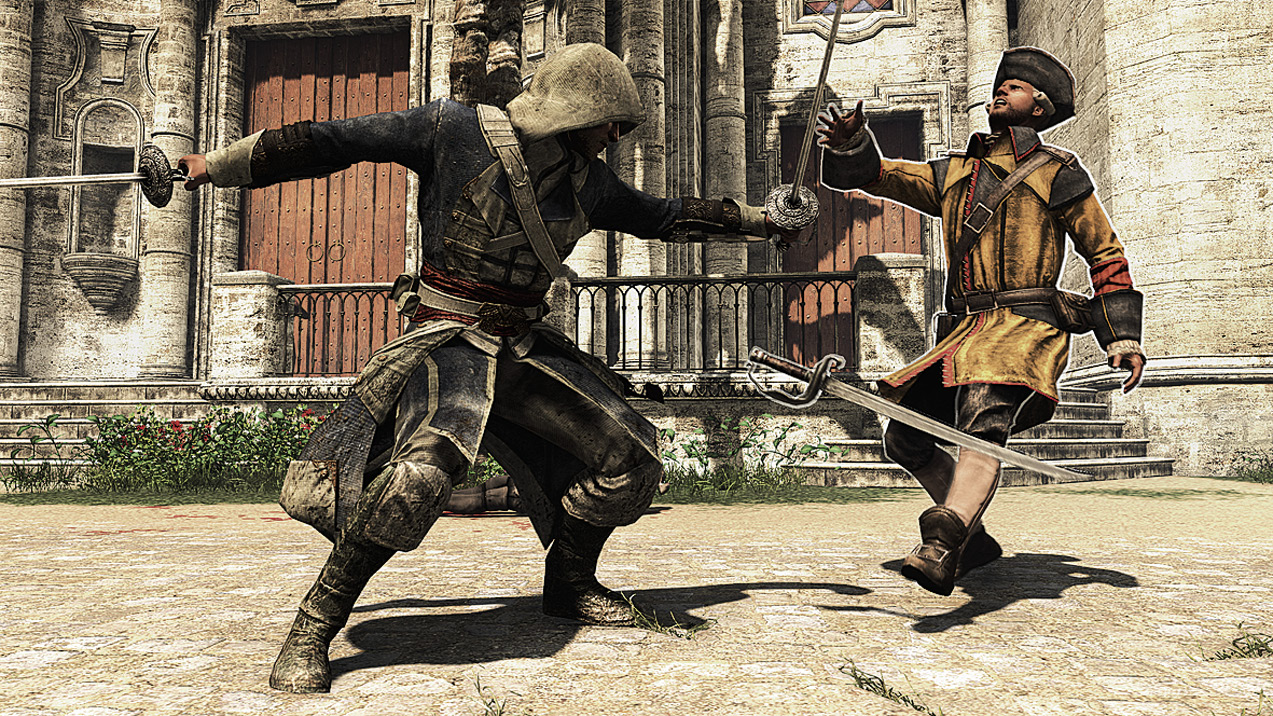
Special Counter: Press  to make Kenway counterattack with a weapon selected as his current Tool. Though it consumes ammo, this move can be very effective, especially against advanced enemy archetypes who are resistant to the Counter Kill move.
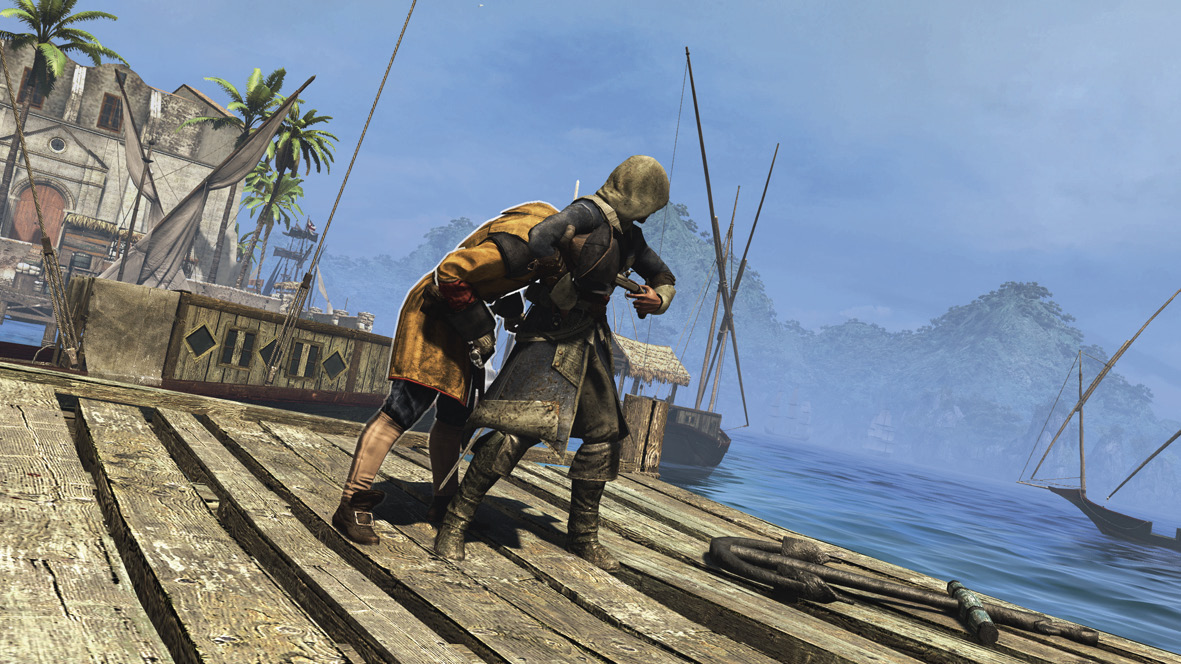
If two enemies attempt to attack simultaneously, pressing  alone will lead Kenway to counter kill both assailants automatically. This tends to be more common when he faces a large number of opponents at once, and is a great way to quickly even the odds. When you see attack notifications appear above the heads of two enemies at once, be sure to take advantage of this feature.
Kill Streaks
A Kill Streak is a combat technique whereby multiple opponents can be dispatched with instant-death attacks in quick succession.
To begin a Kill Streak, Kenway must either defeat an adversary with a combo attack, or perform a successful Counter Kill. During the killing animation, press  towards the opponent you wish to dispatch next (the one highlighted), then press
  to “stack” a subsequent assault. If successful, Kenway will automatically move and lash out, killing your specified target. During this animation, you can use
  +
+  to select the next victim. This can, theoretically, be repeated until all combatants save the victorious Mr Kenway lie beaten on the ground.
Kill Streaks end instantly if Kenway takes damage, or should he fail to make contact with an opponent – usually because they are too distant to reach. In pitched battles with aggressive antagonists, you can cancel a Kill Streak (or, essentially, start a new one) with a counterattacking move if an enemy seems poised to land a blow before Kenway reaches the next target.
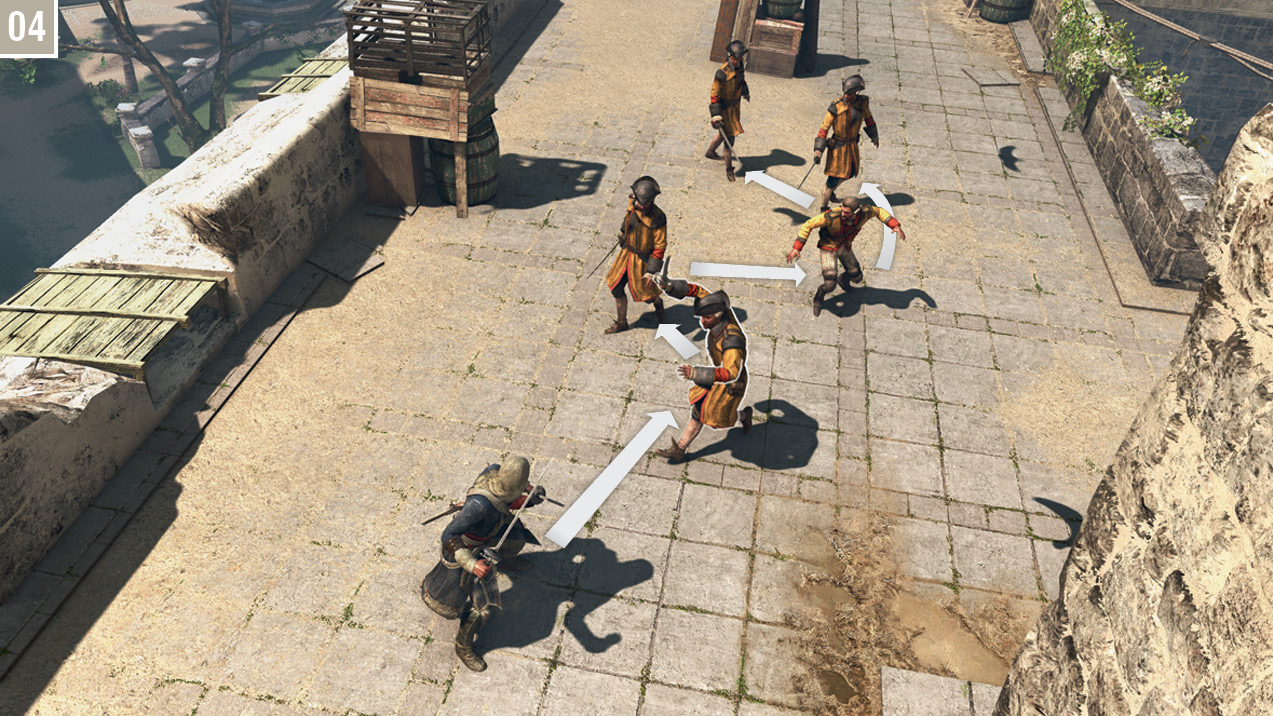
The secret to successful Kill Streaks is to identify a route of opponents that will enable you to kill as many as possible in sequence, adapting your course on the fly as you “join” the moving dots ( ). However, as with Counter Kills, it’s important to recognize that some opponents are resistant to such attacks. This certainly isn’t a problem you’ll encounter during the opening hours of the adventure, but it will eventually complicate matters by compelling you to avoid such antagonists to keep a Streak active.
Human Shield
Whenever Kenway faces opponents using firearms, there is a danger that they will open fire, causing significant injury. This is usually foreshadowed by the appearance of a distinctive icon ( ) over the head of the assailant poised to fire, or positioned at the border of the display for off-screen enemies. Within a short window of opportunity before the shot is made, you can grab any opponent in range to use as a human shield by pressing
  (
( ).
).
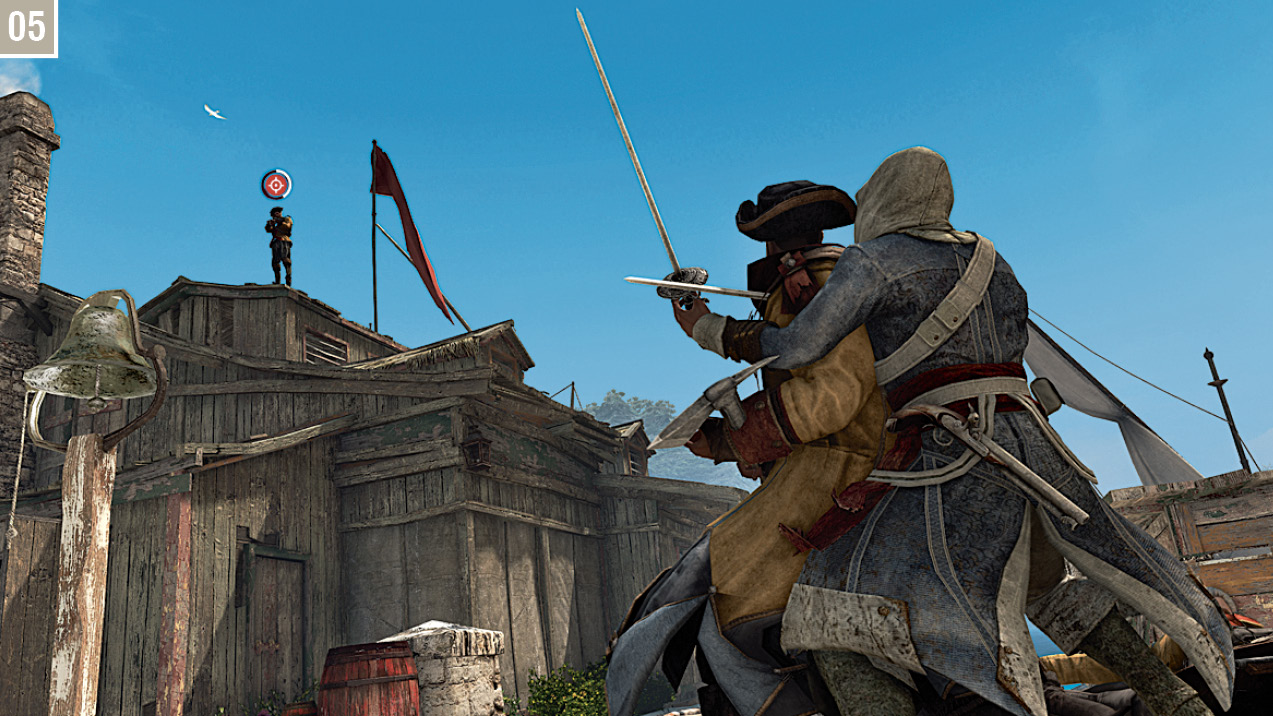
It can take a few attempts to get a feel for how to react to such situations. Don’t panic if you tend to fail at first. There’s a knack to identifying the danger and positioning yourself close to a suitable shield. What’s more, it’s not always strictly necessary to have an opponent nearby to avoid injury. You can also dodge by moving behind cover, which is easier if you break out of combat mode by holding  + High Profile Button.