
Assassin's Creed IV: Black Flag Guide Freedom Cry DLC Memories
Memory 4: A Ship of His Own
Optional Objectives
|
Stealth Action
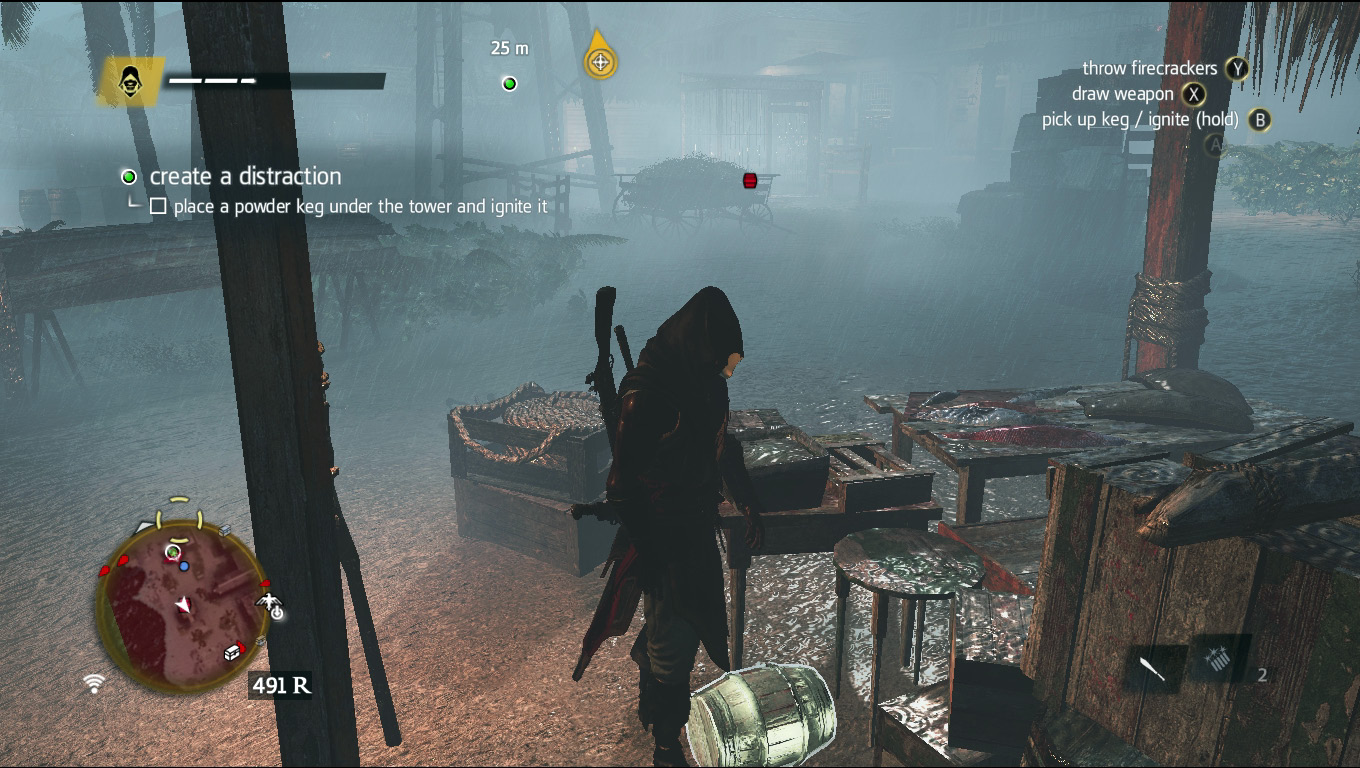
This whole mission takes place inside a restricted area full of guards. Your job is to take one of the handful of powder kegs scattered around the area and place it underneath the guard tower located on the beach. If you’re not interested in getting 100 percent synchronization and don’t really mind taking the direct and violent approach, feel free to handle it as you see fit; this mission is pretty simple if you’re willing to fight a dozen or so guards.
If you’re interested in getting the Optional Objectives and handling this operation discreetly, then read on and we’ll show you the easiest and fastest way to knock them out.
Draw a Crowd
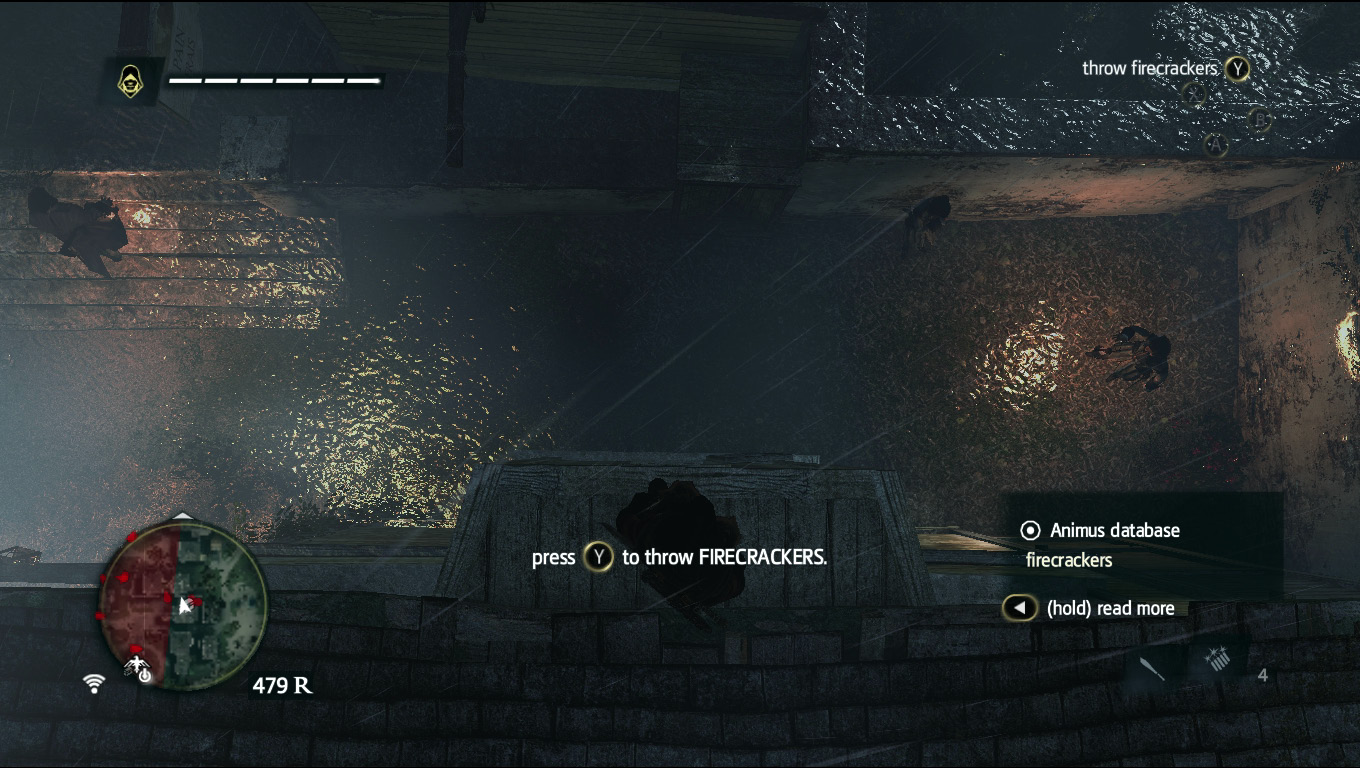
At the start of the mission you’ll be given firecrackers that are handy for distracting guards if you’re looking to sneak by unnoticed. Throw the firecrackers into the alleyway when instructed to move on.
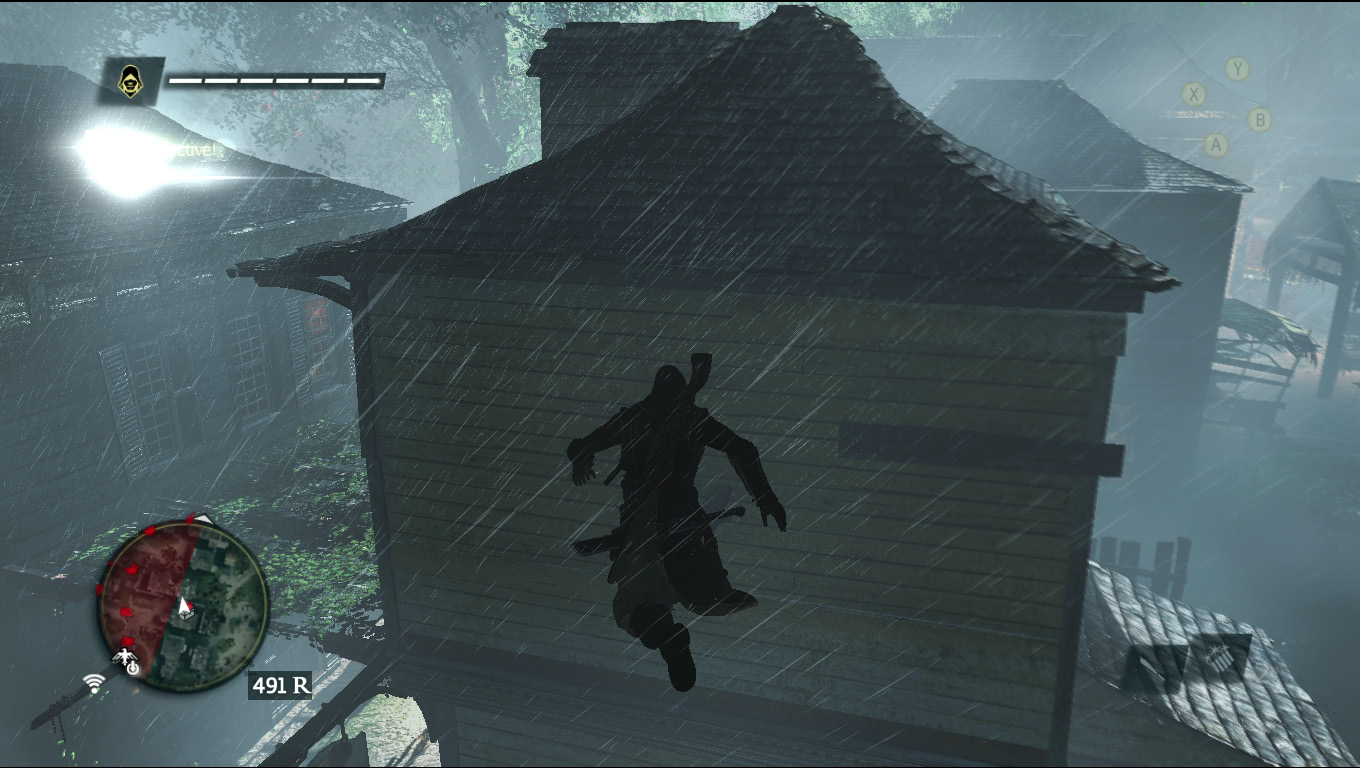
Once control of Adewale has been restored to you, immediately jump onto the building in front of you and head straight.
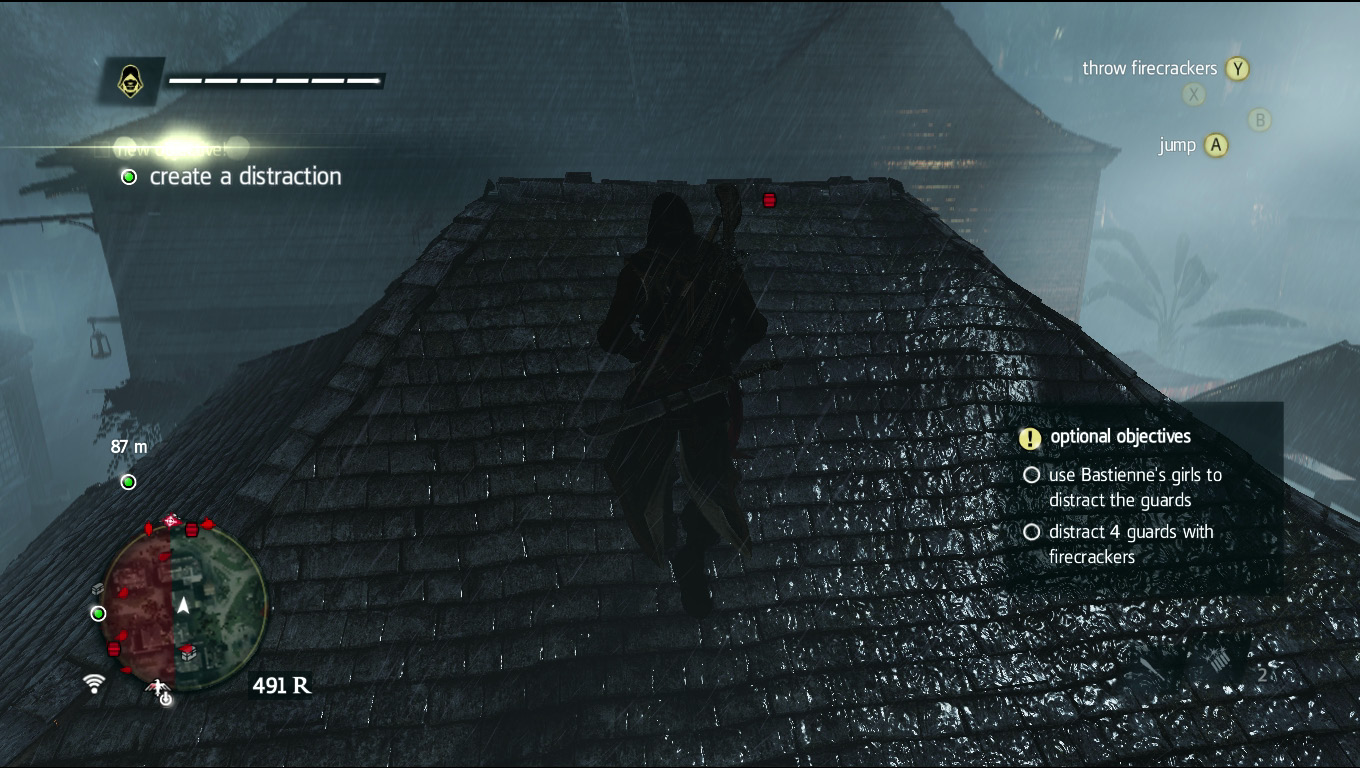
Continue moving straight across the next two buildings until you reach a rope platform that is connecting the building you are on to the one in front of you.
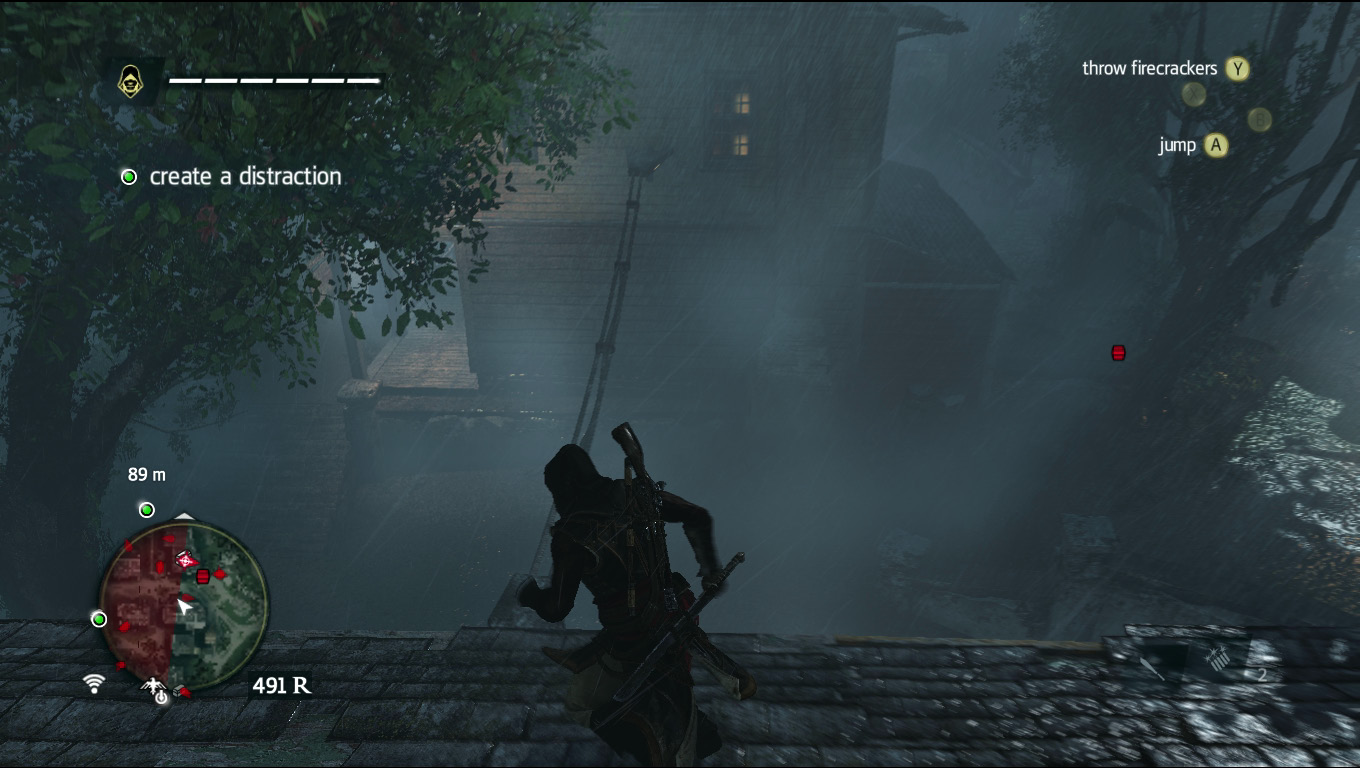
Run across the rope to its end, which is attached to the second floor of the house in front of you.
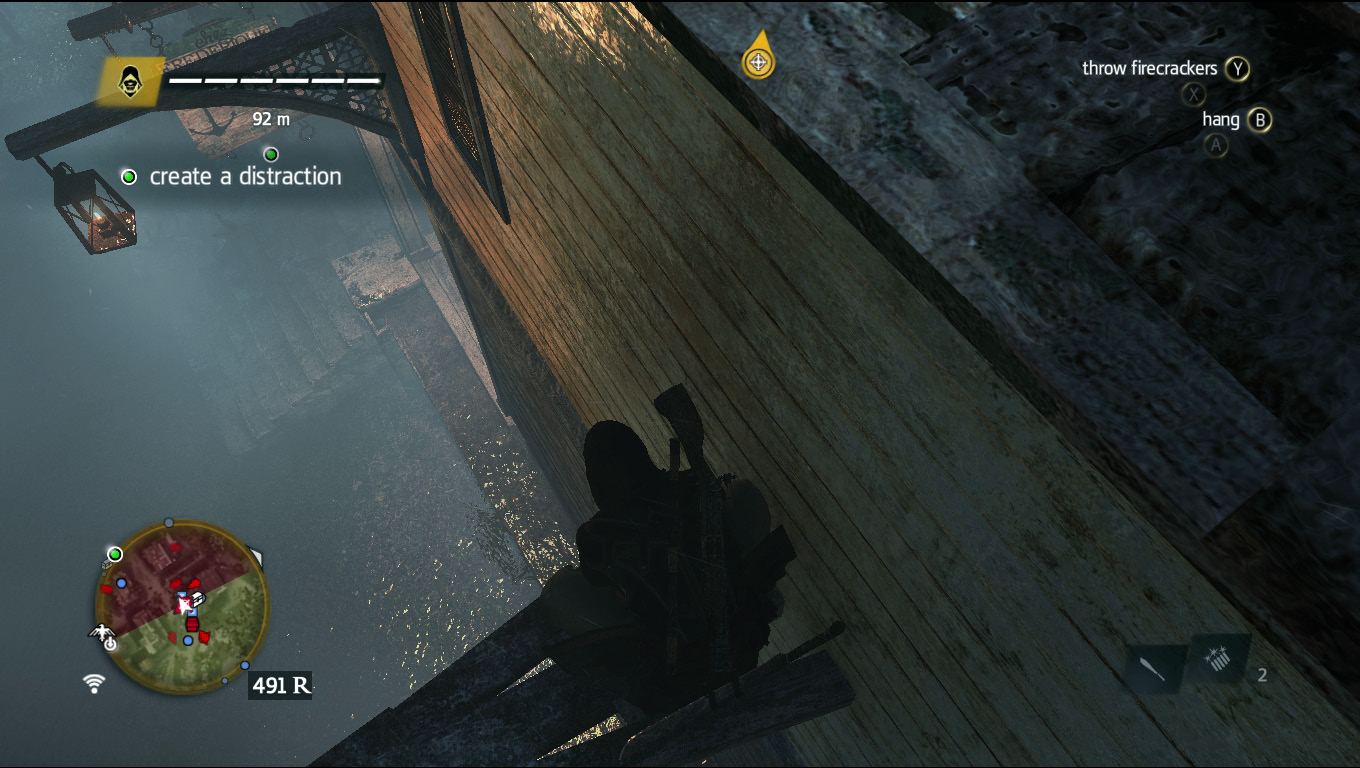
While standing on the rope where it attaches to the building , turn left and throw firecrackers onto the ground below you.
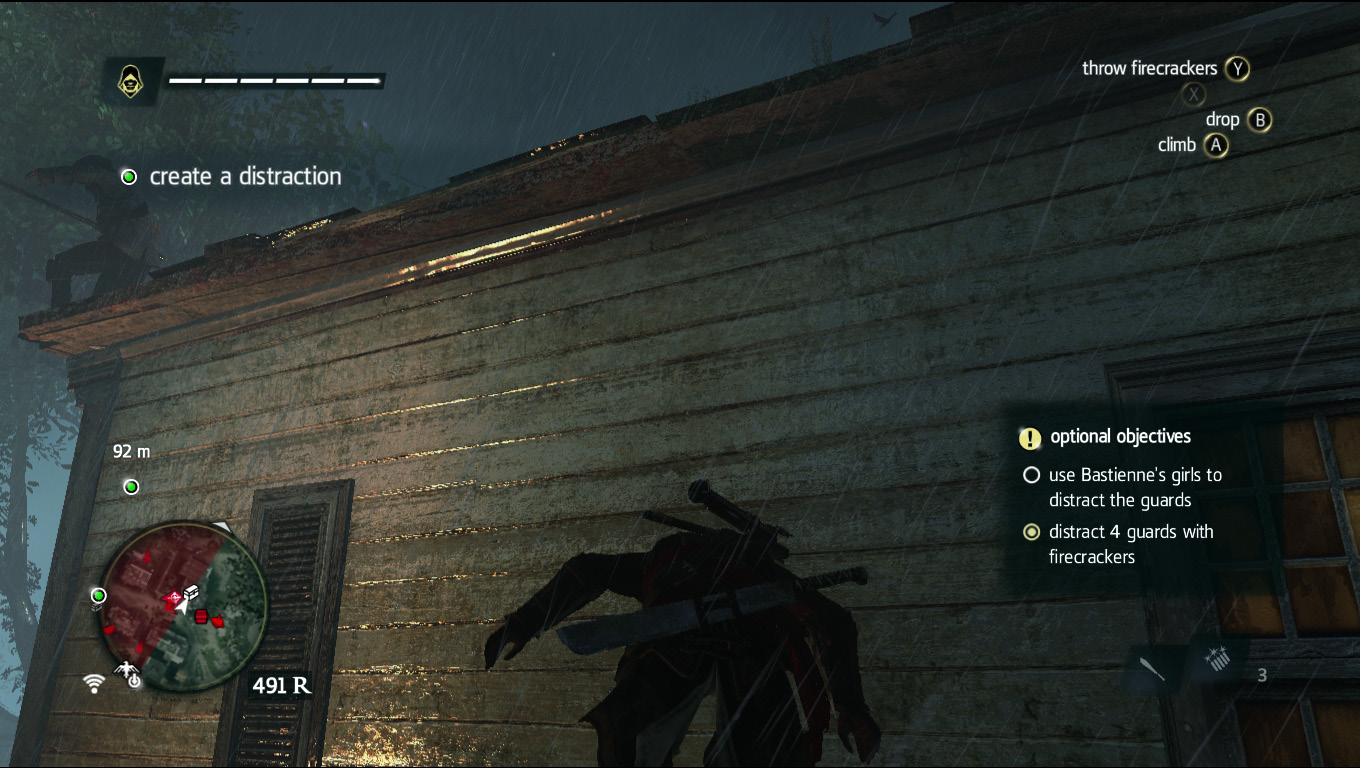
Look at the upper-left corner of this house’s roof and wait for the gun-wielding guard to jump down and inspect the firecrackers. Even if it takes a bit of time, wait him out; he goes after them sooner or later without fail, even if he spotted you running across the rope platform. If he fails to hop down and you don’t get the “Distract four guards with firecrackers” Optional Objective, throw another set of firecrackers down and try again.
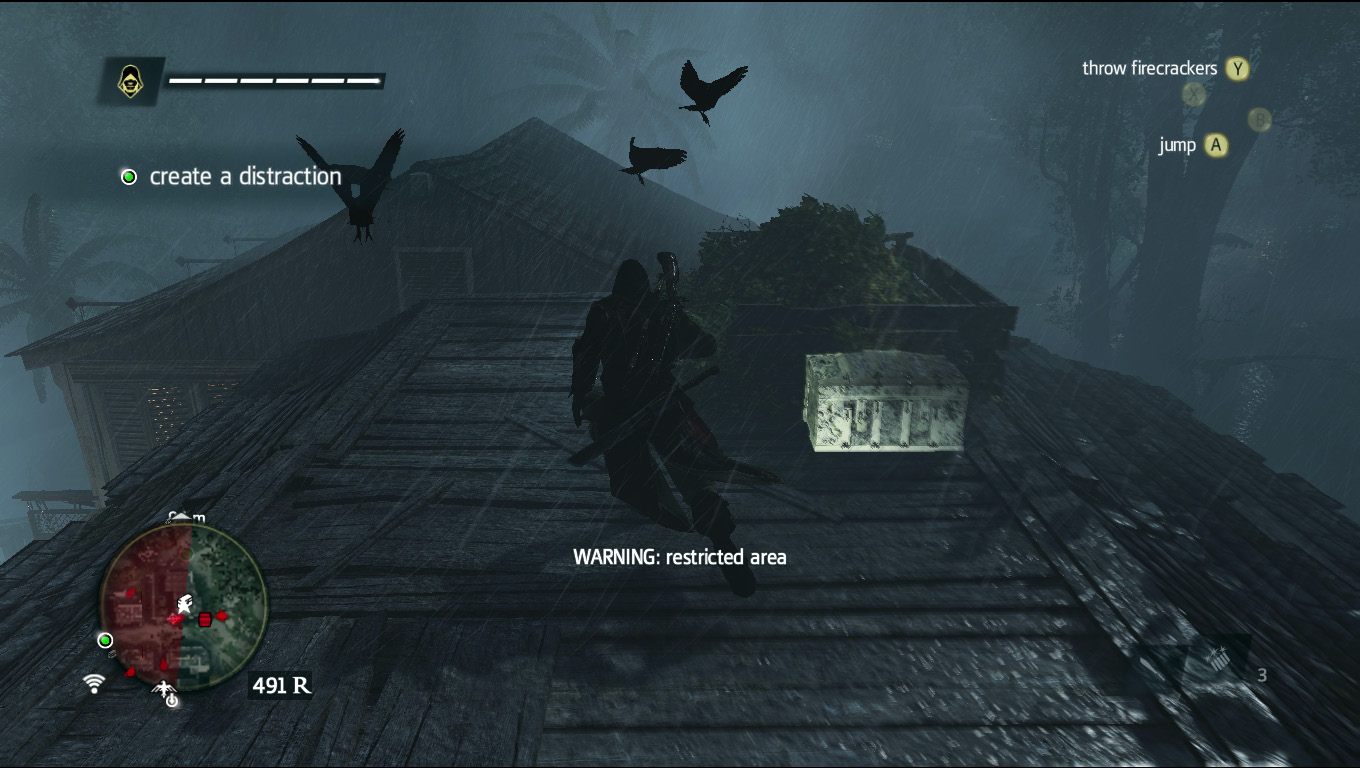
Once you’ve completed the second Optional Objective, jump onto the roof of the building and run across it to the second roof that is connected with the one you’re on.
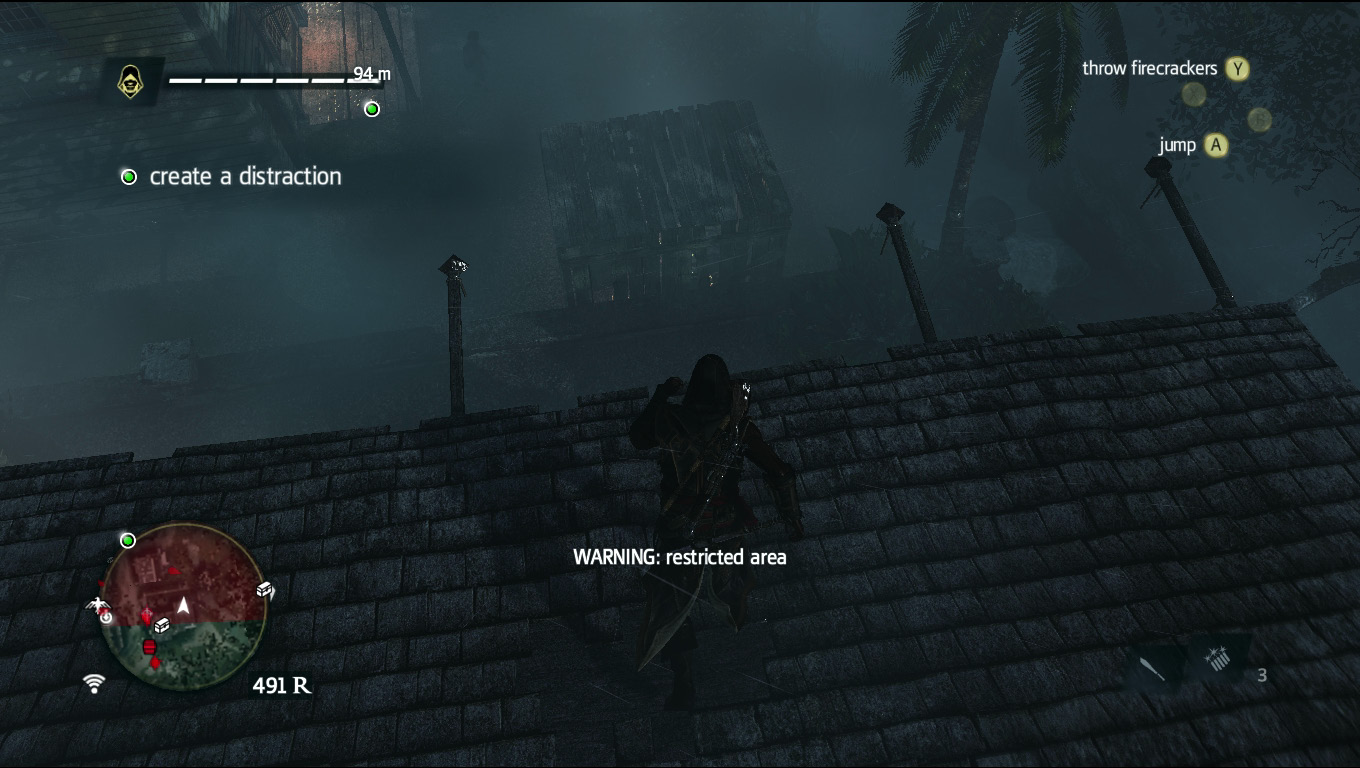
As soon as you’re on the second roof, immediately turn left, run, and jump off the building, aiming for the small shed on the ground below (use the two metal poles sticking out of your roof as guidance).
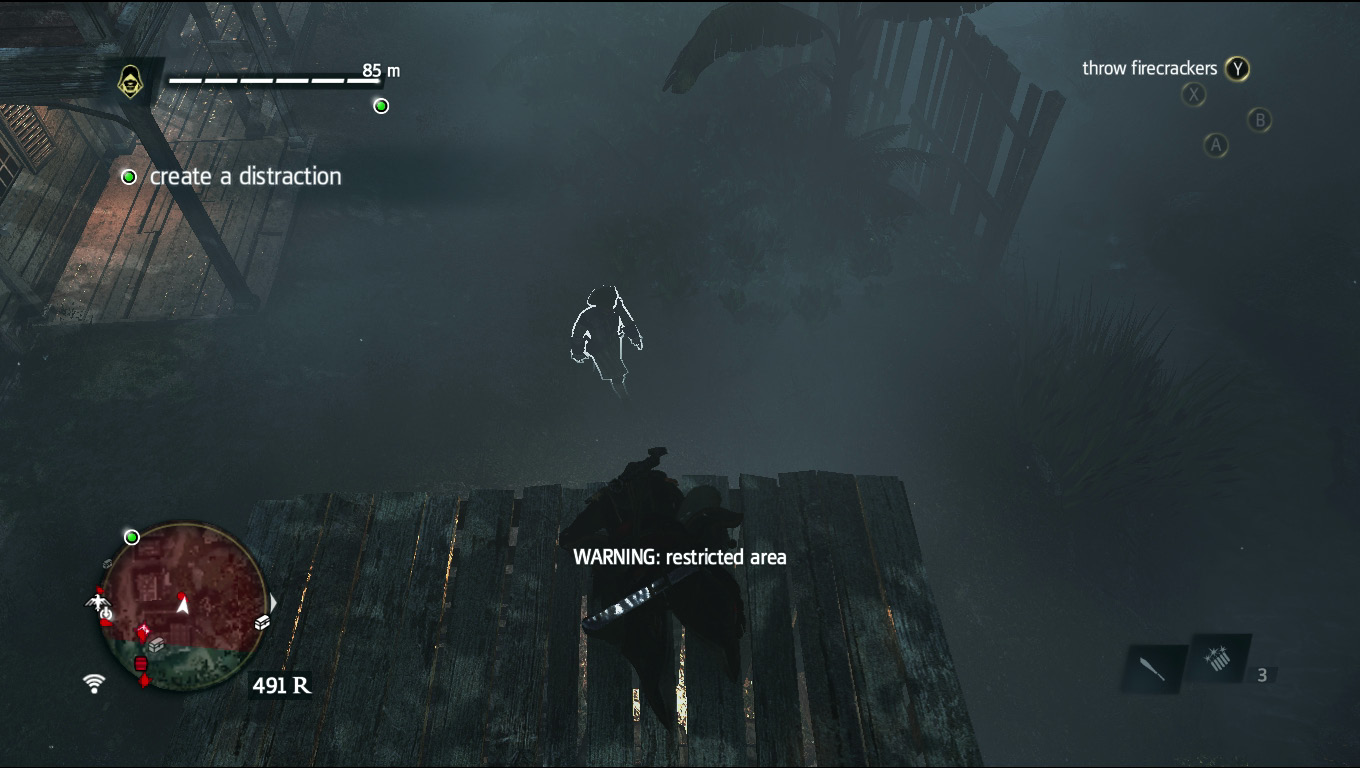
Once on the shed, immediately assassinate the guard who most likely is directly in front of you or off slightly to your right near the bushes.
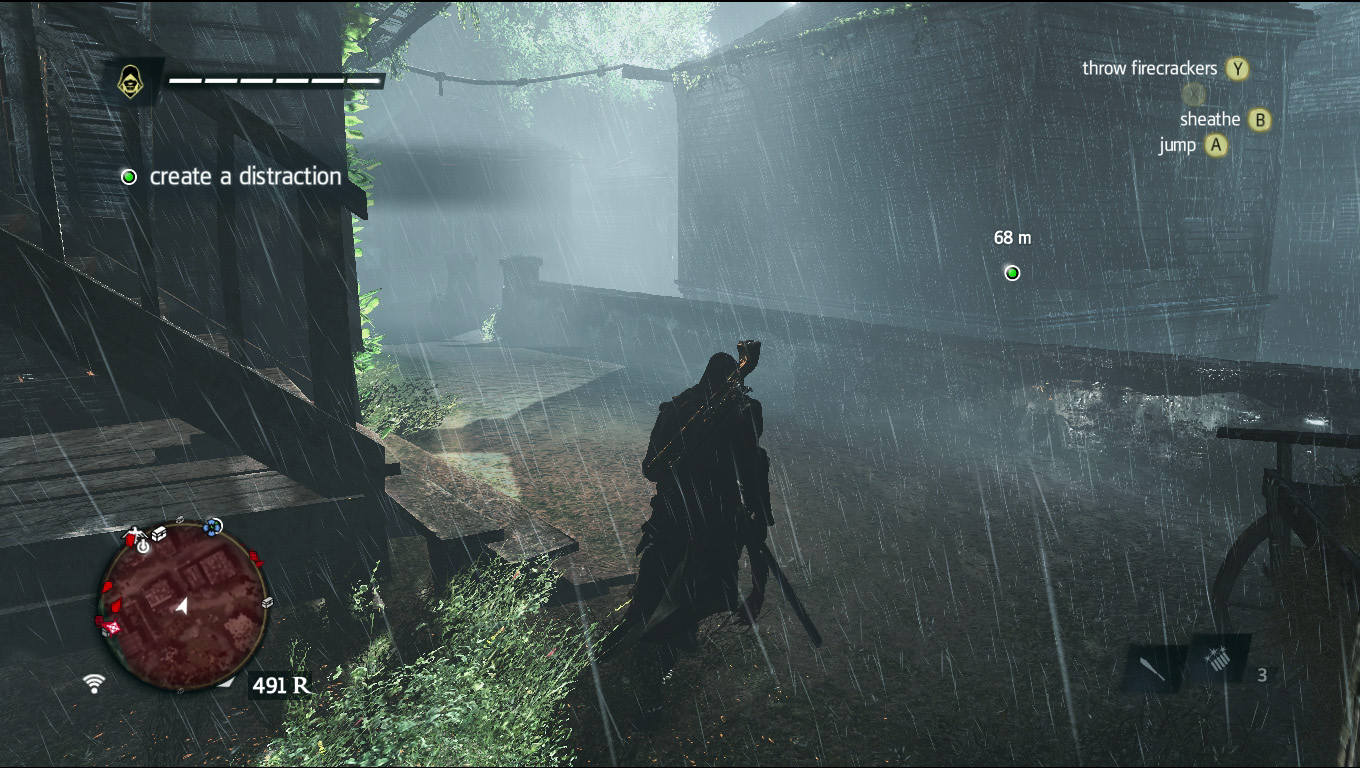
After you’ve dealt with him, head east and take the first left through the alleyway leading back to the main street.
Bastienne’s Gift
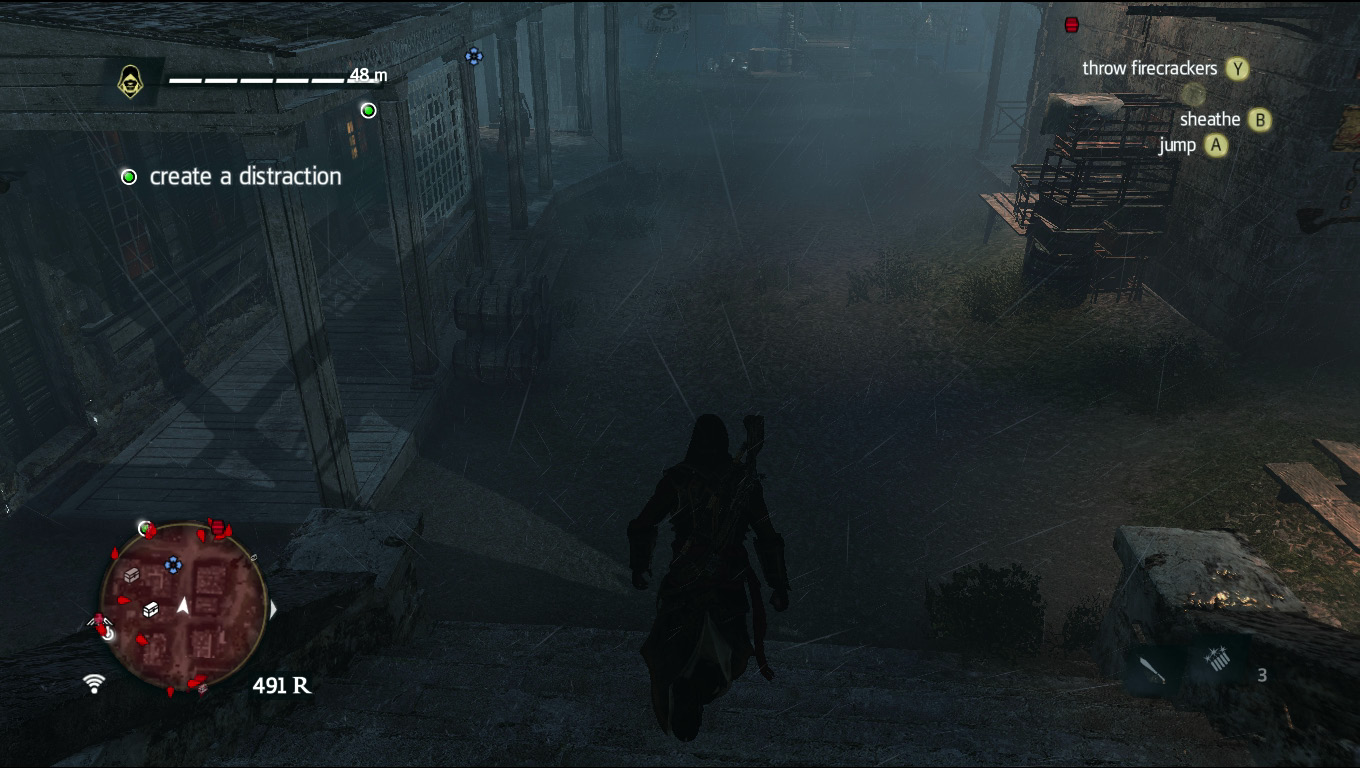
From here take a right and head toward the beach.
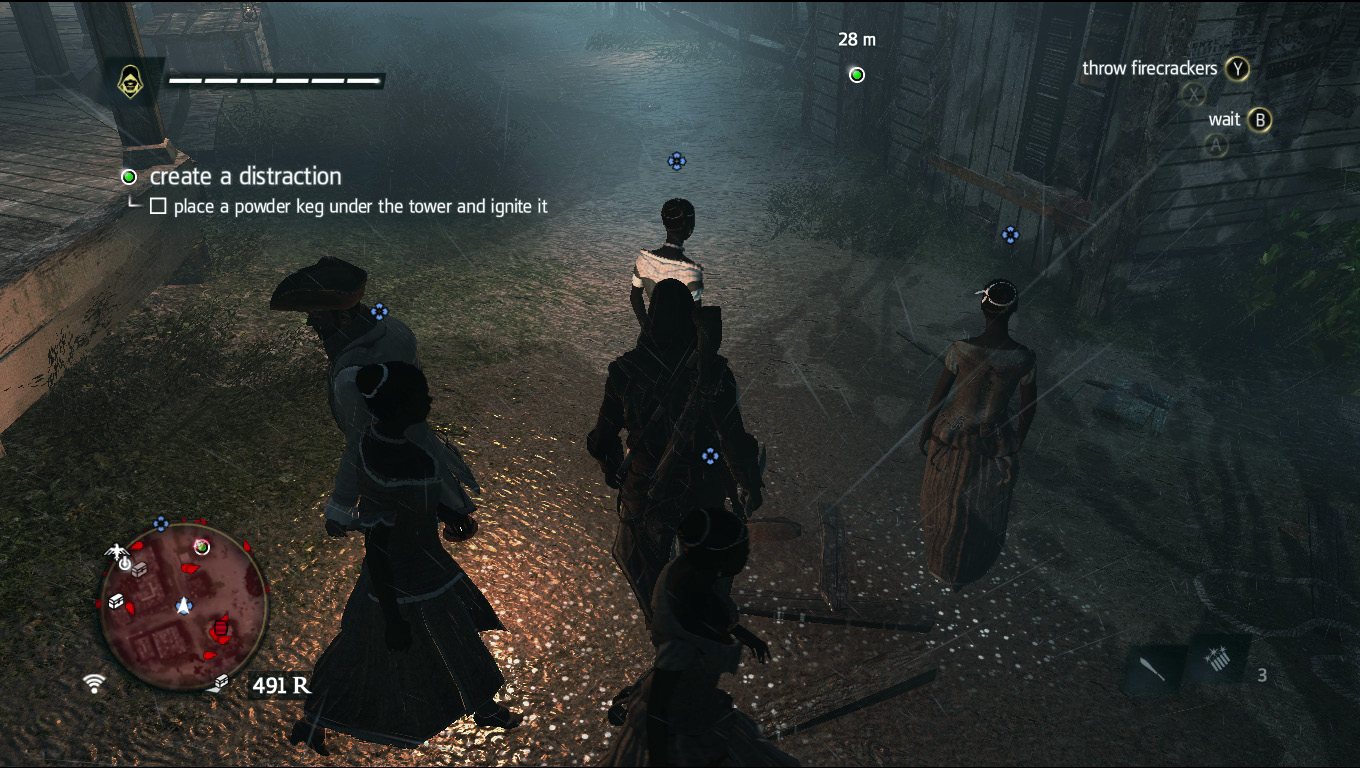
Stop when you reach a group of Bastienne’s girls on your left, then hire the girls and take a left at the T intersection . Stay among the girls to blend in and avoid detection.
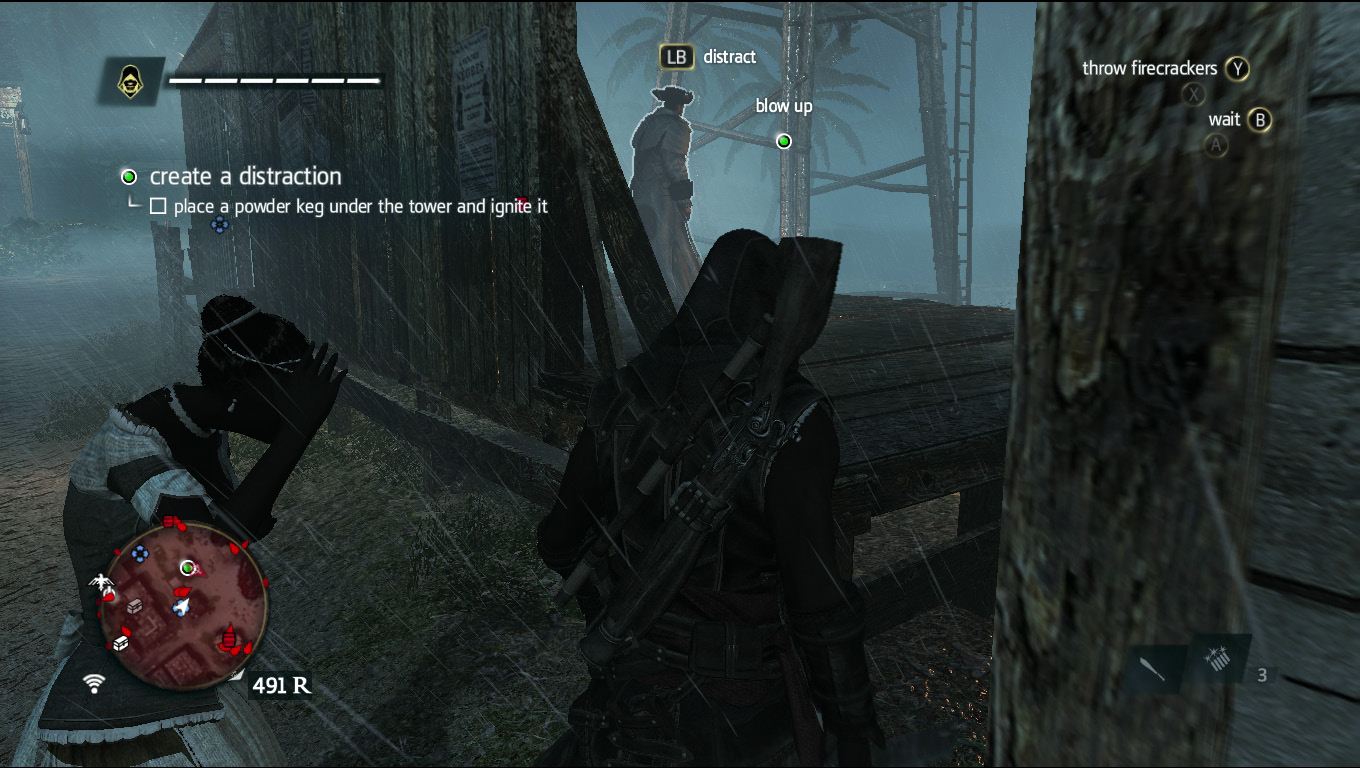
To your right is a large wooden wall that is actually the back of an auction stage. Peek through the first opening and tell the girls to distract the guards standing on the other side of the wall. This lands you the other Optional Objective, which means you just need to beat the mission to get 100 percent synchronization.
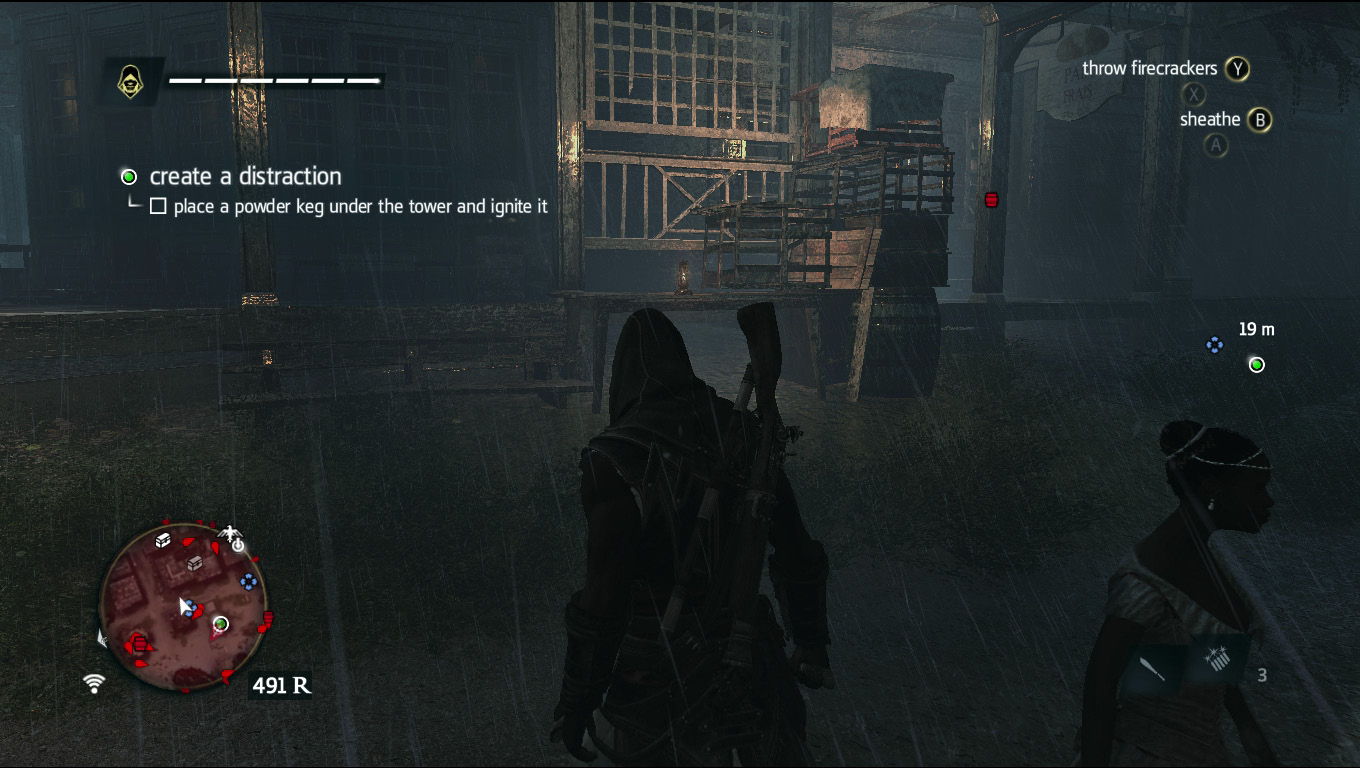
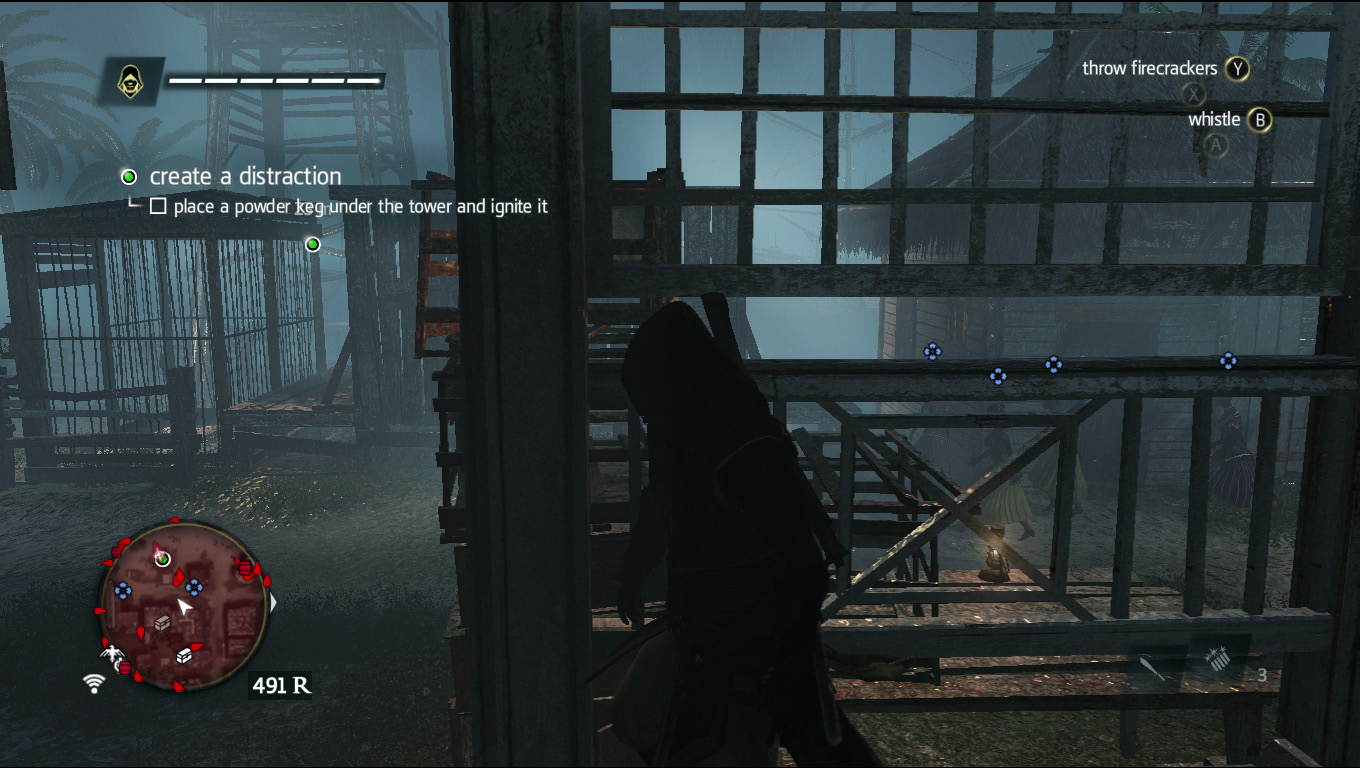
Immediately turn around and hop onto the deck of the building where Bastienne’s girls were originally standing. Now hide behind the trellis with boxes stacked in front of it. Wait for the guards the girls are currently working their magic on to leave.
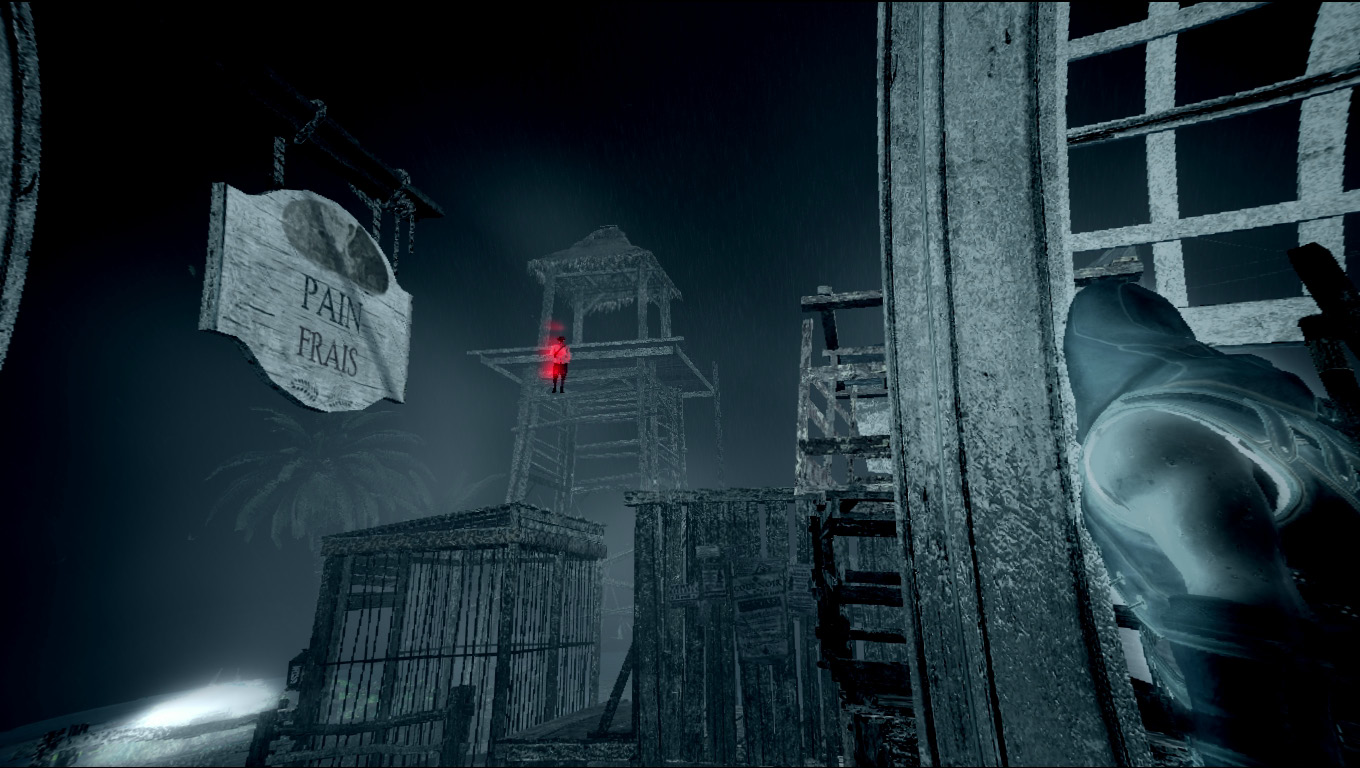
The tower you need to sabotage is directly ahead of you, but a gun-wielding guard is pacing on top of it and he’s got the eyes of an eagle using binoculars. Use your eagle vision to mark him so you can keep track of what direction he is facing.
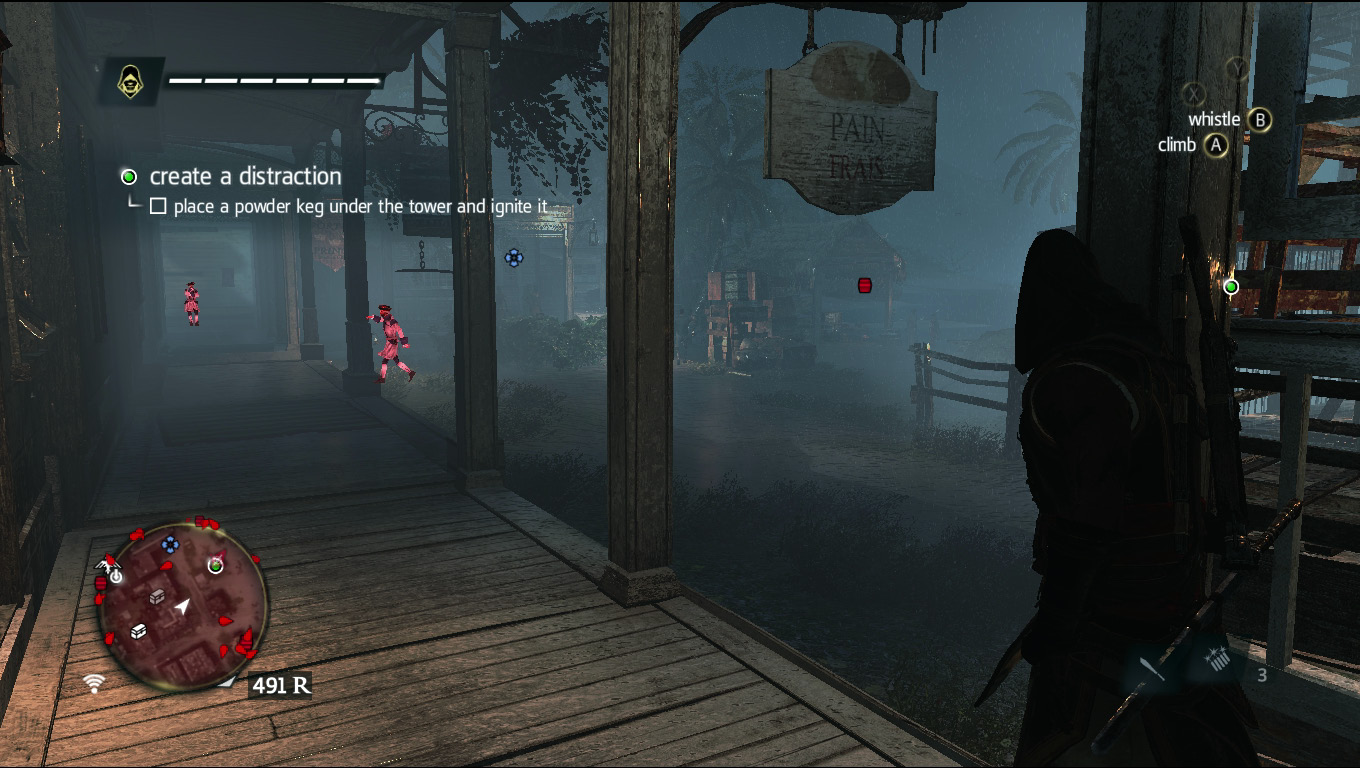
With eagle vision still on, look to your left and right to make sure there aren’t any nearby patrolling guards who might spot you climbing the tower because that’s what you’re going to do next.
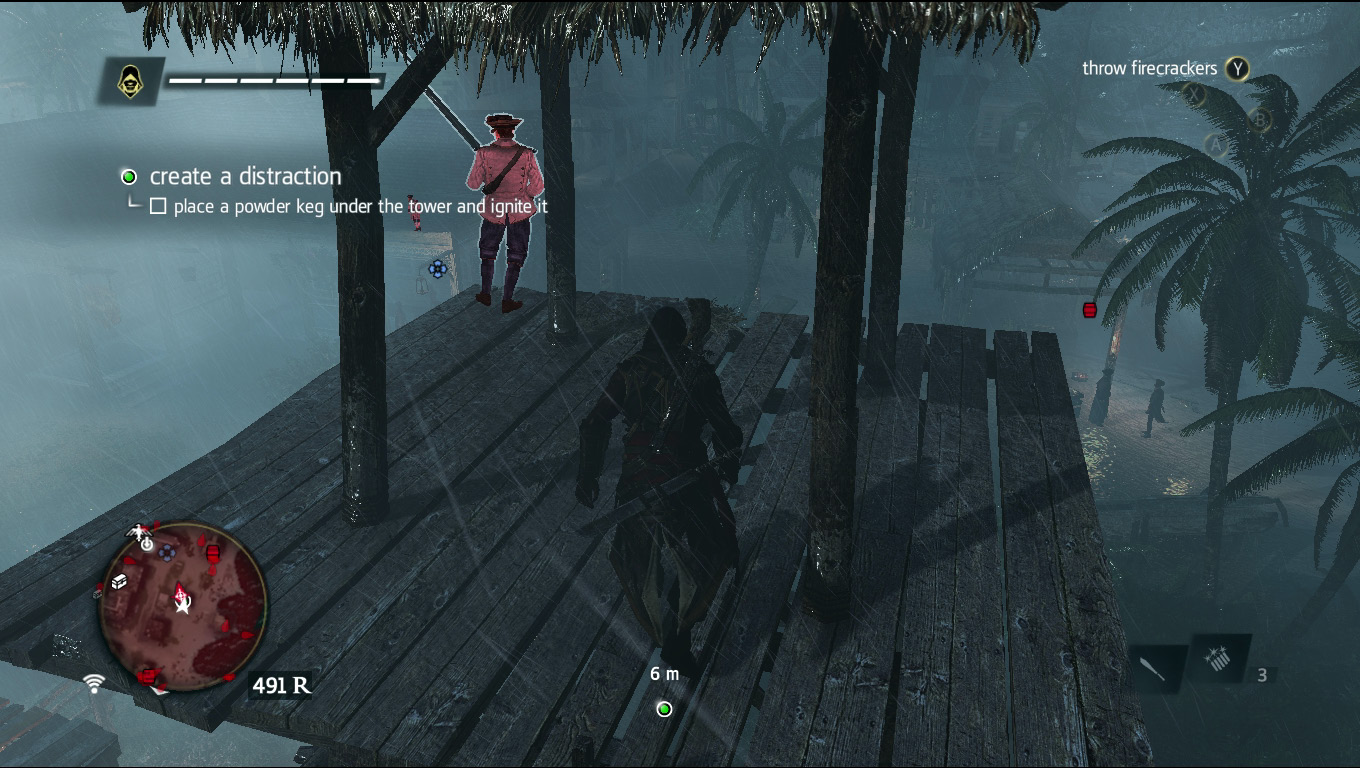
Once you know the coast is clear and the tower gunman isn’t looking in your direction, sprint for the tower, climb it, and eighty-six him. This makes the rest of the mission pretty simple. If things don’t go according to plan and you’re spotted, don’t sweat it. Getting the Optional Objectives taken care of was the hard part of this mission. Any mistakes can easily be rectified with your trusty machete and a few foolish overseers.
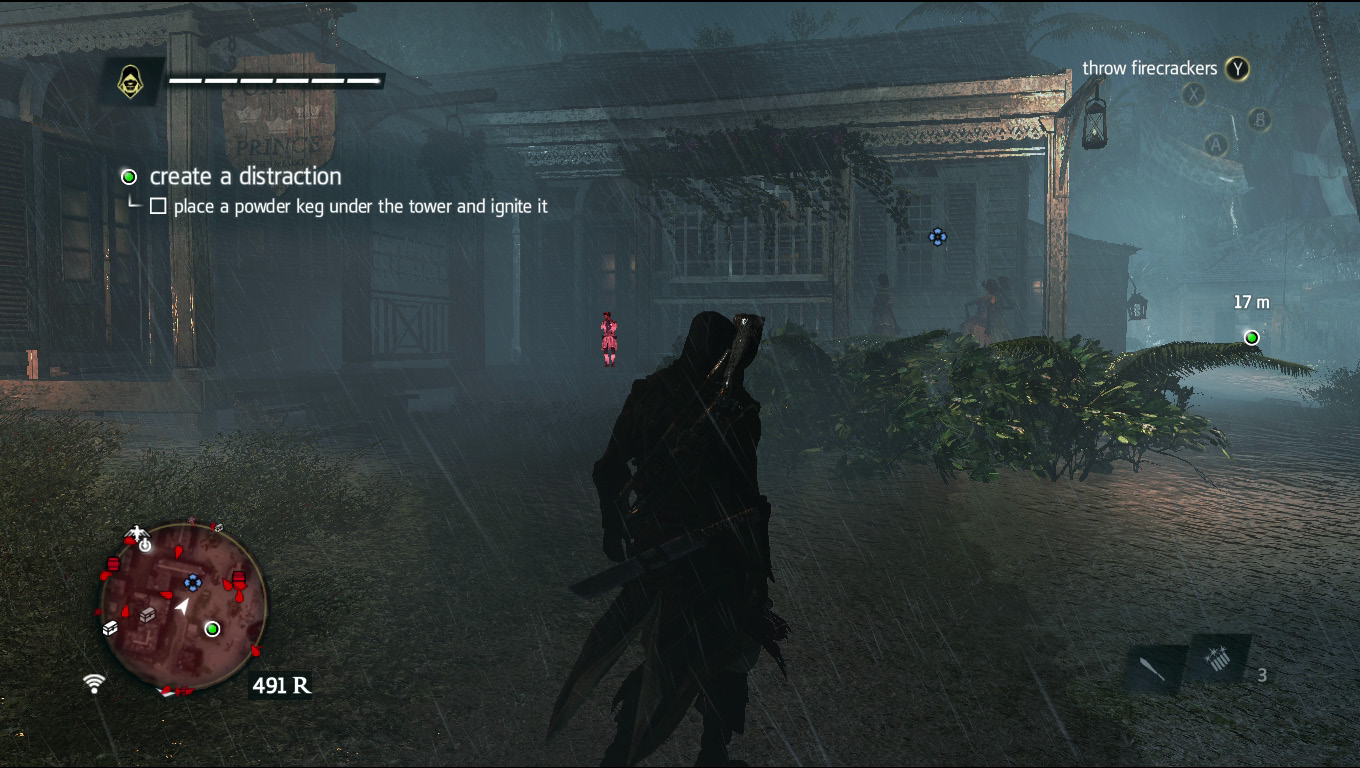
Climb down and head over to the next group of Bastienne’s girls sitting on the corner of the building up ahead and to your left.
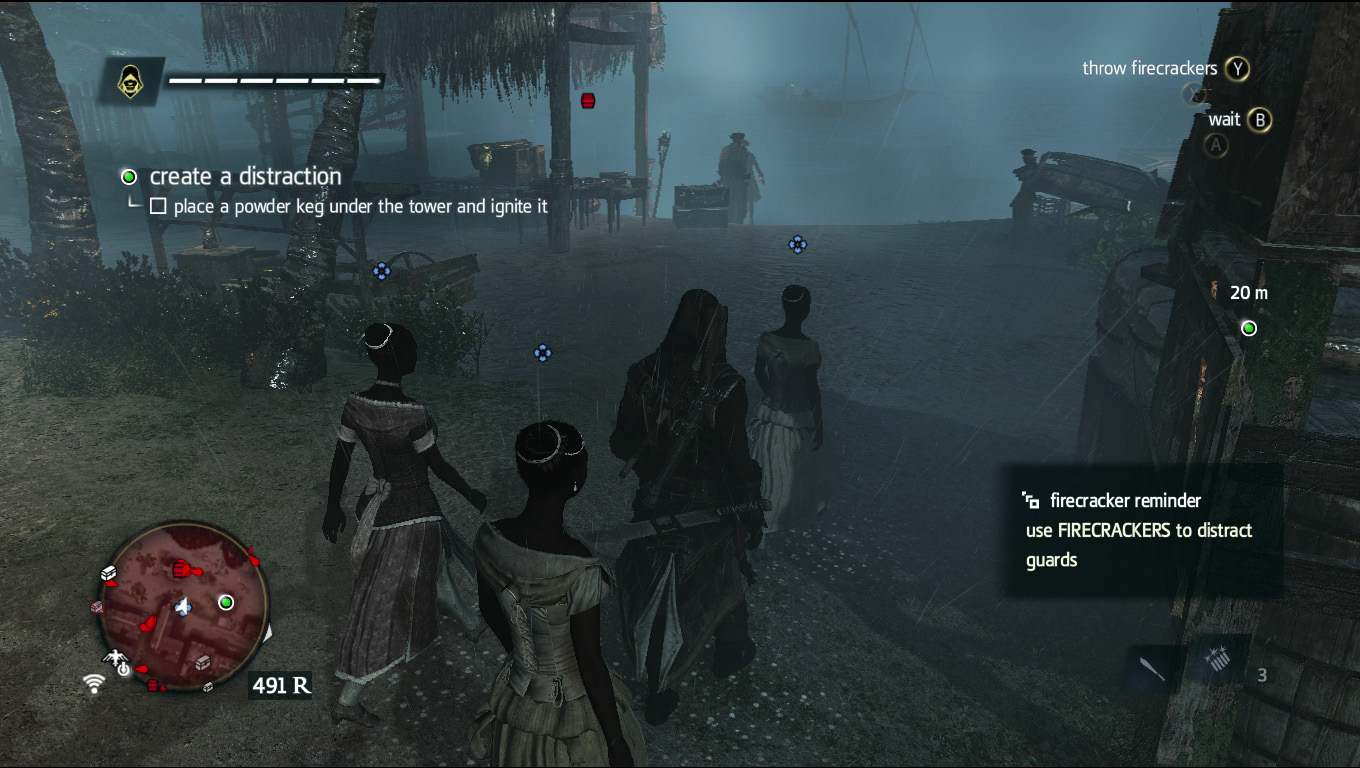
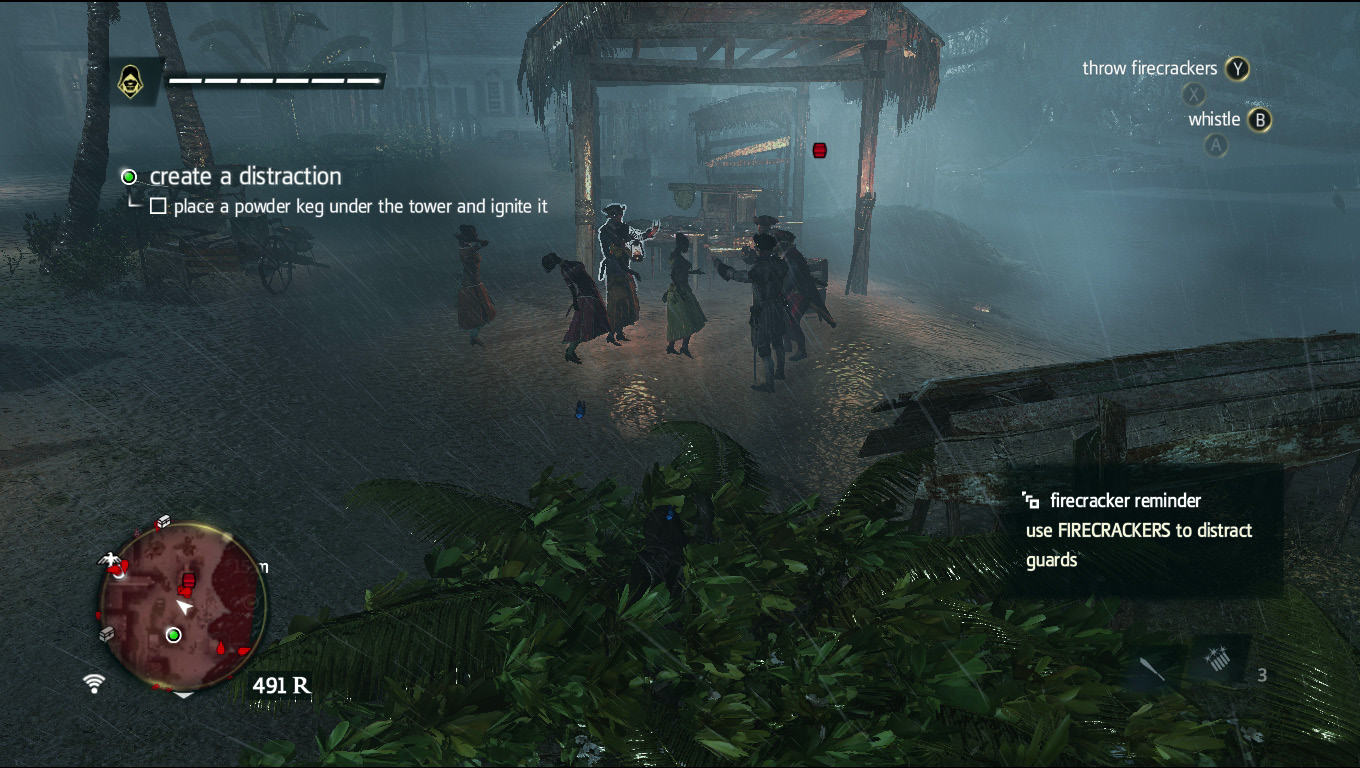
Hire them and go right, heading back toward the beach and the three guards ahead. (A fourth guard passes right by those three guards, so watch out for him and don’t use your girls to distract him because it often prevents the girls from getting the attention of the other guards standing nearby). Distract the three with the girls, then hop into the bush to the right of the guards and wait for them to leave.
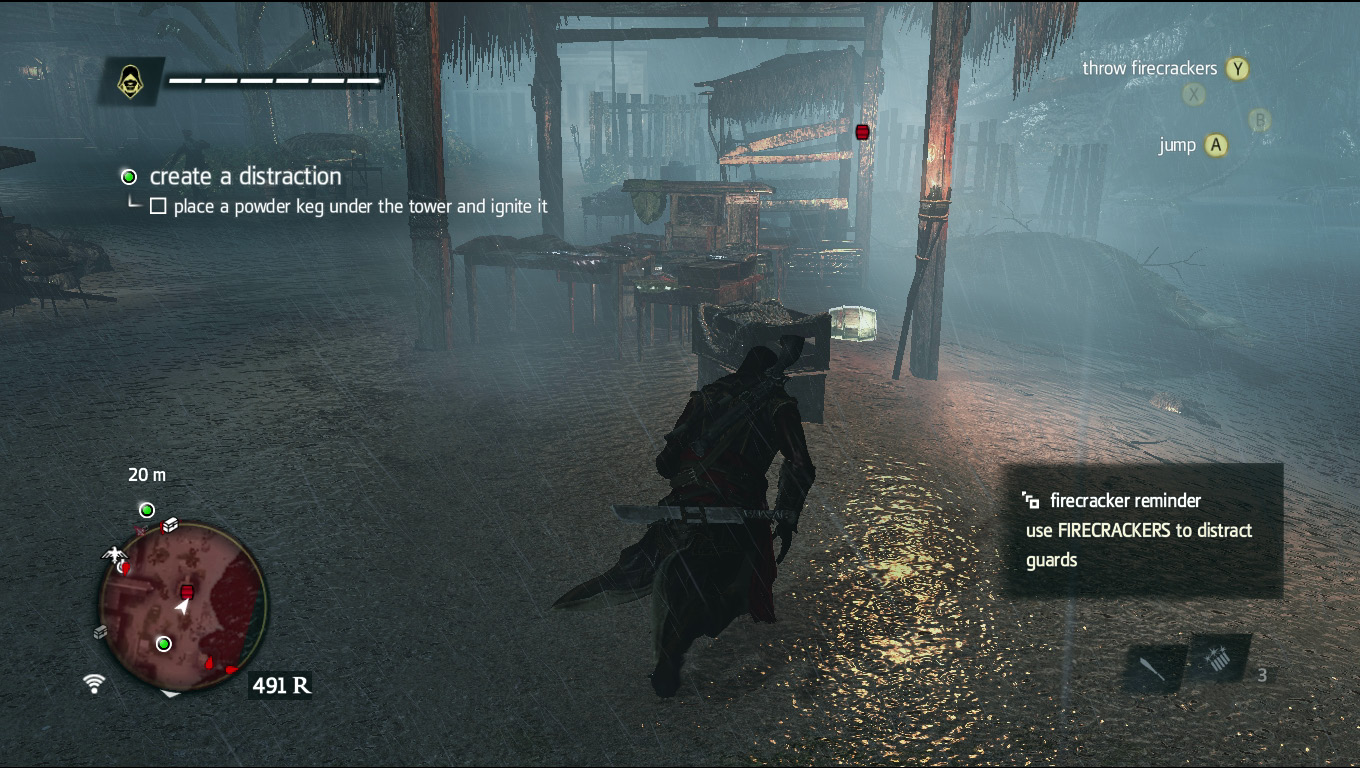
Keep your eyes peeled for the patrolling guard if he wasn’t distracted by the girls (dutiful gent that he is) and grab the powder keg that’s marked by the red icon on your screen.
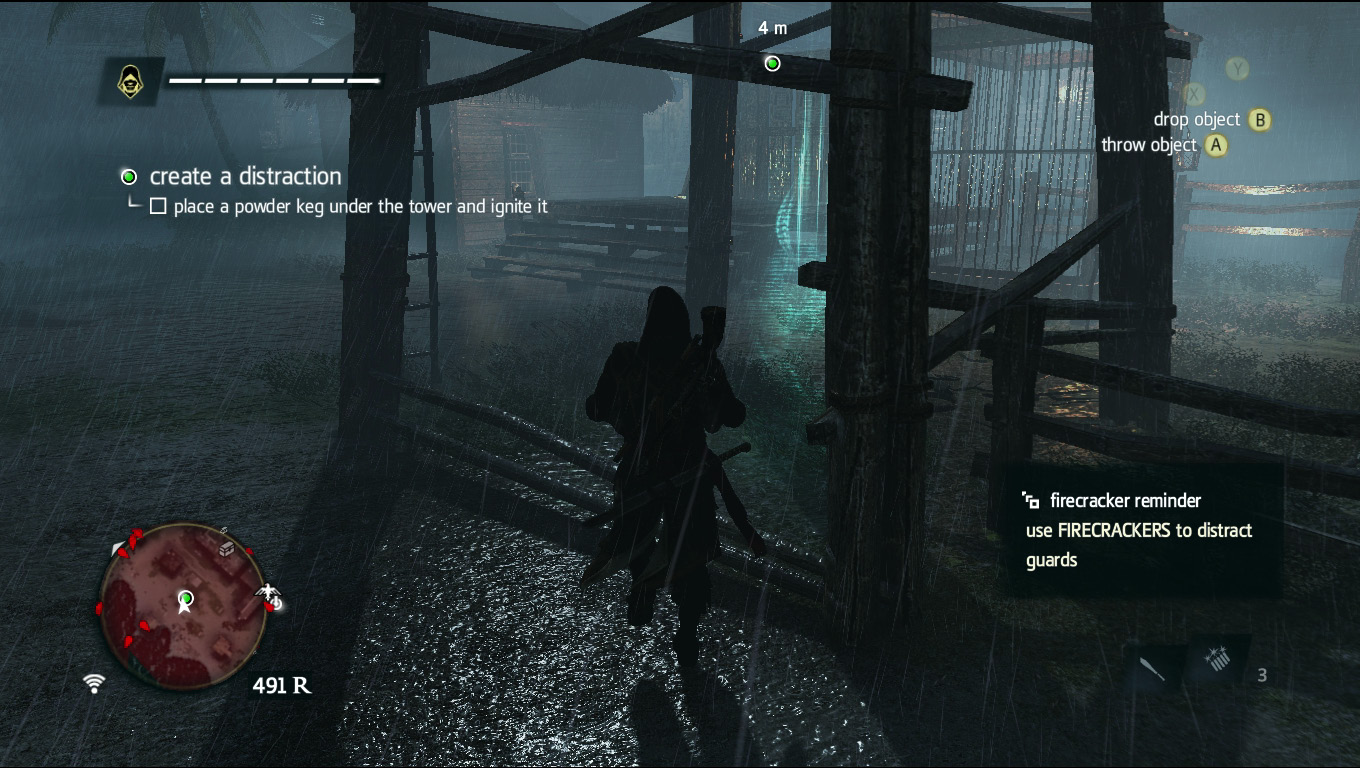
Run the keg over to the tower where the gunman was and place the keg in the spire of light . Hold down the button you used to pick up the keg to ignite it (B for Xbox, Circle for PlayStation and E for PC), then run back toward the building where you got the keg and move into the sea.
The Experto Crede
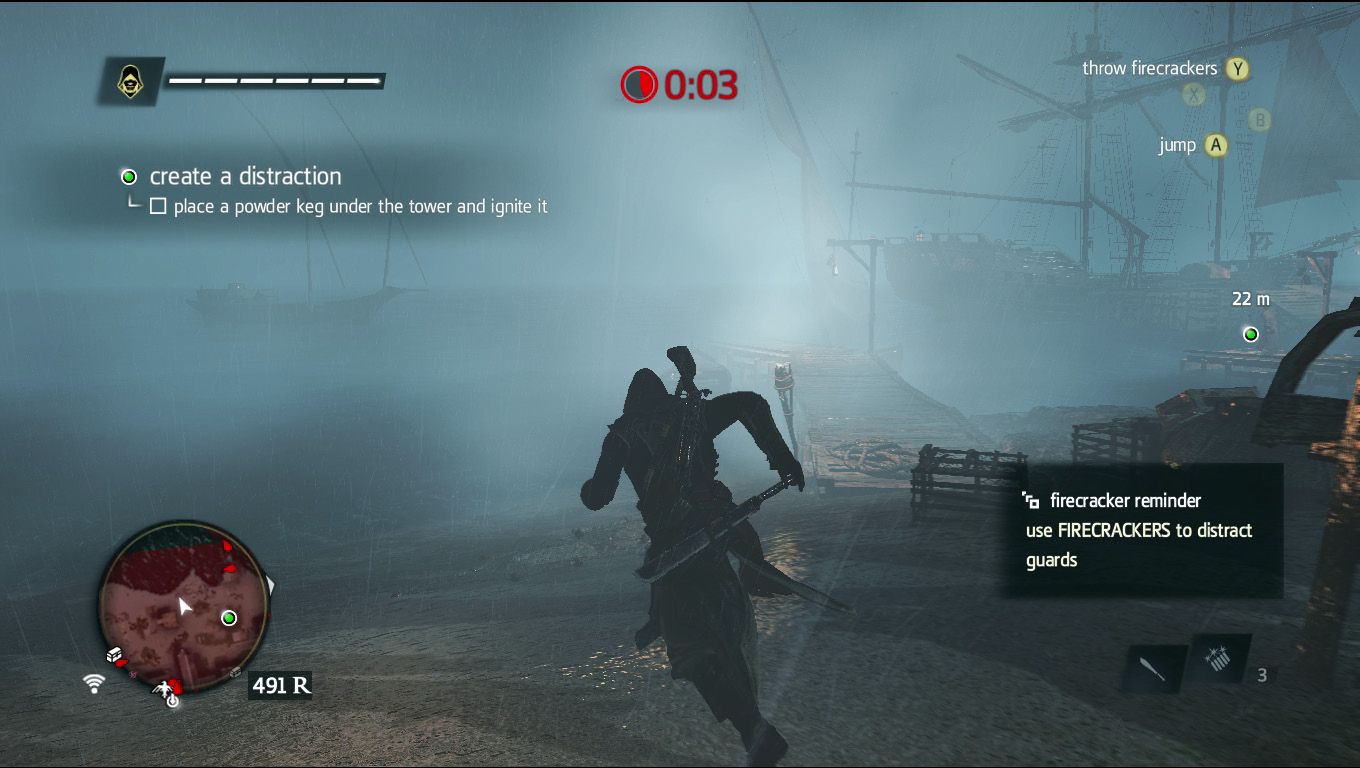
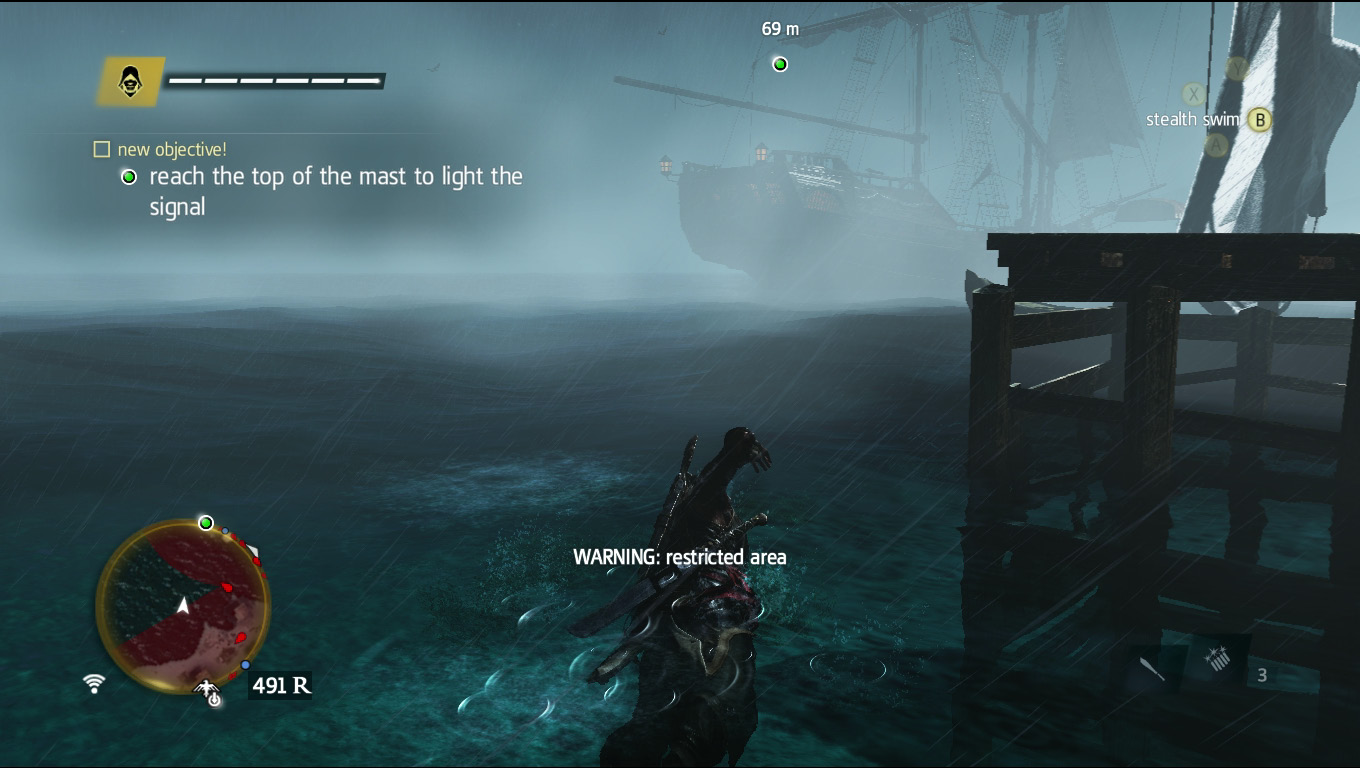
Stealth swim up to the boat—which now should be far less crowded due to your igniting the tower—and swim around to the side facing away from the beach.
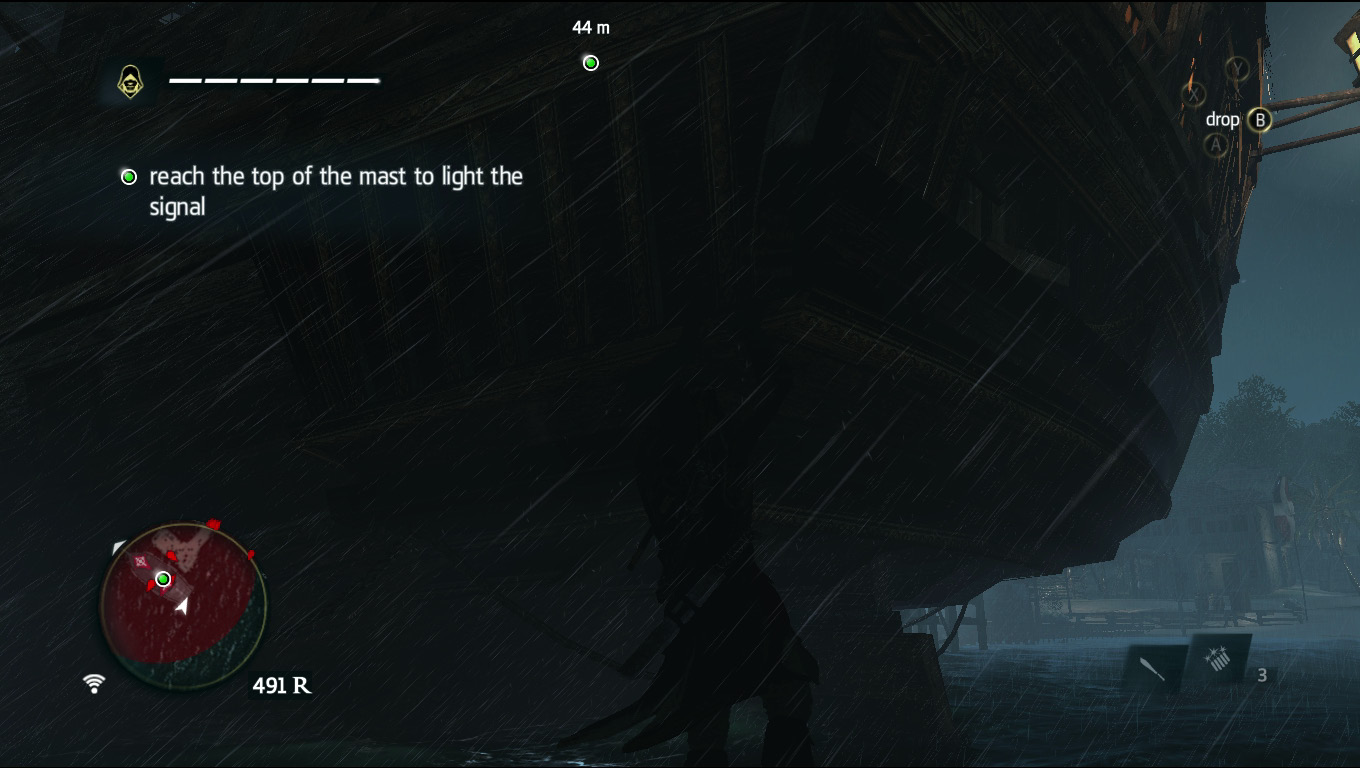
Climb onto the lowest ledge you can and then make your way to the back of the boat.
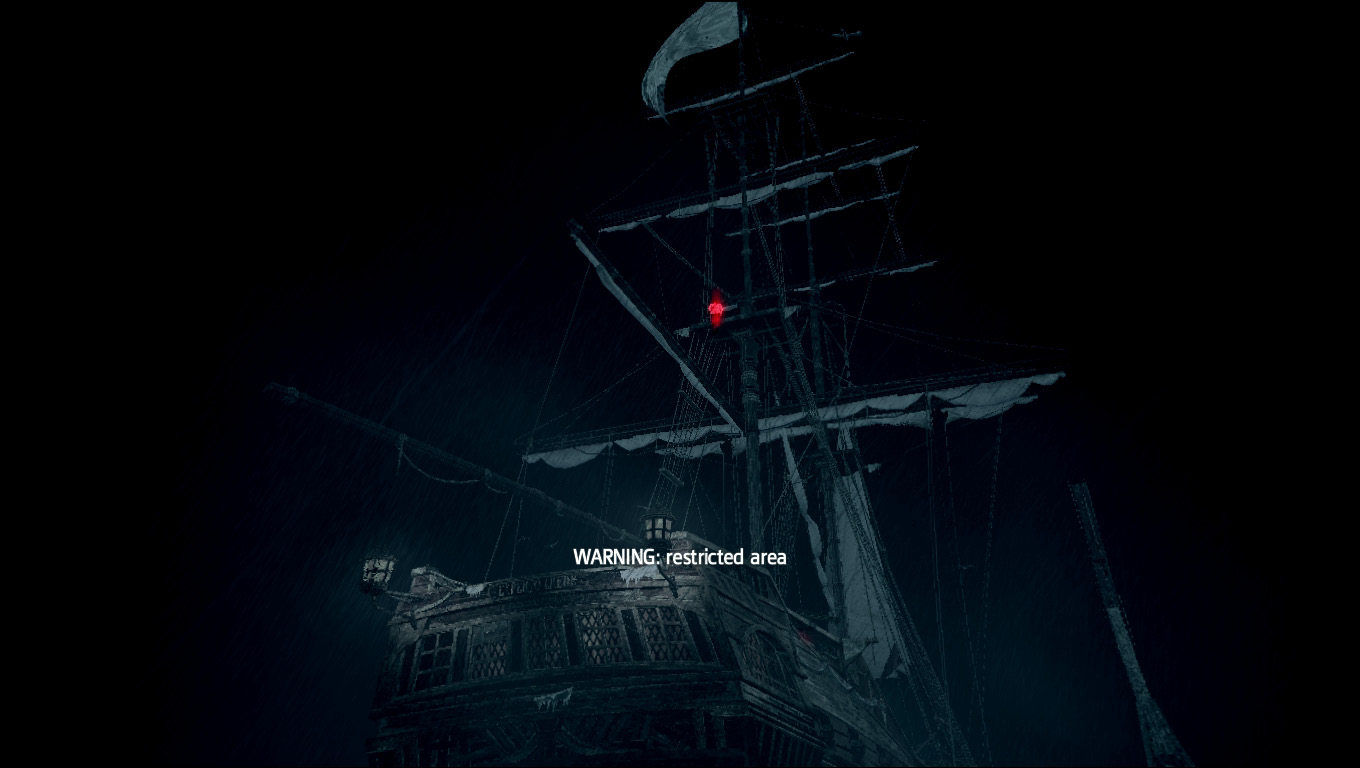
Two more gunners on the masts of the ship have incredible eyesight and will snipe you if they see even a drop of water that isn’t rain. Use your eagle vision while hanging from the back of the ship to mark them (the one farthest from you is the one who will give you the most problems).
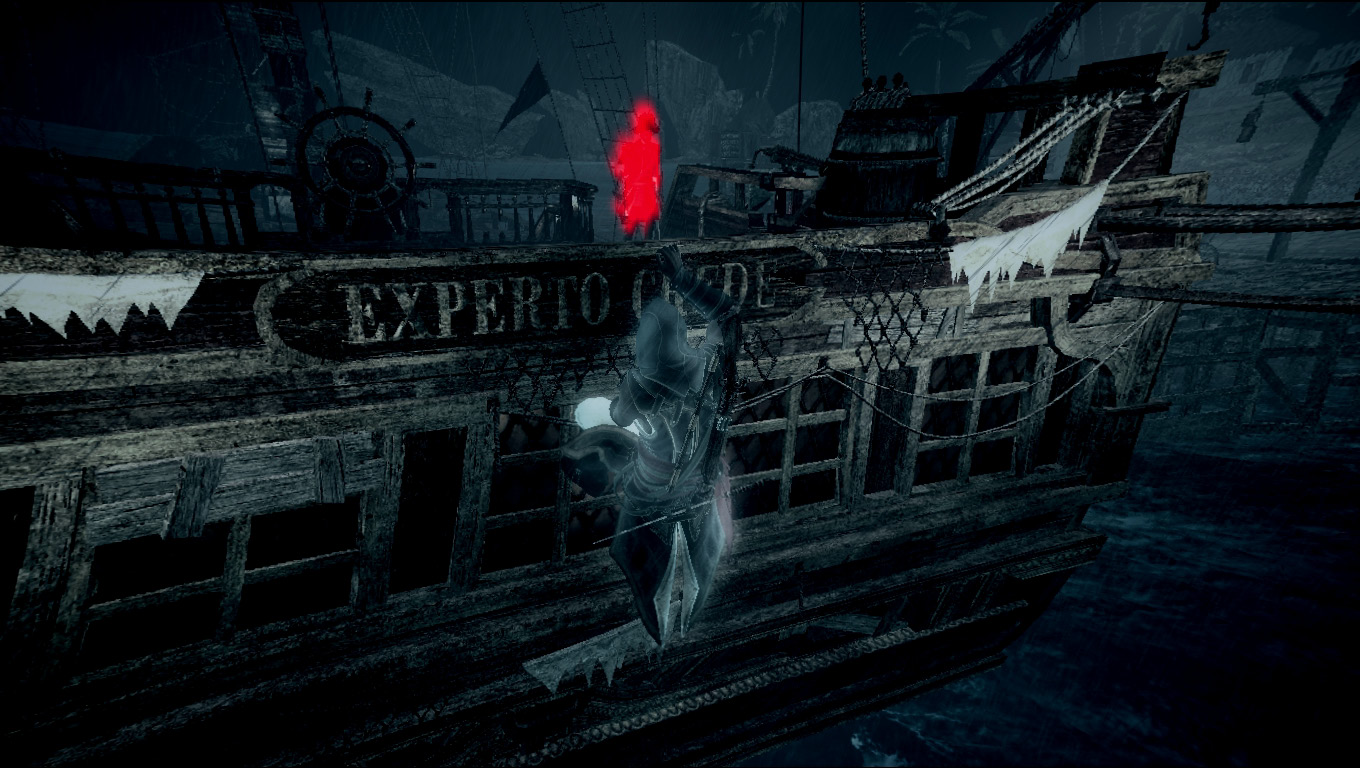
Wait on the back of the boat for the patrolling captain to walk by, then dispatch him or run past him.
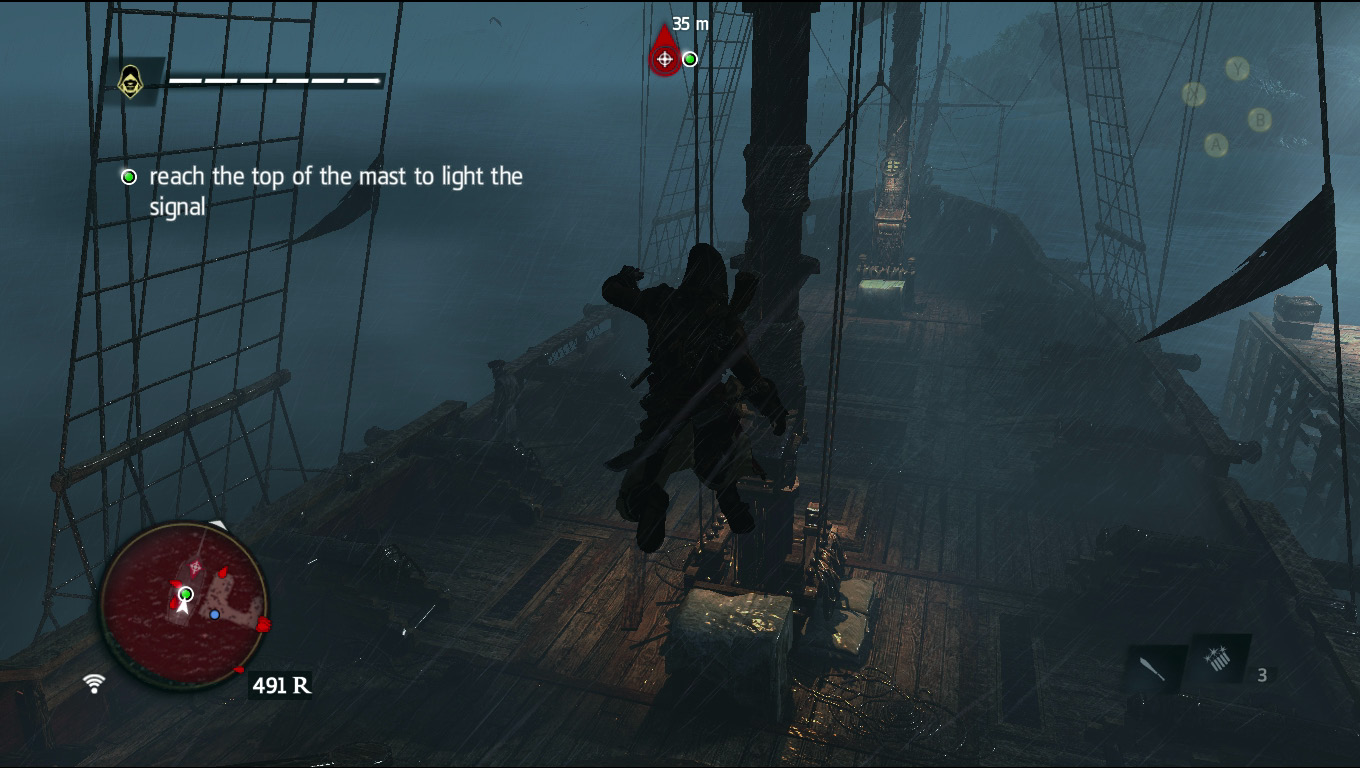
Hop over the wheel and onto the lift at the base of the mast directly in front of the wheel.
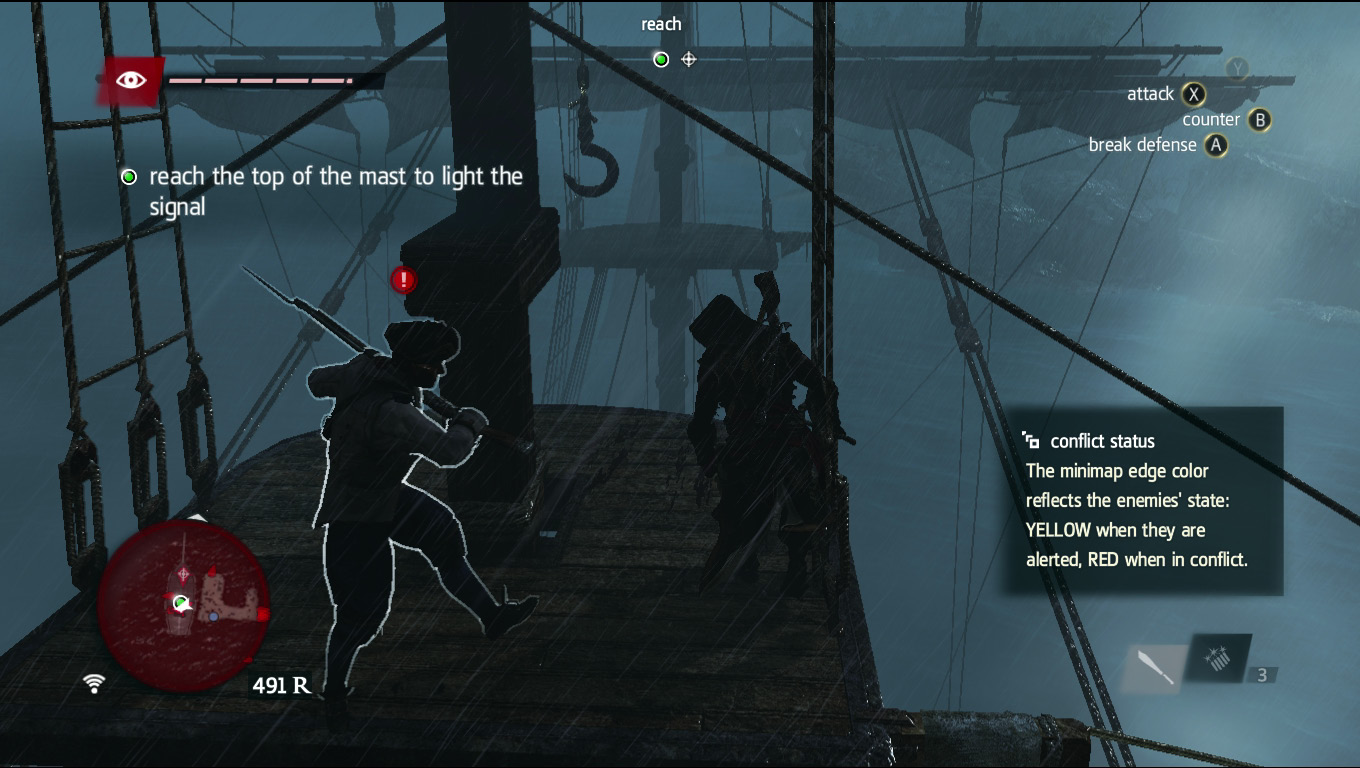
Kill the gunman on the platform while trying to keep behind the mast. The gunman on the other mast across from you can spot you pretty easily from his position, but if you stay behind the mast you will keep him from seeing you and peppering you with rounds from his rifle.
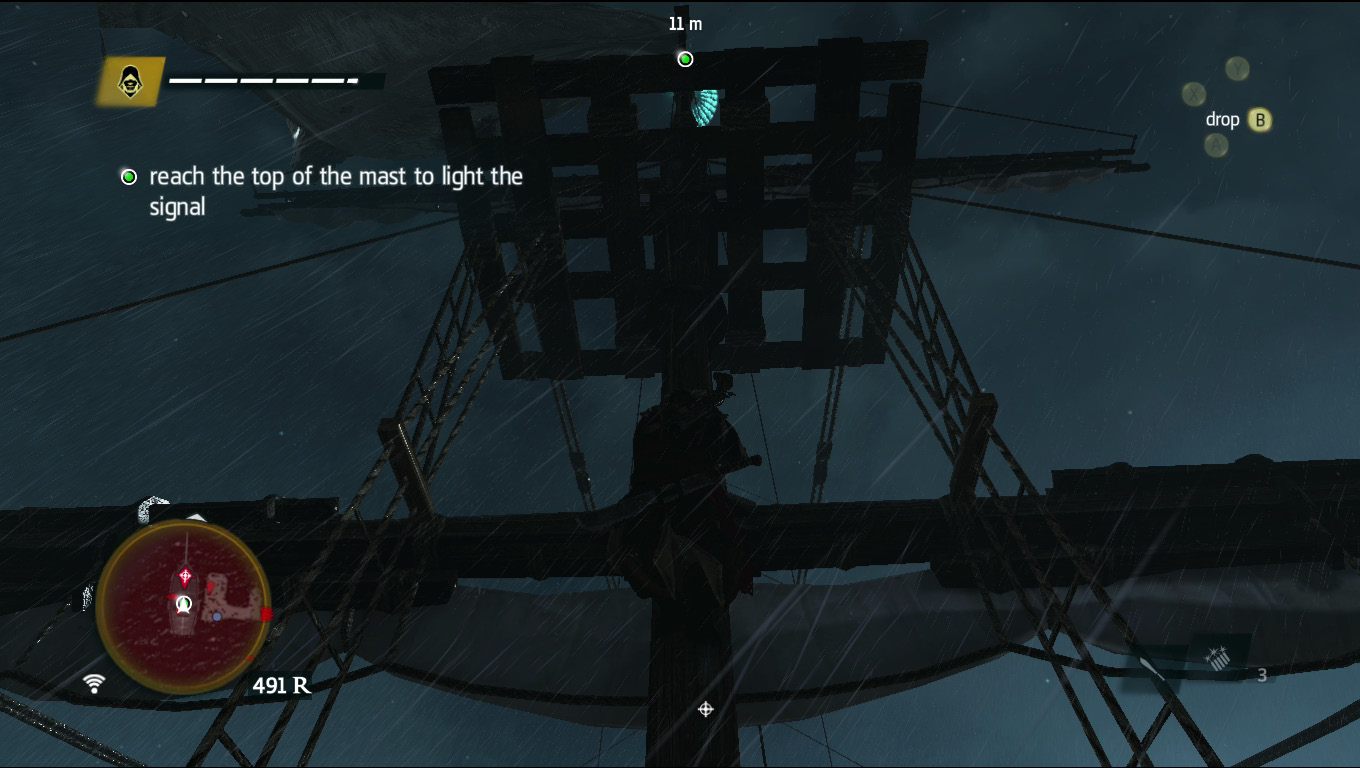
Climb farther up the mast, keeping it between the sniper and yourself. Once you’re on the next platform, just climb a few feet up to light the signal to get Augistin’s Maroons come and help you clear out the rest of the guards.
You now have yourself a new ship.
MEMORY END
West-Indies Sea
Straight to the Source
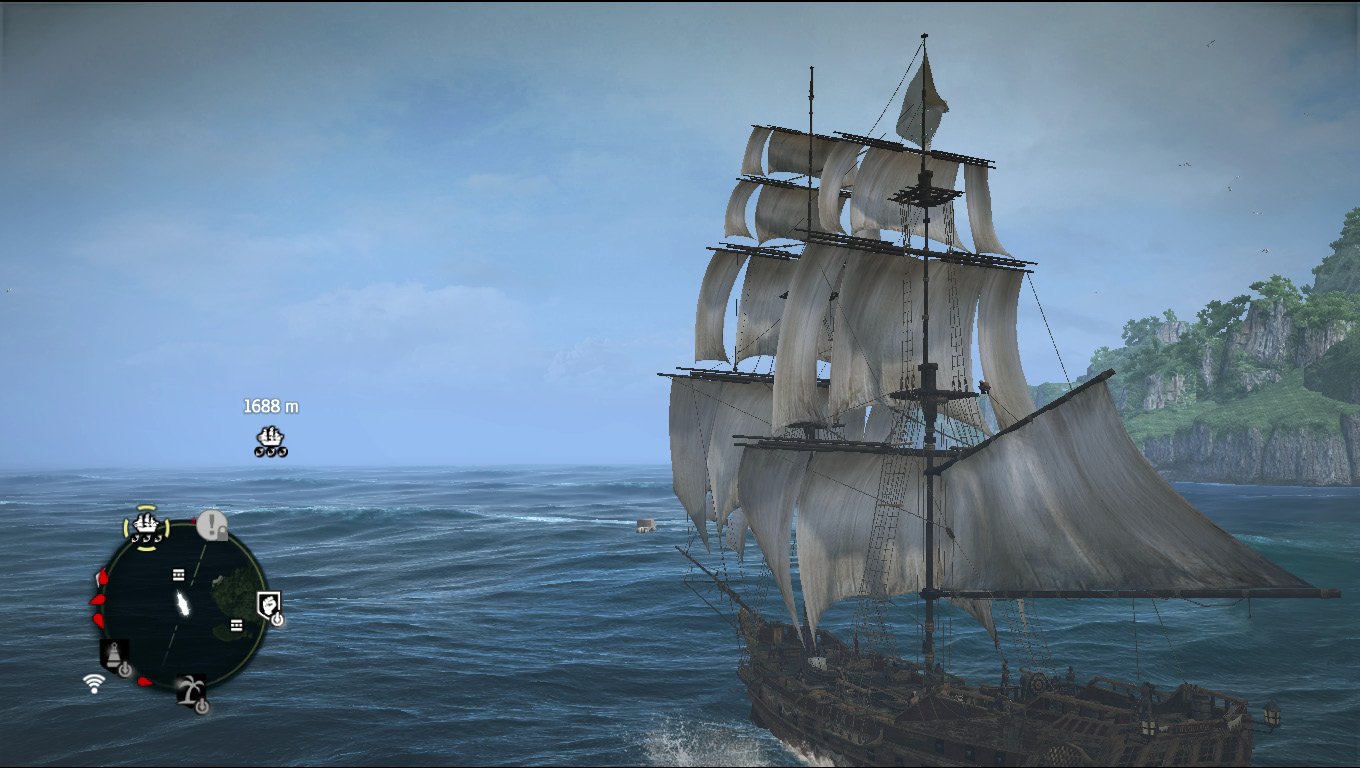
Before you can start the next memory, you have to liberate a slave ship and 150 slaves. Slave ships often sail around the West-Indies and are marked on your map with the icon in the above picture.
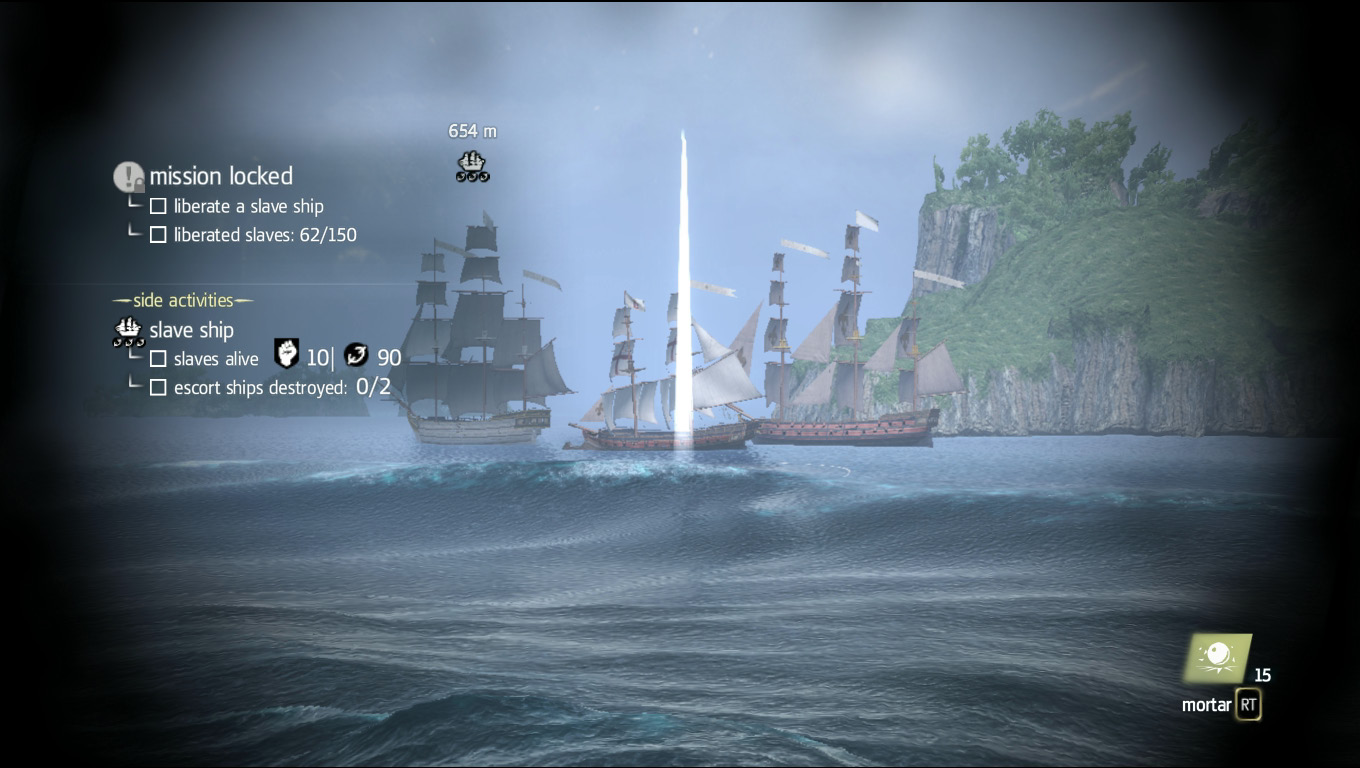
Taking slave ships down is a little different than your standard pirating fare. Slave ships always have escorts that you must take out before anything else, and you absolutely must not attack the slave ship itself. Every bit of damage you do to the ship will cost the lives of the captives onboard. Instead, draw the escorts away from the ship with mortar attacks and shots from your chase cannons (front cannons).
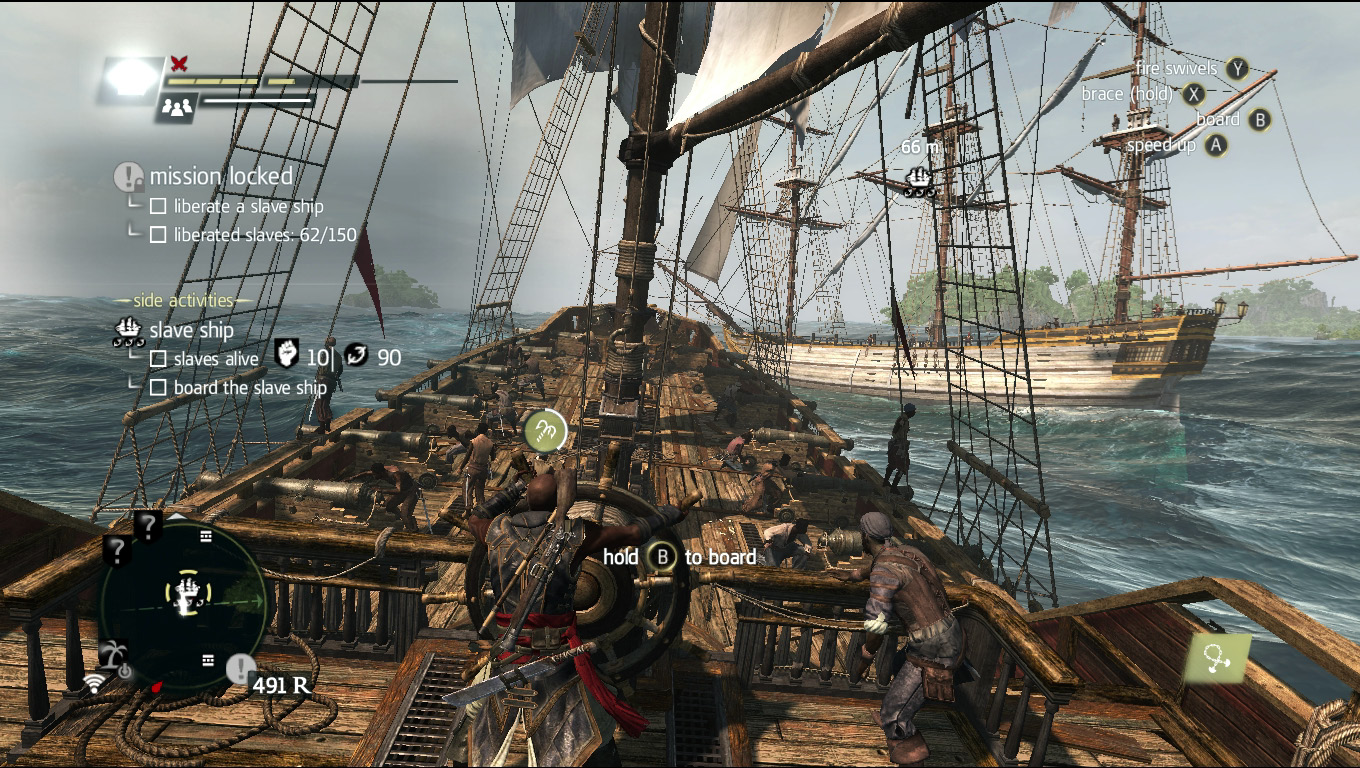
When the escort vessels are a safe distance away from the slave ship, shred them relentlessly. After you’ve taken them out, you can board the slave ship without having to disable it. Just eliminate the slaver crew aboard the ship in the same way you would any other boarding activity and you’ll free a substantial number of slaves.
Moving On
After you’ve liberated 150 slaves and a slave ship, head back to Port-au-Prince to start the next memory, or you can spend time exploring the West-Indies: The choice is yours .