Uncharted 4: A Thief's End Guide Story Walkthrough
Epilogue
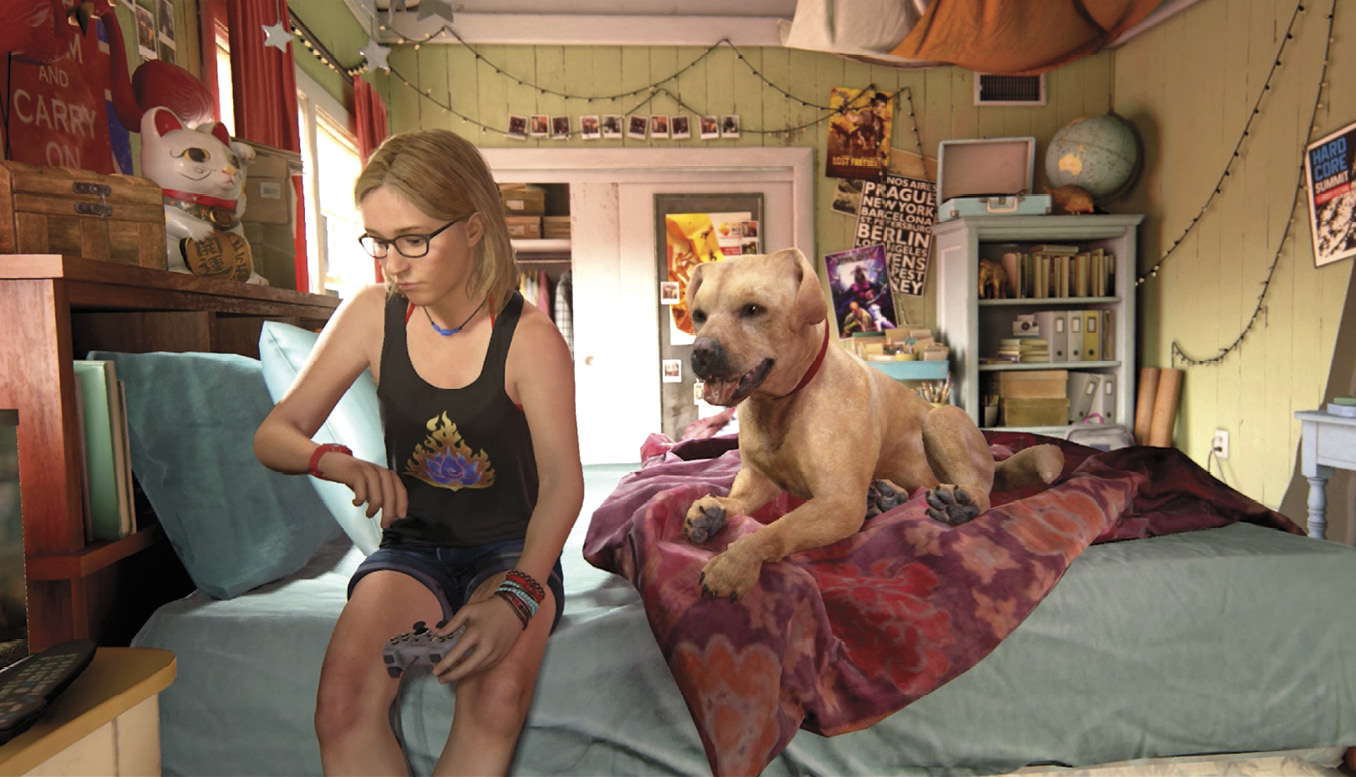
Play the retro game until you lose three game-lives. When the session ends, the camera spins around and, hey, your character is now a 12-year-old girl in glasses and beach gear. Who is this girl, exactly? Let’s find out.
Explore the House
The Girl’s Bedroom
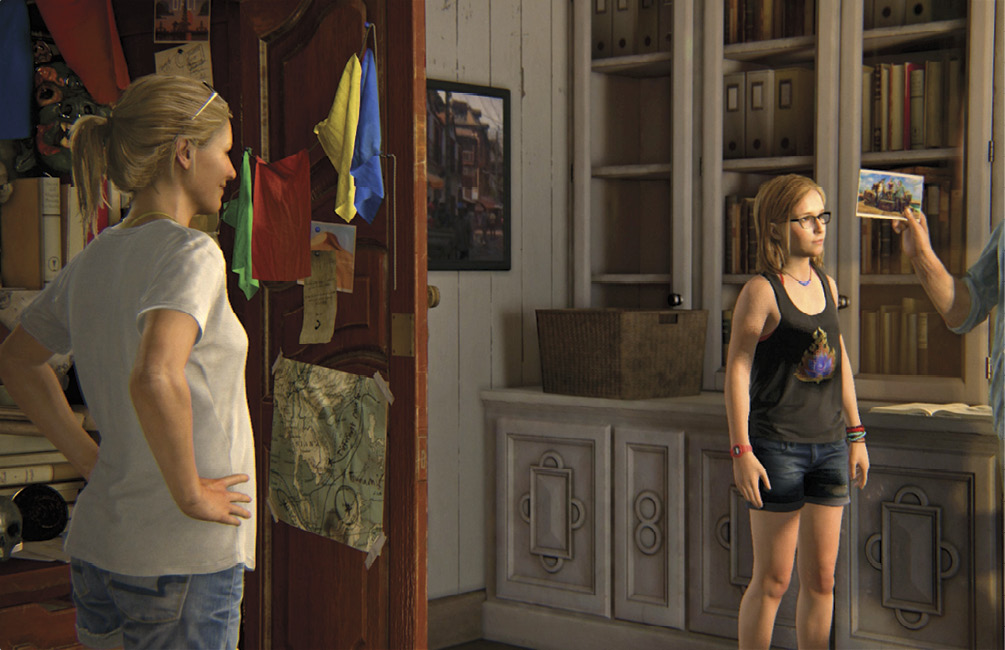
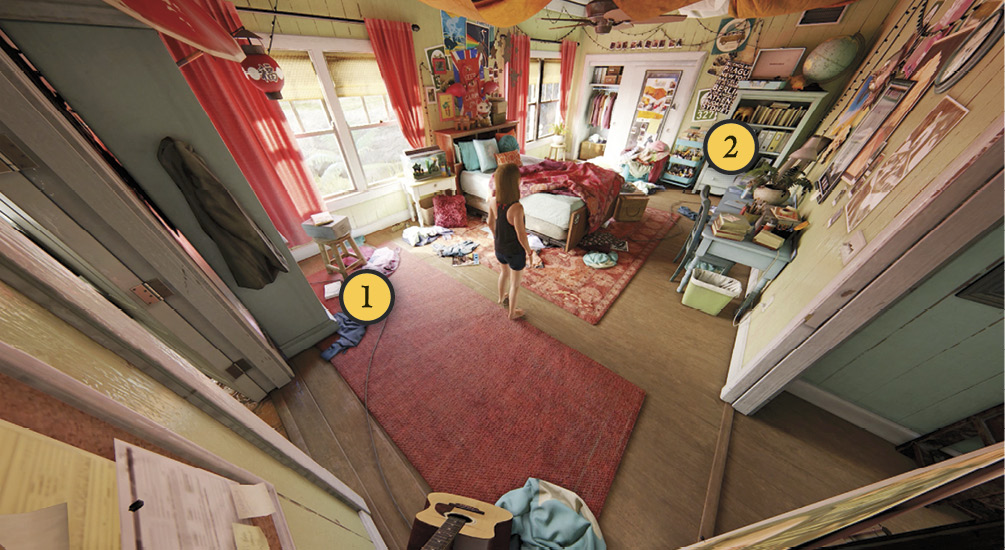
You start in the girl’s bedroom. Everything in this house and outside that can be interacted with is optional, but let’s explore anyway. Pick up the retro game jewel case (1) from the floor near the Sony PlayStation. Then cross the room to the bookshelf and examine the copy of The Nameless City by Faith Erin Hicks (2).
Parents’ Bedroom
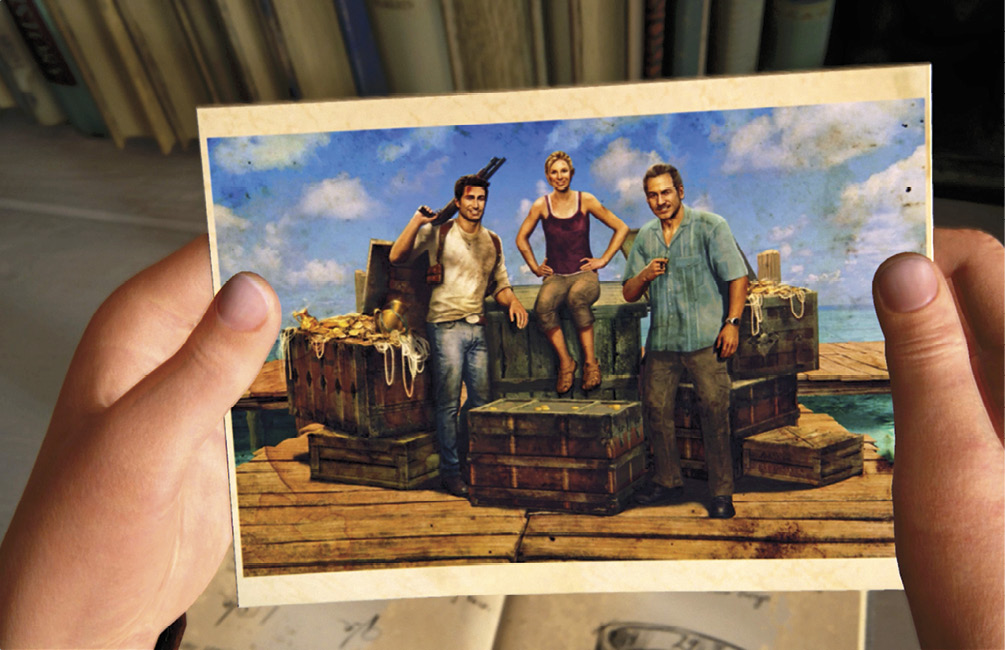
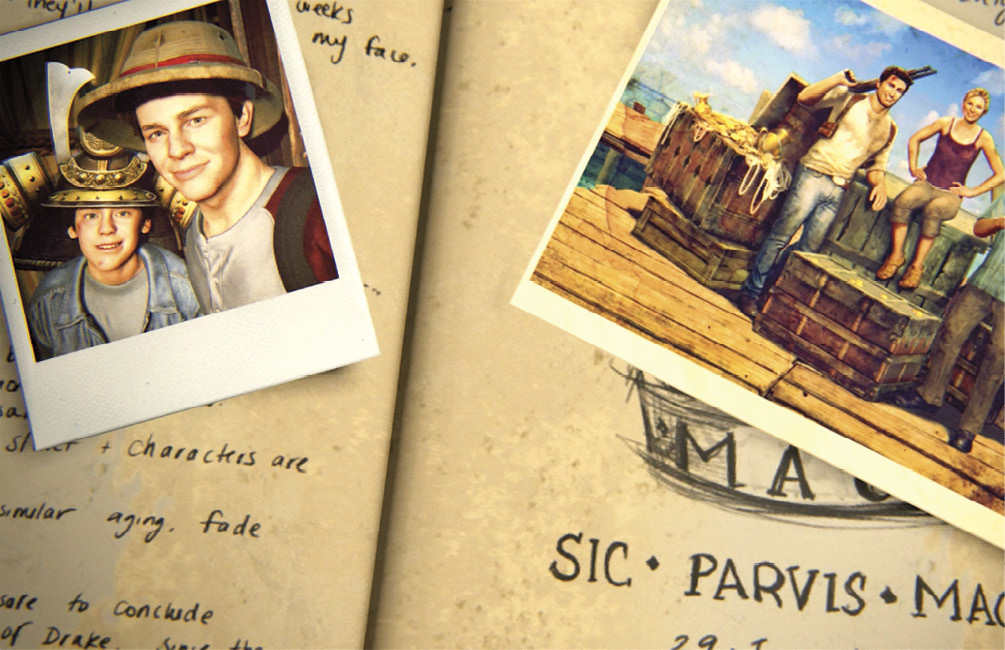
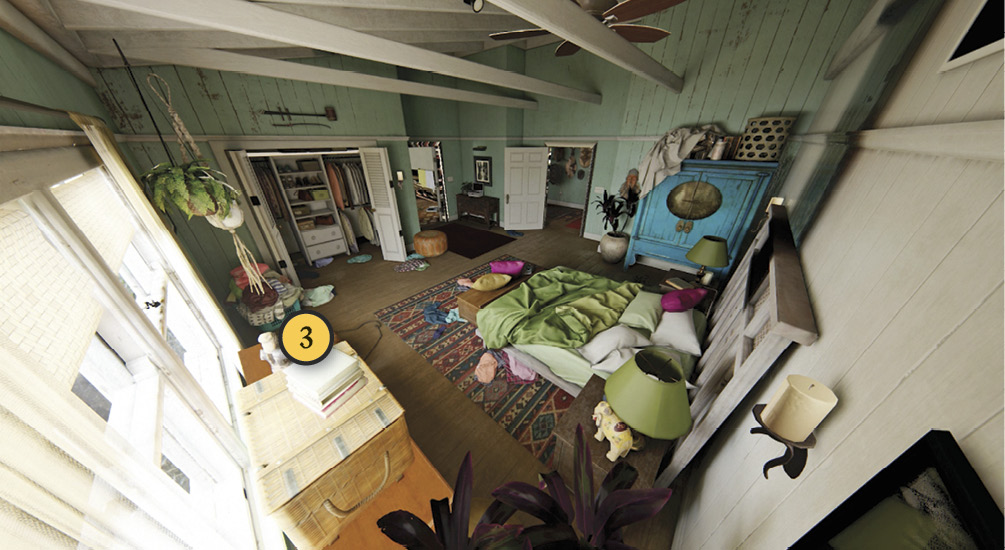
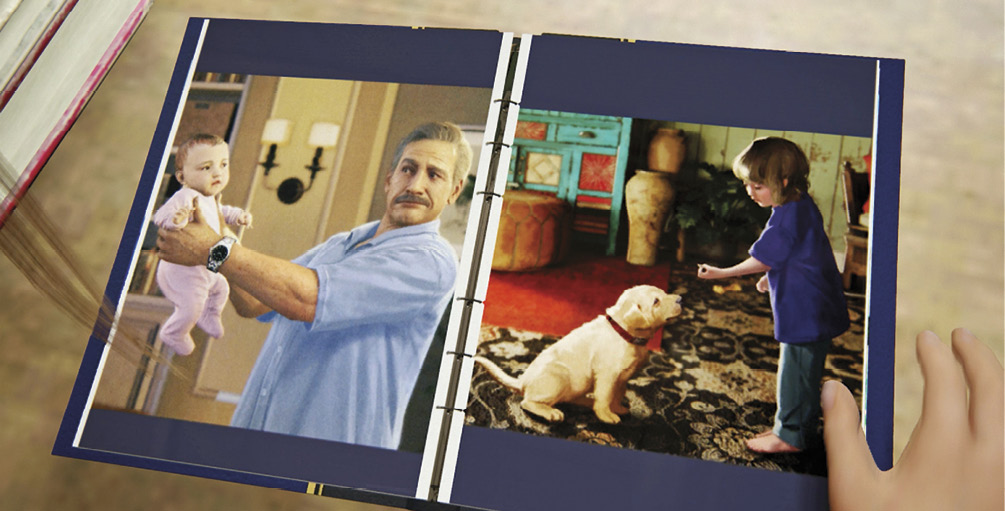
Exit the girl’s bedroom and go straight down the hall, then turn left into the next bedroom. Examine the photo album (3) on the chest of drawers. Browse through it to see photos of people who look very familiar. This must be Nate and Elena’s bedroom.
Living Room
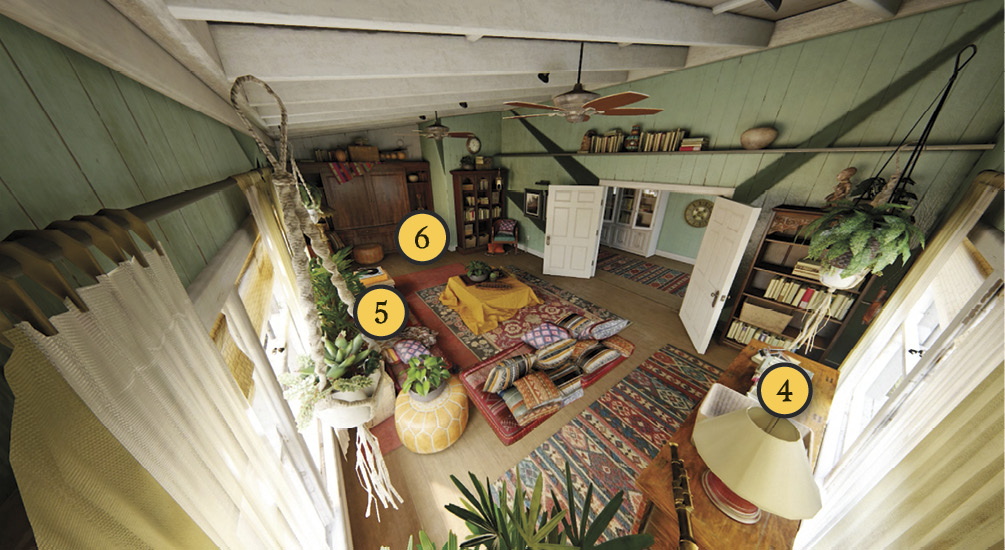
Exit the master bedroom, turn left, and follow the hallway into the living room. Check out the camera (4) on the credenza. Play the record on the old-school turntable (5) on the side table. Then strum the 12-string bouzouki (6) in the cabinet.
Laundry Room
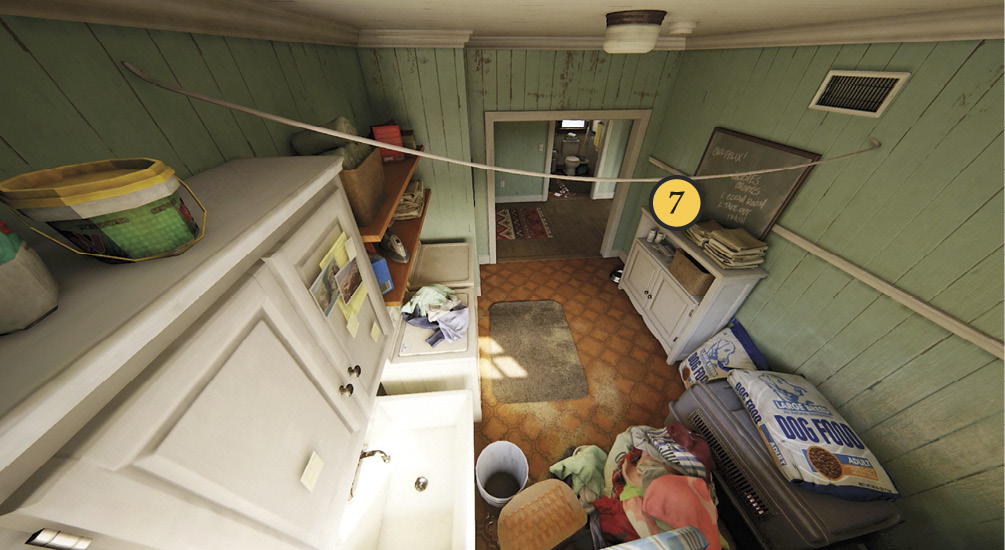
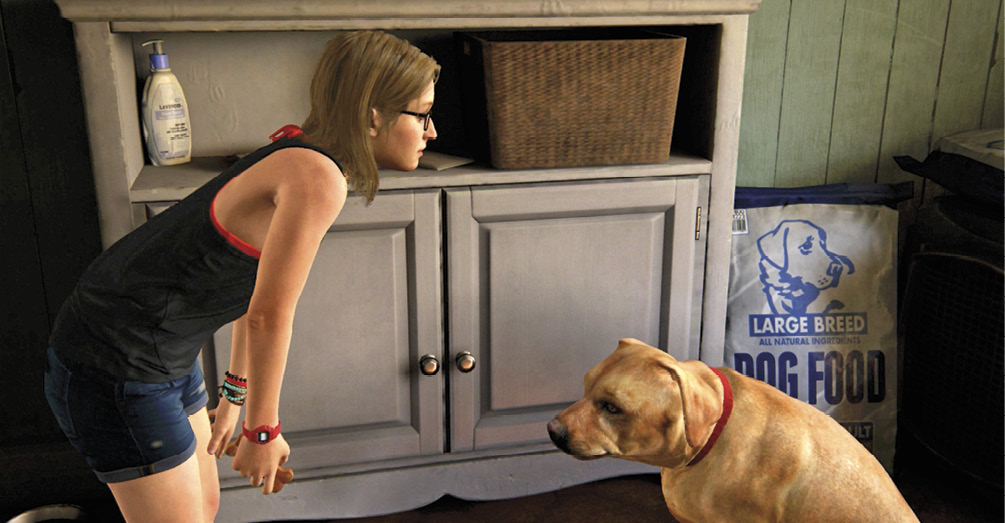
Exit the living room and follow the hall around the corner. The next door on the right is the laundry room. The only thing you can do here is to extract treats from the jar (7) for your dog. You can do this twice.
Great Room/Kitchen
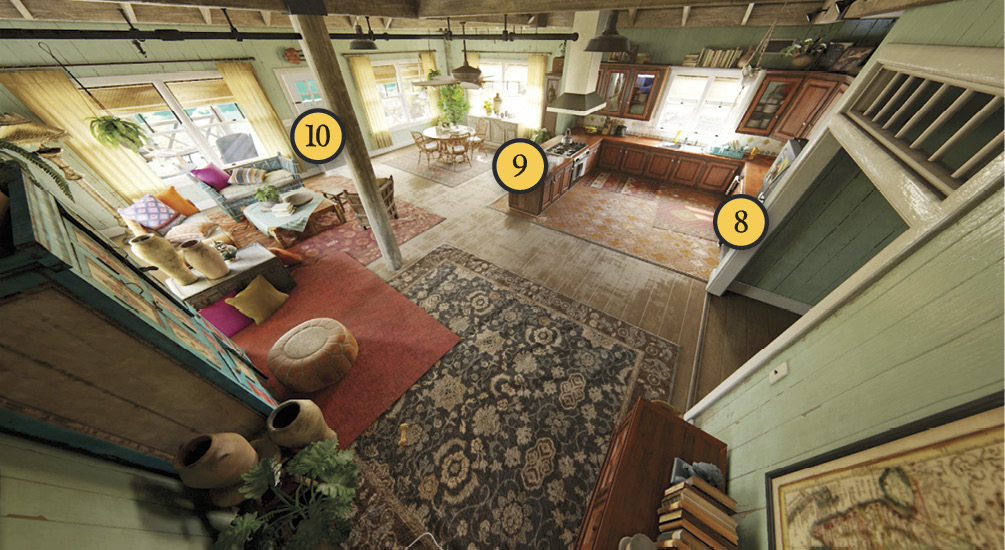
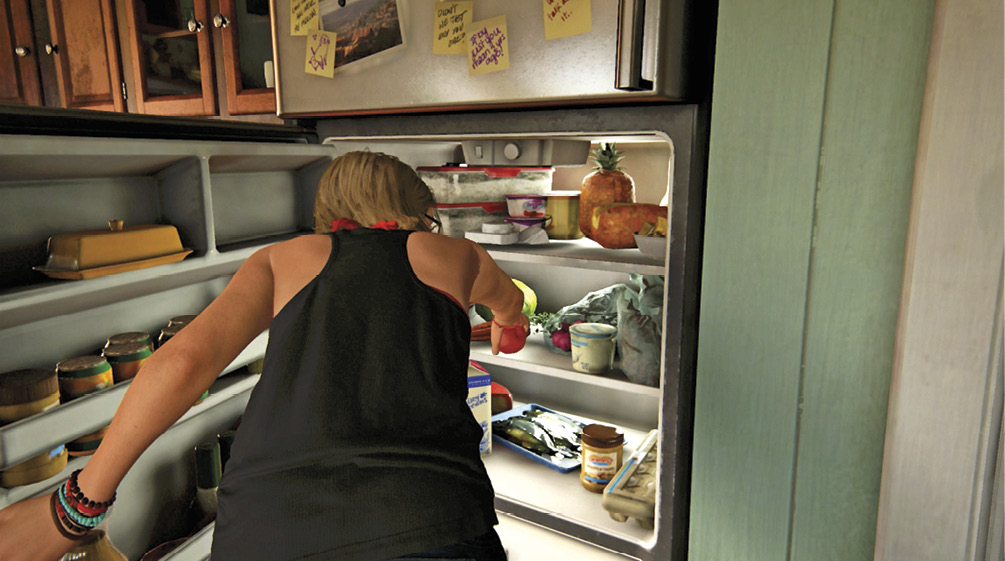
Exit the laundry room and turn right to enter the great room—a large, open space that combines a family room with a kitchen and dining room. Open the refrigerator (8) to grab an apple. Then check out the letter from Sully (9) on the kitchen island; don’t miss the photo clipped to the back. Then exit the house via the front door (10).
Explore the Beach
Front Porch
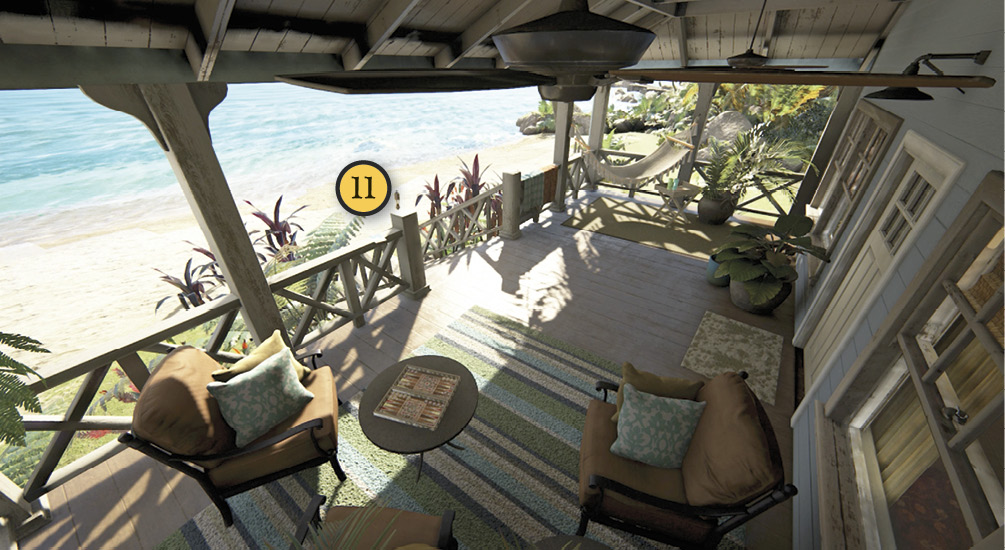
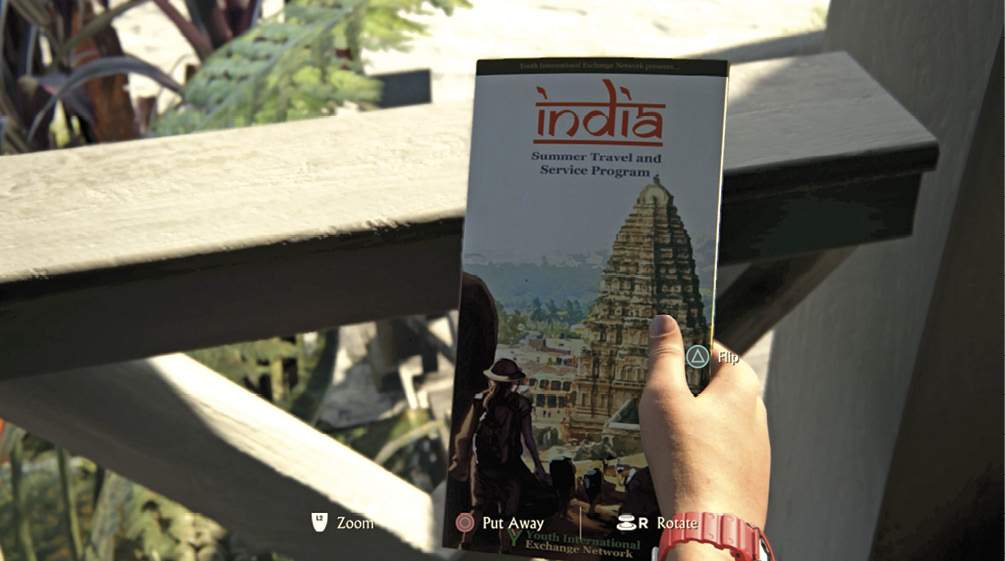
Out on the porch, pick up the India: Summer Travel and Service Program brochure (11).
The Pier
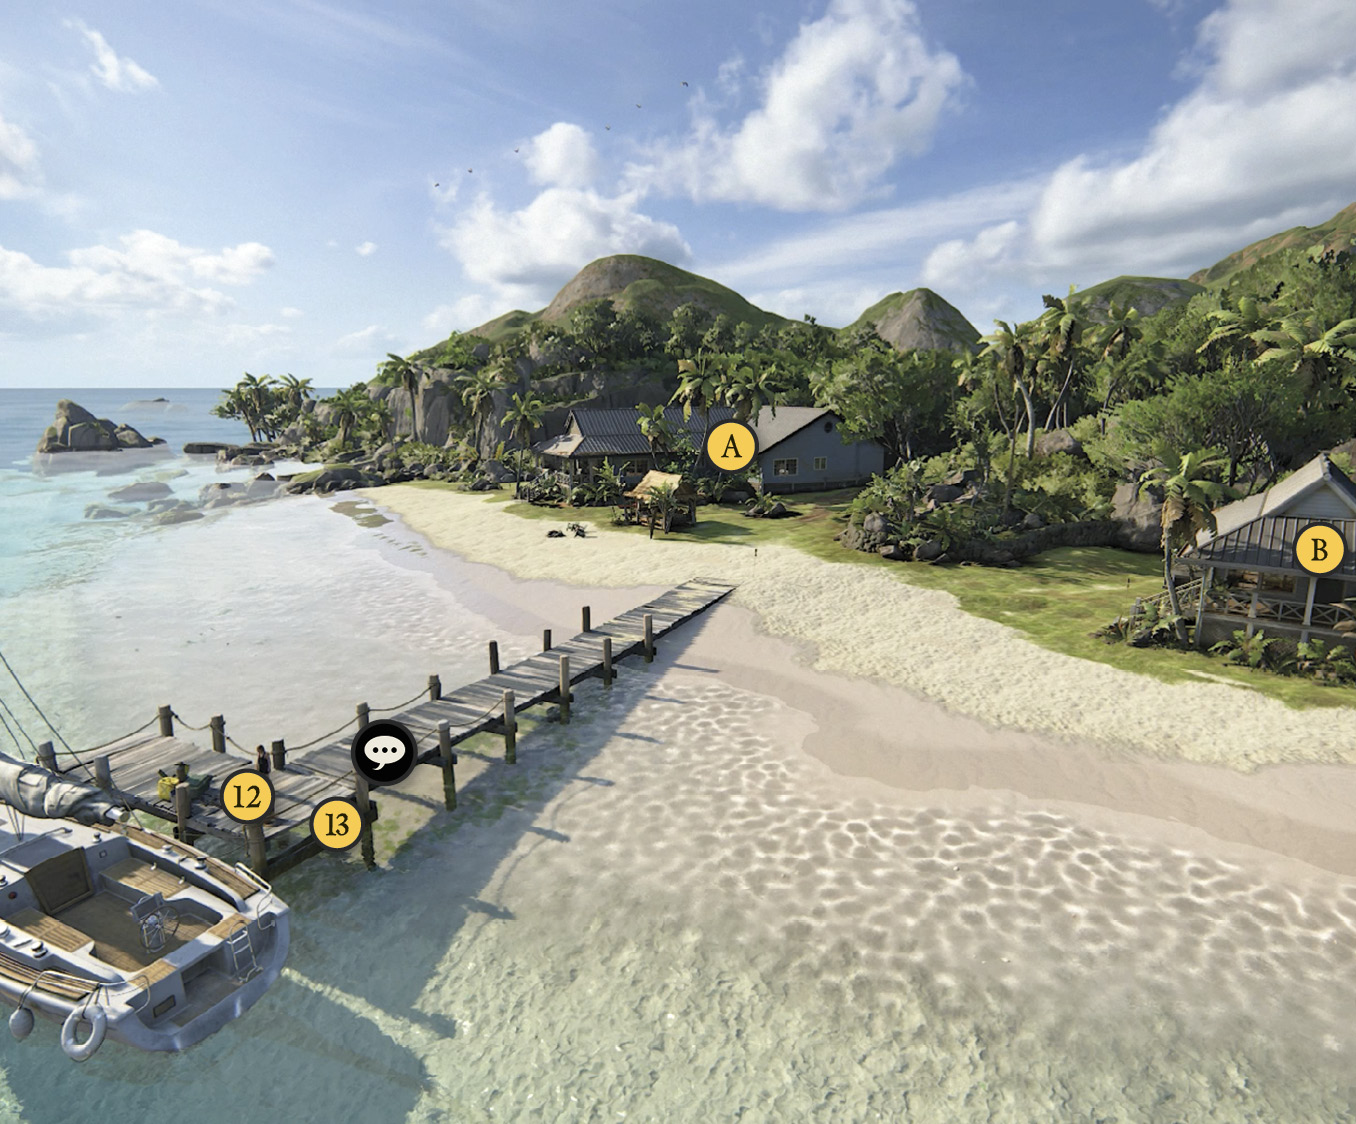
Leave the house (A) and follow Vicky (your dog) out to the end of the pier near the sailboat. Interact with her once  and a conversation bubble appears above her head. Talk to Vicky (13). The girl asks where her parents are. You get an uninformative dog response. This is the last Optional Conversation in the game. If you have listened to all the Optional Conversations in the game (which we have documented all of them), you will earn a trophy here.
You can also open the cooler (12) on the pier. It’s packed and ready for boating. That’s it for the exterior interactive elements. Time to head into the office hut (B).
Explore the Office Hut
Workroom
Follow the beach to the next hut. Go in the front door and turn right to examine the map of the Yucatan (14). Next, go across the workroom to look at the artifact (15) in the specimen tray; you can also examine the nearby notebook (16) covered with sketches and calculations.
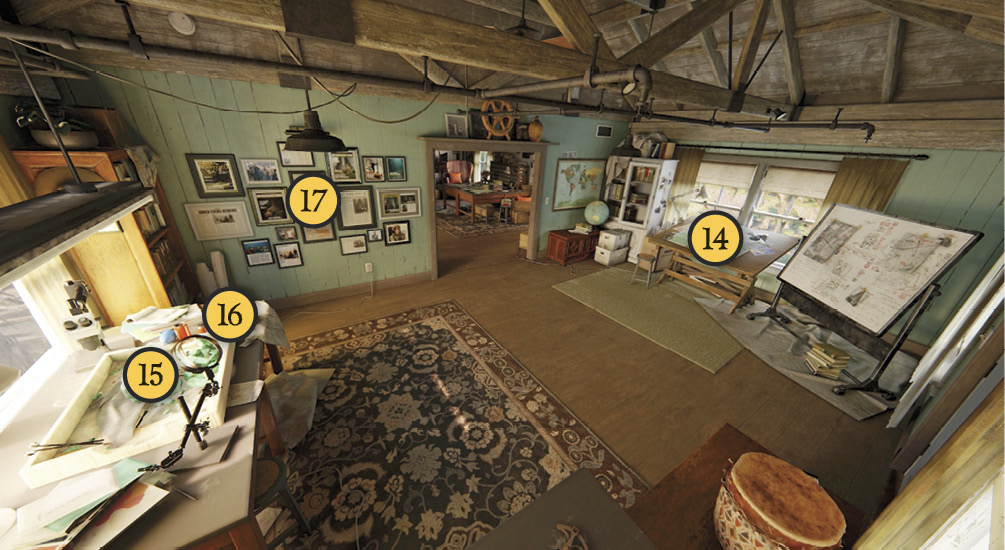
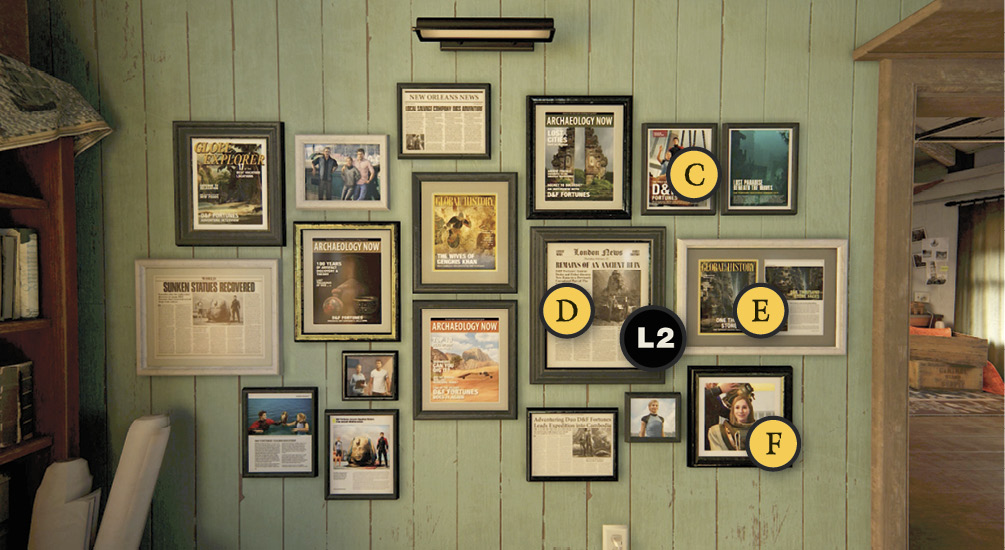
Then turn right and explore the wall hung with framed memorabilia items (17). It looks like the Jameson Marine salvage company morphed into “D & F Fortunes.” You can individually examine four different framed items on the wall. Just press L2 to focus in closer and scan the articles and photos until you see a icon appear, and then press that button.
- C: Modern Adventure
- D: London News
- E: Global History
- F: The Girl’s Diving Photo
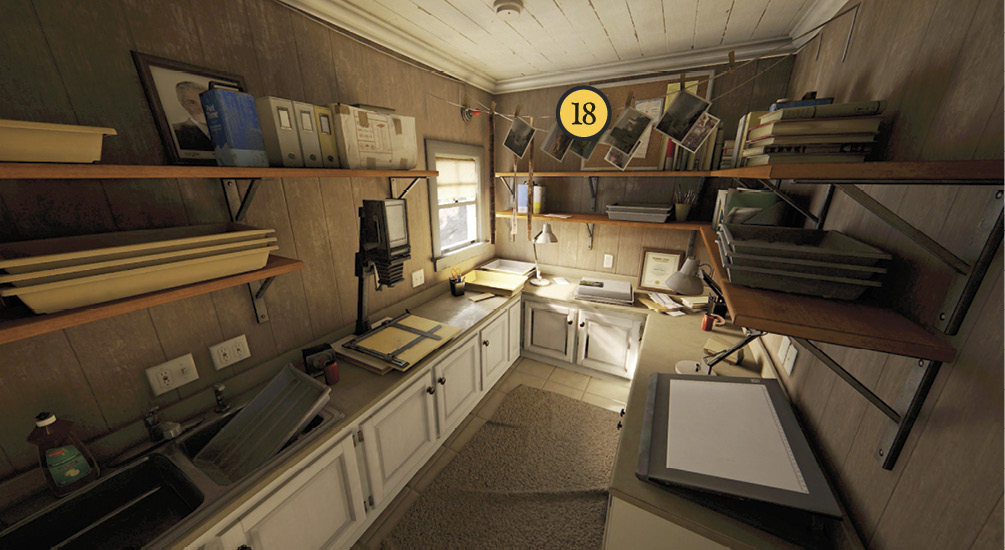
Darkroom
Walk into the study and slip into the back room on the left that serves as Elena’s darkroom and pick up the photo (18) of Elena and Sully on the tray.
Study
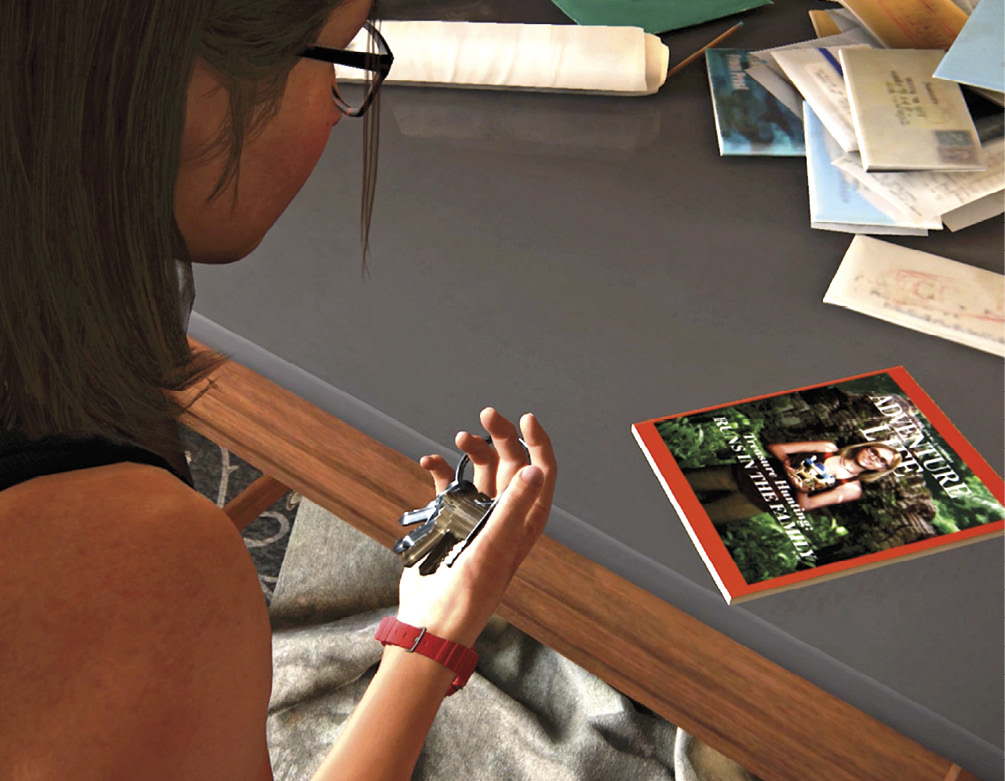
Go through the doorway into the study. Examine the Adventure Life magazine (19) on the work desk. When you move to put it down, the girl finds a set of keys. These give you access to the locked cabinet across the room.
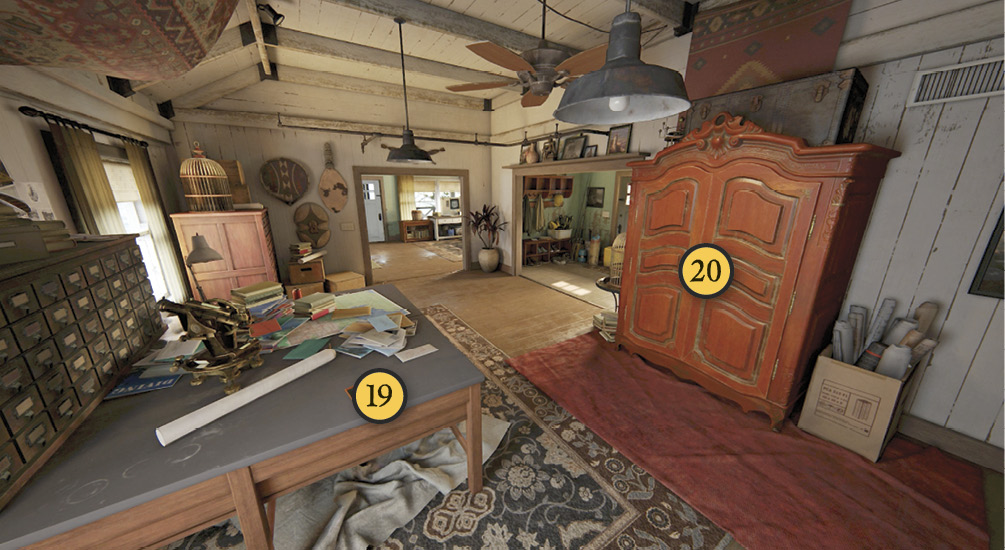
Explore the Cabinet
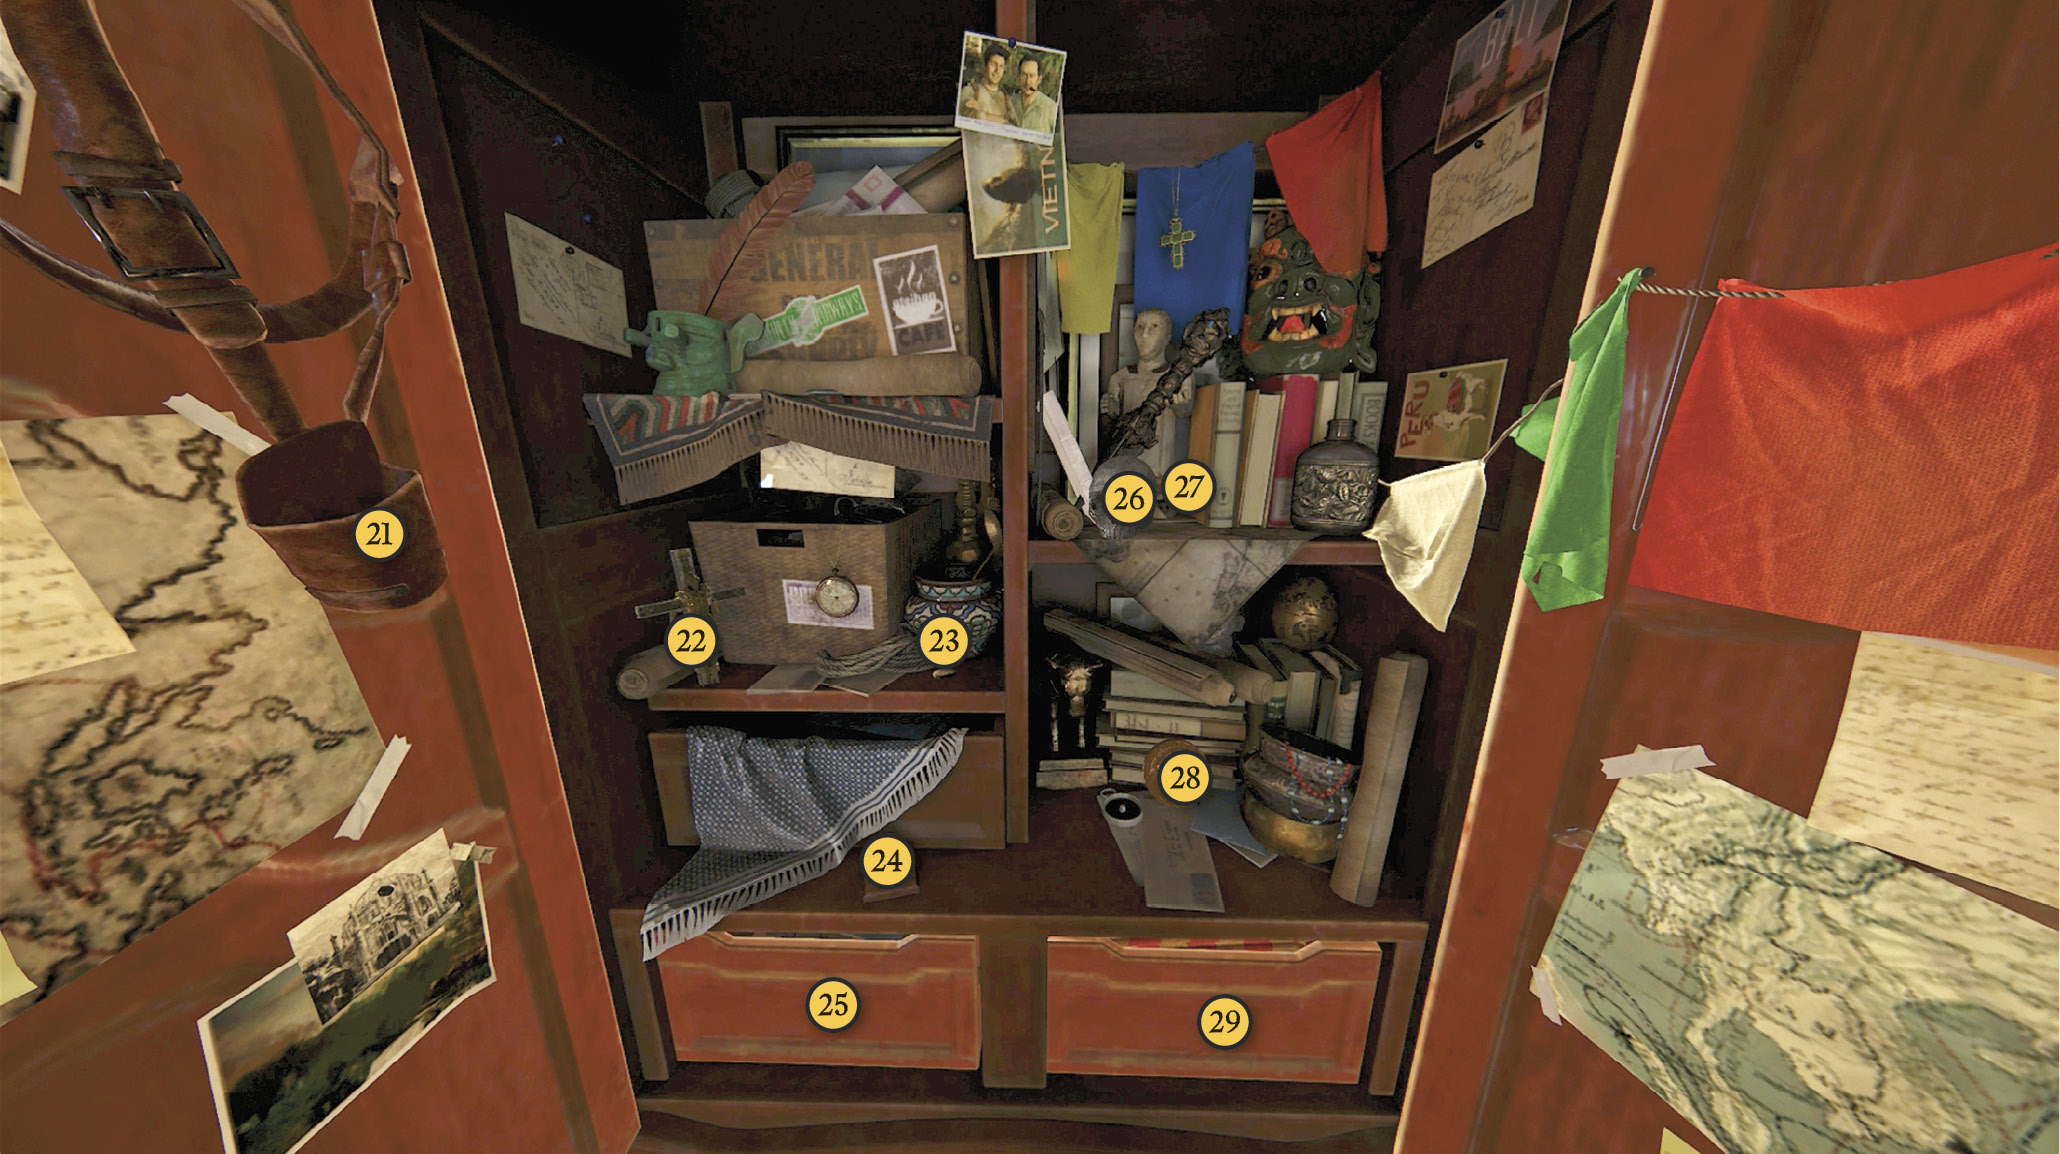
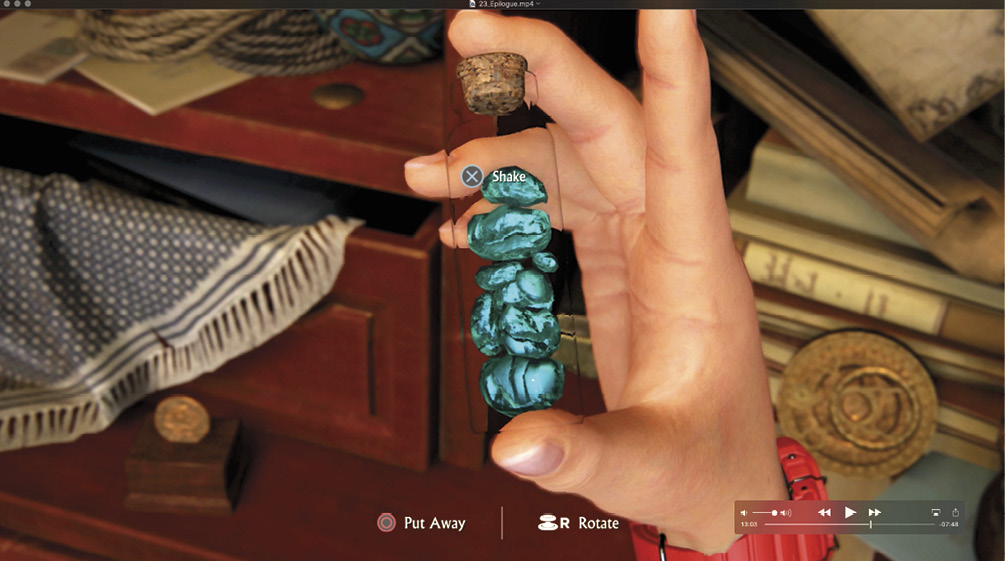
Now go back to the office and open that cabinet (20). (Again, the cabinet is locked until you find the keys under the Adventure Life magazine.) Examine its cornucopia of personal history: Nate’s holster (21); the St. Dismas cross (22); a Spanish doubloon (23); a coin with Avery’s sigil (24); in the left drawer: Sir Francis Drake’s journal (25), complete with bullet hole—the book that saved Sully’s life in Uncharted: Drake’s Fortune; a silver skull cast (26), behind which you see a journal (27) (don’t examine the journal until last); the 16th century cipher disk (28) from Uncharted 3; in the right drawer: the Cintamani resin (29) from Uncharted 2.
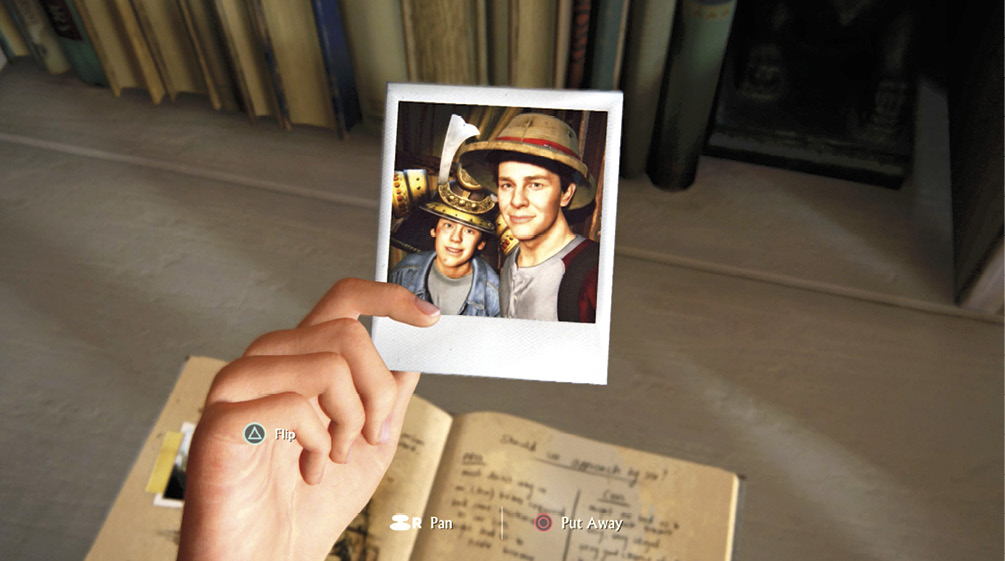
You’ve come a long way. Enjoy!