Uncharted 4: A Thief's End Guide Story Walkthrough
Chapter 10: The Twelve Towers
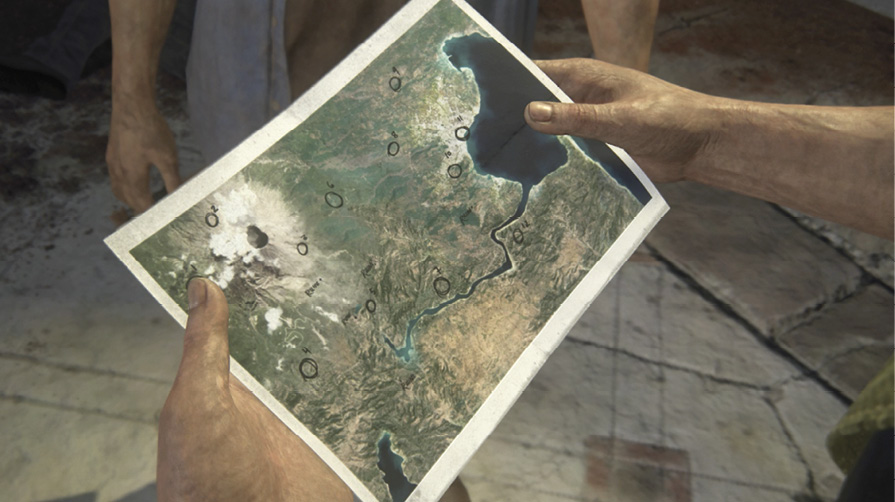
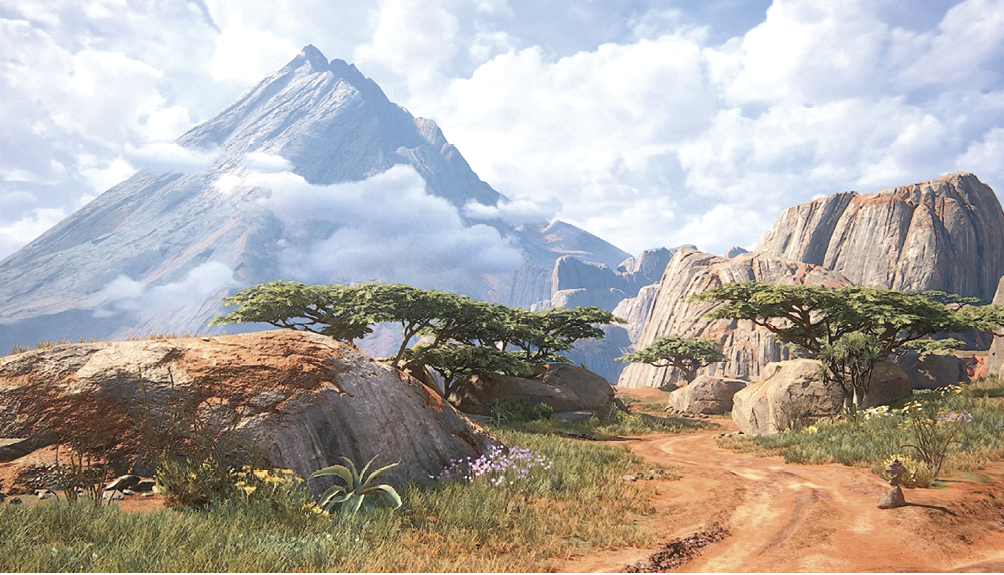
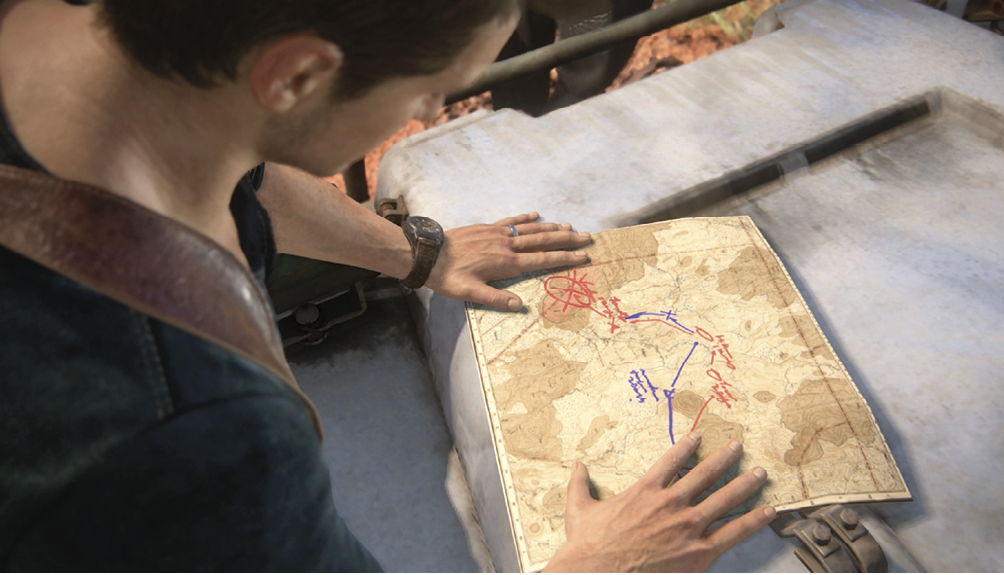
Nathan, Sam, and Sully load into a 4x4 and set off towards the picturesque volcano in the distance. The satellite GPS is getting no signal, but the way is marked…if you know what to look for.
CollectiblesCairns (Rock Piles): 16 Treasures: 15 Optional Conversations: 2 Optional Journal Notes: 2 Optional Journal Entries: 4 Chapter Specific Trophy: “Not a Cairn in the World” New Weapons: Mk-NDI, FAL, Raffica, China Lake GL, RPG (Crushing/Hard) |
Find a Way to the Bridge
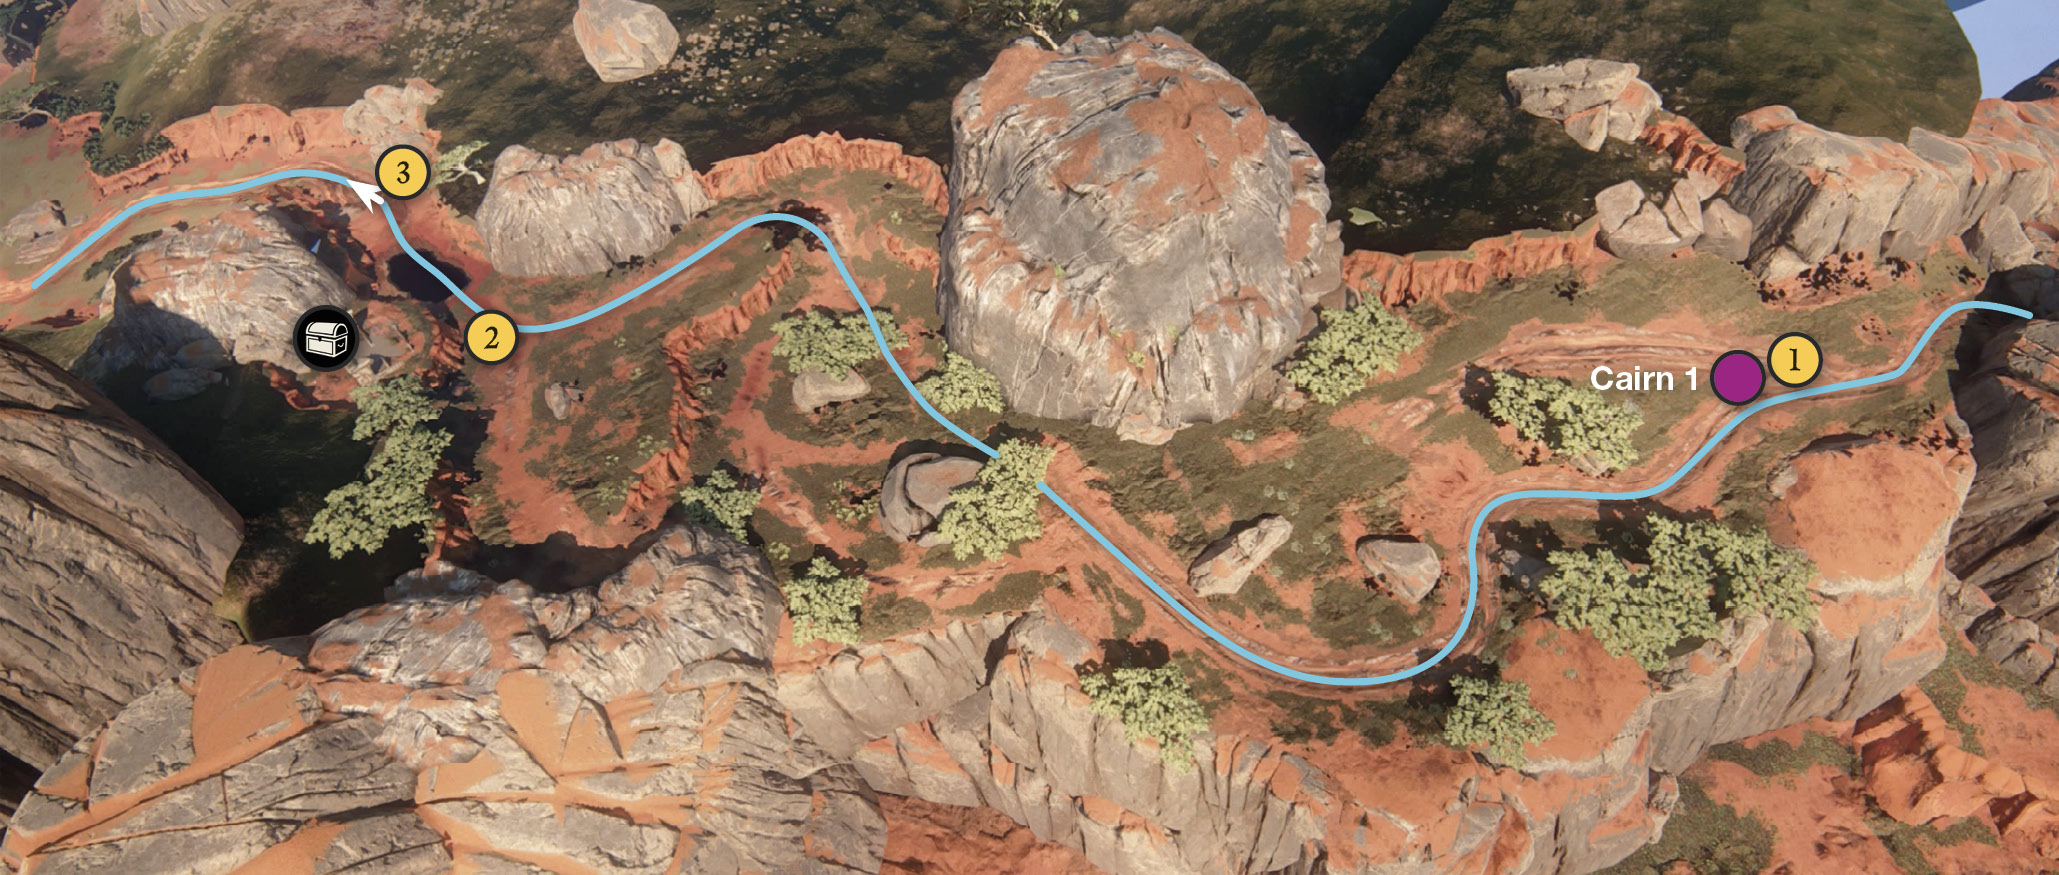
Press R2 to accelerate, L2 to brake or reverse, and  to use the hand brake. Follow the tire tracks to where the trail splits (1) at the Cairn (1), a pile of rocks that serves as a route marker. Hit the Cairn with your vehicle to knock it over. Take the left fork. Stay on the old dirt road until Sully points out the ruins of an old house (2) on the left. Here you can press
  to hop out of the 4x4 and find a treasure in the ruins.
 Sawasa Ware Tobacco Box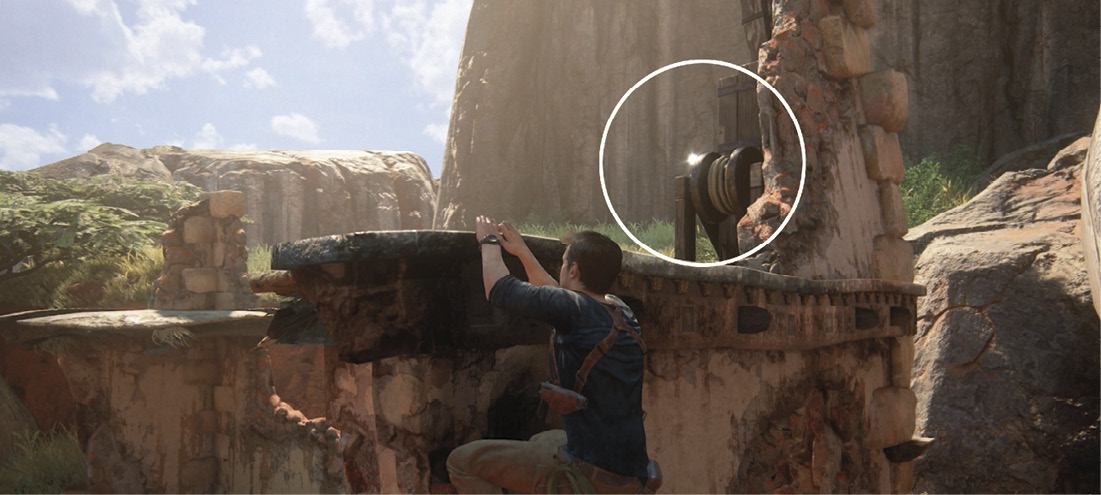 Run upstairs to the first ruins along the road. Climb the outside wall to the second floor platform where you find the Sawasa Ware Tobacco Box sitting on an old winch. |
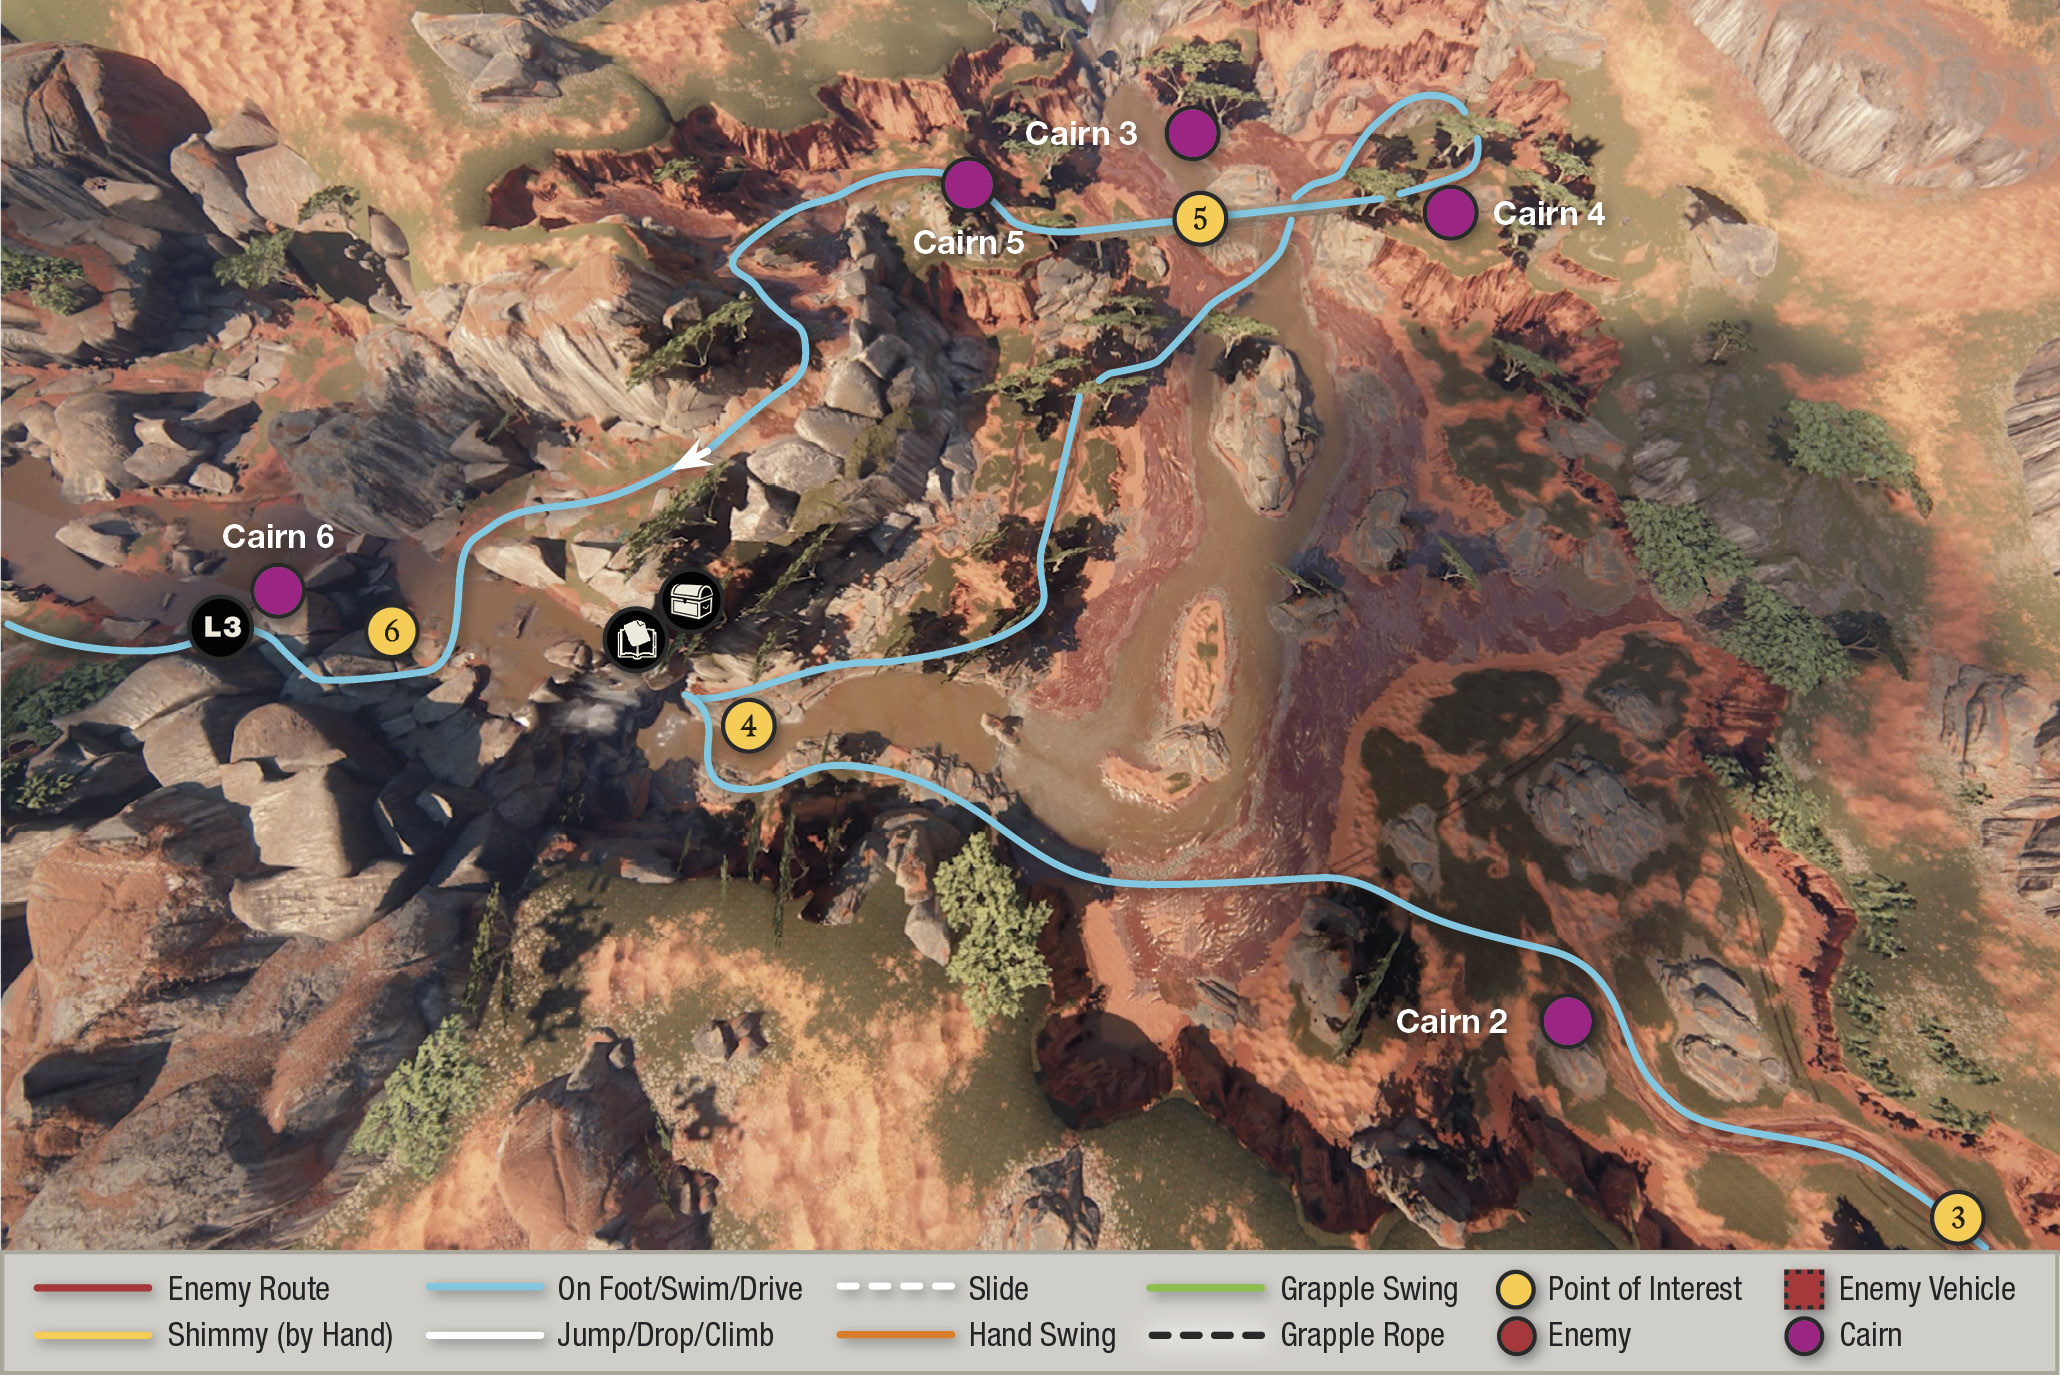
Drive through the big puddle and continue along the muddy path over a short drop (3) past the Cairn (2) road marker. See that waterfall up ahead on the left side of the river? Head for it, driving upstream to the base of the falls (4). Then steer onto the right bank and drive into the secret cave behind the falls. Hop out of the 4x4 and walk behind the falls into a chamber where you can find a treasure and an Optional Journal Note from a British Soldier.
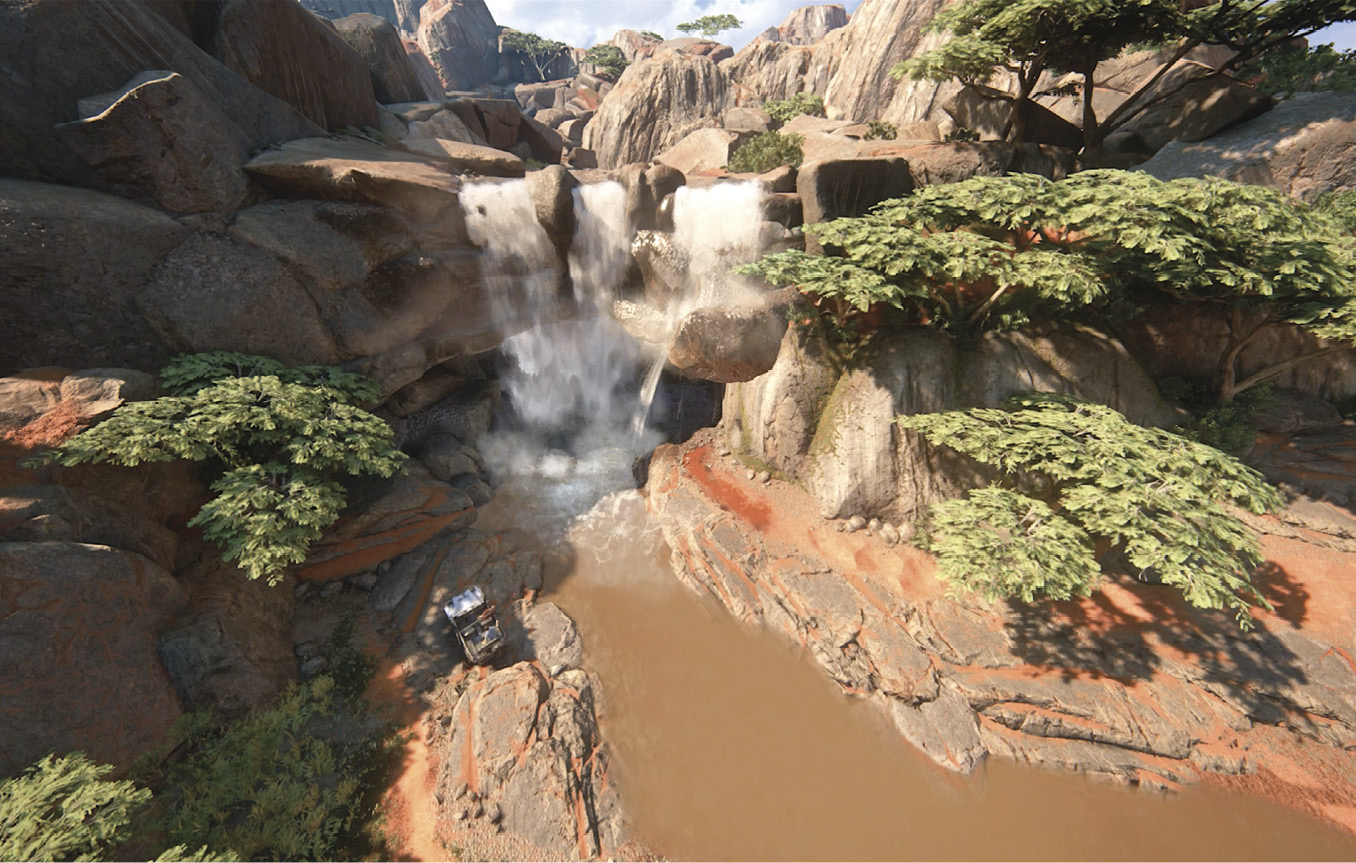
 Eroded Flintlock Pistol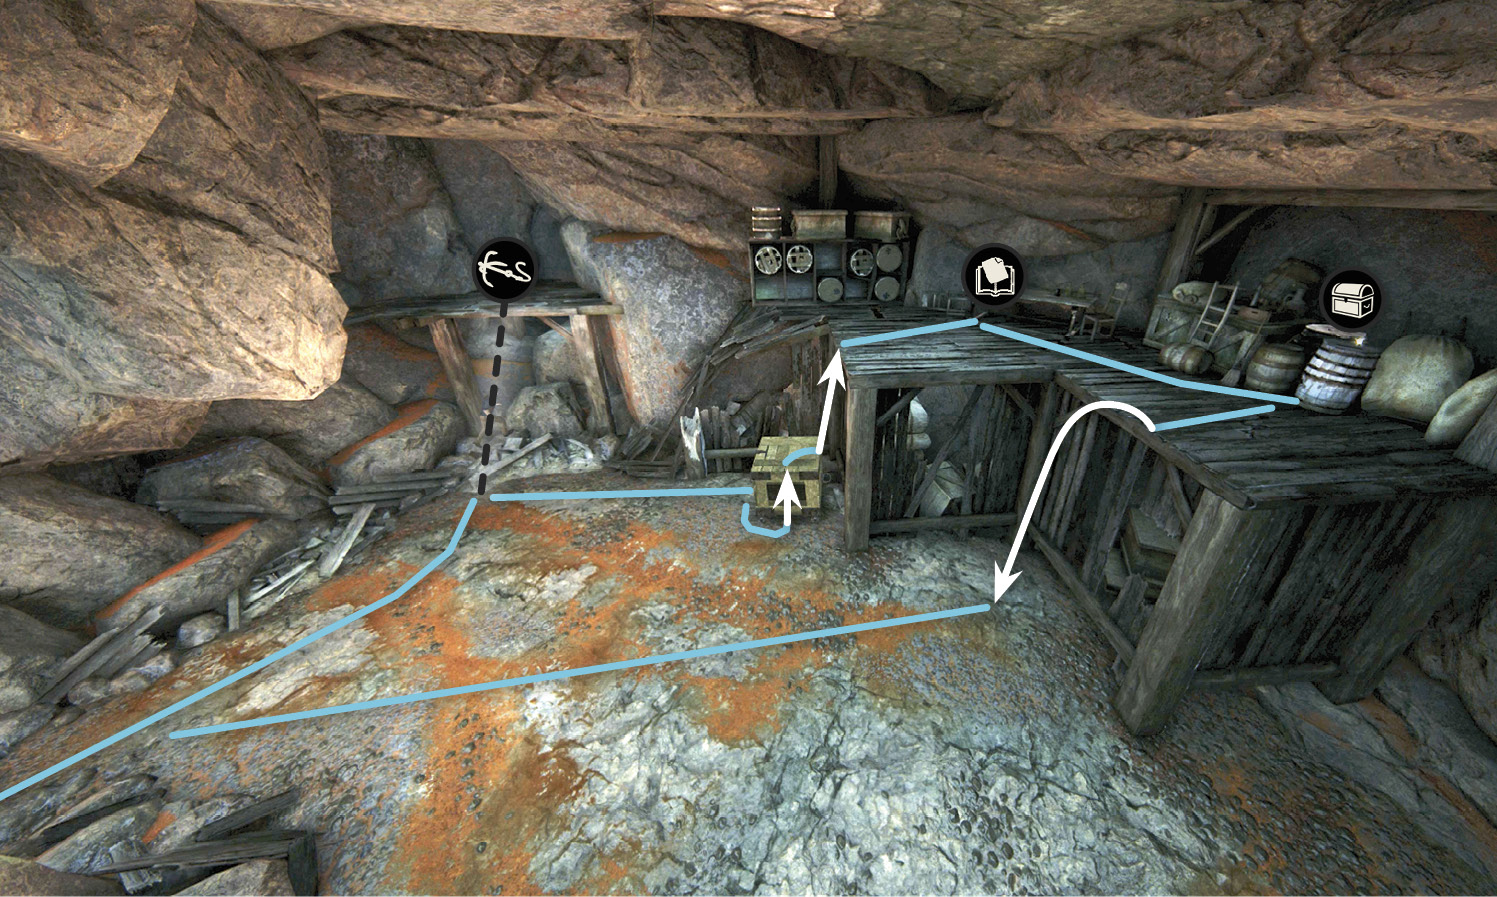 In the secret chamber behind the waterfall, use your grapple hook to pull down the crate from the upper platform. Push it over against the other high platform and use the crate to climb up. Here you find the Eroded Flintlock Pistol and an Optional Journal Note from Lt. Sherwood of the East India Company. |
Now follow the shallow river downstream until you pass underneath the rickety old bridge (5). Continue following the stream toward the dead-end and knock over Cairn (3). Build up some speed, and climb the muddy hill next to the bridge. (If you get stuck while climbing, go back downhill and try again, making sure to accelerate and build momentum before you reach the upward slope.) Keep following the path as it curves around past Cairn (4). Then drive carefully across the bridge.

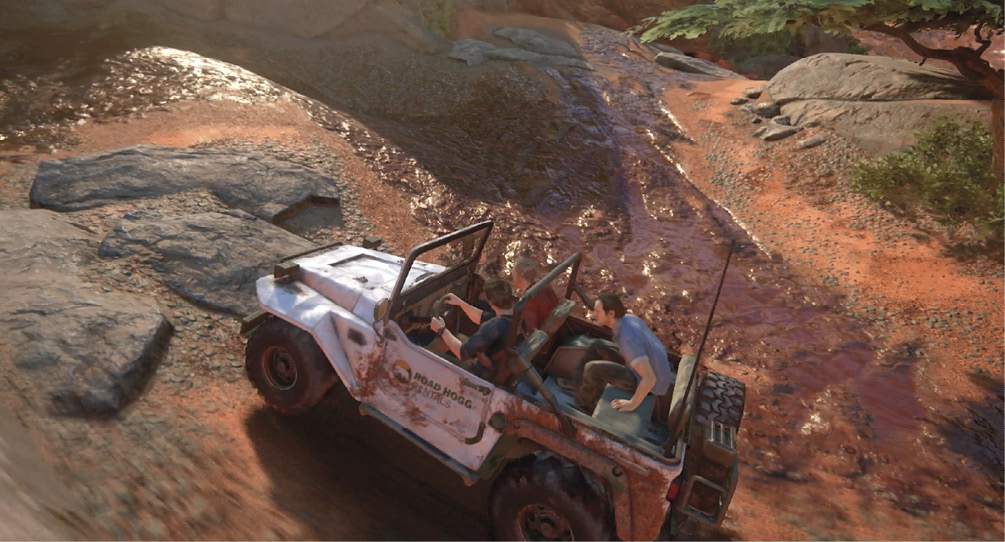
From here, knock over Cairn (5) which is under the first tree on the left after the bridge. The road gets steeper, muddier, and slipperier, and climbing is tough unless you avoid the reddish mud and steer over the grayish rocks for traction. Eventually, you drop off another low ledge and reach the river again.
Work Your Way Upstream
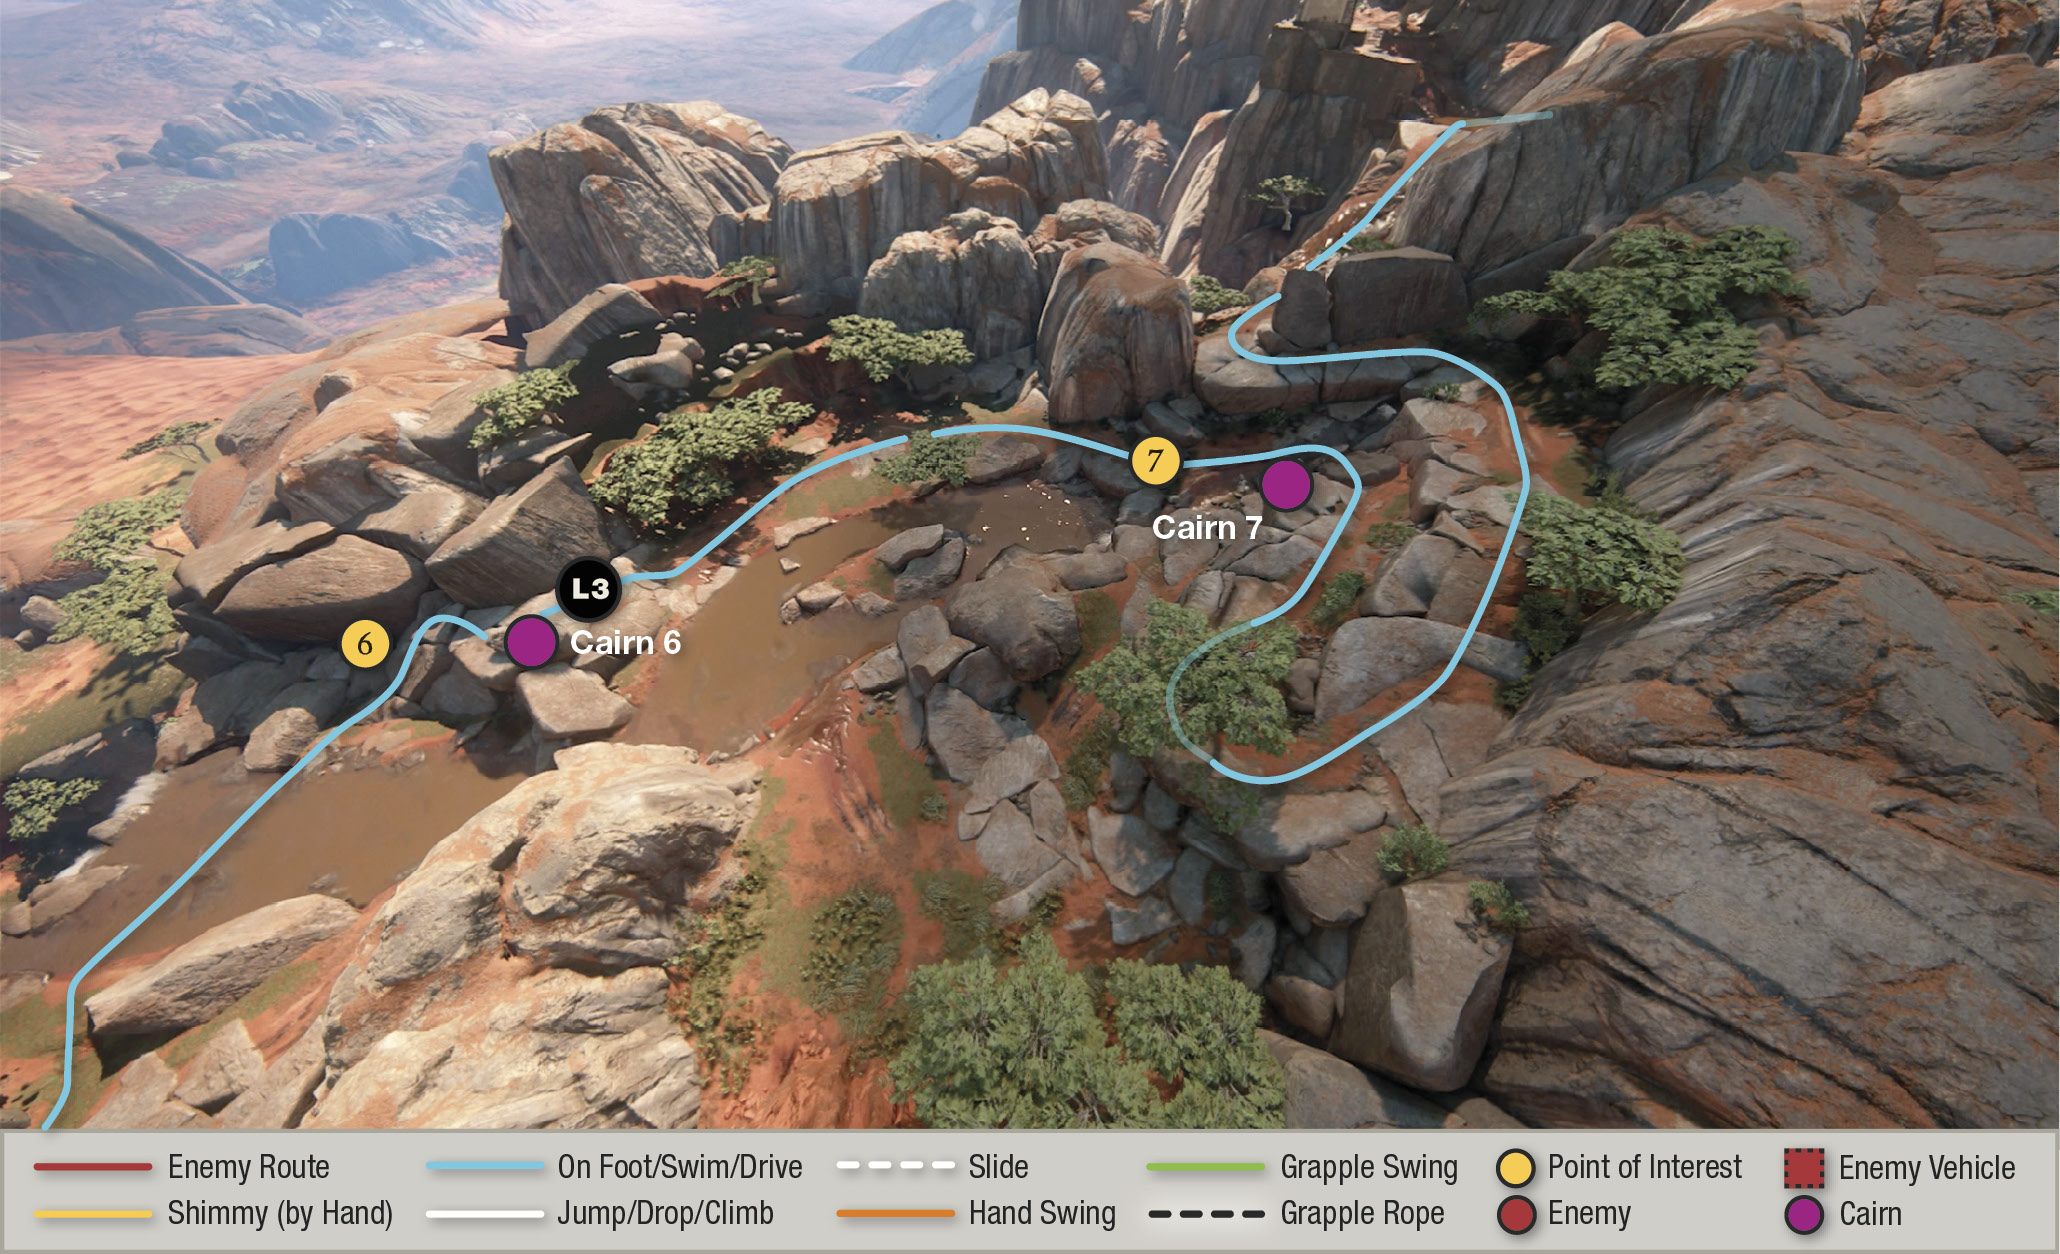
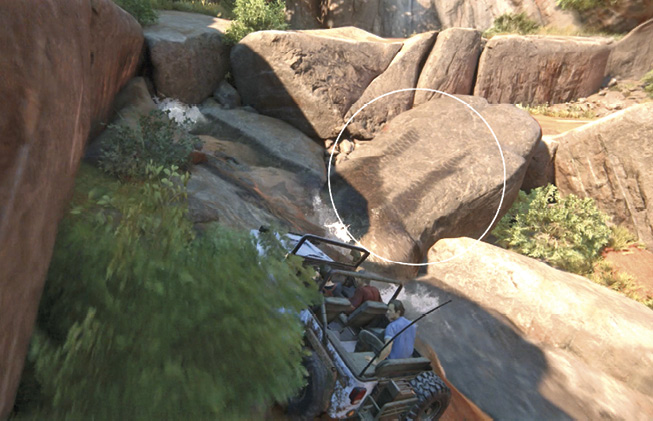
Look across the river to see a slanted boulder marked with tire tracks (6). Drive up the boulder; you find Cairn (6) at the top, marking the route. You can also press L3 to note the tower on yonder hilltop.
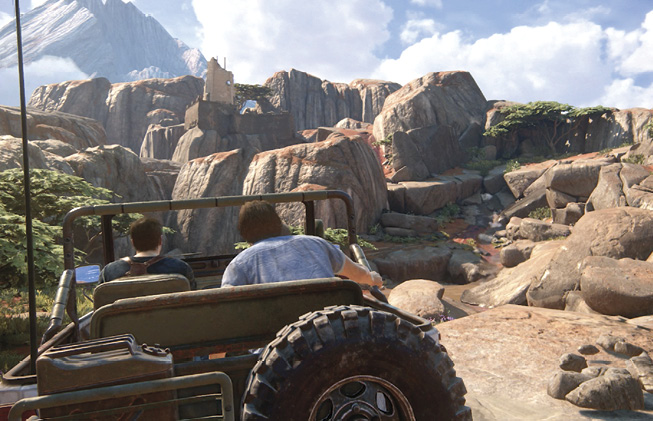
Drive upstream along the left bank past where the stream narrows. Then cut across the stream to climb the big boulder (7) marked with wet tire tracks. (Look for Cairn (7) at the top.) Carefully follow the narrow, curving path of red mud as it hugs the rock walls.
Use the Winch
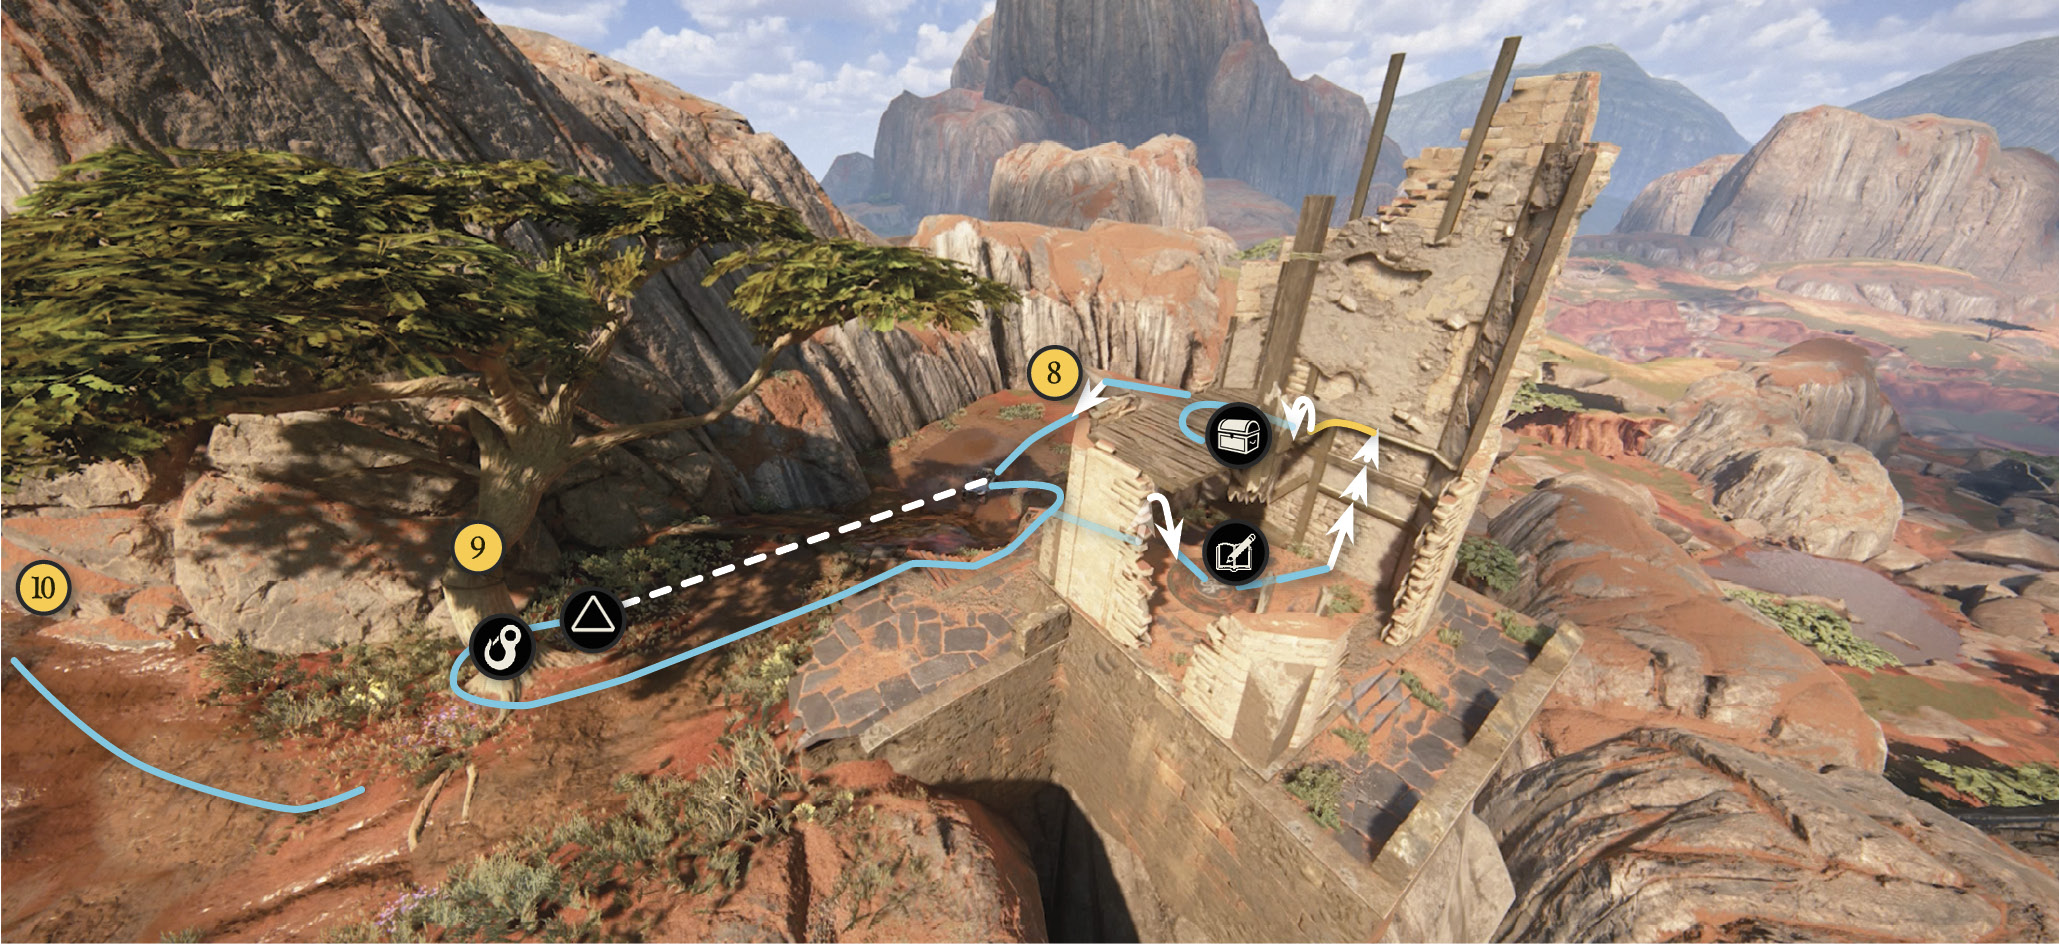
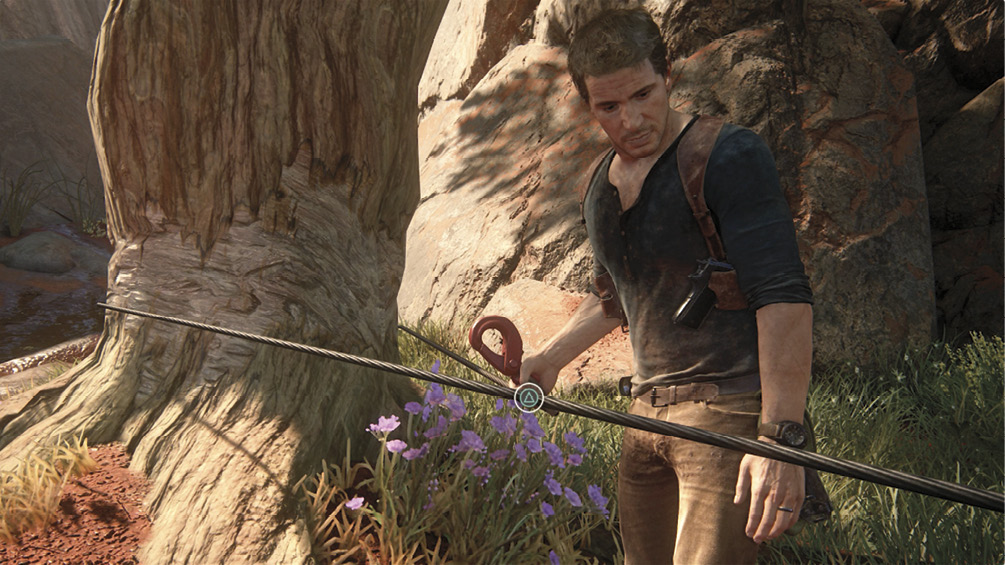
Eventually, you reach another drop-off (8) beyond which is a muddy hill that the 4x4 cannot climb. Park at the bottom of the hill, then hop out and go to the front of the 4x4. Press to grab the winch hook then climb the nearby stairs to the tree (9) at the top of the hill. Walk completely around the trunk, then attach the winch hook to the line.
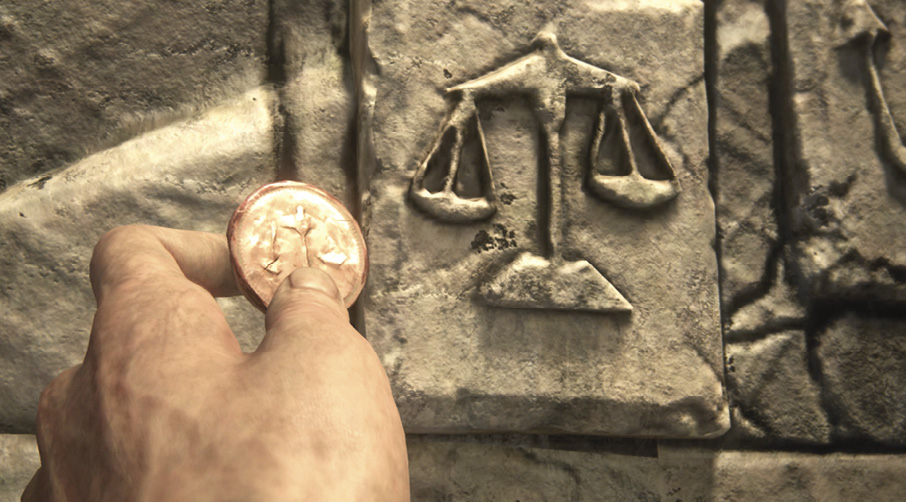
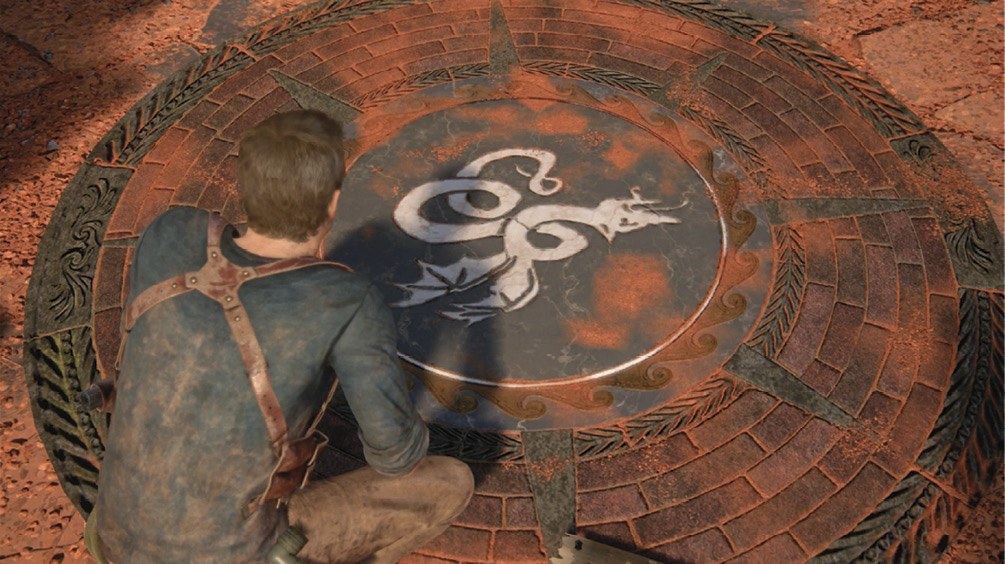
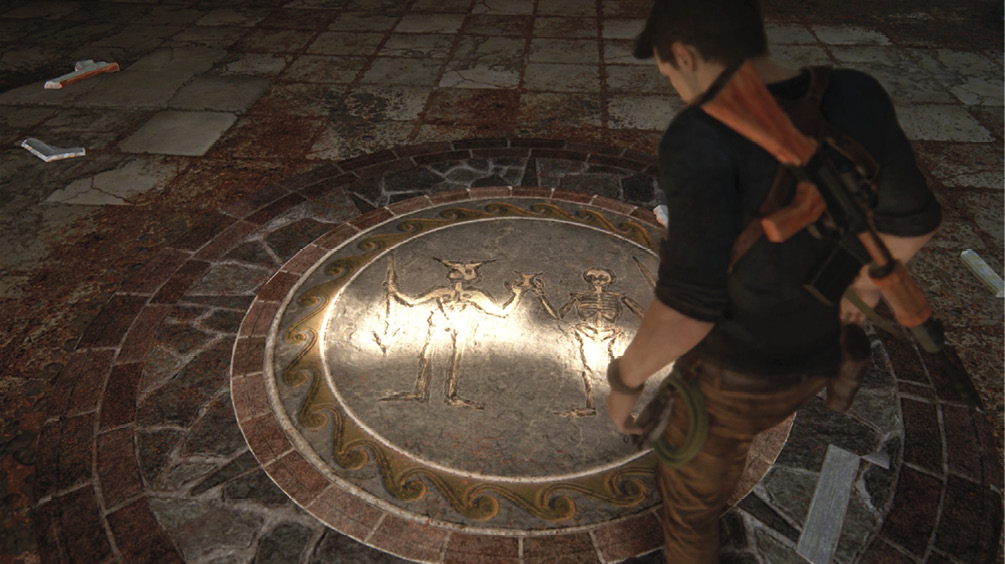
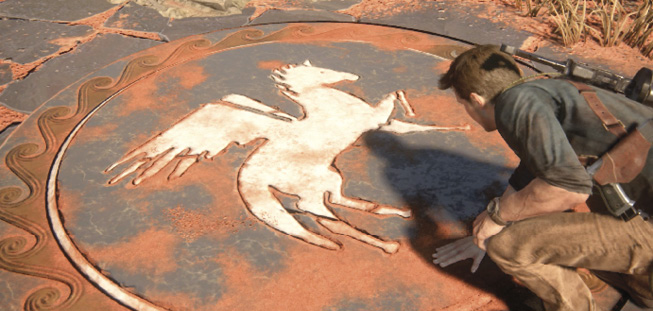
Before you return to the 4x4, climb into the ruined tower and examine the sigil etched on the floor (10). Nathan makes an Optional Journal Entry: Condent’s Sigil. What does it all mean? Before you leave the tower, be sure to climb the nearby wall planks to find a treasure on the next level.
 Mughal Ivory Powder Flask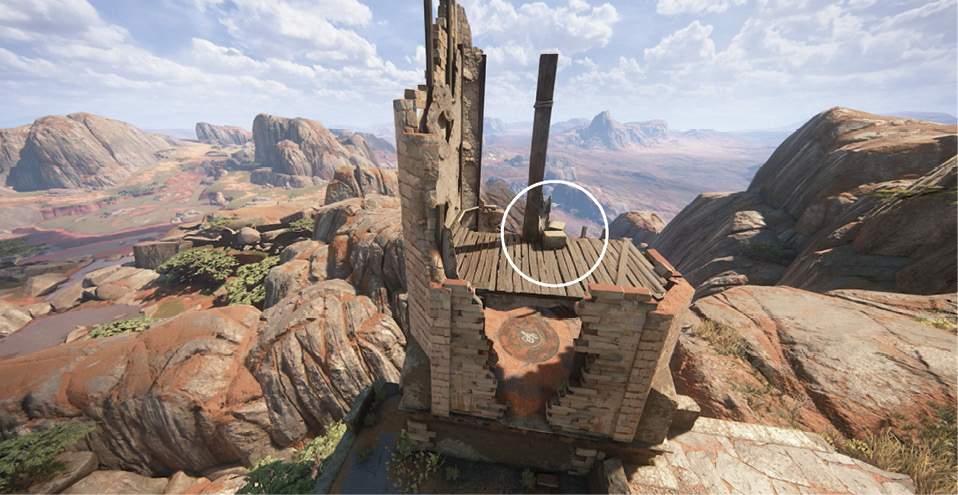 Enter the watchtower at the top of the hill where you use the winch on the tree. (It’s the tower with Christopher Condent’s sigil on the floor.) Climb the interior wall to find the Mughal Ivory Powder Flask atop a box on the second floor. |
Now return to the vehicle and drive. The winch pulls you up the hill. At the top, hop out, unhook the winch, and press  to let it retract. Then drive up the next hill to a breathtaking vista of the volcano (10).
Climb to the First Tower
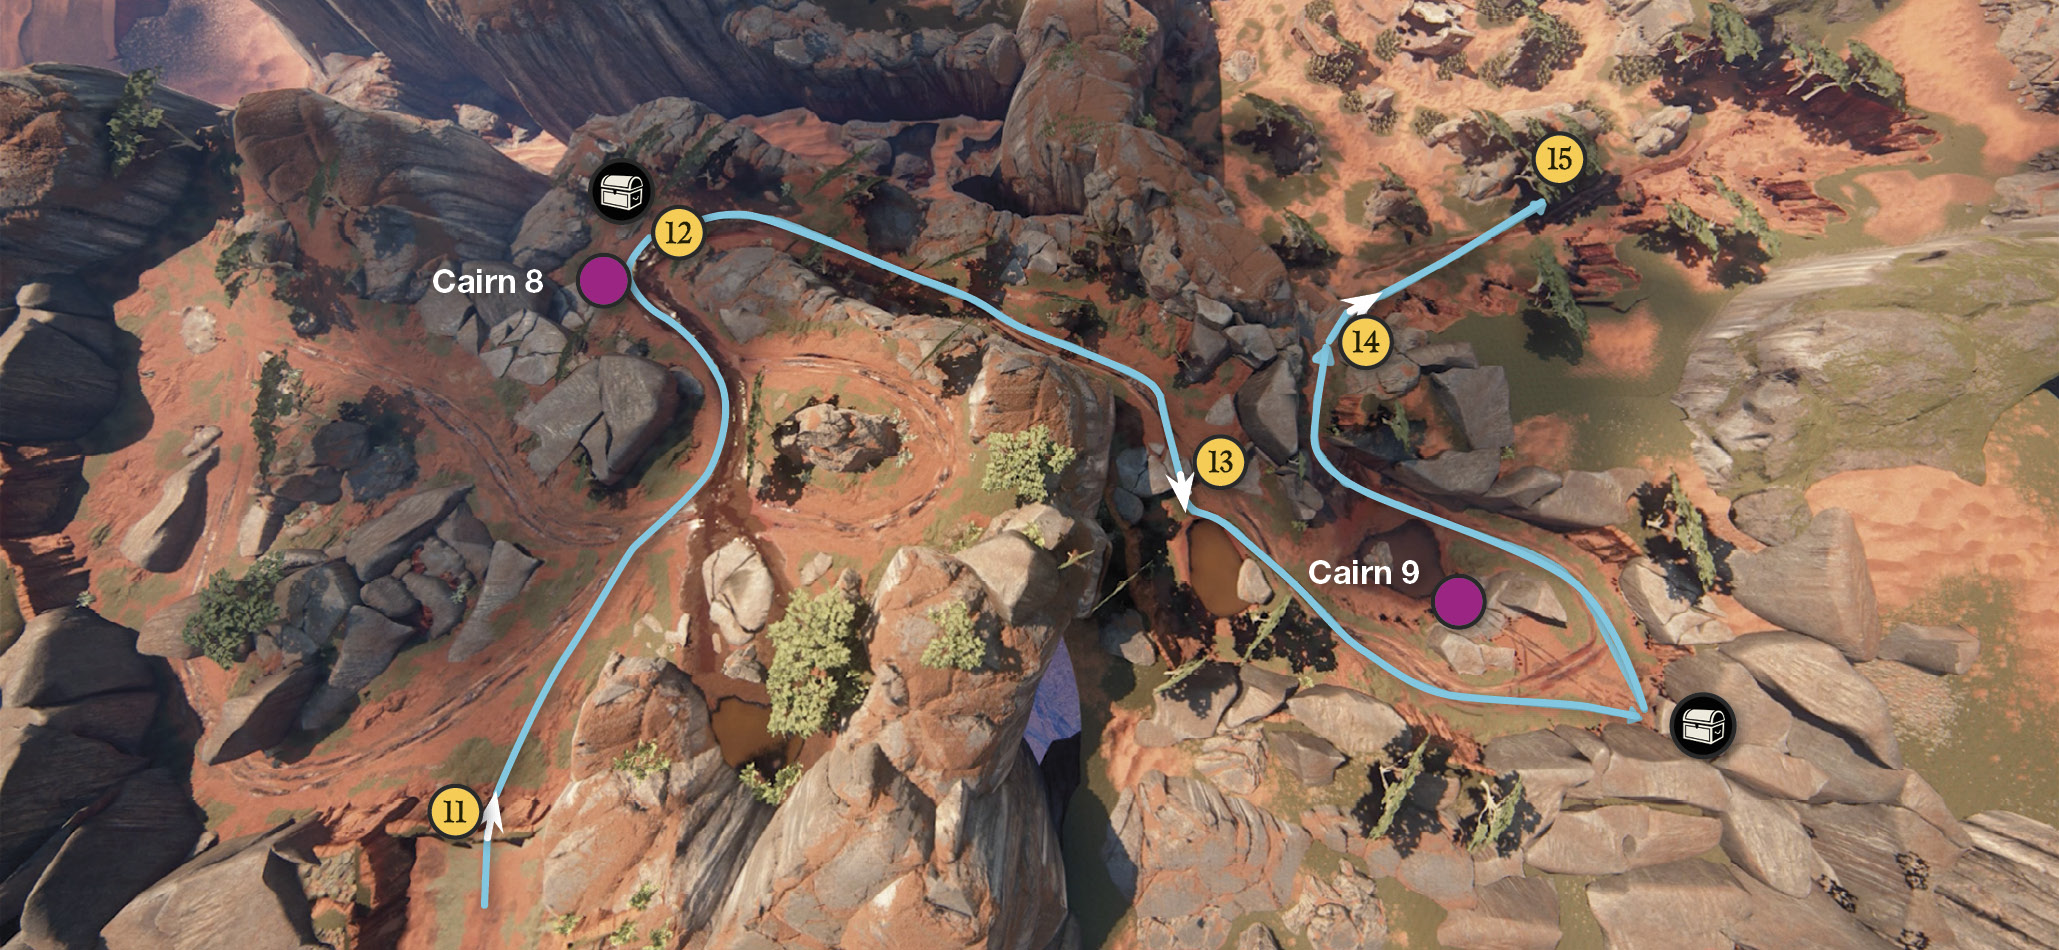
Drive over another drop-off (11) and veer right to follow the vehicle tracks. When you reach the water flowing downhill, follow the flood’s flow past Cairn (8) to an old ruined structure (12) where you can find a treasure inside.
 Parchment Scroll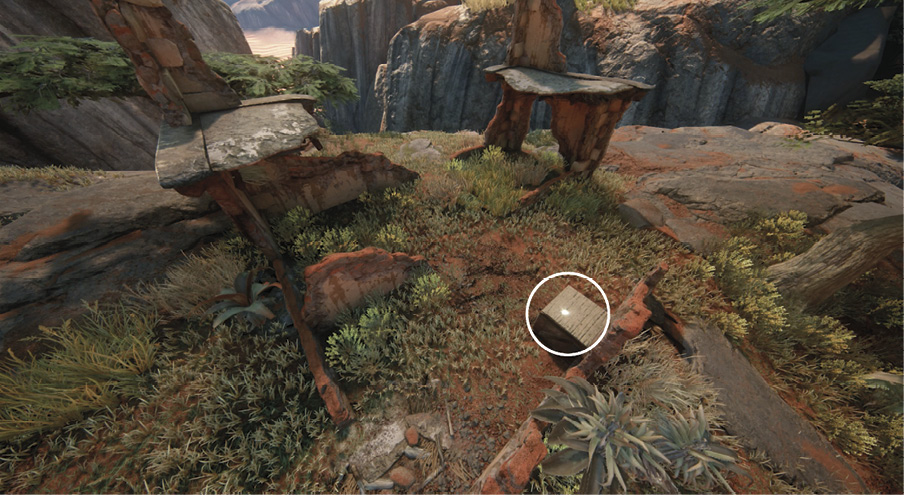 Soon after your first winch-pull up the muddy hill, look for a crumbling old house on the left side of the muddy route. Inside the ruins, you find the Parchment Scroll sitting on a wooden crate. |
 Ancient Fertility Idol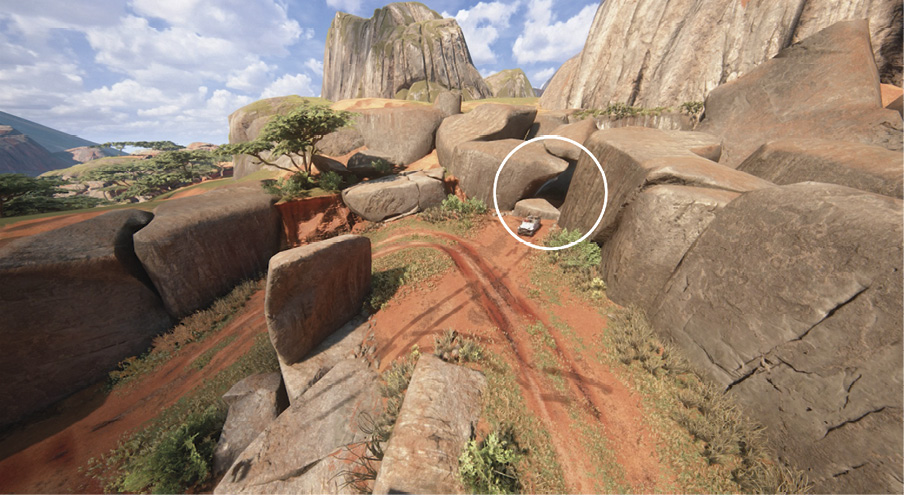 Climb through this triangular opening in the rocks off the right side of the muddy road leading to the colony outpost. The Ancient Fertility Idol is sitting on a crate. |
Continue along the muddy route and over another drop-off (13) next to a pond. Drive past the pond and knock over Cairn (9), then continue around a sharp bend. Look for a cave-like opening on your right opposite the cairn, just as the road curves sharply; inside is a treasure.
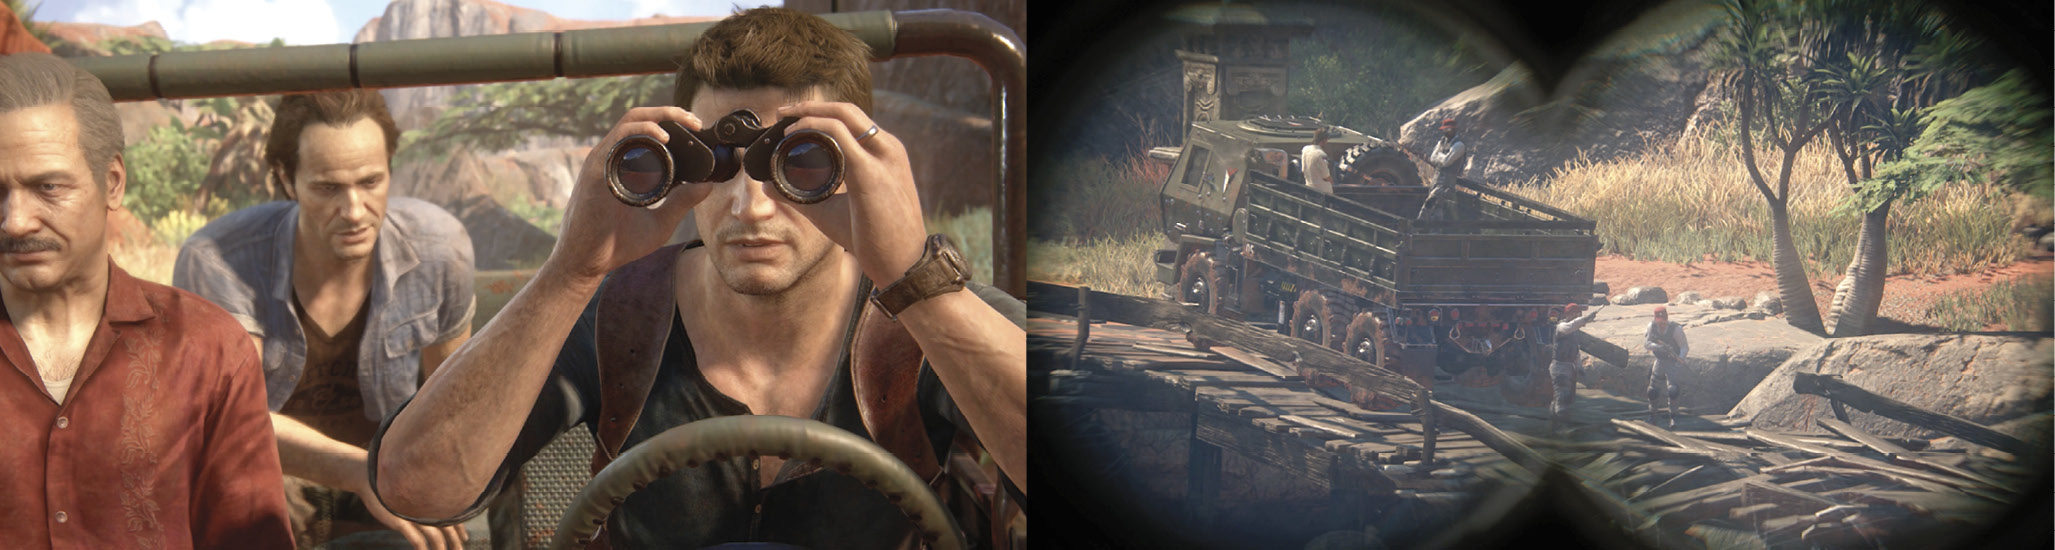
Continue along the muddy road to another drop-off (14). Your arrival here triggers a distant explosion and a cutscene: Nathan spots a squad of Nadine’s Shoreline goons deployed in the old colony outpost ahead.
Clear the Mercenaries from the Tower Outpost
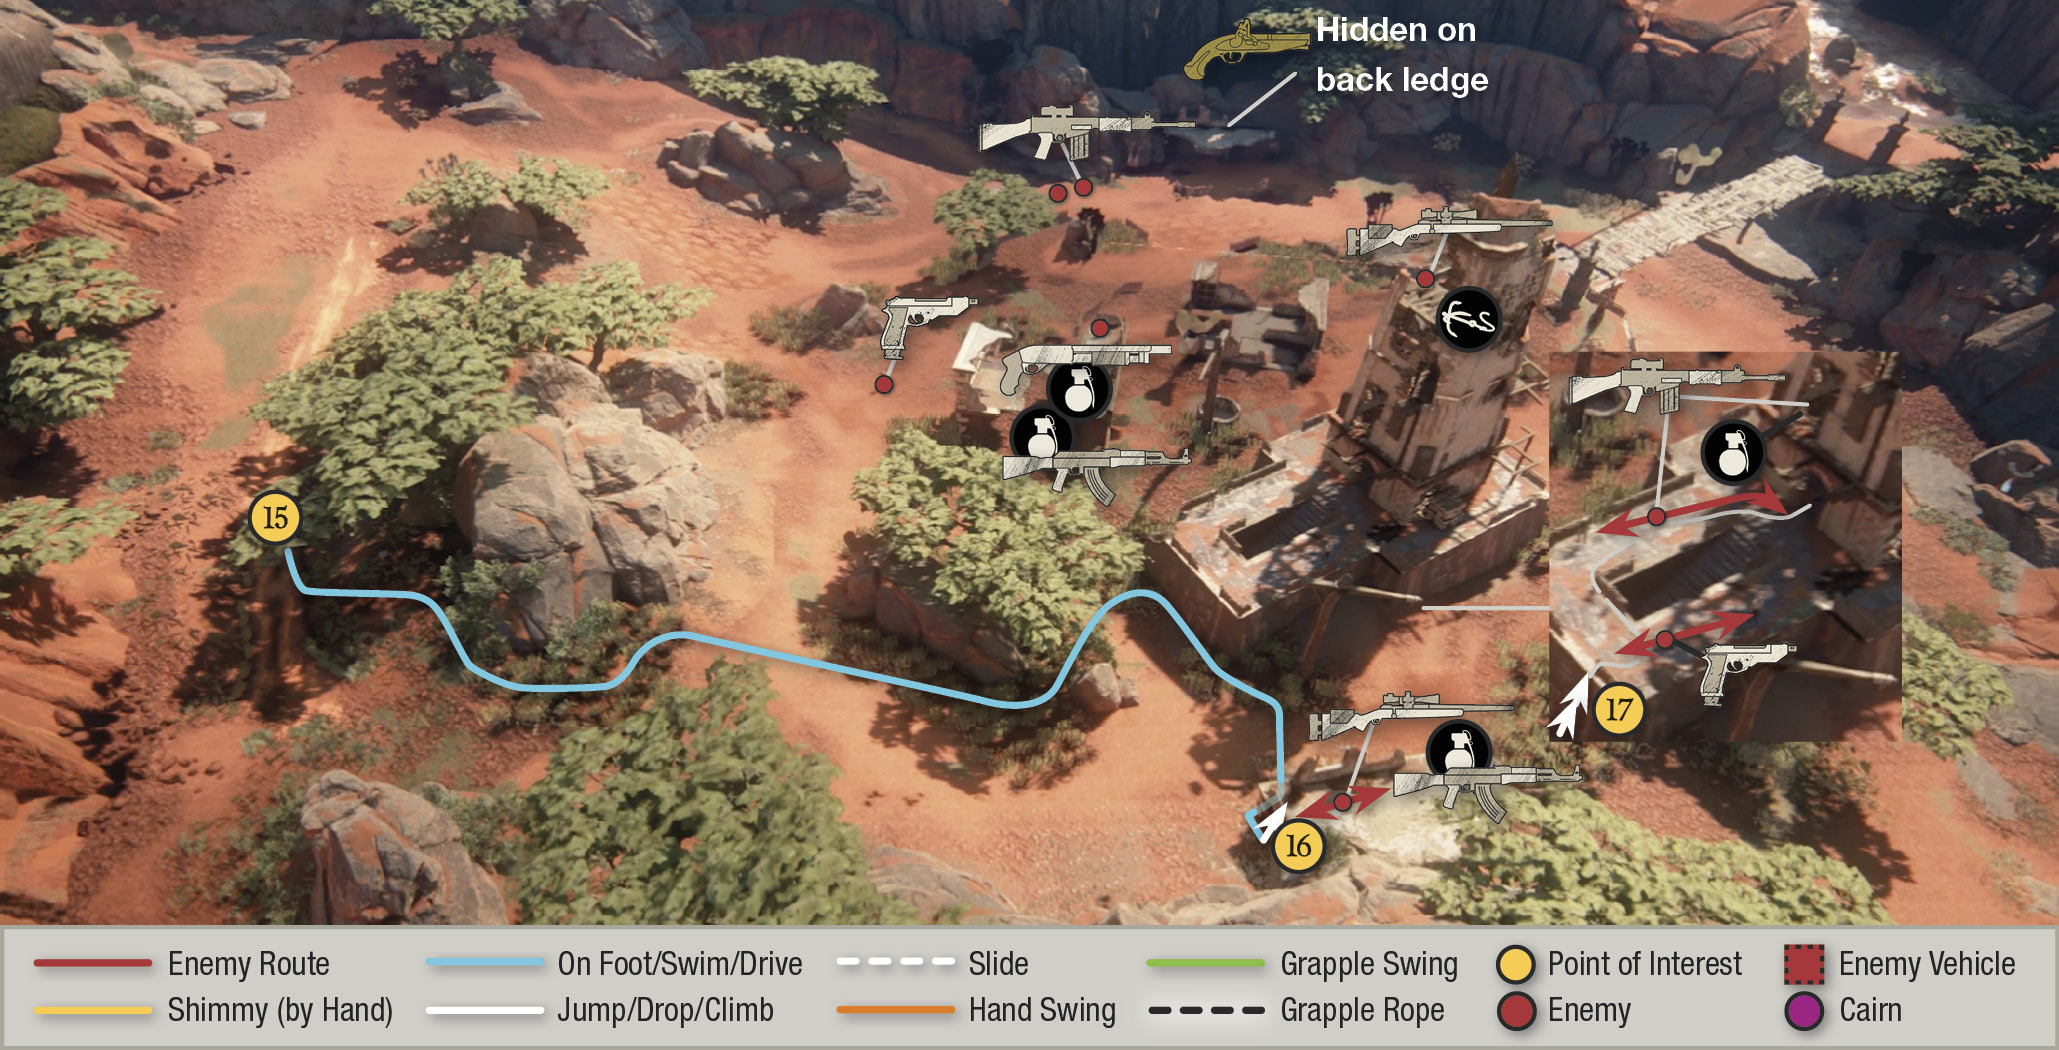
Drive along the right-hand perimeter of the clearing and park in the shade of the big trees (15). Exit the 4x4 and creep through the patches of tall grass toward the outpost. While hidden in grass, observe the guard patrol patterns. Then spot the sentry sniper (16) posted atop the low structure to the right. When he paces away and no other guards are watching, hustle to the structure and hang on the right side wall. Wait until the sentry turns his back, then hop onto the platform for a quick stealth takedown. Take his Mazur LDR sniper rifle.
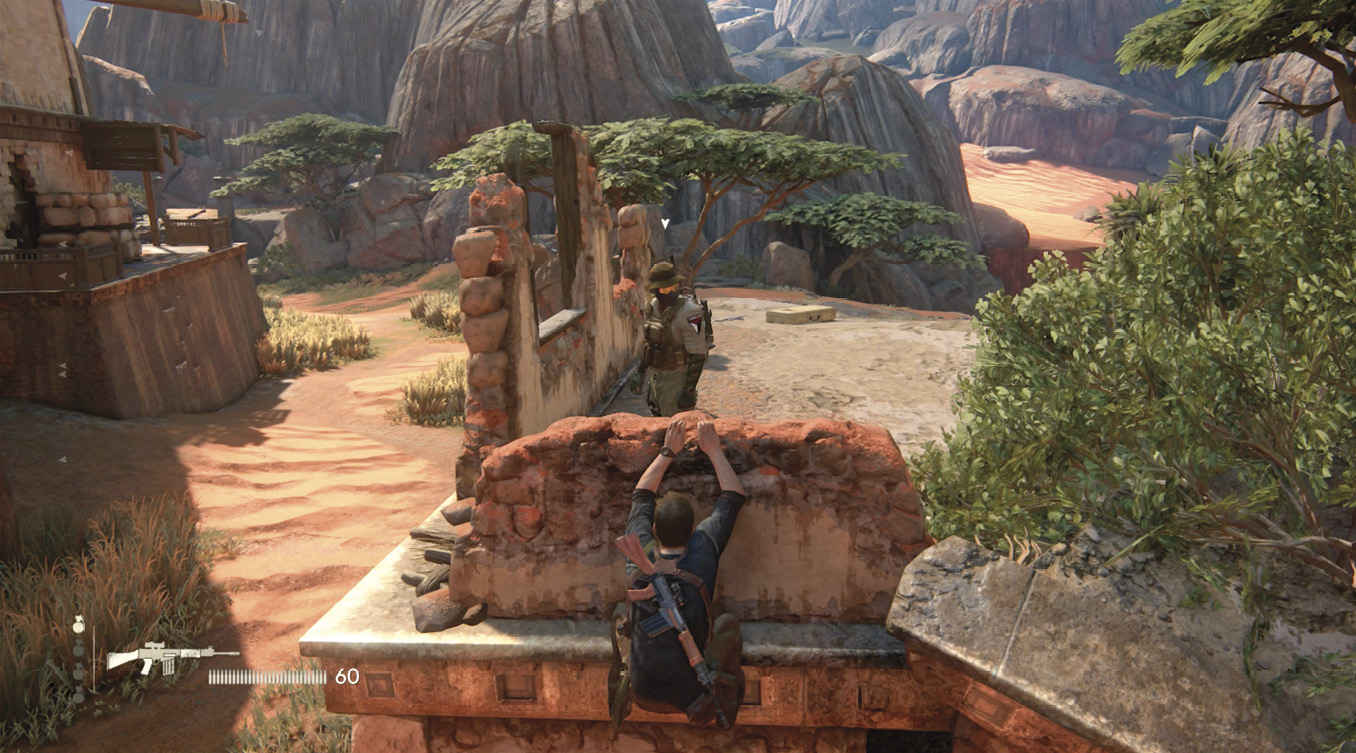
Next, sneak to the outpost wall (17) using the tall grass for cover. Two guards patrol up on the platform. Climb the handholds and hang on the edge until one unwary guard approaches. When you’re sure the other guard isn’t looking, pull him over the edge! This guard carries a New Weapon, a Raffica, which is a burst-fire pistol. Pick it up. When the other guard is moving away from you, climb onto the platform and take cover behind the bannister. When he approaches then turns away again, take him down from behind. This guard carries a New Weapon, the FAL, which is a scoped rifle with nice power and accuracy. Now duck inside the tower door.
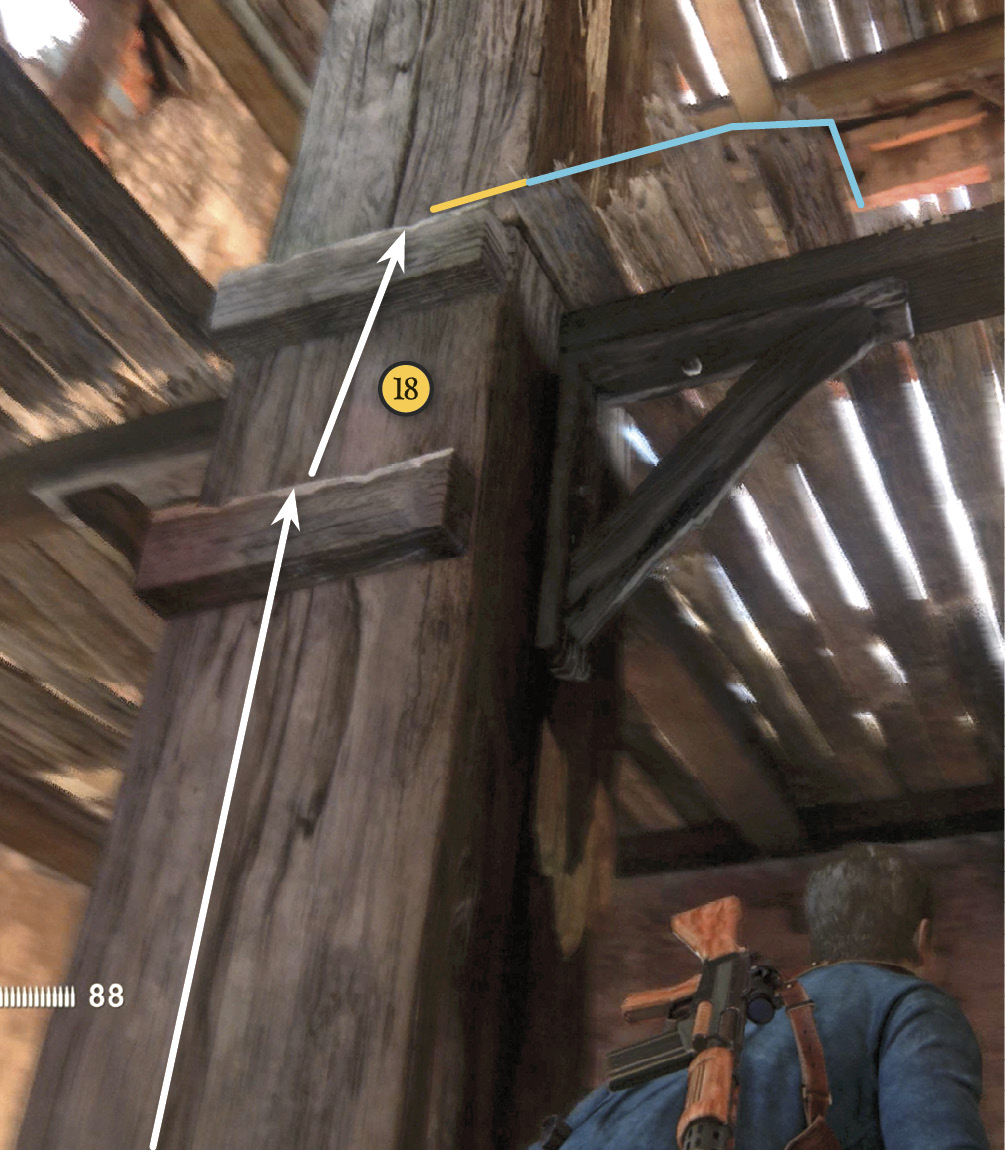
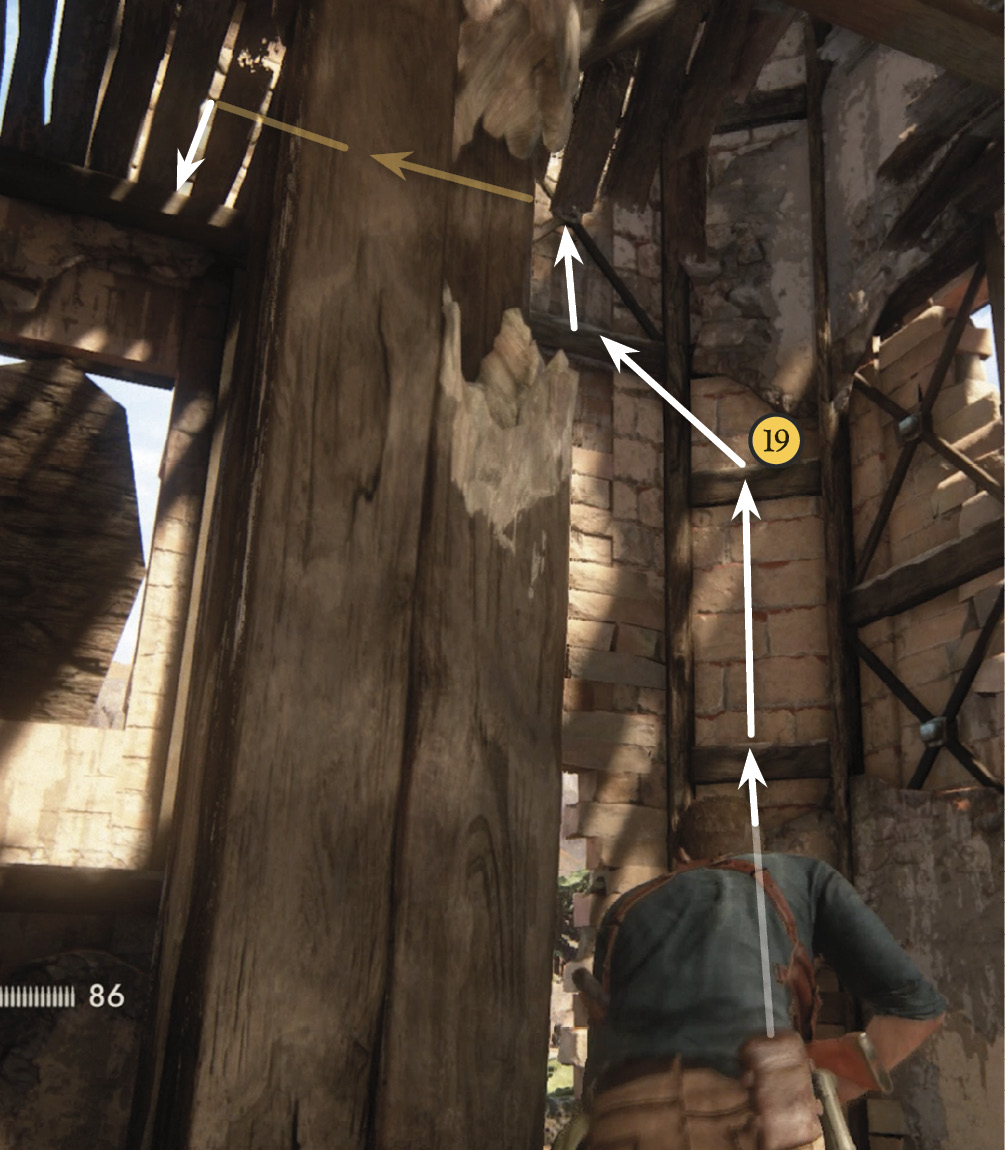
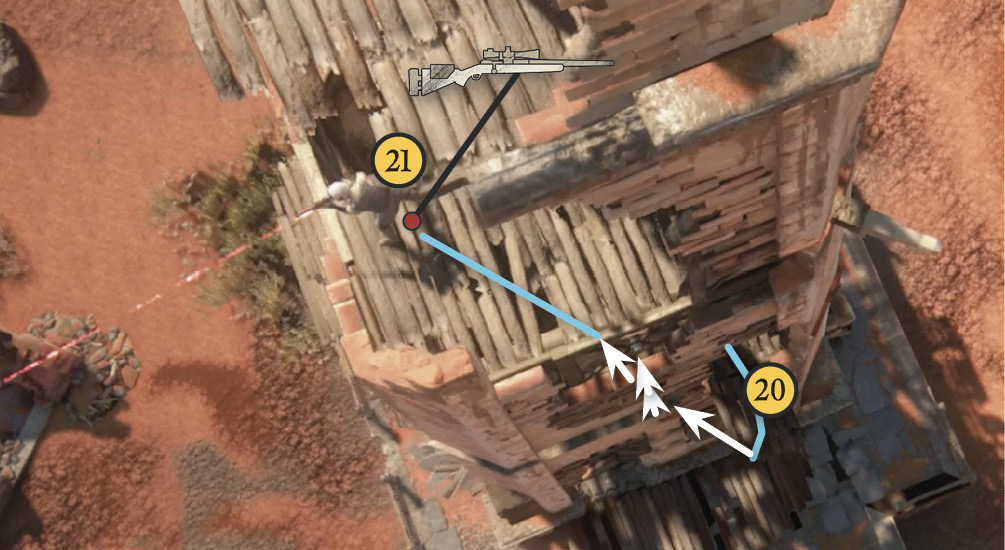
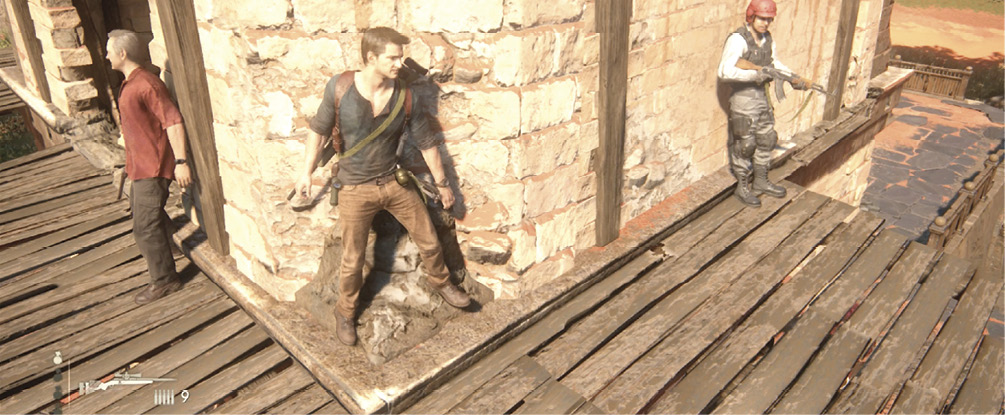
A sniper is posted on the top level of the tower. Inside, climb the handholds on the center support beam (18) to the second level. A FAL can be found on the floor next to a gun case. Also another New Weapon, Mk-NDI (grenades), can be found on the floor next to the FAL. Many of these FALs and grenades can be found during this battle (see our map for other locations). A guard leans against the wall on the second level just outside the door and around the corner; sneak to the corner, then pounce on him fast! (See our Crushing/Hard Mode RPG tip about this guard.) Go back inside to climb the corner frame struts (19) and slide over to the third level floor. Step outside the door (20) and climb the wall until you can hang from the next floor up. Sneak up behind the sniper (21) for a stealth takedown.
Clear the Rest of the Outpost
Now you have a couple of nice options. You can pick up the sniper’s Mazur LDR rifle and start picking off the remaining handful of mercenaries from the excellent protection of this high sniper post. Or you can try to eliminate the other guards using stealth too. The more you remove guards stealthily before climbing the tower the less sniper bullets you need to finish the job.
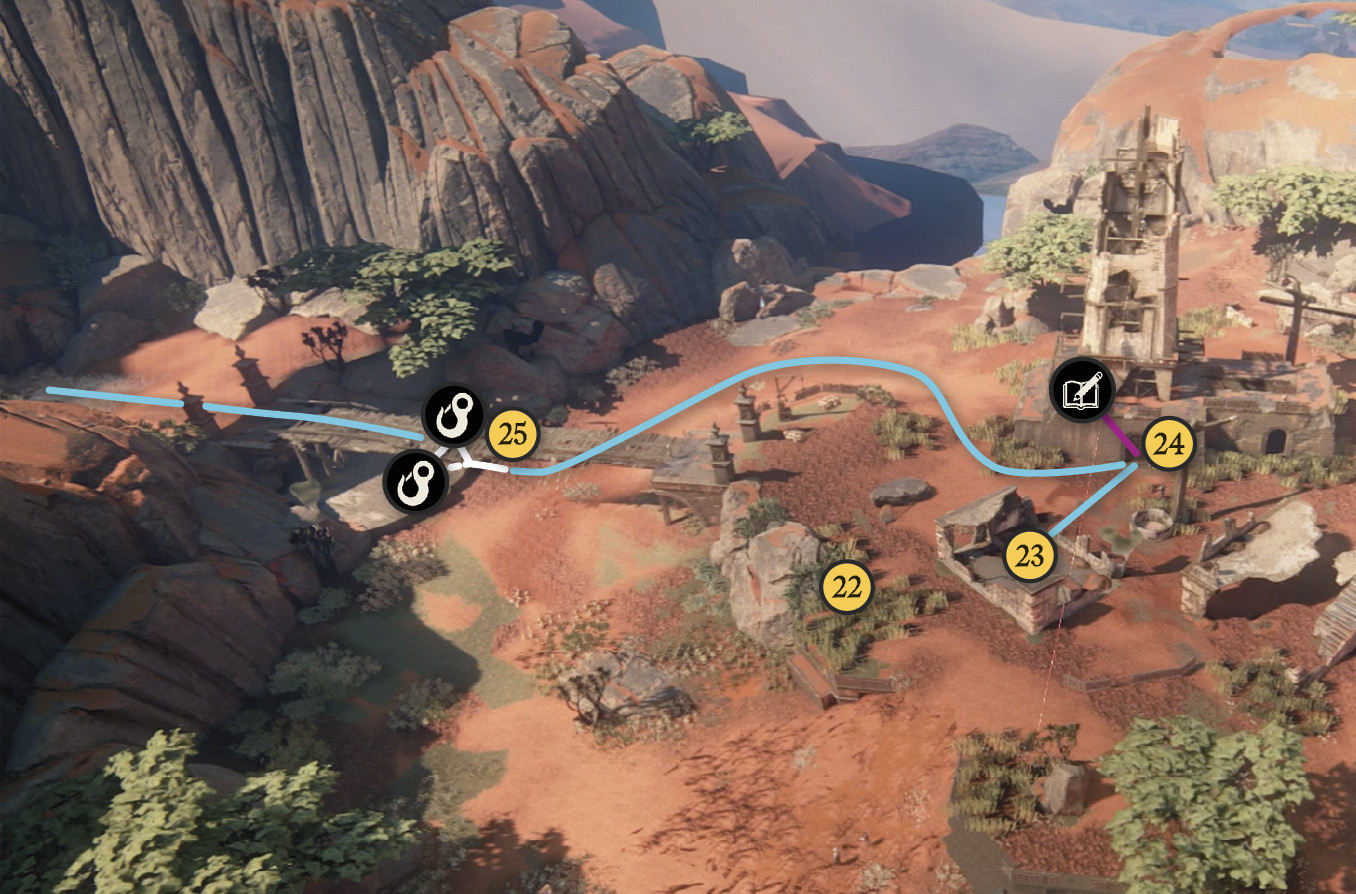
If you’ve killed at least four enemies and stand at the top of the tower, another wave will trigger. This squad arrives by truck at the far end of the bridge (25); the L3 icon pops up when they arrive, directing your attention to the deployment. Use the sniper rifle to thin their ranks as they rush toward you across the bridge.
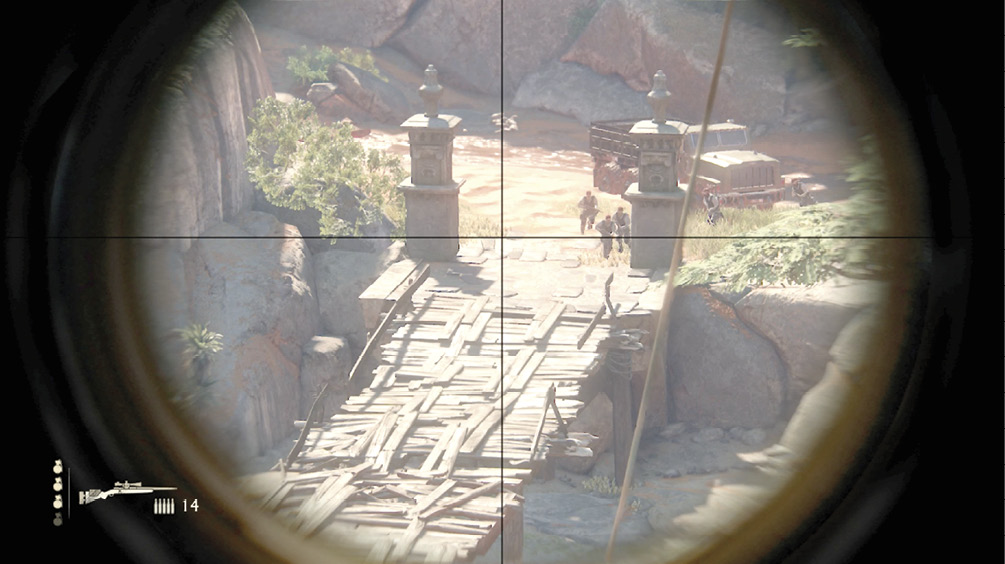
If you proceed with the stealth option, you can climb to the tower’s top level (above where you took out the sniper), move under the cable wire, and jump to ride it down like a zipline. Move immediately to the large patch of high grass (22) and stealthily take down the two guards who patrol past that spot. Then use other patches of grass to sneakily track down the last few guards.
Once the outpost is finally scrubbed clean of Shoreline goons, note that two dynamite charges are rigged on the tower’s ground-level door. You can follow the wiring to the detonator (23) sitting on the low wall inside the nearby ruined building. Press the plunger to blast the door (24) open. Then enter and examine the sigil on the floor to make another Optional Journal Entry: Adam Baldridge’s Sigil, another infamous pirate captain with a base of operations in Madagascar.
Get Across the Bridge
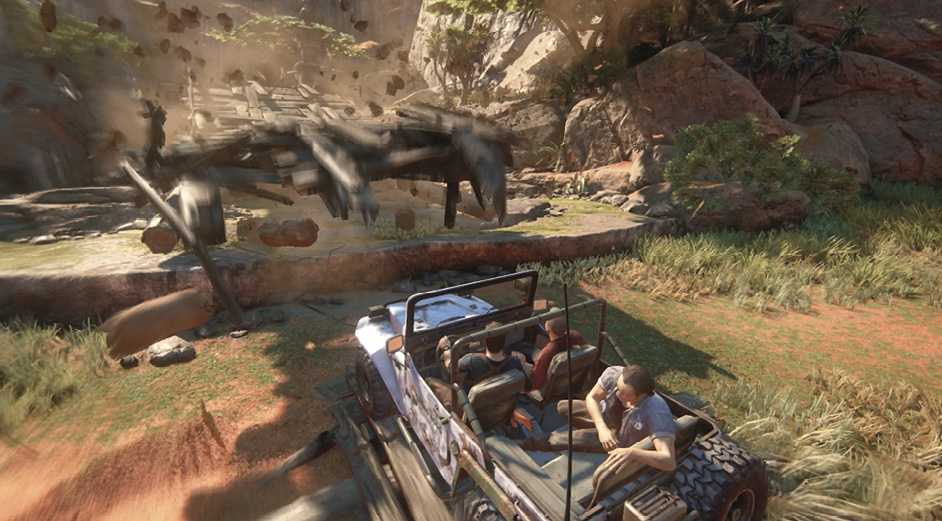
Return to the 4x4. (Remember that you can press the down button on the D-pad to find your vehicle.) Drive it across the bridge, which promptly collapses (25). Exit the 4x4 and grab the winch hook. Walk around both vertical support struts of the bridge, then attach the hook to the winch cable. Get in the 4x4 and hold in L2 to drive in reverse. Keep accelerating in reverse until the struts buckle and the bridge collapses. Drive up the fallen span to continue your trek.
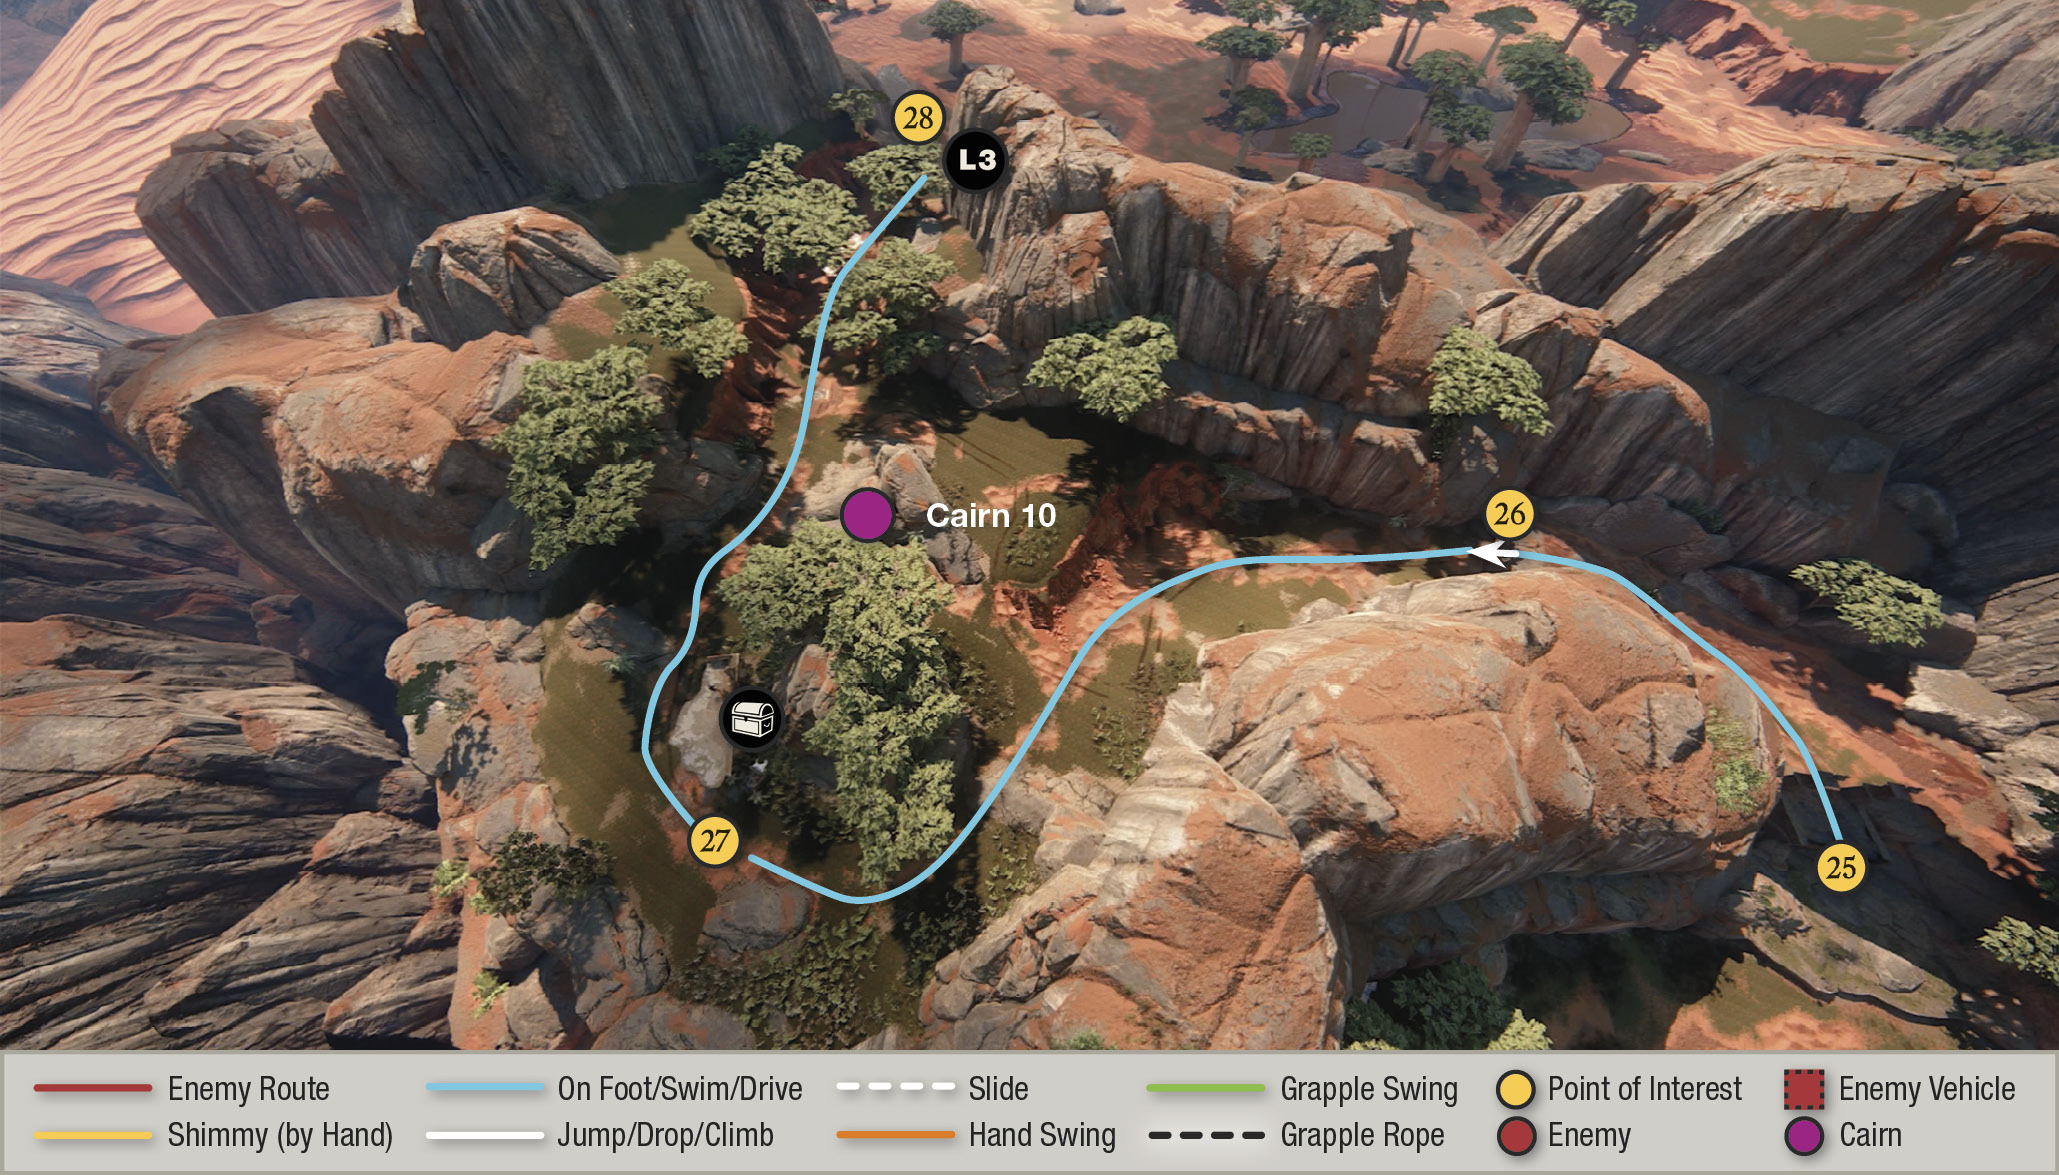
Drive up the muddy slope and over the next drop-off (26). Continue along the muddy lane as it curves past another ruined house (27). (Look for another treasure upstairs.) Then continue up the slope, veering leftward into a ravine after you pass Cairn (10). Keep going until the ravine suddenly opens up to a wide valley where you can press L3: The guys spot Shoreline trucks in the distance. The enemy is getting uncomfortably close to the volcano. When the scene ends, drive forward off another ledge (28).
 Pocket Celestial Map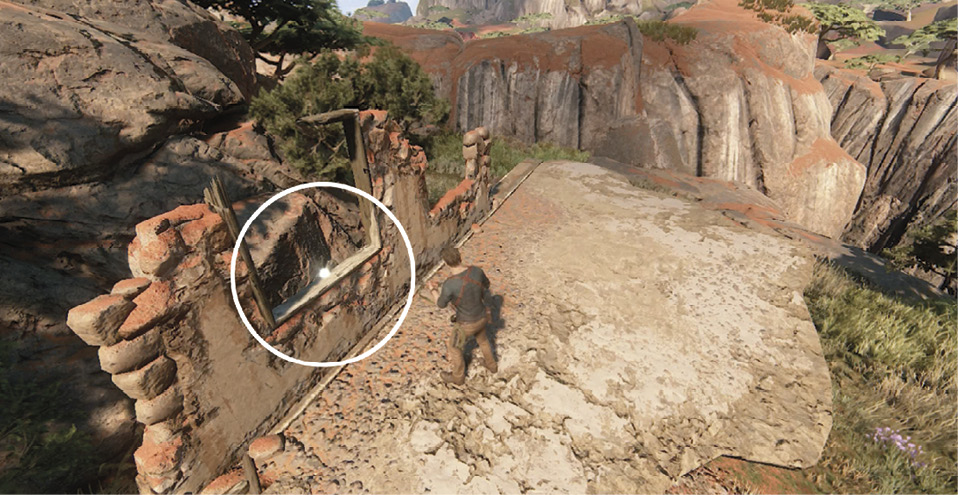 Look for the ruined house next to the road just up the hill from where you used the winch to pull down the bridge section. Climb the outside wall to the top floor and find the Pocket Celestial Map on a windowsill. |
Find the Treasures in the Valley
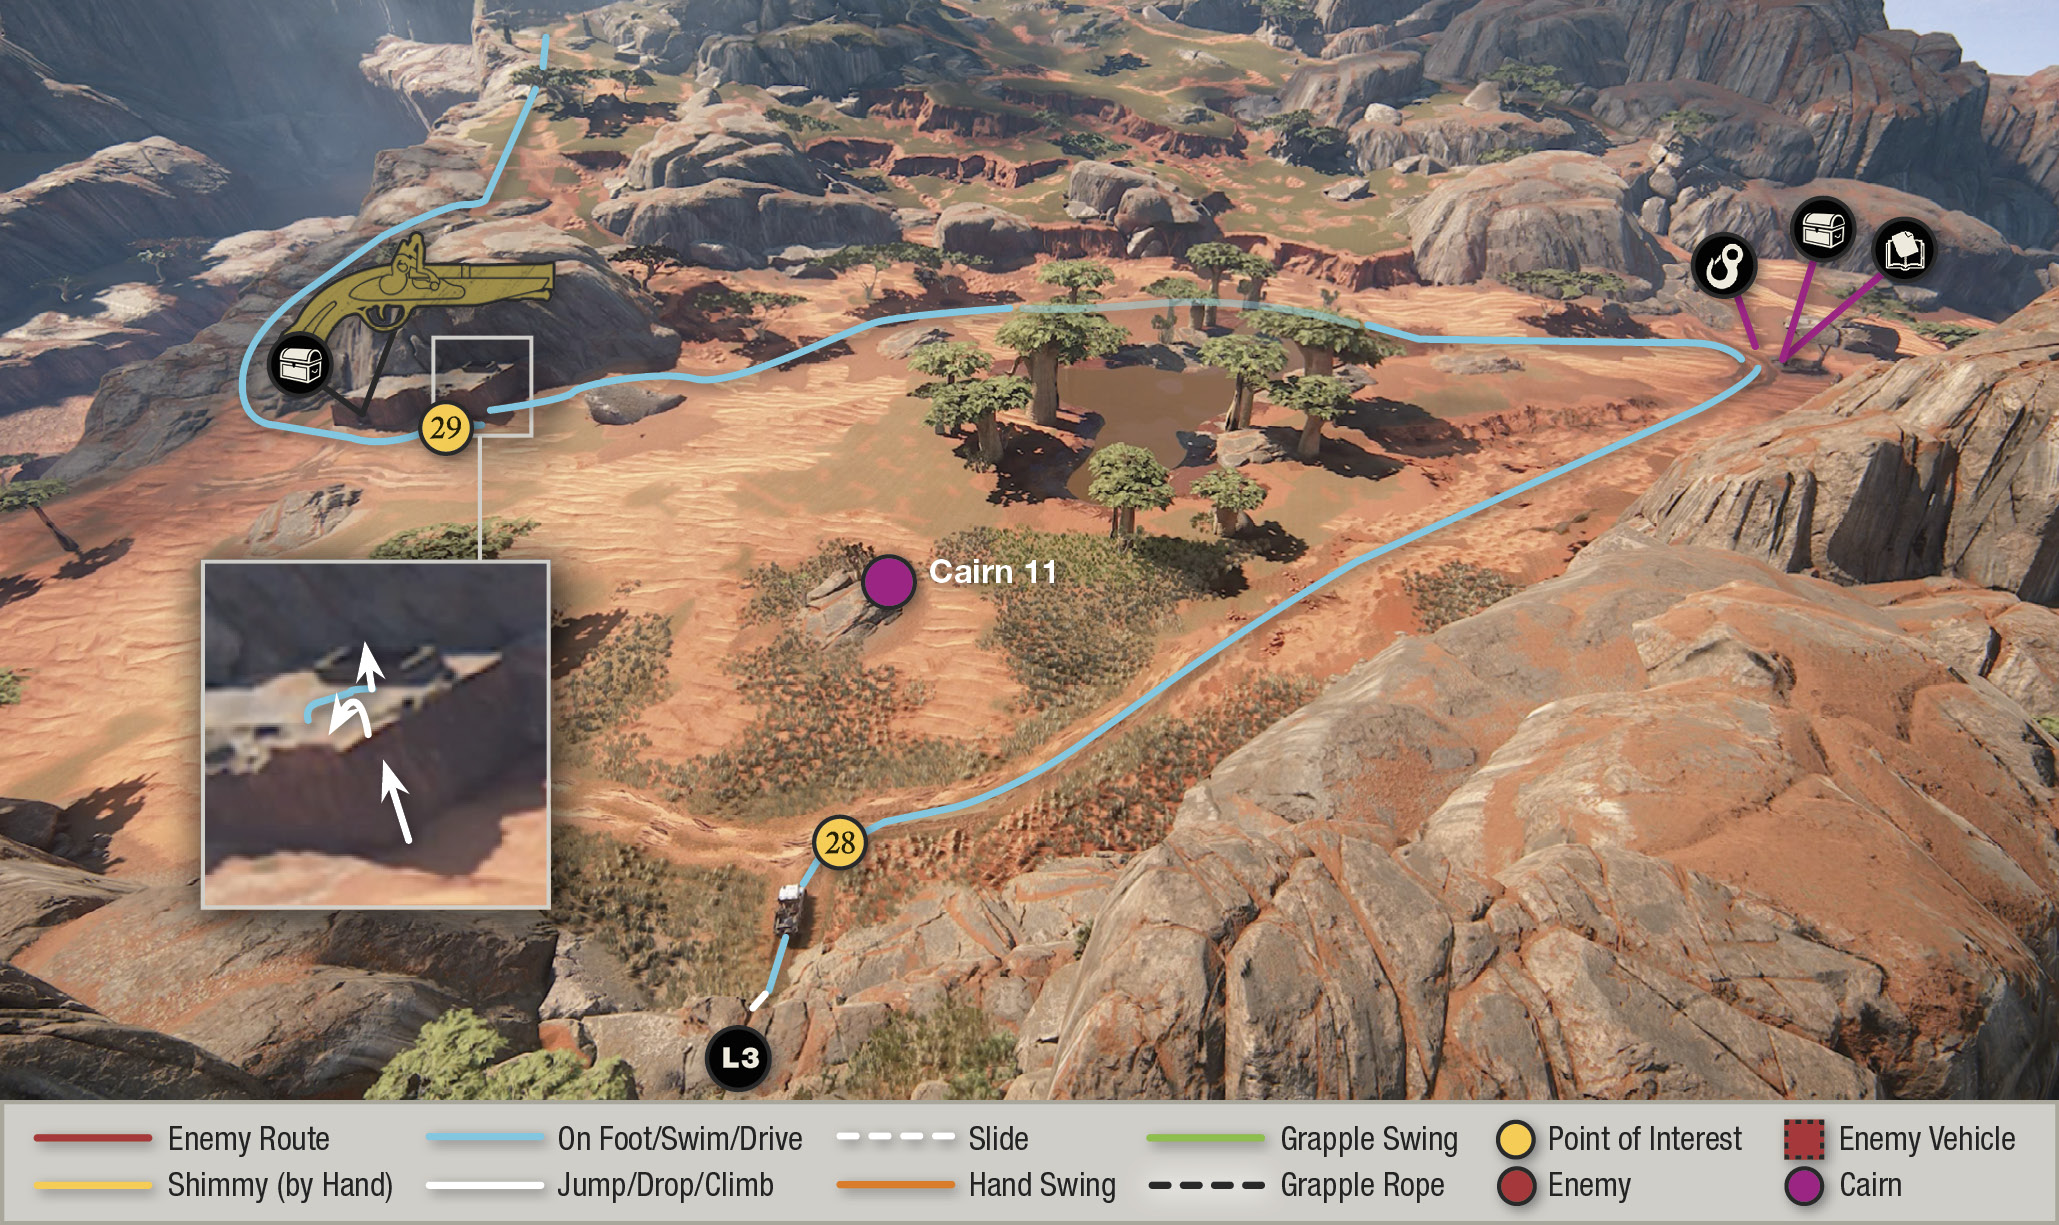
From your arrival point (28), Cairn (11) is directly ahead. You can veer rightward to find a treasure and Optional Journal Note (the British Soldier’s second note) inside a well at the far end of the valley.
 Pewter Letter Cylinder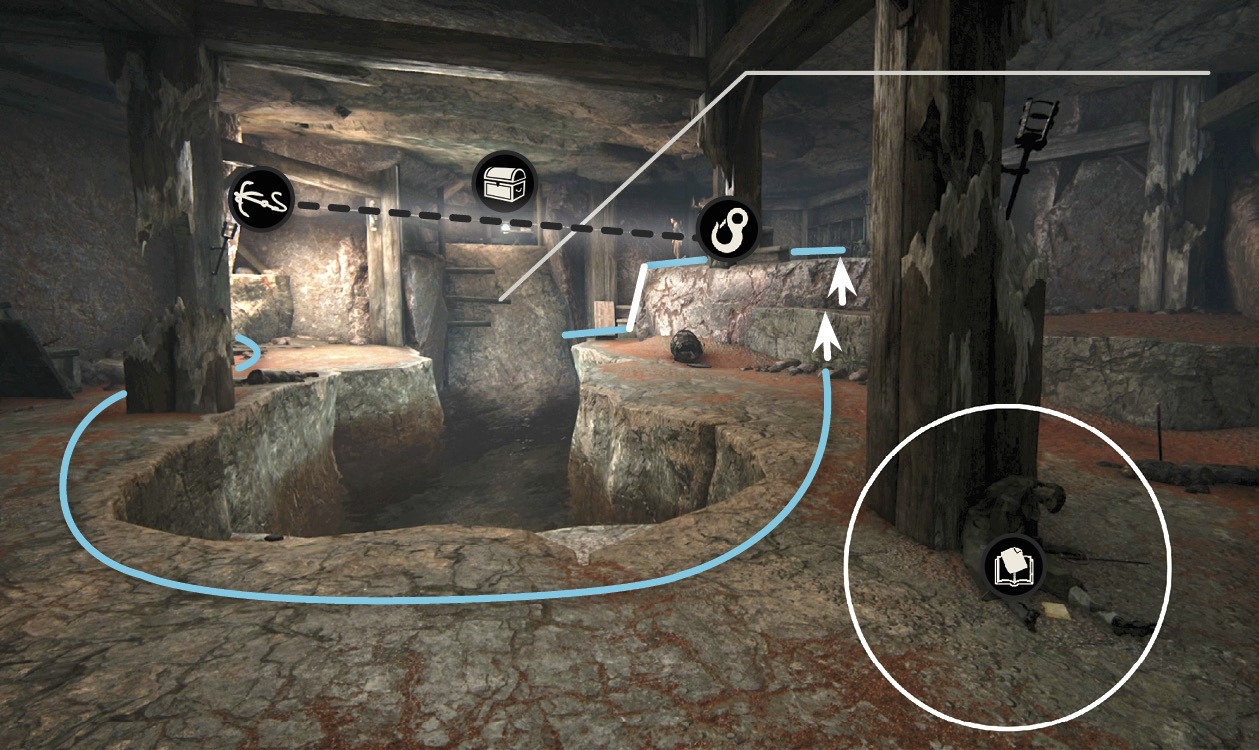 When you enter the big valley, turn right and drive until you find the well next to the thick-trunked tree. Grab your 4x4’s winch hook and jump down the well. Pull the winch line into the secret room and work your way to the right to get across the water pit without wrapping the wench around any beams until you reach the ledge on the room’s opposite side. Wrap the cable around the marked support post and secure it. 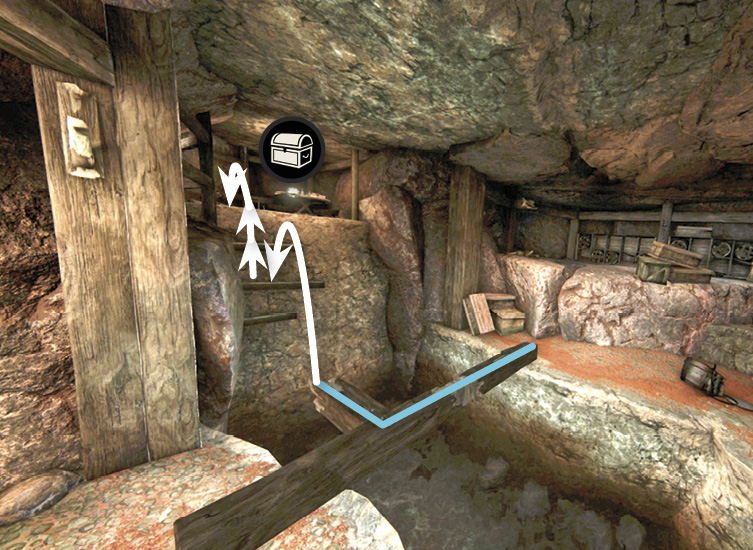 Nathan tells Sully to drive the 4x4 in reverse. This pulls down the post; Nathan can use it to leap over to the wall handholds and then climb up to grab the Pewter Letter Cylinder. Before you leave, find the Optional Journal Note on the floor next to the dead pirate at the room’s far end. It reveals the fate of the adventurous Lt. Sherwood and bears the sigil of none other than Thomas Tew. |
To pursue your primary objective, veer left from where you entered the valley (28) and curve around an old, mostly intact building (29). (There’s a treasure in this building.)
 English Ale Bottle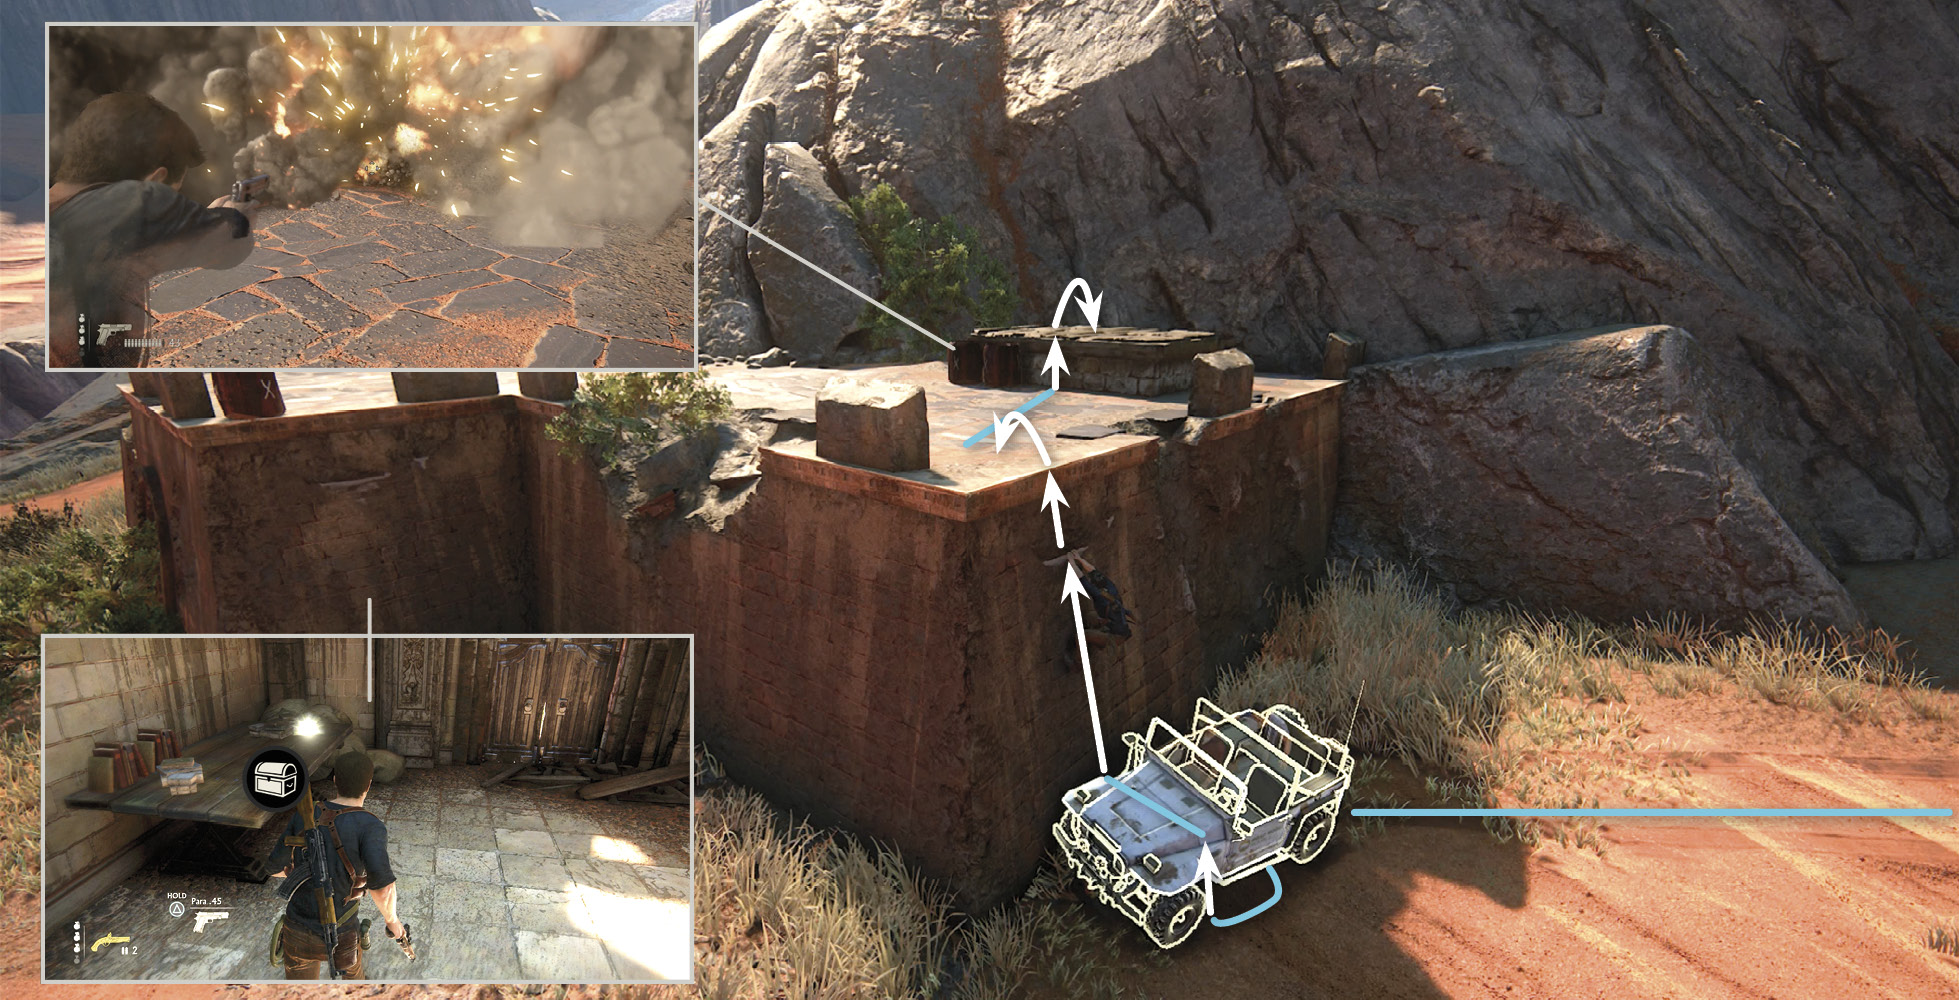 When you enter the big valley, veer leftward and find the intact old building. Park the 4x4 underneath one of the handholds on the outer wall; then stand on the 4x4’s hood, jump to the handhold, and climb to the building’s roof. Get as far away from the two explosive barrels as you can, then shoot them to blow off the roof cover. Jump down into the building and find the English Ale Bottle on a table and a Flintlock pistol nearby. |
Climb toward the Signal Tower
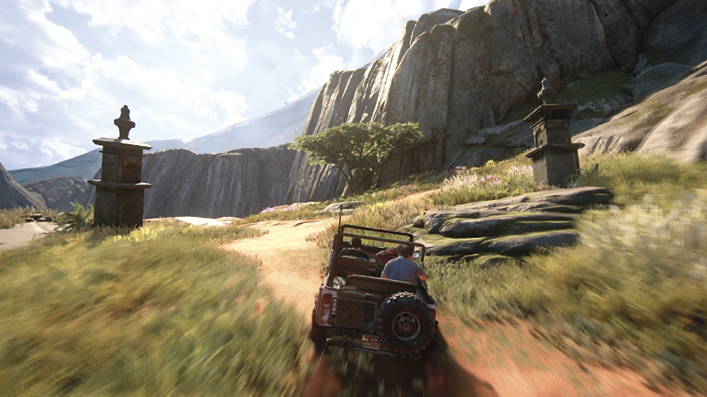
Drive up the rock slabs along the edge of the cliff on your left until you reach a pair of matching pillar markers (30). Now get ready for some white-knuckle driving. Follow the sharp curve and hug the boulders and cliffs on your left. It doesn’t really look like a road at times, but keep going!
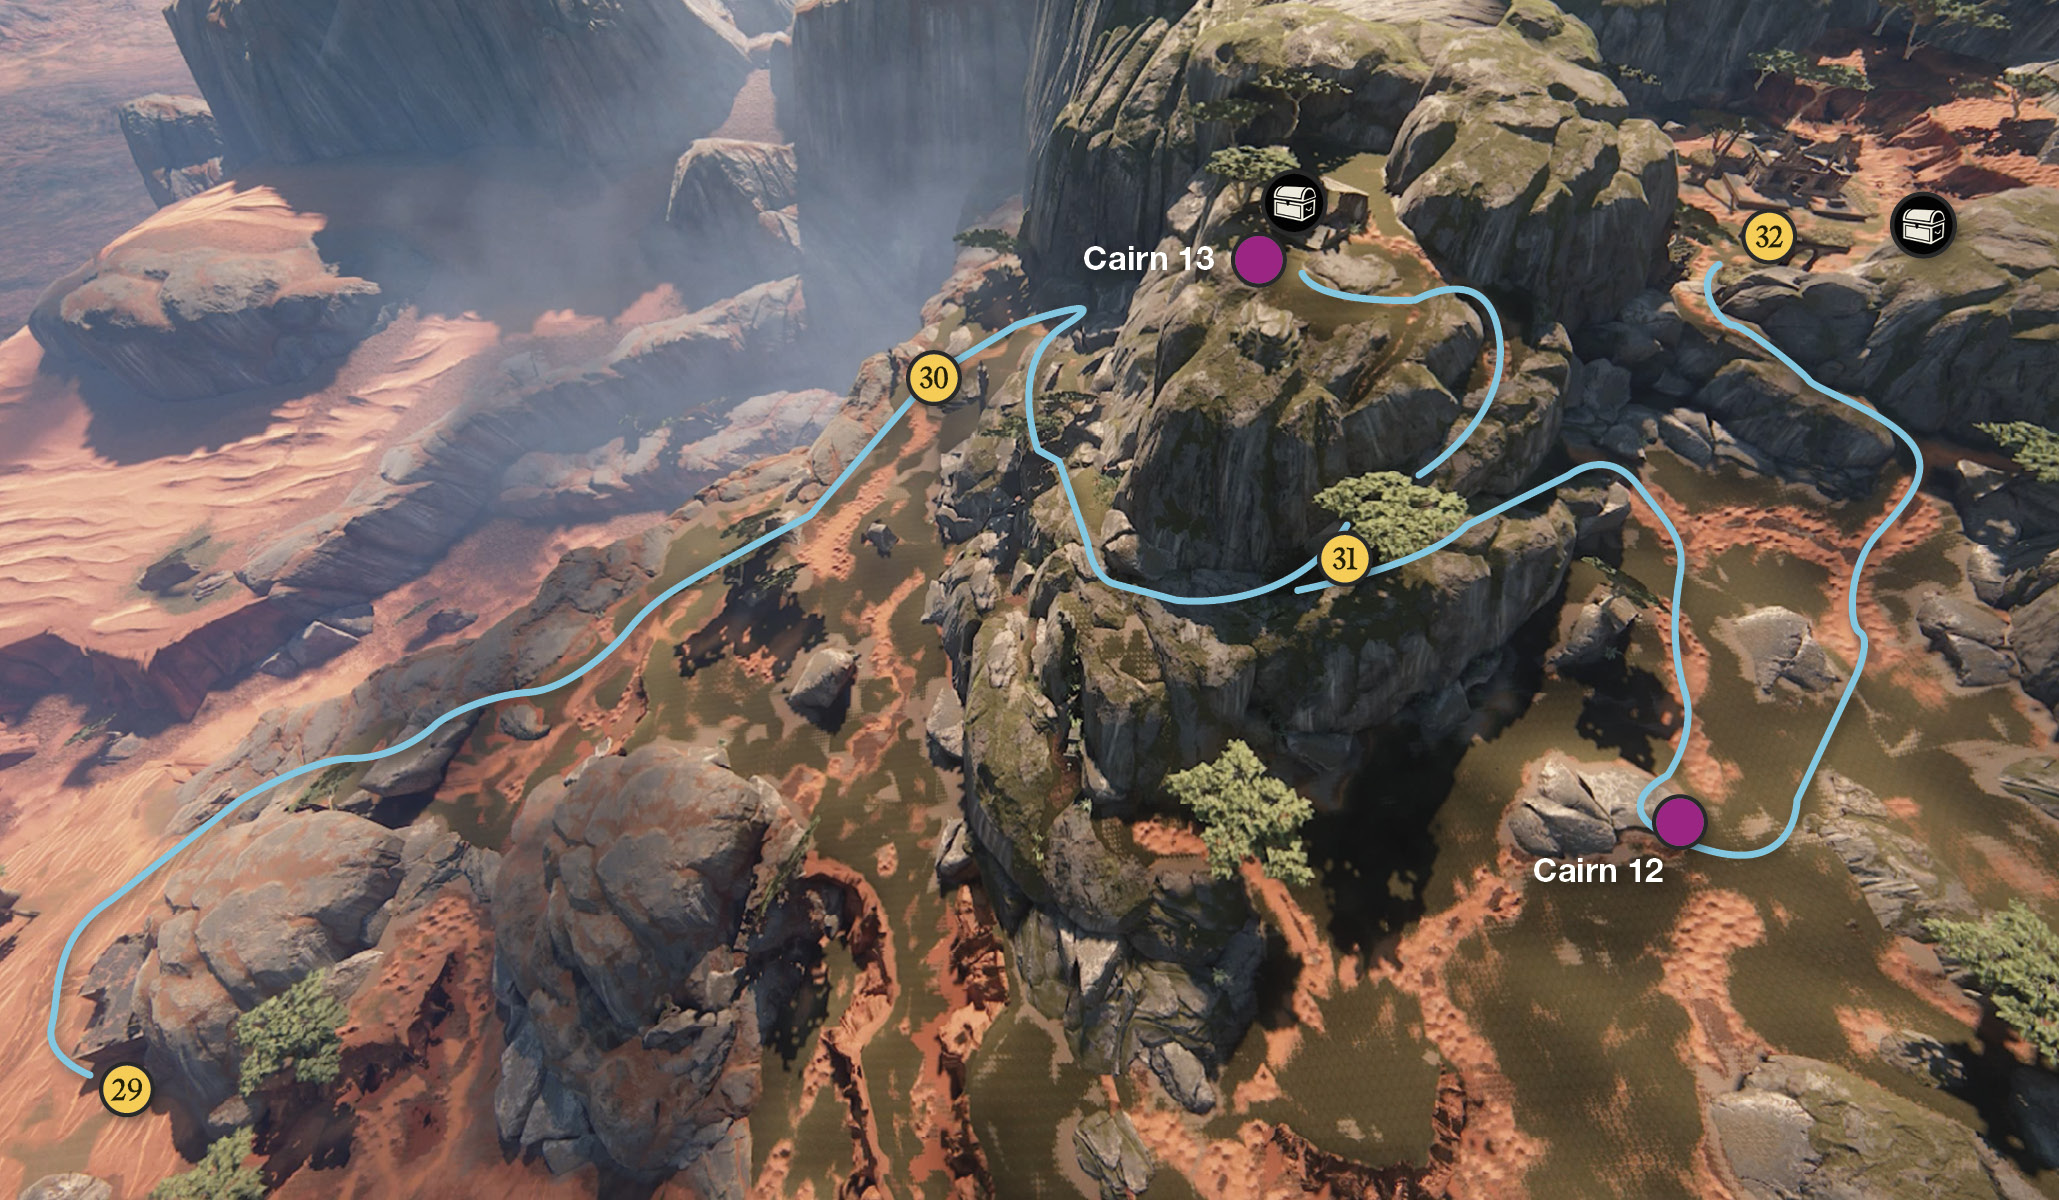
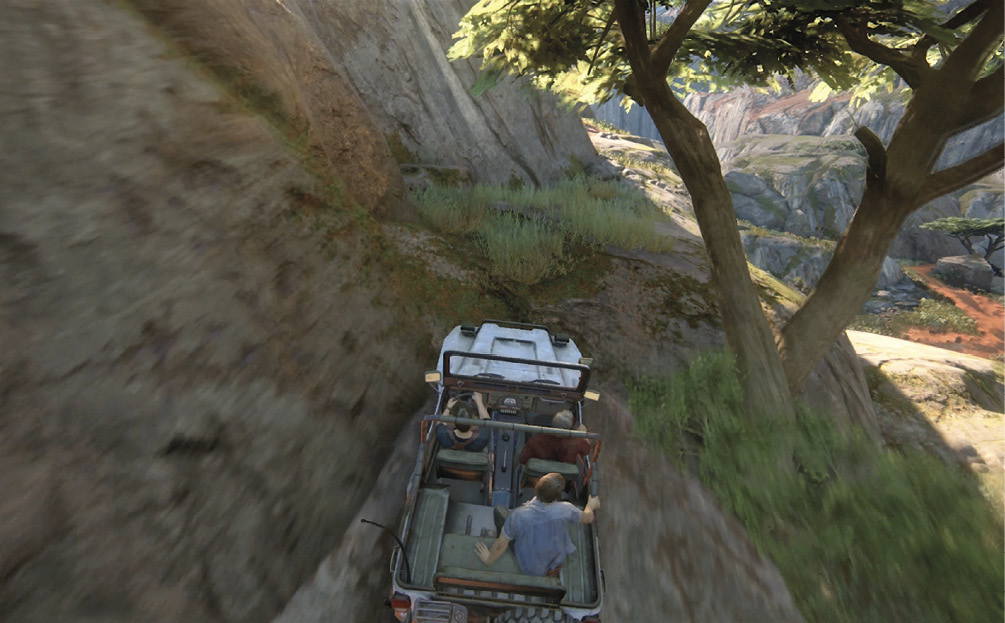
Shortly after you pass another pillar marker on the right, you see a tree (31) with twin trunks (see Fig 10-15). If you drive up the narrow rock ramp to its left you can find a hidden treasure inside a ramshackle building and Cairn (13) just outside. Once you’ve taken care of business, drive back down to the tree.
 Mughal Box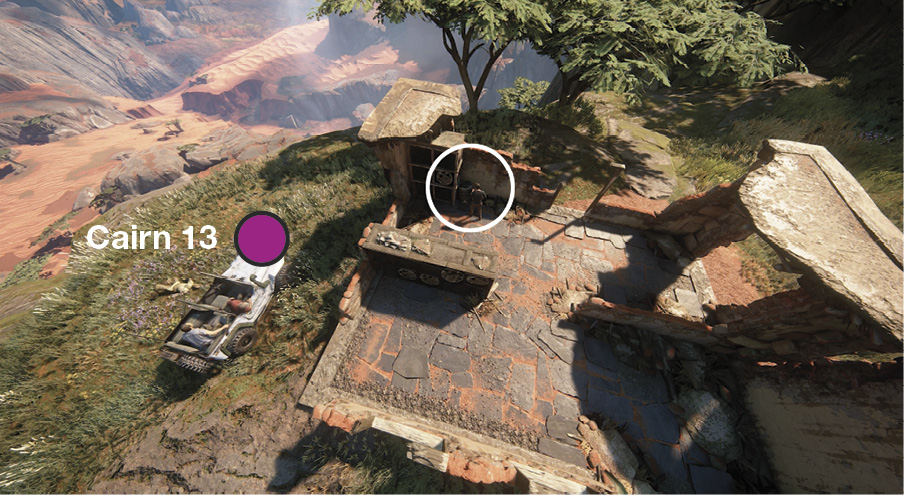 Veer left up the rock ramp at the twin-trunk tree (31) and drive up the old stairs to find the ruins of a house in a clearing at the top. Inside, find the Mughal Box sitting on a barrel. |
Optional: Explore the Upper Outpost
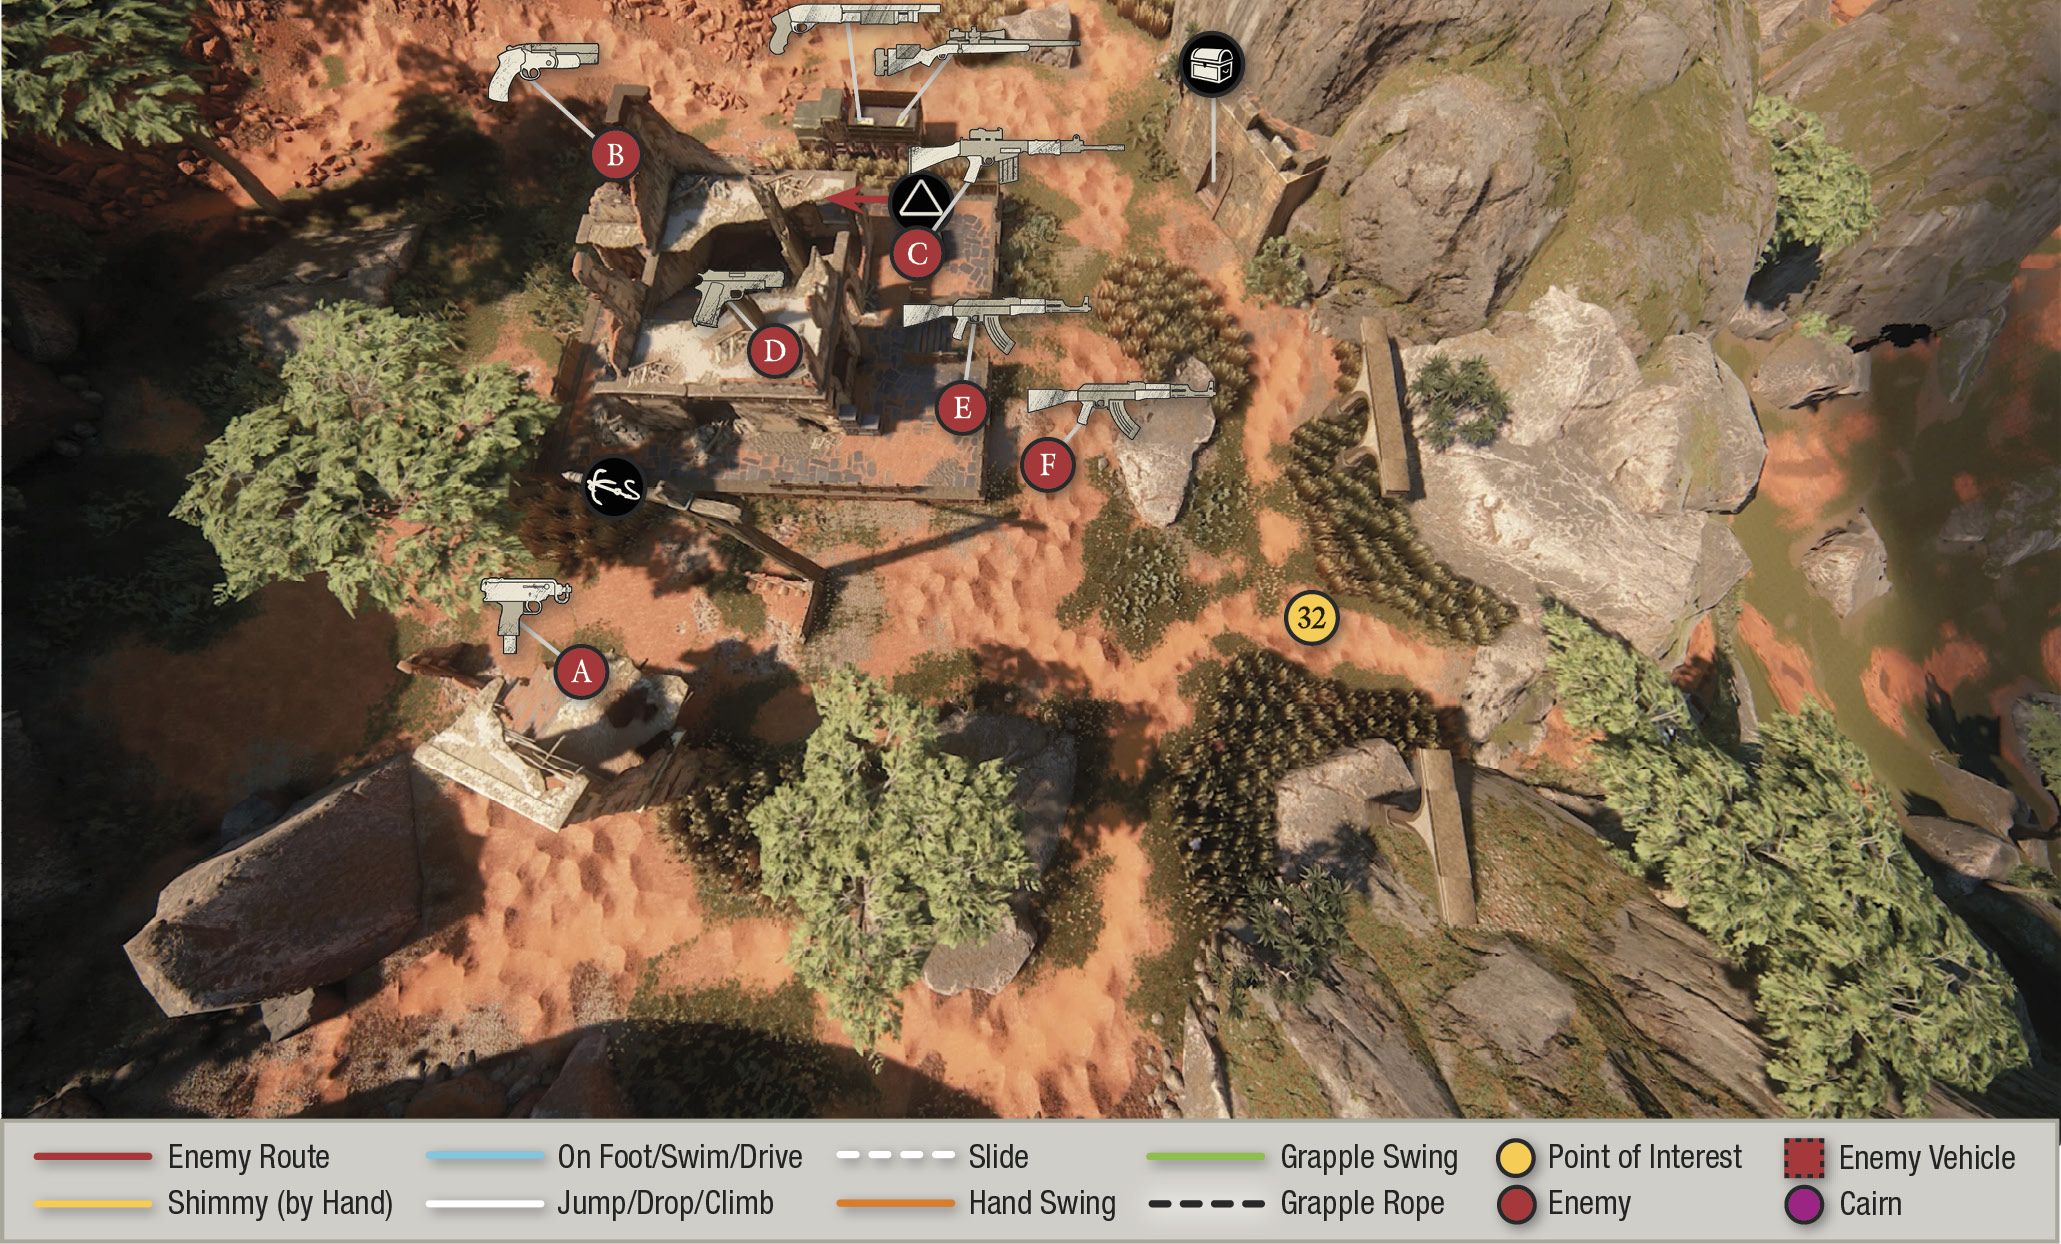
Veer to the right of the twin-trunk tree (31). Drive into the clearing to knock over Cairn (12), and then drive up the canyon. Sully spots signs of Shoreline ahead. Curve up to the entry ramp leading into the upper outpost (32), then stop and proceed on foot. You can find treasure here, but you also find a Shoreline demolition squad at work. Sneak through the tall grasses for as many stealth takedowns as you can get. Attack the enemies in alphabetical order (on our map) for a workable stealthy path.
Pull (A) out of the window. Kick (B) off the porch when (C) is out front. Wait for (C) to come around the corner and choke him out, then get to the second floor from the back of the building and choke (D). Either wait for (F) to stop taking pictures of (E) and then drop out of the window and choke (E) and shoot (F), or just shoot these remaining two from (D)’s window. Take the Mazur LDR from the back of the pickup truck if you’d like to be a sniper at the next Shoreline outpost.
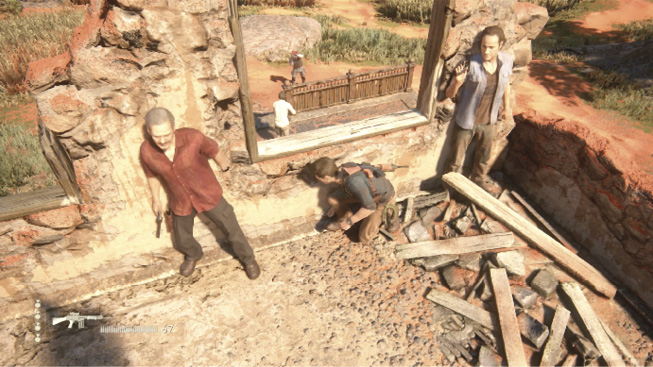
Optional: Explore the Lower Outpost
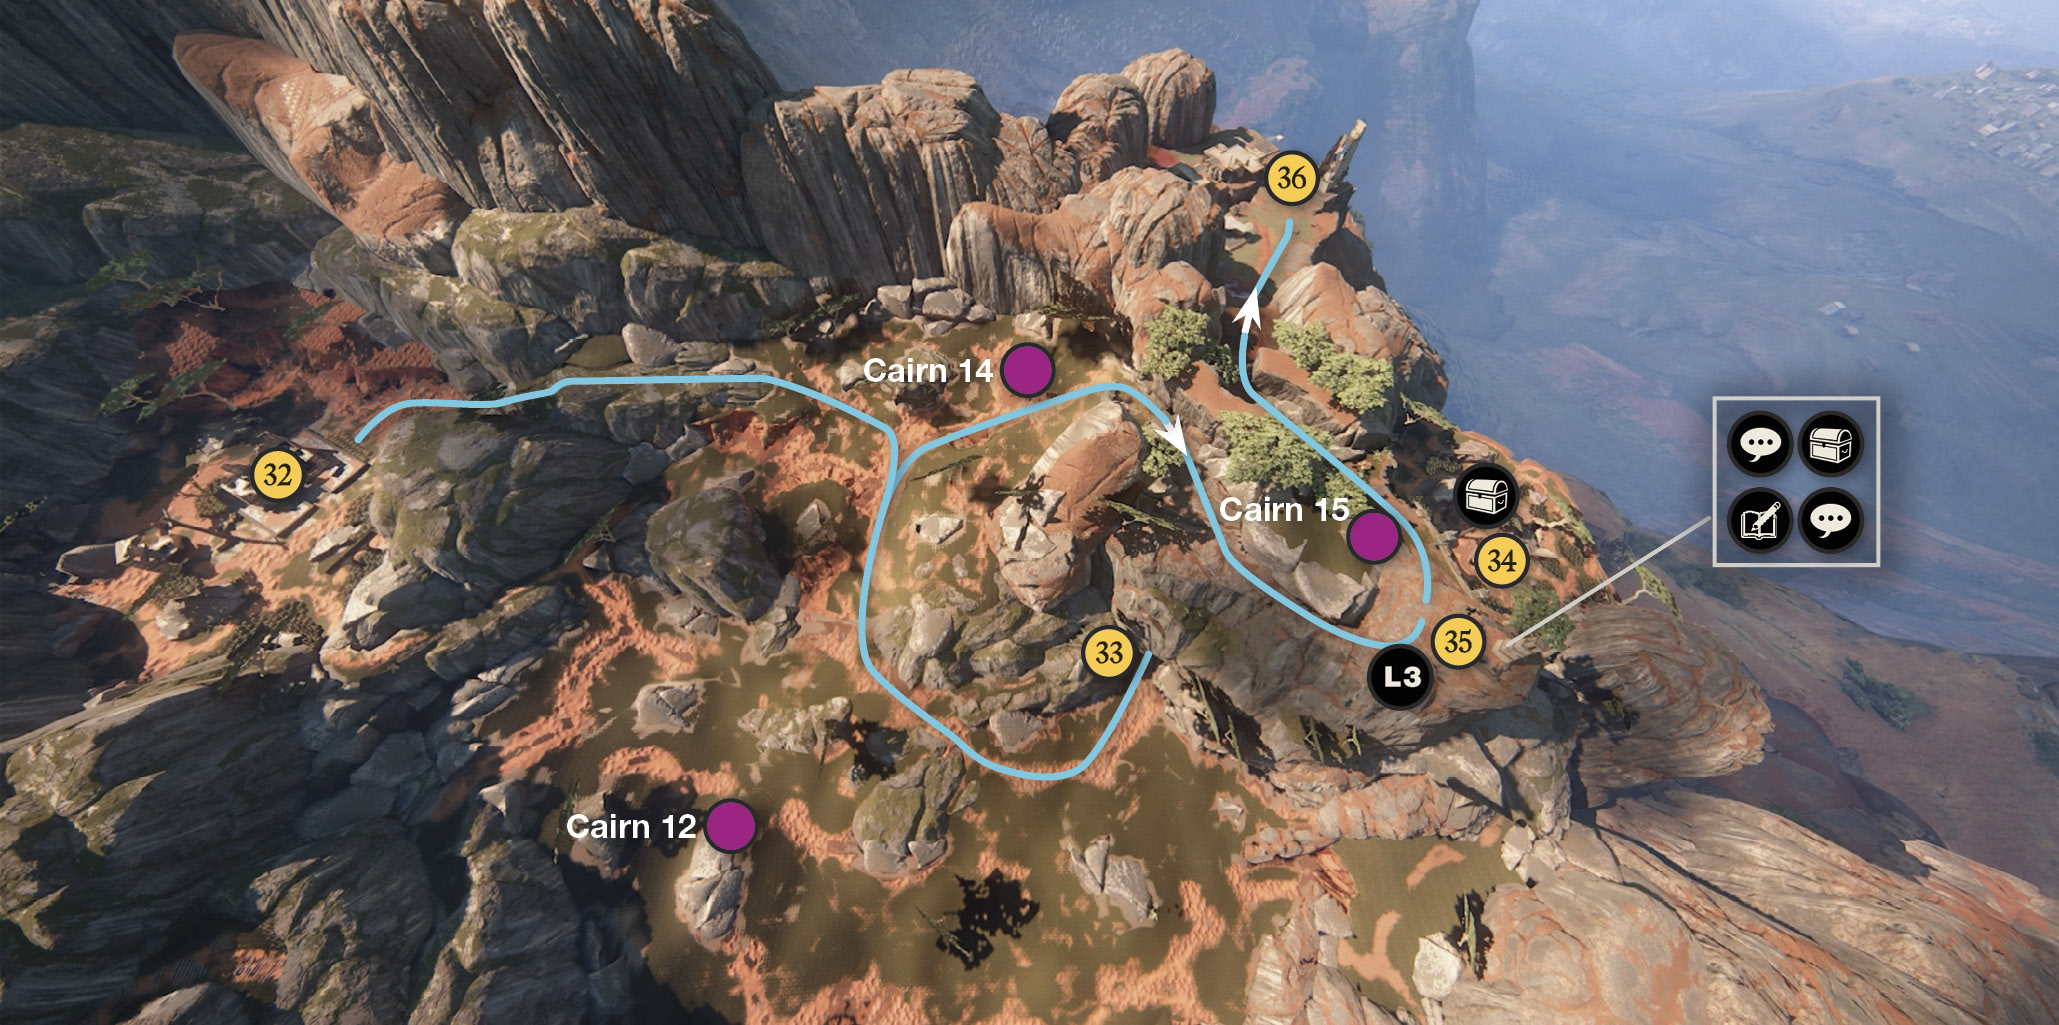
There are three access points into this area: the tunnel (A), the ledge pathway (B), and the low road (C). If leave your vehicle deep in the tunnel and exit stealthily, consider grabbing the New Weapon, the China Lake GL (grenade launcher), out of the back of the Shoreline truck parked near the tunnel.
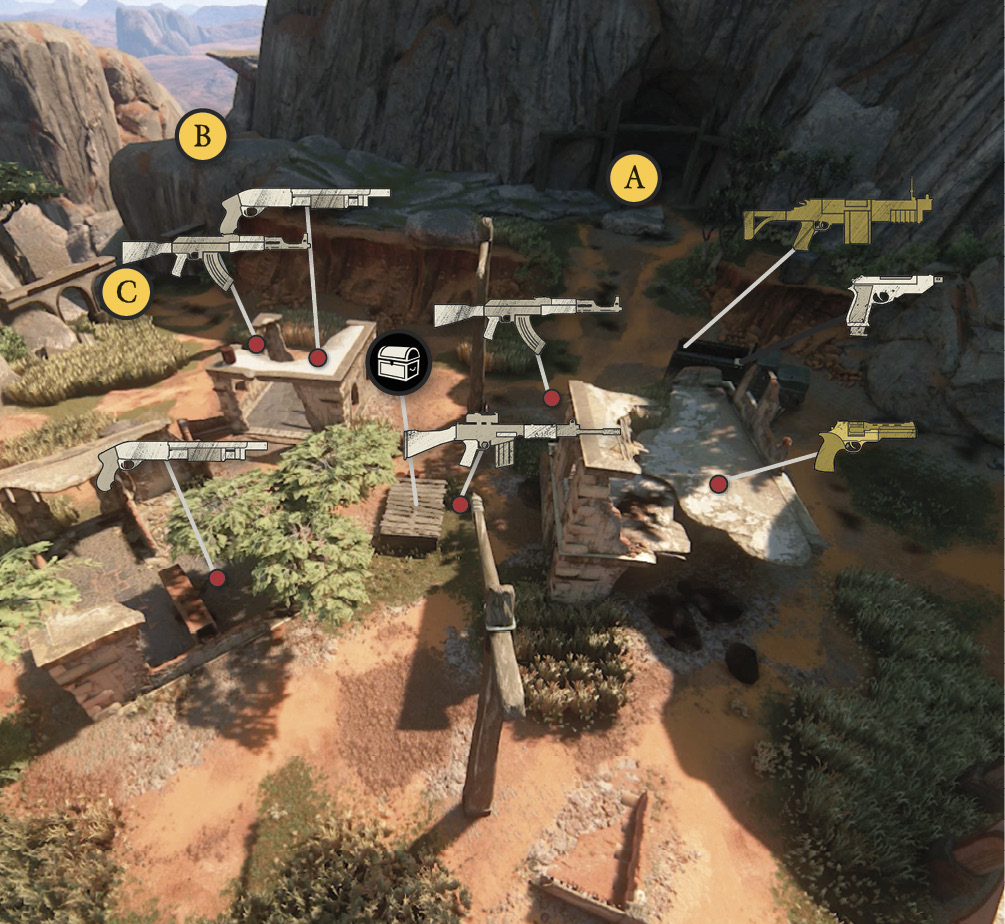
Exit the upper outpost (32), descend to the canyon floor, and drive through the tunnel (33) to reach another outpost (34) on a lower plateau, where you can find a treasure. The camp is occupied by another one of Nadine’s armed demolition teams. Fortunately, it also has plenty of tall grass for stealth maneuvers. Try to thin the enemy numbers quietly.
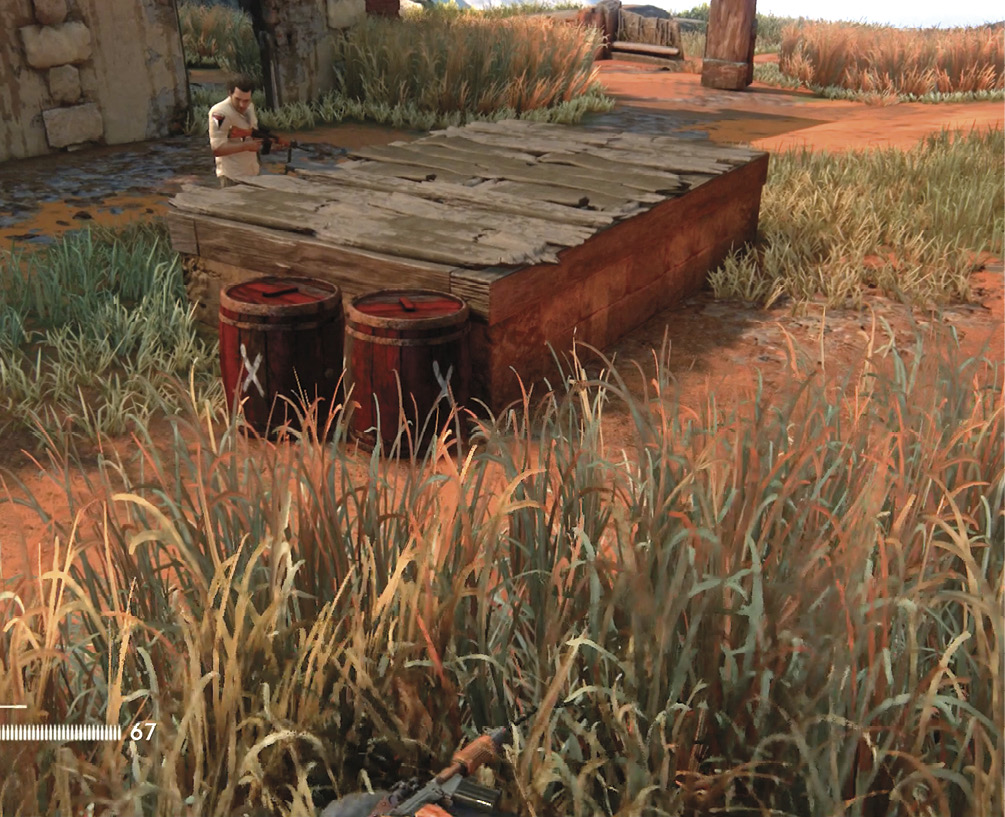
 Antique Tea Tin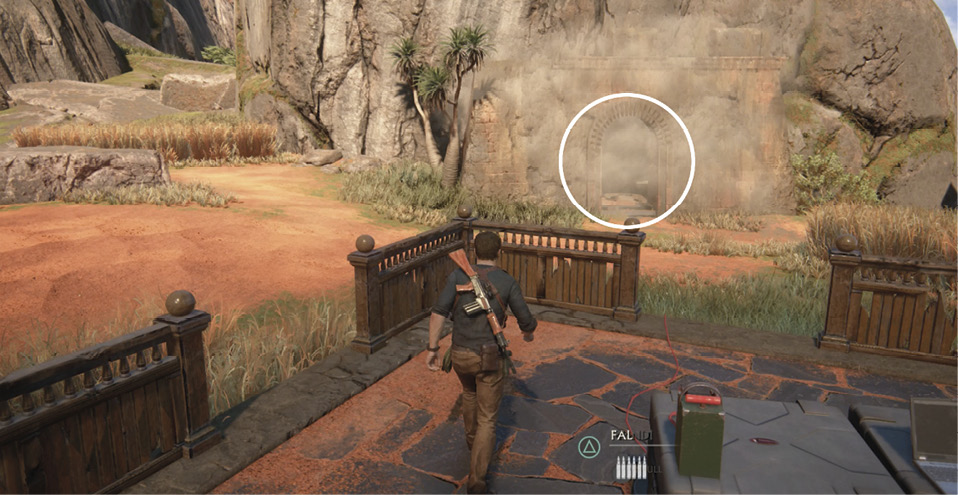 Drive straight up the red canyon to the Shoreline-occupied outpost (32). After you clear out the camp, use the detonator located on the front porch of the main building. This blasts open a storage bunker built into the side of the rock face. Enter the bunker and find the Antique Tea Tin in a pile of rubble near the back exit. |
 English Musket Bandolier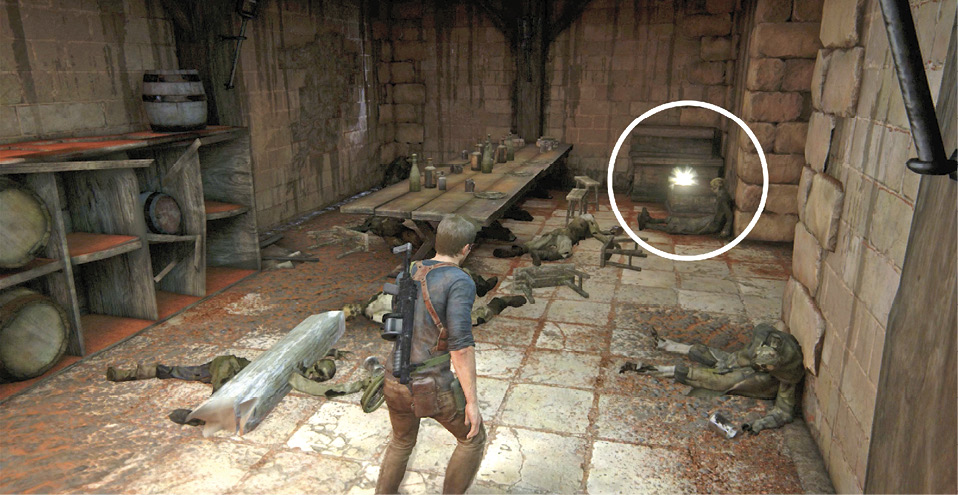 After you clear out the lower outpost, shoot the explosive barrels next to the hole-cover to blow it open. You could also use the China Lake GL or a grenade to do the job. Drop down into the basement room to find the English Musket Bandolier on a chest. |
Explore the Signal Tower
When you exit the upper outpost (32), stick to the flatiron cliffs on the left. Run over the Cairn (14) at the intersection near the north cliffs (see map). Take a right at the Cairn intersection. Proceed past two more pillar markers and another one-way drop-off and continue driving up to the tall signal tower (35). Drive over Cairn (15) on the large boulder directly across the road from the signal tower. Exit the 4x4 and look up at the tower to make an Optional Journal Entry: sketch of the Signal Tower. Sully and Sam join you, commenting on the spectacular view.
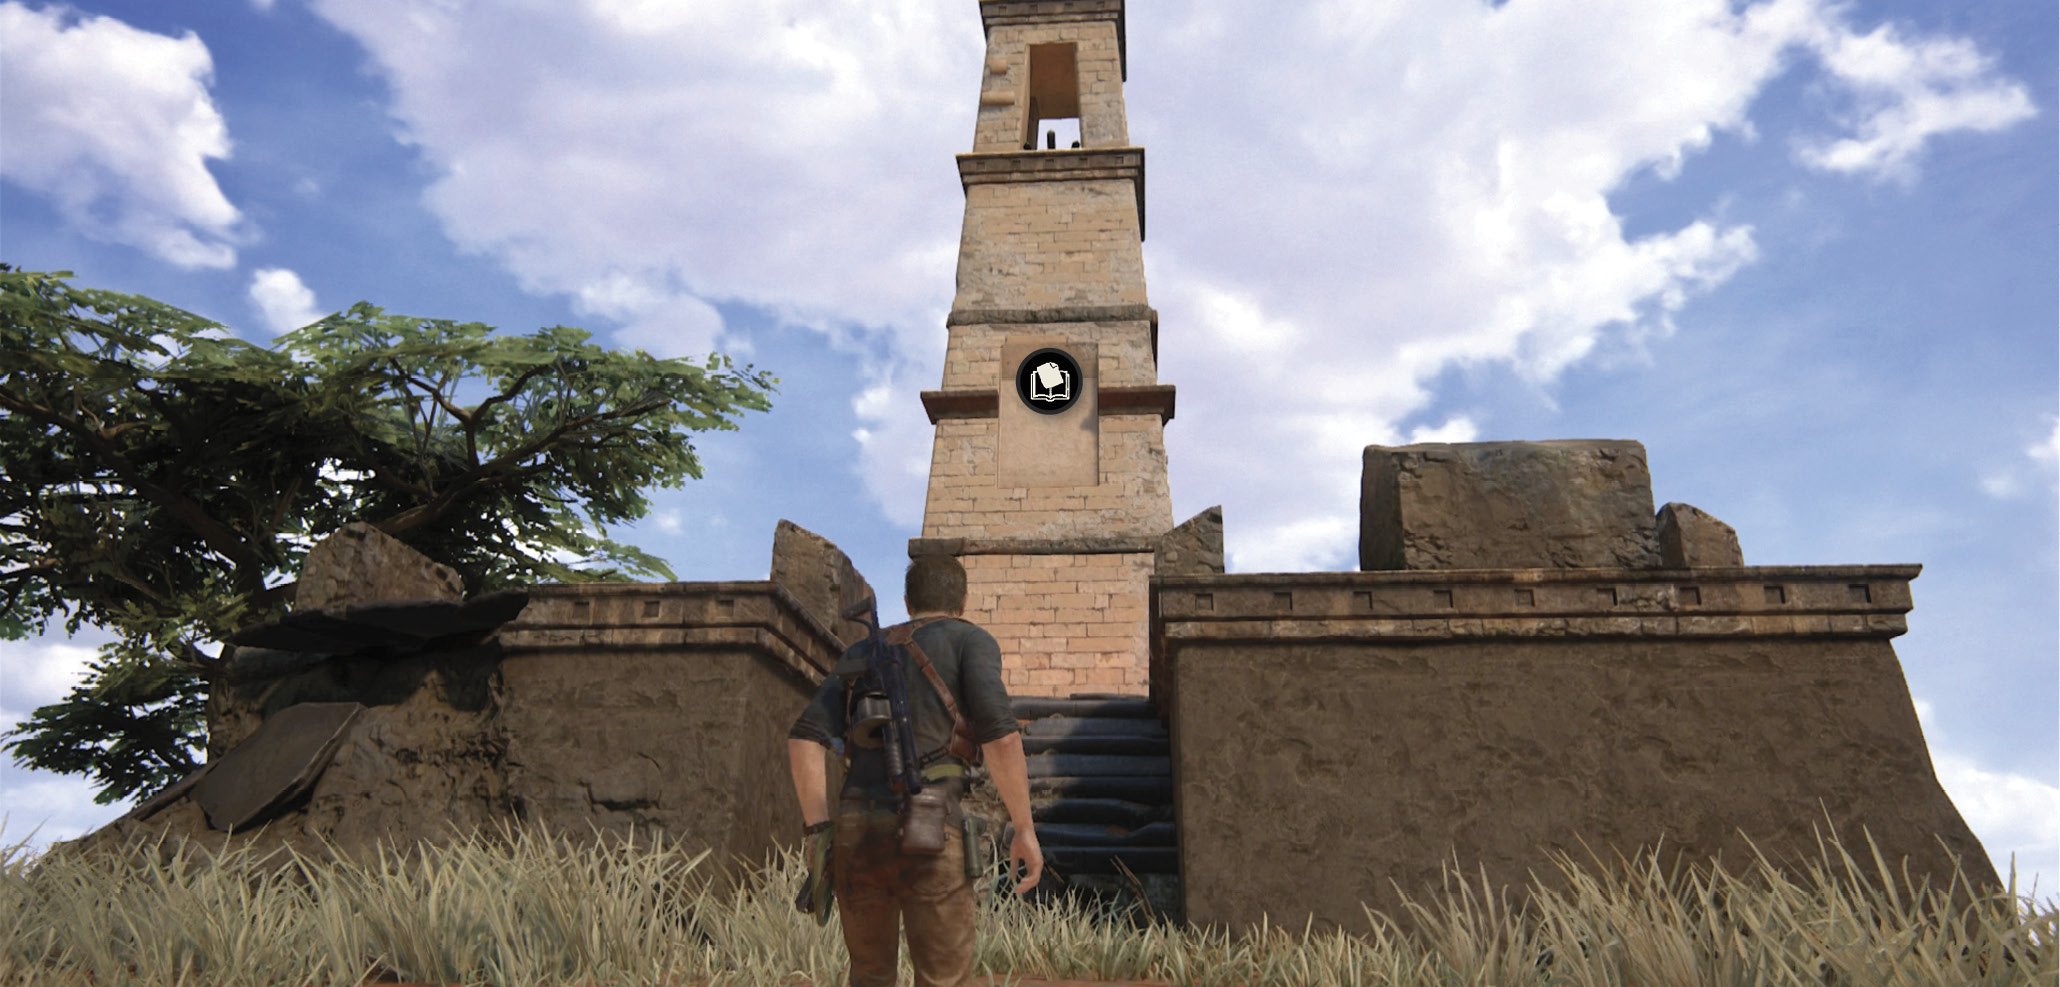
Look for Talk icons above both Sam and Sully; first, chat with Sam, then walk around the tower to chat with Sully too. (This adds two Optional Conversations to your collectibles list: “Some Kind Of Dream” and “How’re You Doing?”) You can also climb the tower to find a treasure in a nook and, at the very top, press L3 to spot another tower ahead. When you’re finished with all this, return to the 4x4 and drive up the ravine to find another outpost (36).
 Scottish Two Pence Coin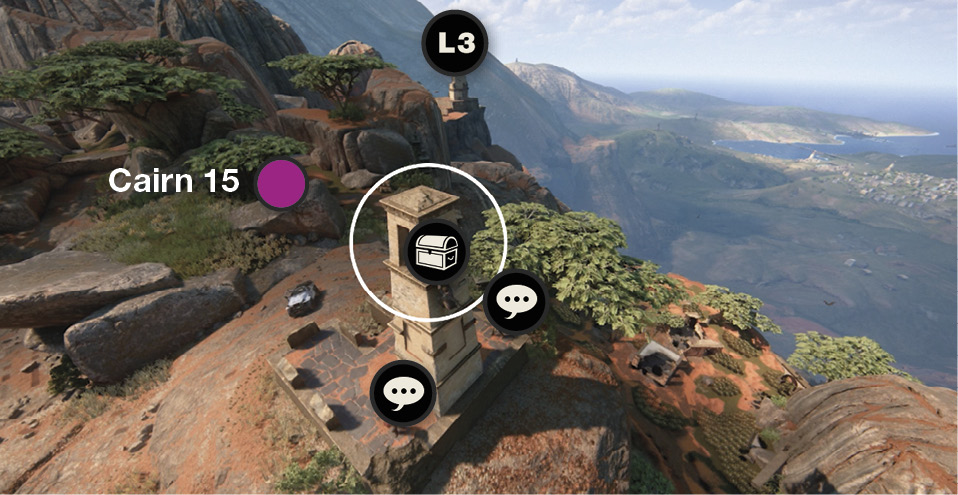 Climb the handholds up and around the signal tower (34) to find a Scottish Two Pence Coin in the signal fire chamber at the top. |
Lower the Drawbridge
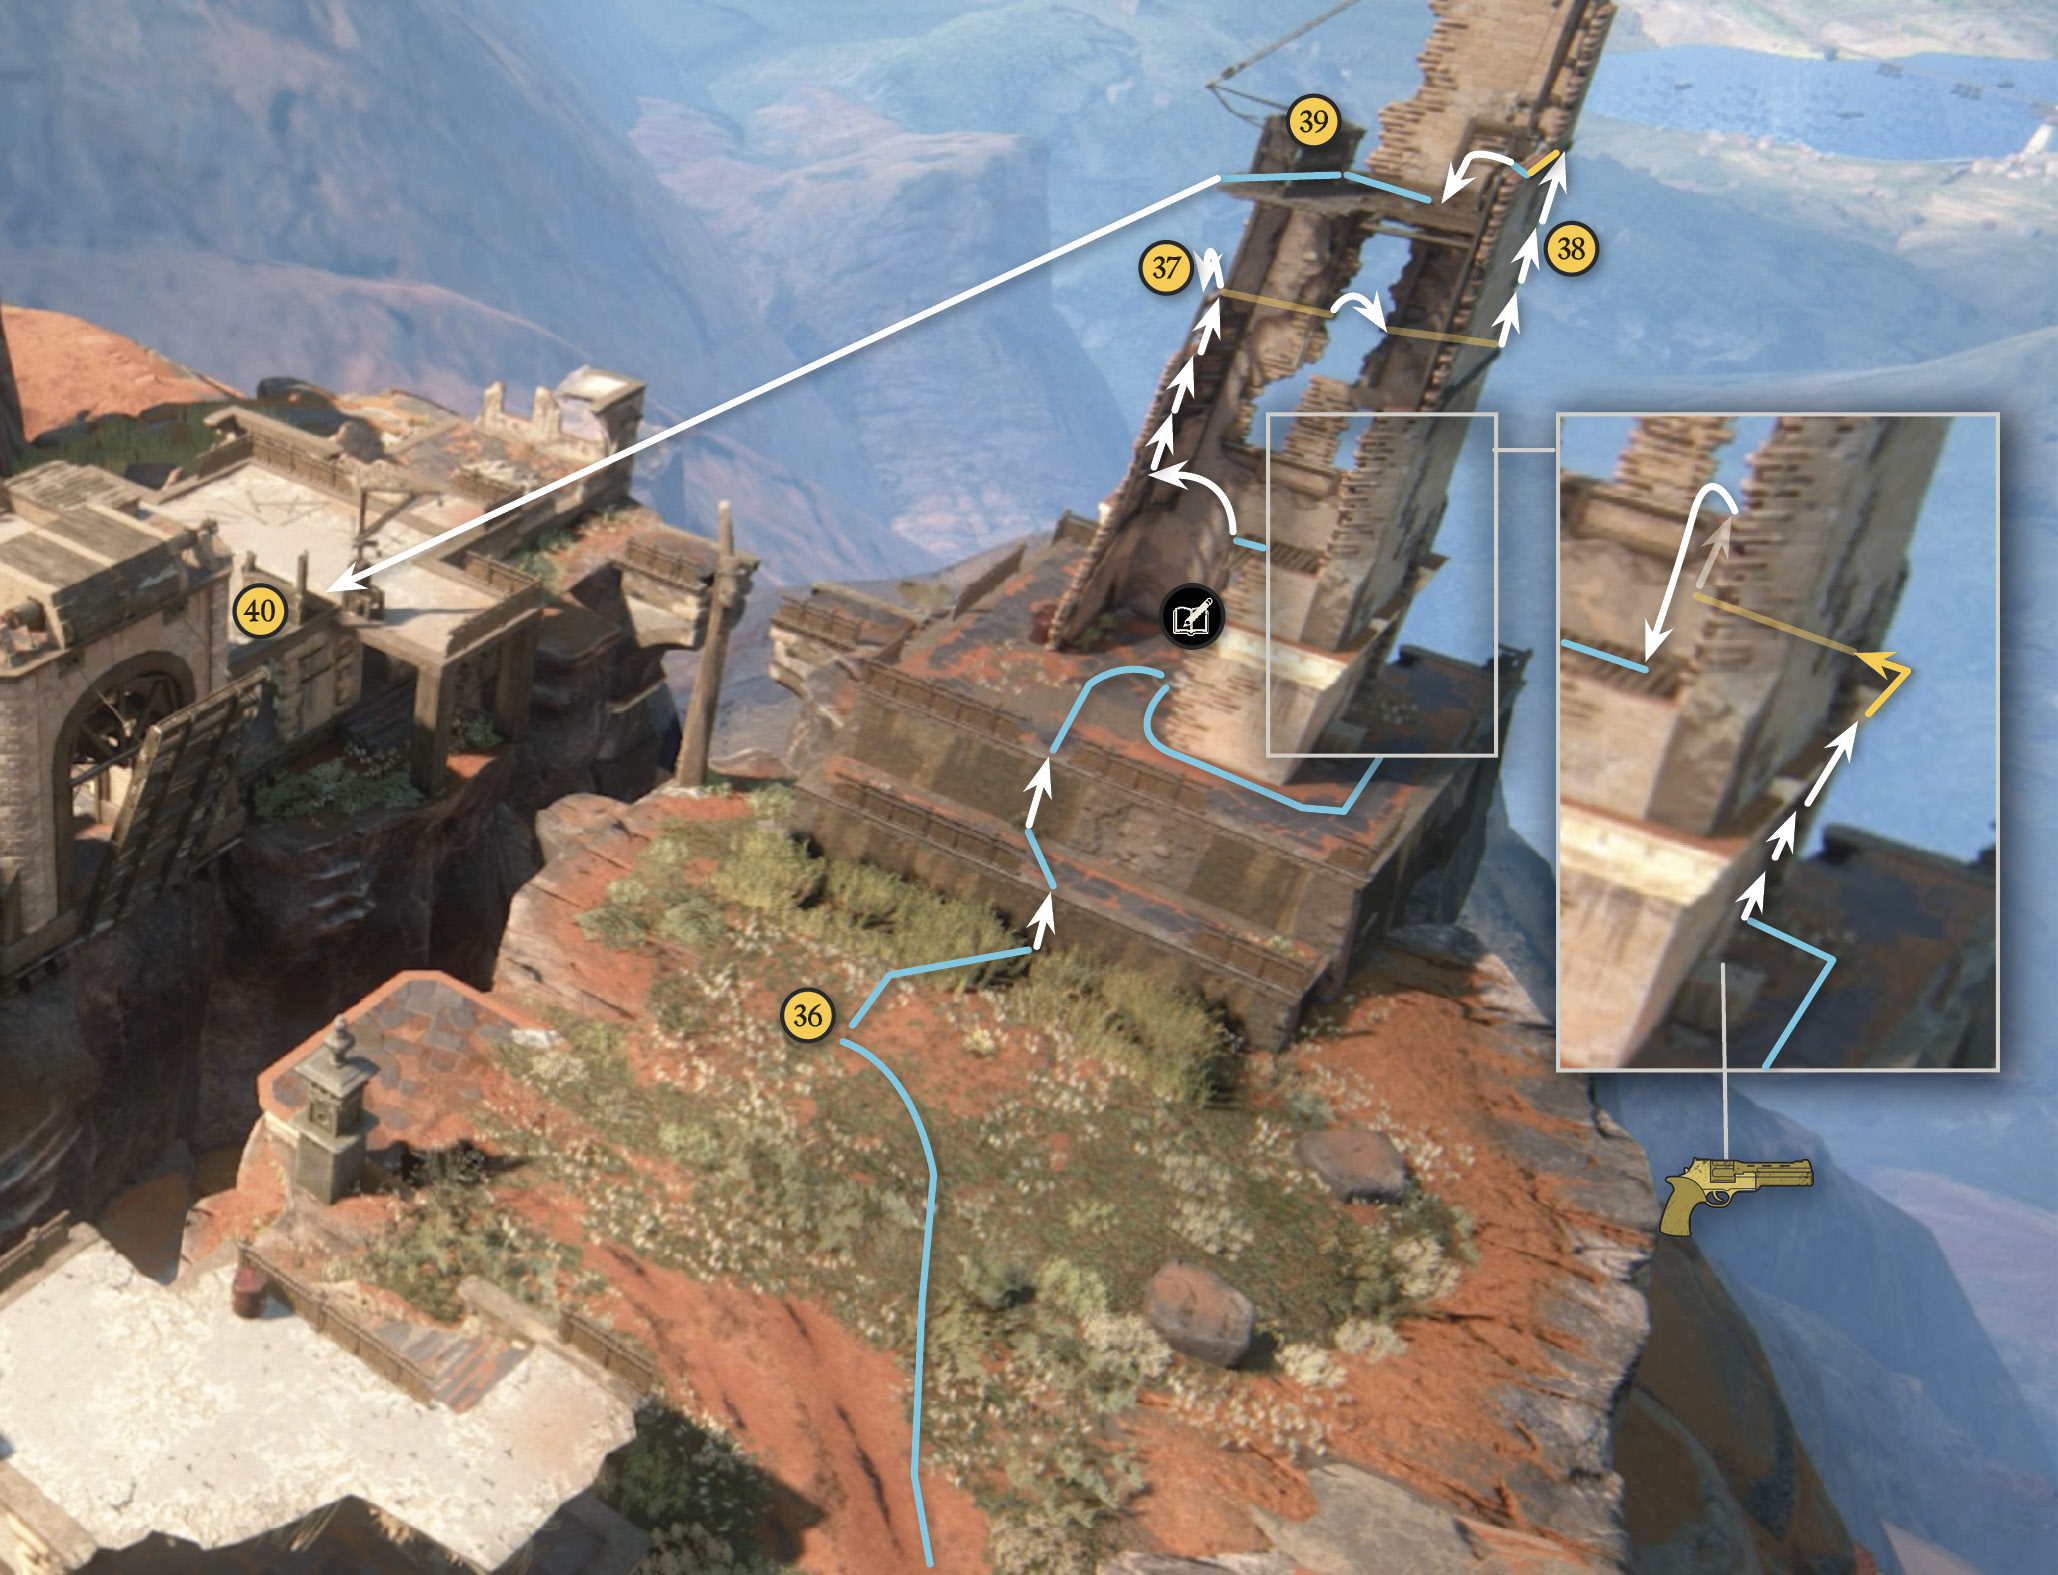
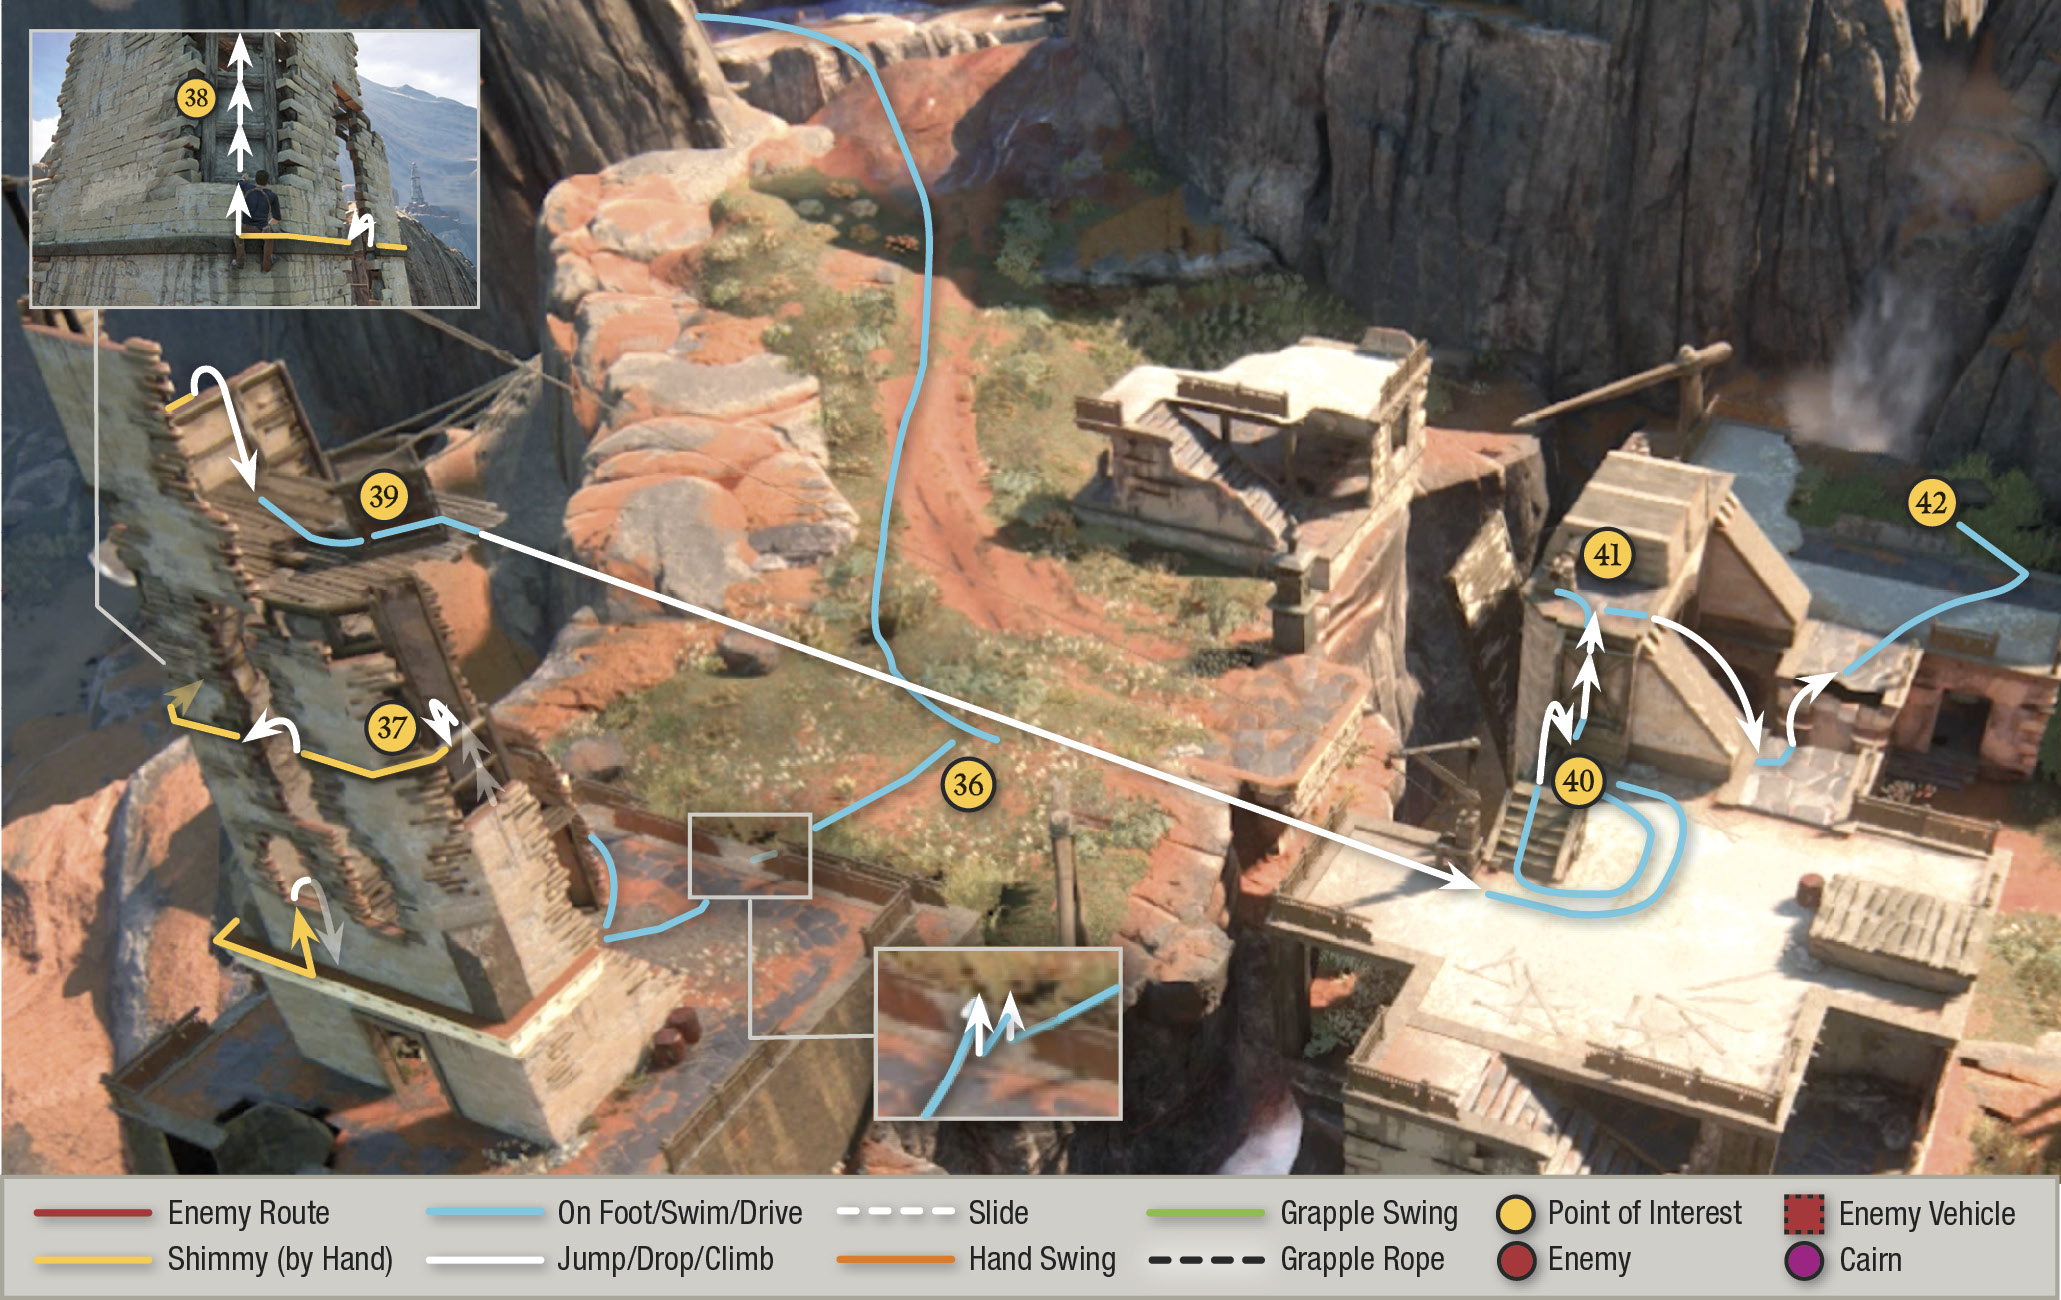
This outpost features a big watchtower and a drawbridge over a gorge with a fast-moving stream. Park across from the drawbridge, then climb to the tower’s main floor and examine the sigil of Anne Bonny on the floor to pick up another Optional Journal Entry. After the discussion, Sam decides to check out the drawbridge.
Your next goal is to lower the drawbridge. If you grapple-swing or hop across the gorge, Sam points out that you can’t reach the crank—the stairs up to it have collapsed. You need something to stand on in order to jump to the mechanism.
Step 1: Go to the watchtower’s shadowed side (where you can find a Barok .44 on a Shoreline crate), then climb the wall-frame struts to stand on the first ledge. Traverse rightward around the corner and climb through the first window to stand on the second floor section. Jump across to the frame on the opposite wall, climb to the top of that section, and flip over to the outer side (37).
Step 2: Shimmy leftward around the corners and climb the exposed frame on the second corner (38). When you get to the top, Nathan points out a massive tower down the road from the drawbridge, “biggest one yet.” Shimmy left then crawl over to the other side and drop onto the platform.
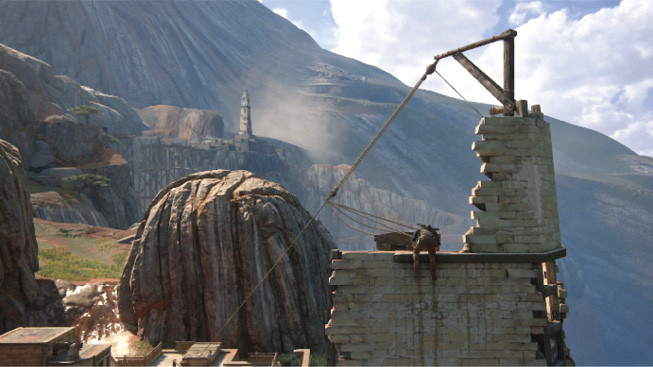
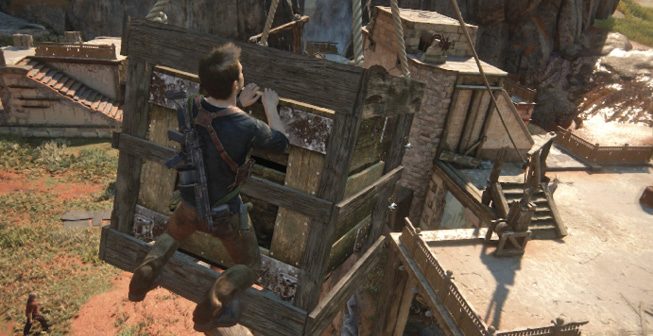
Step 3: Grab the crate (39) and push it off the platform. Watch Nathan ride the crate as it slides down the zipline
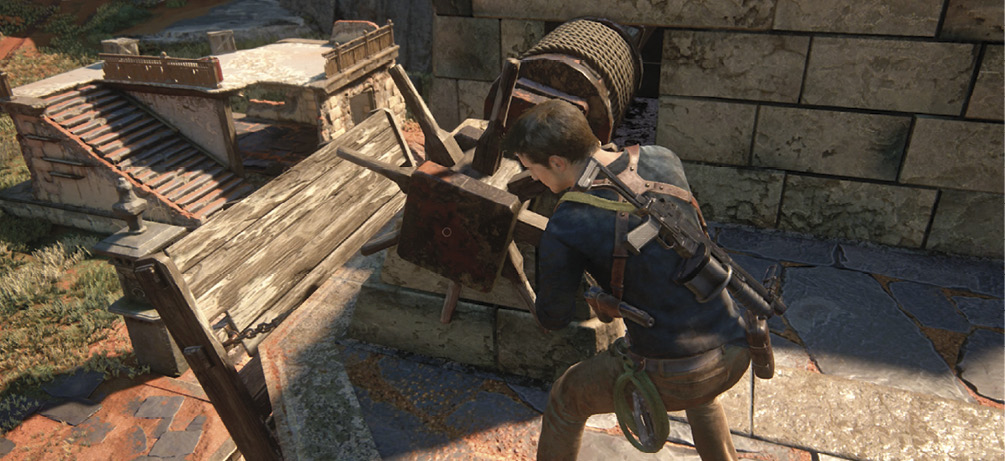
across the gorge. After the crate arrives on the far platform, push it against the wall (40) underneath the crank. Climb to the crank (41) and repeatedly tap J to start lowering the bridge.
Take Out the First Shoreline Wave
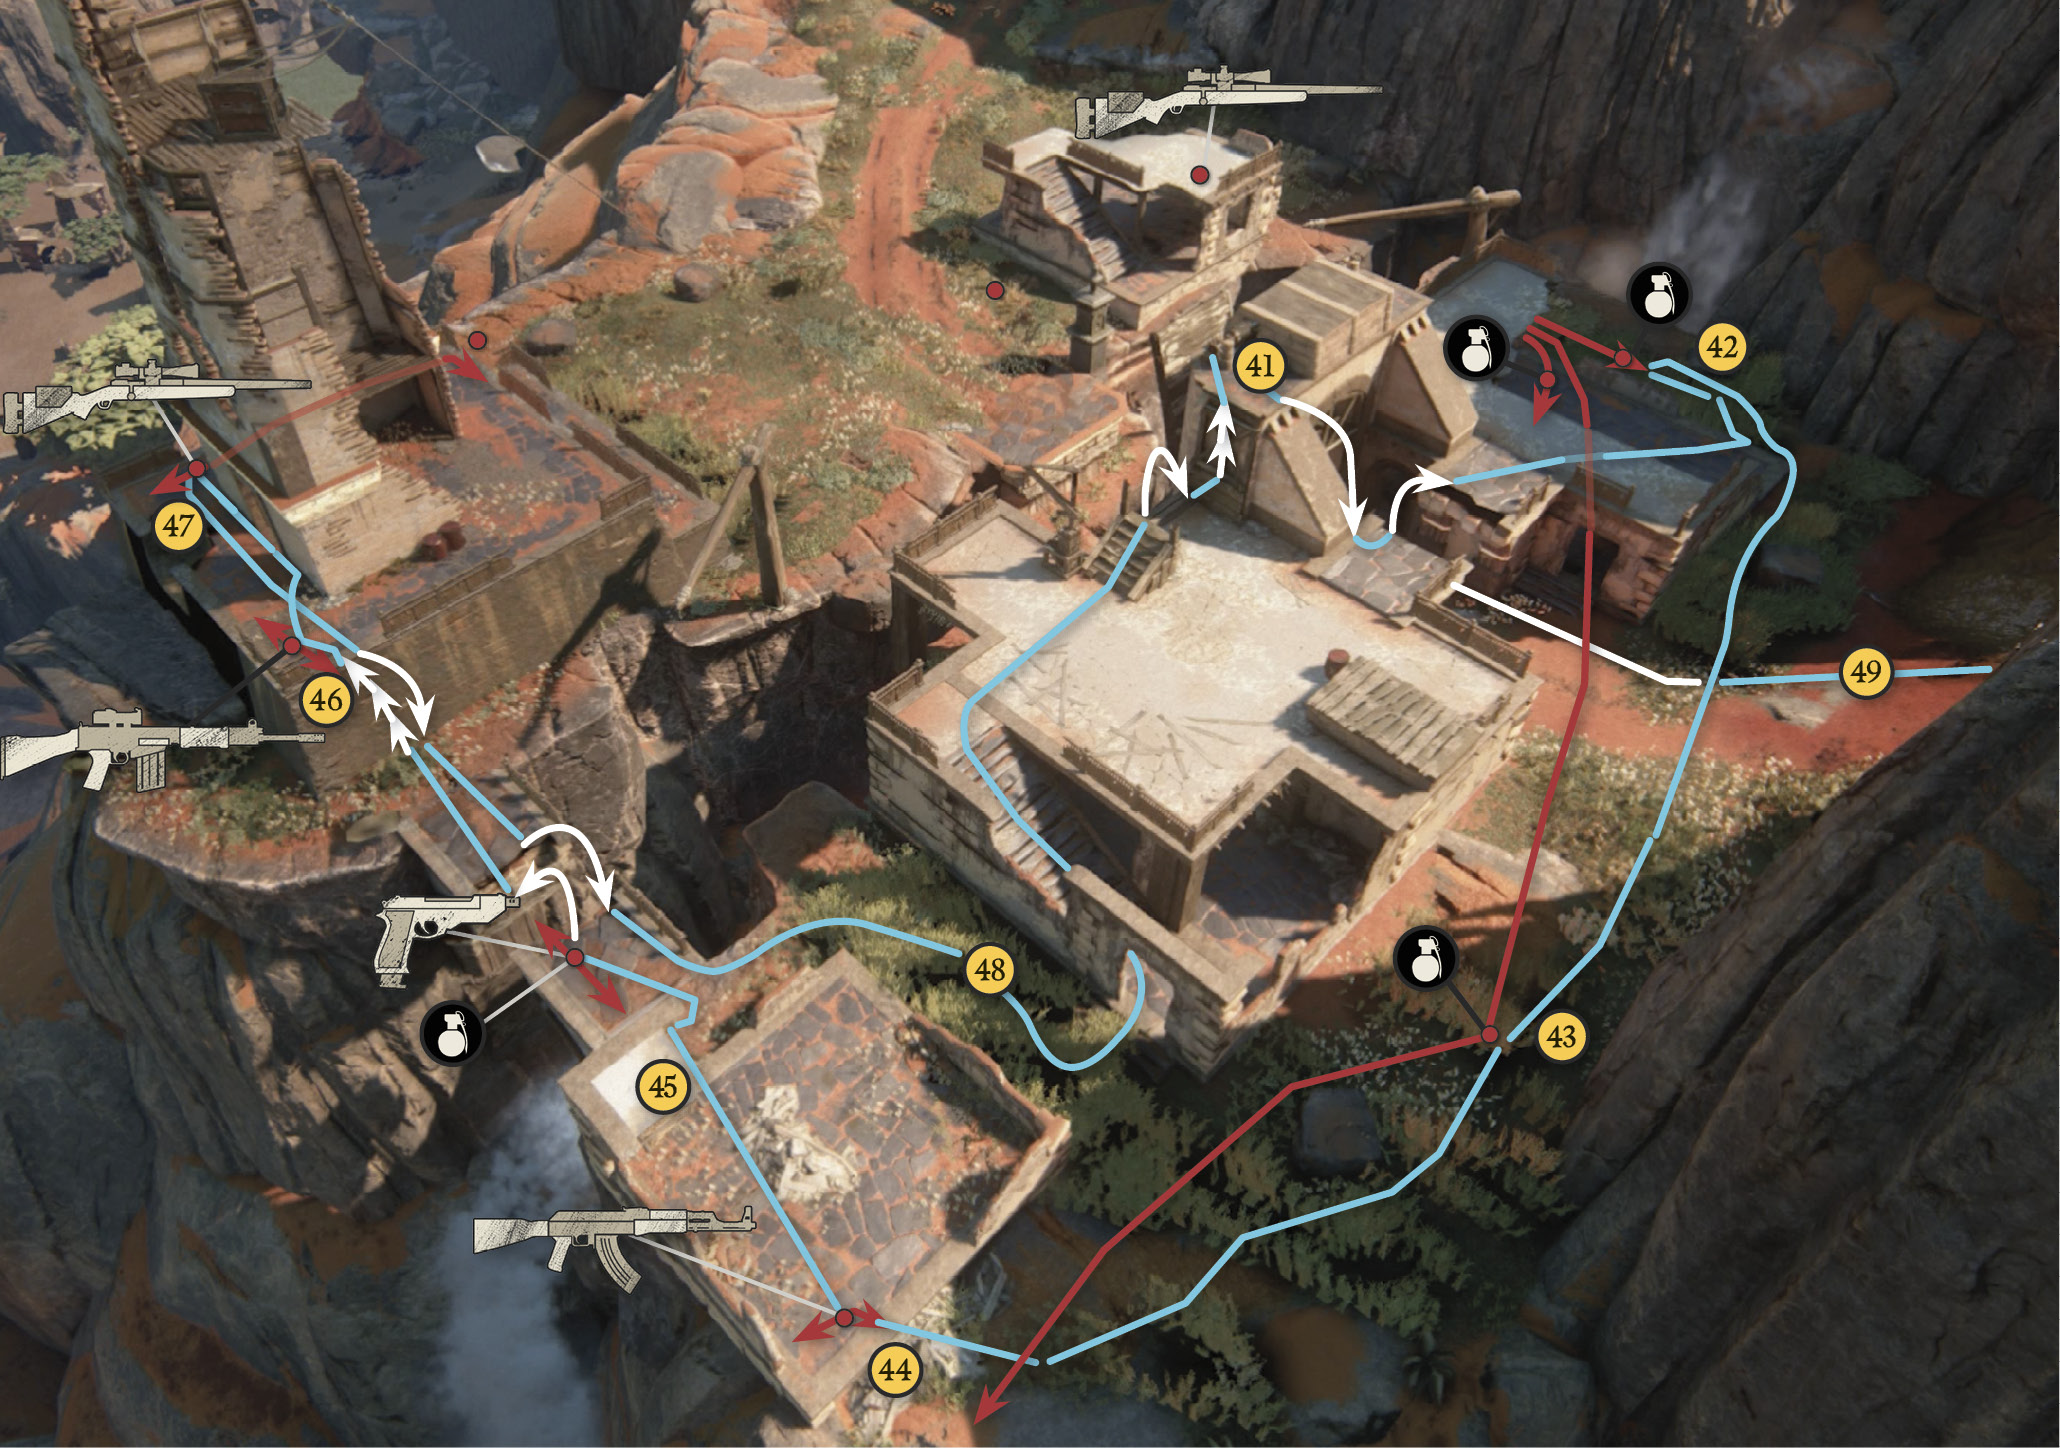
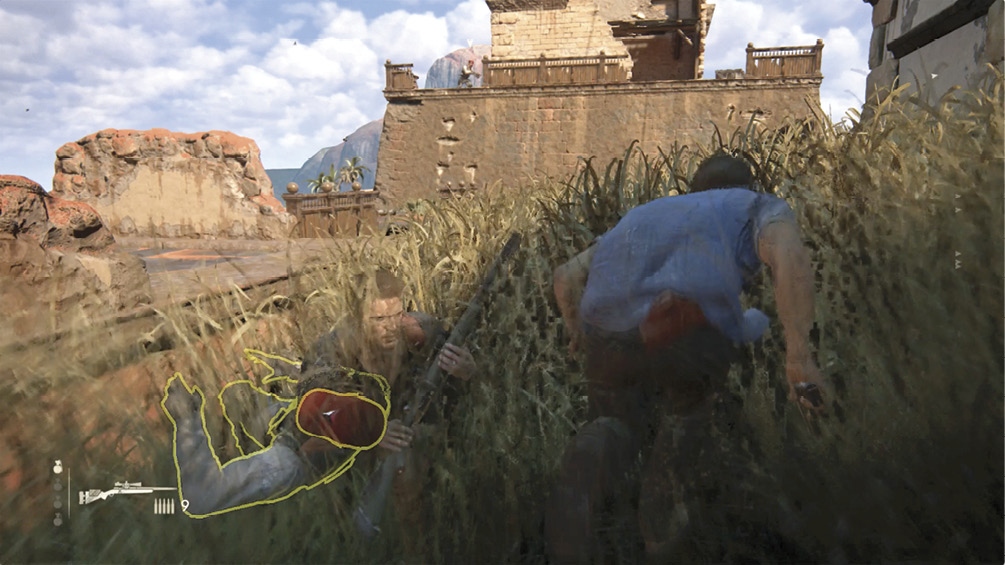
Turning the crank triggers the sudden arrival of Shoreline troopers. As they deploy from their trucks, quickly hop down from the crank and hustle over to the tall grass (42) in the shadows on the bridge structure’s far side. If you stay patient, you can take out most of this first unit with stealth. Wait here as the mercenaries hop across the gorge and pass by you entering the building. Use stealth to take down the three guards one after the other, taking care to strike only when backs are turned to you. If you miss the furthest guard walking away, follow behind him and get him in the tall grass (43).
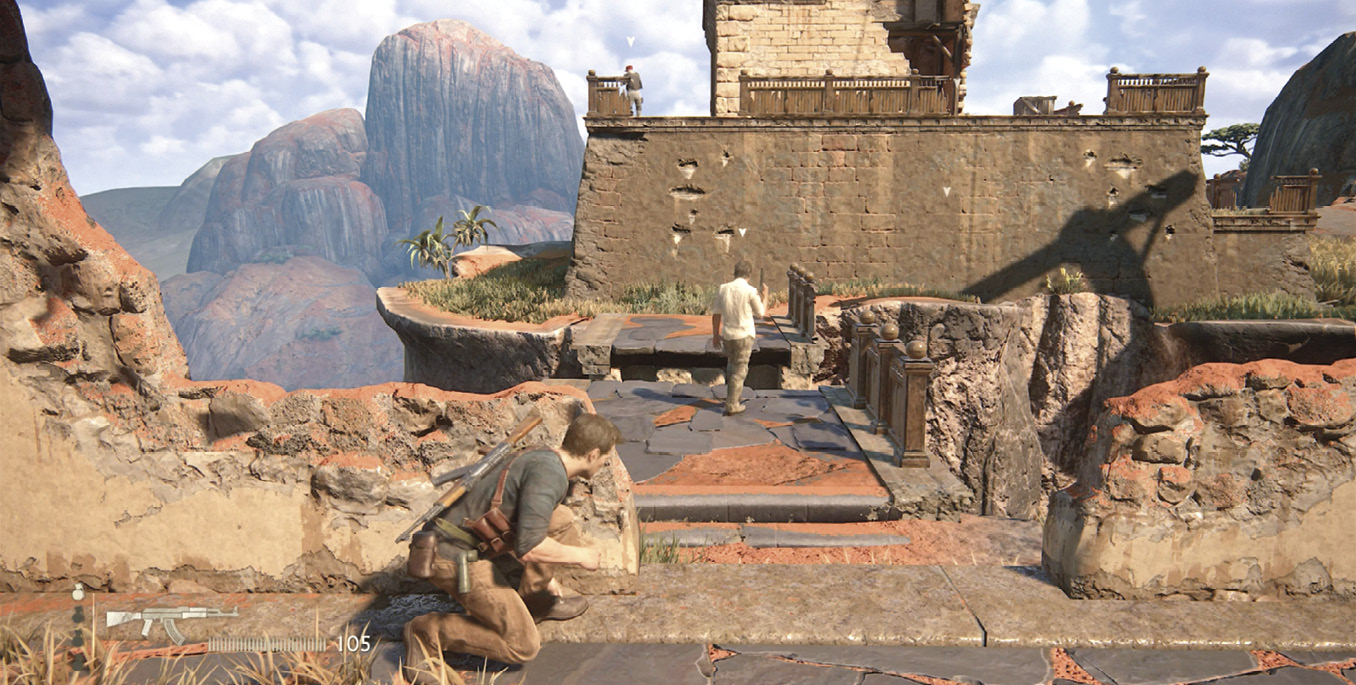
Creep to the low wall and KO one guard (44), then move to the next wall and kick the next guy (45) off the bridge. When the gunman on the high wall turns away, hop across the gorge, climb underneath him (46), and pull him down. Finally, creep along the tower wall and take down the sniper pacing at the corner (47) (don’t forget to pick up his Mazur LDR if you like sniping). On the tower’s same side, where the sniper was patrolling, there’s a guard on the ground. Eliminating all but the last three soldiers triggers the arrival of another load of troopers.
Take Out the Second Shoreline Wave
Quickly retrace your route back across the gorge and hurry to the high grass between the structures (48). Use this as your base of stealth operations to eliminate the second wave, either taking down any foes that wander into the grass or luring others to the spot. Use all those grenades you collected and throw them at groups of enemies. Amazingly, you retain your stealth in high grass while tossing grenades; they investigate the explosion area and have no idea where the throw originated. When you finally clear out the area, return to the crank and turn it to lower the drawbridge. Then hop in the 4x4, drive across the bridge, and continue down the road.
Get Across the Tower Approach Bridge
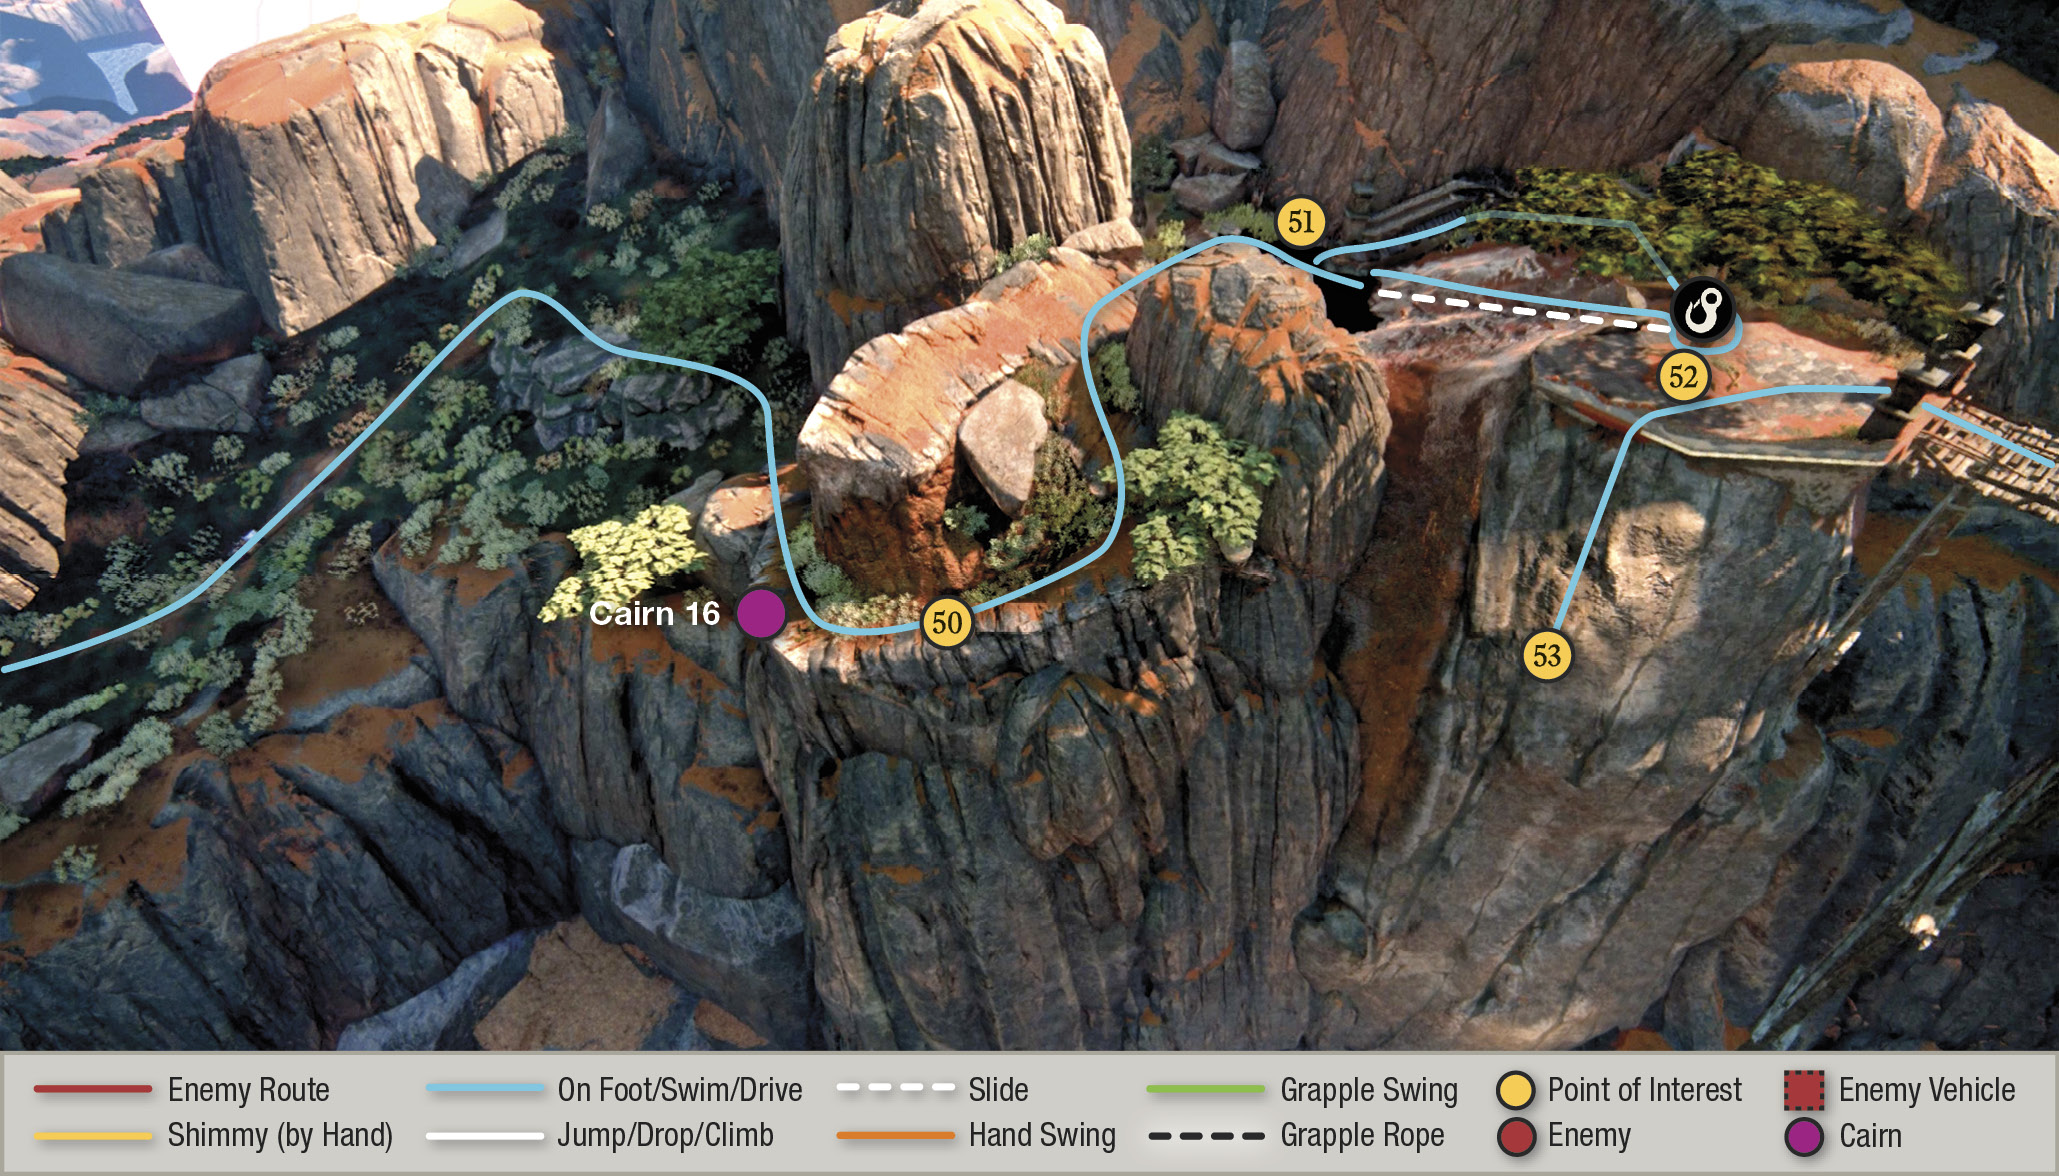
Drive along the narrow lane knocking over Cairn (16), the last cairn to earn the trophy for destroying them all. Continue around the curve (50) until you reach the drop-off into the reddish water-filled pit (51).
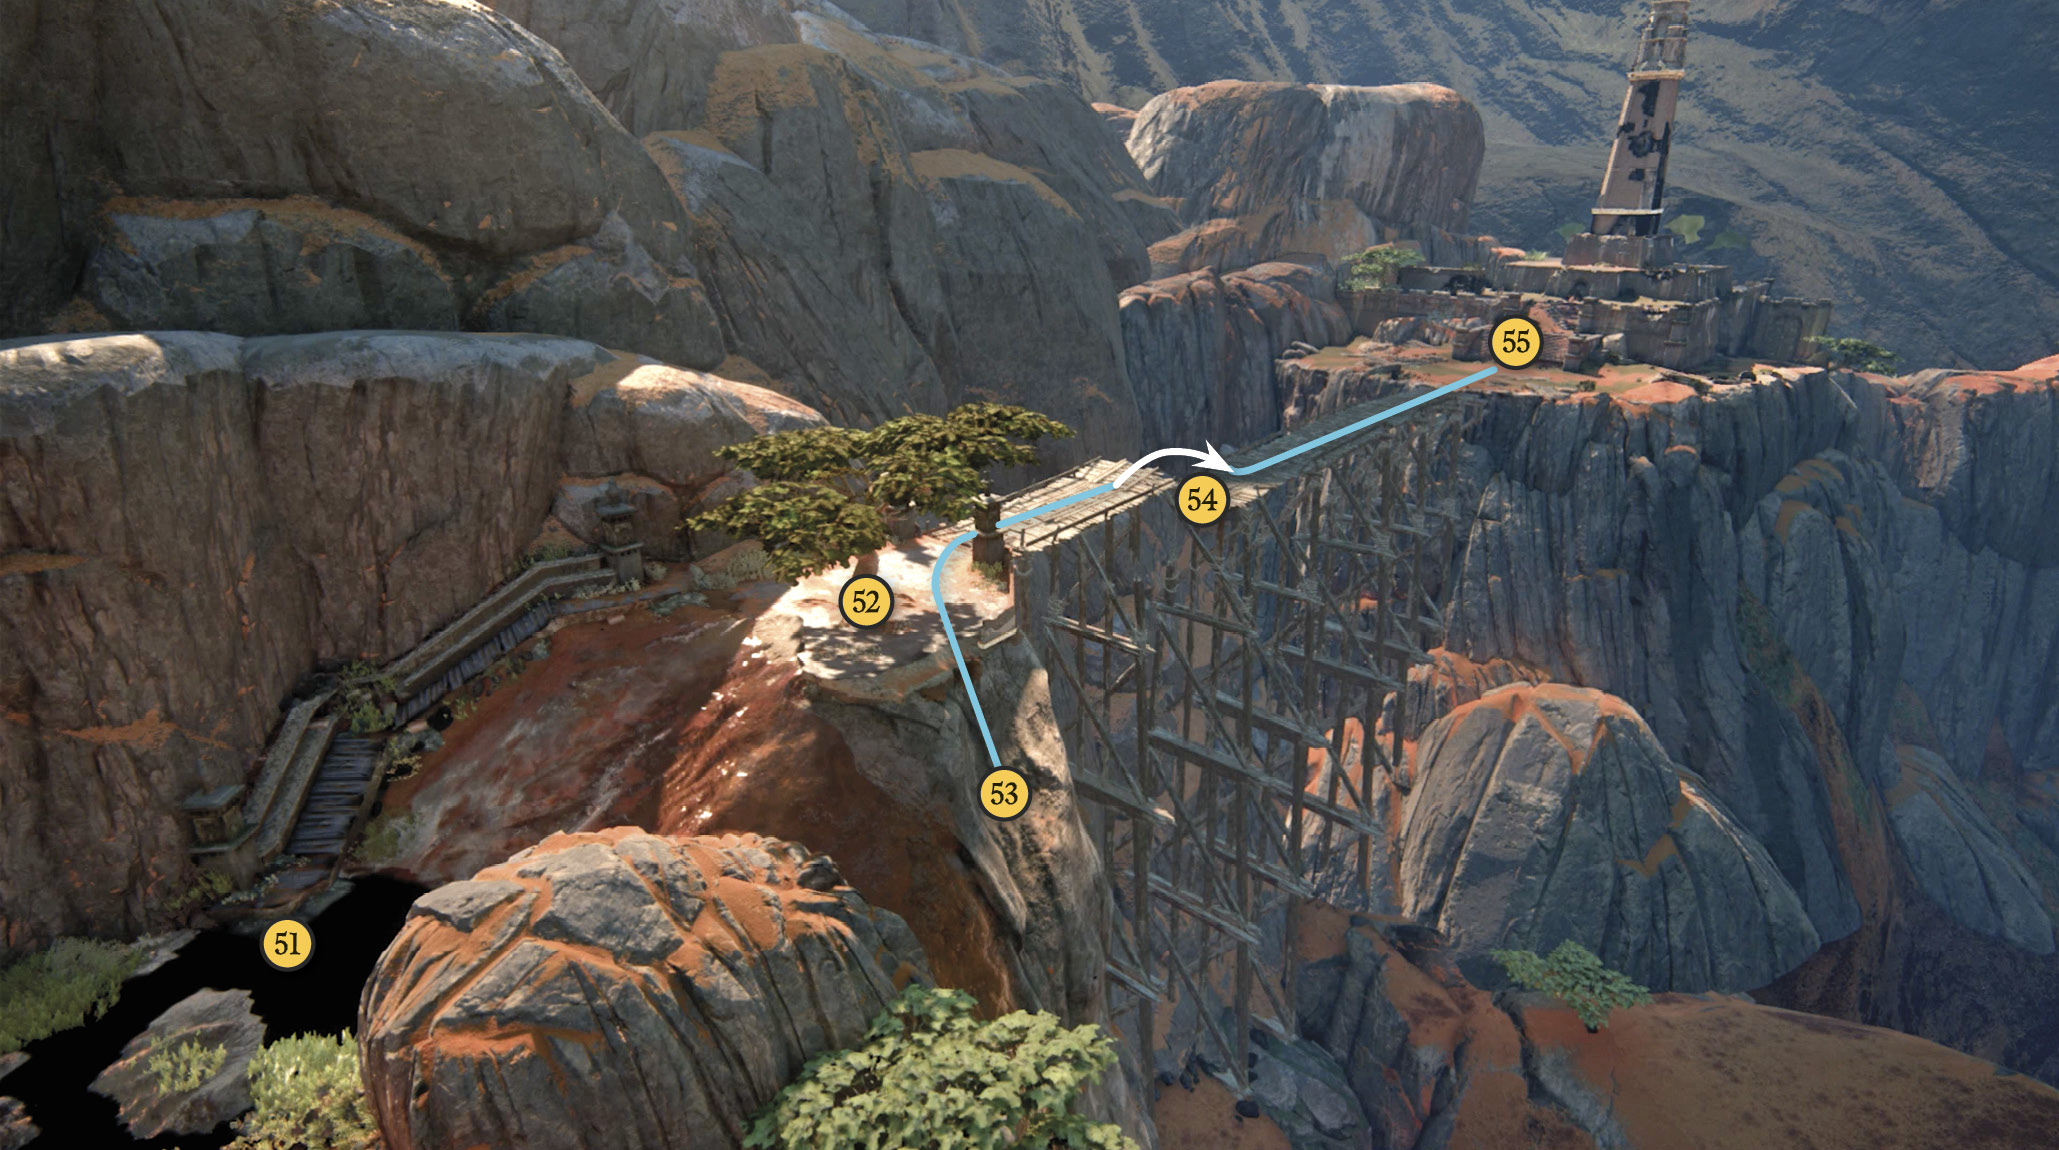
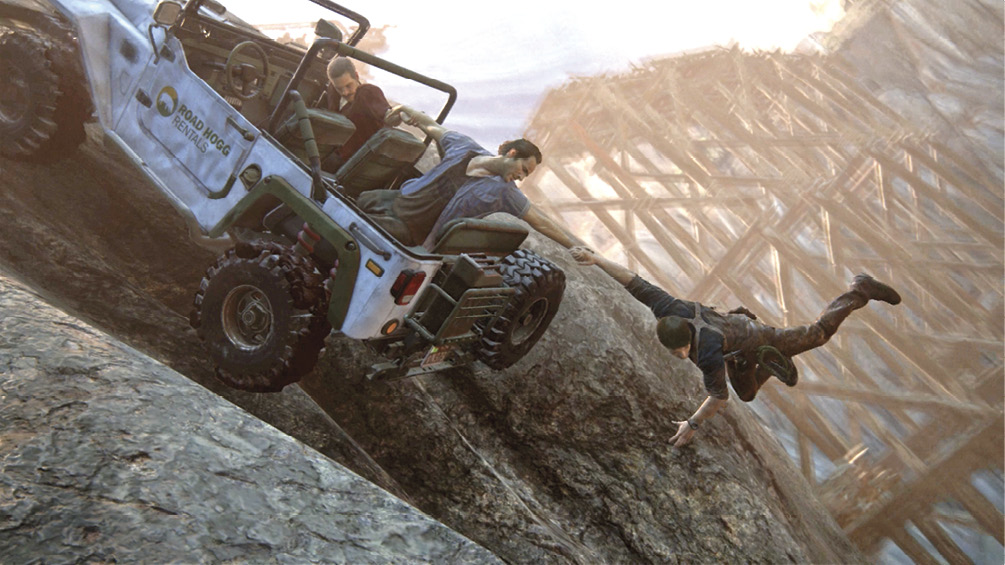
Exit the 4x4, grab the winch hook, and climb the stairs. Hook the winch around the trunk of the big tree (52), then return to the 4x4 and drive up the cliff face. The 4x4 slides off the cliff to the right (53), but don’t panic—after Sam saves Nathan from a screaming plunge, climb the outside of the 4x4 and grab the roll-bars to pull yourself back into the driver’s seat. Drive again. The winch eventually pulls you up to the tree trunk.
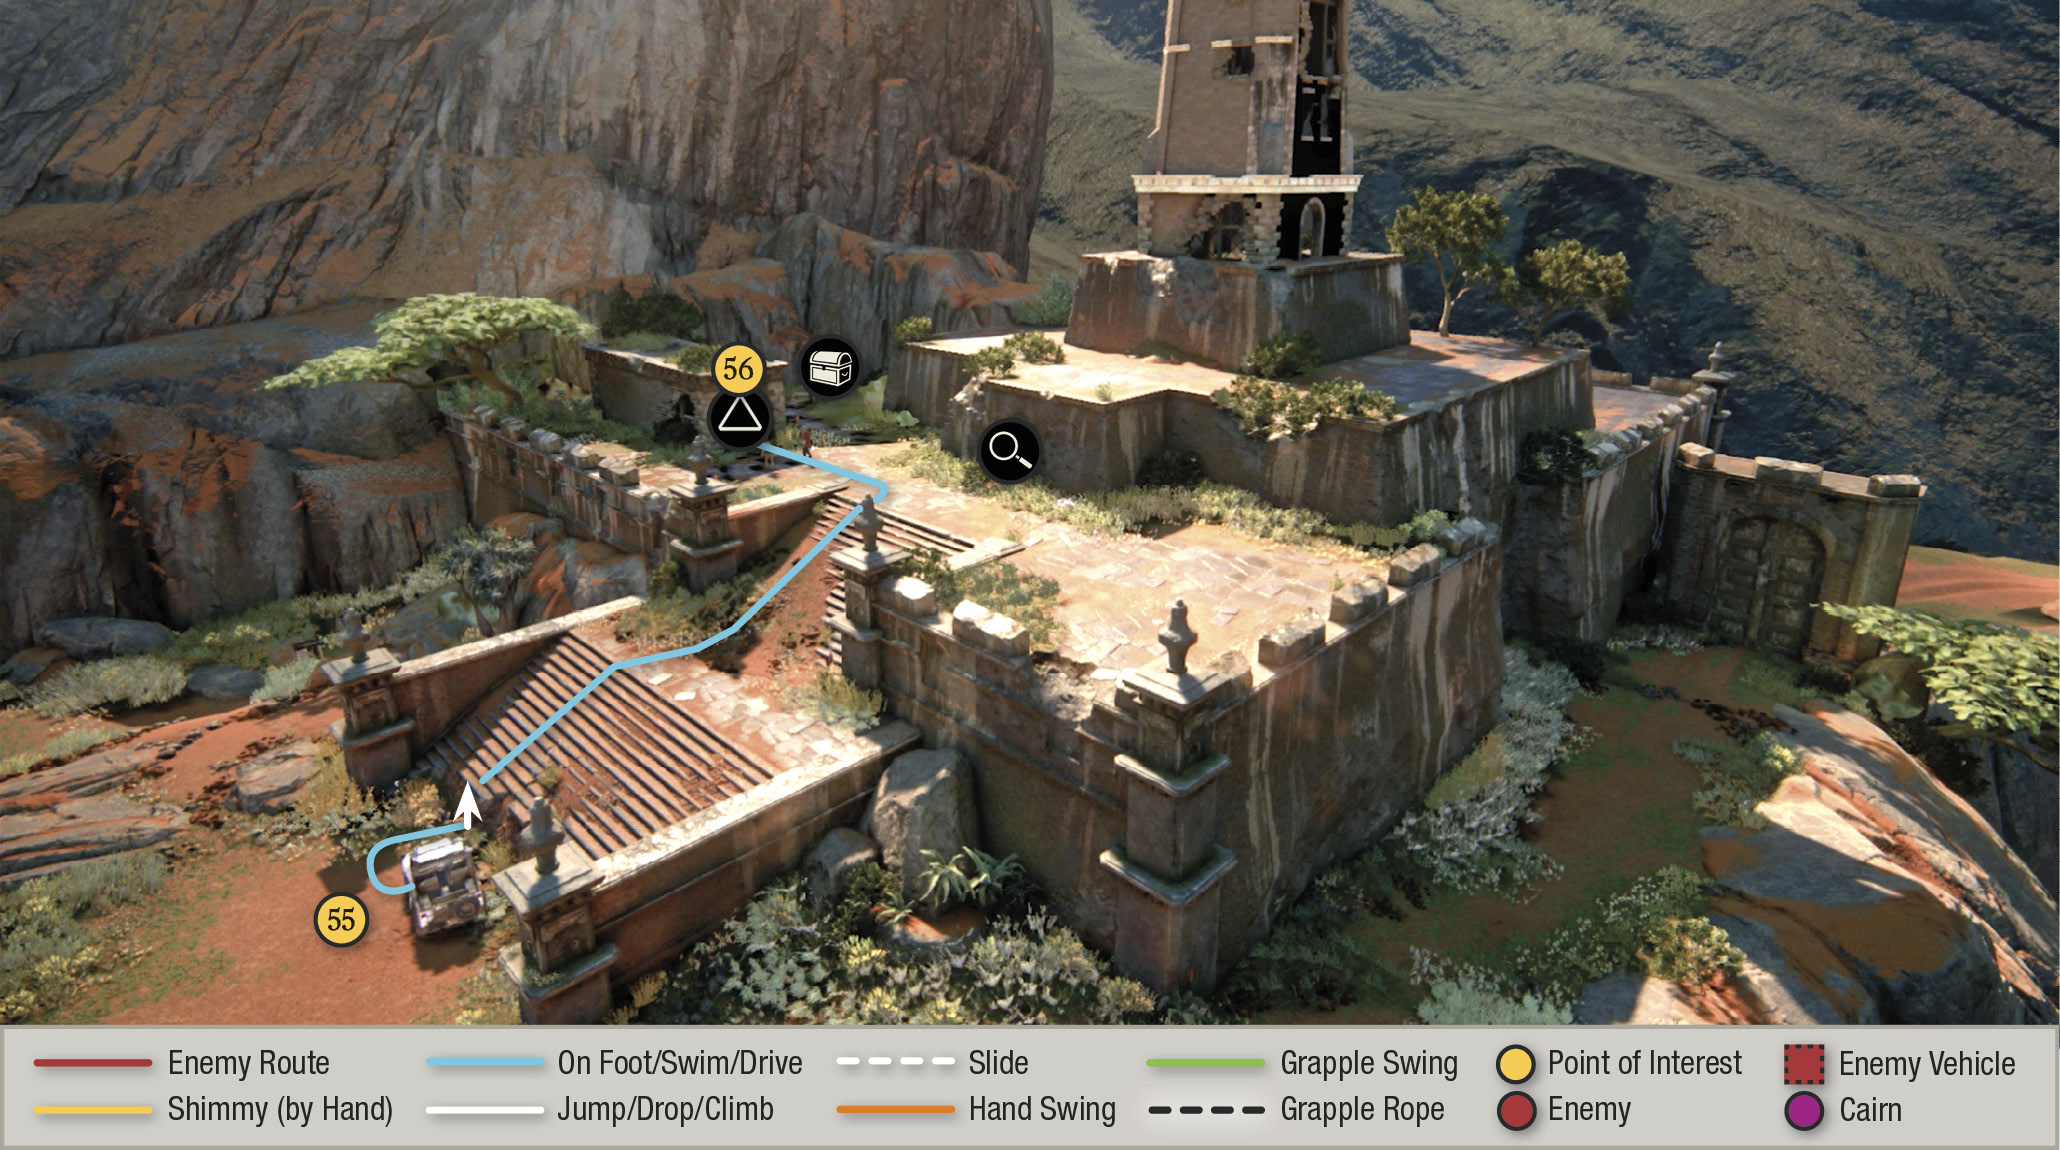
Hop out of the 4x4, unhook the winch, and release it to let it reel back in. Take the wheel and accelerate hard across the bridge in order to make the jump over the gap (54). Then continue to the stairs at the base of the tower platform (55).
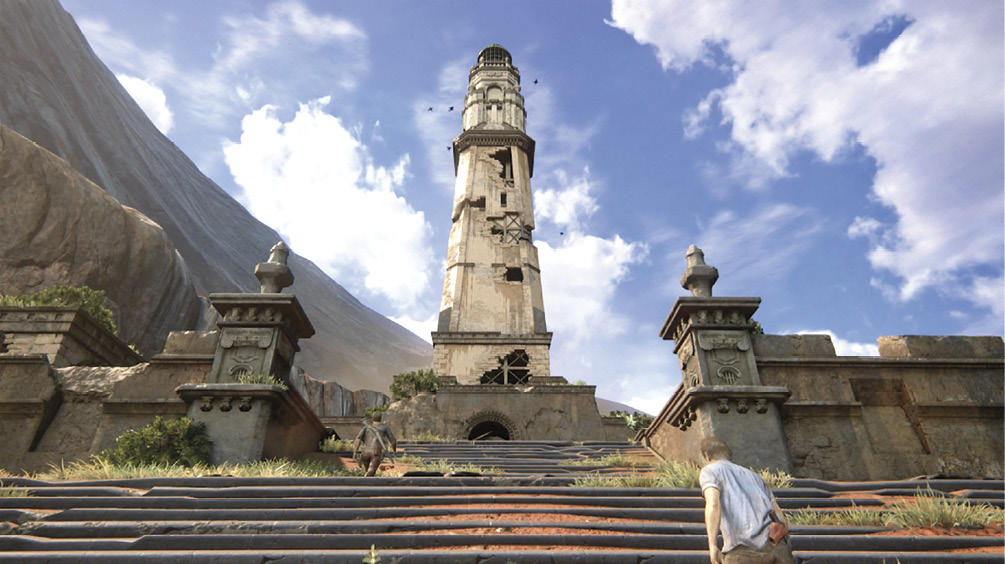
Exit the 4x4 and climb the stairs. Examine the front entrance to see that it’s blocked by debris. Turn left and move along the wall to find a treasure on a crate. Then go to the nearby side passage (56). With Sam’s help (three times), you can bash open the doors.
Scottish Snuff Mull 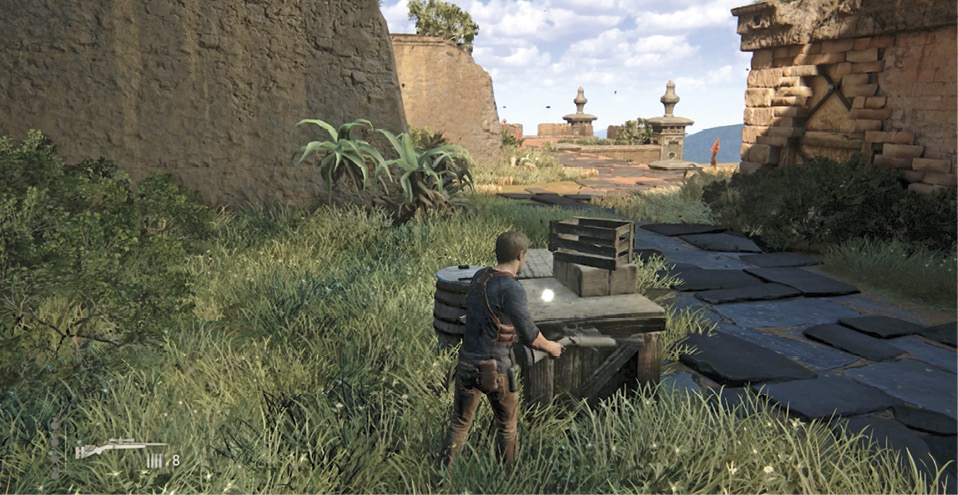 Approach the watchtower and turn left. Find the Scottish Snuff Mull sitting on a crate amongst some other containers. |
Find the Map Room
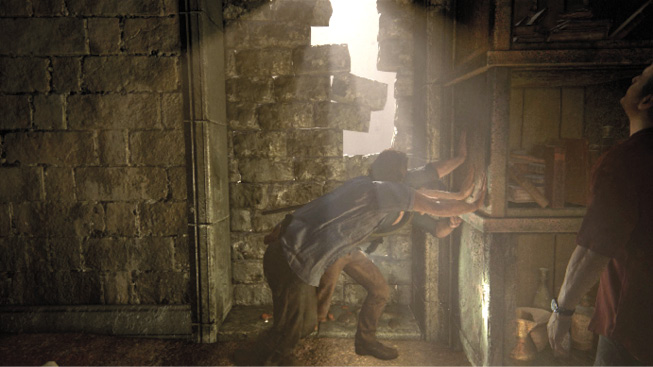
Follow the passage down to a storage room. Examine the wall by the shelf where rays of light are streaming. Use your left stick to push the shelf and reveal a broken section of bricks. Pick up one of the small powder kegs across the room and toss it at the broken wall section. Then shoot the keg to blow open the wall.
Follow the passage upstairs to an iron gate and use the wheel crank to open it. Sam rushes ahead, but be sure to find a pair of treasures in this room before following him down the winding staircase (57).
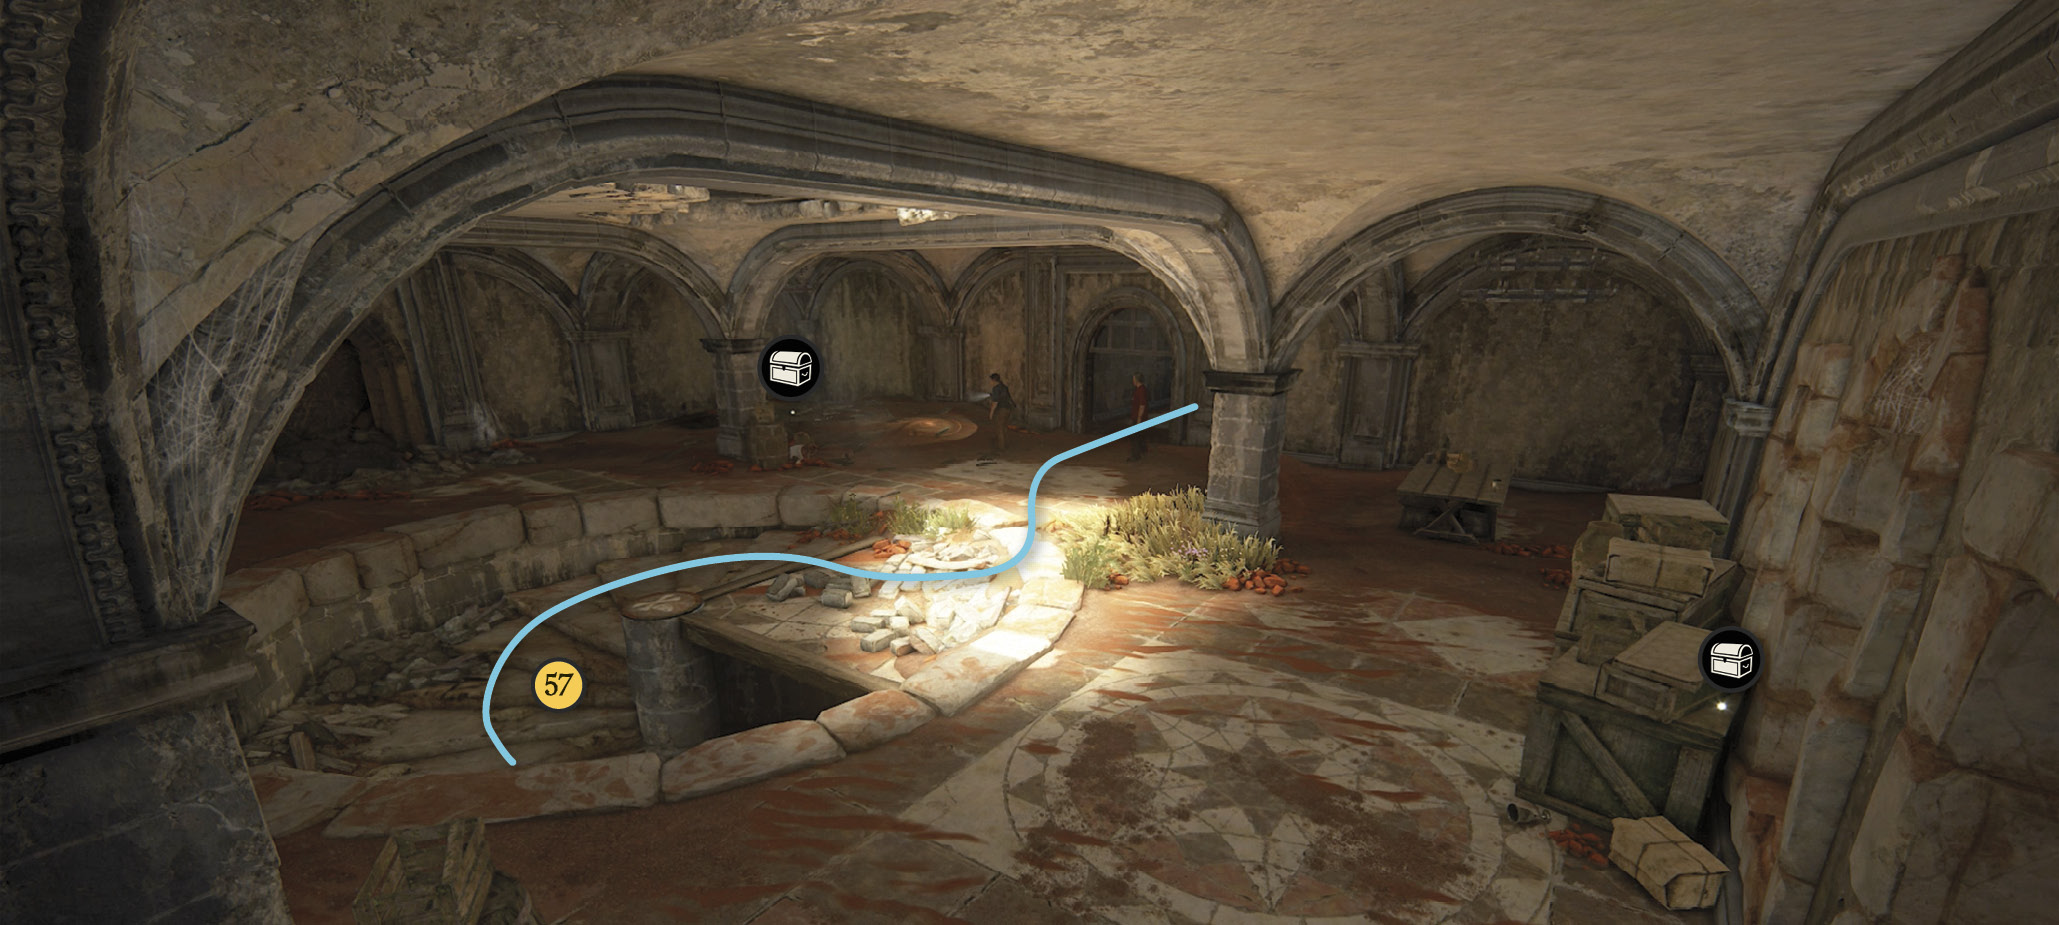
 Muff Pistol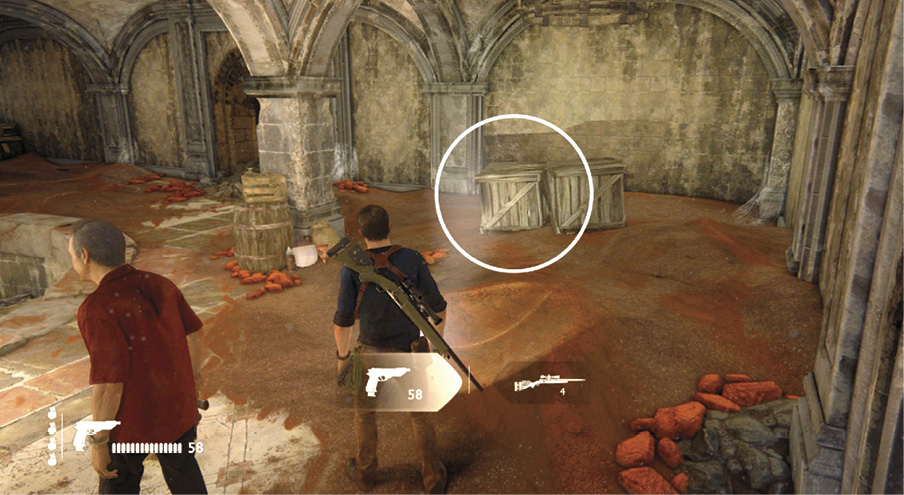 Find three crates in the corner of the room at the top of the winding staircase. Shoot the first one to break it open, and find the Muff Pistol inside. |
 Brass and Ivory Tankard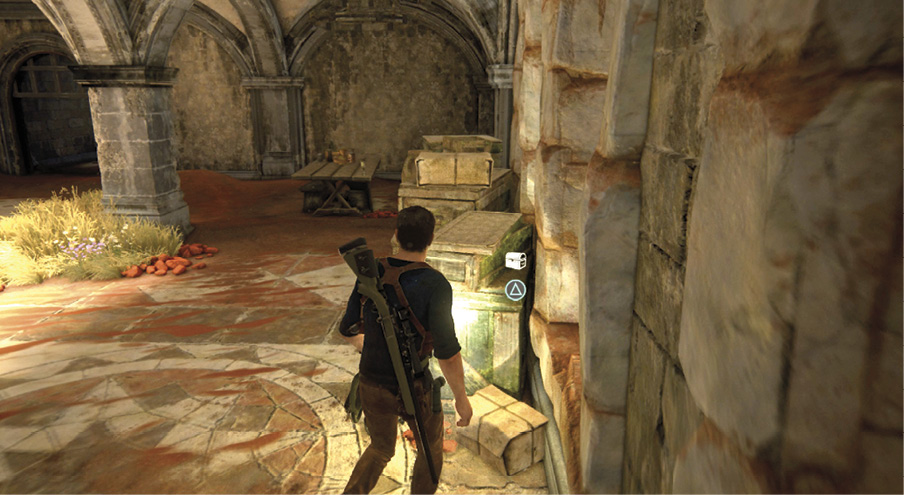 When you get to the room at the top of the winding staircase, look for some small boxes on top of a large crate. The Brass and Ivory Tankard is behind the small boxes, tucked against the wall. |
Keep following Sam down the passage until he reaches the shrine to Saint Dismas. Approach it to trigger a cutscene: The boys figure out that it’s another map room with more sigil clues. But their study session gets cut short by a vicious Shoreline ambush!
Survive the Shoreline Ambush
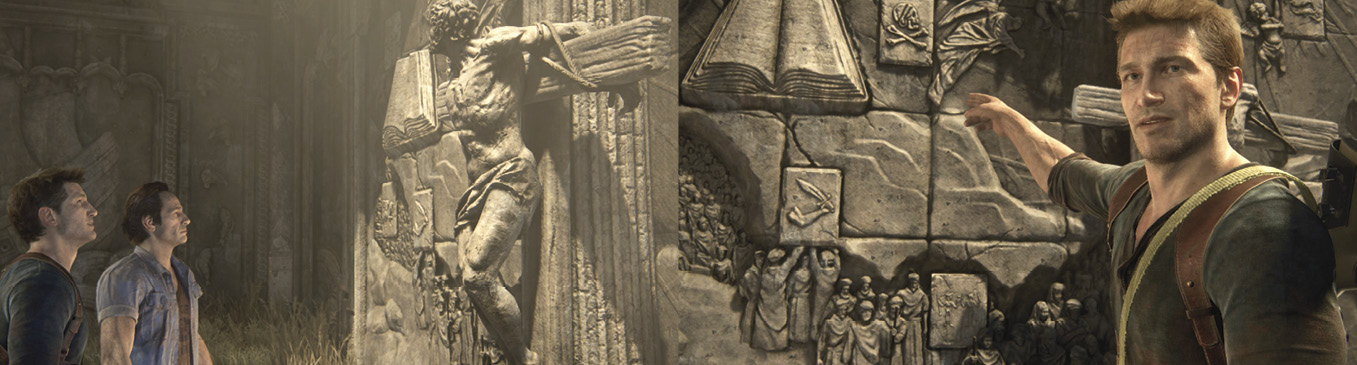
This is a brutal fight. Included in the troops rappelling down from the ceiling hole are several heavy troopers—i.e., shotgun-wielding goons clad in protective body armor that can absorb a great deal of punishment. Once you take out one of these guys, pick up his Spezzotti 12-gauge and use it on subsequent goons.
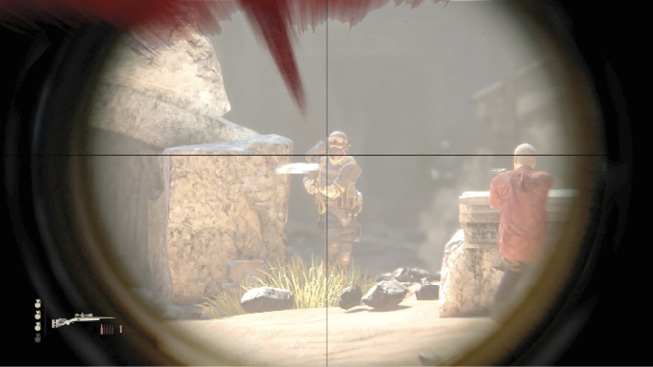
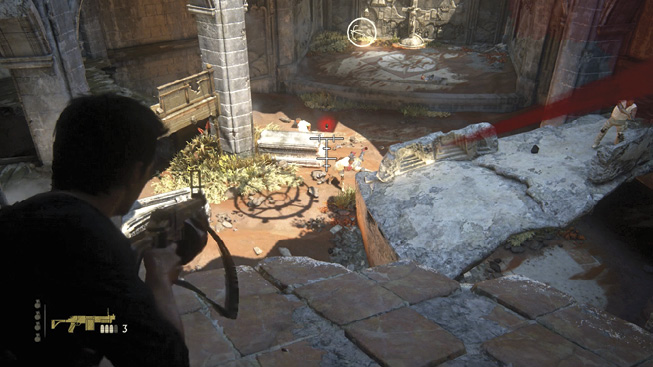
Keep moving around the room, climbing side platforms to avoid getting flanked by waves of attackers who slide down lines from above. Keep checking upwards to watch for new waves. Soon a heavy trooper armed with a nasty China Lake pump-action grenade launcher drops onto an upper platform. Nail him as quickly as possible; you can jump to his platform, hang from it to cut off his firing angle, and then pull him over the edge when he tries to stomp on your hands. Then pick up his China Lake GL and start pumping grenades down at the other Shoreline goons.
When you finally clear the room, go back to the map wall where Sam has pulled a document from the pocket of a fallen Shoreline trooper. Approach Sam and take the document to trigger the chapter-ending cutscene: It appears Rafe and company have mapped the locations of the twelve sigil towers too. But Nathan narrows the list down to two. To save time, the brothers split up to check them out simultaneously.