Uncharted 4: A Thief's End Guide Basics
Navigating the Environment
Finding Objectives: The Hint System
One of the most alluring qualities of the Uncharted series is the thrill of exploration and discovery with minimal AI assistance. Here, you won’t be smothered by an excessive amount of handholding by means of mini-maps, radars, animated route guidance, and constant objective reminders. There’s very little to none of that here, and it’s wonderful. You are rewarded for your curiosity, your sense of adventure…and using your brain.
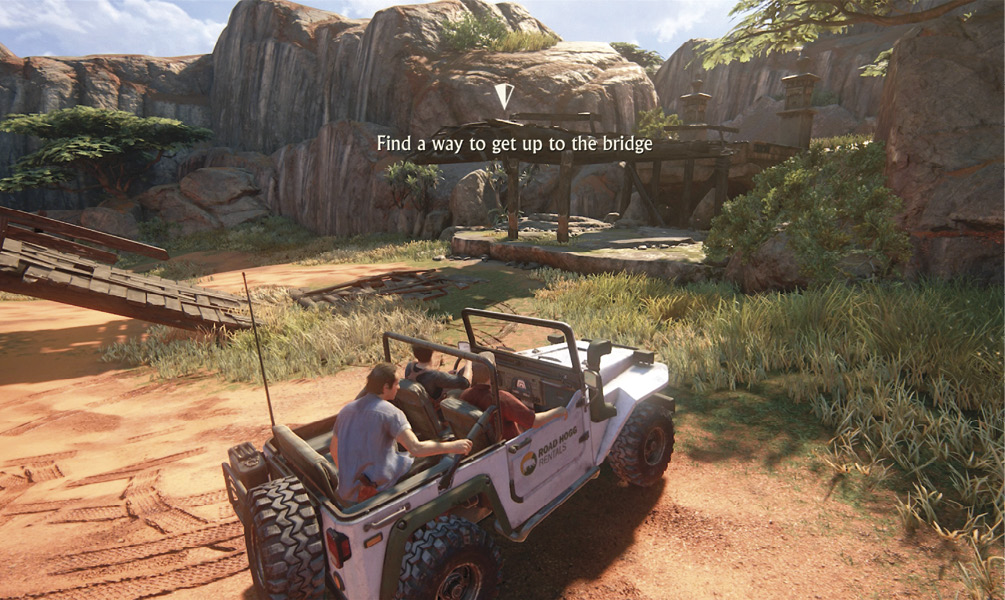
However, if you do get stuck, Uncharted does not leave you hanging for a punishing amount of time. If the game detects no forward progress has been made in a certain amount of time, the first in-game nudge could be a verbal directional cue from a traveling partner.
If Game Hints are turned on, a hint reveal option eventually appears onscreen. You can choose to ignore this mysterious hint, or you can choose to reveal the tip by pressing up on the D-pad, which brings up an objective reminder and an onscreen marker in the direction you need to be headed. This marker does not disappear until you either complete the objective or until you turn it off in the Options menu. After turning off the Game Hint option, hints will not appear (unless you turn the option back on again).
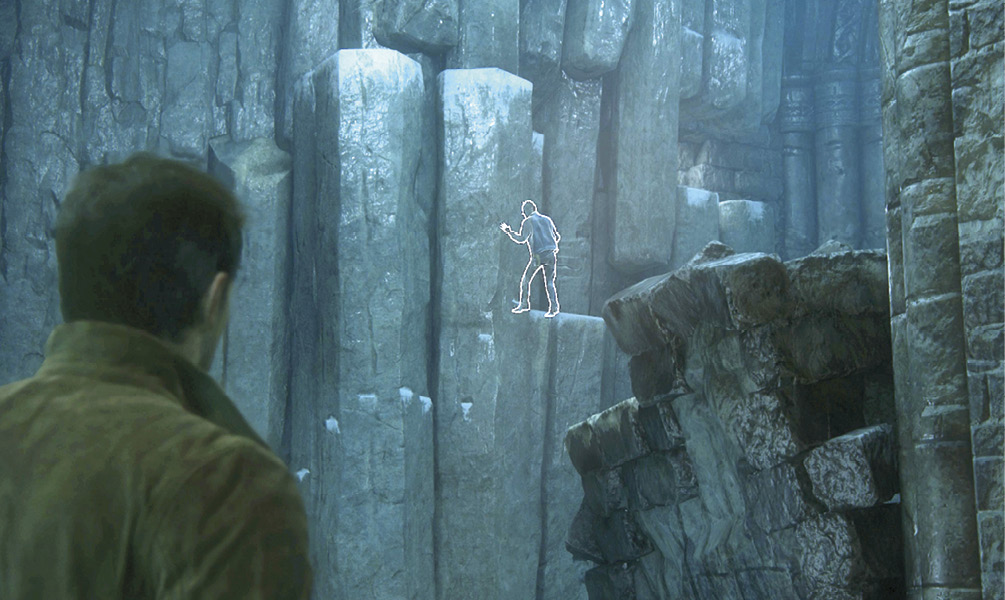
The most common directional nudges come from traveling partners (if one is with you). Given enough idle time or lack of forward progression, your companion sometimes takes the lead and jumps or climbs to that next grip point or ledge that leads to an objective.
Basic Movement
For someone having such an average guy persona, Nathan Drake has some seriously impressive moves that display his gift of strength and dexterity. But yet there’s nothing extraordinary or supernatural about his capabilities—he’s no superhero. During Uncharted 3 (and in this adventure), you begin to fully understand why this middle-aged man has the adroitness of a teenage parkour freerunner. It’s because he’s been running up walls, jumping, climbing, and swinging from great heights since he was a young boy—all the while trying to keep up with his equally nimble, and certainly stronger, older brother at an orphanage they unwillingly called home. The following section details Nathan’s basic movement options.
Walking & Running
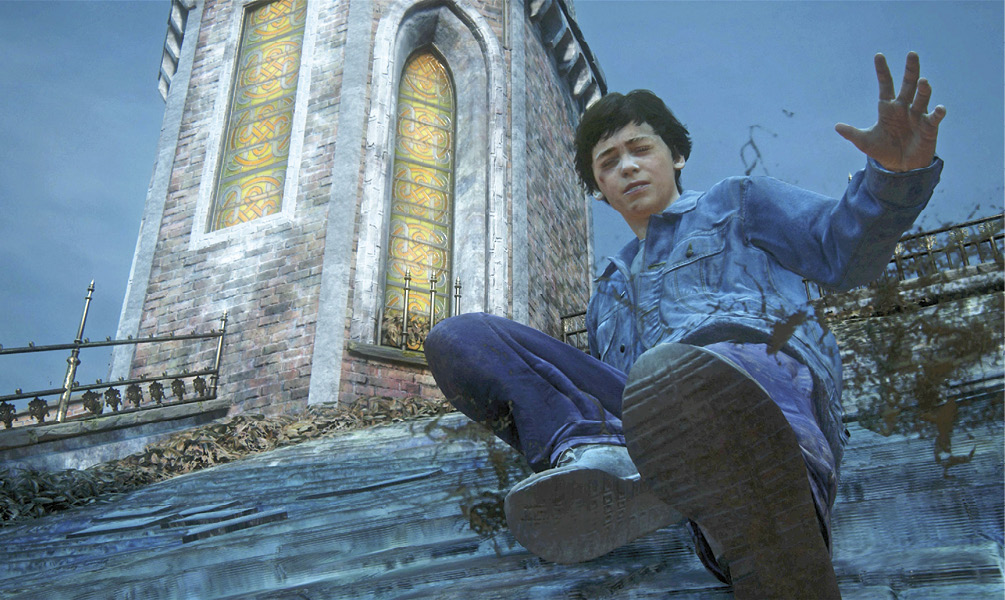
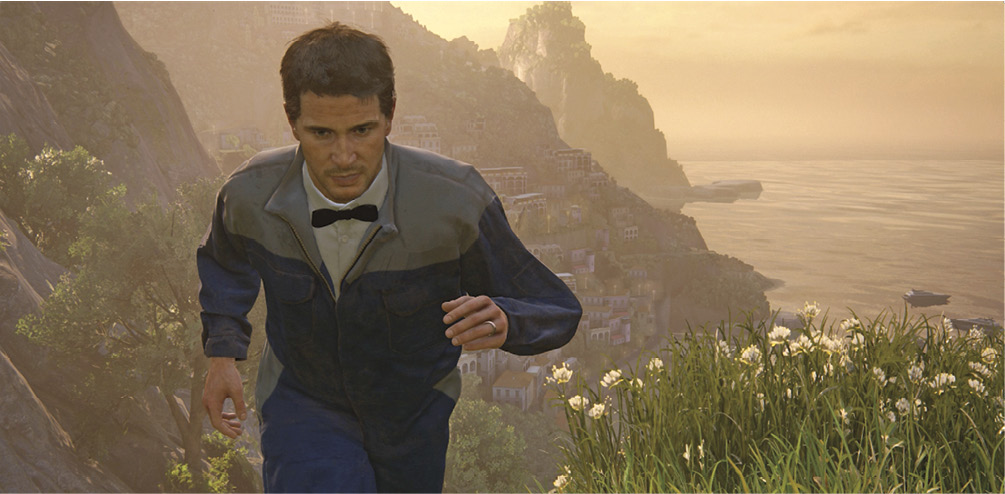
Nate walks in any direction when you employ slight tilts of the left stick. Tilting the left stick to its limit makes Nathan run. Nate will automatically clamber over small obstacles, steps, or very short gradient changes by simply walking or running over them—without the need of additional button presses. However, larger obstacles or ledges requires an extra command…
Climbing
Whether or not Nathan automatically climbs onto an object depends on how tall it is. Nathan automatically climbs onto small objects that are around knee-high, but anything taller (or more intricate like a ladder) requires an extra button press.
Press the Jump/Climb button  to clamber onto high objects or to jump and latch onto an object, such as a wall grip, edge, ledge, windowsill, or ladder. Once you are in the climbing stance (Nate’s feet and hands are gripping an object), simply tilt the left stick to advance. You can continue moving in any direction the terrain allows using only the left stick for movement until a Jump , Drop
  , or a Grapple Swing is required for advancement.
The Reaching Hand Gesture
The Climbing Reach
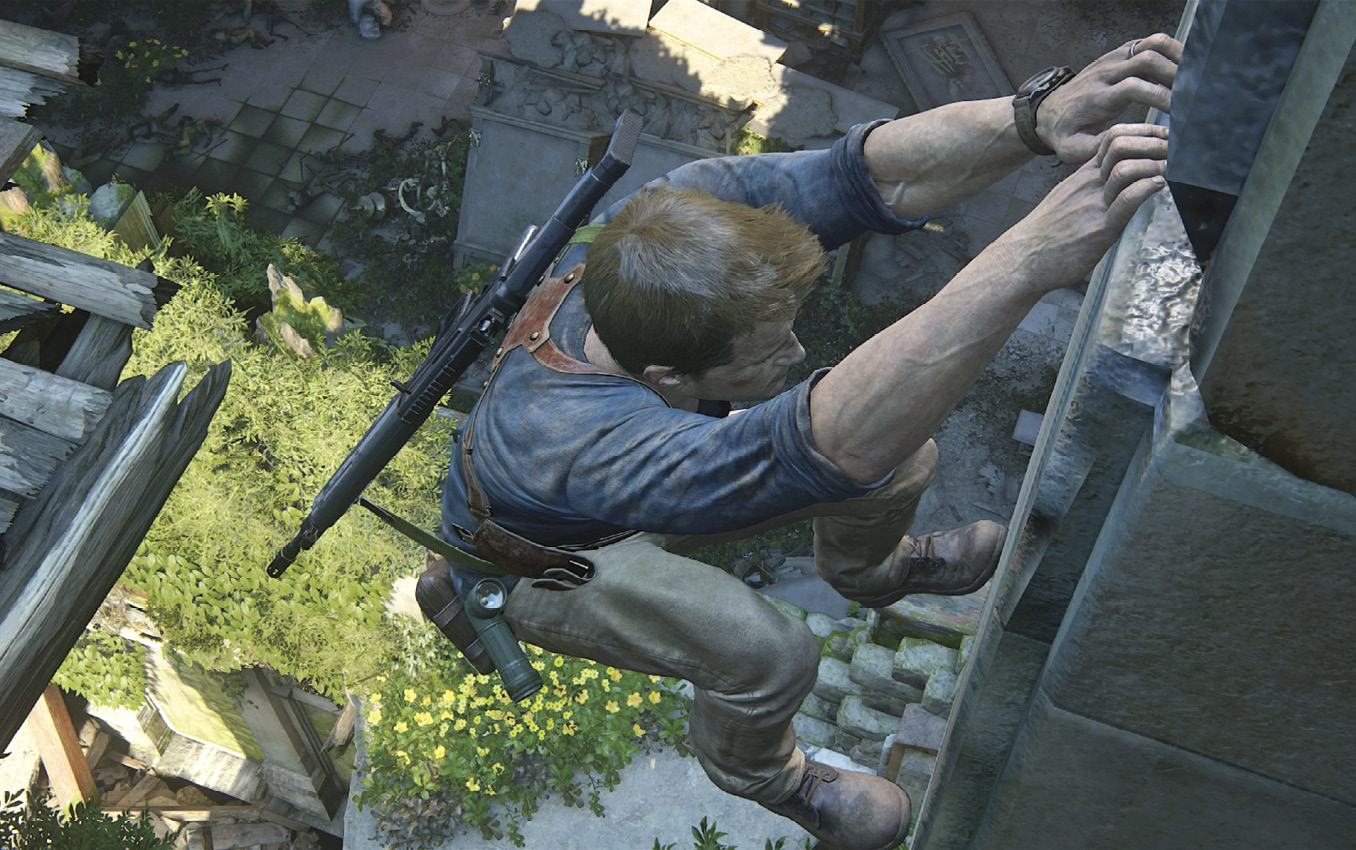
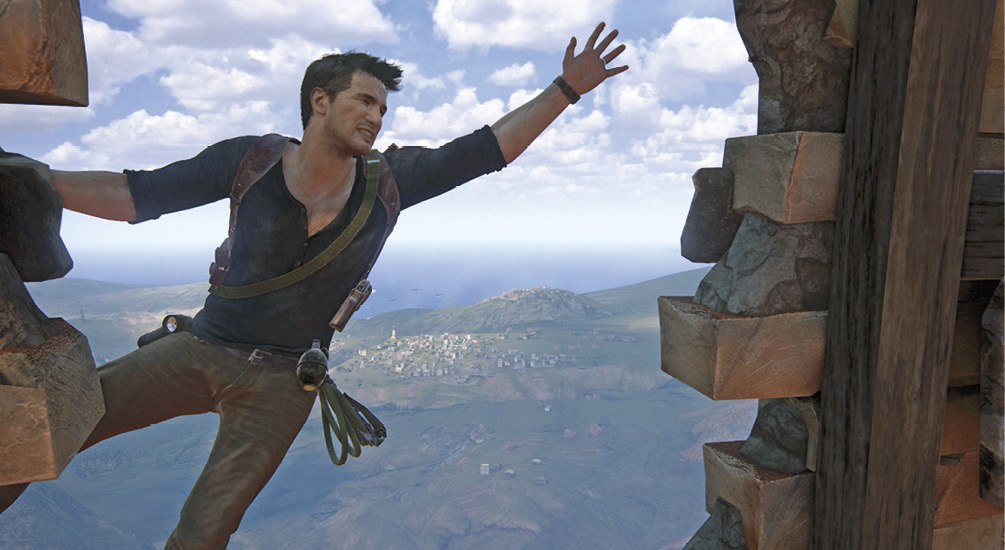
Nate’s extended hand means one thing in Uncharted 4: An object or enemy is within reach. His reaching hand is a great indicator of what direction to move during climbing or swinging challenges. If you get to a point in a climbing challenge where you are unsure of your next move, tilt the left stick in all directions while observing Nate to see what direction his arm extends. When his arm stretches out, that means there’s a grip point in range in that direction. If it’s a good distance away, you must jump (or hand jump) to it; otherwise, if you continue to tilt the left stick in that direction, Nate moves to that object by climbing or shimmying.
The Swinging Reach
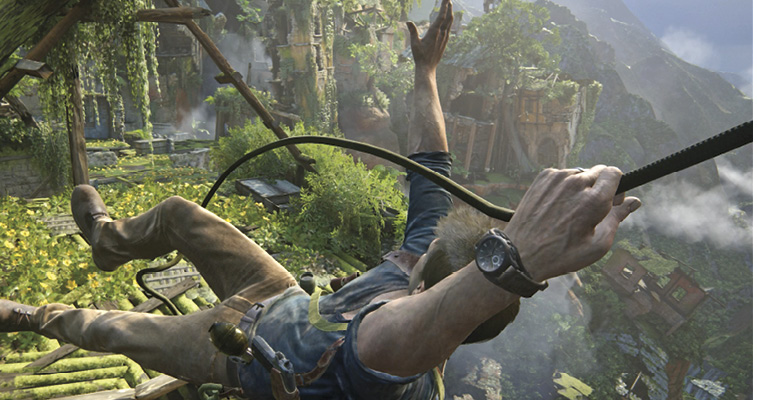
Nate also raises his arms while swinging from the grapple rope to indicate when the destination ledge or grip point is within safe landing range. It’s safe to jump from the grapple rope when you see Nate reaching at the end of a swing.
The Takedown Reach
Nathan’s arm slightly raises when you can perform a stealthy takedown attack  on an enemy while Nathan is unnoticed. You could be behind a wall, in tall grass, crouched behind a low crate, or hanging on a ledge below the enemy to perform this takedown move. If nobody sees you do this, you remain in stealth. If the discarded body lands in view of another enemy, your stealth is compromised.
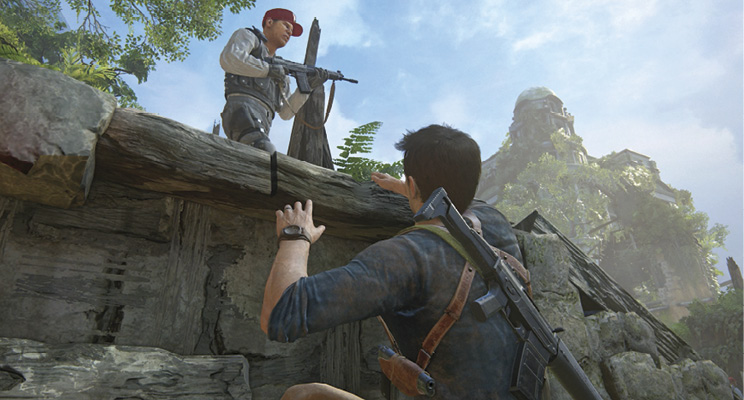
The Drop
Sometimes you must go backward to eventually continue forward. To drop down to the nearest grip below, simply tilt down on the left stick. Sometimes a stronger command is needed to confirm your desire to drop. Tapping once on releases Nate’s grip. Nate will automatically grasp an existing ledge or any grip point below (within a reasonable distance). Tapping while standing near the edge of a surface commands Nate to step off that edge and quickly grasp and hang onto the edge of that surface. Holding commands Nate to ignore grip areas below. This should only be done in special circumstances; dropping from great distances is often deadly. When an enemy is below you, pressing executes a Drop Tackle, killing the enemy instantly.
Jumping & Vaulting
Press to command Nate to jump. is also used to initiate most climbs (whether it’s a ladder, rope, or pipe). is also used at the end of a climb to pull up to the surface or enter a building through a window.
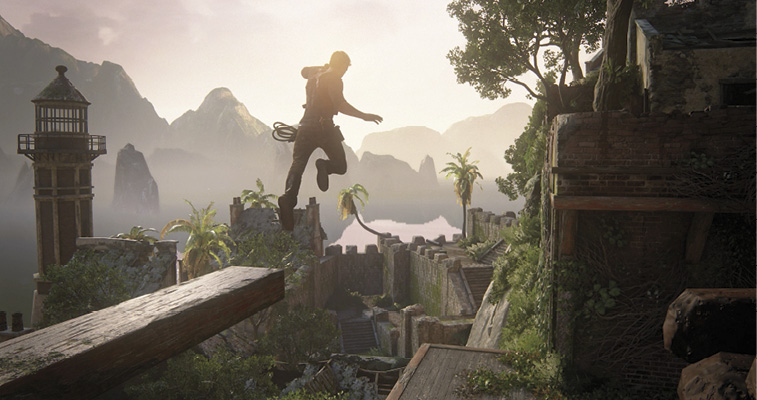
When you walk or run and add in a jump command, Nate hops over gaps or runs and leaps over great expanses. To reach the destination ledge (or grip point), press the Jump button at the last possible moment when Nate’s feet are leaving the edge of the first surface. Sometimes the gaps look impossible to overcome, but Nate often lands on his feet, grasps the edge of the surface, or finds a grip point just below the edge. Or in some cases you’re prompted to throw the grappling hook to swing to the next ledge.
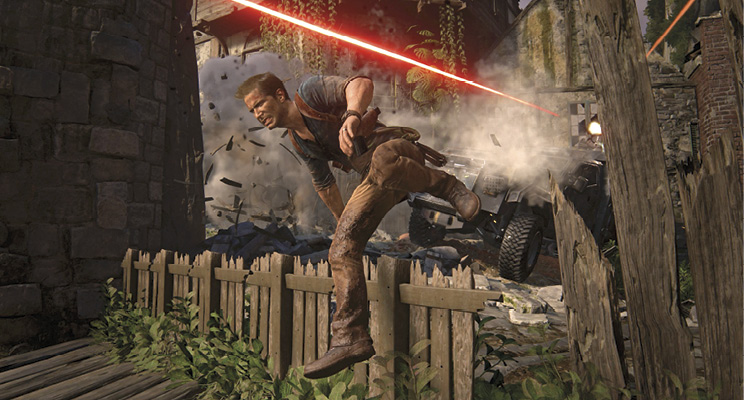
Nathan can also vault over small objects while running. This is executed by timing your jump just before reaching the short object. When performed correctly, Nate will not break his stride as he hops over the object, which is useful when running from danger or moving in for the kill.
You can also vault over low objects used for cover. Simply, tilt the left stick forward and press to quickly slide over the top of the object.
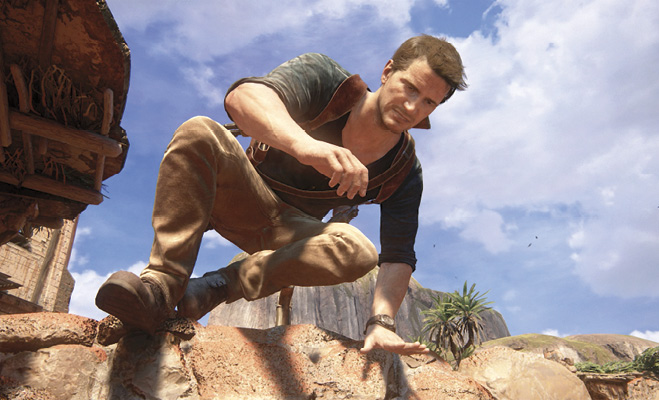
The Shimmy
A shimmy is the hand-over-hand movement Nathan performs when he’s gripping a ledge. This is done by simply tilting the left stick to the left or right (depending on camera placement). There’s also an on-foot shimmy. This happens when the ledge is large enough to stand on, but too narrow to walk with your feet side by side. Nate hugs the nearby wall or cliff face and shimmies left or right using the same controls.
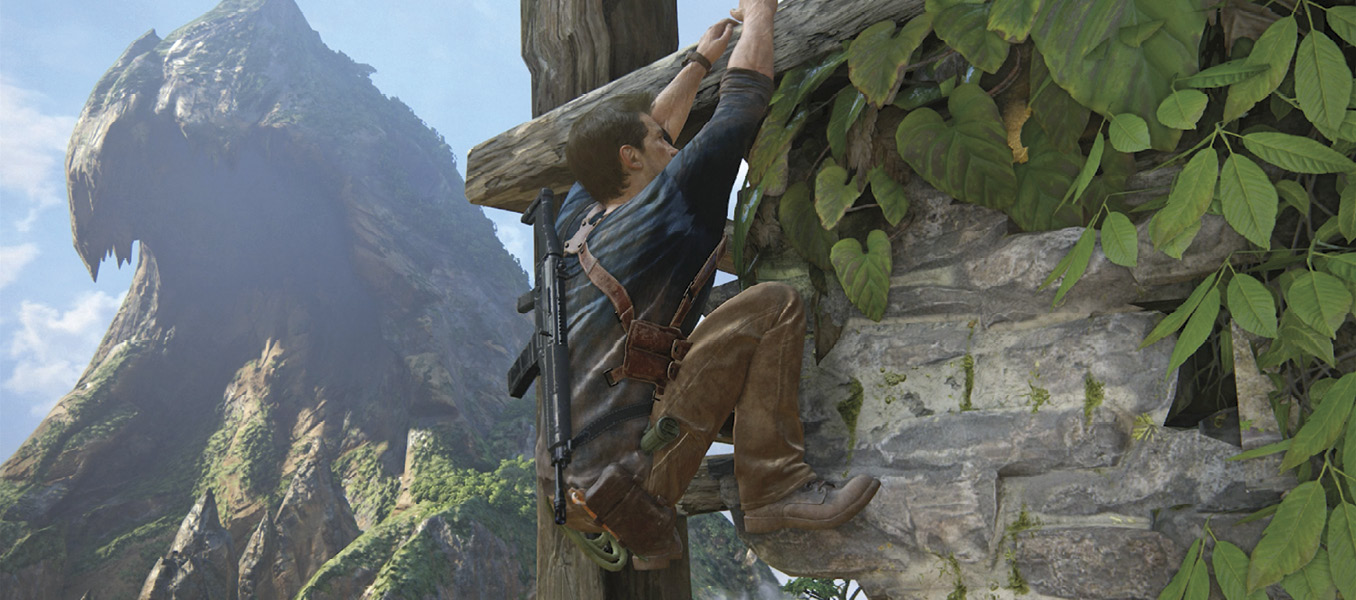
Swinging
When you find yourself hanging from a pole, you can either continue shimmying to an adjacent pole or you can swing and release to your destination. While gripping a pole with your hands, tilt the left stick in the desired direction. You do not need to swing back and forth with the control stick—this is actually counterintuitive. Simply tilt forward to swing Nate back and forth. As soon as you reach full swing, release from the pole using the Jump button.
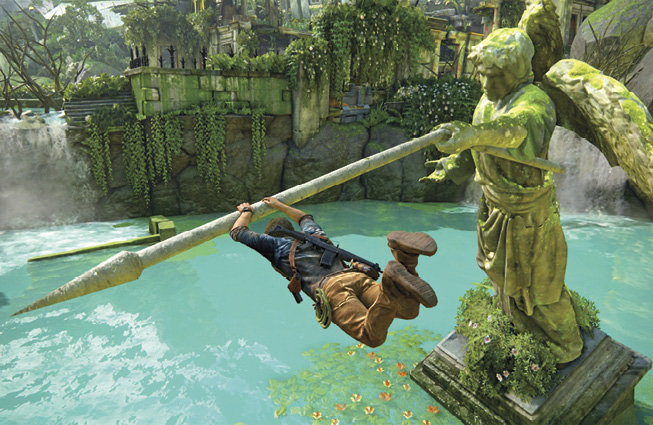
Position Switch While Hanging
Sometimes a position switch is required while hanging from a pole. This means that the direction you are facing when you initially latch onto the pole is the opposite direction you need to be facing. To flip positions and face the opposite direction while hanging onto a pole, either position the camera so that you see Nathan’s face and tilt the left stick forward, or just tilt the left stick back or downward without adjusting the camera. It’s the opposite of the swing command.
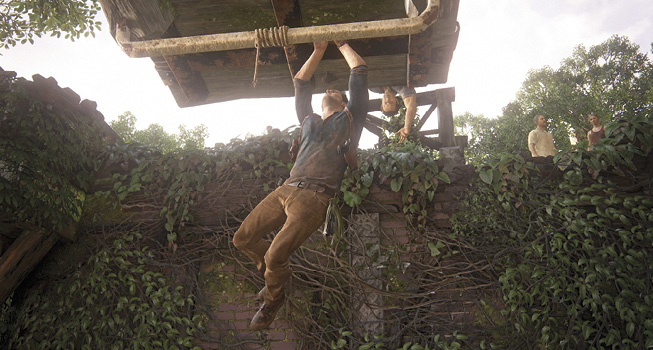
Grapple
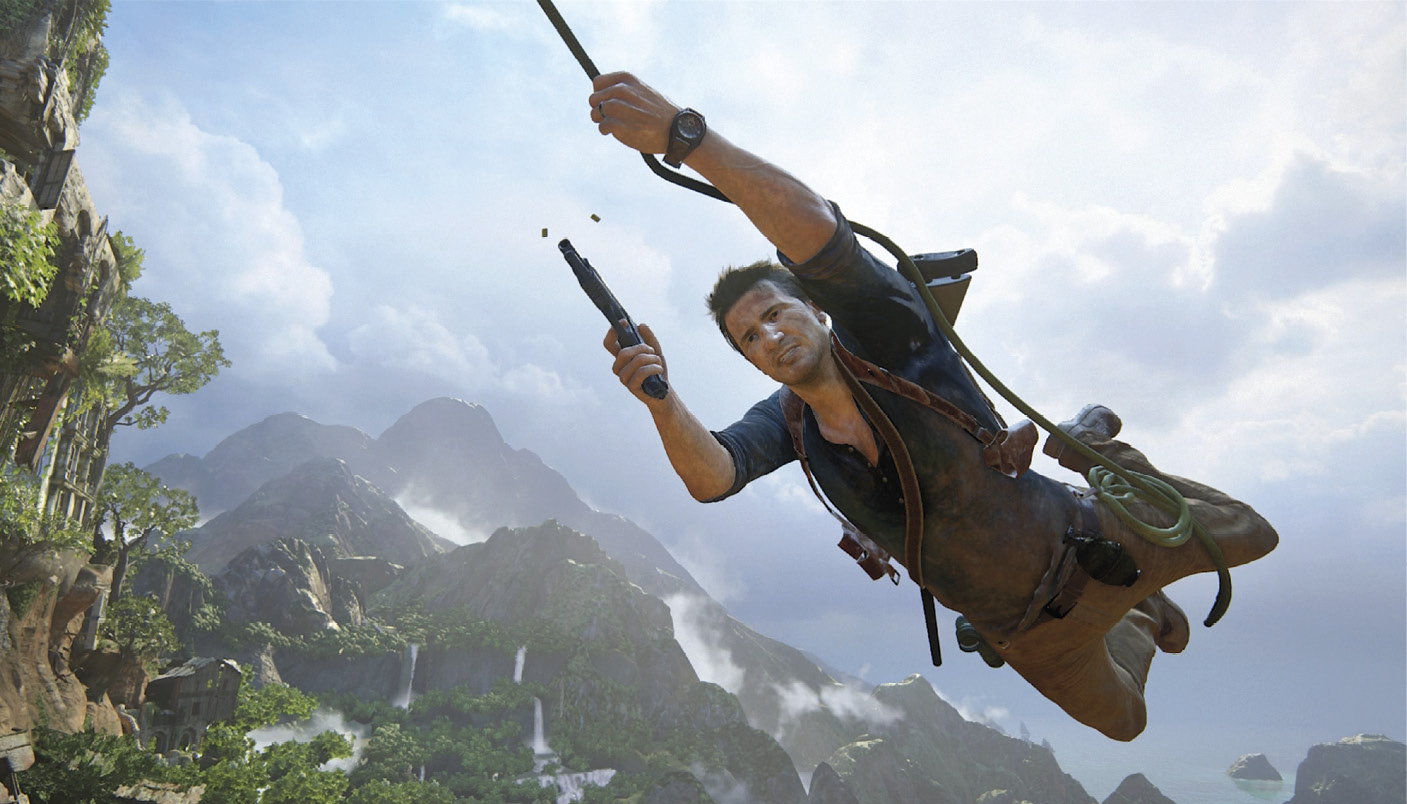
Sam introduces Nathan to the grapple rope at a very early age and, as years have passed, the brothers have become extremely familiar with the hook and rope. You could say they have become master-grapplers. The grapple rope has multiple uses. It can be used to pull objects into new locations, or it can be used as a means to overcome colossal gaps in your path that would otherwise be impossible to traverse. In Multiplayer mode, the grapple hook can actually be used as a blunt melee weapon.
 Grapple Rope Hooking
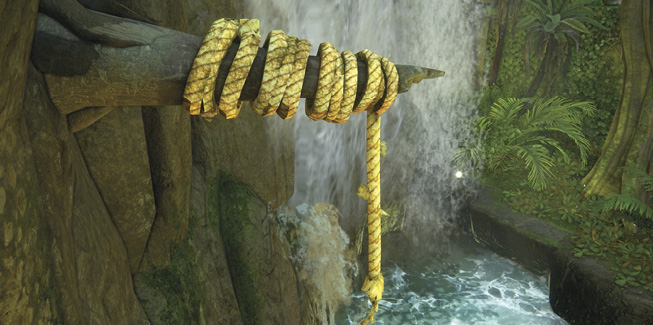
Locations that can be hooked with a grapple rope all have a small amount of rope wrapped around them with a strand hanging from the end of a knot. These grapple hook locations are also identified with a grapple hook icon. When you are within range of hooking a grapple location, the grapple icon changes to the interact icon, which identifies the command to perform the grapple hook throw. In some instances, you first hook the rope to the grapple location while on foot and then leap over a nearby ledge to perform the swinging challenge.
Grapple Rope Swinging
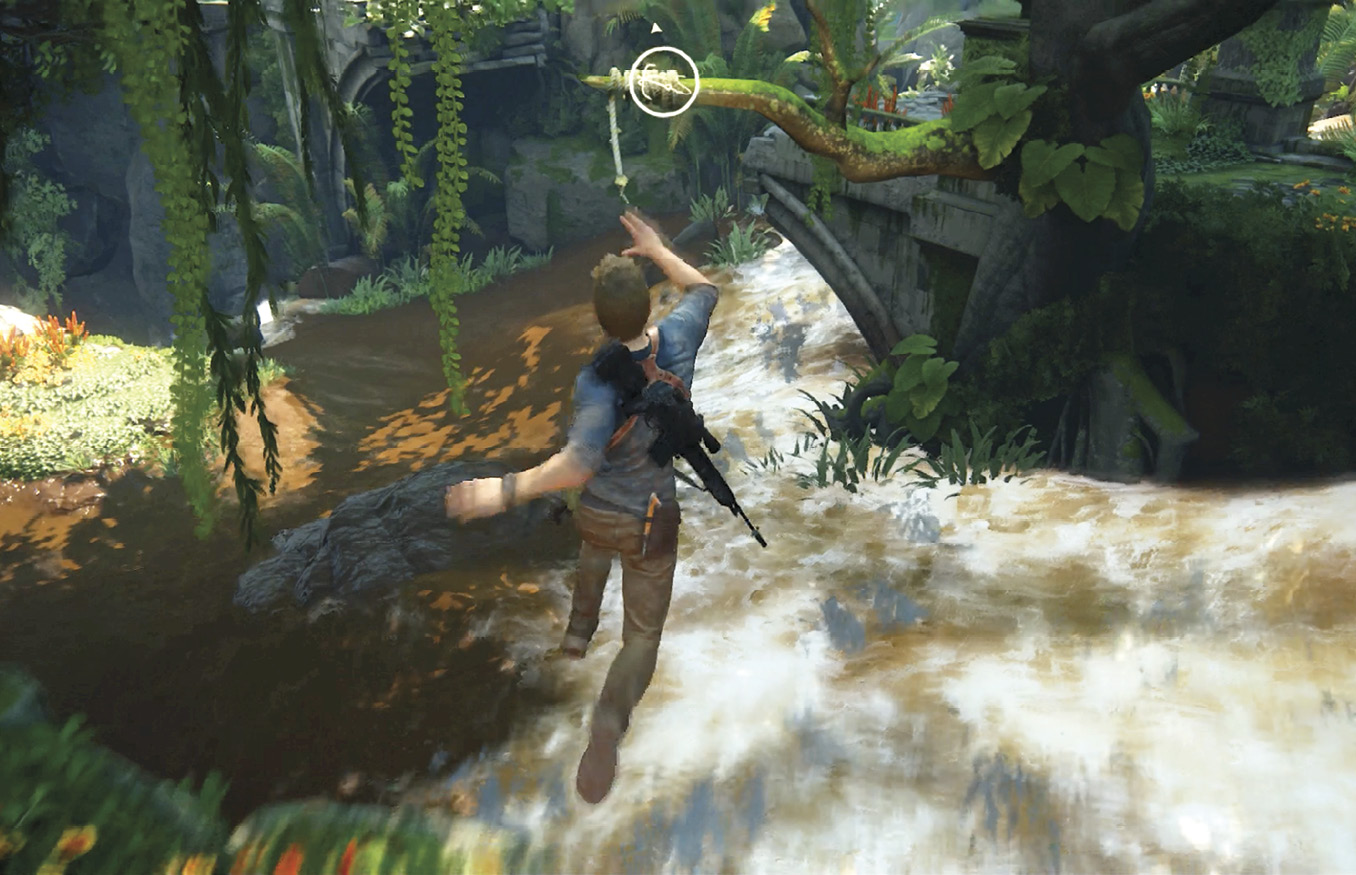
You can often hook to a grapple location while your feet are still on the ground. You can also opt to leap off a ledge first and then throw your rope to attach to the grapple location. However, if you wait too long to throw the grapple, you’ll fall out of the hook’s range and likely plummet to your death.
Once you are attached, swinging from a grapple rope is similar to swinging from a pole but with one huge difference: When grapple rope swinging, pulling back on the left stick actually shifts your weight back to create a bigger swing arc. You get the most powerful, longest swing when you run and jump off a cliff and then attach the grapple rope. In many grapple locations, one forward swing is all that is needed to reach your destination.
Grapple Rope Reeling
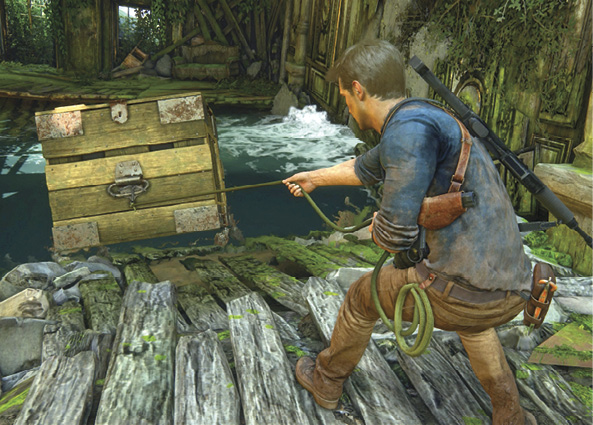
The grapple hook can also be used to pull crates into strategic locations, allowing you to reach otherwise unreachable heights. The grapple icon appears on the portable crate when you approach it; when you move within throwing range, the icon changes to identify the command needed to perform the grapple attachment. In most cases, once the rope is attached, you simply need to hold L1 to reel the rope in; thus moving the crate closer to you. Sometimes the crate doesn’t move as far as needed. In this case, you must move the crate with your hands using  . This button can be released as you move the box around using normal directional commands with the left stick. Sometimes moving a crate with your hands will be the only option.
Rope Climbing & Shooting
Besides swinging and pulling things with the grapple rope, it’s sometimes useful to climb higher on the rope than where you originally latched onto it. To do this, press and hold L1 and tilt the left stick forward to climb up and backward to slide down the rope.
It is also possible to hold the rope with one hand while using weapons with the other. Unlike ledge hanging, you also have access to your rifle weapon slot while on the rope. Basically, there are no weapon restrictions when on a rope.
Releasing the Grapple Rope
Press to detach the rope while your feet are on the ground. Or simply jump from the rope to a surface or grip point and the rope will automatically retract.
Sliding
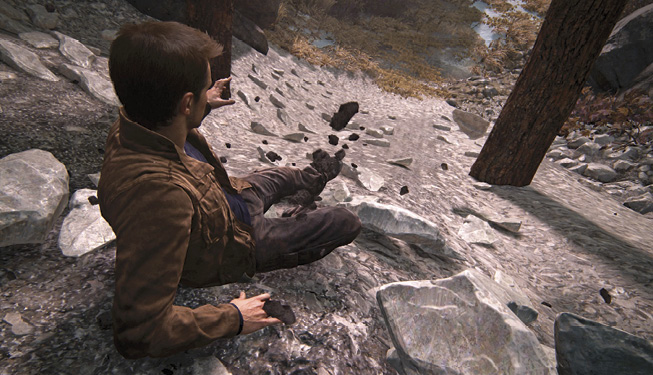
During your adventure, you will encounter many surfaces where you lose your footing and then begin to slide. As you slide, you have some directional control. This is all done by shifting your weight left or right using the left stick. Sometimes it is not necessary to steer your slide, but others it is a matter of life and death. Many slide surfaces end with a drop. When this is encountered, simply jump at the end and either hook your grapple to a grapple location or jump to the nearest ledge or grip point. Your slide speed is increased by three times when playing in Crushing mode.
Swimming
Nathan automatically treads water when it’s over his head. Tilt the left stick to control your swimming direction. Press to submerge and continue to hold it to dive deeper. Press to swim upward to the surface. When using the left stick to swim underwater, the camera control also plays a role in the direction you swim. If you point the camera toward the surface of the water, you swim in that direction (upwards); the same can be done if you hold while swimming forward. This is also true for swimming downward and using or the down camera angle.
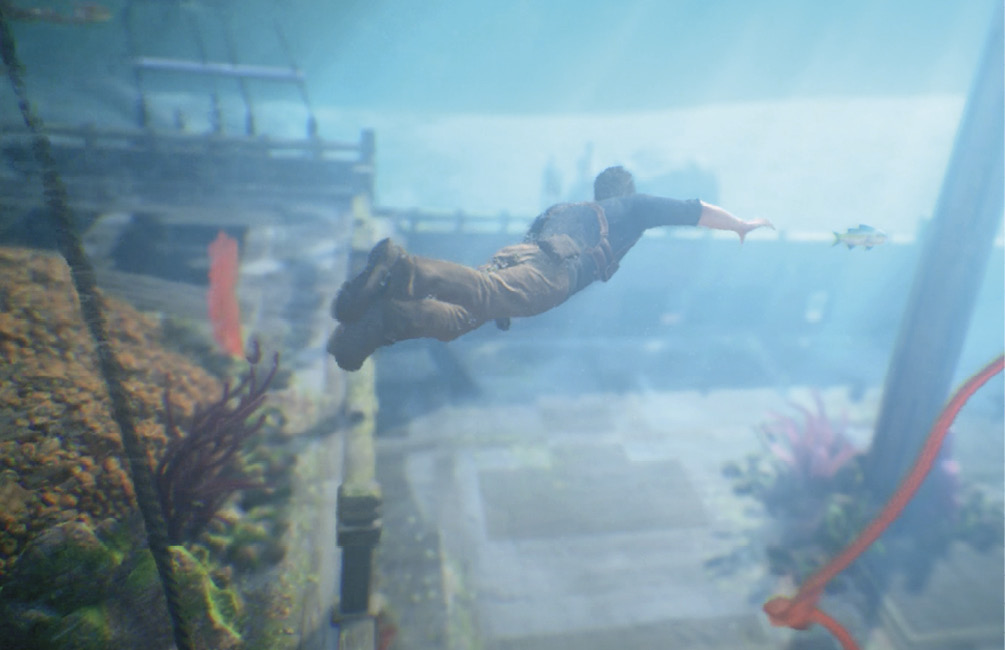
You can only hold your breath for a limited time (unless you are equipped with an air tank). Forty seconds is about the maximum amount of time you should spend underwater before considering coming up for air. The screen starts going dark blue as you run out of oxygen. The controller begins to shake in rhythm with the sound of your increasingly loud heartbeat. This is an indication it’s time to surface for a breather. After 42 seconds underwater you drown.
Piton Climbing
The piton is found stuck in the side of a canyon wall during one of your rock climbing adventures. This metal spike tool (pronounced, Pee-Ton) is to give you a manmade grip point in the side of a cliff. The areas where a piton can be used are identifiable by their porous surface; it looks like an area where many climbers using pitons have pierced the rock before. Reach as far out onto the penetrable porous surface as you can and then press to bury the spike into the canyon wall. Then it becomes like a grip point that you can pull yourself up to and then reach the next grip point.
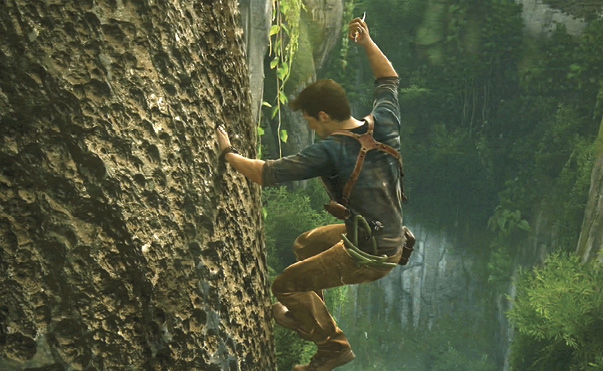
Sometimes your only salvation will be jamming the piton into the side of a penetrable area to keep you from falling to your death. Press if you need to release the piton’s grip on a canyon wall and drop yourself to a lower grip point.
Using Vehicles
4x4
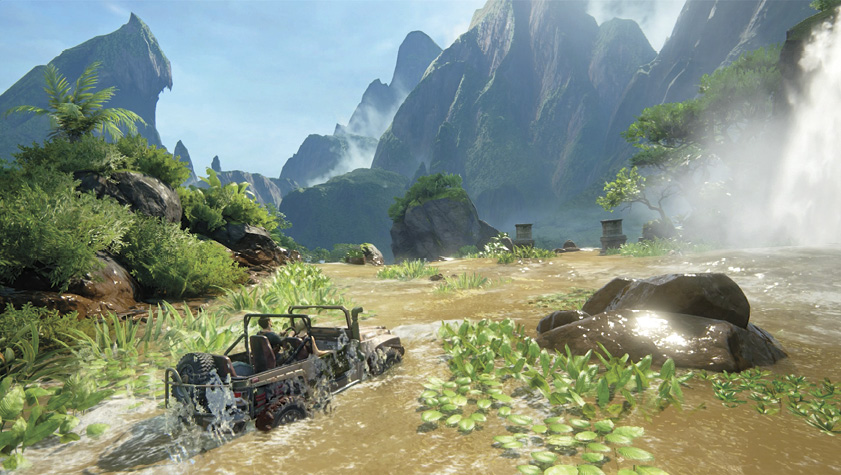
Enter and exit vehicles by pressing . This can be done while walking, running, or even jumping toward the vehicle. You can honk the horn using the Touch Pad and steer the vehicle using the left stick. Accelerate using R2, brake and reverse using L2, and apply the handbrake by pressing . Center the camera behind your vehicle by pressing R3. Burnout by holding + R2 and then releasing the handbrake. Do donuts by holding the handbrake while accelerating and then turning the steering wheel left or right. The 4x4 is an all terrain vehicle that goes through waist-high water and climbs muddy, slippery slopes. The vehicle holds up to three occupants and no insurance is required.
Winch
The winch is mounted to the front of the 4x4. When it can be used, a winch icon appears on the large, red metal hook on the front bumper. Walk up to it and press to pull the hook off the bumper and extend the metal cable. When you walk away with the winch hook in your hand, it unwinds the metal cable from the winch gear on the 4x4. A winch icon is also used to identify objects that the winch cable can be wrapped around.
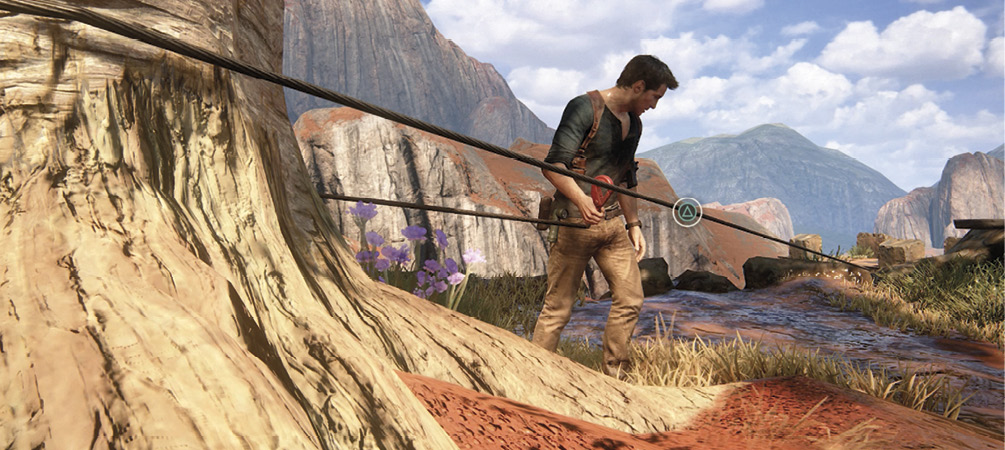
With the winch cable in hand, walk around the object and then attach the hook end of the winch cable to the cable leading to the 4x4 and secure the hook by pressing where prompted along the cable. Now that you have a loop around the object, you can pull the vehicle up to the attached object or drive backwards to pull an object toward you. Most of the time, you must unhook the winch loop before driving off. Approach the winch loop and press where prompted on the cable loop. Press to let go of the winch hook and allow it to automatically reel back on the winch.
Boat
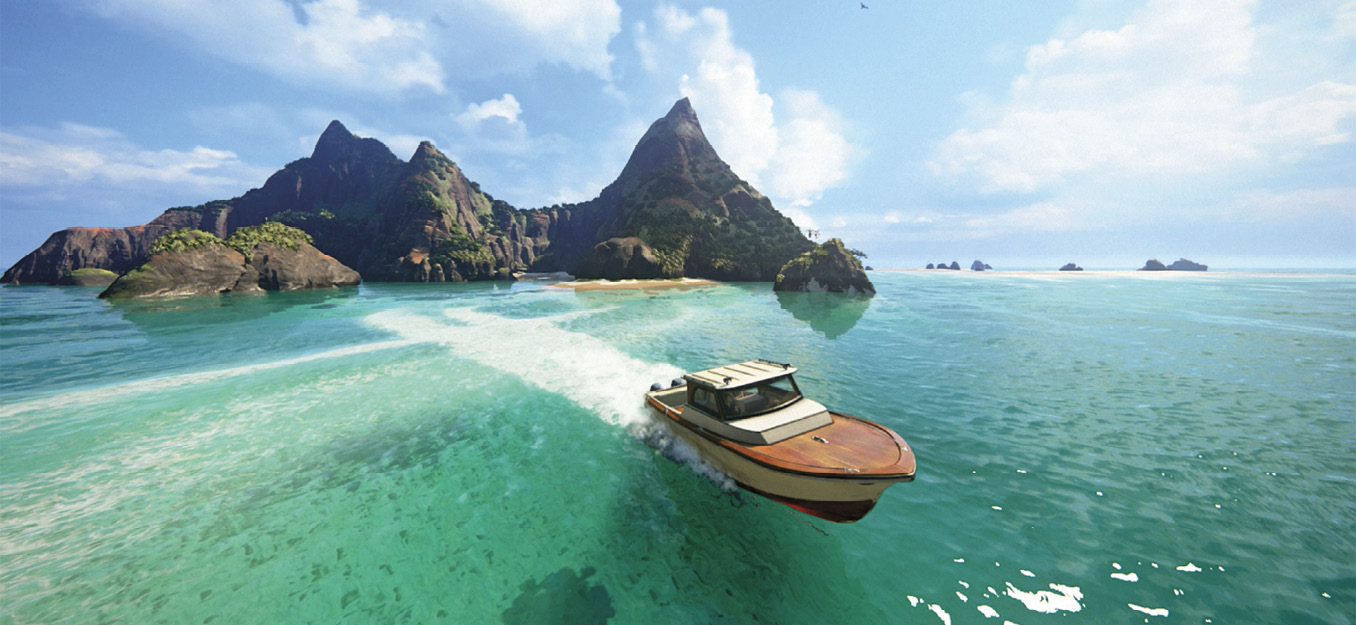
Press when near the boat’s steering wheel to take control of the navigation. Accelerate using R2, and slow down by putting the engines in reverse using L2. Continue to hold L2 after stopping to move in reverse. When you are swimming, press to latch onto the side of the boat.