Uncharted 4: A Thief's End Guide Story Walkthrough
Chapter 7: Lights Out
Get ready for some crazy climbing through the labyrinthine Rossi estate. And a full alert means the place is crawling with heavily armed security. Black marketeers don’t take kindly to stealing their precious wares. This chapter introduces stealth concepts and play, so it’s a lot of fun.
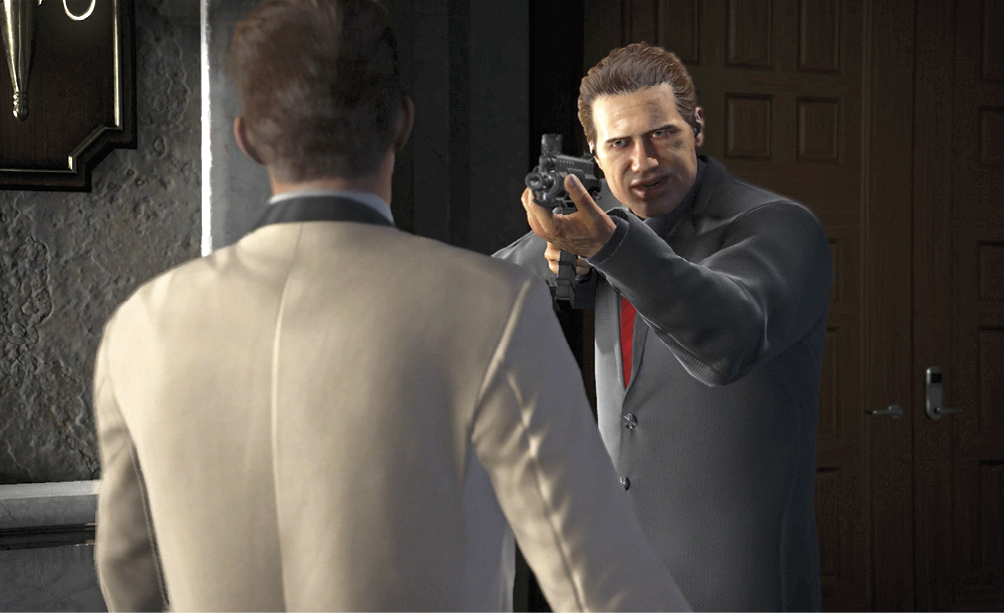
CollectiblesNew Weapons: Fossa R-81, Spezzotti 12 Gauge, XCR (only available here), Condor (Crushing mode only) |
Climb Across the Estate
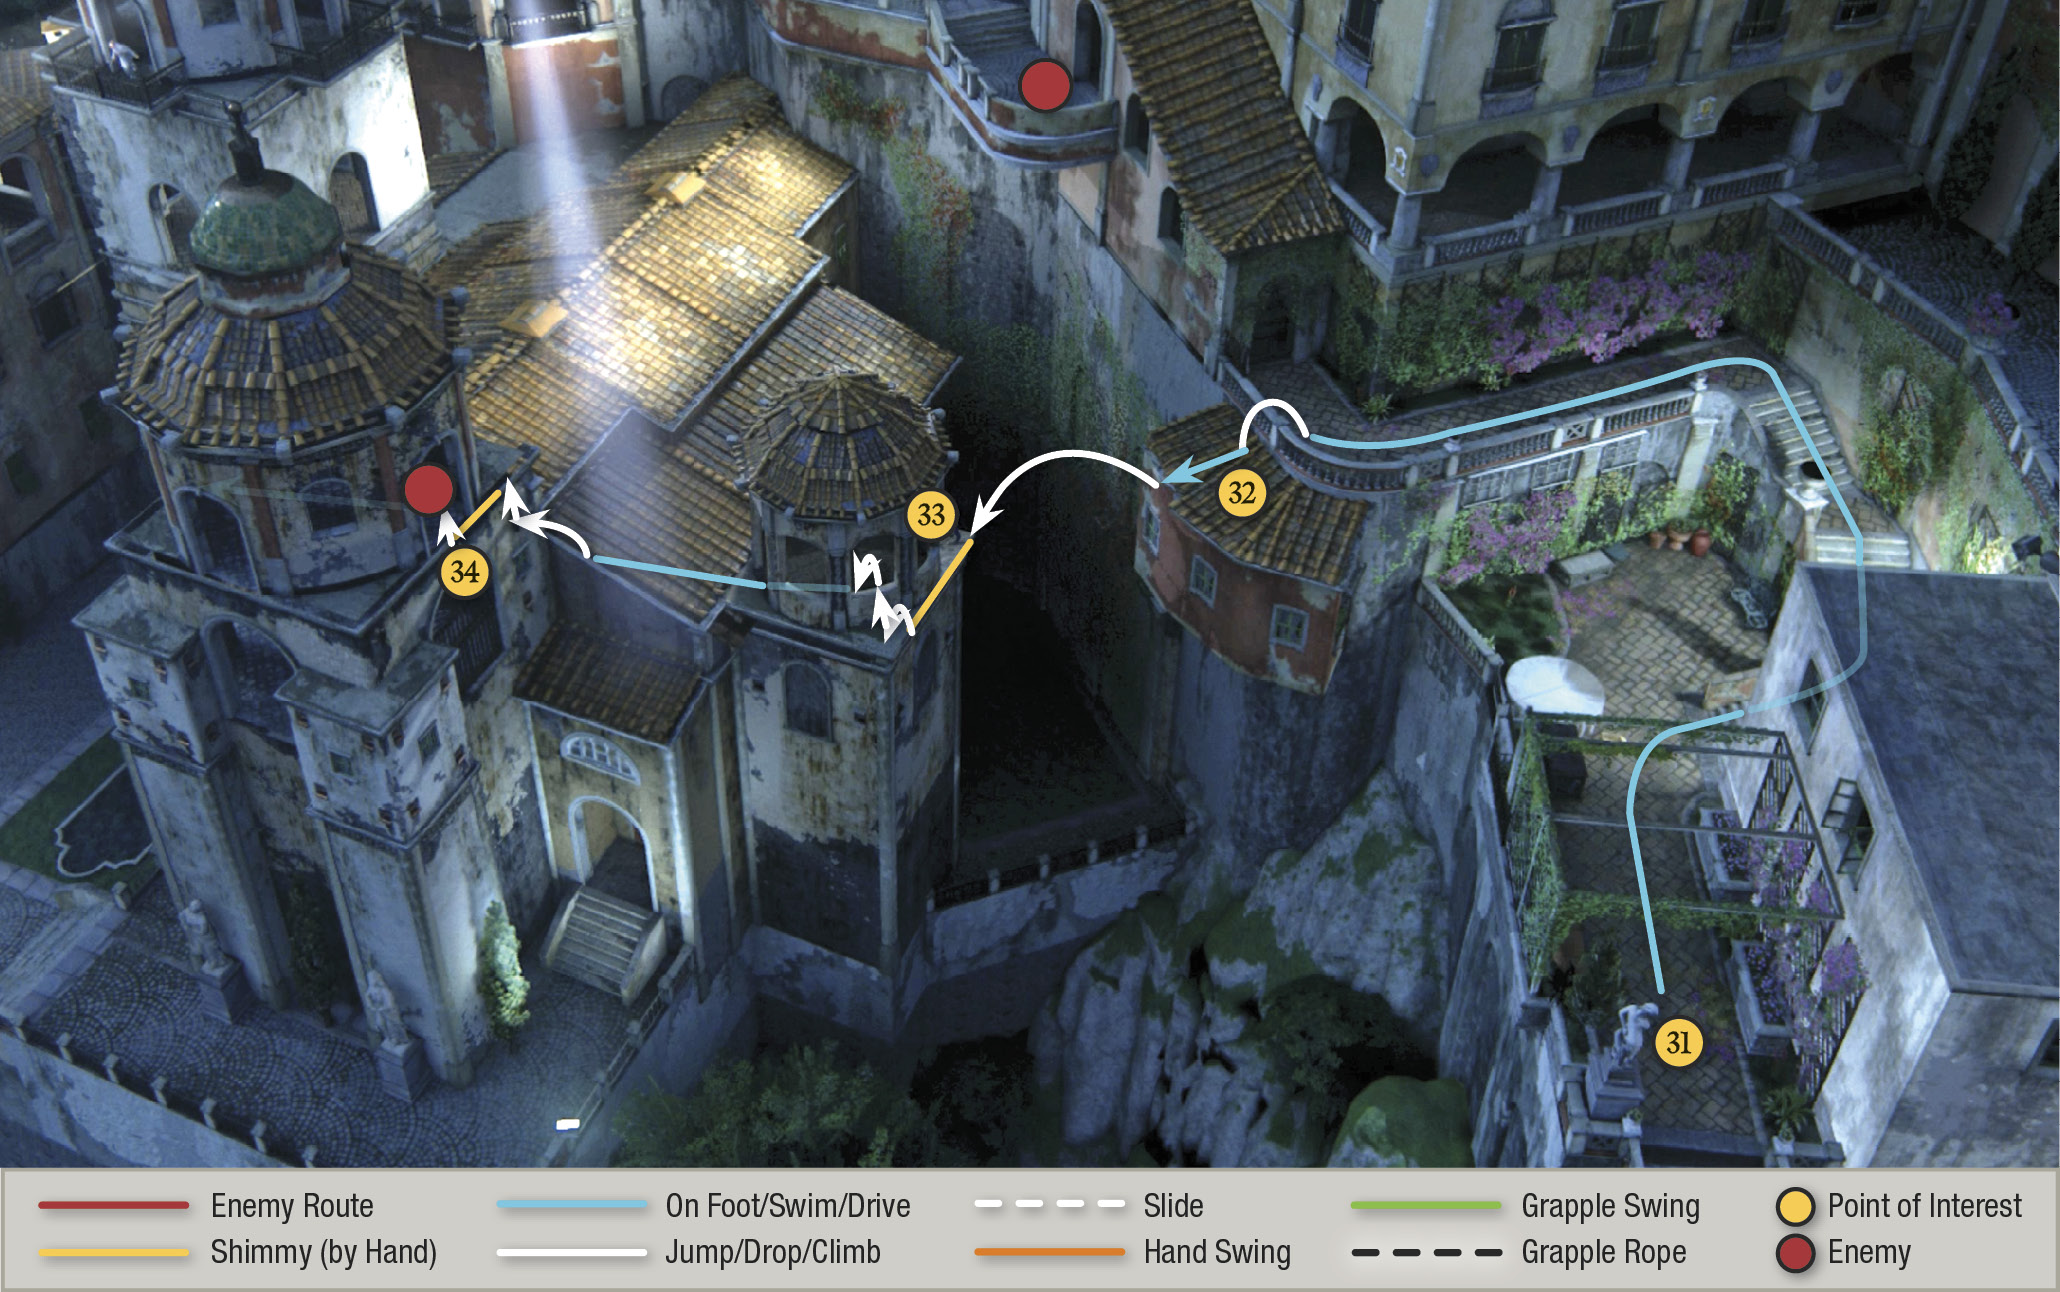
From your starting point (31), follow the walkway up the stairs and hop over the railing onto the narrow tiled roof (32). Jump across to the next ledge (33); Nate barely grabs hold. This triggers a quick tutorial on enemy awareness levels. (Be sure to check out the “Enemy Awareness” section under “Stealth” in our Basics chapter.) Advance through it by tapping  , then shimmy to the left and take cover inside the rooftop gazebo. See all the flashlight beams looking for you? You can avoid them if you move carefully.
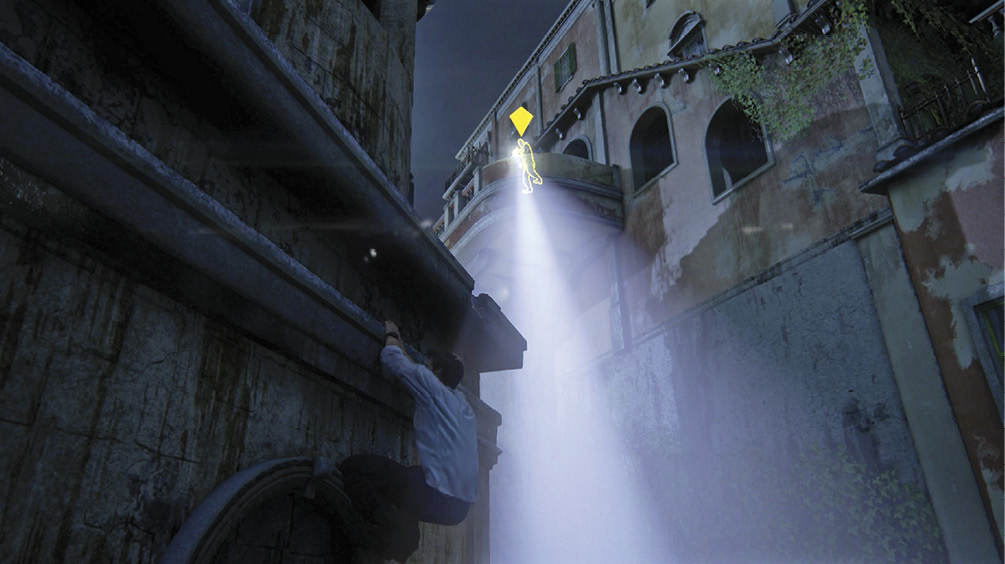
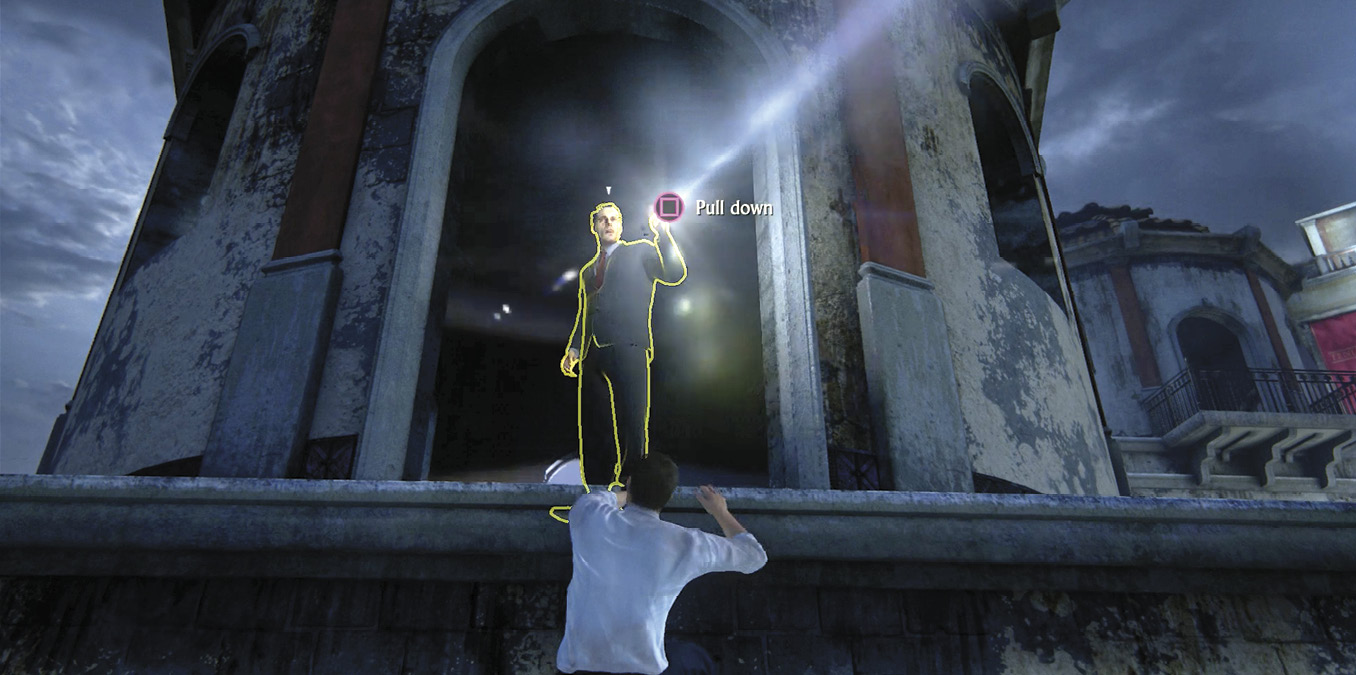
Wait until the beams swing away, then run up the sloped roof and jump to grab the ledge on the left. Shimmy left until you’re hanging directly underneath the guard (34). Press  to grab him for a quick stealth takedown! Then climb up into the gazebo.
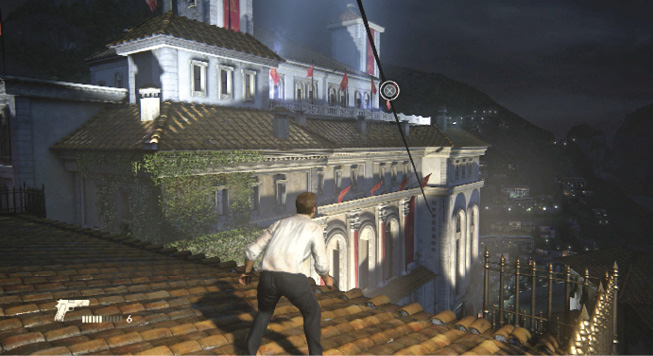
Creep across to the gazebo’s opposite door, wait until the searchlights move away from your location, and then hang from the ledge and drop to the ledge directly below (35). Hop onto the nearby tiled roof, then grab the ledge of the next roof. Slide around the corner all the way to the next wall. Use the wall handholds to crawl leftward to hang from the pole (36) at the next corner.
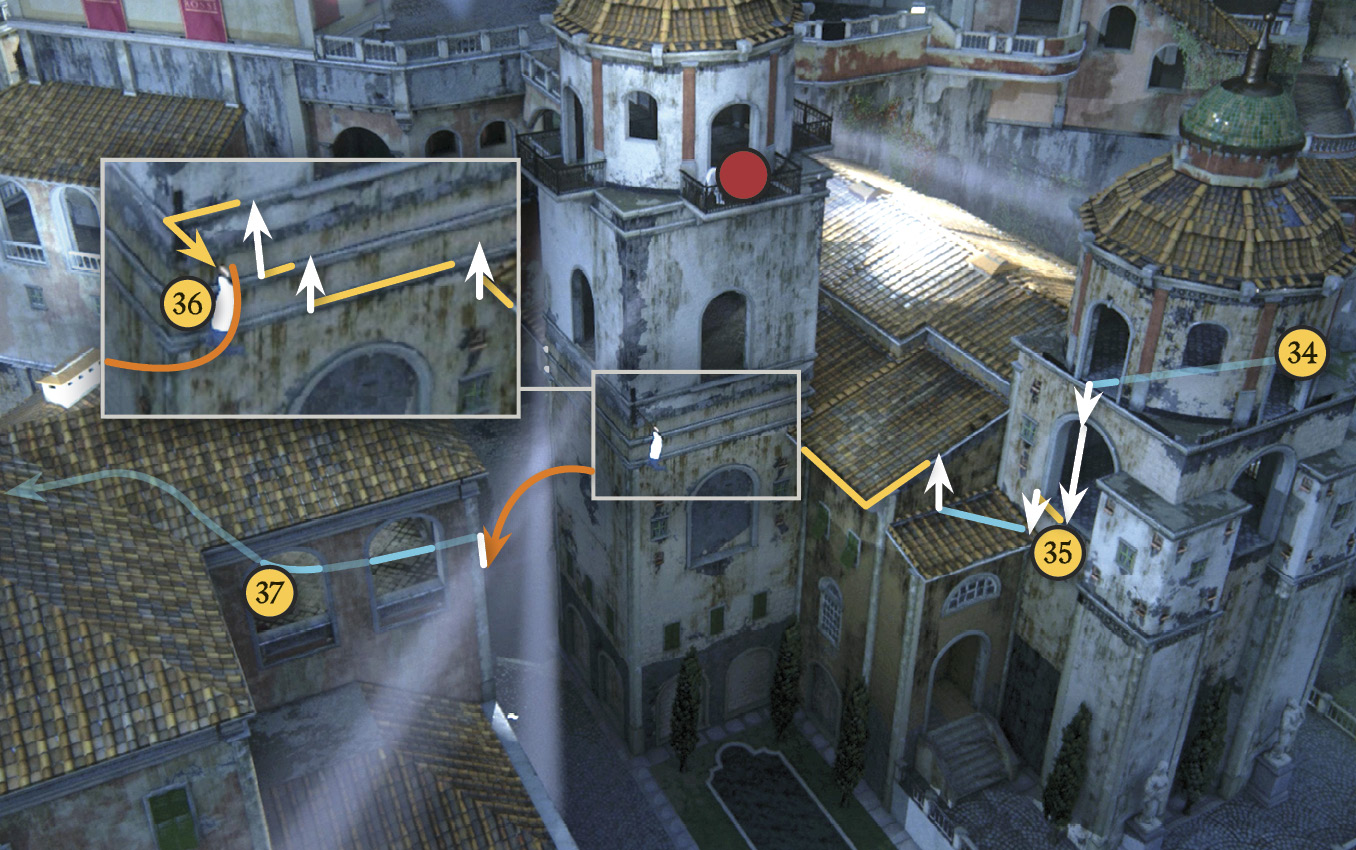
It gets tricky here: A guard directly above is flashing his light around on the next building. Before you swing across, watch the searchlight pattern for a few seconds. Time your swing for when the searchlight moves off to the left for a few seconds. Hurry! When you leap to the window, pull yourself up quickly and take cover inside so he can’t see you!
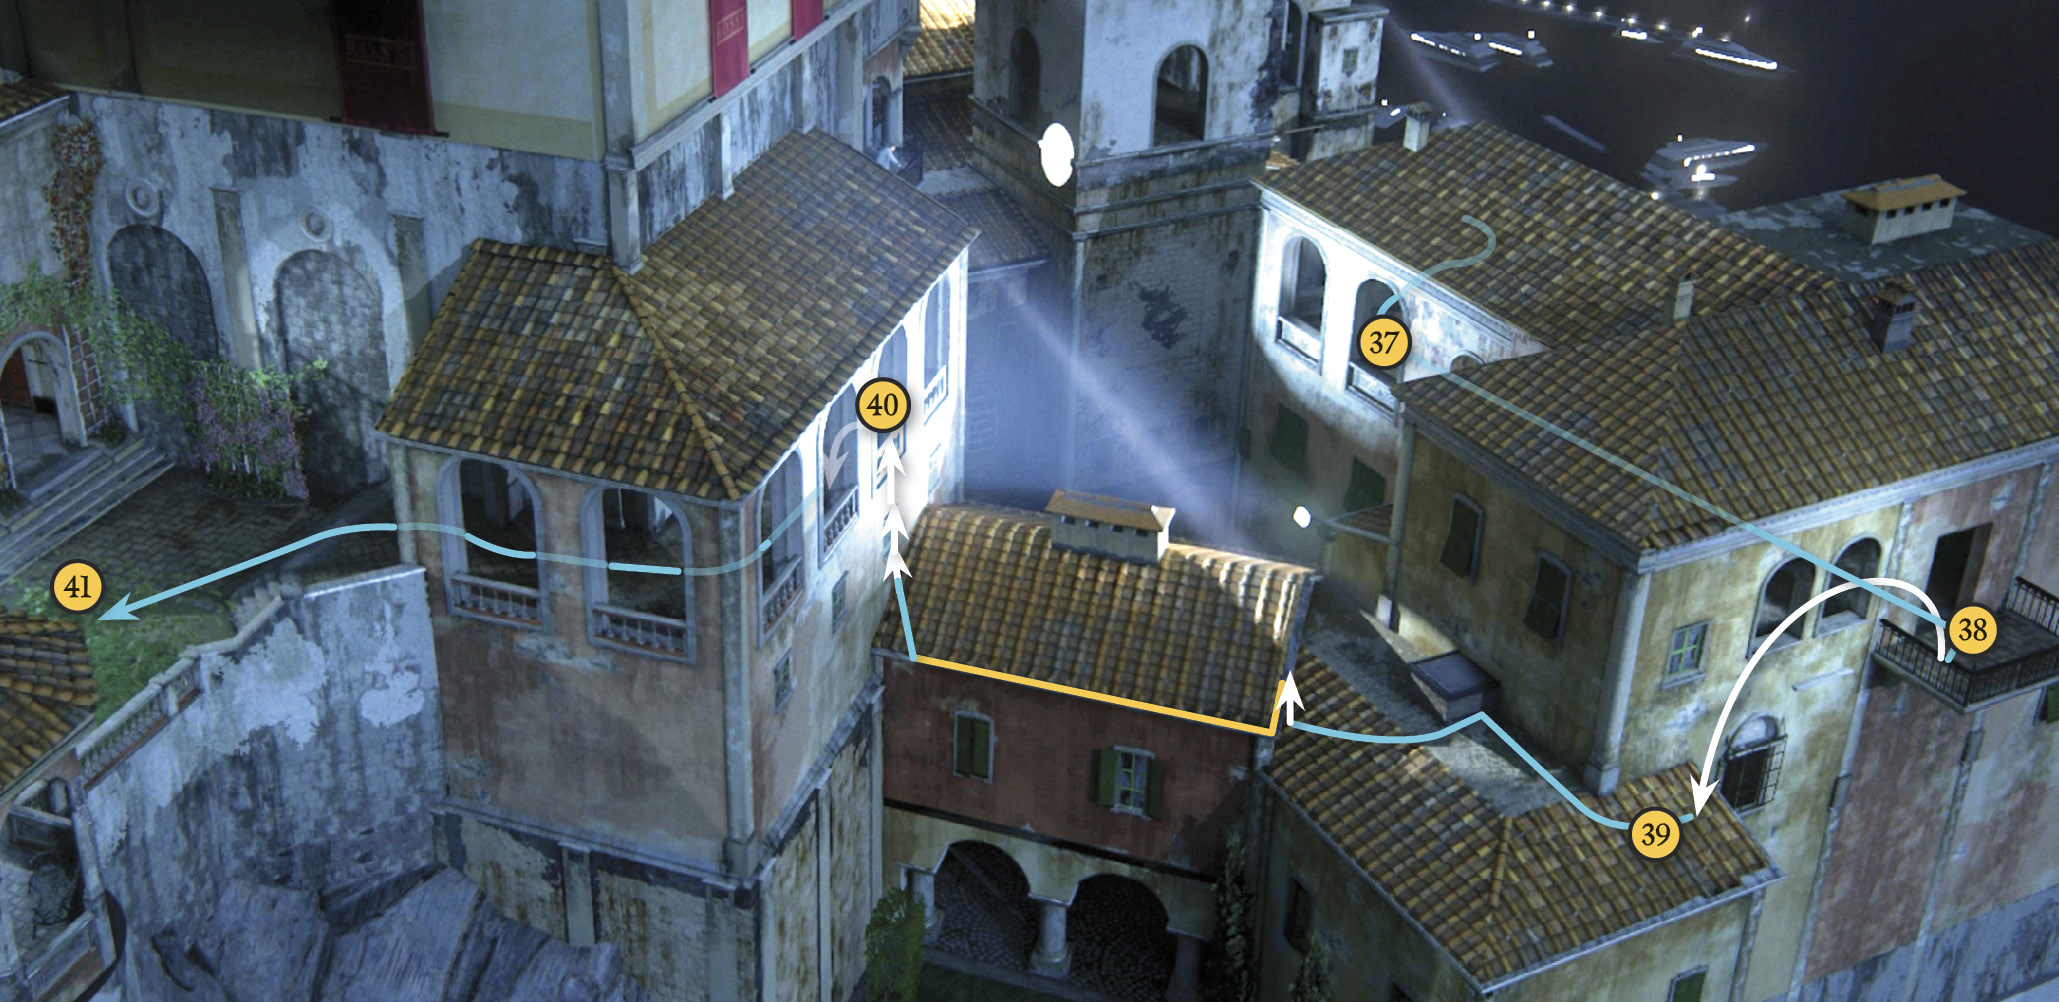
Proceed along the corridor (37) to the small balcony (38) outside the doorway on the opposite side. Vault over the balcony railing to the next tiled roof (39). Move around the corner and shimmy along the next roof edge, avoiding the flashlight beams. When you reach the next building (40), climb up into the enclosed porch.
Get to “Higher Ground”
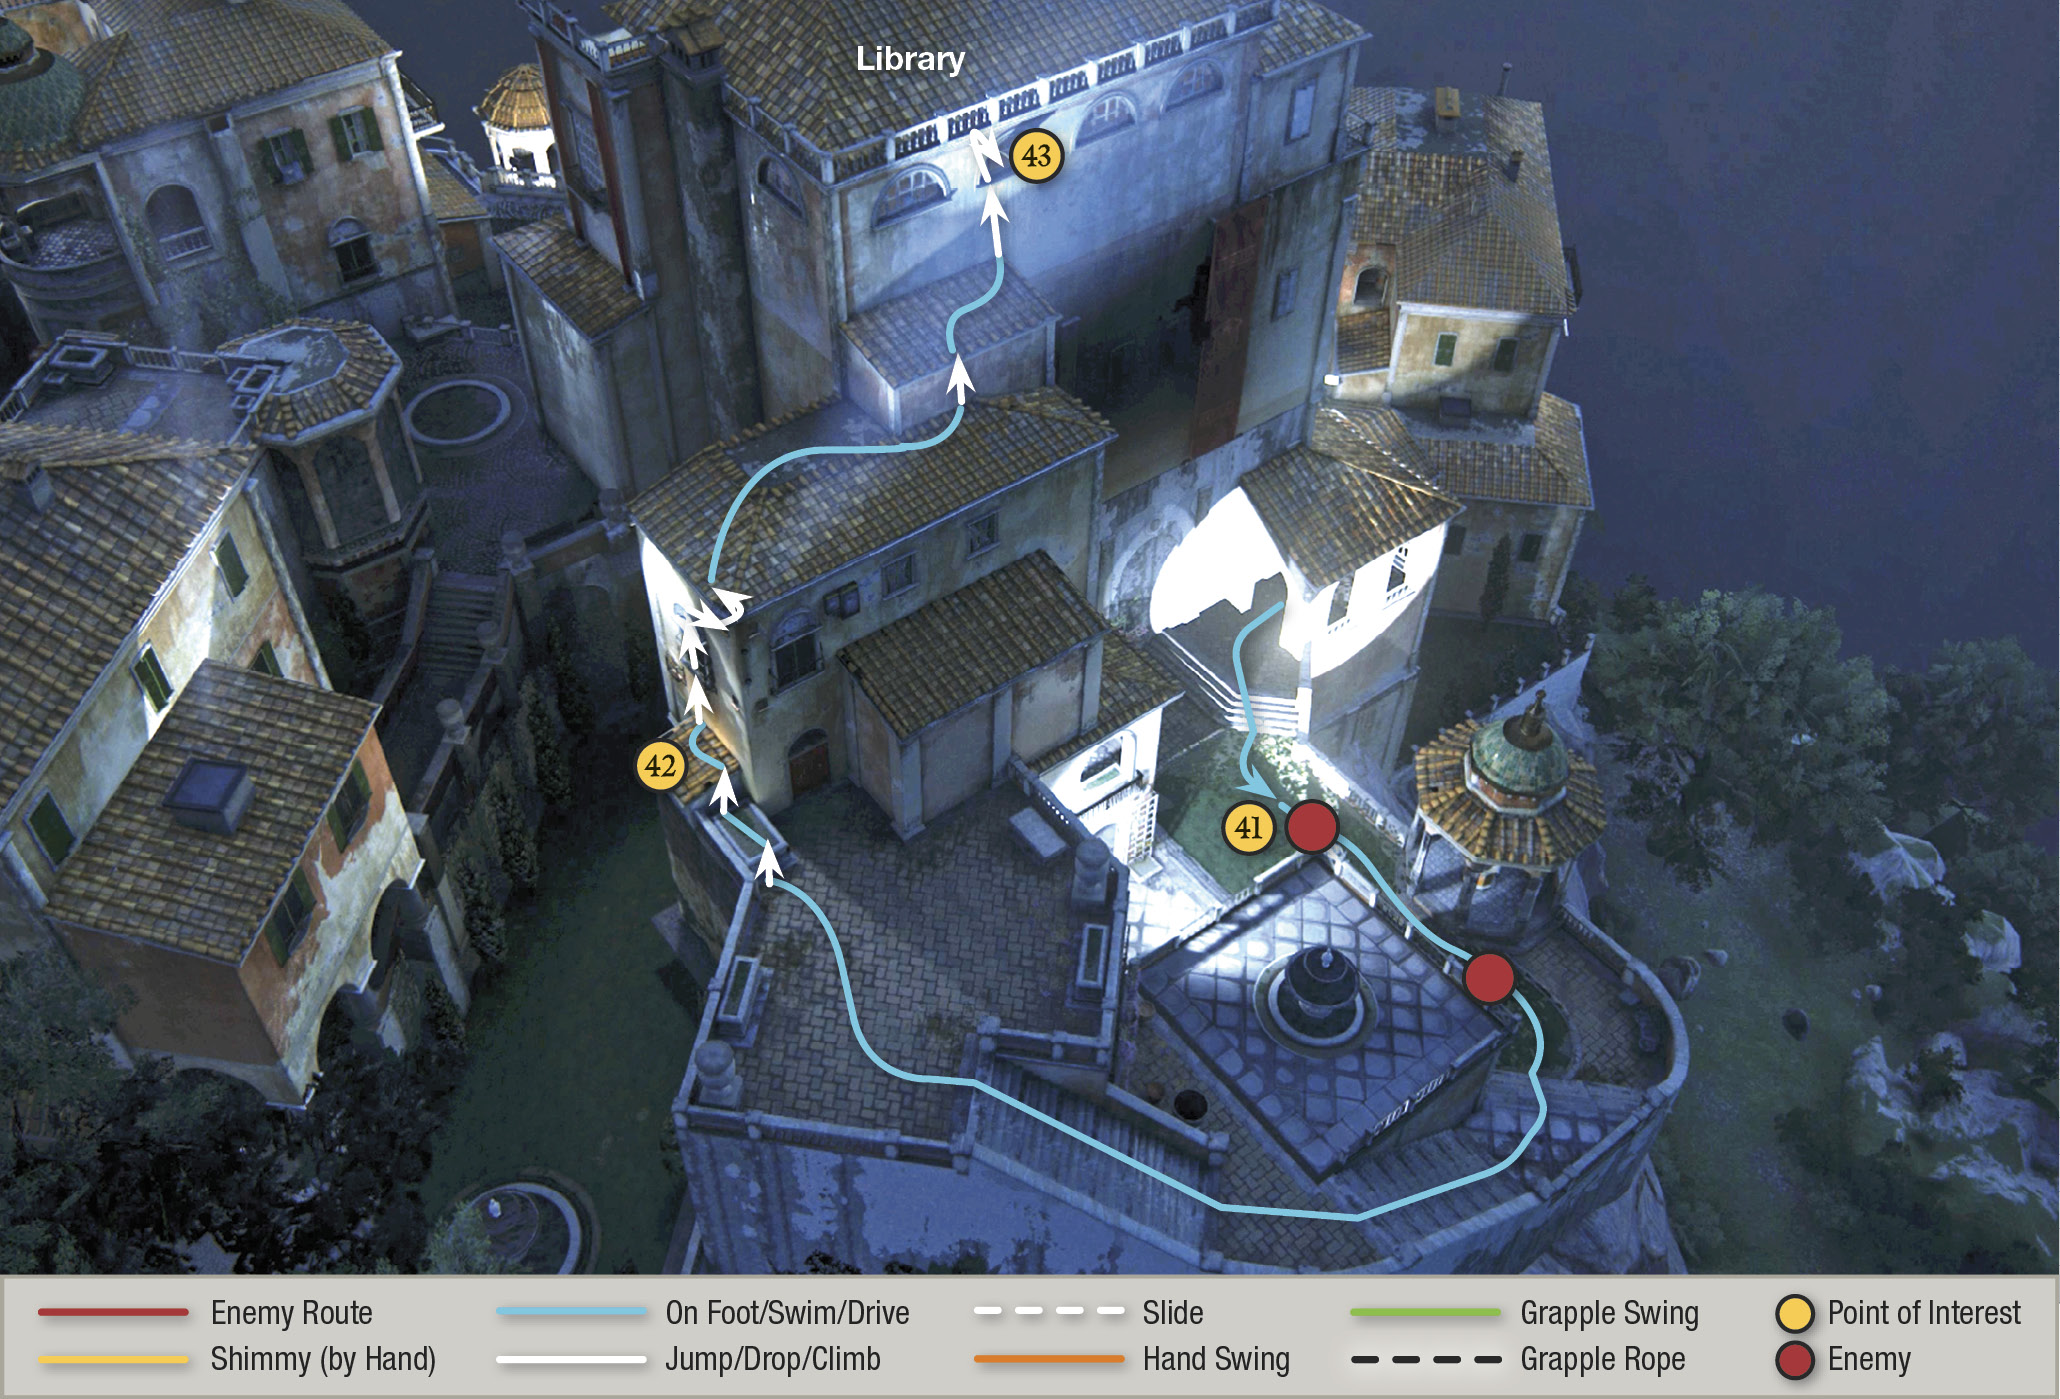
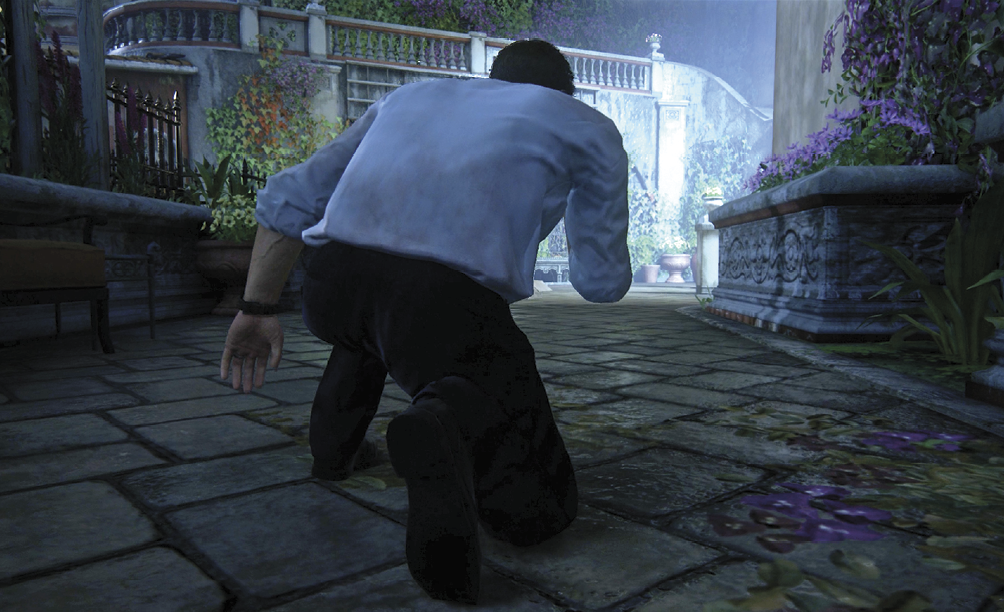
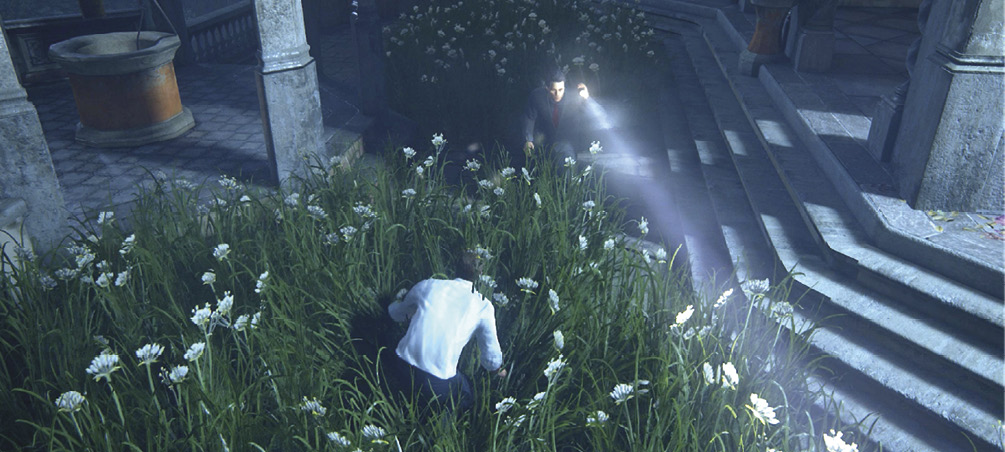
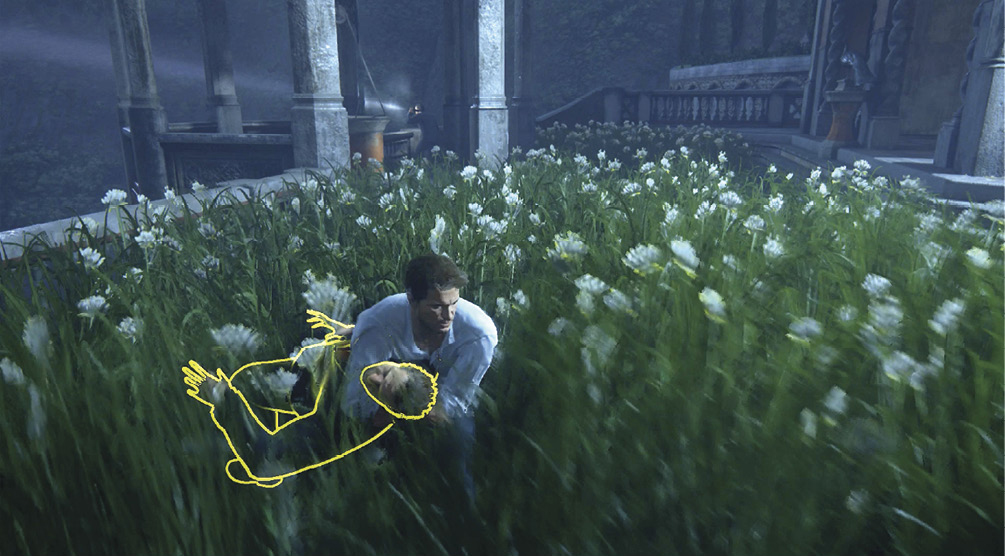
Nathan wants to climb to a good vantage point. Proceed into the patch of tall green plants (41). (The game calls it “tall grass.”) Wait until the nearby guard with a flashlight wades into the grass and approaches your position. Creep up and press to perform a stealth takedown. Do the same to a second guard who arrives.
Proceed up the stairs, cross the plaza, and climb onto the small tiled roof (42). Use the window and handholds above to climb to the next rooftop. From here, you can press L3 to spot the ballroom in the distance; Nate says the driveway (where Sully waits in the getaway car) is right in front of it. Move across the roof and climb the next roof. Then hop up to grab the sill of the open window (43) and climb inside. You drop into the estate’s library. Try to open the exit door to trigger a cutscene: Nathan runs into Nadine Ross.
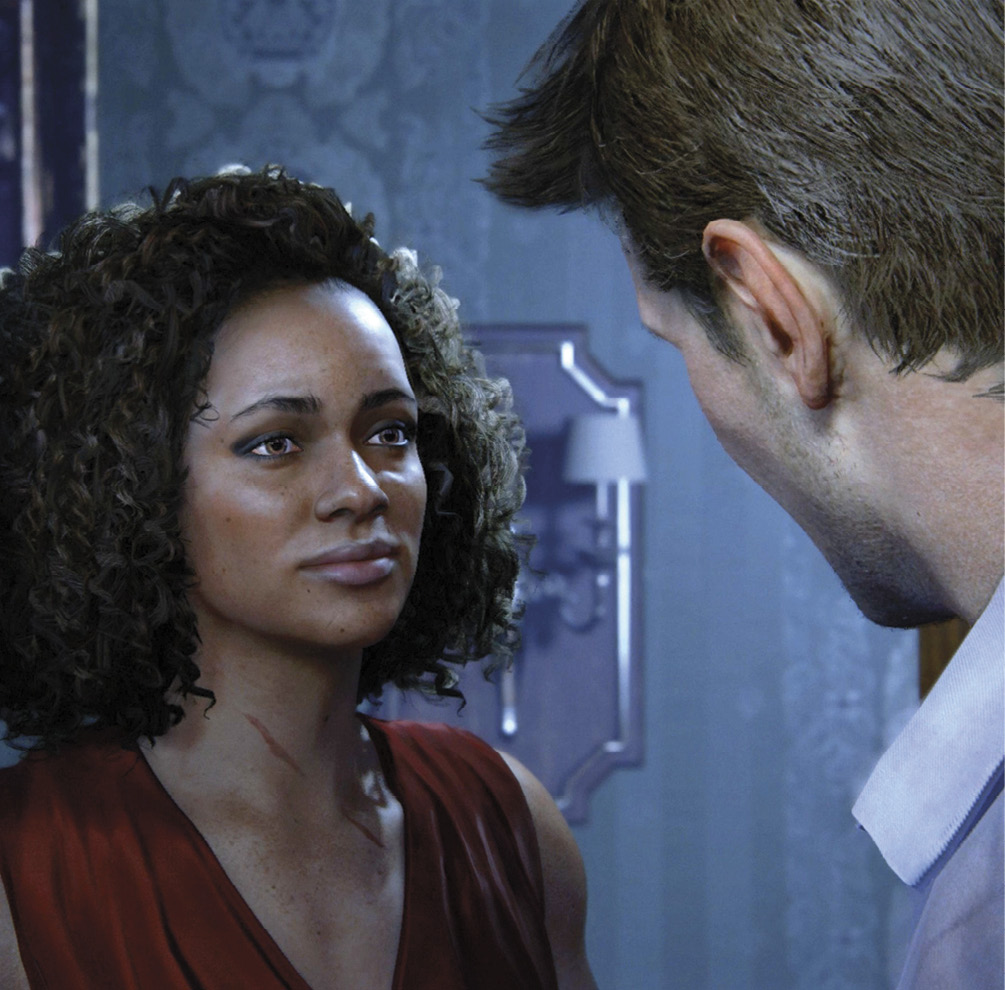
Fight Nadine
After Nadine roughs you up a bit, start fighting back. It won’t go well; Nadine is highly skilled in the combat arts. When she pins Nathan against the bookshelf and demands the artifact, you get three response options. Your choice doesn’t affect any of the subsequent action, but it’s fun to see Nate’s full responses:
Be specific. “Do you know how many artifacts I’ve collected over the years? You’re gonna need to be more specific.”
It’s not yours. “Did you know that all the artifacts here…are stolen? They belong in a museum!”
Bargain. “Alright, fine. I have this nice astrolabe back home. I’ll give it to you for a fair price.”
Of course, none of these replies will mollify Nadine. Keep fighting until she does a scissor-leg takedown of Nate. Now you get three more dialogue choices:
Evict from premises. “You know, you’re breaking a lot of expensive stuff in here. If you’re not careful they’re gonna kick us out of here.”
You’re not a chiropractor! “Okay, come clean. You’re no chiropractor. This technique is really not helping my back.”
Stick to smartass. “Well, you know. Being a smartass has gotten me this far in life. Why quit now?”
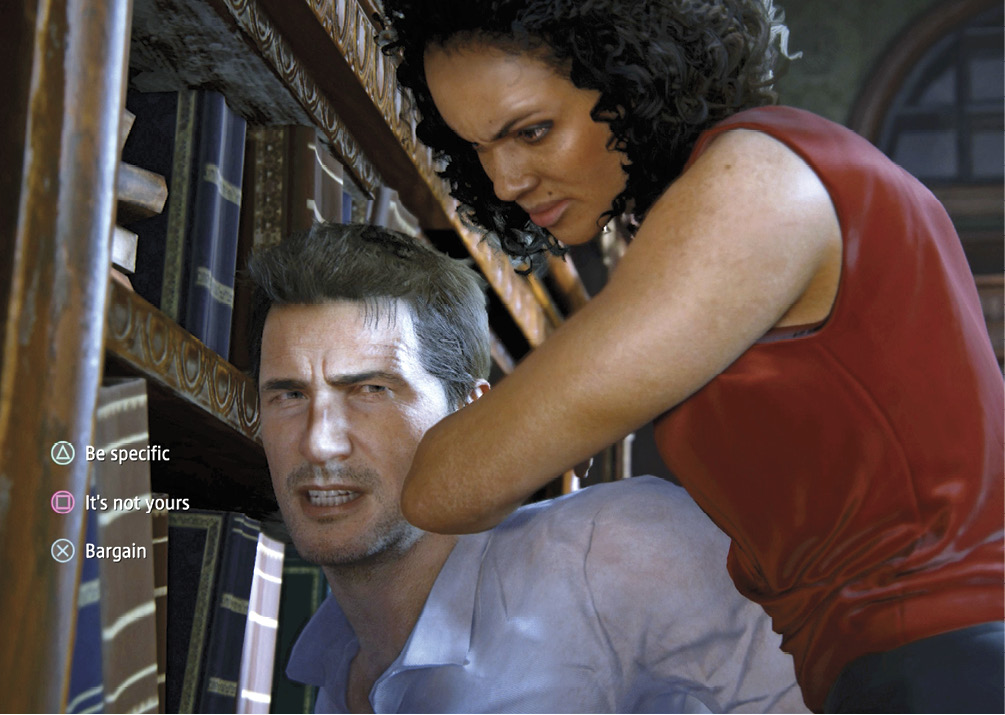
When Nadine pins Nathan against another bookshelf next to a window, he tells her the cross is in his back pocket. As Nadine reaches for it, the prompt appears onscreen. Press that button to continue the scene. Nate tries to KO Nadine, but she tosses him out the window. Fortunately, he snags a drape on the way out and manages to swing to a pole underneath.
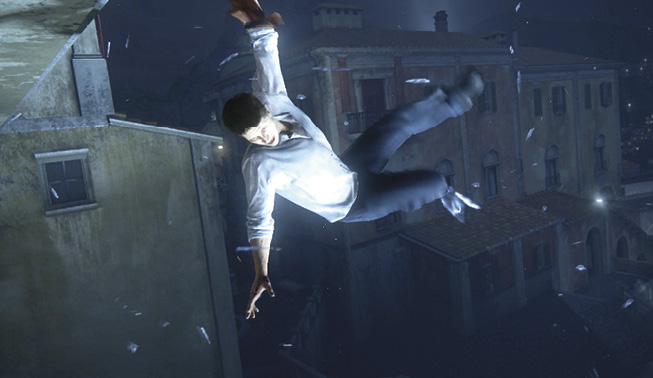
Get to the Ballroom
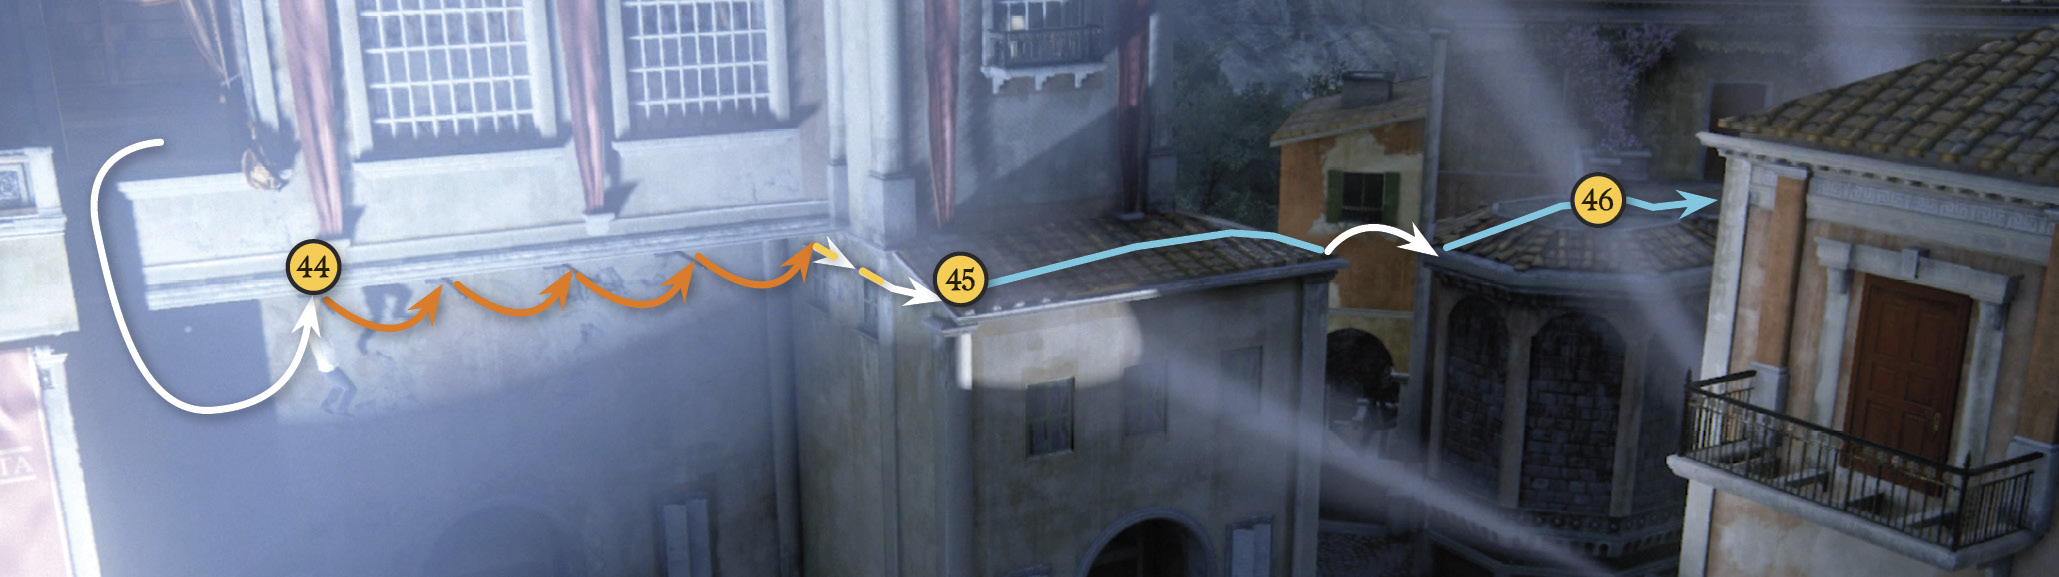
Control returns as Nathan hangs on the first pole (44). Sully reports that he’s at the car, and Sam says he’s waiting for Nathan with a gun at the “round sign thing.” Swing across the series of poles, leaping from the last one to the windowsill directly ahead. Climb rightward to the next window then onto the narrow tiled roof (45). Run along the roof and leap across the gap to the next roof (46).
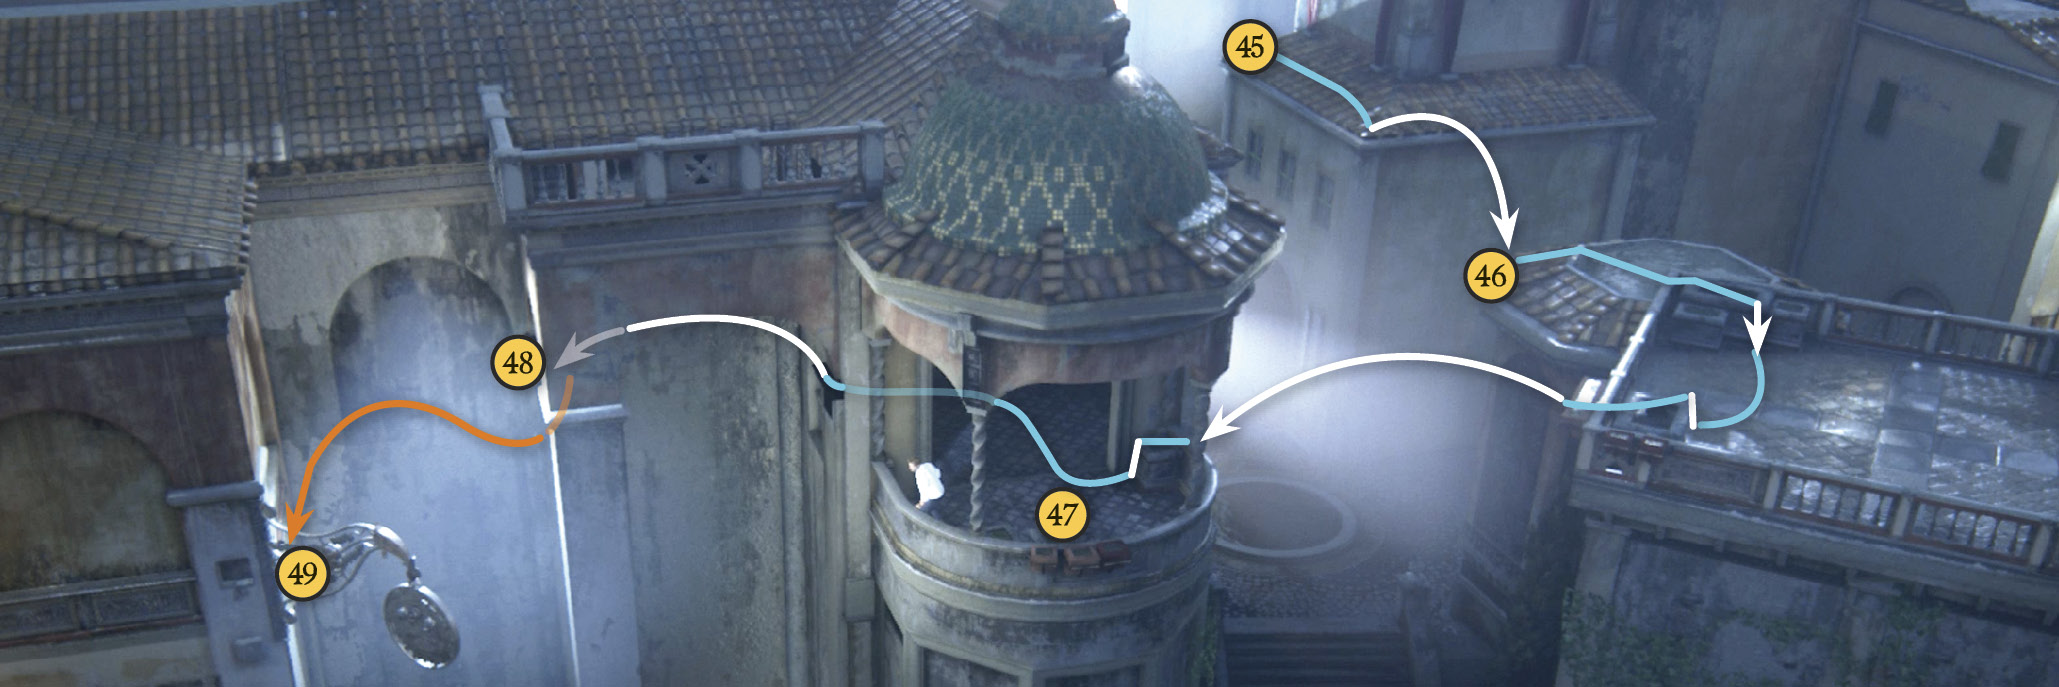
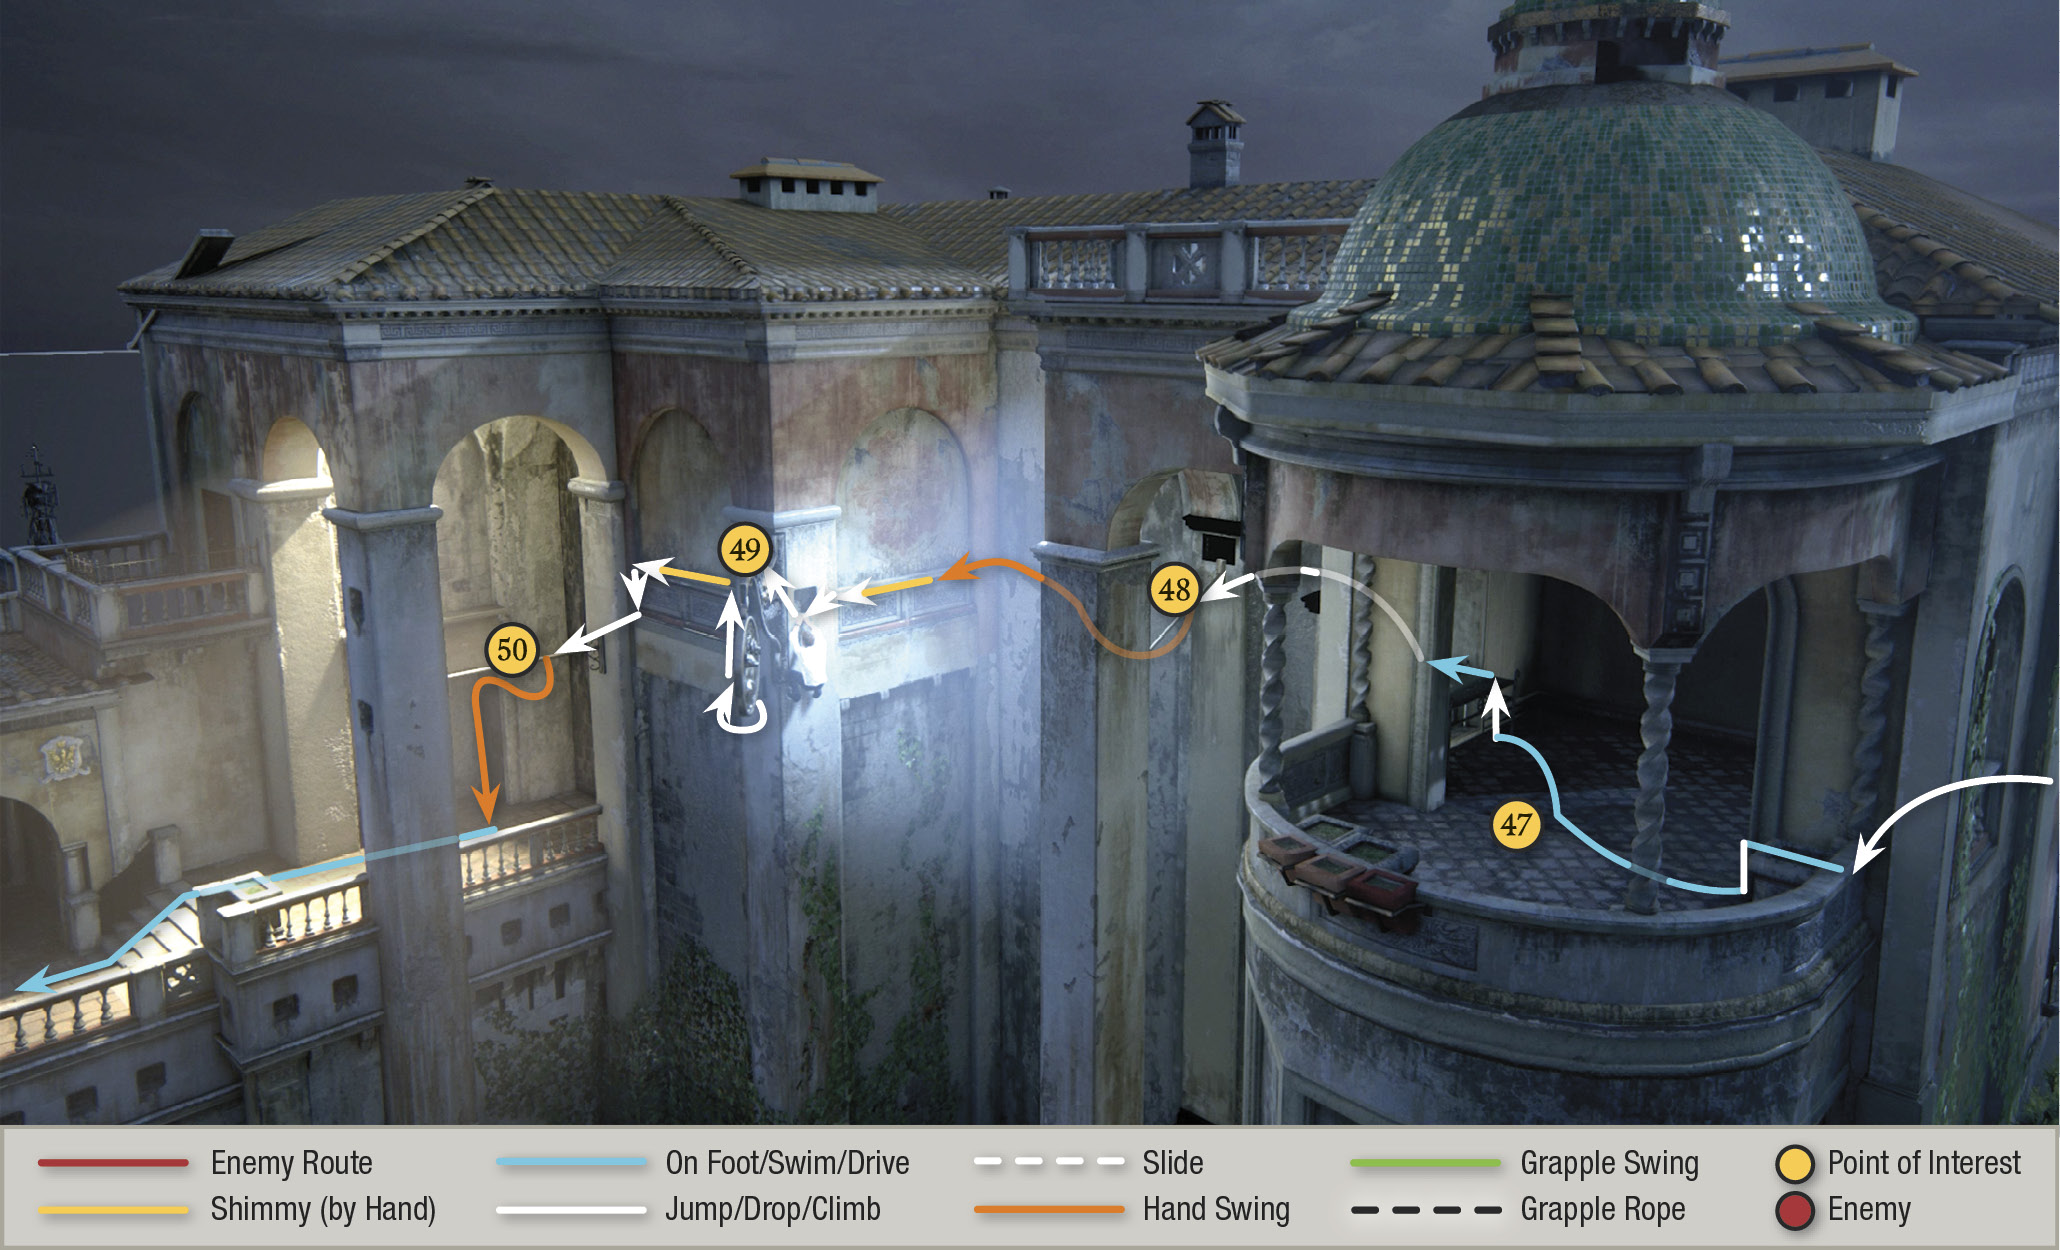
Move onto the patio, veer right, and make the big jump from its corner to the covered balcony (47). Step inside, turn left to the window, and jump out to the pole (48), which nearly breaks off. Swing from the dangling pole to the wall; Nathan barely snags a narrow ledge. Climb leftward until you can grab the strut of the hanging decorative sign at the corner (49).
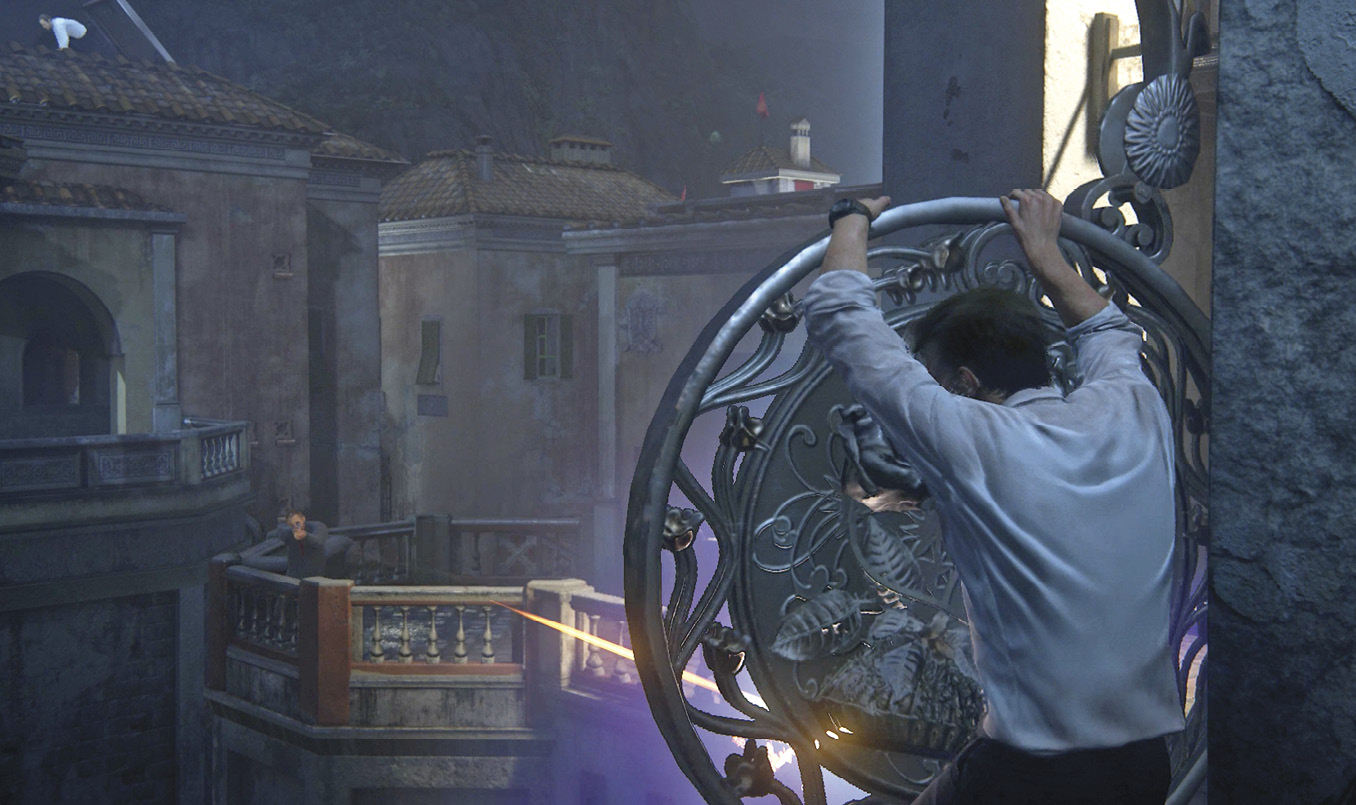
This triggers a quick cutscene: The strut sags and Nathan hangs desperately to the sign as three guards spot him and open fire. Fortunately, the metal plate shields Nathan from incoming bullets. Meanwhile, Sam suddenly pops through a hatch onto the opposite rooftop and guns down one guard. Then he tosses a pistol to Nathan—quite an amazing throw and catch.
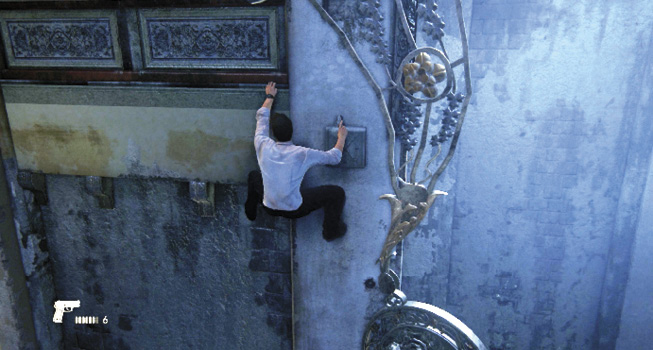
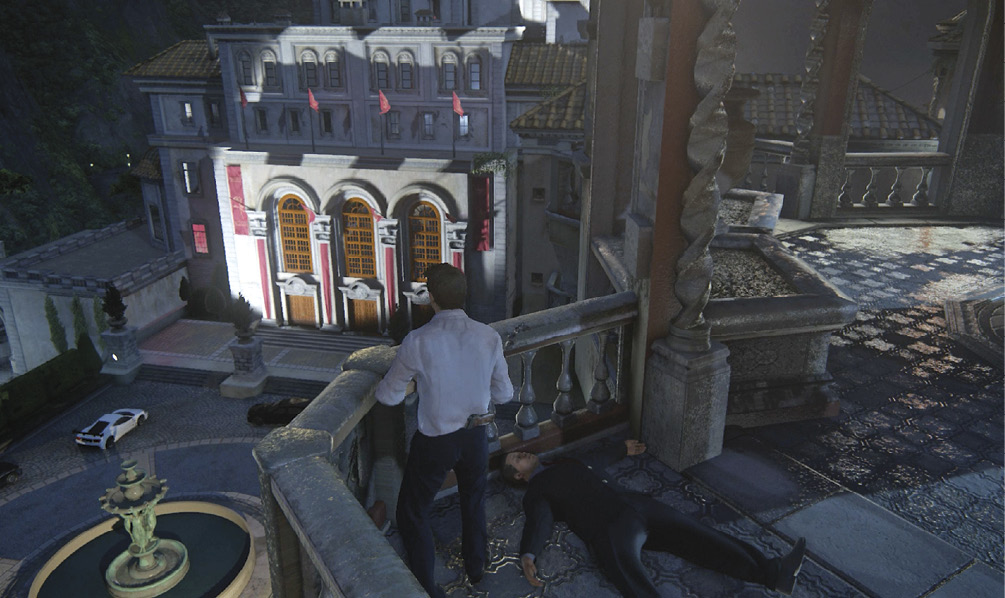
Gun down the remaining two guards! When both are down, climb over to the opposite side of the hanging plate and jump to grab the handhold on the wall (see Fig. 7-9). Climb leftward to the pole (50) then swing to the balcony. This is where the guards you just gunned down are lying.
Proceed with Stealth!
Here, a good move is to immediately take cover behind the nearby planter (51), pick up dropped ammo, and observe the two guards on the opposite side. The tactical situation here is similar to many that you’ll encounter in the game. You can always choose to fight your way forward with guns blazing. But often, as here, you can rely more on stealthy movement and silent takedowns to advance. So this is a good place to walk through slowly and examine the options available.
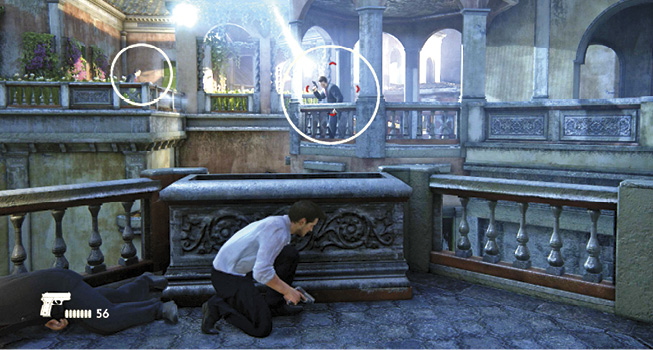
First, watch the two guards move into position (see Fig. 7-10). Guard (A) patrols the balcony to the right, and Guard (B) climbs up to patrol the tall-grass garden to the left. Each goon patrols by moving back and forth between two spots, standing still for a few seconds at each spot.
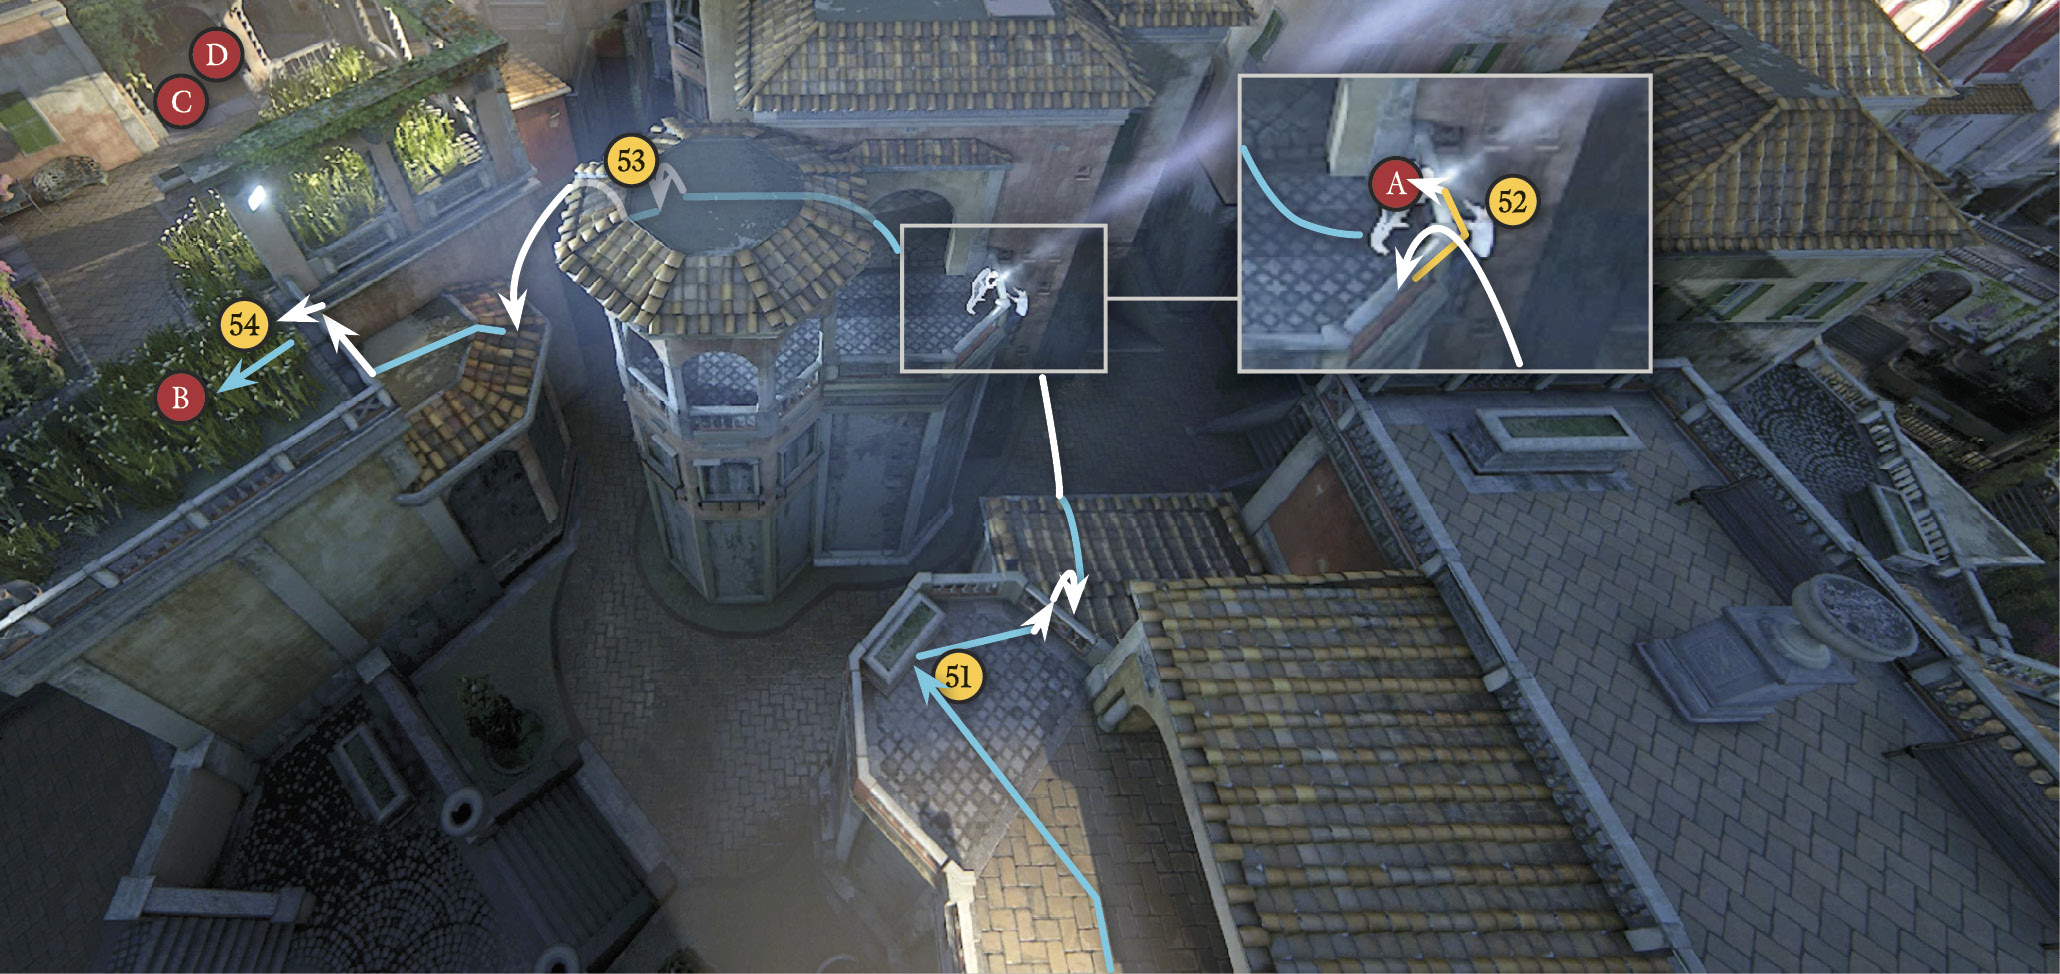
When Guard (A) is facing away from you, move rightward from the planter. Quickly hop the railing onto the tiled roof then leap across to grab the railing on the opposite side (52). You can try to pull yourself onto the balcony and take down Guard (A) stealthily from behind, but it’s risky—he might turn around before you reach him or the other guard might see you do this. A safer move is to just hang from the railing until Guard (A) turns around and patrols down the dark hallway to your right. After he passes, pull yourself up and creep behind him for a stealth takedown. Or you can just wait until he comes back and stands near the railing where you hang. Then you can press and pull him over the railing.
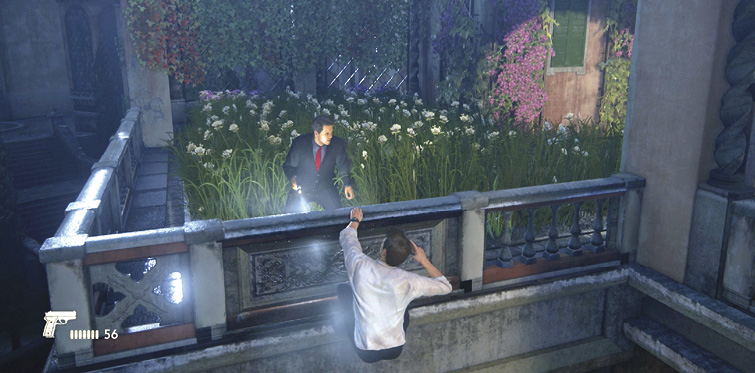
Next, go to the window in the back room (53) and wait until Guard (B) over on the garden terrace patrols away from you. Quickly jump across the gap to the tiled roof and then climb up to grab the garden railing and pull yourself over into hiding in the tall grass (54). He may detect movement and go to yellow status, but you can still get a stealth takedown, or you can hang on the side of the fence and pull him out of the garden.
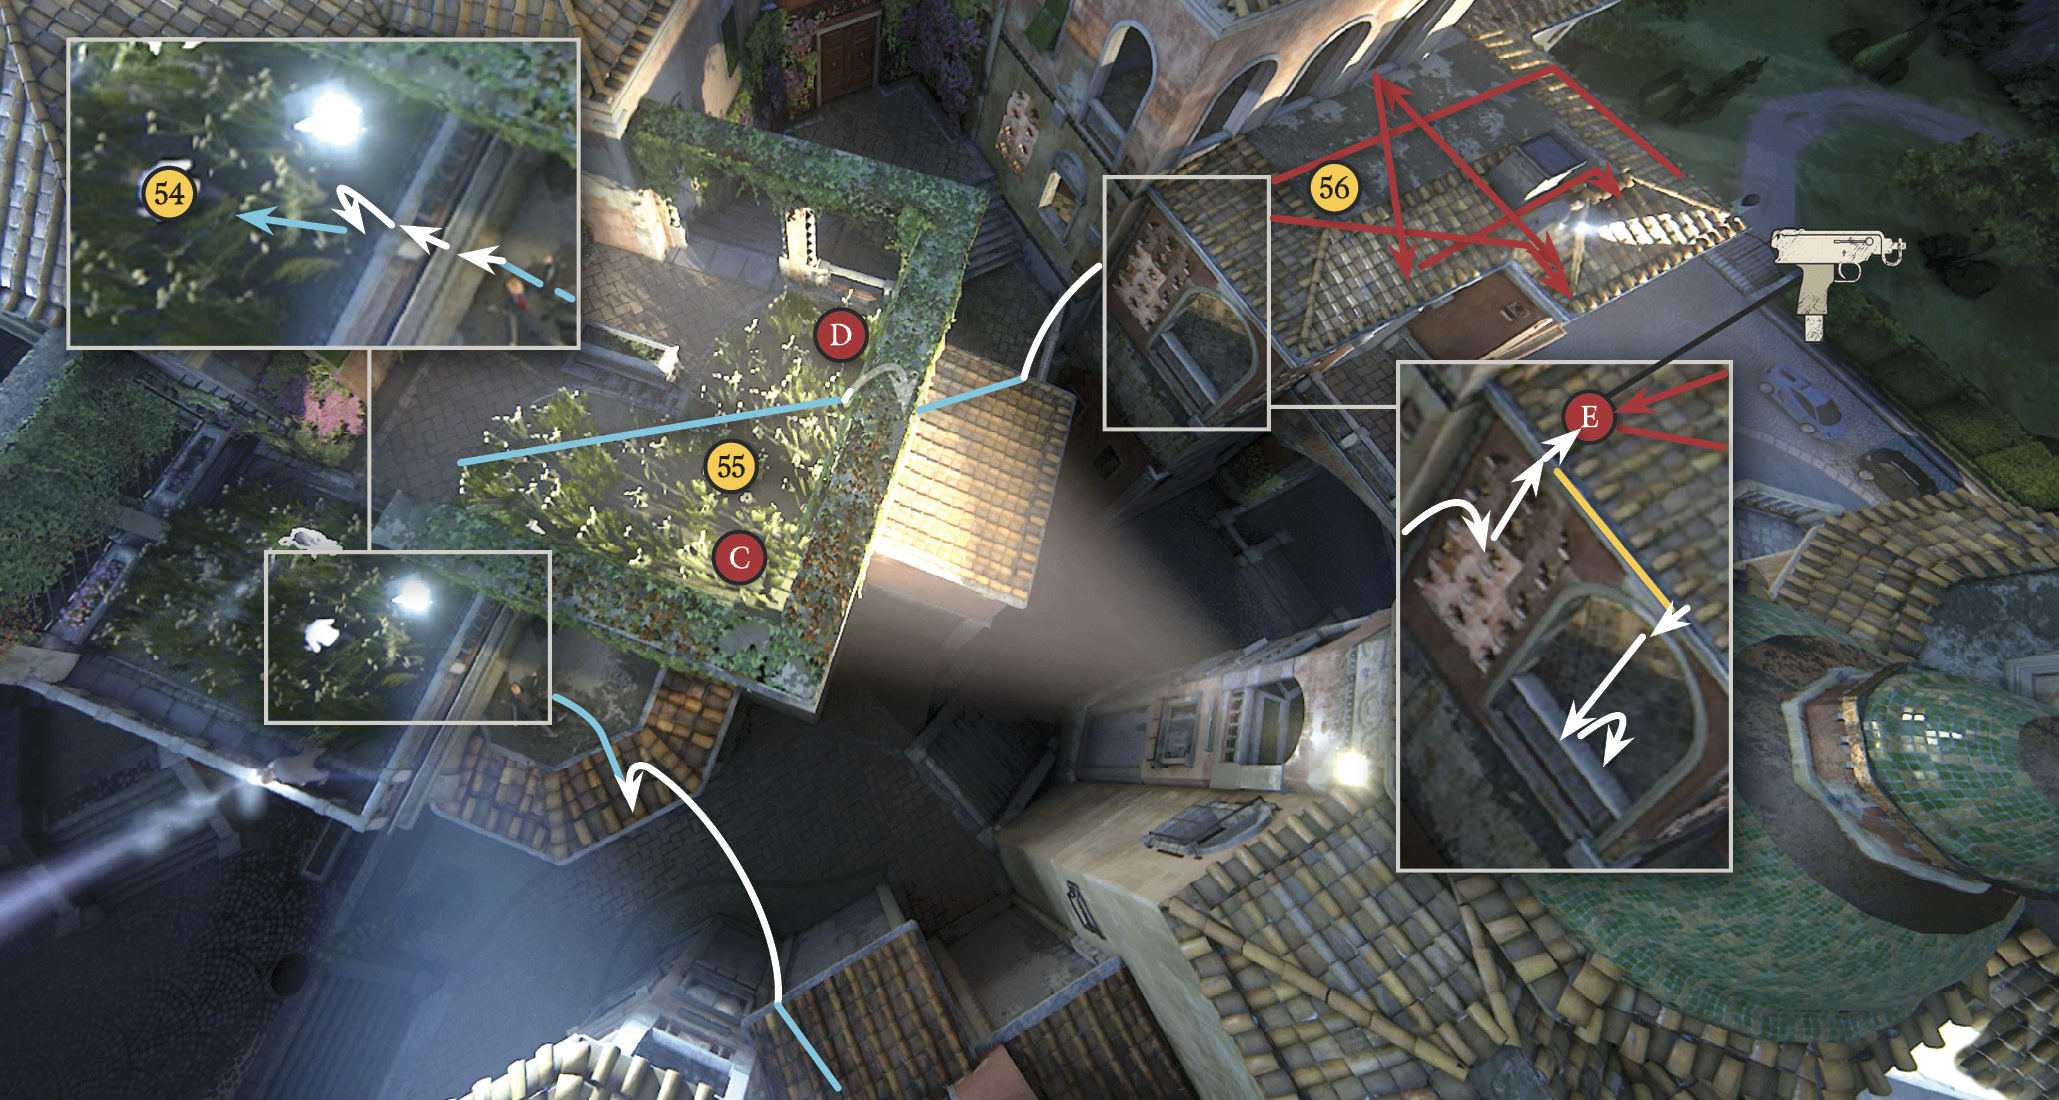
Now advance across the garden (55) as two more hostile gunmen move into the area. Lie in wait as the first goon (C) wades through the grass to the railing; you can take him down without his partner (D) noticing. Then creep up behind the other guy and eliminate him too.
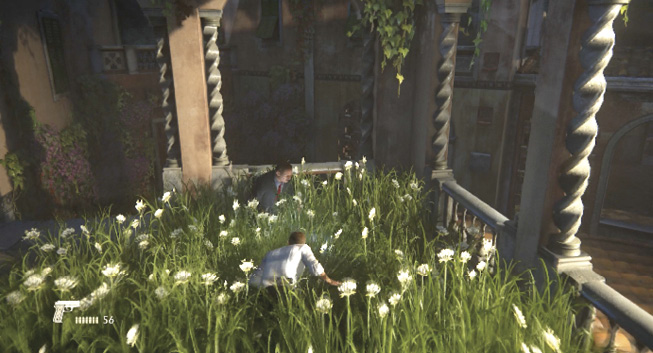
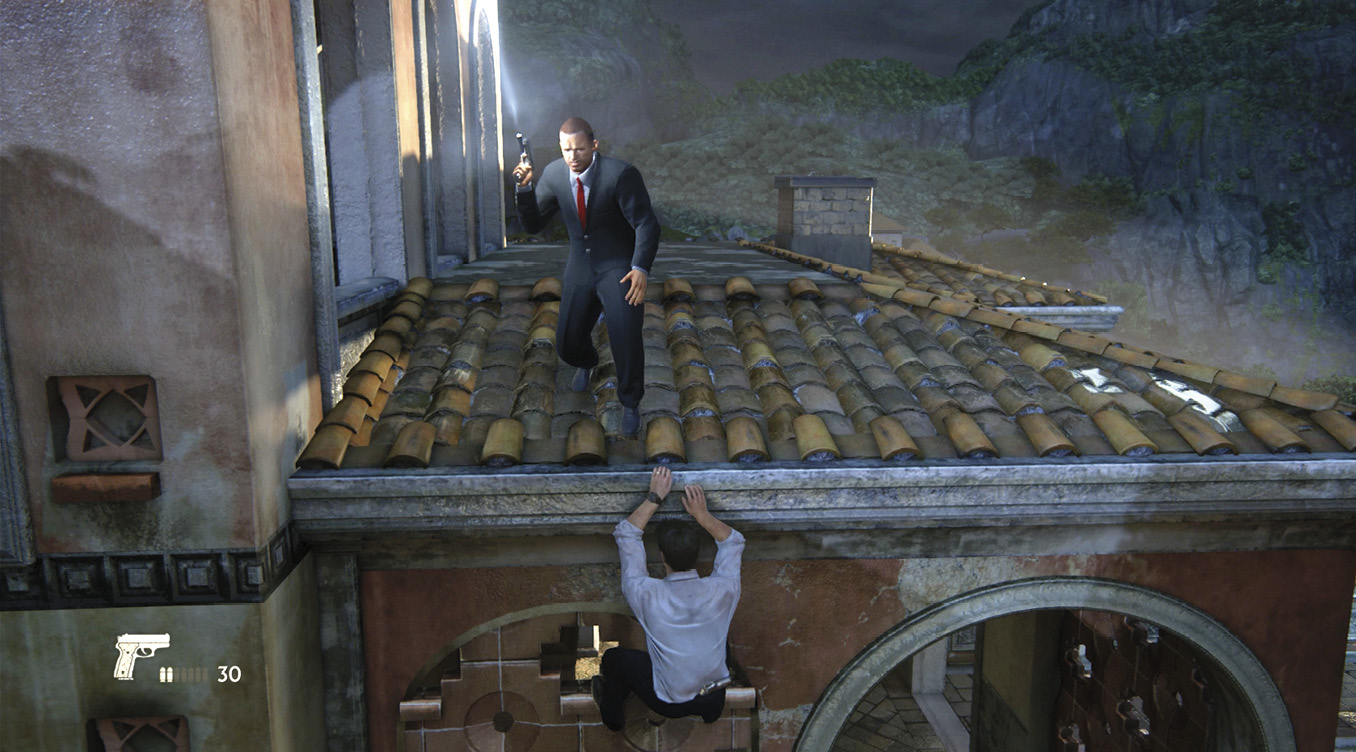
Next target: the sentry (E) on the nearby rooftop (56) carrying an Aegis 9mm. A New Weapon, the Fossa R-81 auto pistol, is behind him on the roof. When he turns and moves away from you, hop out of the tall grass onto the tiled roof and then leap across to the decorative wall under the roof where the sentry is patrolling. Hang on the roof’s edge and wait until the guard (E) returns, then pull him down. Quickly drop down and enter the room directly below you.
Get to the Ballroom
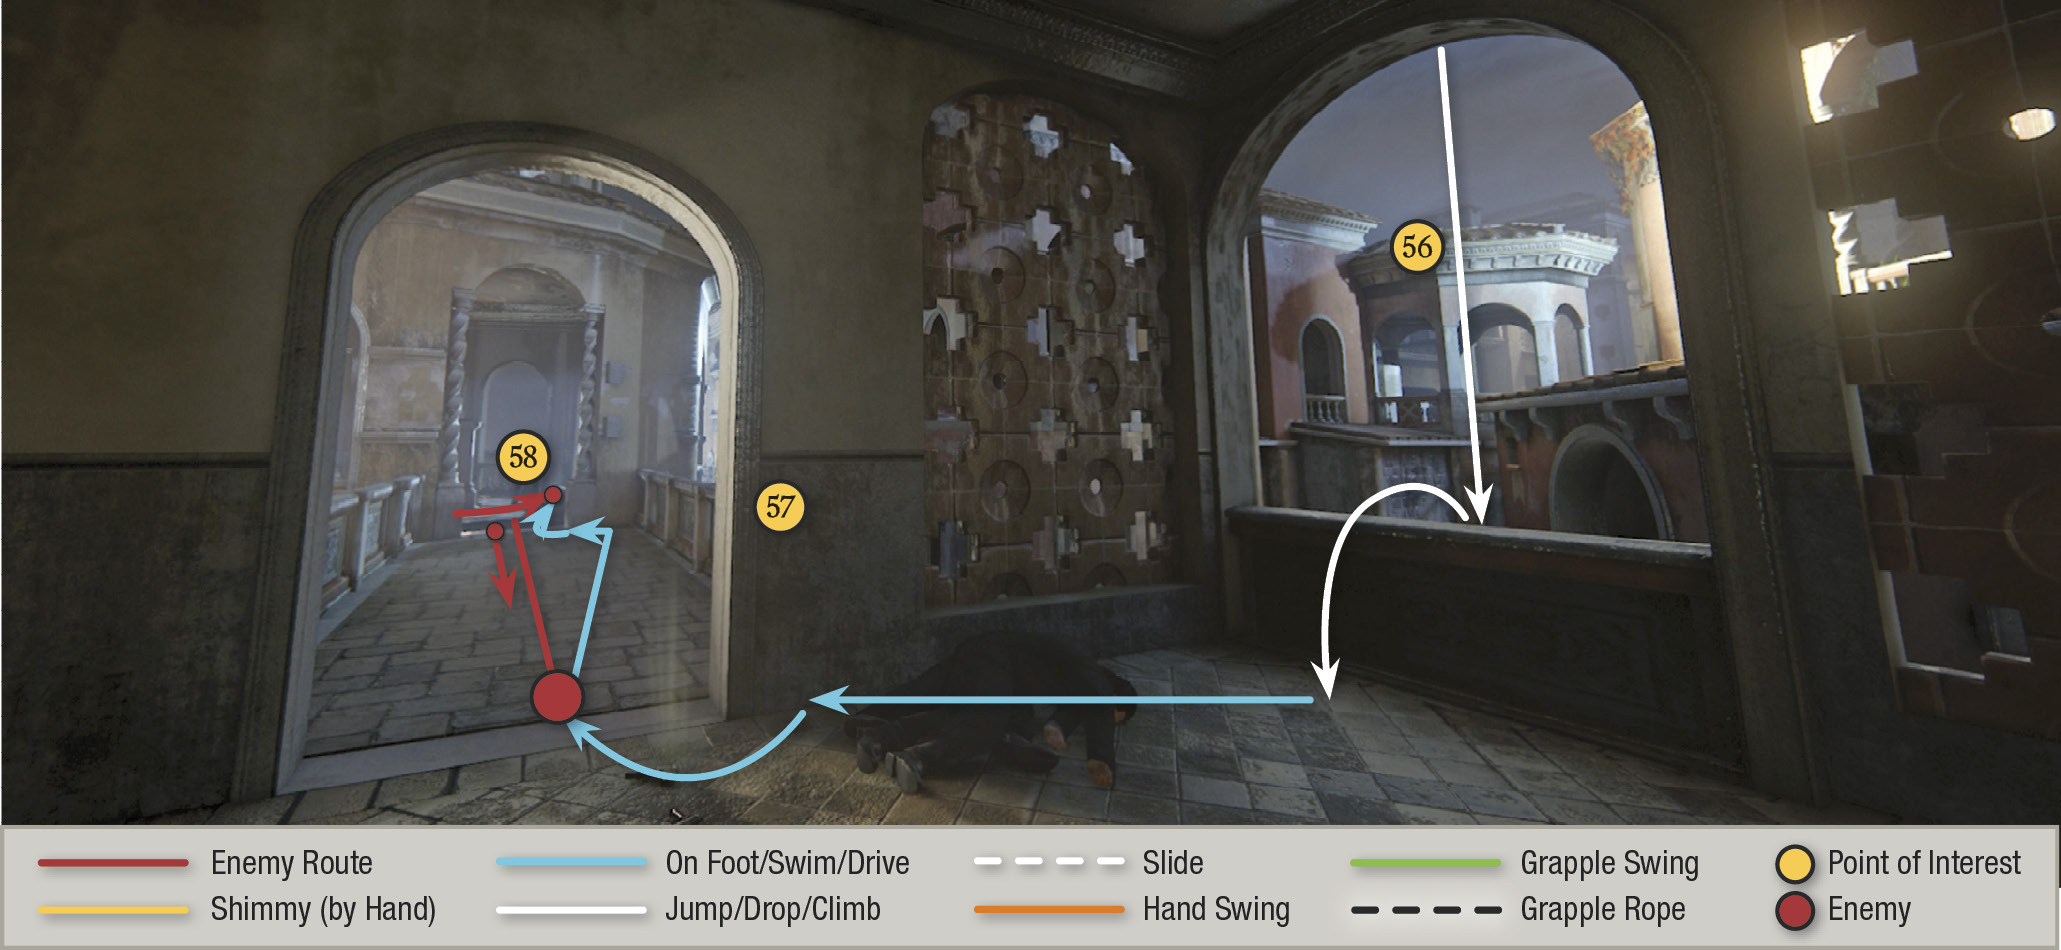
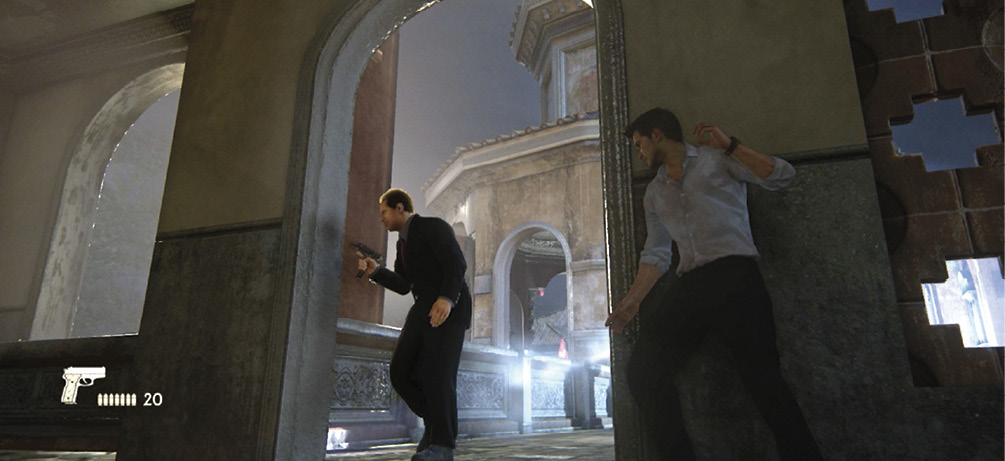
Three more guards are deployed in the gazebo down the walkway, but at least you’re almost to the ballroom (the well-lighted building with all the red flags). Take cover beside the doorway (57) and wait. Two guards will come down the walkway to you, one at a time. When the first guard reaches the doorway, your stealth attack slams him into the wall. In a moment, a second guard makes the same approach. Use the same move to eliminate him too. The third guard stays inside the gazebo; wait until he turns away, then hustle down the walkway for a stealth takedown (58).
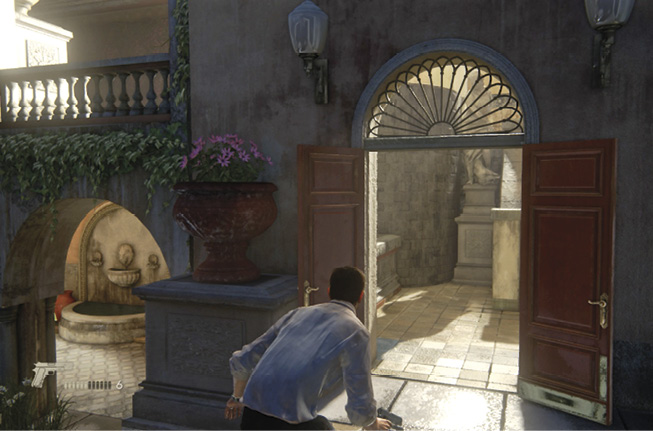
Exit the gazebo via the other balcony (59) and hop over the railing onto the roof. Make a big jump across to the next roof and then proceed over the low wall (60) near the red door. (The red door is closed and locked, but it will open shortly to create an alternate route up to your next destination.) Only one more area must be traversed before you can rejoin Sam in the ballroom.
Climb to the Cable
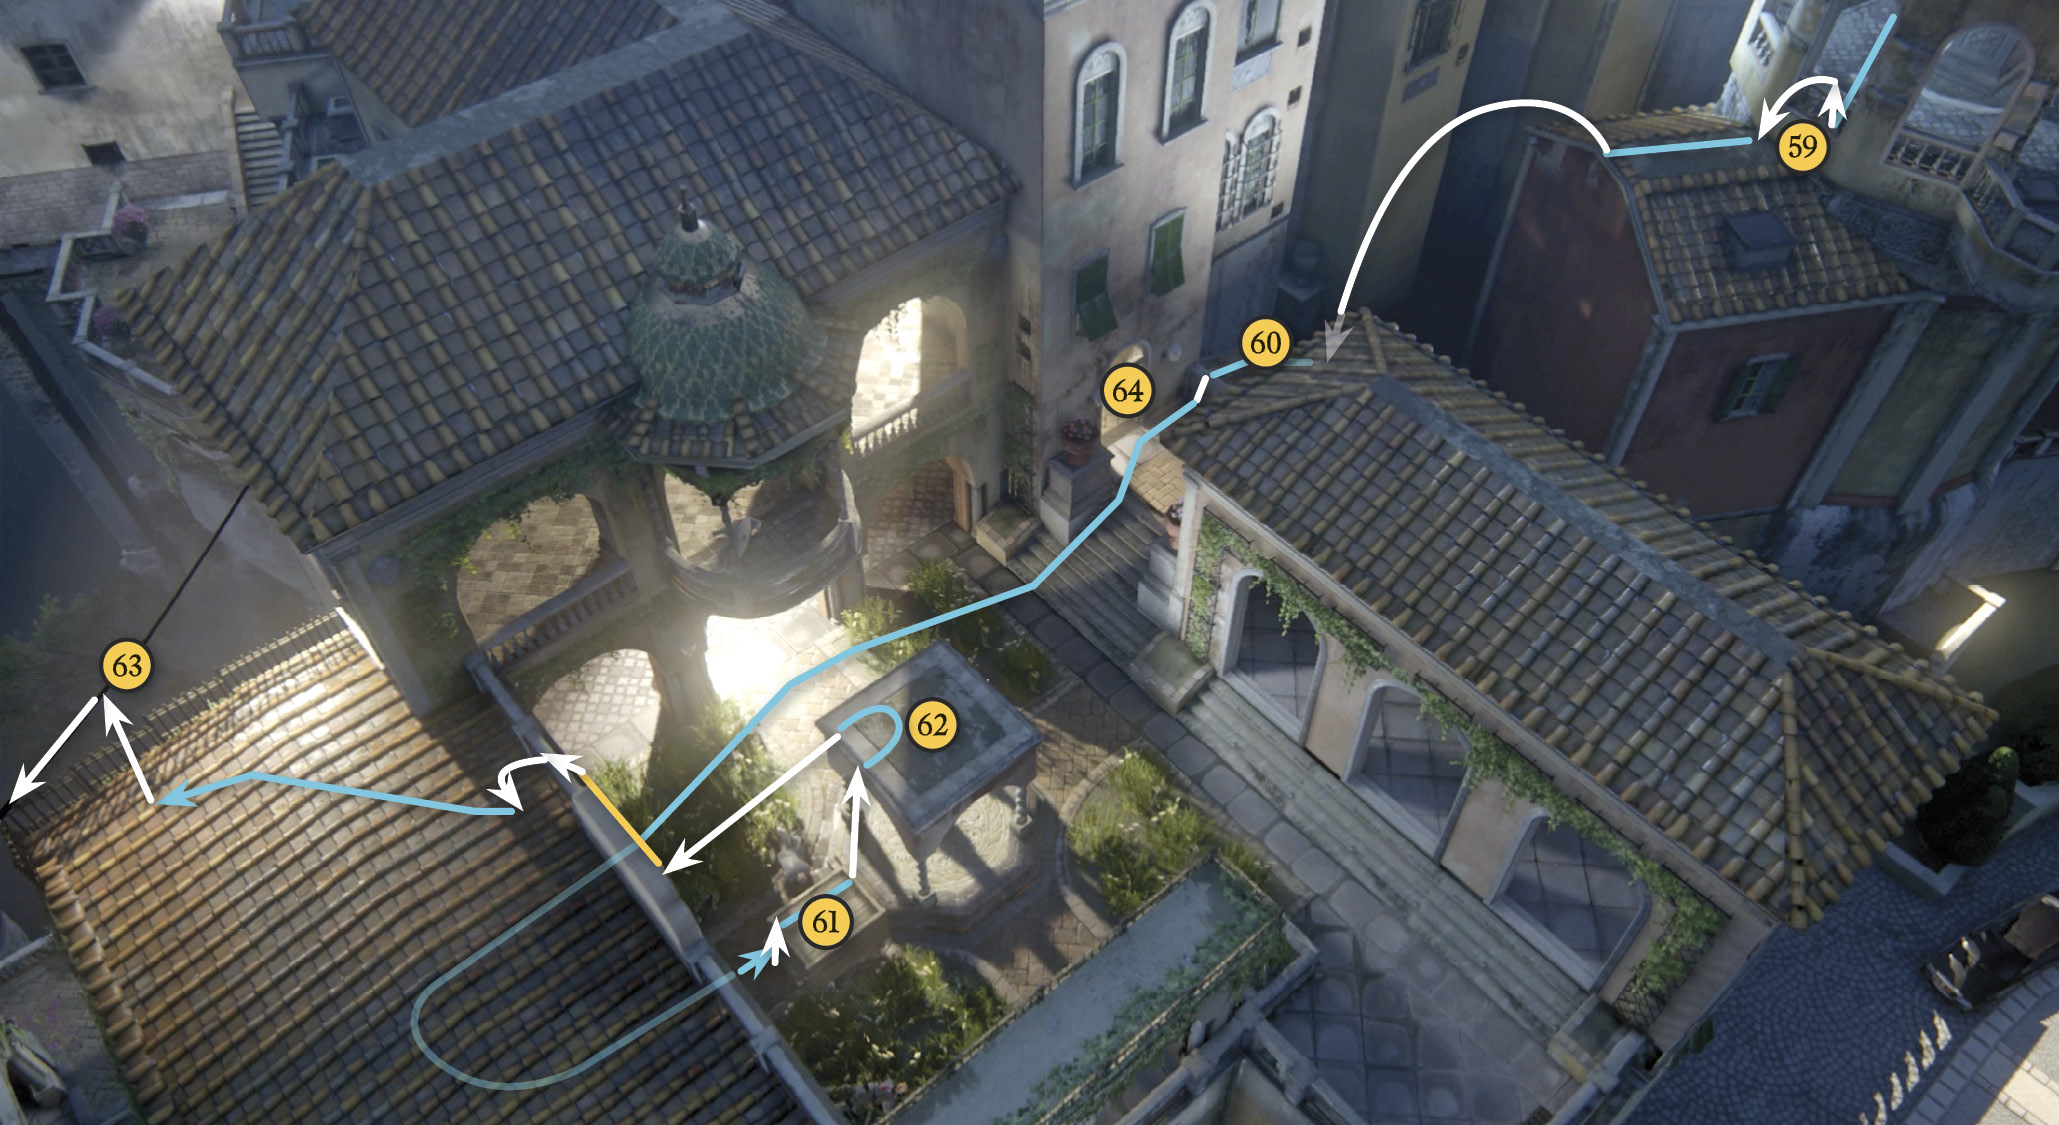
Descend the stairs into the courtyard. Your goal here is to reach the cable on the enclosure’s roof (63) on the courtyard’s opposite side. There are three ways to do this:
- Push the wooden wagon (61) forward a few feet until it’s directly under the edge of the enclosure’s roof. Jump from the wagon and grab the roof’s edge, then shimmy until you can climb onto the roof.
- Push the wooden wagon toward the gazebo. Jump from the wagon onto the gazebo roof (62), and then jump across to grab the edge of the enclosure’s roof. Shimmy until you can climb onto the roof.
- Start fighting the guards that emerge from the red door (64) when you start pushing the wagon. The goons leave the door open! You can run through the door, head upstairs, and then hop through the window out onto the enclosure’s roof.
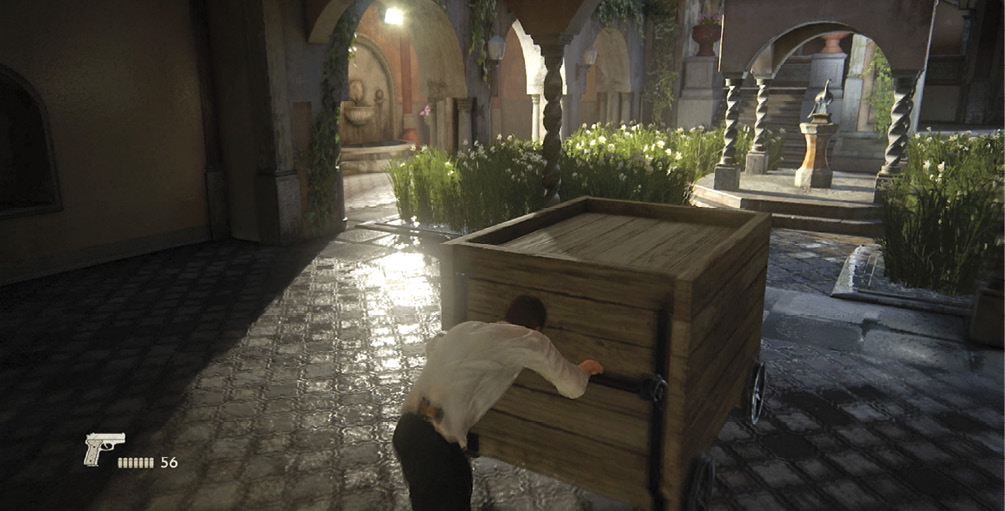
If you get into a gunfight, be aware of two things. First, some of these thugs will toss grenades at you. Be ready to take evasive action. Second, some gunmen will deploy into the courtyard where you can use the tall grass to take them down stealthily, one by one. But if you get spotted, shooters up on walkways overlooking the courtyard will open fire too.
Once you get on the enclosure’s roof, go to the back-right corner (63) until the prompt appears onscreen. Press that button to jump up and grab the cable, which acts as a zipline straight to the ballroom! Watch the cutscene as Nathan rides it down and crashes through a window into the ballroom, where Sam is engaged in a furious gun battle with private security forces.
Fight Through the Ballroom
You begin behind a wooden table that gets shattered by gunfire. If you cover here long enough, a guard carrying a New Weapon, the Spezzotti 12 Gauge shotgun, wrestles with Sam and he calls you over to help tag team this guy to the ground. Hustle next to Sam behind the massive marble pillar for better cover. (Over the radio, Sully tells you to meet him outside, just past the big fountain.) Then turn left and make a run toward the corner room (see Fig. 7-19), gunning down the shooter in its window as you approach. Jump inside and take cover underneath the opposite window.
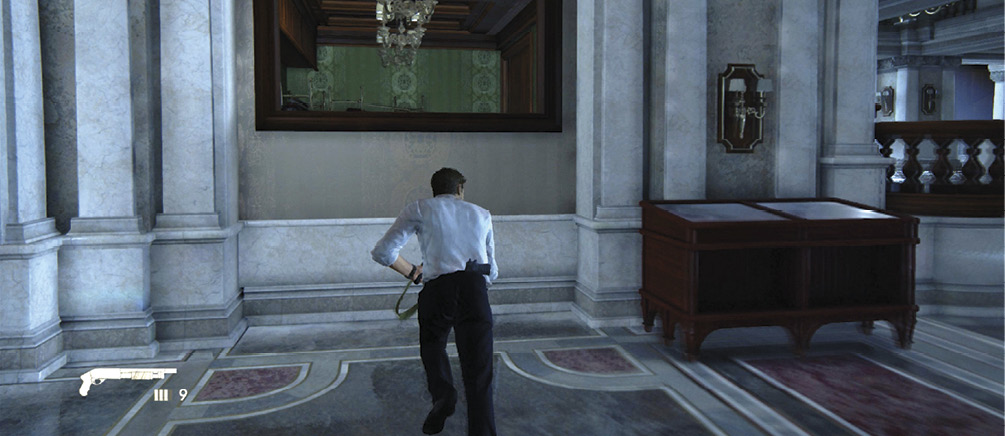
This serves as a good first post for clearing out the ballroom gunmen. Then hop through that window and take cover at the bannister overlooking the wet bar just below. Notice that most of the guards in this battle are equipped with the New Weapon, XCR (a basic assault rifle). This is the only place they exist in the game. We suggest using one. Watch out for a cluster of guards near the bar area. You can also hop down behind the bar, which provides great cover too. When the ballroom is finally clear, follow Sam to the exit door. Get ready for more combat!
Fight to the Getaway Car
One last security unit has deployed outside the front doors (64). Use the doorway for cover as you target gunmen out on the porch, and then fight your way down the staircase to the fountain area. Move from statue to statue, and watch out for shooters trying to flank you.
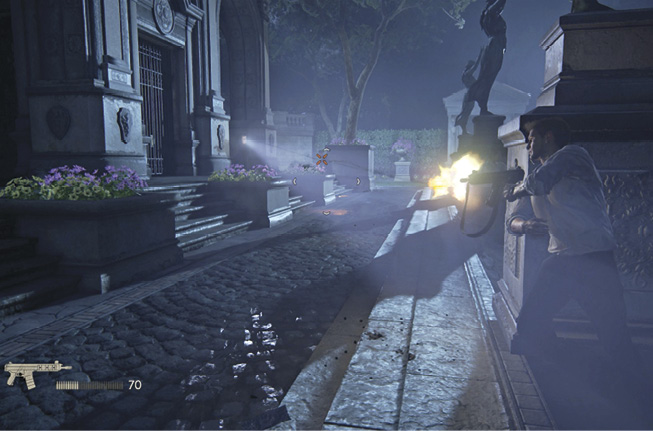
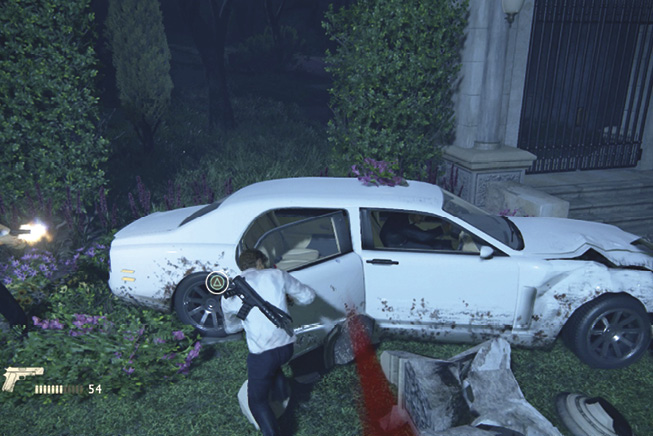
When you get about halfway down the fountain, a white car suddenly smashes through the hedge wall next to the exit gate and starts honking. That’s Sully! Pick off a few more shooters to lessen the gauntlet’s intensity. Then sprint and roll to the car’s open rear door (65) and press  to dive inside. Tip: You don’t have to defeat every enemy in the area to escape. Once the car has arrived, you can make your getaway if you just get close enough to trigger the button icon and push it without expiring.
 fast.
fast.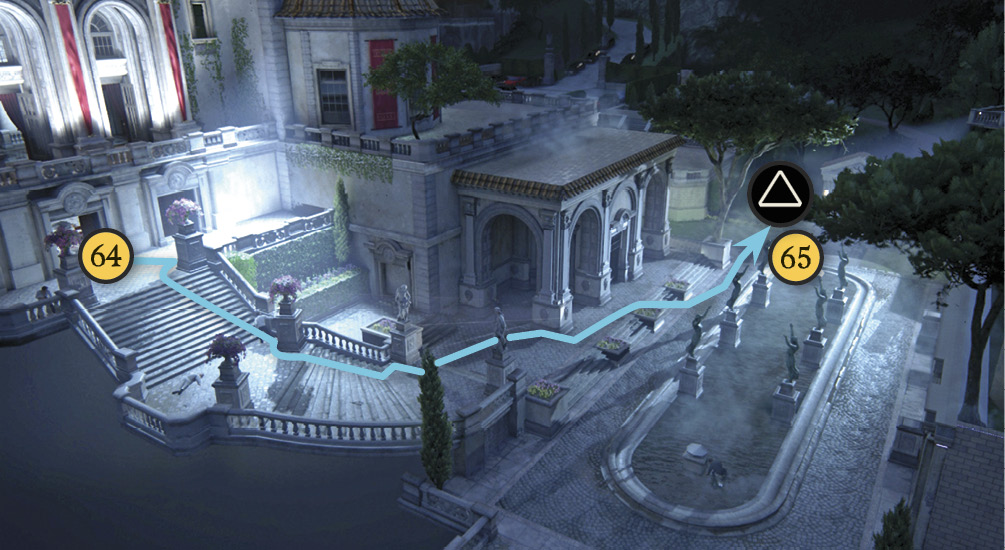
This triggers a long series of chapter-transition cutscenes: Sully steers the getaway car to safety, and later, the trio examines the object of the whole affair. Looks like the clues point back to Scotland, after all.