
Uncharted 4: A Thief's End Guide Story Walkthrough
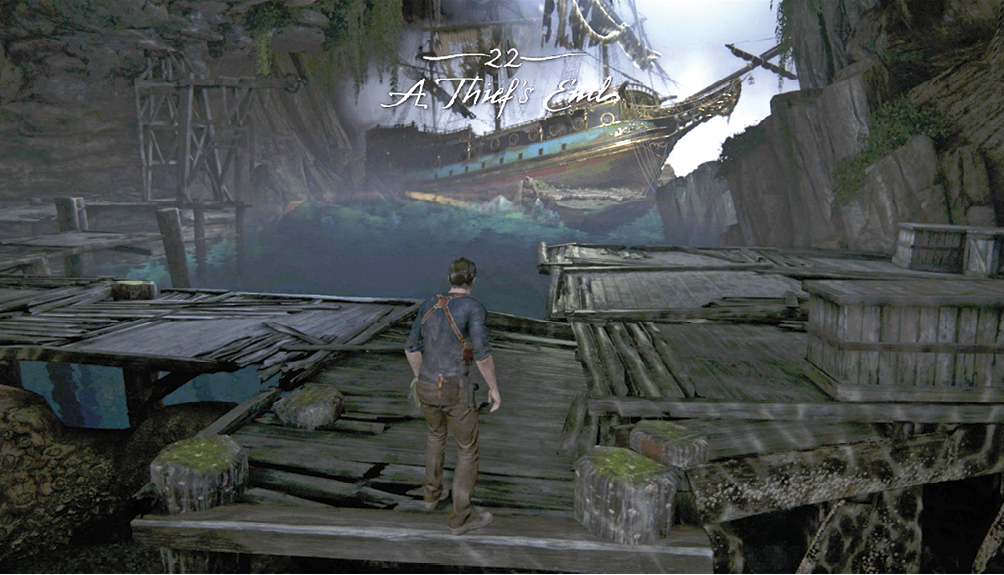
Chapter 22: A Thief’s End
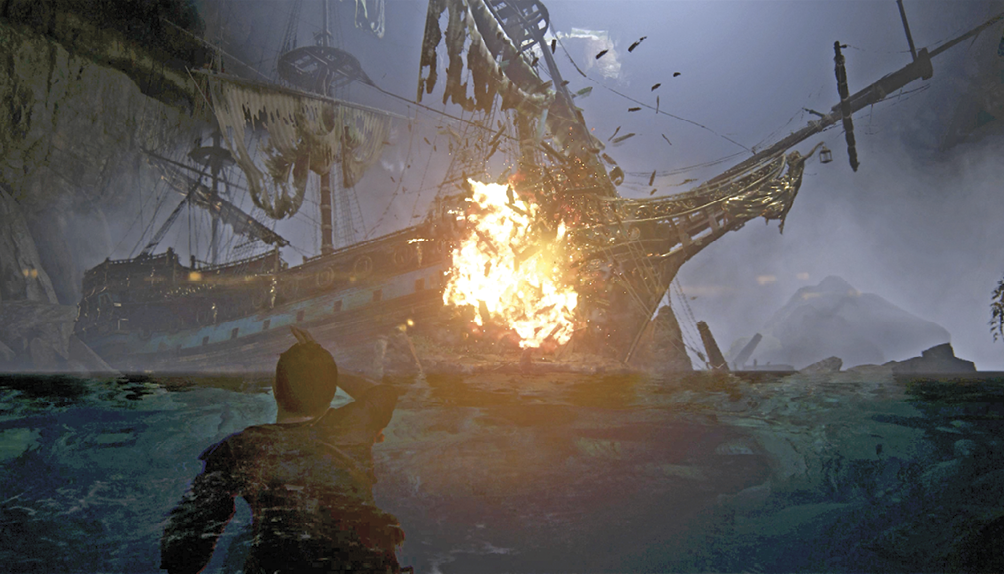
This is it—the finale chapter. It’s been a long road, and Avery’s treasure is now within Nathan’s reach. But Rafe, Nadine, and their Shoreline minions will not give it up easily.
CollectiblesTreasures: 1 Chapter Specific Trophies: “Treasure Master,” “I Accidentally All the Guns,” and “Swordmaster” New Weapon: Cutlass |
Get Aboard the Fancy
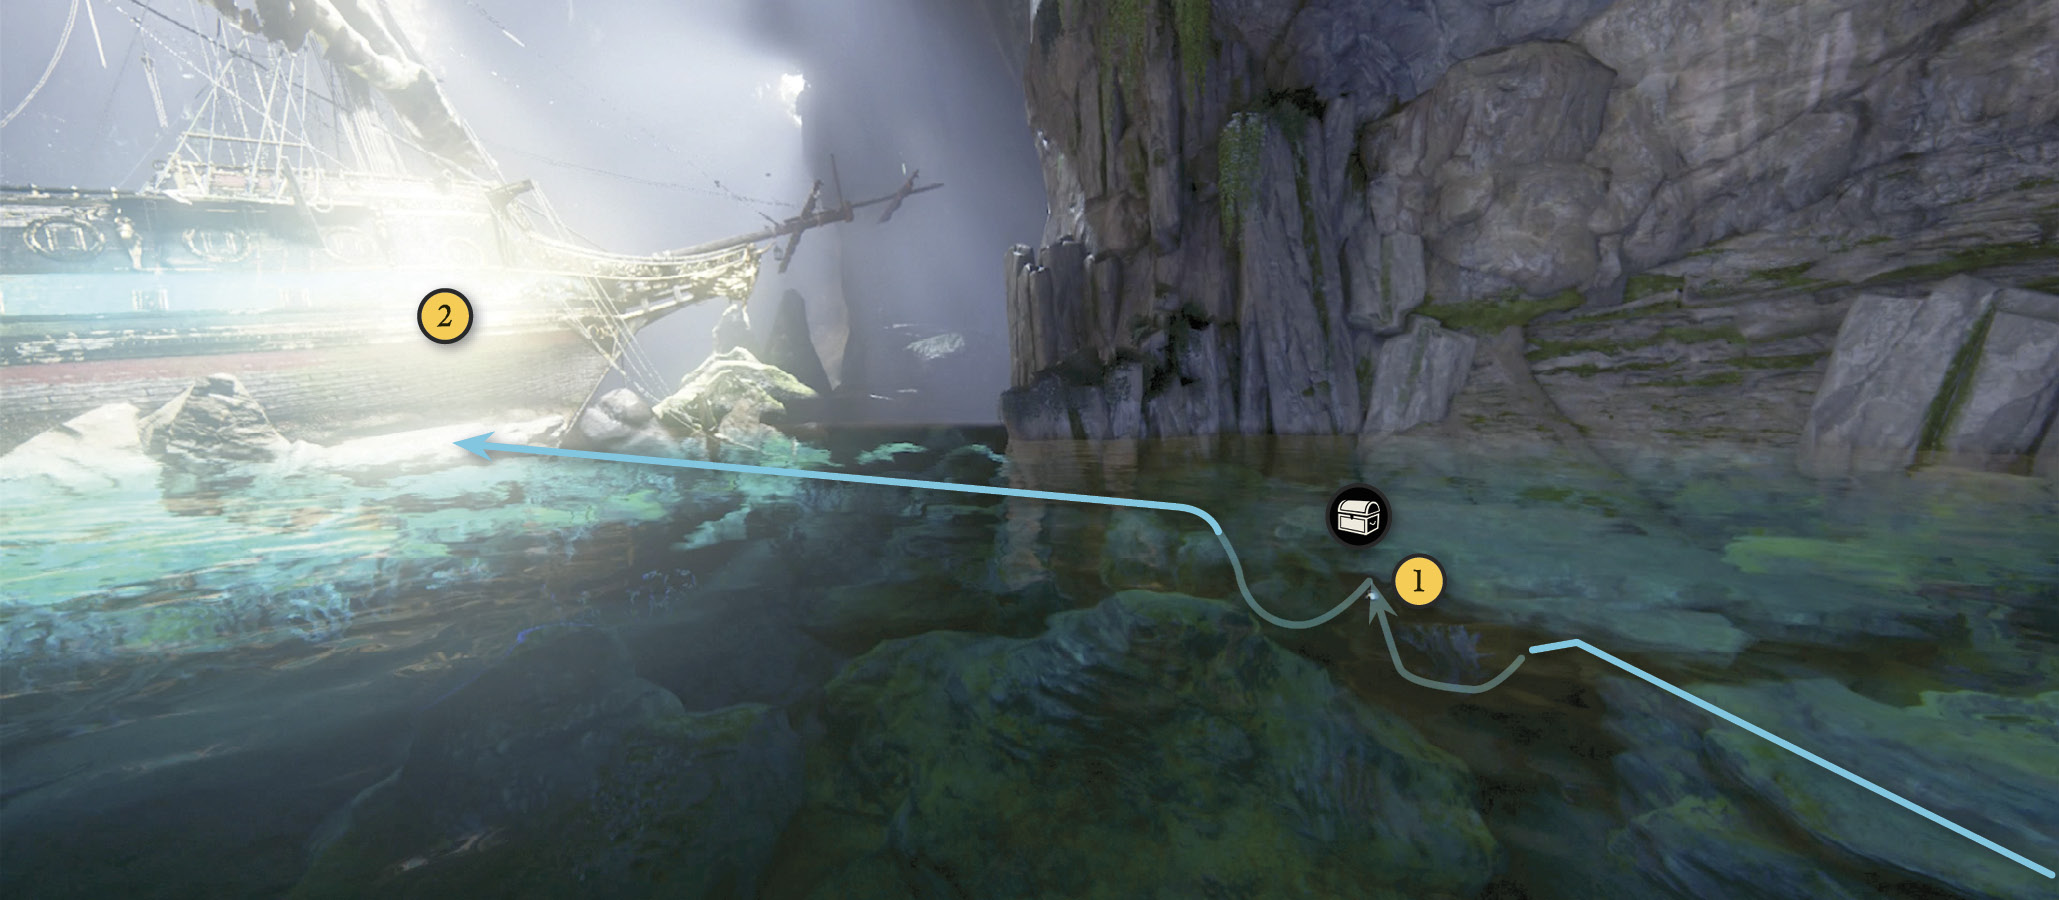
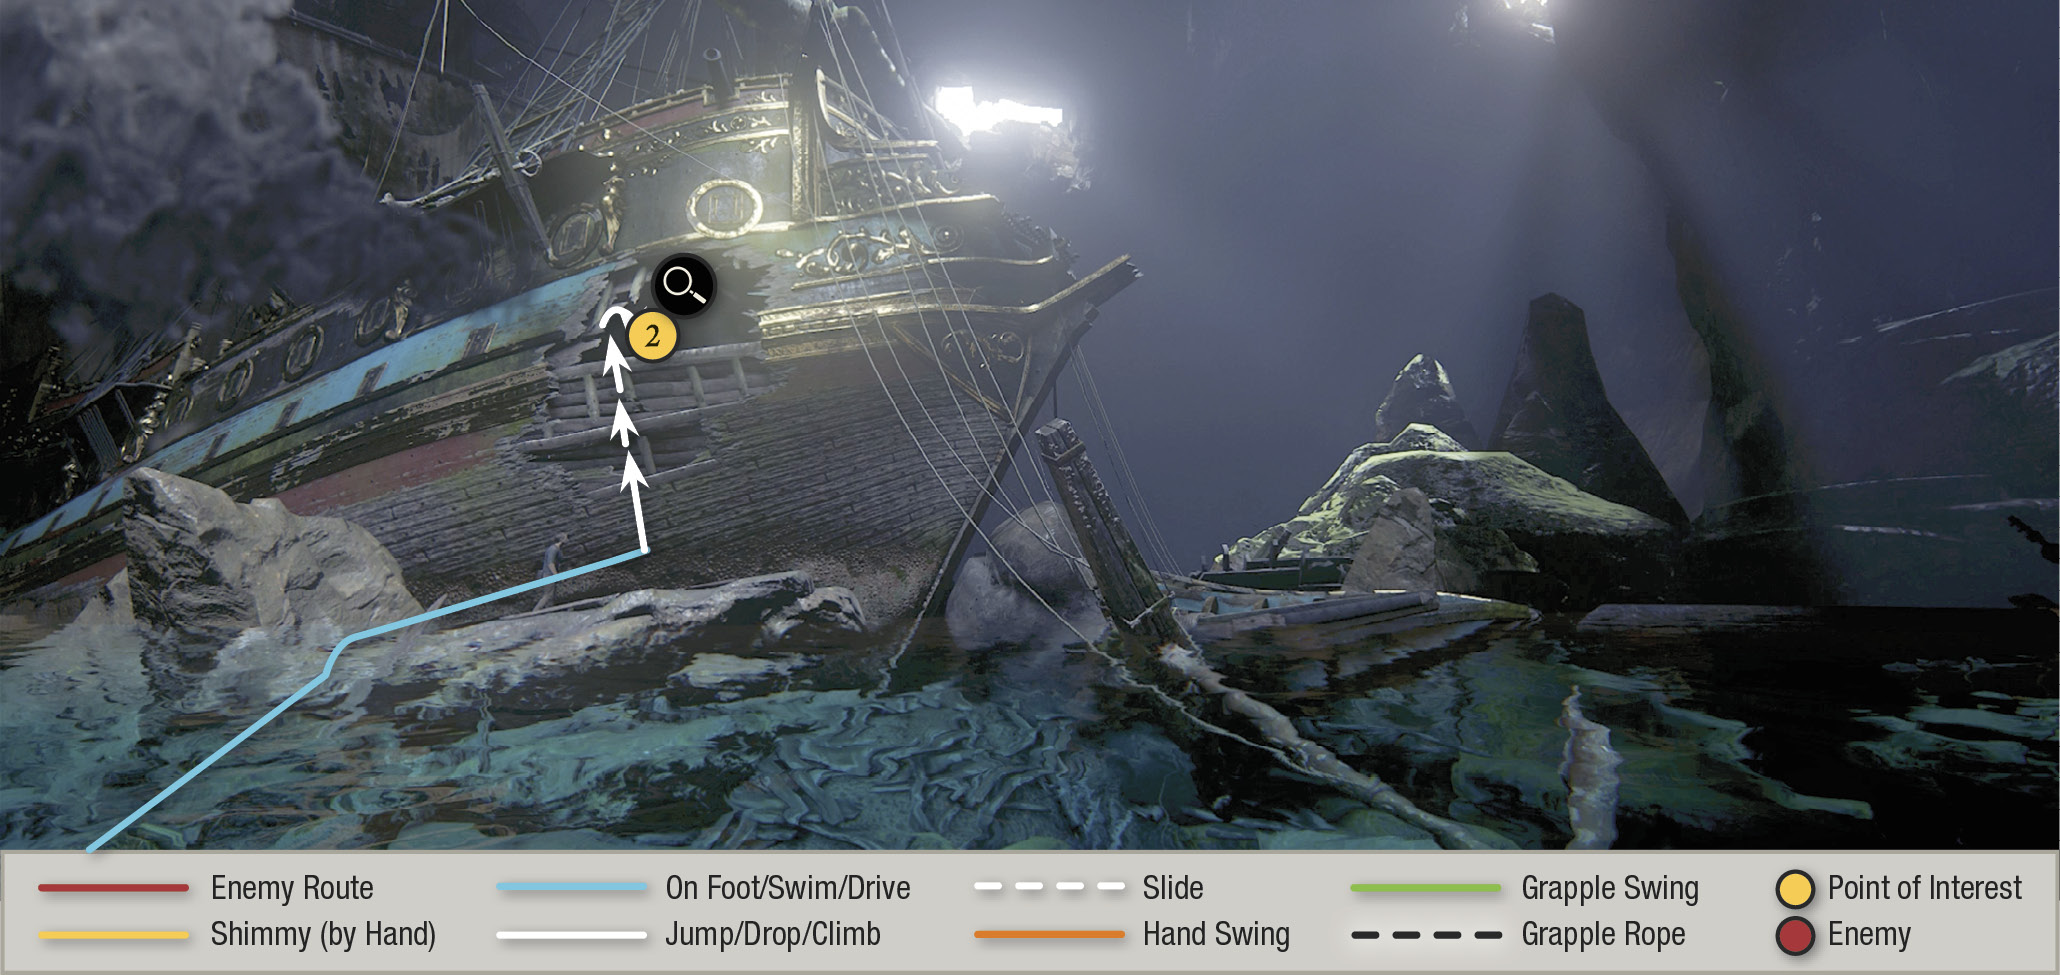
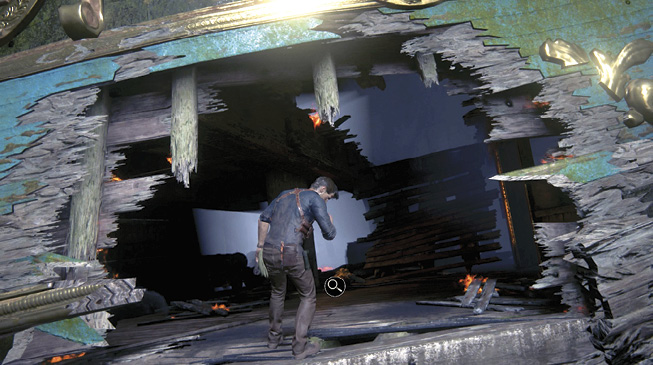
Before you try to board the captain’s flagship, you can pick up a treasure (1) in the lagoon. Then swim to the Fancy’s bow. As you approach, one of Avery’s traps blasts a hole in the hull (2) and sends the entire bowsprit into the water below. Swim to the rocks underneath the hole and climb the side of the ship to enter through the hole. Just inside you see a dead body, but luckily it is a Shoreline guard’s and not Sam’s.

Mughal Egg Pendant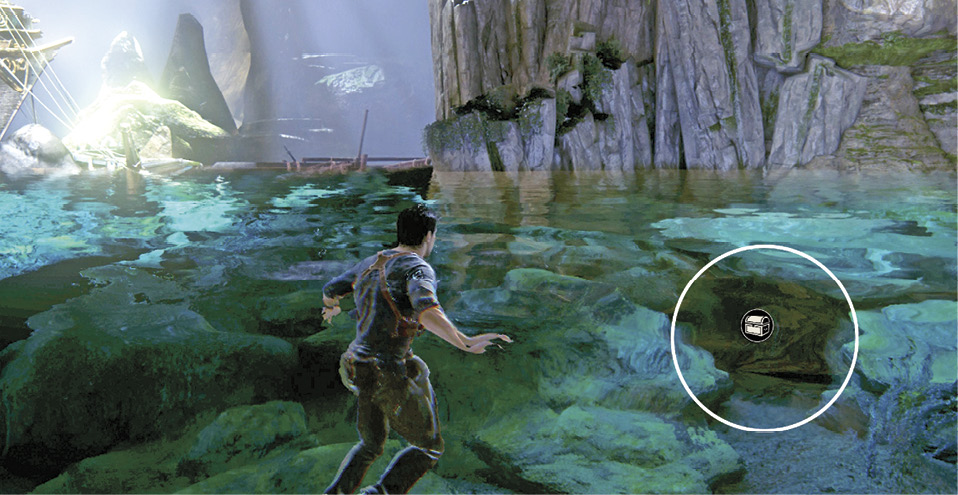
On the cave’s right side between the dock and Avery’s ship you can find an octopus cave with a treasure deep inside. Hold your breath and dive in for it. Follow the twinkling treasure light, grab it, and get out of there before you drown. |
Find Sam
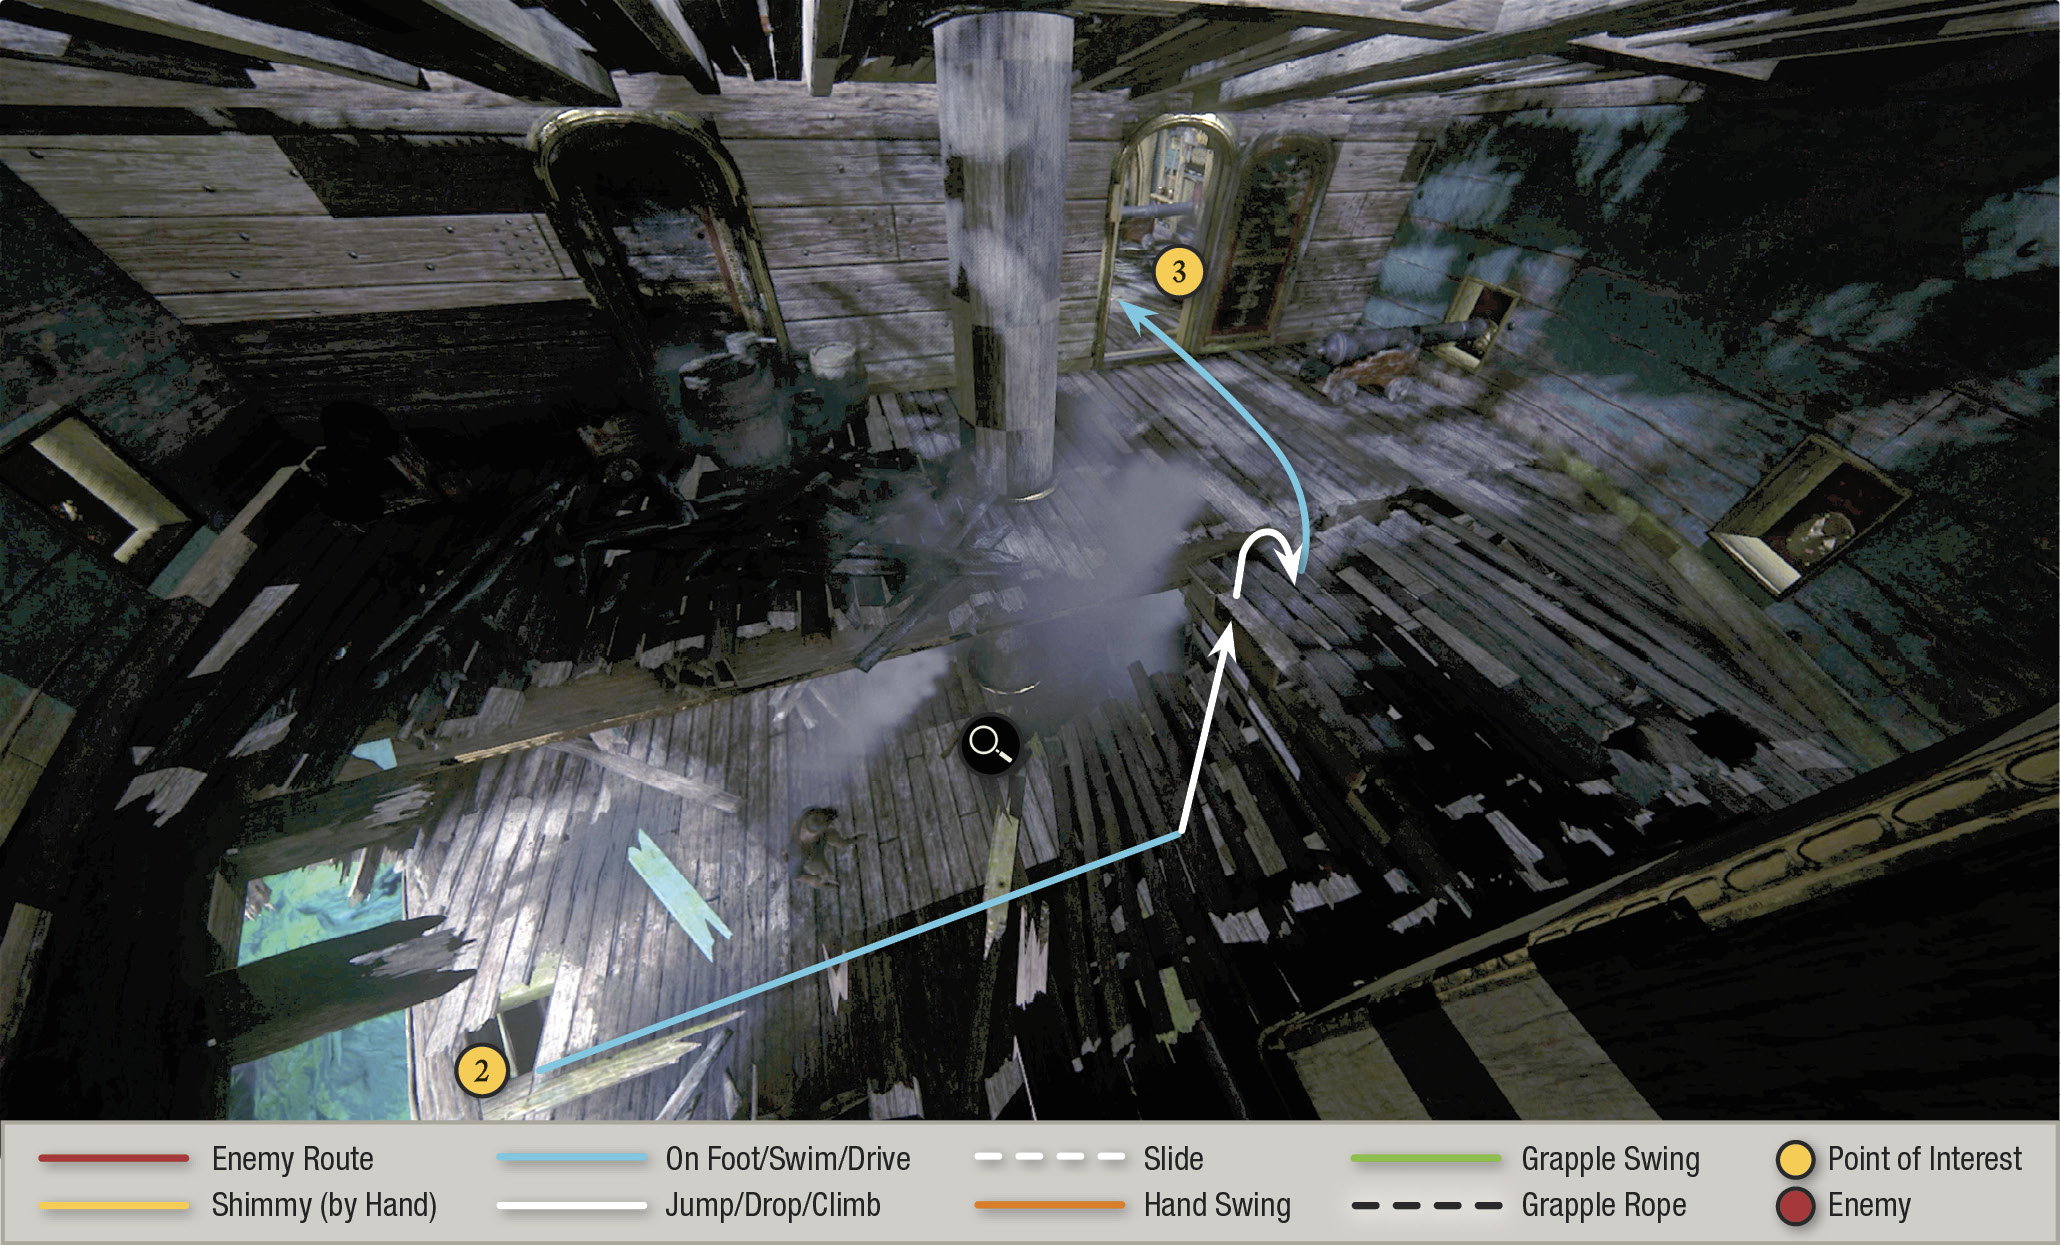
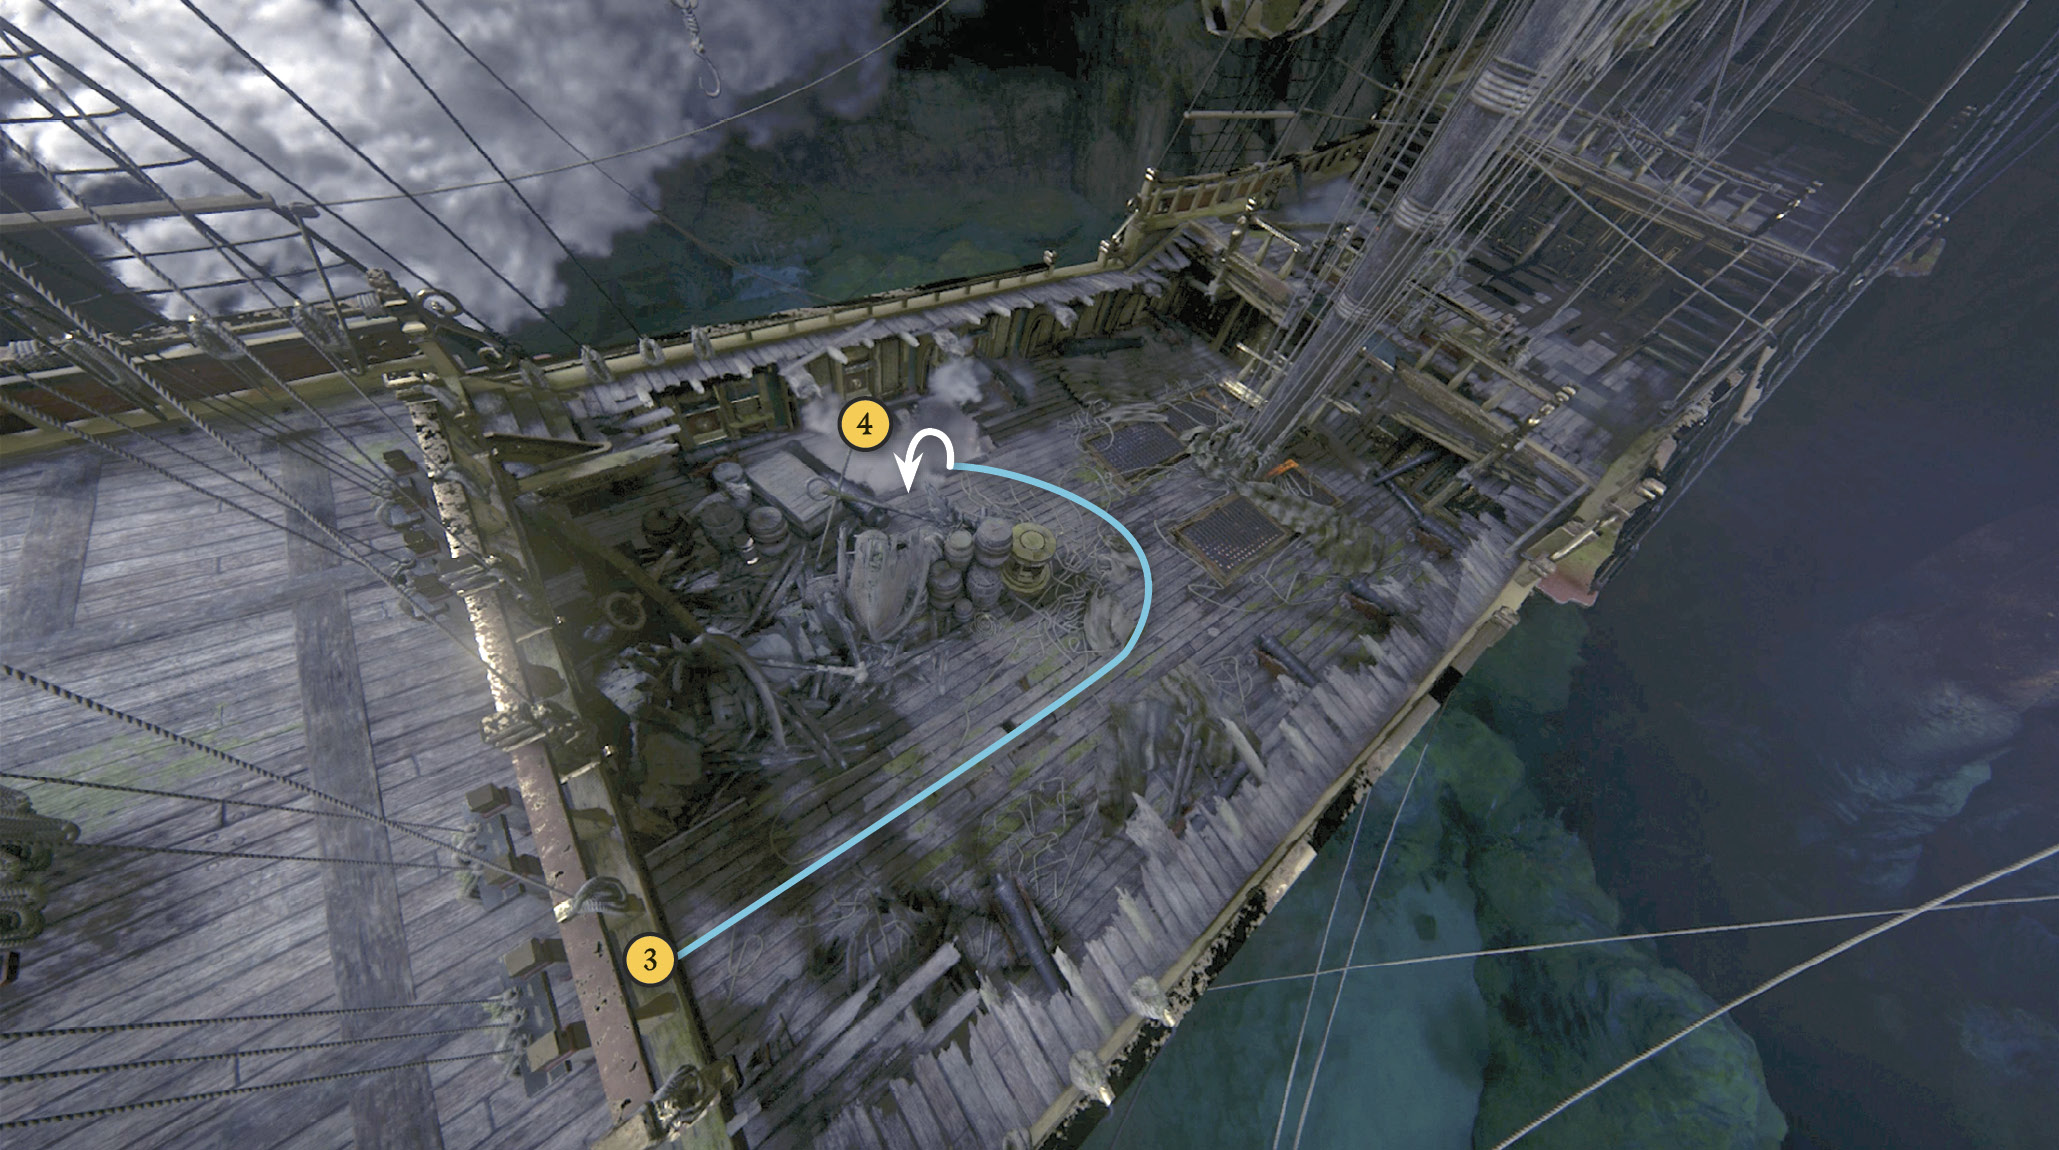
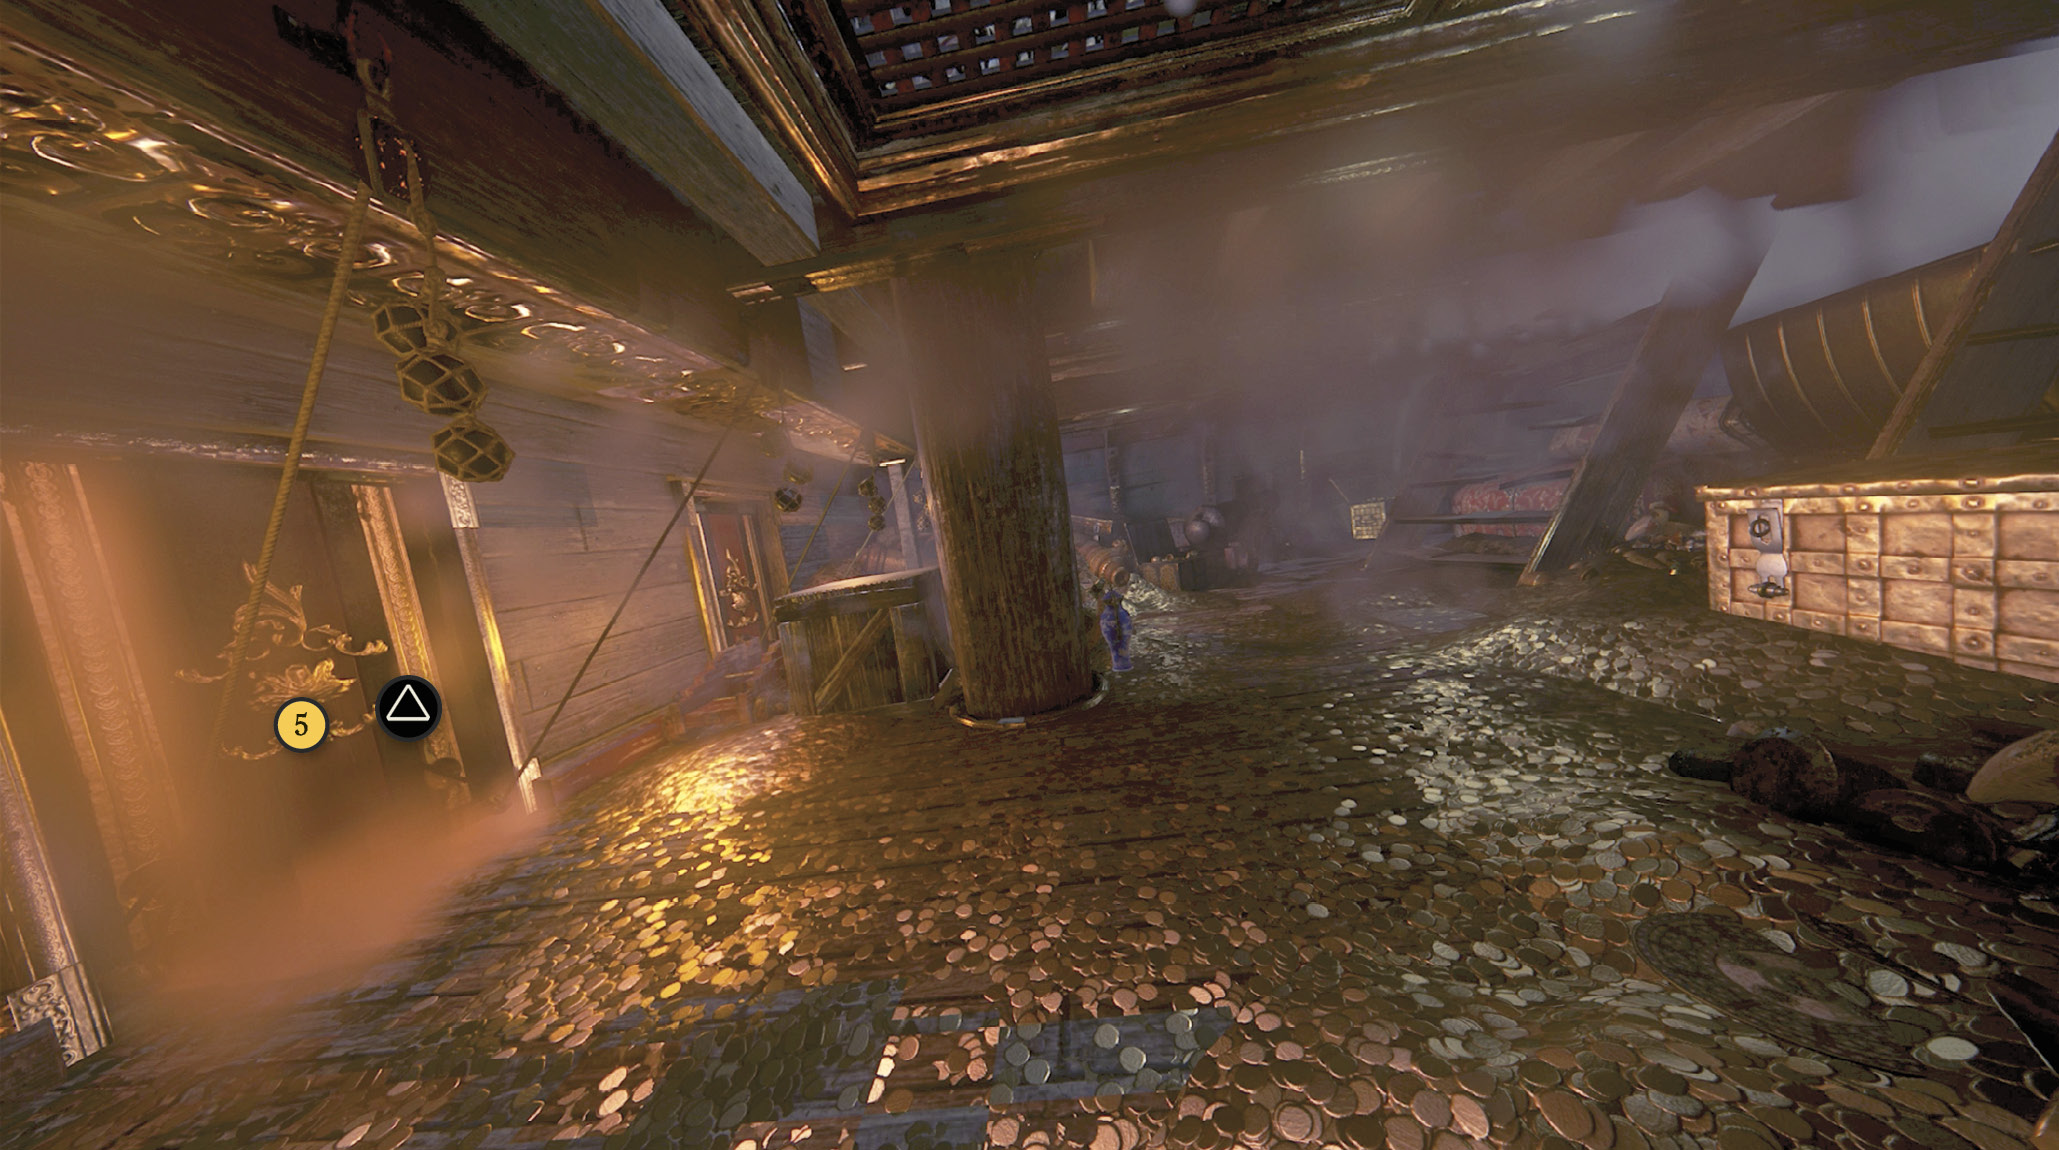
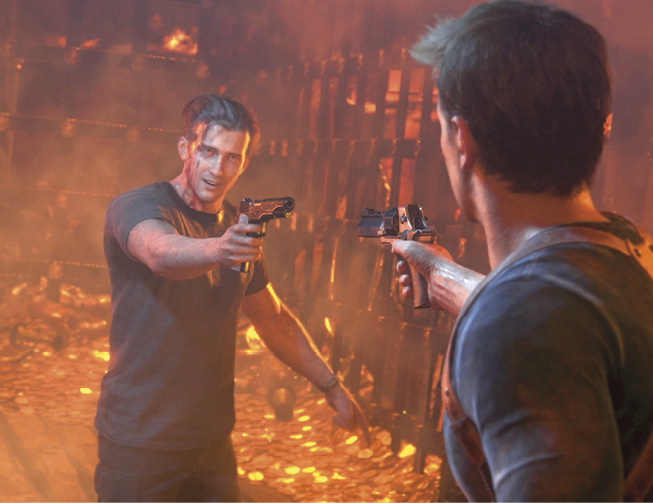
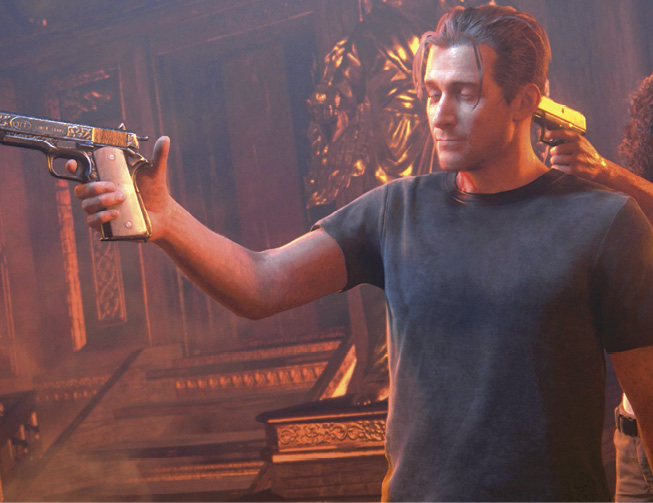
Inside, examine the Shoreline guard and then climb the collapsed deck section and go through the door (3) onto the main deck. Cross the deck and hop down through the blown hole (4). Then walk around the breathtaking piles of treasure on the floor and push open the marked hatch (5) to trigger a cutscene: Nathan finds Rafe coming into view through a cloud of smoke, and then he finds Sam, unconscious and trapped under a fallen beam. And then, he finds Nadine too….
Defeat Rafe!
Phase 1
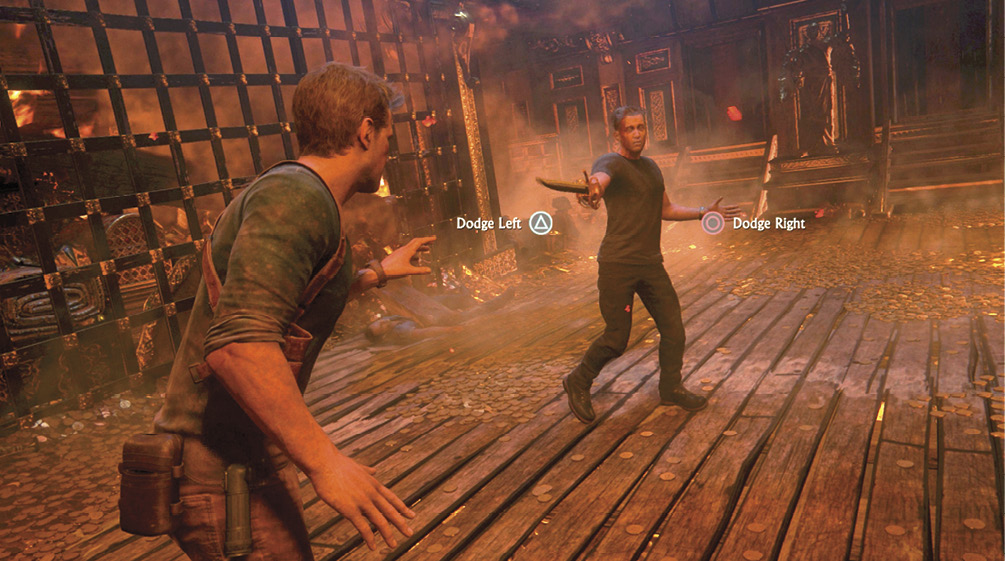
Time for a classic sword fight! Nathan starts out swordless, so all you can do at first is dodge Rafe’s slashes. Button icons appear onscreen to help you out. Tap  to dodge Rafe’s attacks from the left, and tap
  to dodge his attacks from the right. Rafe’s attack pattern is not random in this first phase, so we can get you off to a great start. Just remember in the following phases that there is plenty of time to react with the appropriate dodges when watching the direction Rafe’s attacks are coming from. In this first stage, the dodge combination alternates from one side to the other without any tricky, same-side dodge repeats like you will find in later stages.
Rafe’s Right Swing
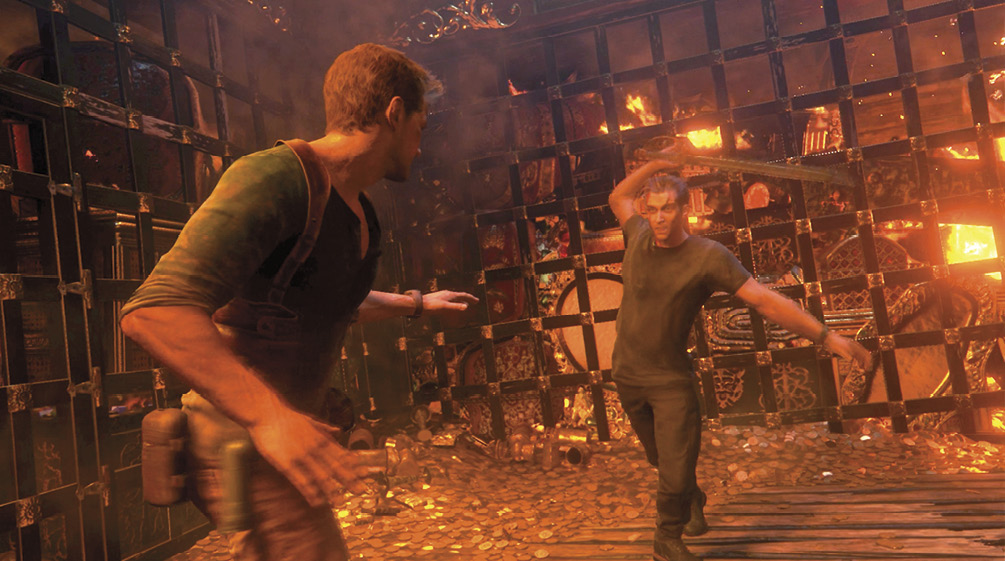
Rafe is right-handed; holding his sword in his right hand. When he swings overhead this means he is attacking with a right sword swing. He will also bring his arm straight back to the right for a jabbing style attack. You avoid these by pressing the to dodge left. Nathan steps back throwing his left arm into the air for a successful dodge.
 .
.Rafe’s Left Swing
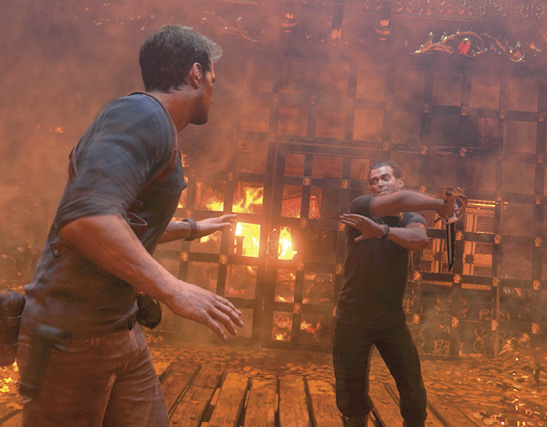
When Rafe attacks from the left, which requires you to perform a dodge right move , you will see Rafe cross his arms bringing his arm back over his left shoulder to perform a swing from his left side. Nathan dodges this by stepping back and throwing both arms up into the air.
 .
.Here is the winning combination for the first attack phase: , , , , , , .
End of Phase 1: Pinned
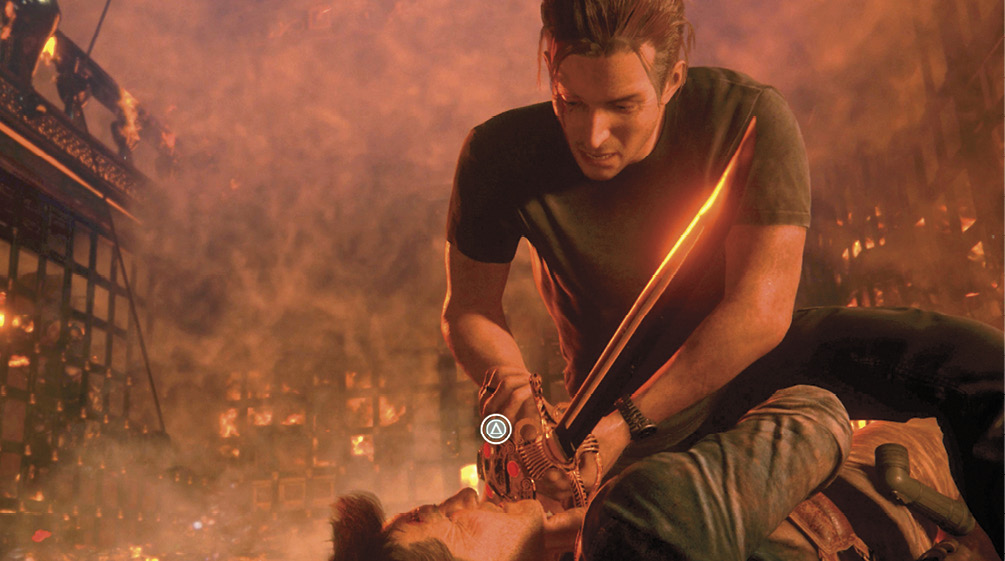
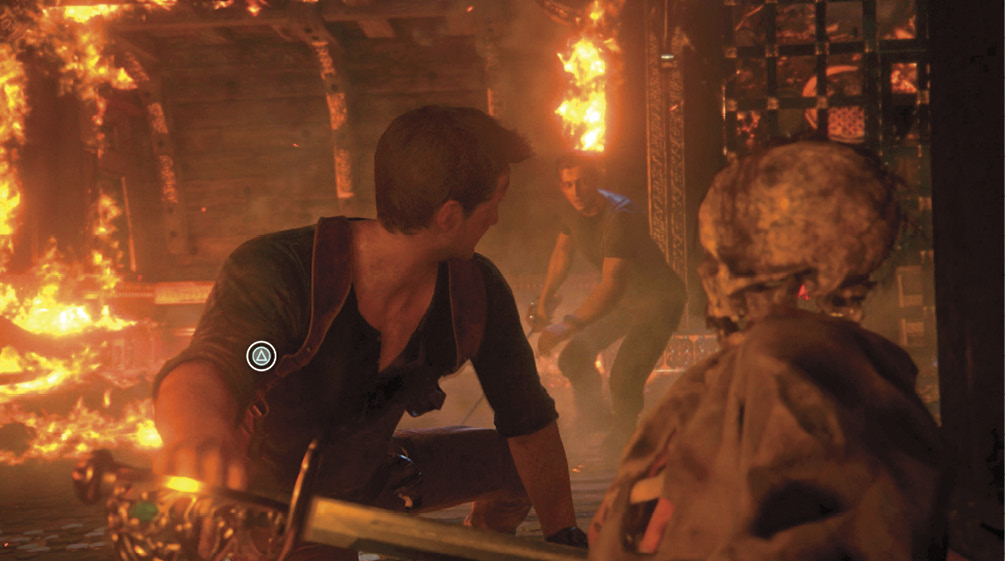
Once you successfully dodge Rafe’s attacks several times, you trigger a weapon struggle sequence where Nathan ends up pinned to the floor. Tap rapidly to break it in your favor, and then press to pull the New Weapon, the Cutlass (sword) from the pirate captain’s corpse in the foreground. Now you’ve got a true swordfight on your hands, using the swords of Avery and Tew.
Phase 2
Now you can attack Rafe by pressing  to swing your sword. Tapping lets you block Rafe’s attacks from the left, and lets you block his attacks from the right. Quickly counter Rafe’s slashes with a good slash of your own. When you throw him off balance the first time, you are prompted to tap to do some serious damage. Remember to do this even when not prompted. An off-balanced-Rafe-strike-opportunity is awarded from several successful blocks in a row. When you land enough solid hits, you trigger a quick struggle against a cage. Tap repeatedly to win the break.
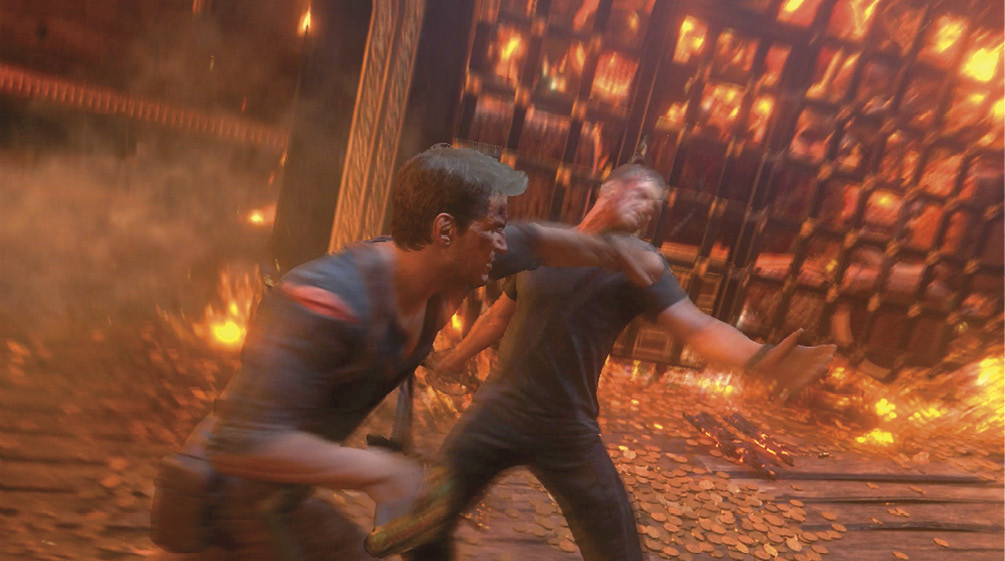 . Always try for two punches in a row for a combo strike.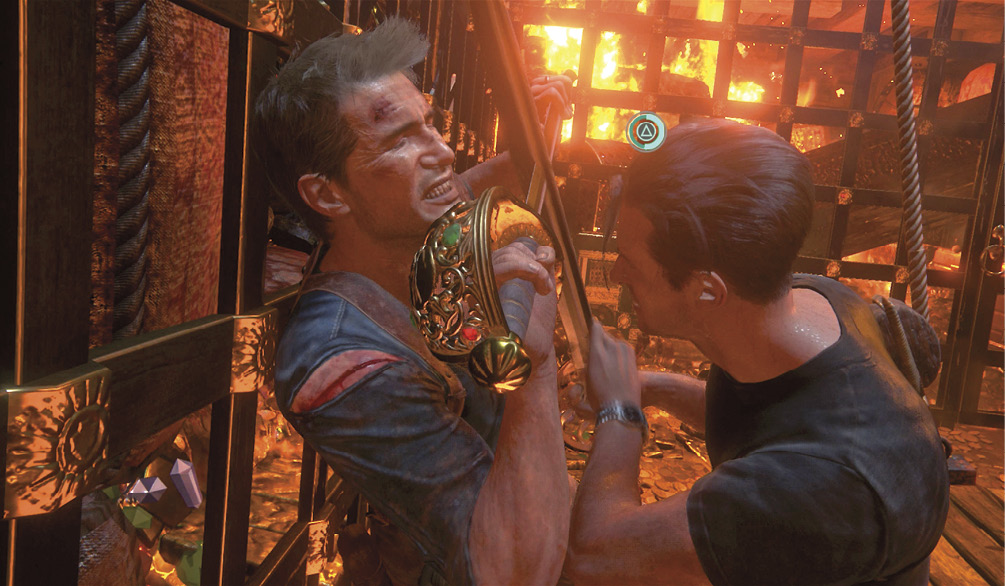
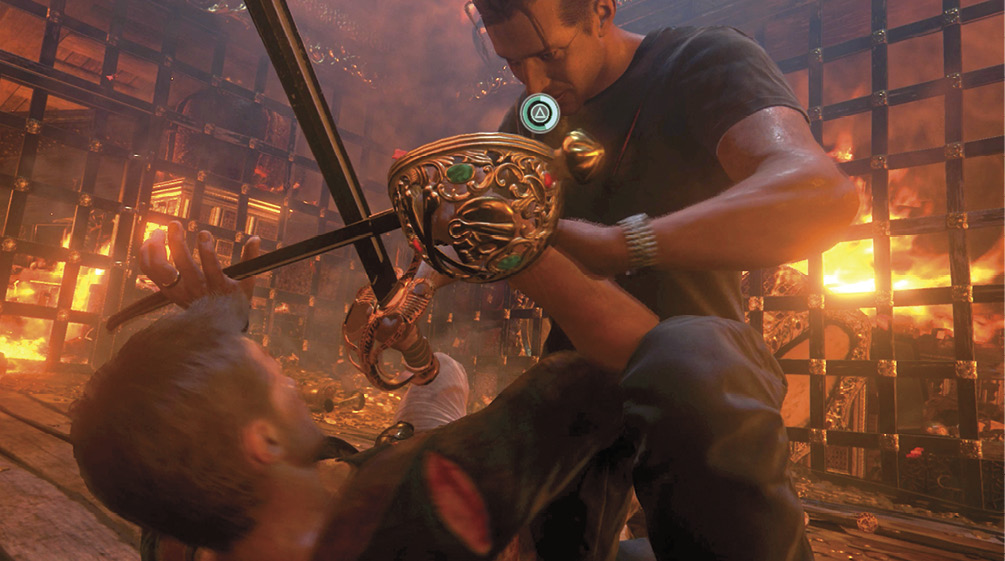
Keep dodging and fighting to land more blows that trigger a second struggle, this time on the floor. If you win this one, Nathan pushes off Rafe, who then takes the fight to a new level.
Phase 3
You landed a slash across Rafe’s abdomen and now he’s really angry and aggressive. His attacks grow quicker and more elaborate; he uses spin moves that can mask which side he’ll lunge at. Block quickly and you’ll reach a sword-crossed struggle against a cage. Win this struggle and you push Rafe off with a punch. One more successful round of fighting puts you in another sword-crossed struggle. When you win this struggle, you end up in the driver’s seat with your sword at Rafe’s neck with his back to the wall. However, Rafe manages to knock away Nathan’s sword and kick him to the ground.
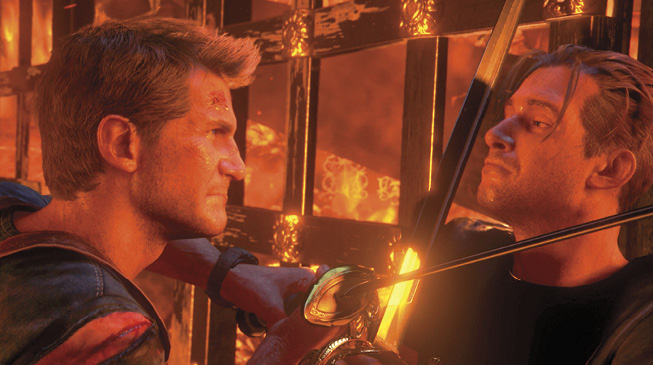
Phase 4
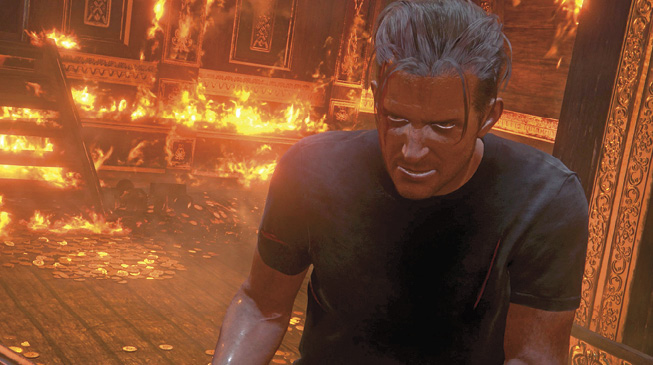
As Rafe makes his threats, be ready and keep your finger on that button. Just as Rafe is about to strike a final blow, the camera cuts to Sam pinned under the beam. Tap the button when the icon appears: Sam slides a sword back to Nathan.
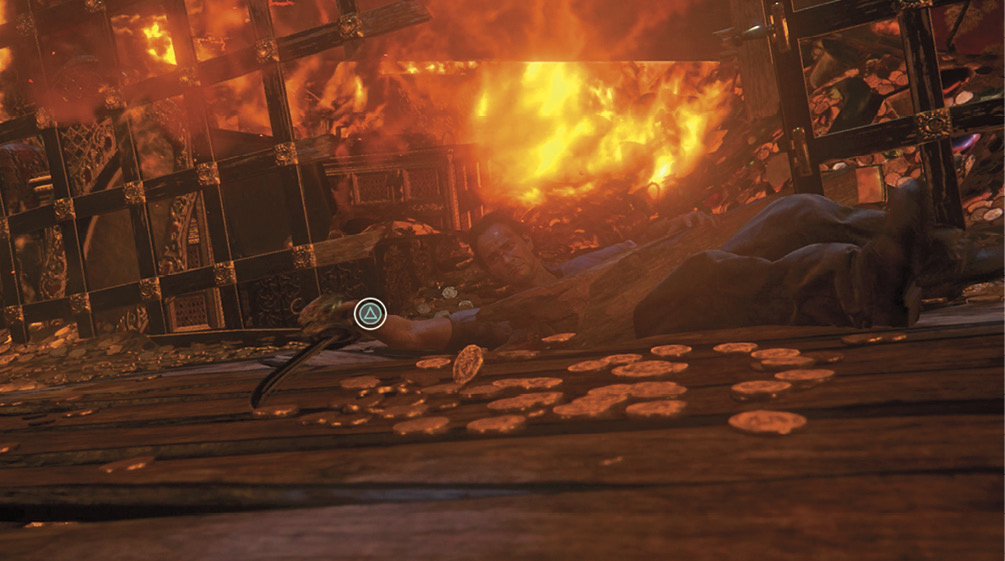
When the fight resumes, Nathan remains lying on the floor. Block Rafe’s blows, left and right. Button prompts appear to help you out with this flurry of attacks.
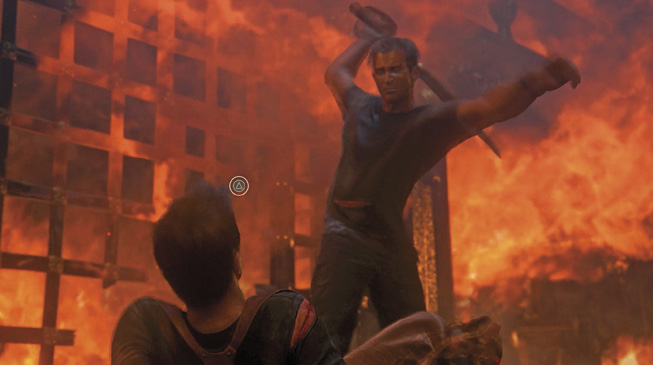
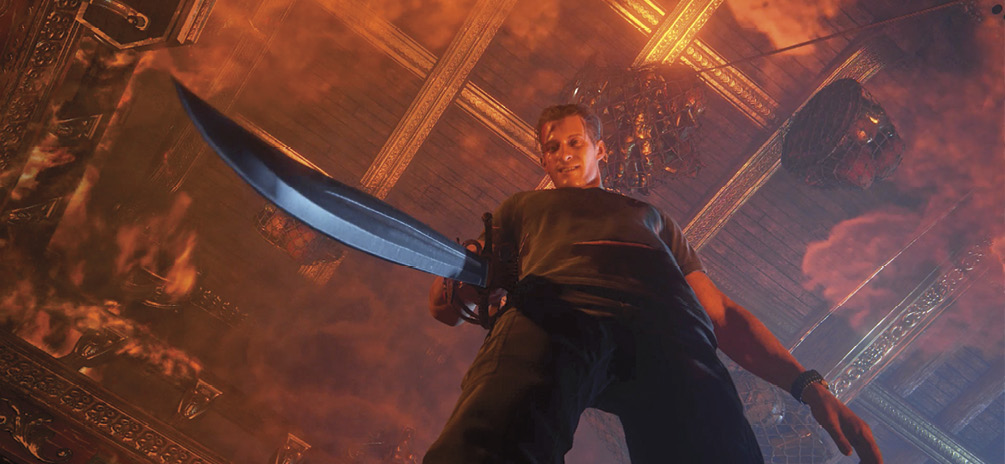
Win another close-quarters struggle where Rafe presses the blade ever closer to Nathan’s neck. Then, still on your back, block a few more blows until you trigger the fight-ending cutscene: Nathan asks, “You want the treasure?” and then gives Rafe exactly what he wants, although not exactly in the way he wants it. Press the moment it appears over the hilt of your broken sword.
Swim to Safety!
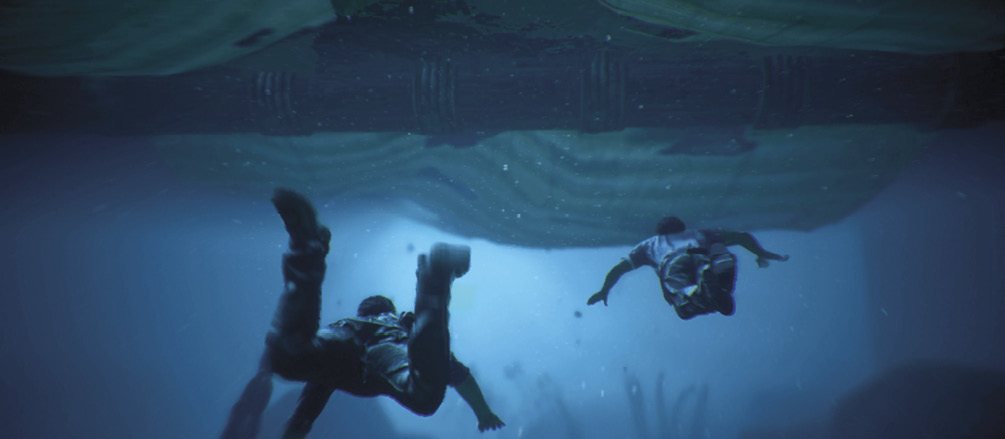
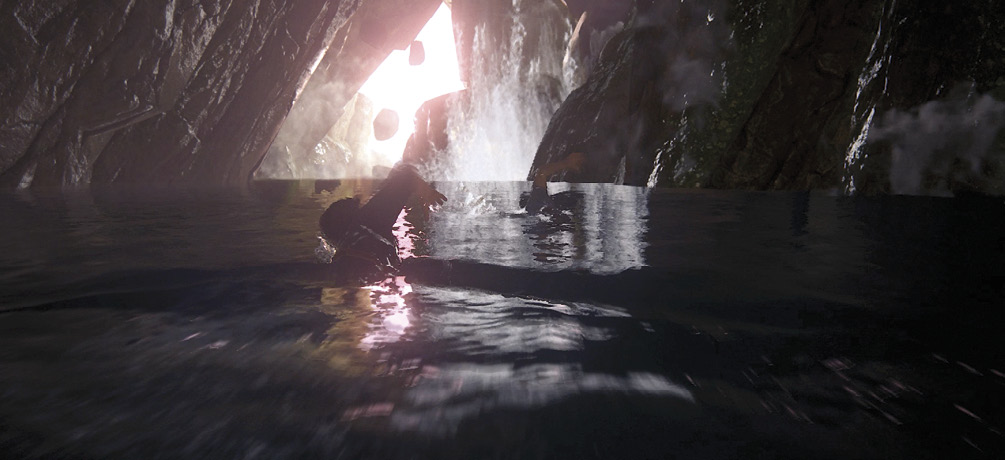
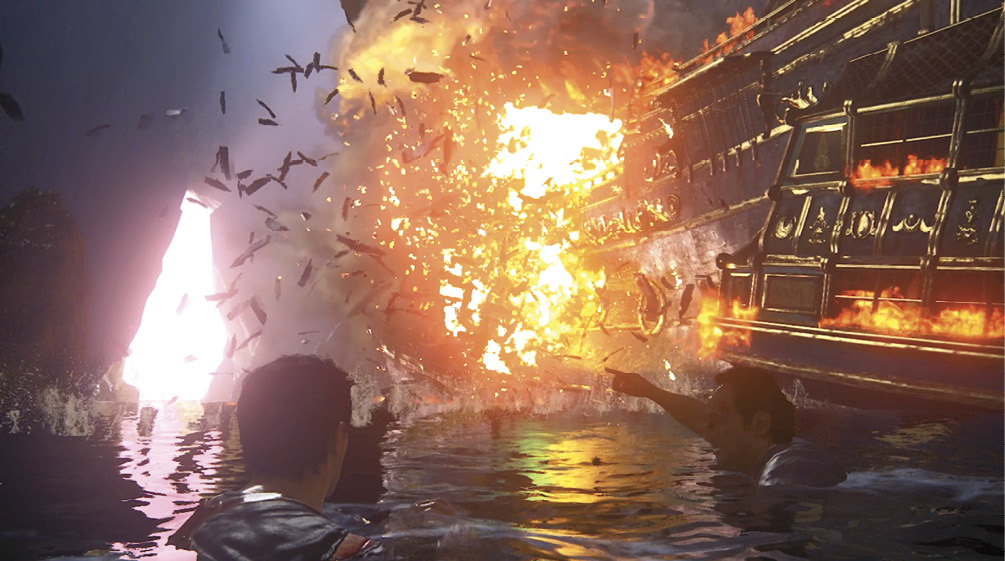
Quickly! Swim toward the Fancy’s sinking mainmast, then swim underneath it (you can remain above water). Continue swimming toward aft. When you near stern, the fiery mizzenmast falls directly on top of you. Dive deep into the water and clear the wreckage. Surface and continue swimming toward the ever-shrinking cave mouth directly ahead. Do not stop! If you do, the cavern roof will collapse right on top of you. Swim into the light!
Watch the Ending
Escaping the collapsing cavern triggers the chapter-ending cinematic sequence. It ends by bumping you into another live session of a retro game.
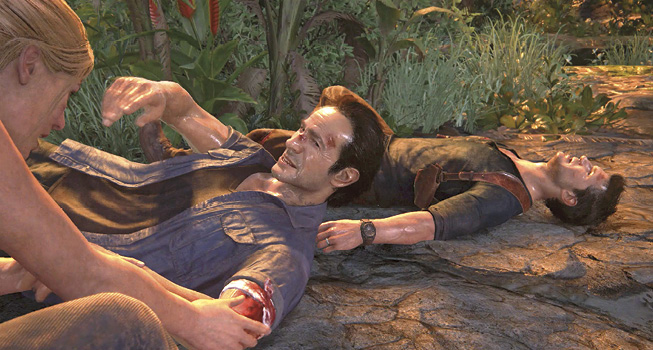
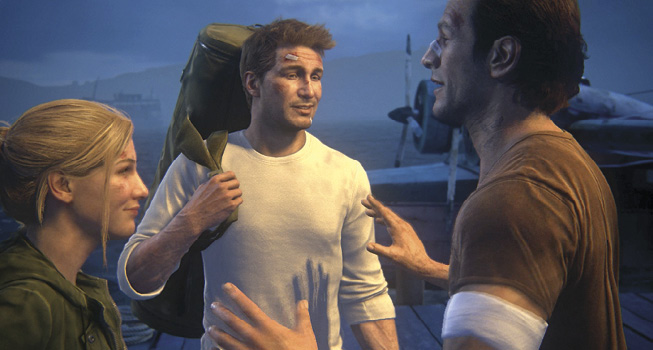
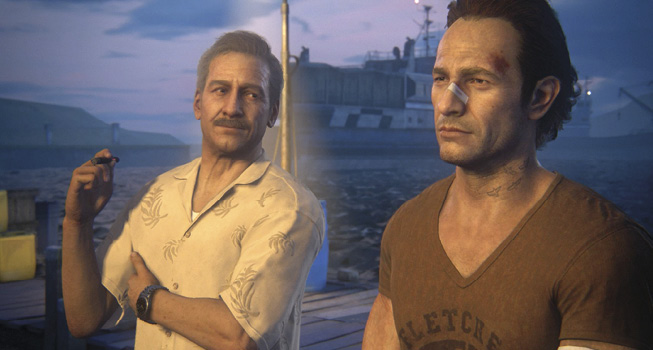
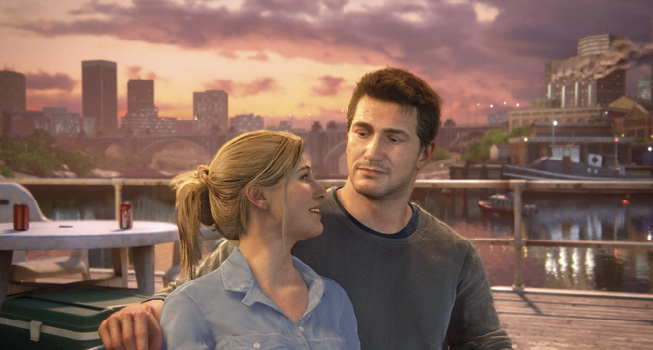
Now watch the cinematic of Nathan’s struggle to free Sam from the heavy beam that traps him. Nate comes up with a clever scheme that relies on the fact that wood floats in water. But now the Fancy is sinking, and the explosions have made the entire cavern unstable as well.
CollectiblesChapter Specific Trophies: “Best Score!,” “Charted!—Explorer,” “Charted!—Light,” “Charted!—Moderate,” “Charted!—Hard,” “Charted!—Crushing,” and “Charted!—Speedrun” |