Uncharted 4: A Thief's End Guide Story Walkthrough
Chapter 15: The Thieves of Libertalia
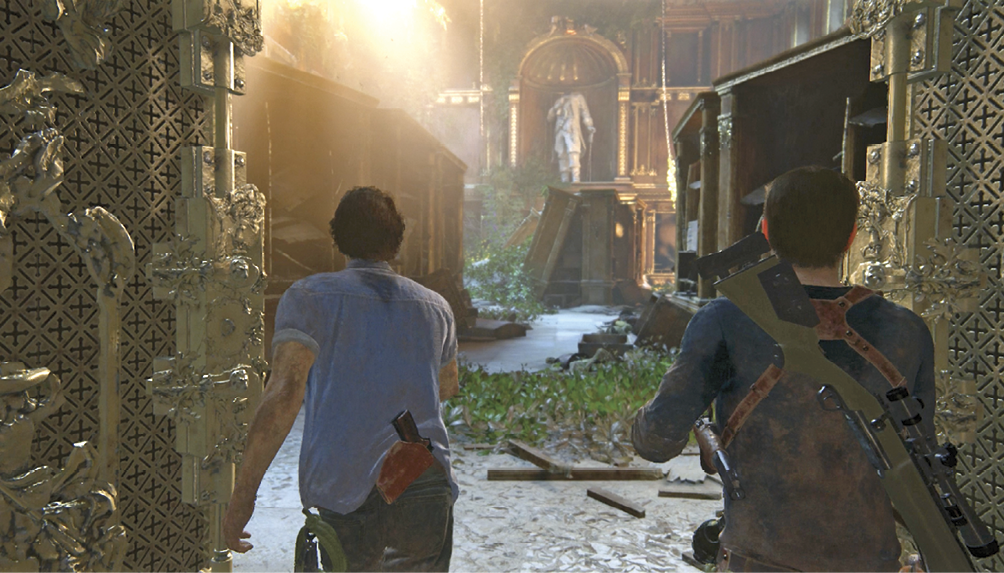
The Drake brothers have discovered Libertalia’s grand treasury, once the repository of great riches but now empty and untouched for hundreds of years. With signs of violent upheaval everywhere, it’s time to look for clues to what happened here.
CollectiblesTreasures: 1 Trophy Completed: “Peaceful Resolution” Optional Conversations: 2 Optional Journal Notes: 3 Optional Journal Entries: 1 |
Explore the Treasury
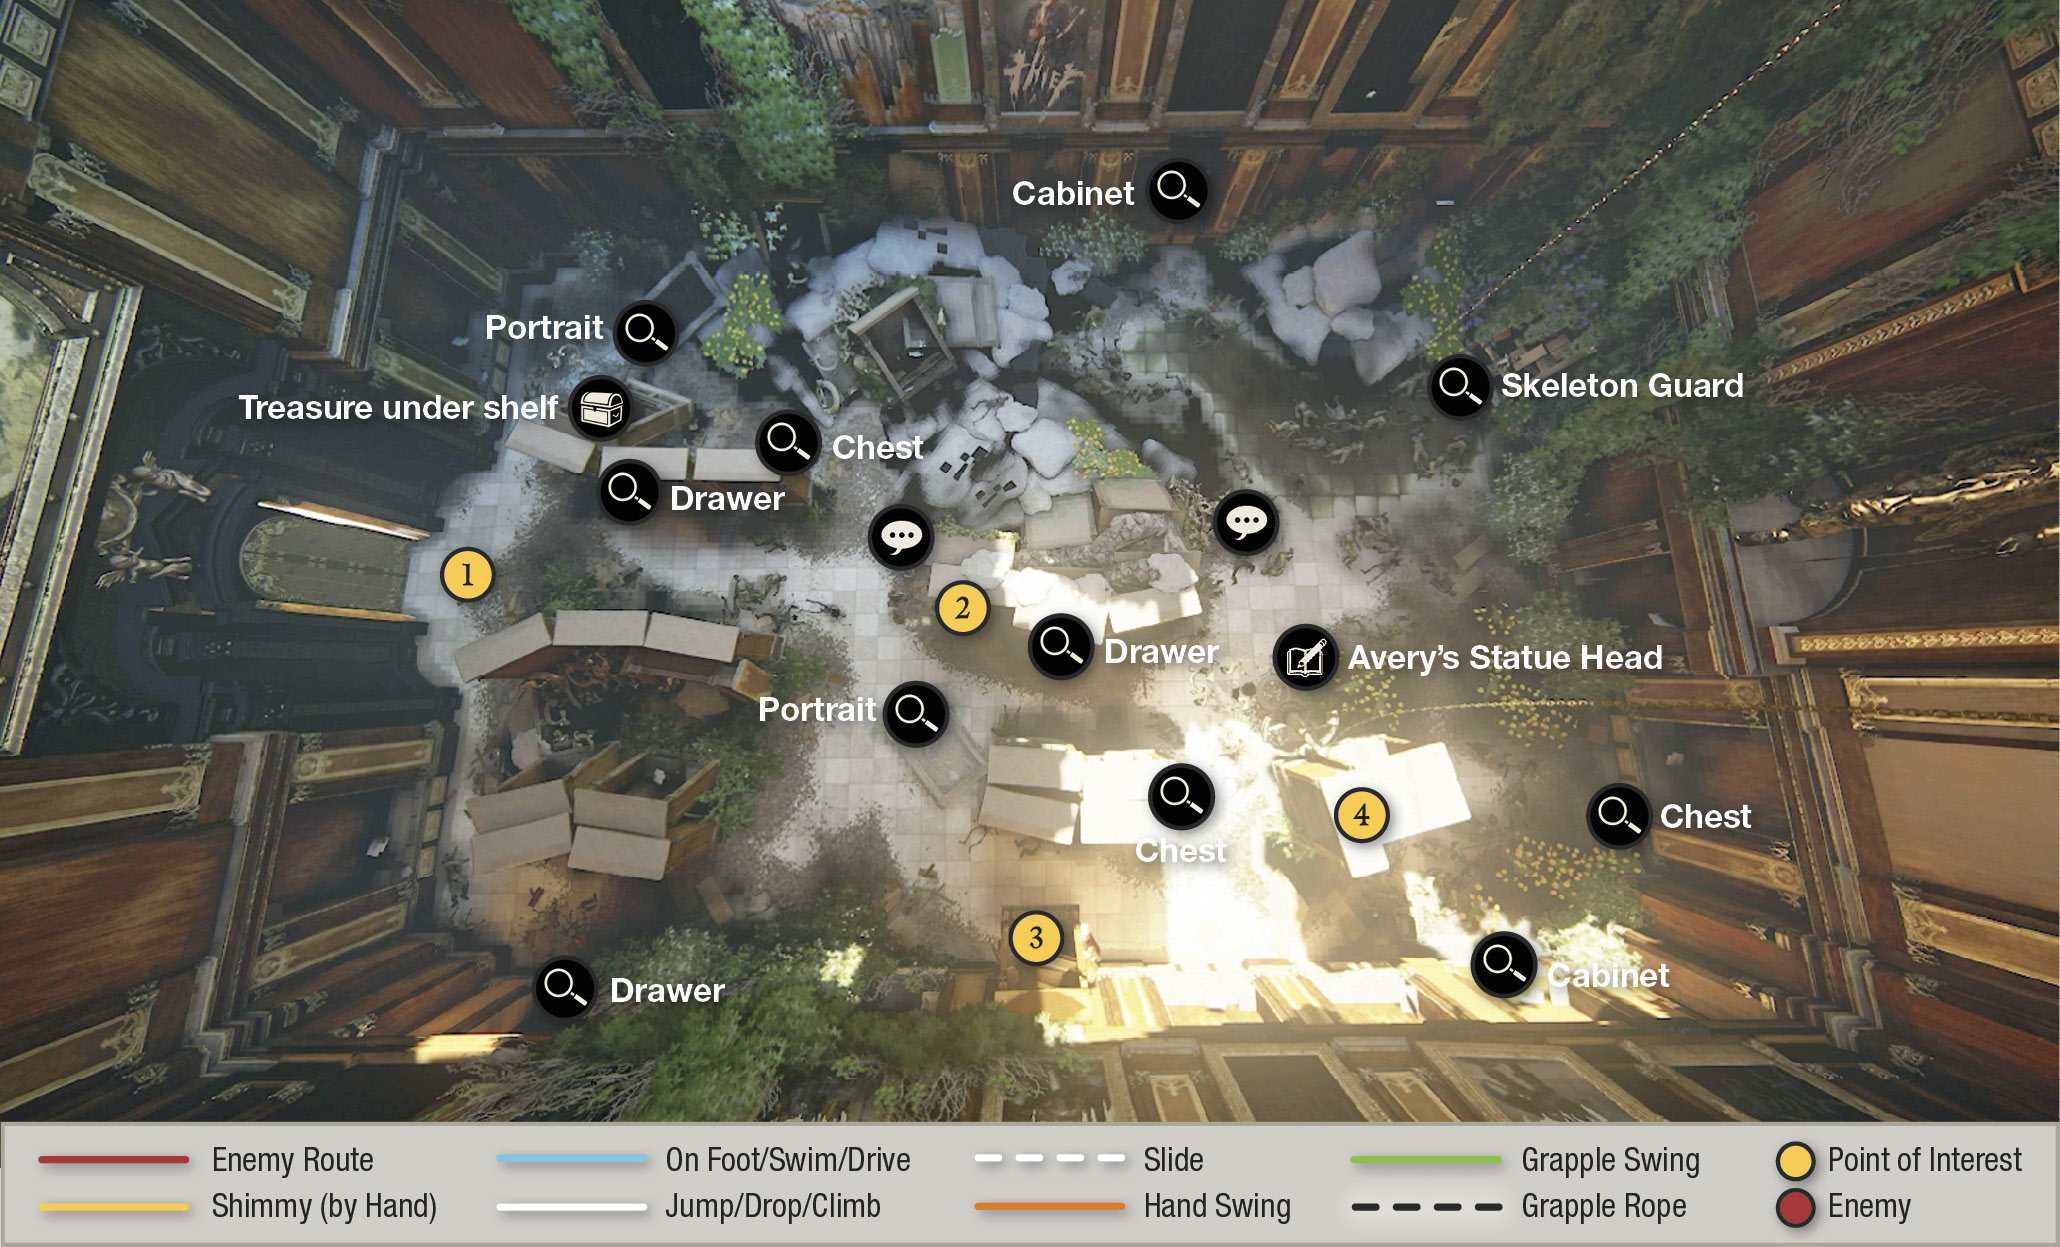
You start out just inside the entrance door (1). This room has a number of items you can examine or collect, including a treasure tucked under a tilted shelf near the entrance door. Our overhead map shot points out all searchable locations. You can find specific items in these locations, but the game places them in random drawers or cabinets, so you have to do some searching.

Emerald Flask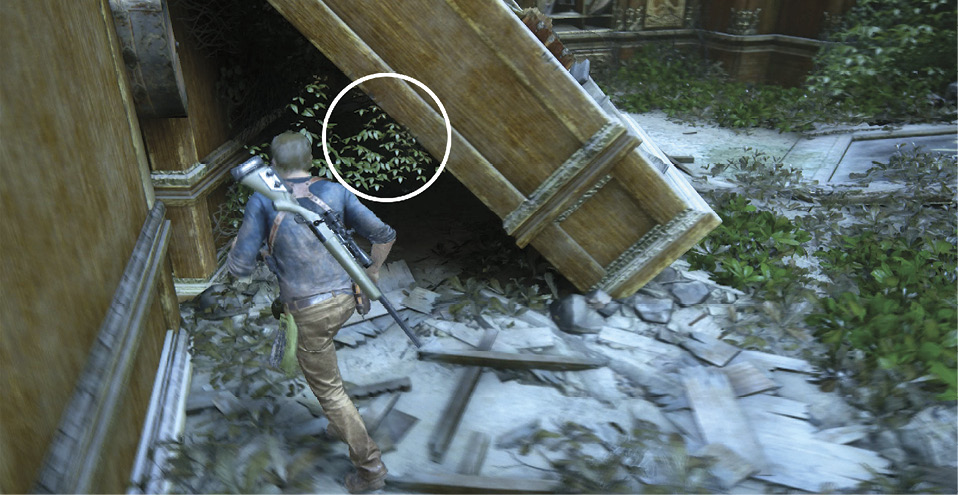
The Emerald Flask is near the entrance door, stashed in the shadows under a tall shelf. The shelf is tilted and leaning against another shelf. |
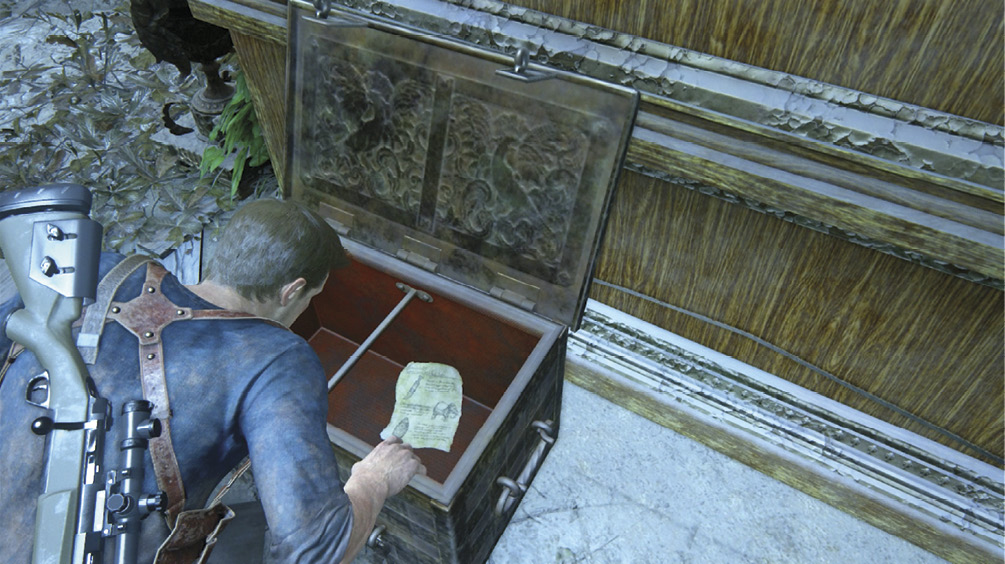
You’ll find several empty chests, drawers, or cabinets—no treasure or clues. But in three others you’ll find three inventory logs that you can gather as Optional Journal Notes:
- A ship’s manifest for the Destiny found in the second drawer/cabinet that you inspect.
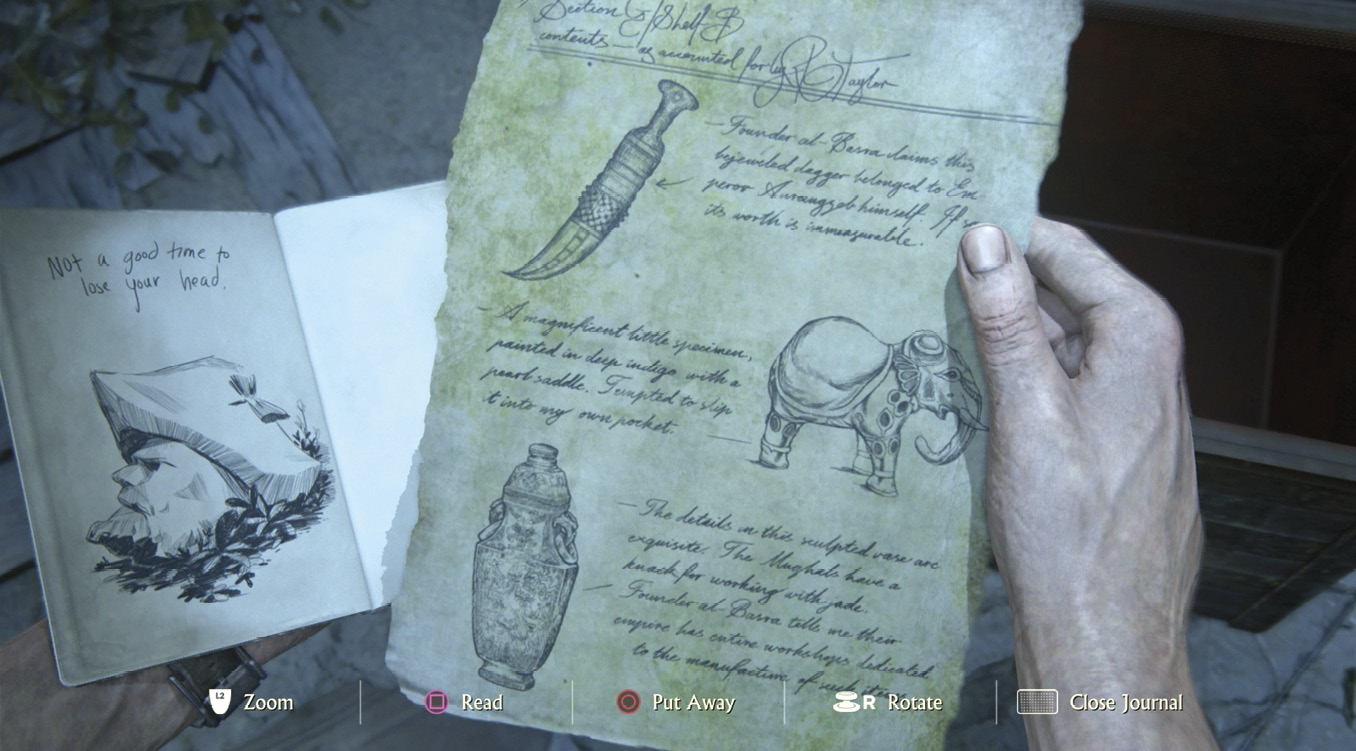
- A page of inventory sketches found in the second chest that you inspect.
- An inventory list found in the fourth drawer/cabinet that you inspect.
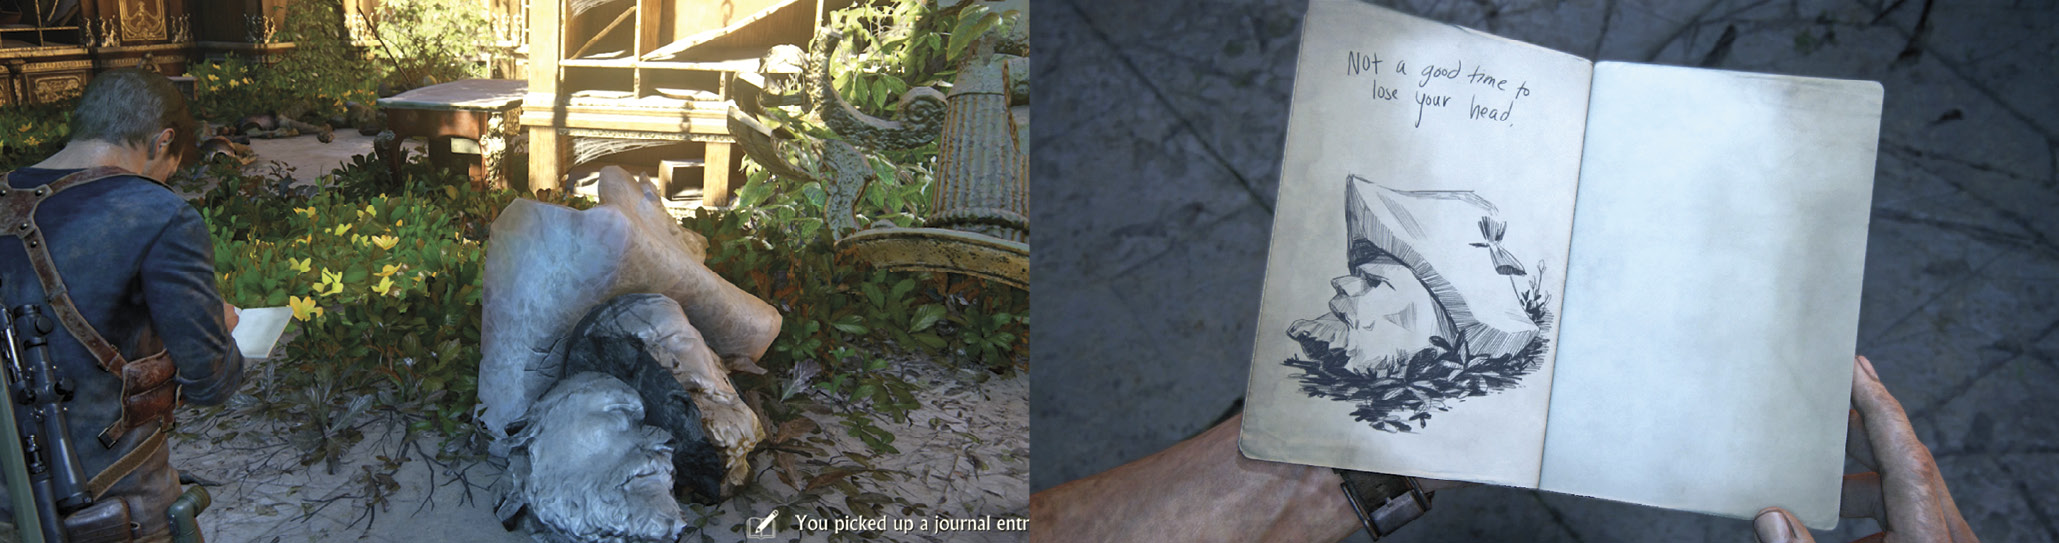
On the floor, look for two defaced portraits of Libertalia founders emblazoned with the word “THIEF.” Examine the Avery statue head on the floor to add an Optional Journal Entry.
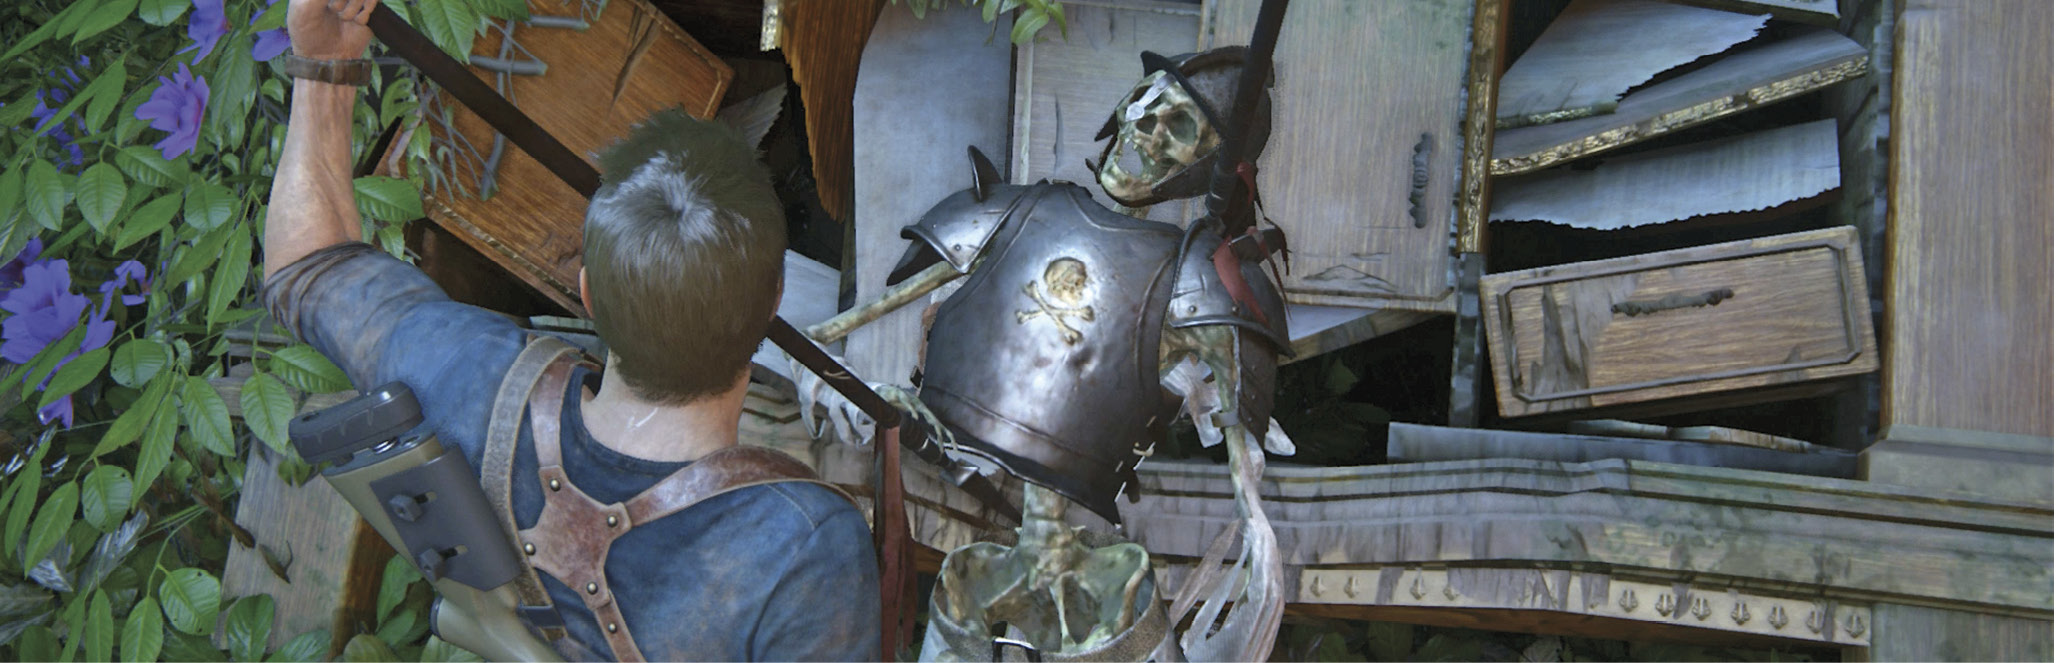
Check out the poor impaled treasury guard with Avery’s sigil embossed on his armor. Then approach Sam to trigger the Optional Conversation, “What The Hell Happened Here?”
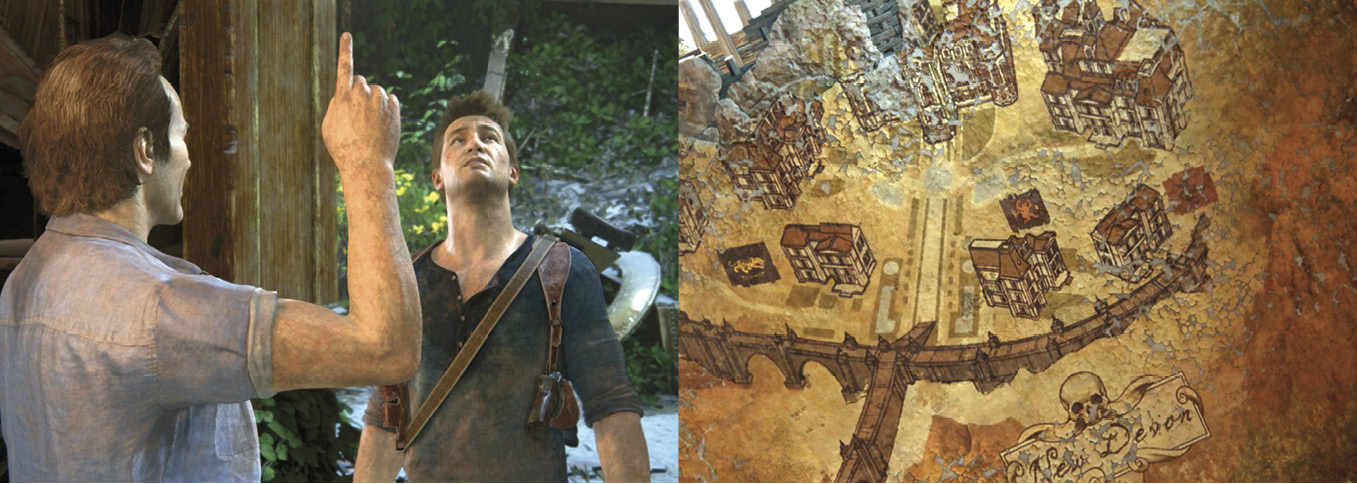
Once you’ve discovered at least two documents amongst the various drawers, Sam crouches to look at something and calls Nathan over (2). Approach Sam and talk to him. (Although this chat counts as a collectible Optional Conversation entitled “Libertalia Money,” you must trigger it to proceed in the story.) The Drakes puzzle out what likely happened in this room 300 years ago. Then Sam spots a stunning ceiling map that reveals the existence of a seriously upscale neighborhood across the island.
Find a Way Up the Watchtower
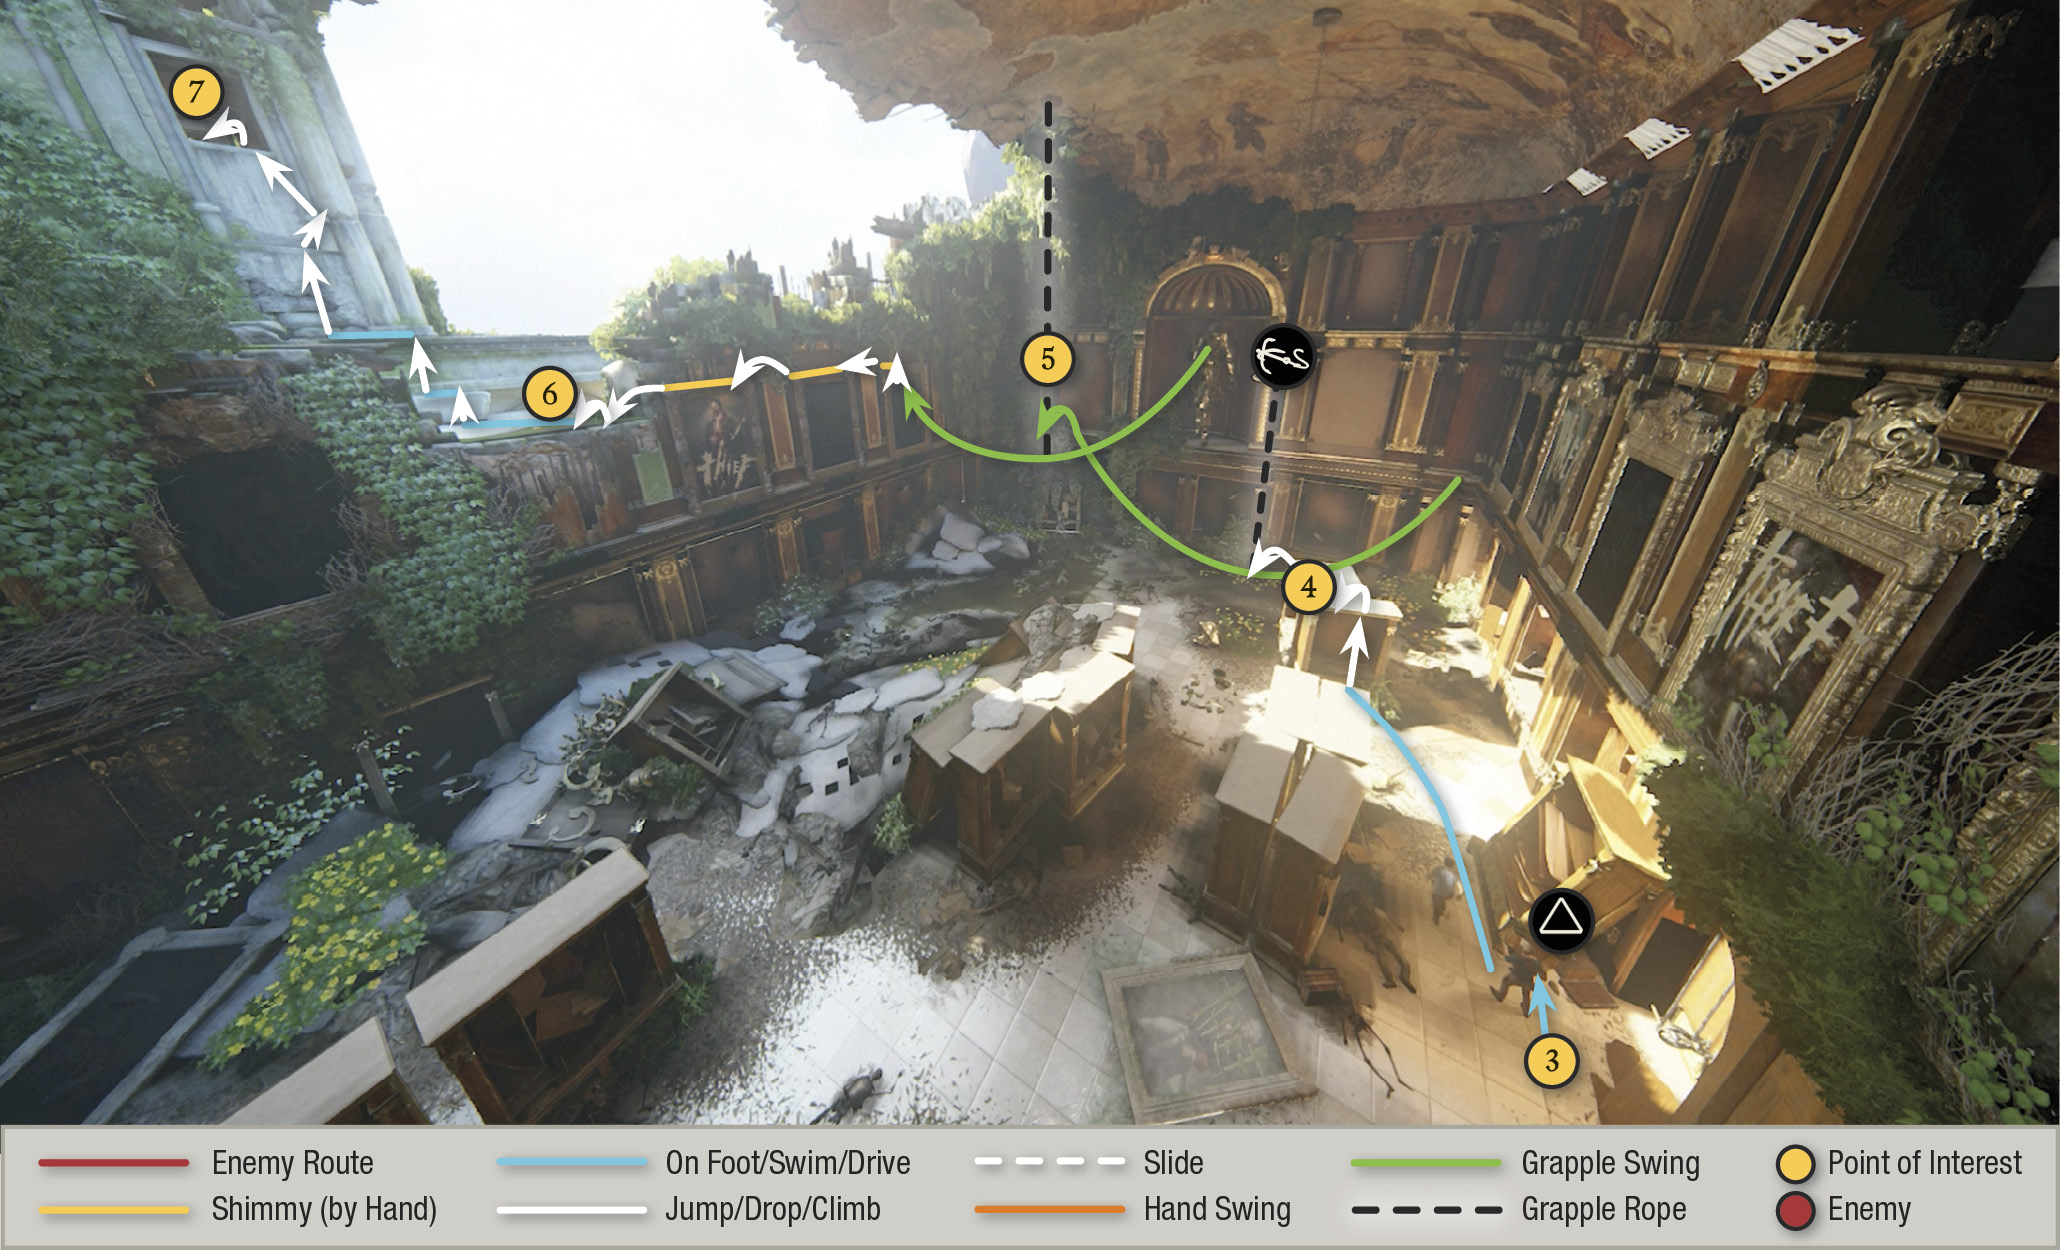
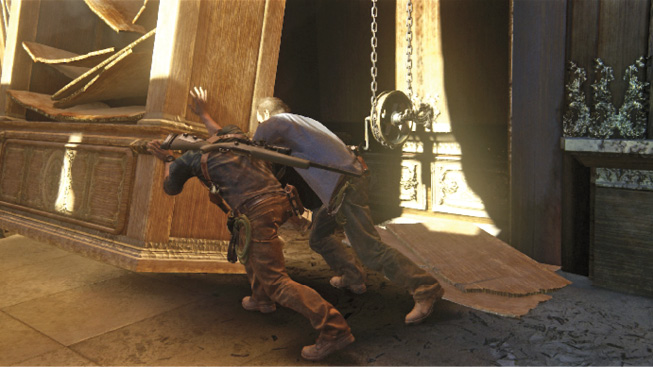
Nathan suggests climbing the nearby watchtower to get your bearings. Join Sam at the tilted cabinet (3) and help him push it; just move the left stick in the direction you want to push. It reveals a crank handle that Sam turns to raise the chandelier. Climb atop the nearby cabinet (4) (the one with its shelves still intact).
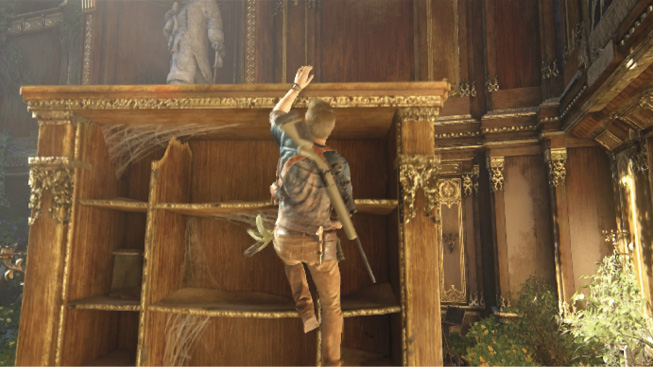
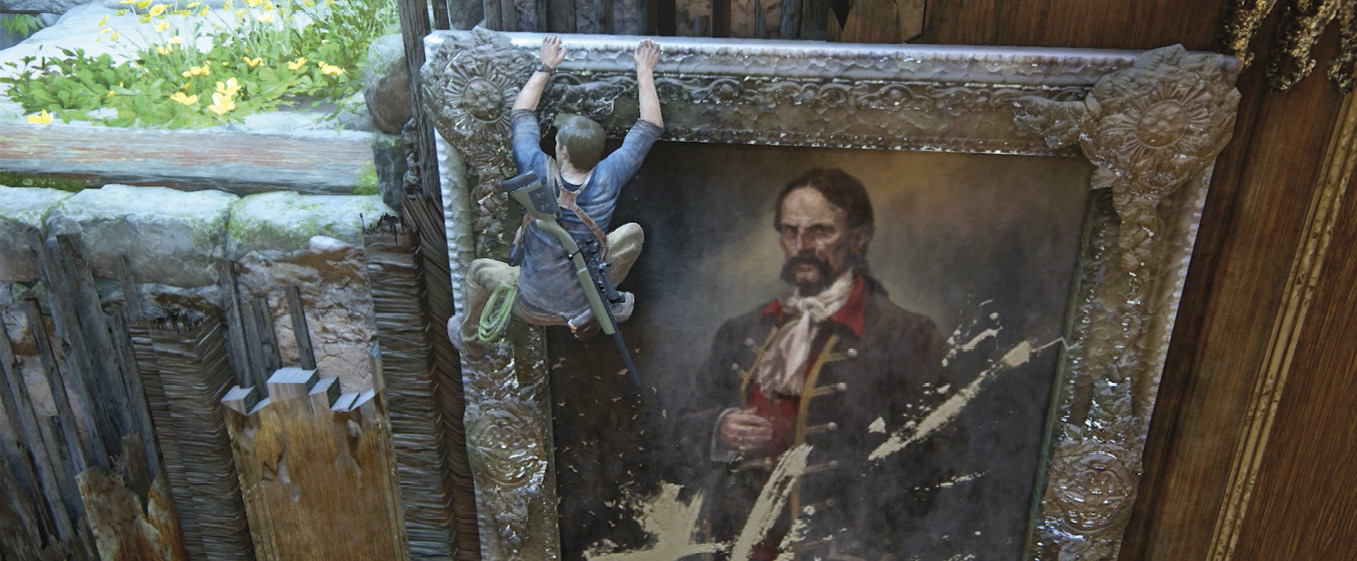
Sling your grapple hook to the chandelier, then swing and jump to grab the second chandelier chain (5). Use that chain to swing to the Anne Bonny painting. Shimmy leftward across two other paintings until you reach the big hole (6) torn in the wall. Now you can climb up the ledges on the watchtower into the open window (7).
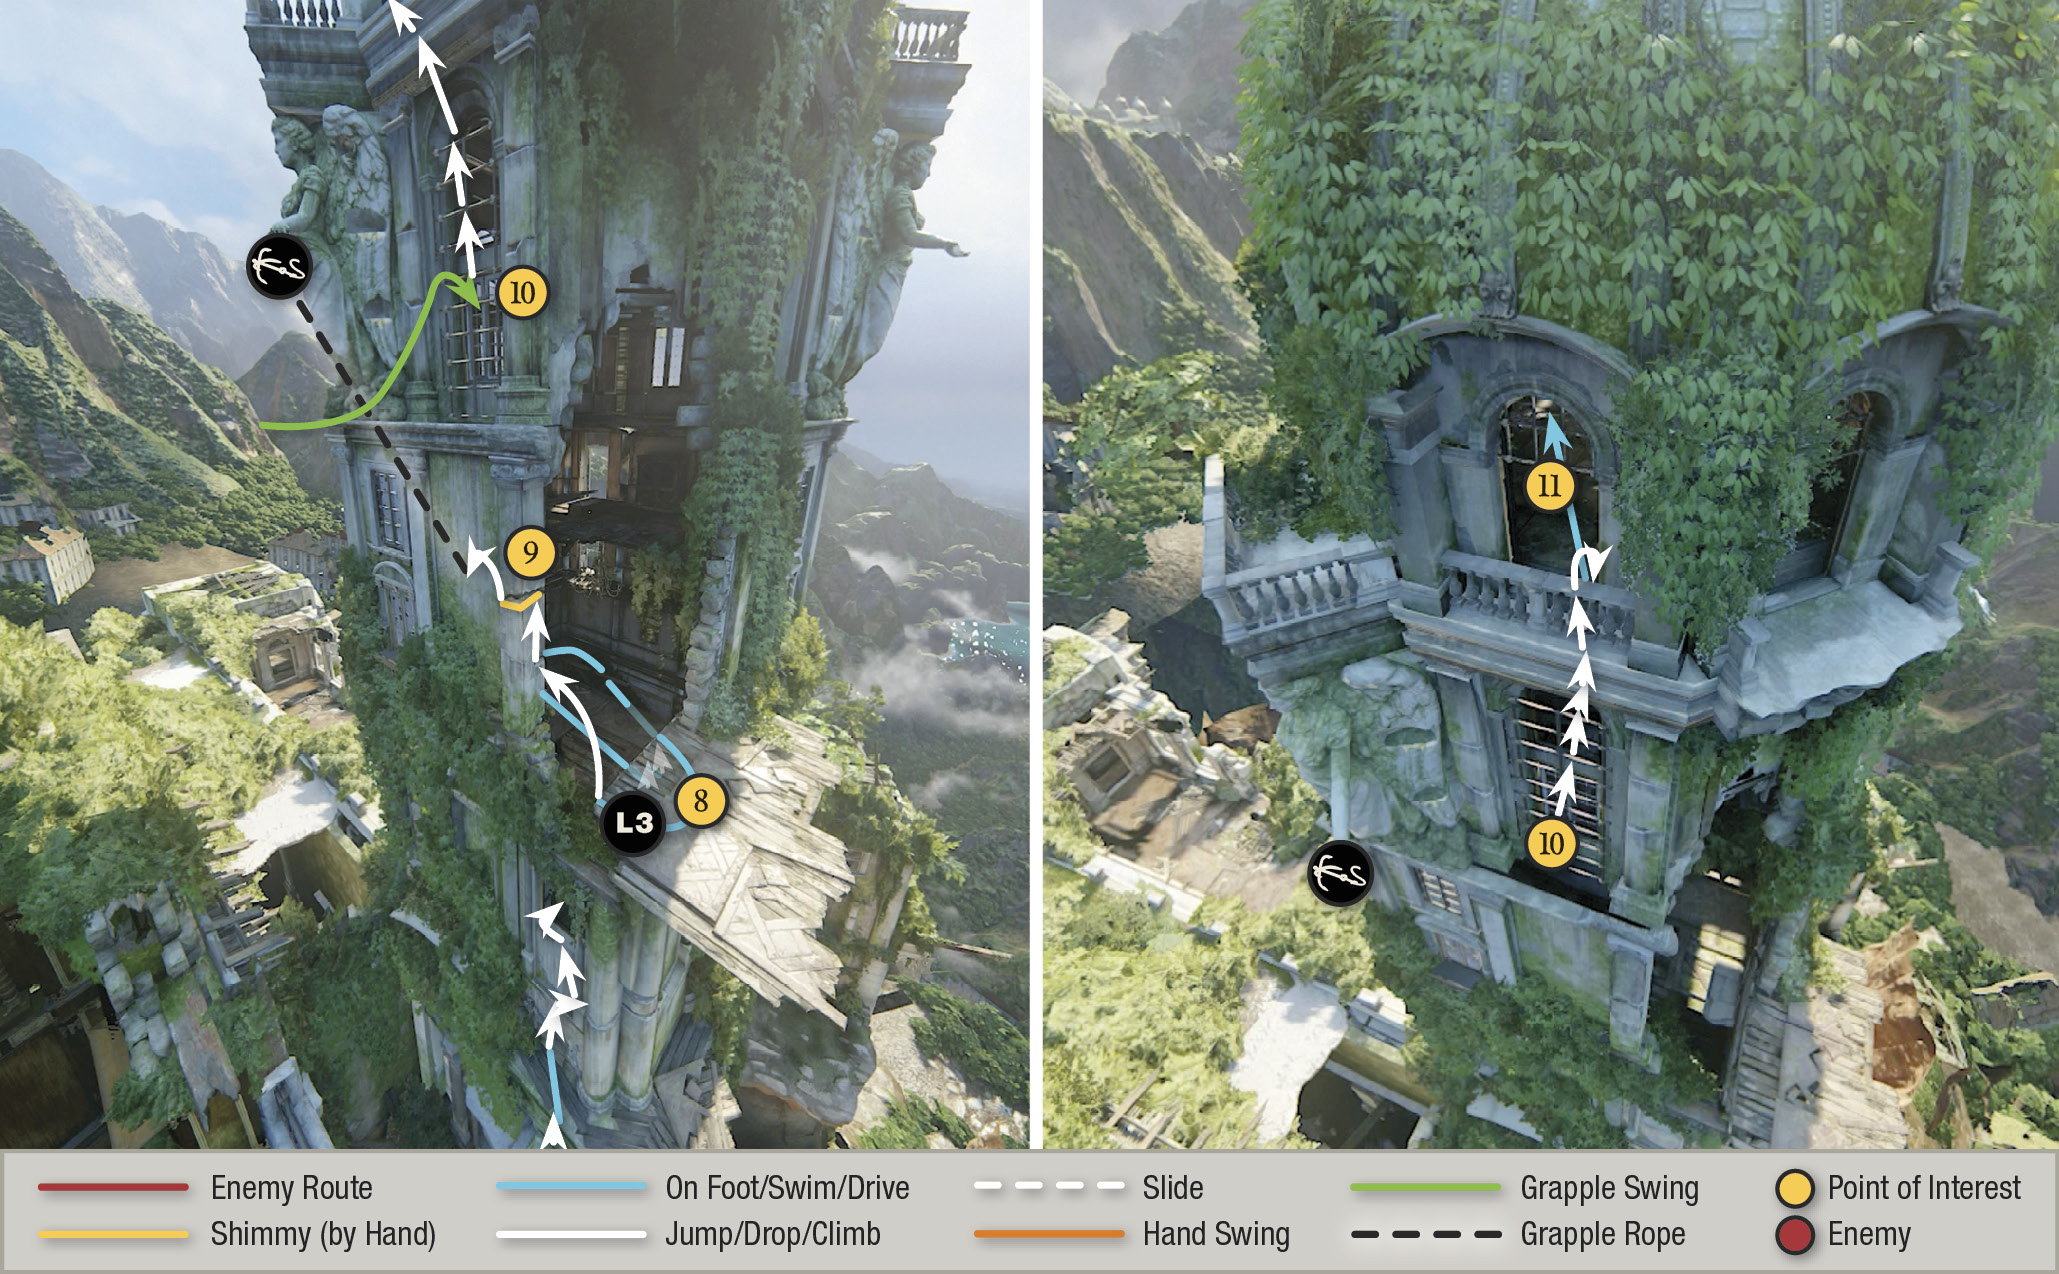
Inside, ascend the stairs until they end; then climb onto the open observation platform (8) where you can press L3 to look at the grapple point—the ring in the angel statue’s hand. Follow our map’s climbing route up and around the corner pillar (9), then sling your grapple hook at the ring. Climb the rope as far as you can, then swing over to grab the window bars just to the right of the statue (10). Climb the window and ledges to get into the open window above (11).
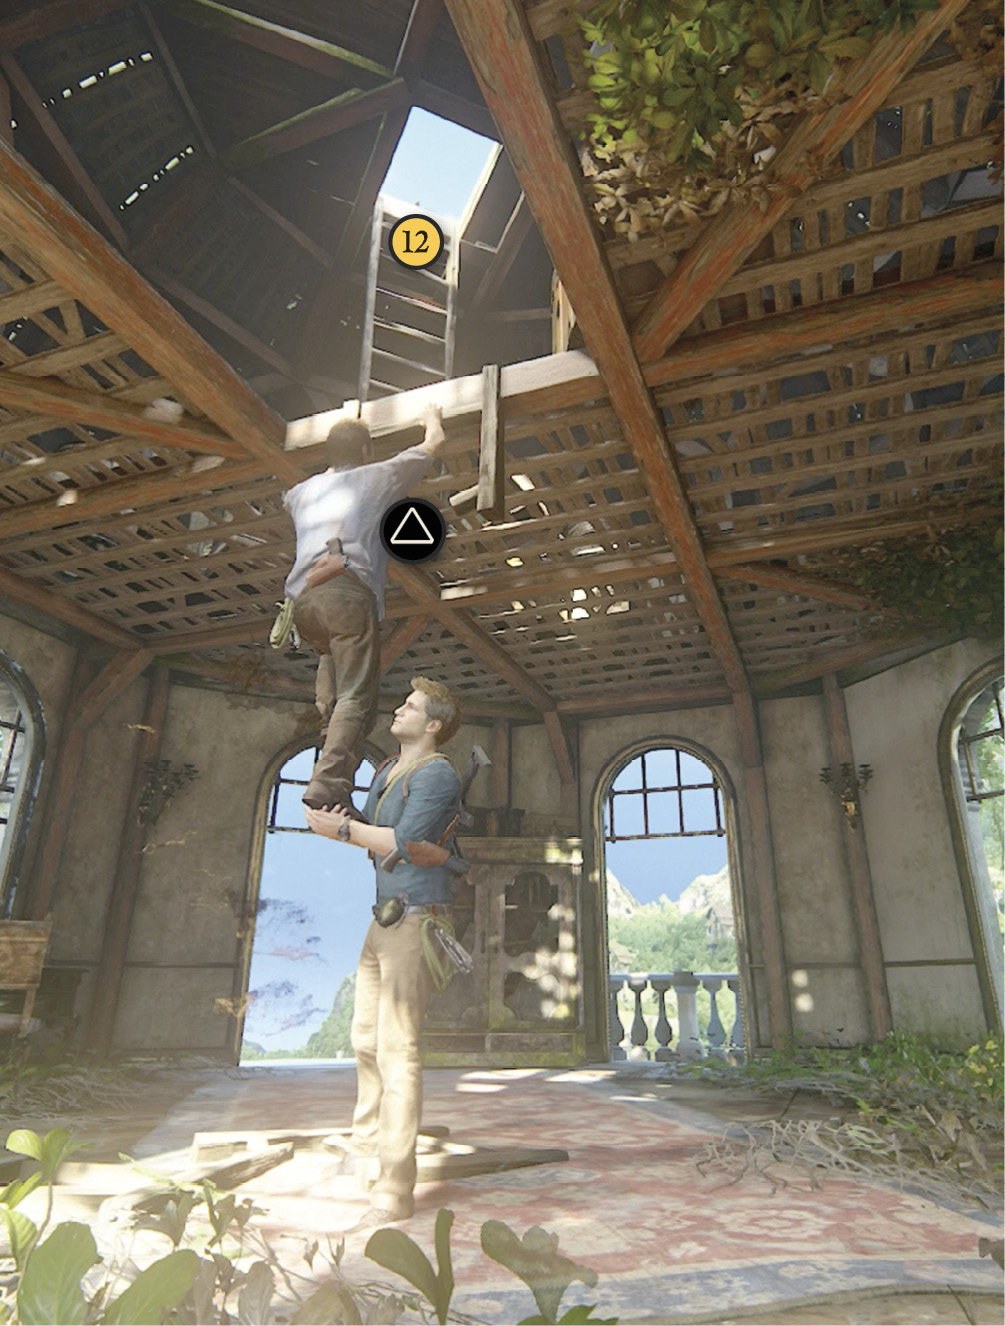
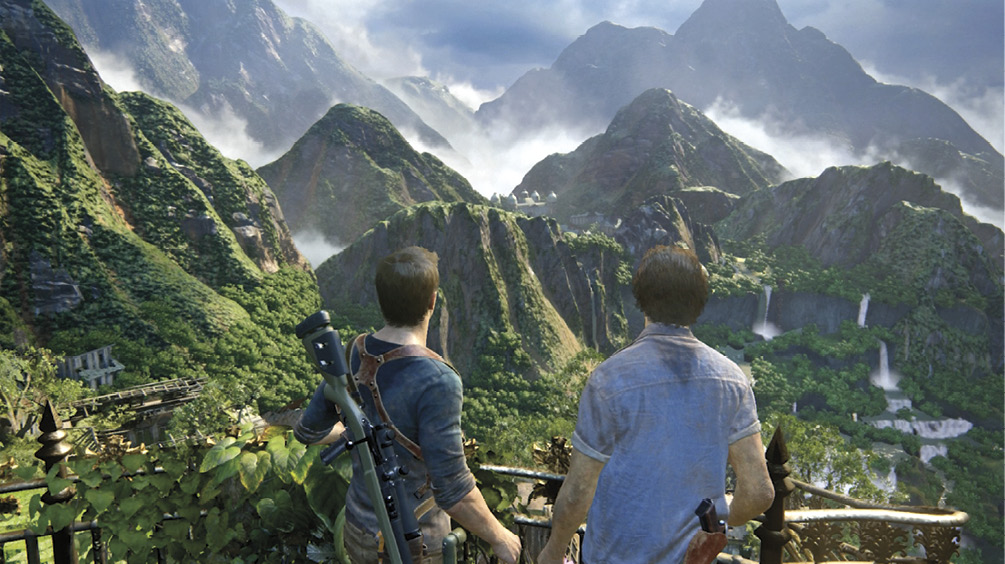
Inside, boost Sam up to the broken ladder. Use the chest he pushes down to reach the broken ladder with a leap. Climb the next ladder to the watchtower roof (12) to trigger a quick scene: The brothers admire the panorama and spot New Devon across a river that cascades in a series of dramatic waterfalls down the mountainside.
Survive the Rocket Attack!
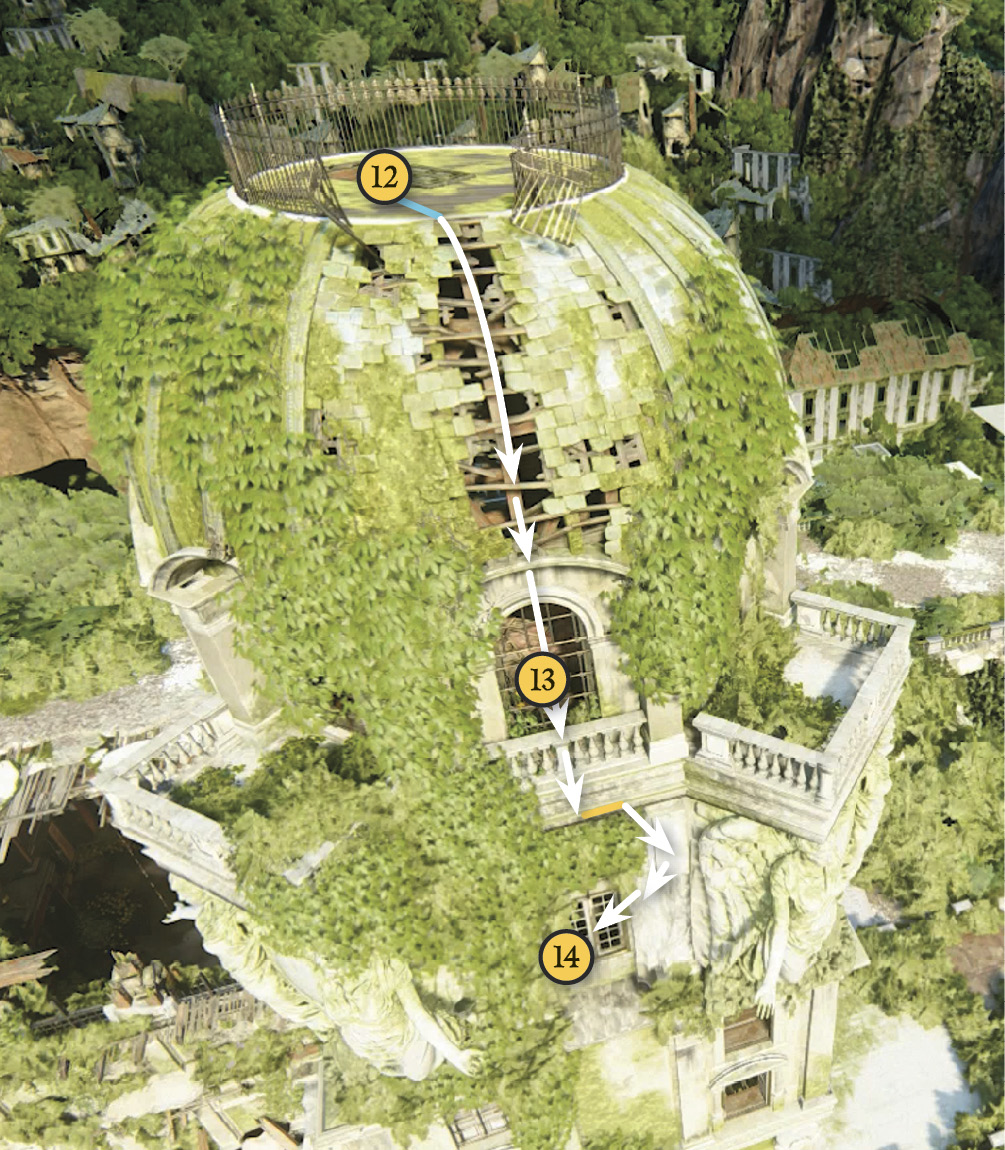
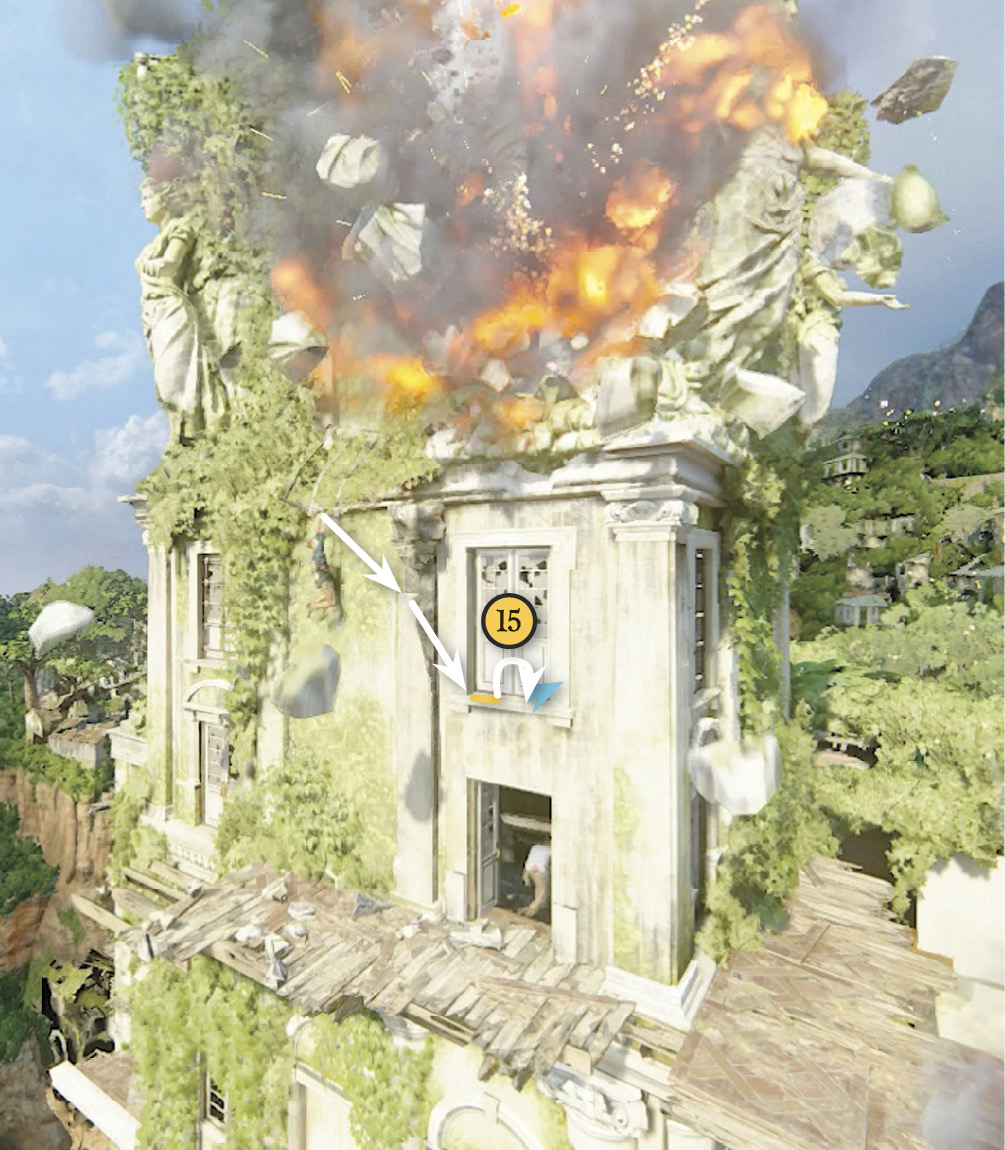
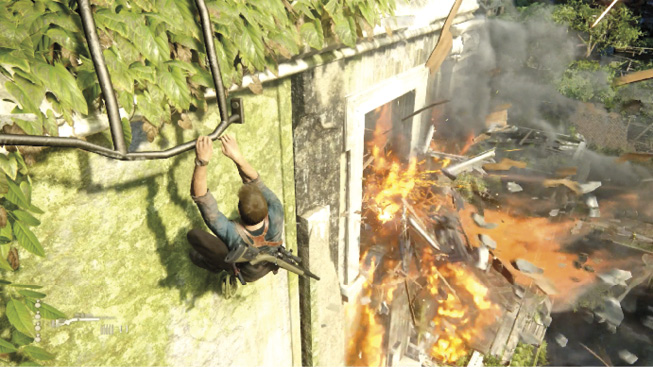
Get ready for a truly insane sequence. Walk to the opening in the rooftop gate and drop off to grab the edge. Climb down the dome and get ready: When you drop to the railing under the window (13), a rocket-propelled grenade suddenly slams into the tower. Quickly drop to the next ledge, slide right a bit, and drop down the handholds until you can reach the bars just below (14)…which promptly pull right out of the wall! Sam rolls inside a window to dodge falling debris, then another rocket blasts open the window right above that (15).
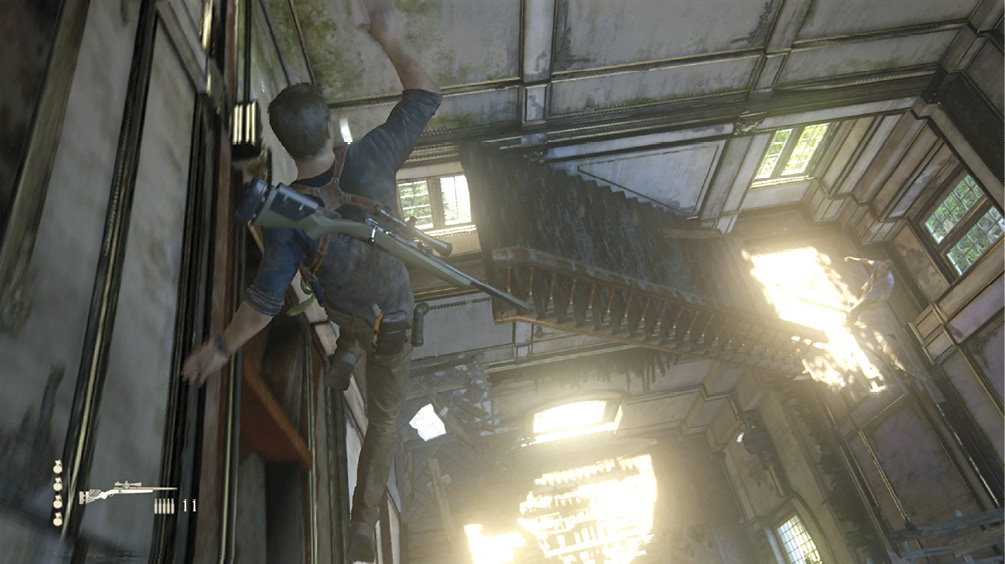
Inside the window, go straight ahead and jump directly across to the platform down below you in the right corner. (Ouch! Nathan’s head slams into the doors.) This triggers more collapsing debris from above. Next, leap across to the staircase that Sam just descended and hustle down the stairs, hopping across gaps to continue your own descent. Then a blast knocks Nathan to the floor where Sam tries to get him moving. But the crippled tower topples…and the brothers slide down the collapsing floor!
Escape the Disintegrating Tower
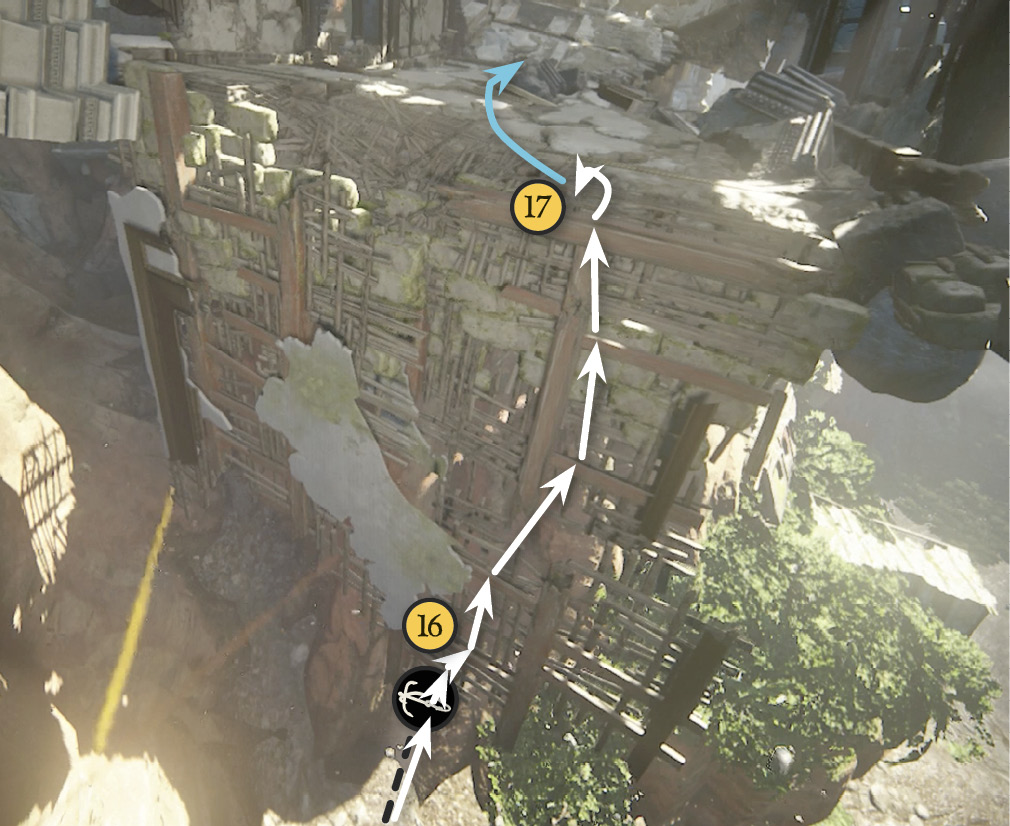
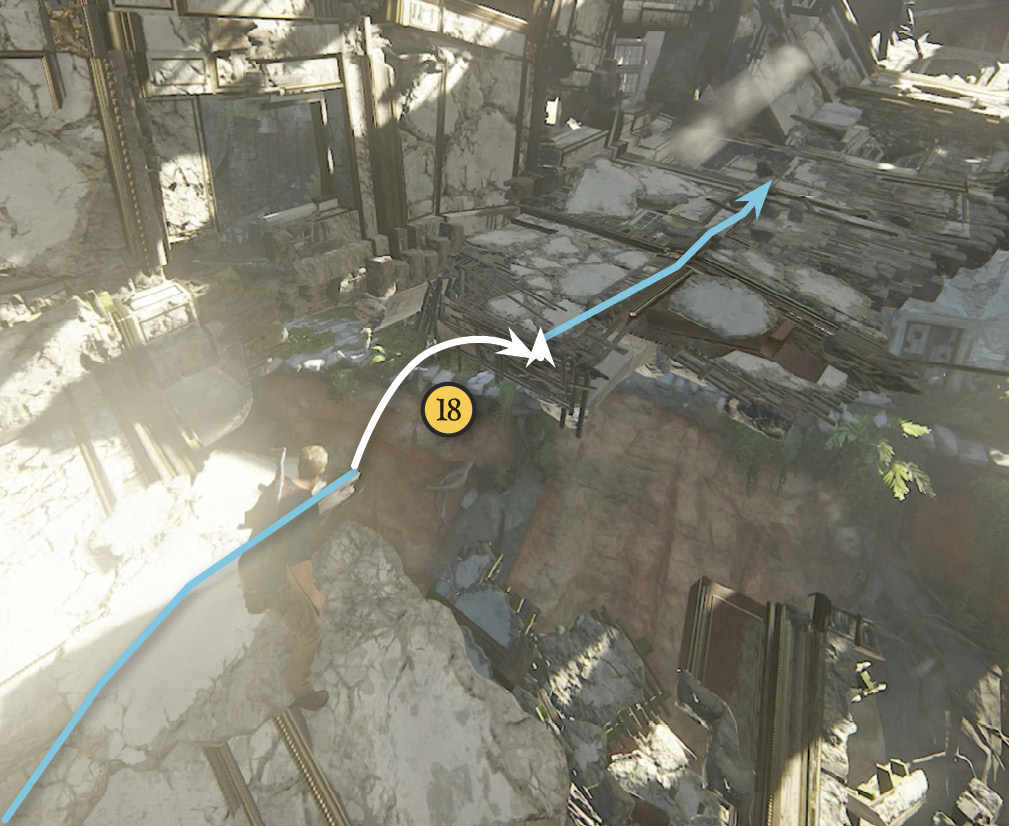
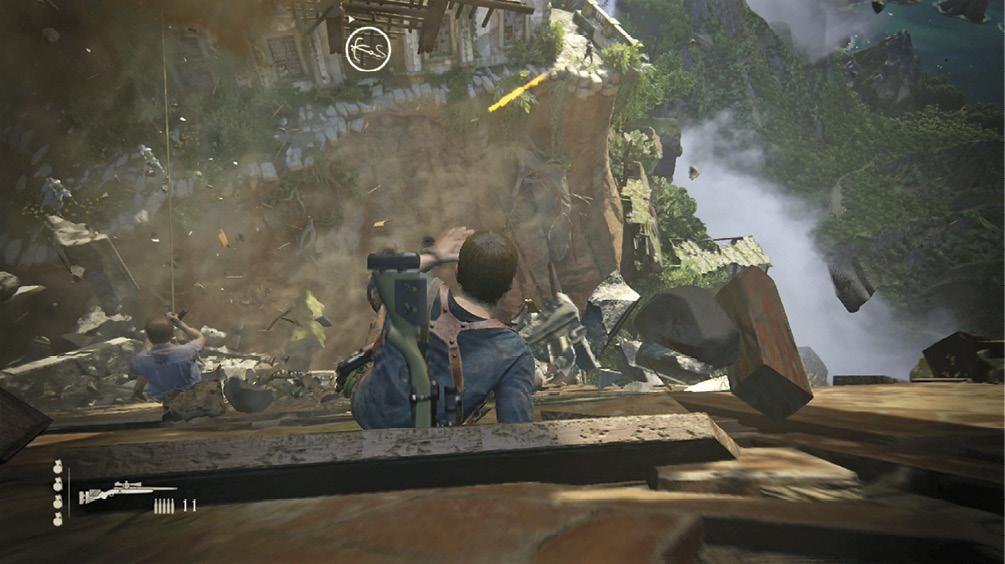
Quickly! Sling your hook at the grapple point that appears up on the dangling floor frame. Climb the rope until you can grab one of the frame boards (16) then climb like crazy until you can pull up (17) and run along the interior of the falling tower! Nathan stumbles briefly; when he recovers, leap across the next gap (18) that appears.
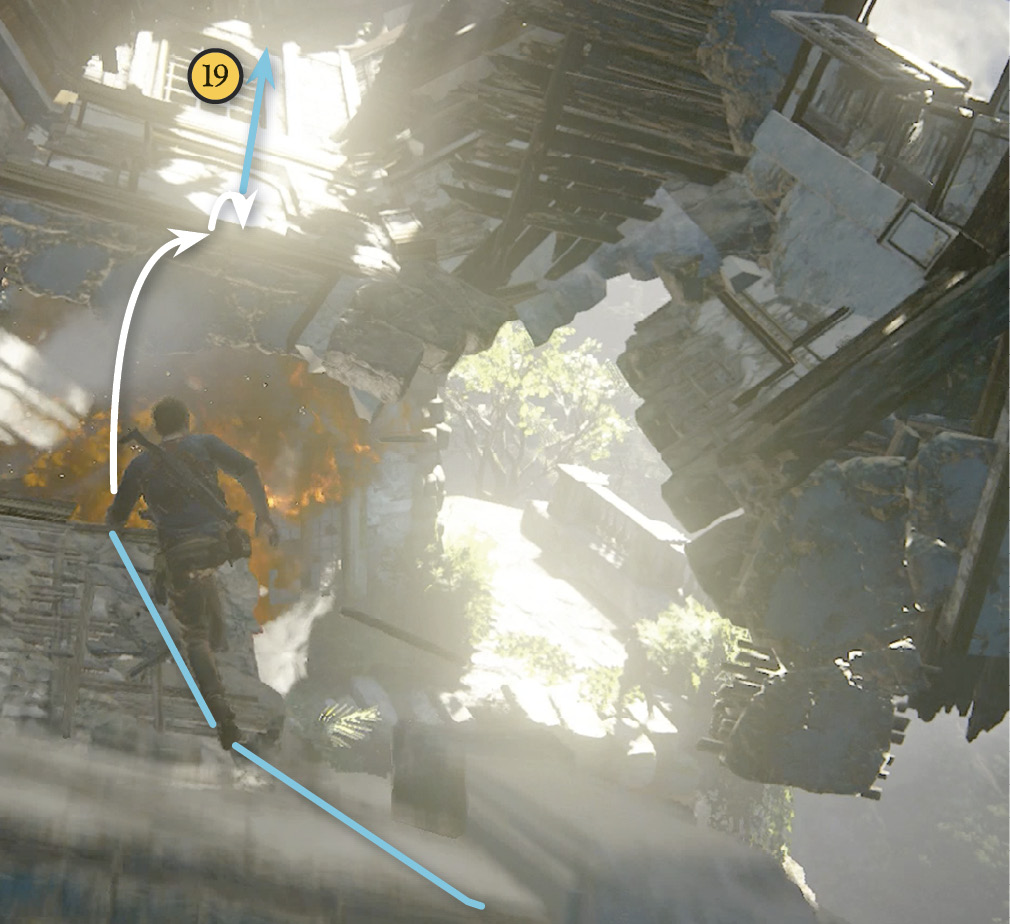
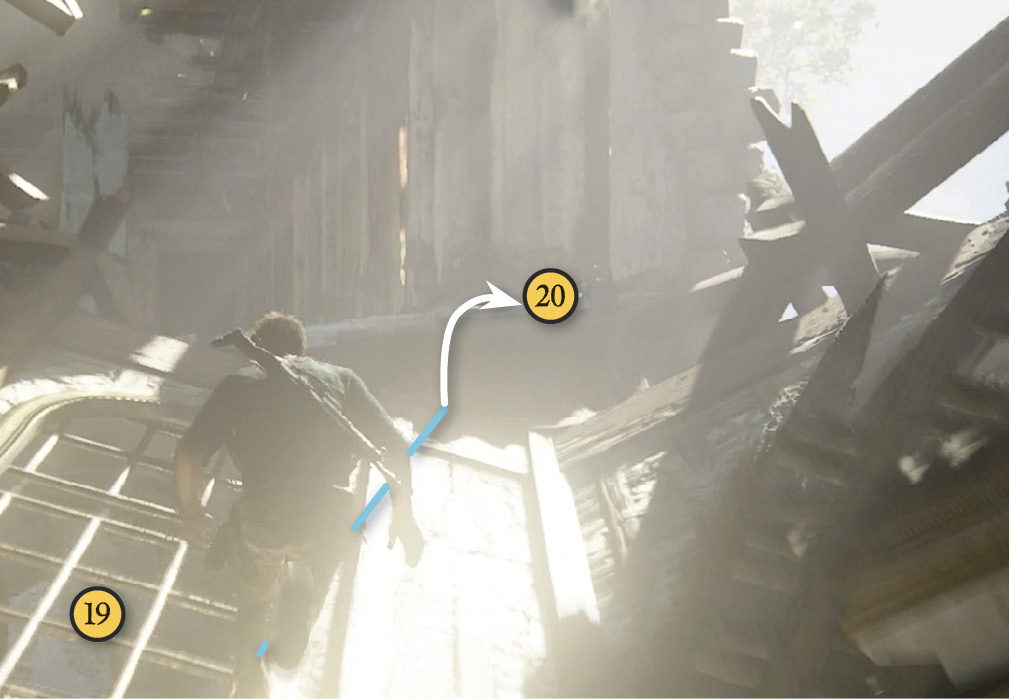
Keep going, jumping from chunk to falling chunk of the tower until you run past the window (19). As the last tower section drops away under your feet, jump to grab the far ledge (20) where Sam is waiting. If you make it to the ledge, Sam helps Nathan up.
Survive the Gauntlet!
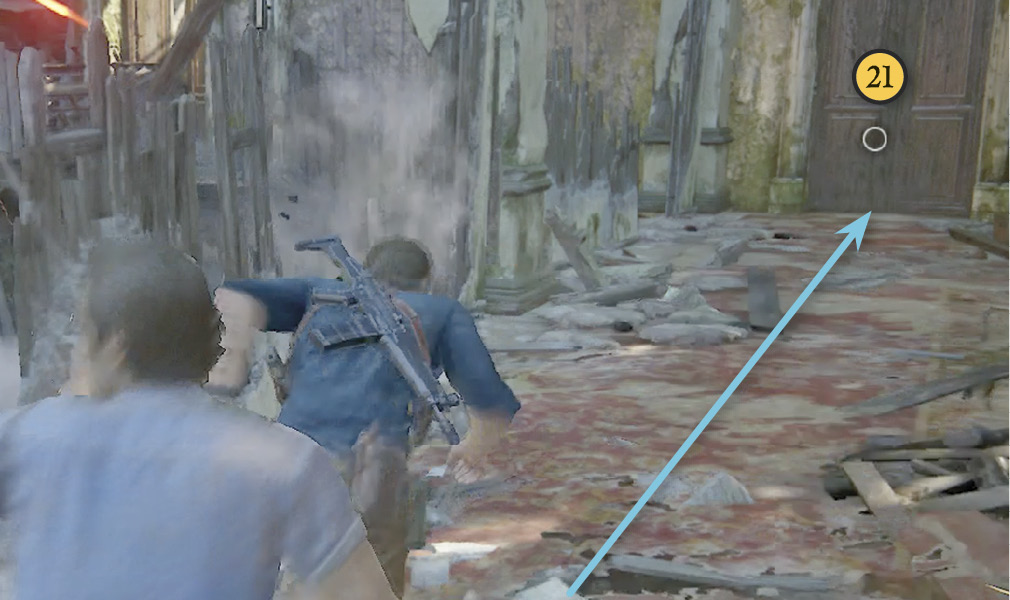
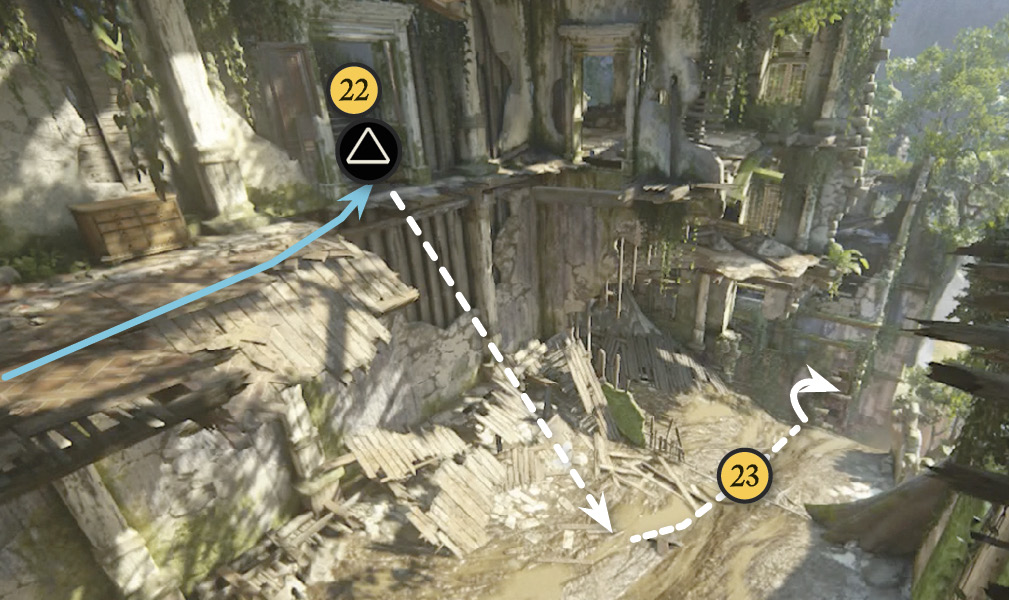
Now sprint down the corridor with Sam, ignoring the gauntlet of gunners on the platform to your left. Run straight to the door at the end (21) and punch  three times to ram it open. Keep running down the hall beyond to the door on your left (22). When you try to open it, a grenade explodes on the other side, so move away from it or you’ll be killed! The explosion destabilizes the floor beneath you and it collapses, dropping Nathan onto a mudslide (23).
Climb to Safety
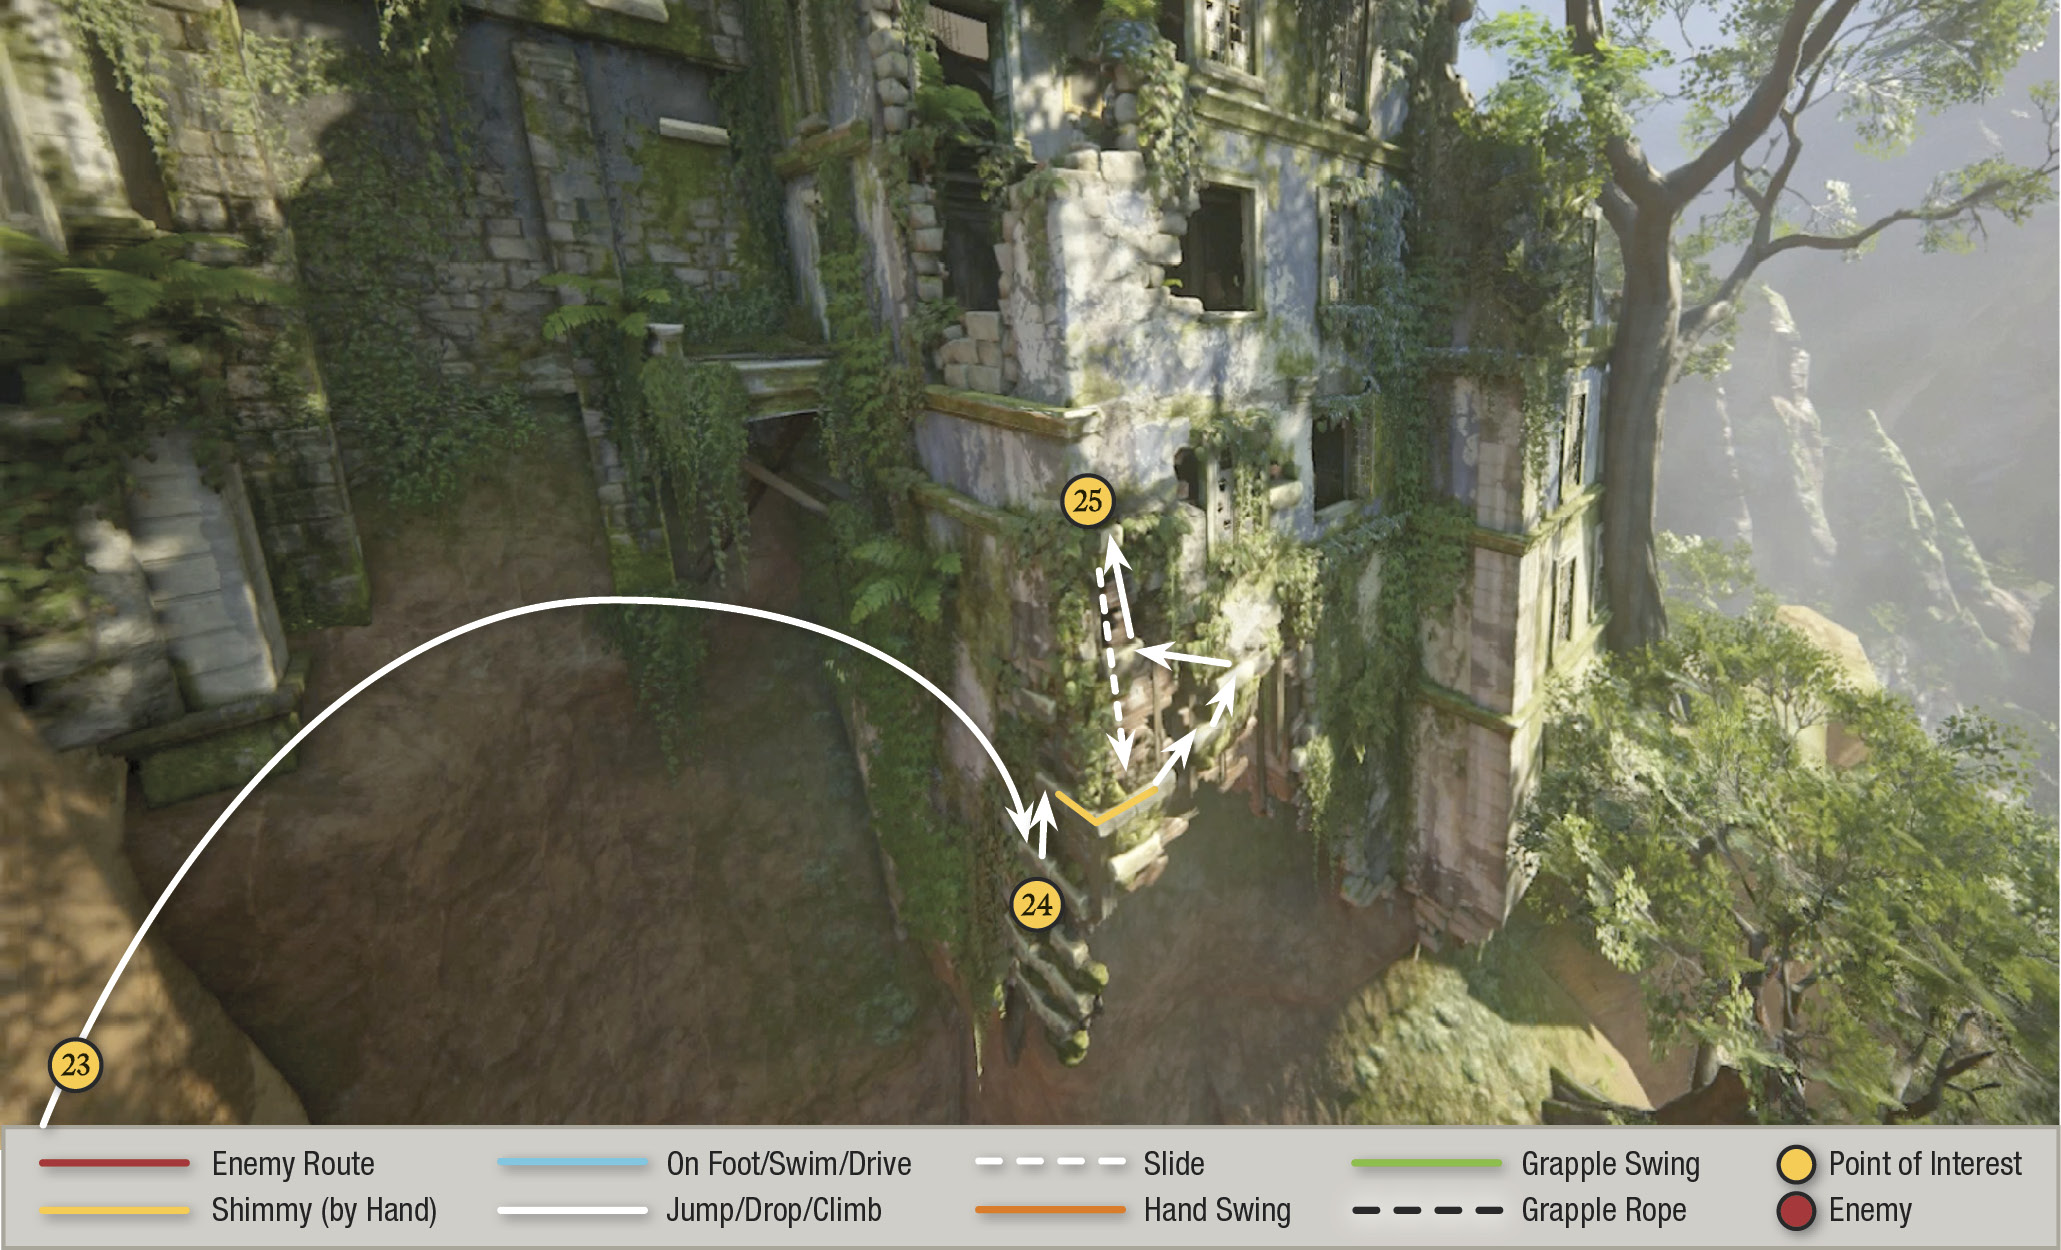
Ride the slide down through a fence, then jump at the bottom to reach handholds (24) on a wall across the gap. Whew! Slide rightward around the corner and work upward to the right; soon the only way to go is to jump upward to the left. When you reach the top handhold (25), the whole corner breaks apart; Nathan barely manages to snag a broken beam as he falls.
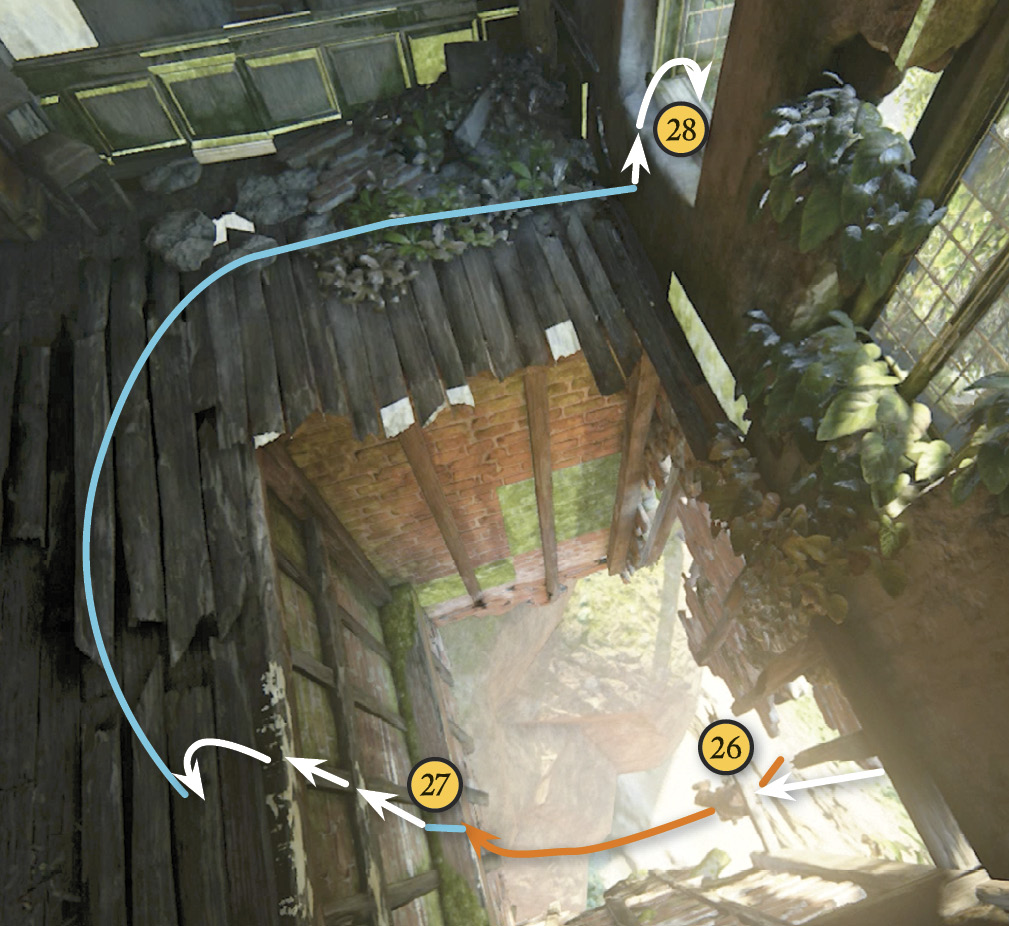
Swing and leap from the beam (26) across to the horizontal support strut (27) and climb to stand on it. Then climb upward into the bedroom and hang outside the open window (28).
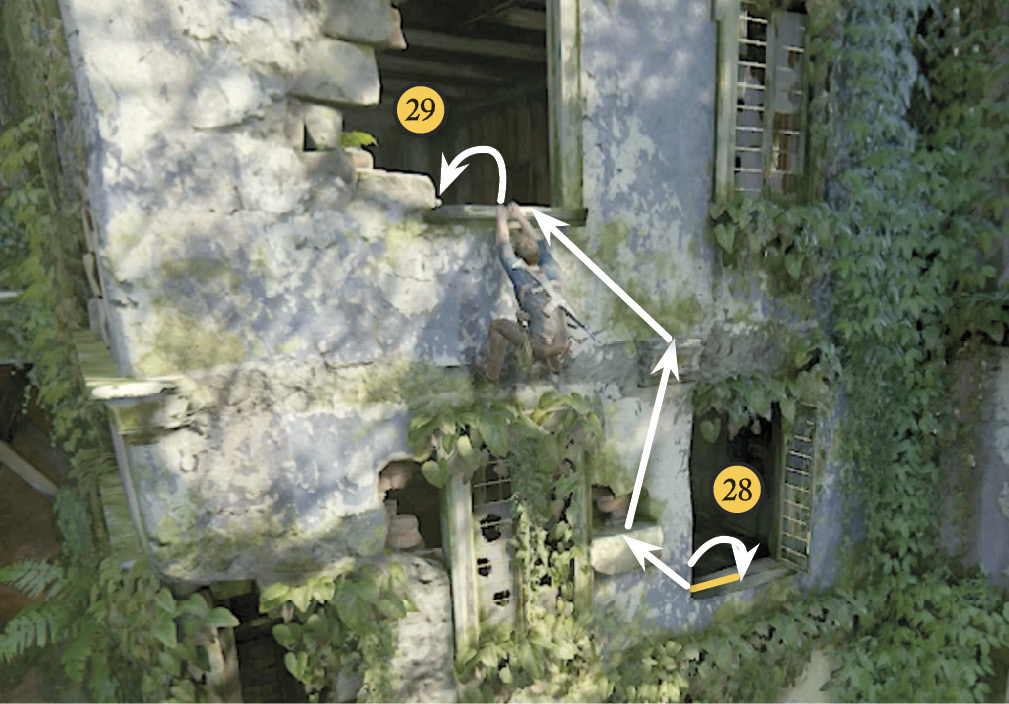
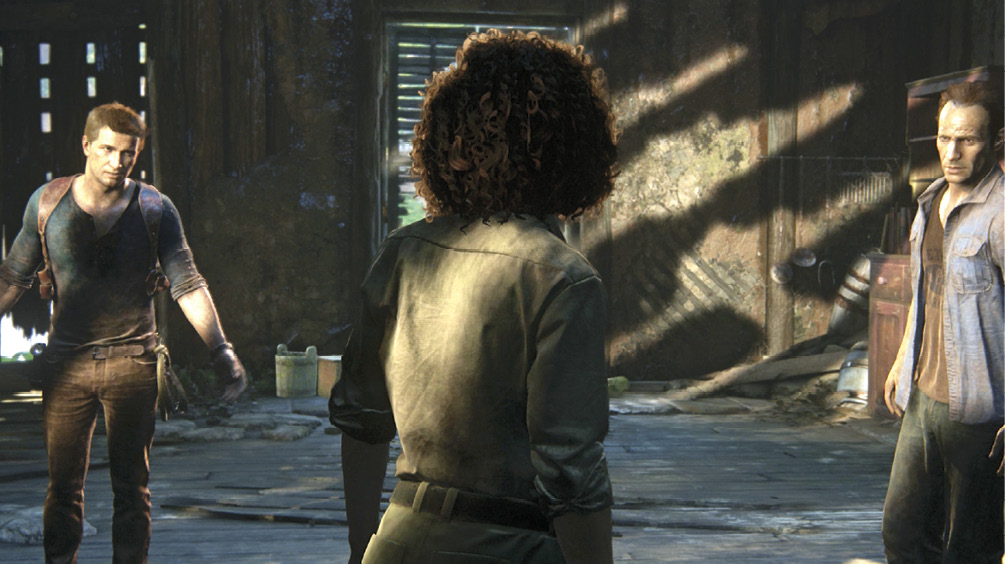
Now work your way up the exterior wall to the next open window (29) and climb inside. Entering triggers a long cutscene: Nathan runs into his favorite sparring partner, Nadine Ross. After a bruising sequence in which Sam joins the fray, you end up facing Nadine in a wild melee sequence.
Survive the Early Rounds with Nadine
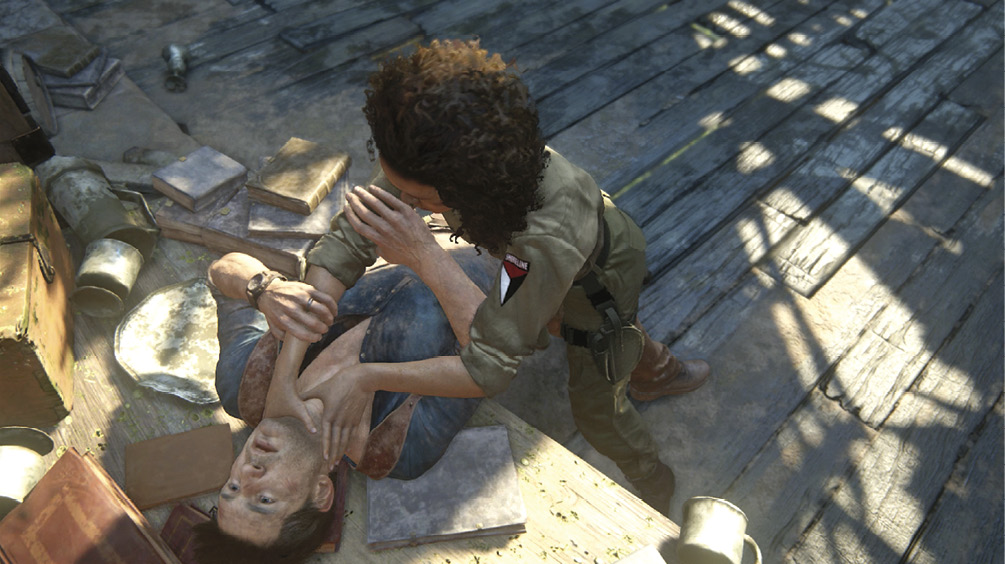
Phase 1: Start punching! You’re no match for Nadine, but you have to fight anyway. First, she slams Nathan hard onto a table and starts beating him mercilessly. Tap  repeatedly to stay alive, or else Nadine will pummel Nate into a checkpoint restart. If you tap fast enough, Sam intervenes, keeping his brother alive.
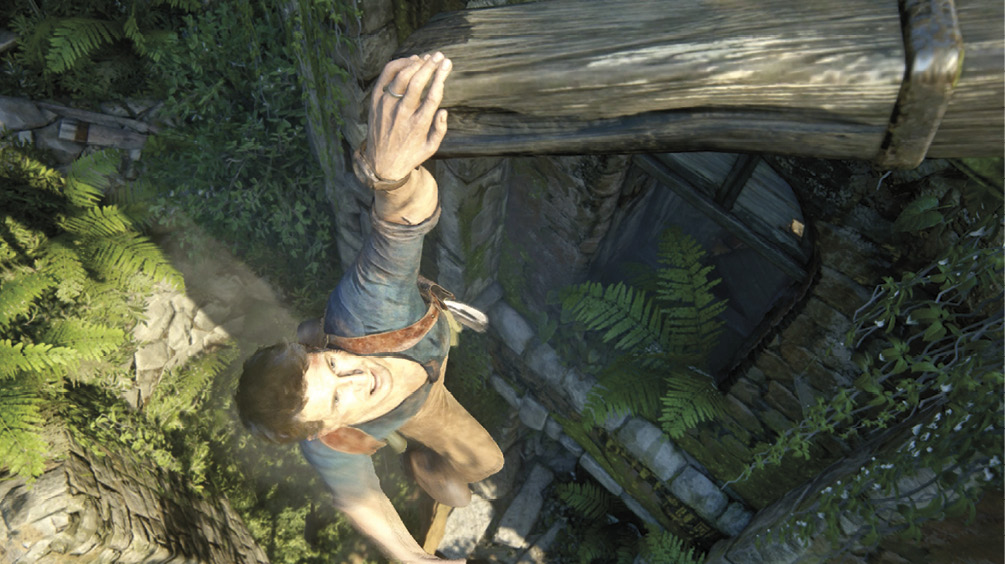
Phase 2: Now Nadine focuses her fury on Sam, and it’s time to return his favor. She pins Sam against a tall cabinet and starts hammering the holy snot out of him. Rush at Nadine and press to drive her into the wall. Then tap repeatedly to barely survive the subsequent struggle. Nadine kicks Nathan right out the window, leaving him hanging from a broken beam.
Get Back Inside to Save Sam!
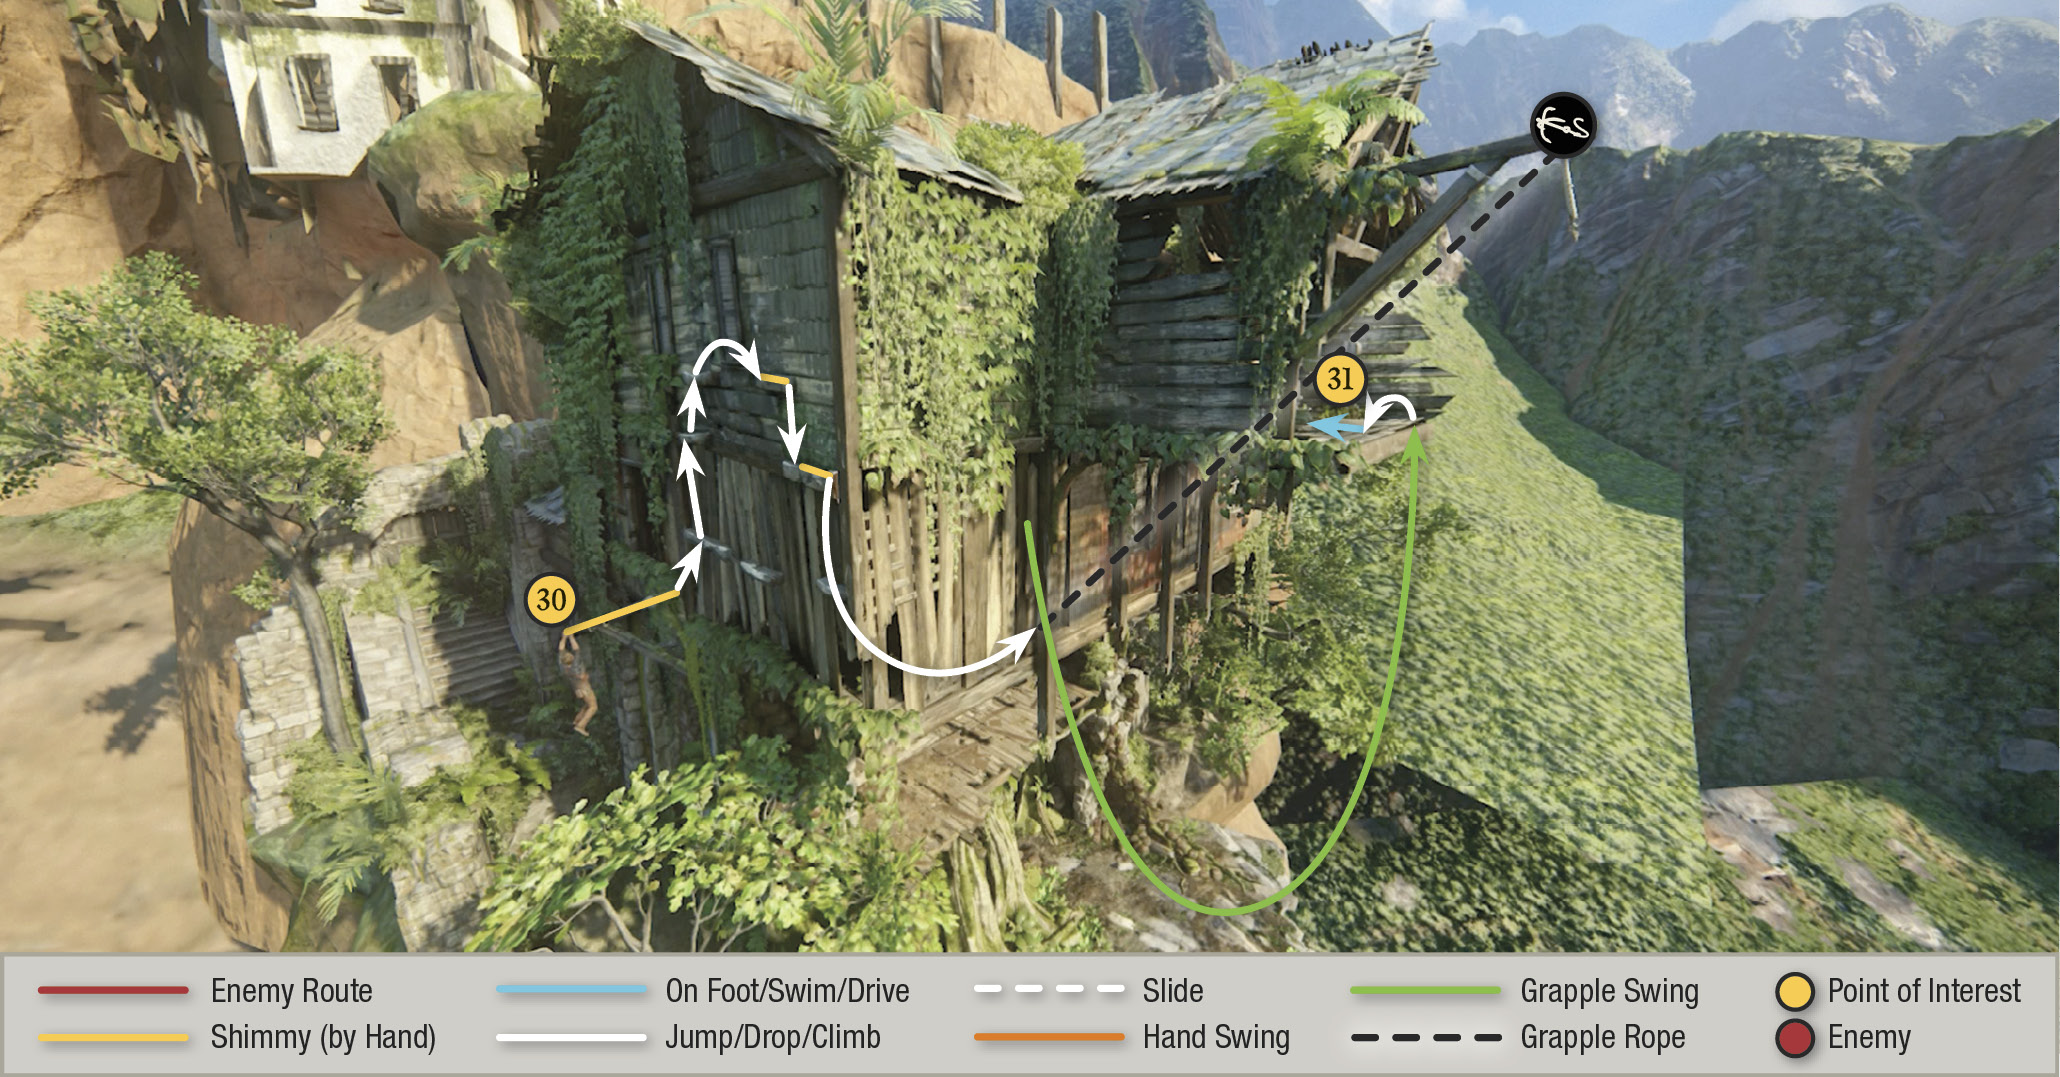
Phase 3: Nadine’s anger is burning at a new intensity, and she will break Sam’s neck in short order if you don’t get back into the room to save him. From the beam where you hang (30), follow our map’s climbing route over to the house’s corner. Then toss your grapple hook at the support beam and swing in an arc up to the house’s porch (31). Run across the porch and jump down onto Nadine.
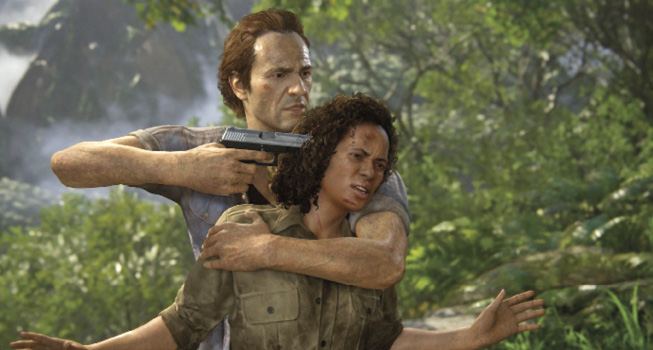
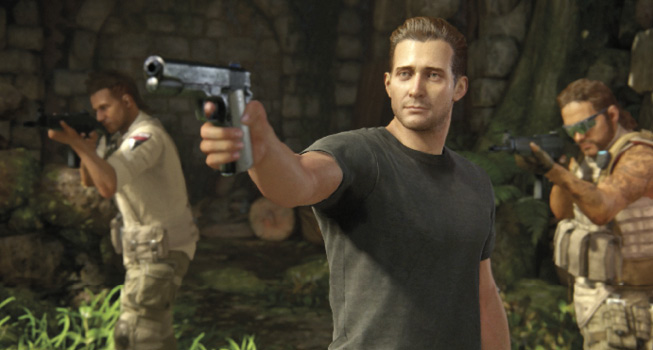
This triggers a long cutscene: Nathan executes a nice vertical takedown, Sam gets the drop on Nadine, Rafe arrives with backup, and Nathan forces an end to the standoff. Then Sam drops a major bombshell on his brother. When all is said and done, Nathan washes up on a Libertalia beach one more time…