Uncharted 4: A Thief's End Guide Story Walkthrough
Chapter 16: The Brothers Drake
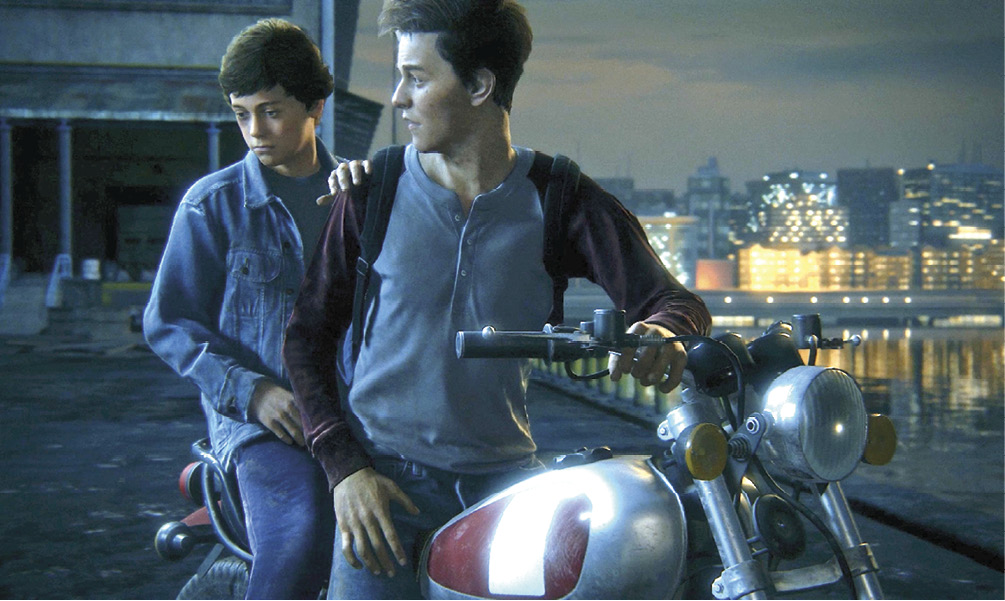
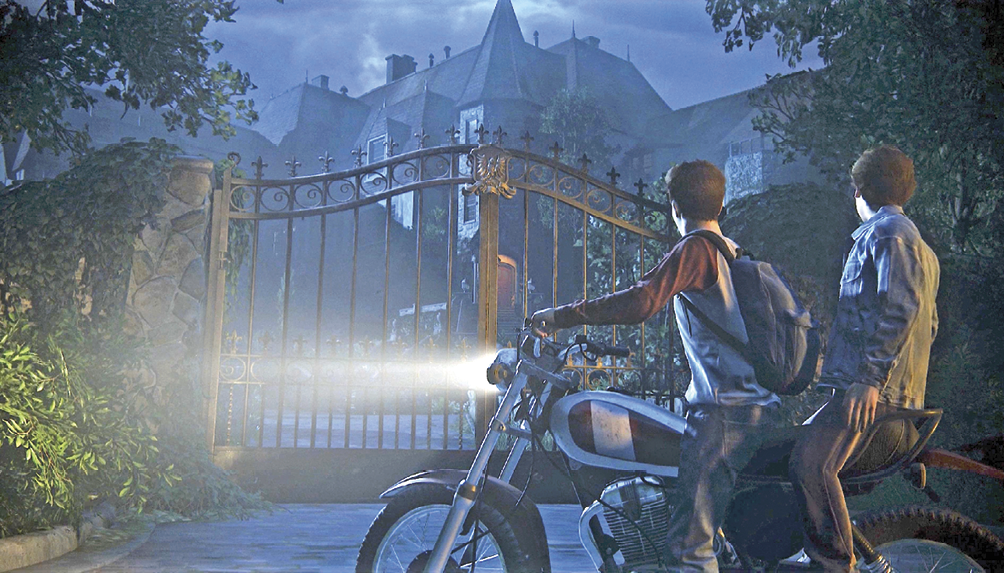
Nathan’s tumble triggers another boyhood flashback—a memory of the Drakes’ first brotherly “treasure hunt.” Later on the night of his escape from the Saint Francis orphanage, young Nathan arrives with Sam via motorbike at the gated entrance of a dark, ominous manor house. Sam has traced the sale of their mother’s possessions to this estate. Thus the brothers Drake have come to reclaim their inheritance.
CollectiblesTreasures: 3 Optional Conversations: 3 |
Get into the House
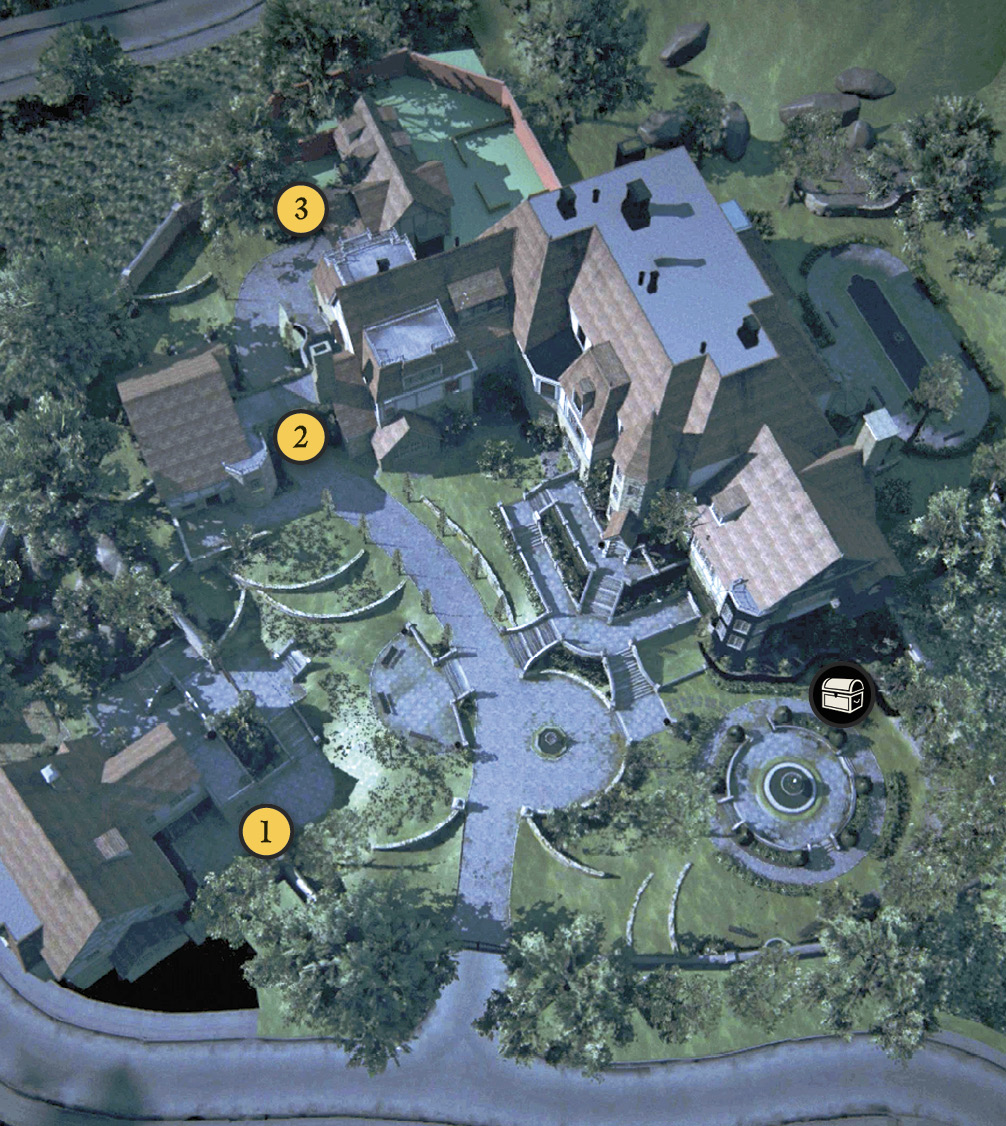
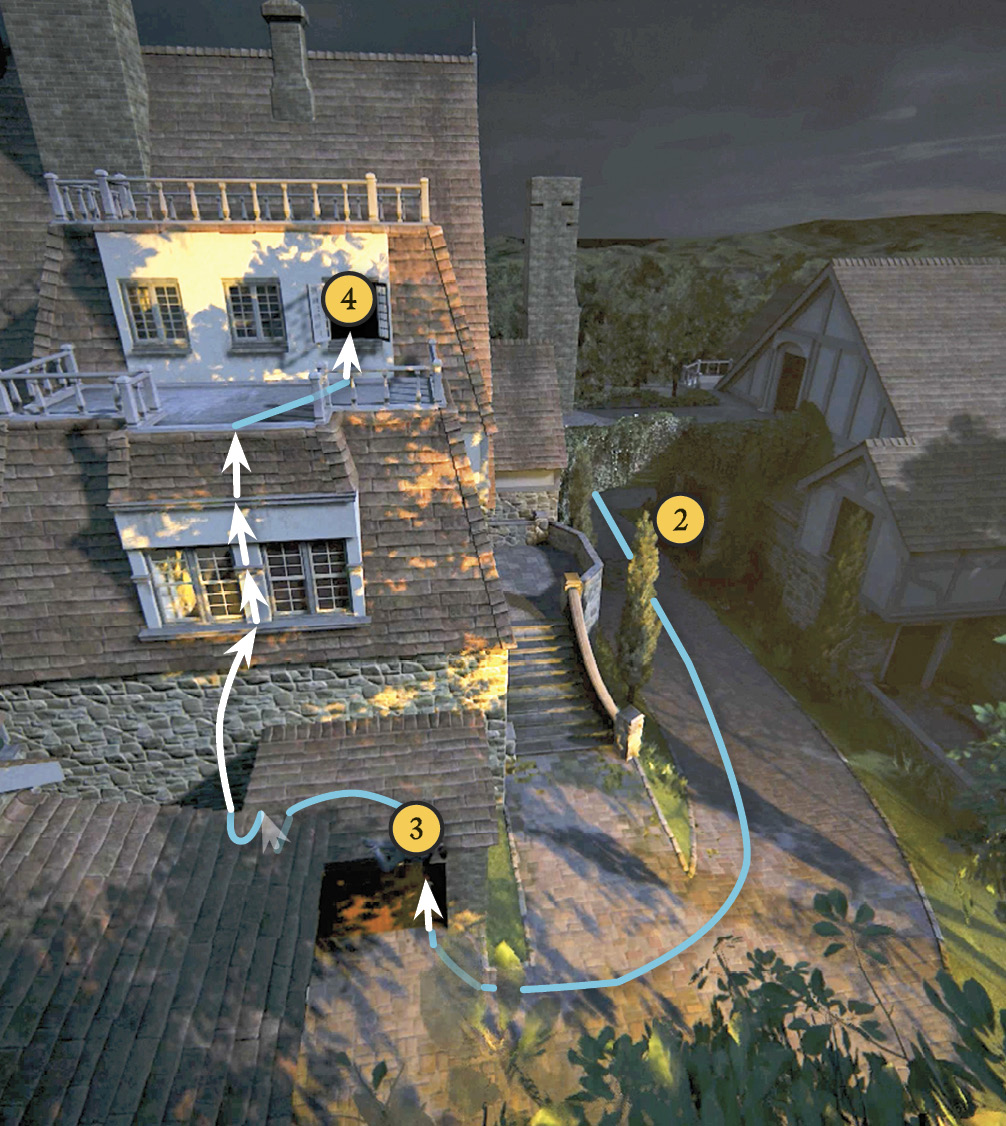
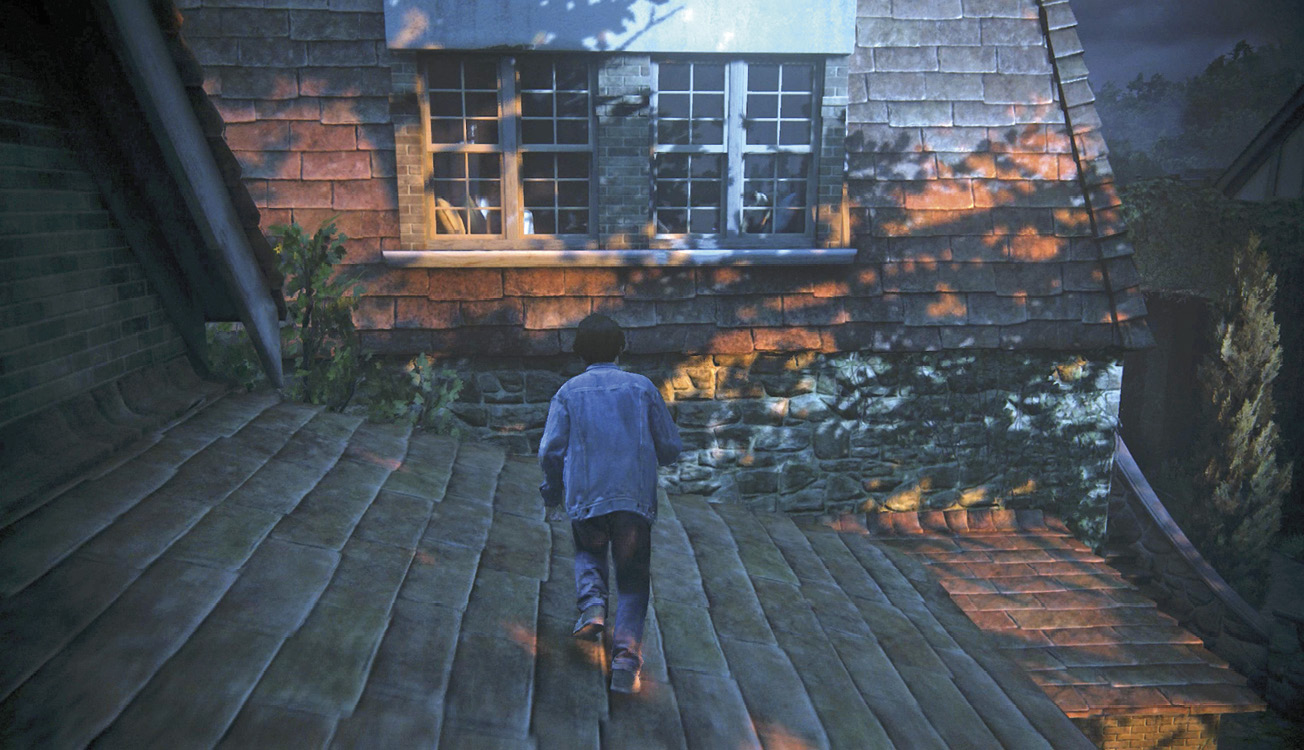
From the start (1), climb the grassy hill to the driveway. Here you can veer to the right of the house and find a treasure near the fountain plaza. Then return and follow the driveway through the arch (2) to the side shed (3). After Sam climbs up and reaches down to Nathan, approach him and jump to get pulled onto the shed. You can’t jump from the shed’s roof to the windowsill like Sam; instead, hop across to the garage roof, then turn and jump back to grab the windowsill. Climb the ledges and handholds to the balcony; then climb through the open window (4) into an attic storage room.

Toy Soldier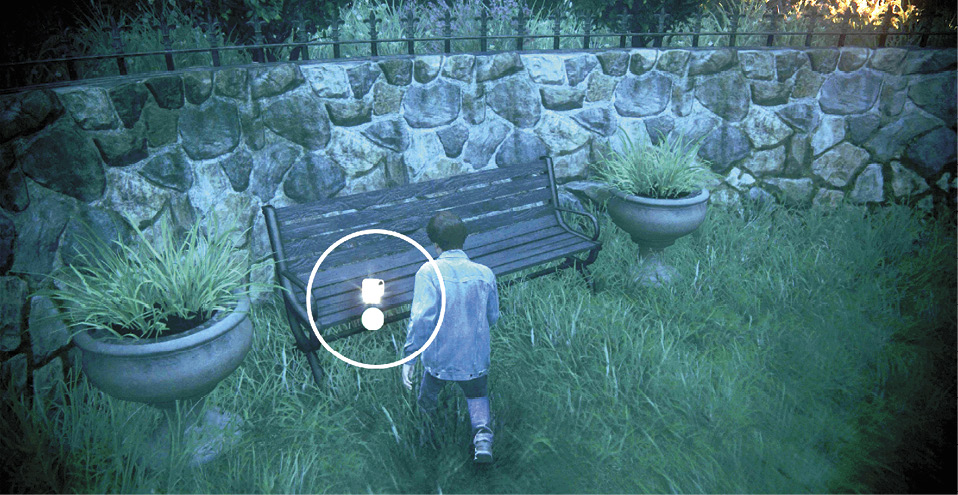
Go to the house’s right side and find the Toy Soldier on a wooden bench just outside the circular fountain plaza (not the metal benches in the plaza). |
Explore the Attic
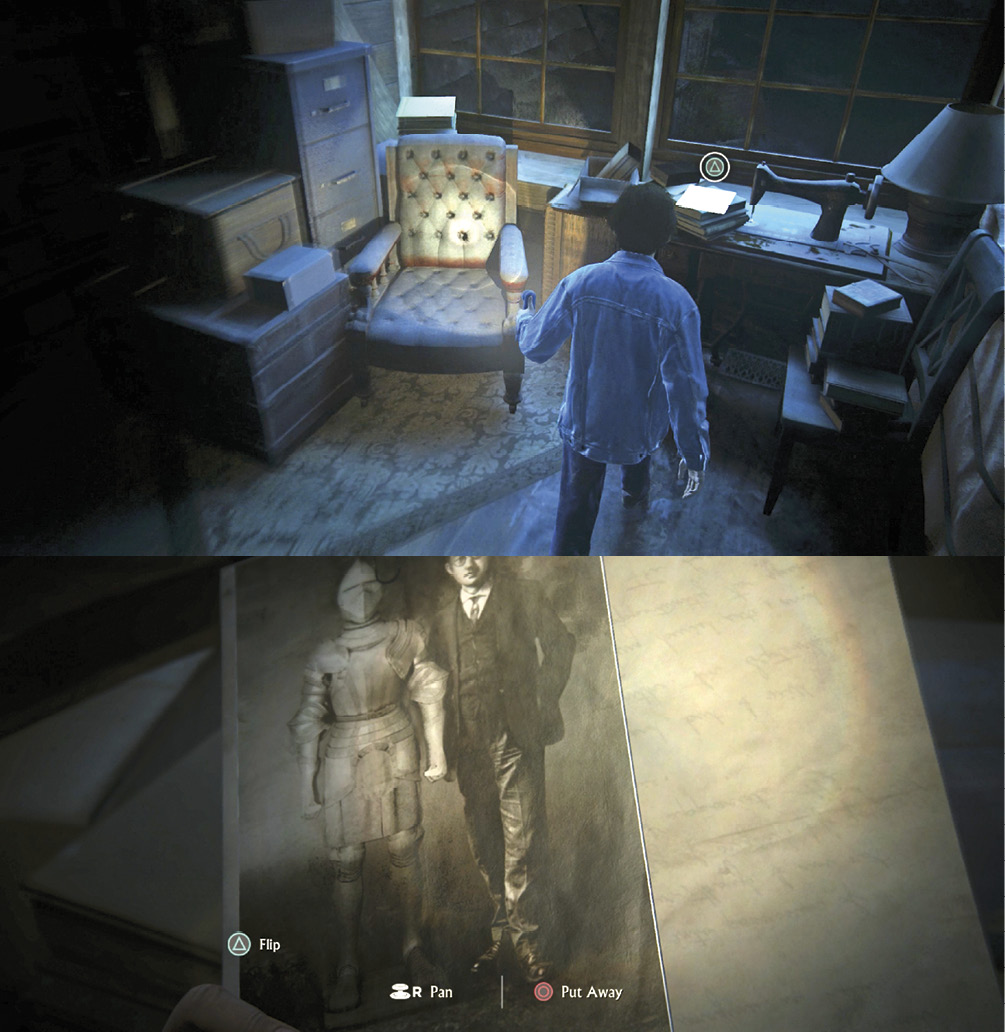
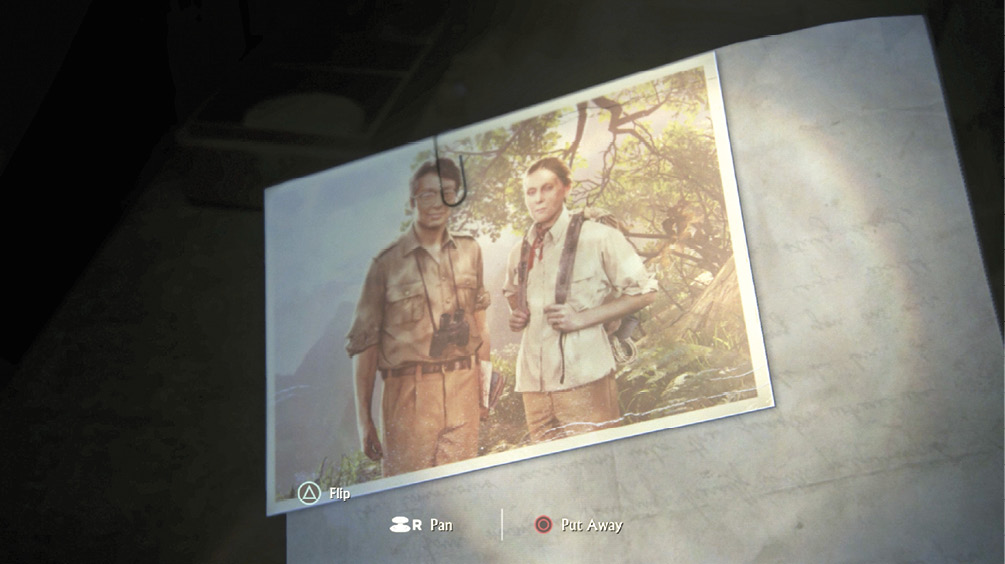
Inside, Sam tosses Nathan a flashlight, reminding his brother that their mother’s notebooks have an off-white leather binding. Explore the attic to find a letter sitting on a sewing table. The note is written to “Miss Evelyn” from a gentleman named Kenichiro Namba regarding the discovery of historical items. You can flip over the letter to see a photo of Mr. Namba with the item in question.
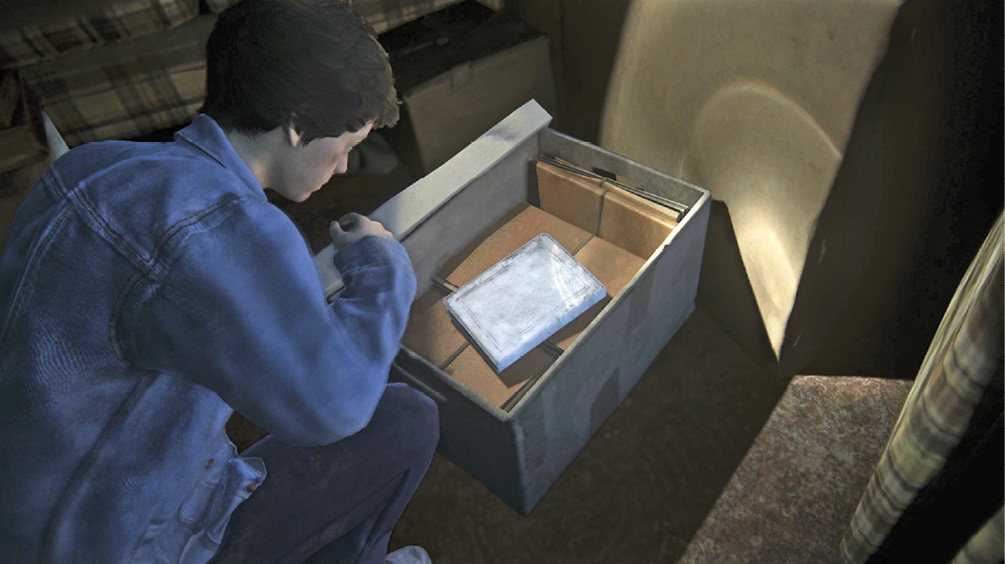
Continue exploring the attic until you’ve opened two marked boxes. Neither holds anything of interest—just old travel and camping equipment. But after you examine the second one, Sam opens a trapdoor. Drop down through the trapdoor.
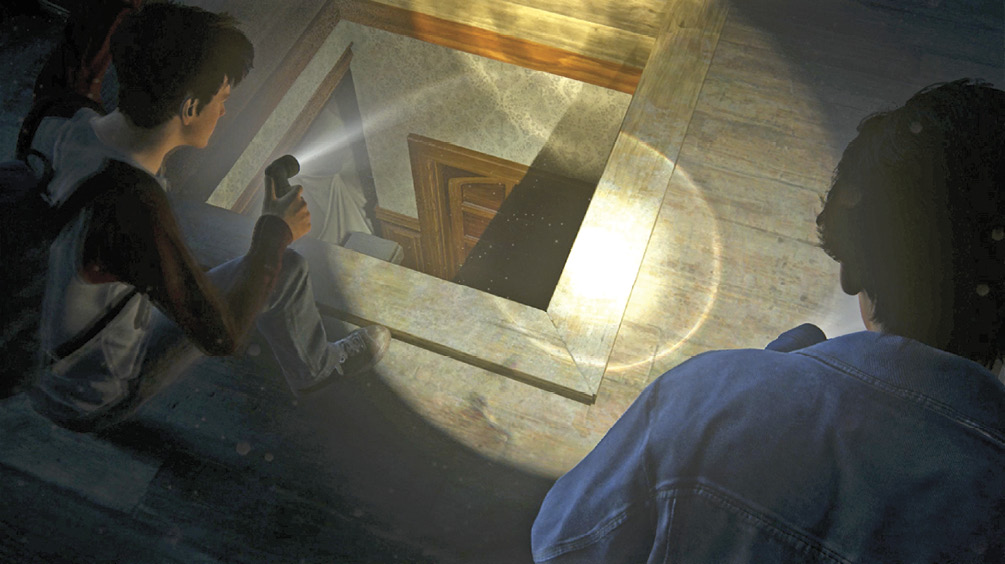
Explore the Second Floor (East Wing)
First Bedroom / Hall
You land in a heavily cluttered bedroom on the house’s second floor. Sam tells you to keep an eye out for books, journals, or any kind of research papers. Exit the doorway into the hall and continue past the billiards table on the right to find a marked box atop a stack near the sofa. Examine it to pull out a white leather journal similar to their mother’s style; flip the journal to learn that it belongs to the fellow from Kyoto University. Continue on to find a door you can open on the left.
Eddie’s Bedroom
Enter what was once a young boy’s bedroom, now fallen into disuse. You can find an old letter to “Eddie” from his father on an excursion in Peru—more evidence of serious adventuring in this manor. Turn over the letter to see a photo; the man looks like the fellow in the previous photograph, Kenichiro Namba! Did he end up marrying the woman, Evelyn, to whom he wrote about the armor? Is this Evelyn in the photo? Lots of questions…but let’s move on.
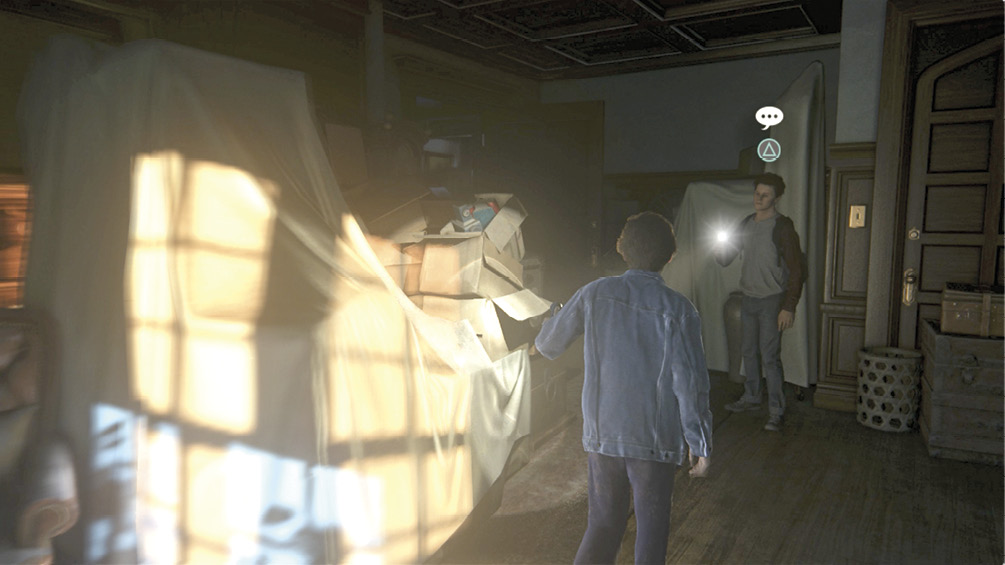
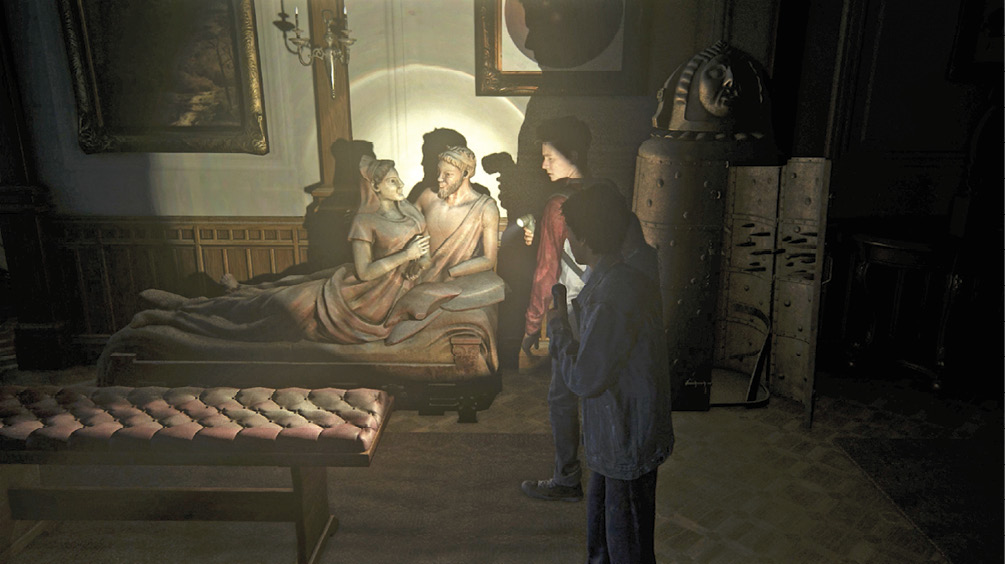
Approach Sam to engage in an Optional Conversation, “Remind You of Anything?” Exit the room and move straight down the hall past what appears to be a Ming Dynasty vase sitting atop boxes on the right. Help Sam push open the door beyond it to trigger a cutscene: Nathan finds an Egyptian sarcophagus!
Corridor
The room is full of stunning, museum-quality artifacts. Examine the other two sarcophagi, Roman and Etruscan. You can also pick up and examine an organ jar. Climb the staircase leading to the locked attic door to find a treasure at the top. When you’re done exploring, head downstairs to the first floor.
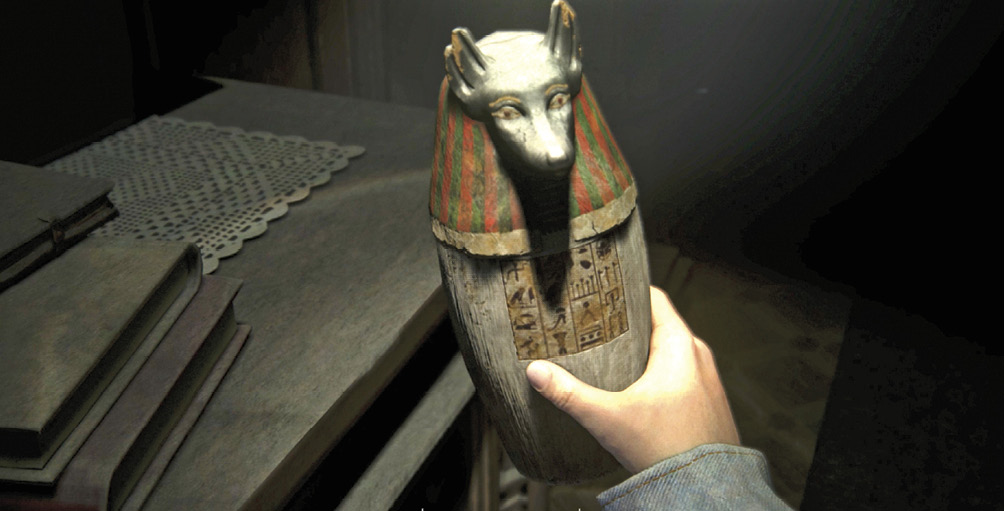

Toy Seaplane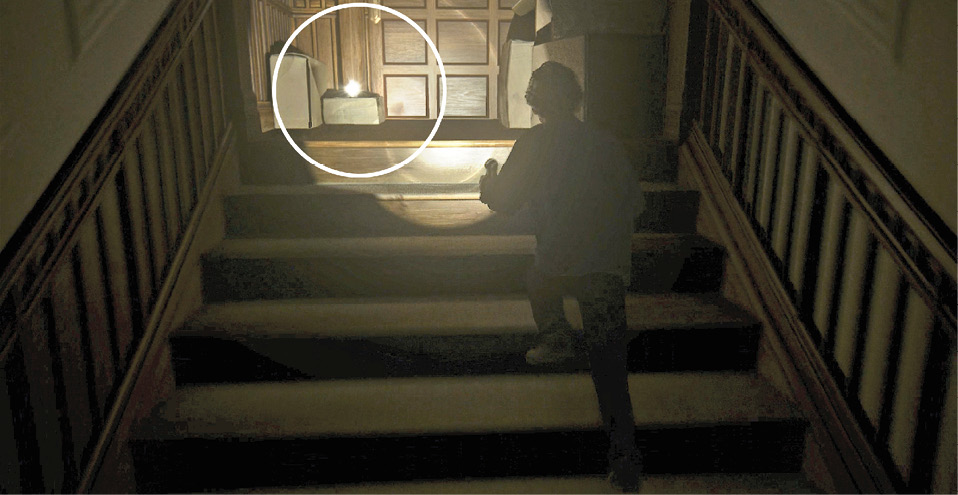
Climb the staircase leading from the second floor hallway to the locked attic door. Find the Toy Seaplane sitting on a cardboard box to the left. |
Explore the First Floor
Pantry & Kitchen
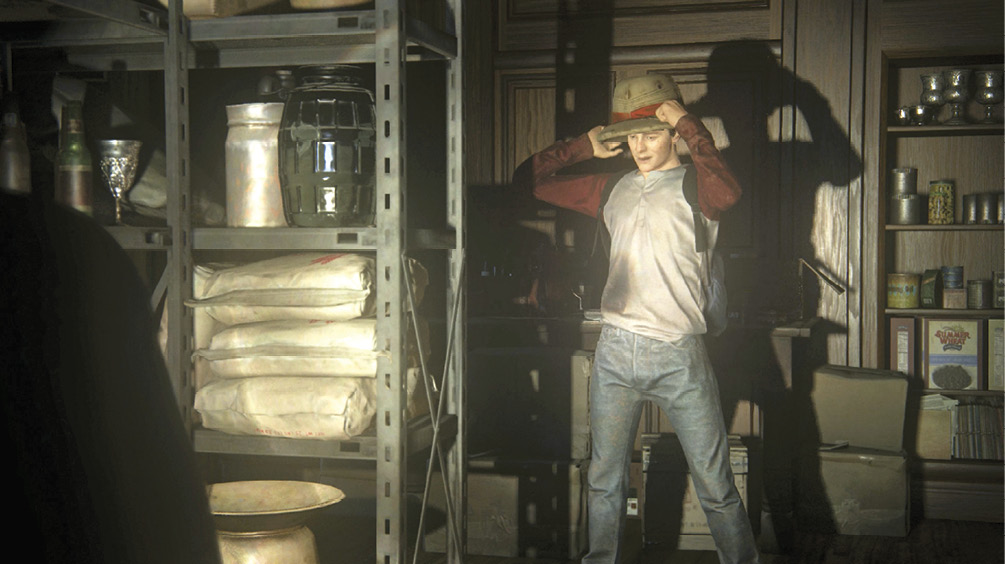
Examine the box under the metal shelf stacked with paint cans at the bottom of the staircase. It holds another white journal, but this one’s not their mother’s either. Enter the pantry and open the next door to trigger a quick scene with Sam, who dons a pith helmet. Proceed into the kitchen and examine the Adventurer’s Lodge invitation on the center island. (There’s handwritten note on the back.)
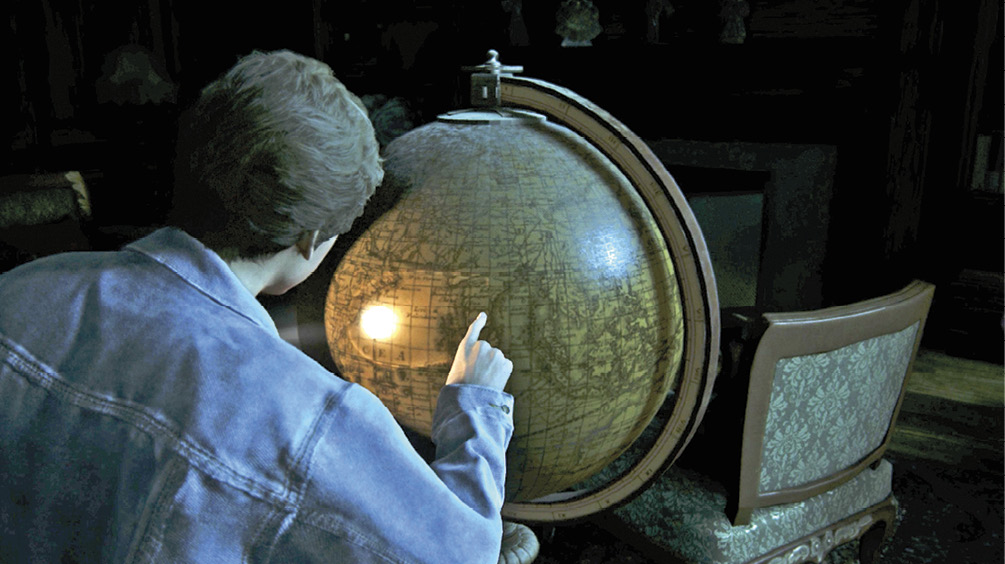
Move into the great room and pick up My Journey to Lhasa by Alexandra David-Neel from the table near the window. Examine the globe to trigger a quick scene, and then give it a spin four separate times; each time, Nathan picks a new location for a future visit.
Dining Room & Hall
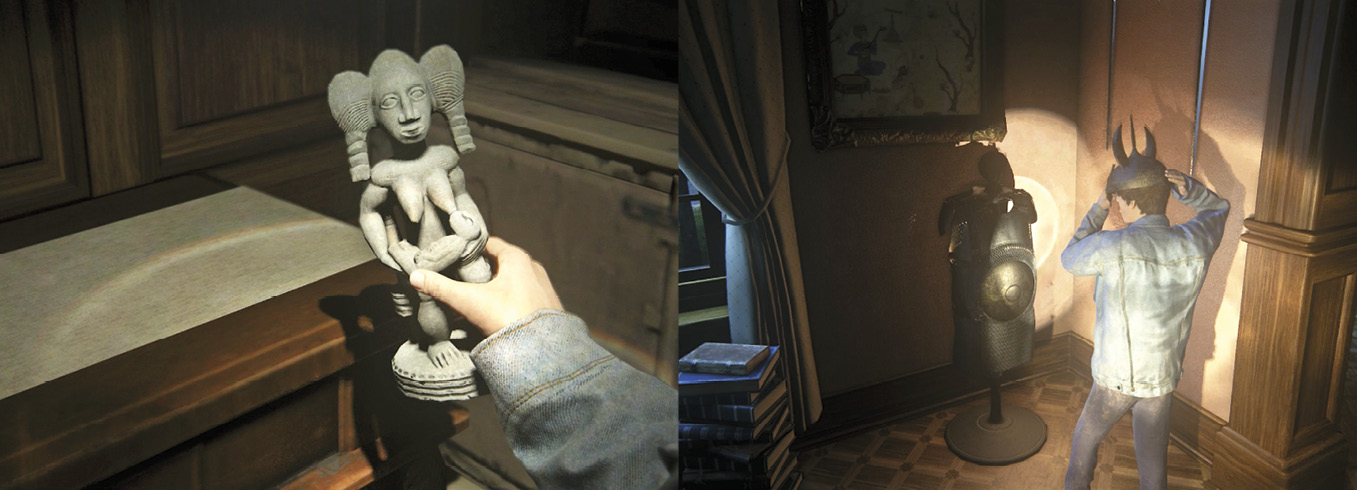
Exit via the doorway off the kitchen into the dining room, where you can pick up a fertility totem artifact on the left shelf. You can also examine the huge dining table nearby. Then step through the next doorway and put on the Persian demon helmet on the right. Continue out into the hallway and open the box underneath the roll-top desk to find a hardbound leather book. Then step through the next doorway into the big entry foyer.
Foyer & Solarium
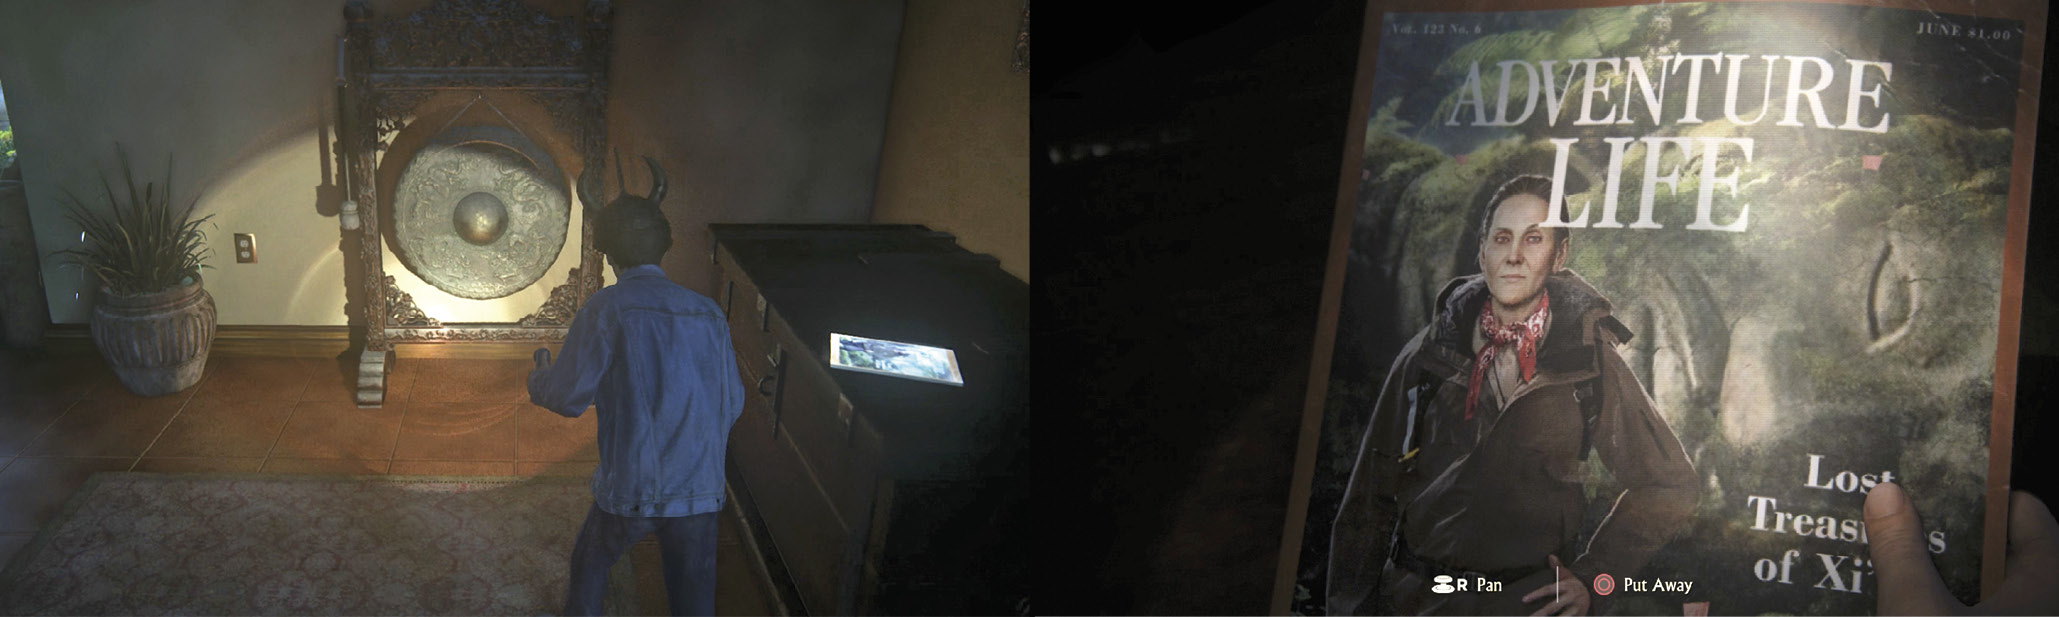
Turn left and examine the French jousting armor against the wall. Walk around the main staircase to find the entrance to a gorgeous, glassed-in solarium. As you enter, examine the Southeast Asian dragon gong in the small entry hall and pick up the copy of Adventure Life magazine on the side table—the woman on the cover is the same as the one in the photo upstairs.
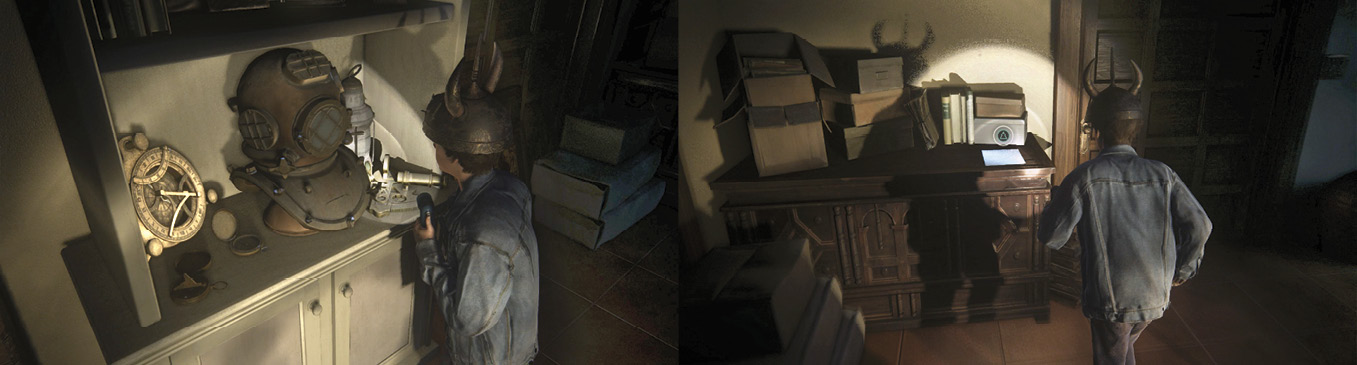
Enter the solarium and examine the diving and navigational equipment on the shelf. Pick up the letter on the nearby cabinet to see that Kenichiro (“Ken”) and Evelyn eventually separated, and their son Edmund (the “Eddie” from the bedroom letter upstairs) now lives with his father.
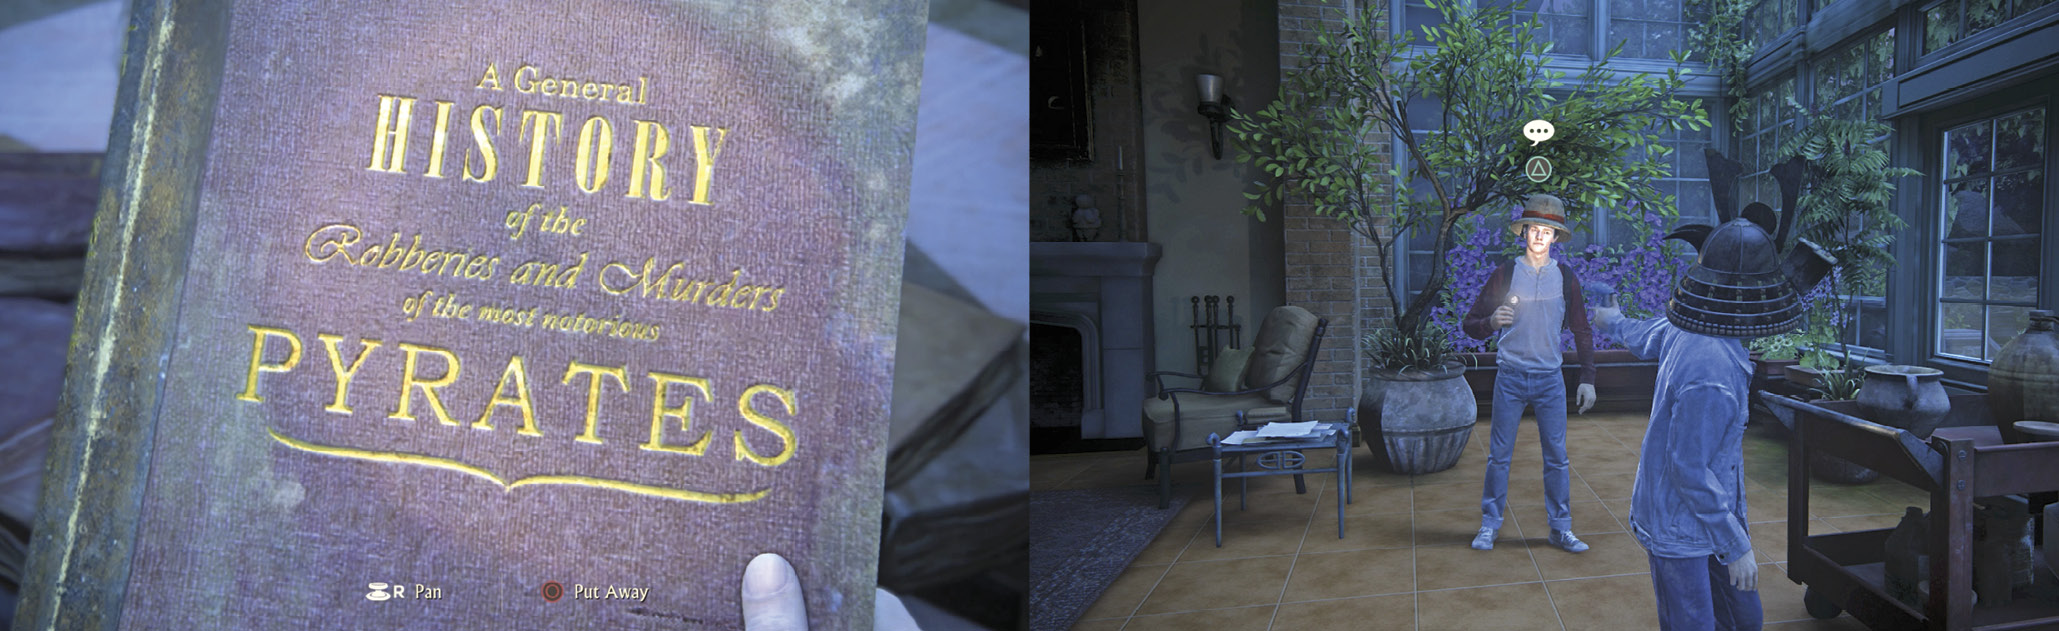
Find the book of pirate history on the corner table; Nathan calls it Sam’s favorite. After you put it back down, approach Sam for two separate Optional Conversations, “Even the Author’s Name is a Fake” and “Disintegrate in My Backpack.” (After you finish the first chat, the Talk icon reappears over Sam and you can continue with the second chat.)
Second Floor Hall
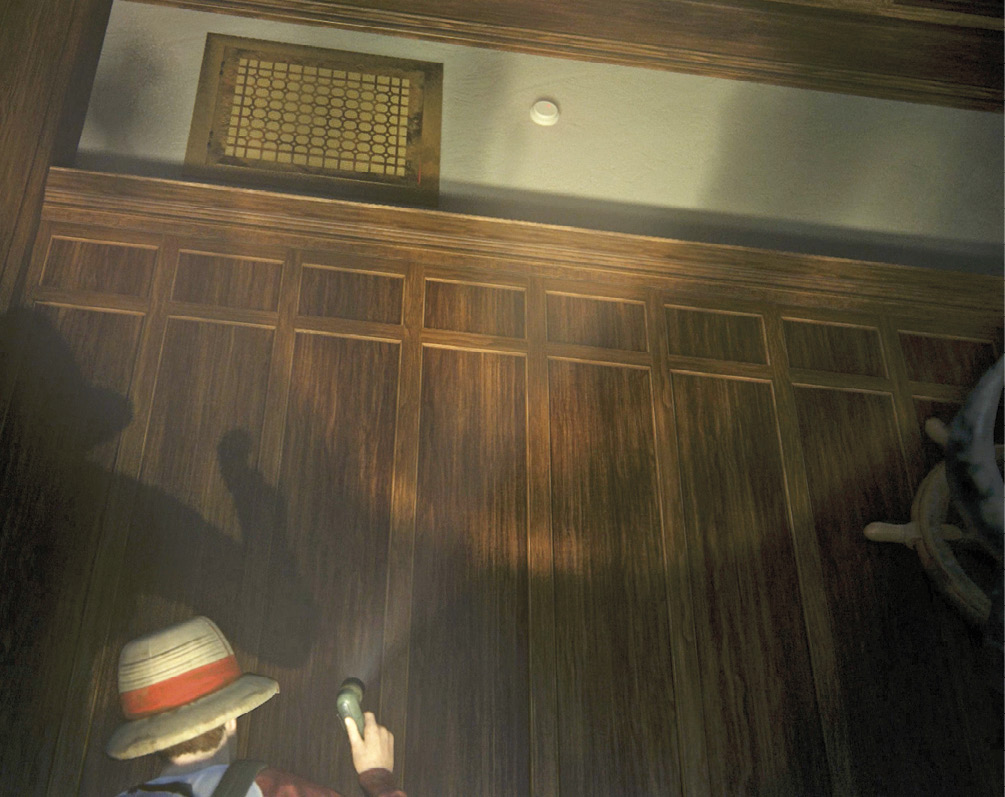
Climb the main staircase to find all doors locked along the upper hallway. There is a way to get inside these rooms, of course. In fact, when you head back downstairs, Sam points out the air vent up high on the wall above the wood paneling. But how can you reach it?
Living Room
Downstairs, turn left into the huge living room. You can play the old-fashioned phonograph next to the staircase banister and pick up a partially burned offer sheet in the fireplace. (It’s pretty clear how Evelyn felt about the offer for her sarcophagus.) You can swap out your Persian helmet nearby too, and examine a few other items.
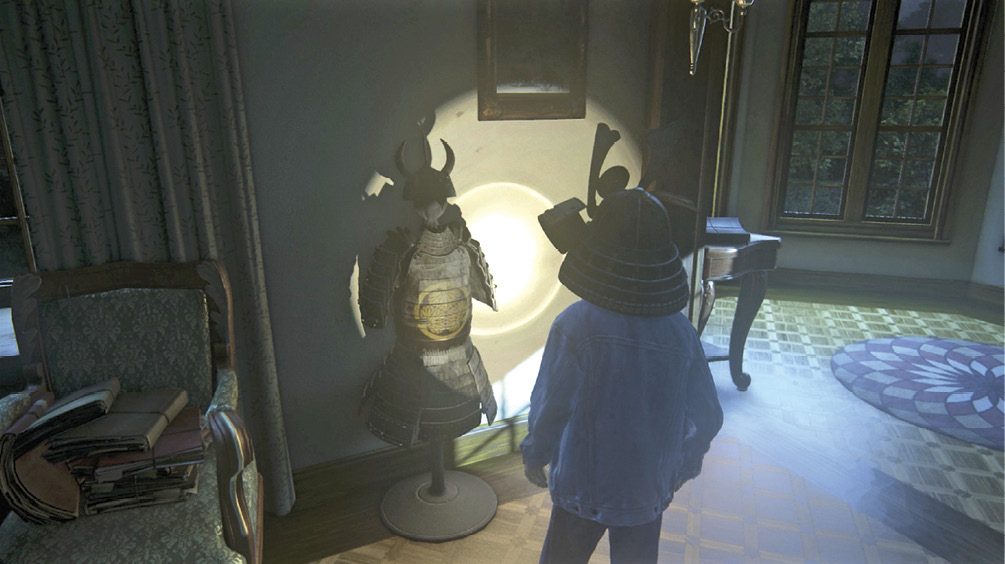
Note that the spiral staircase in the center of the room is blocked by a bunch of boxes labeled “Consignment.” These stairs lead to a balcony where you can find a treasure, but you’ll have to find another way up. Head over to the bookcase where Sam waits.
Gain Access to the Second Floor Rooms
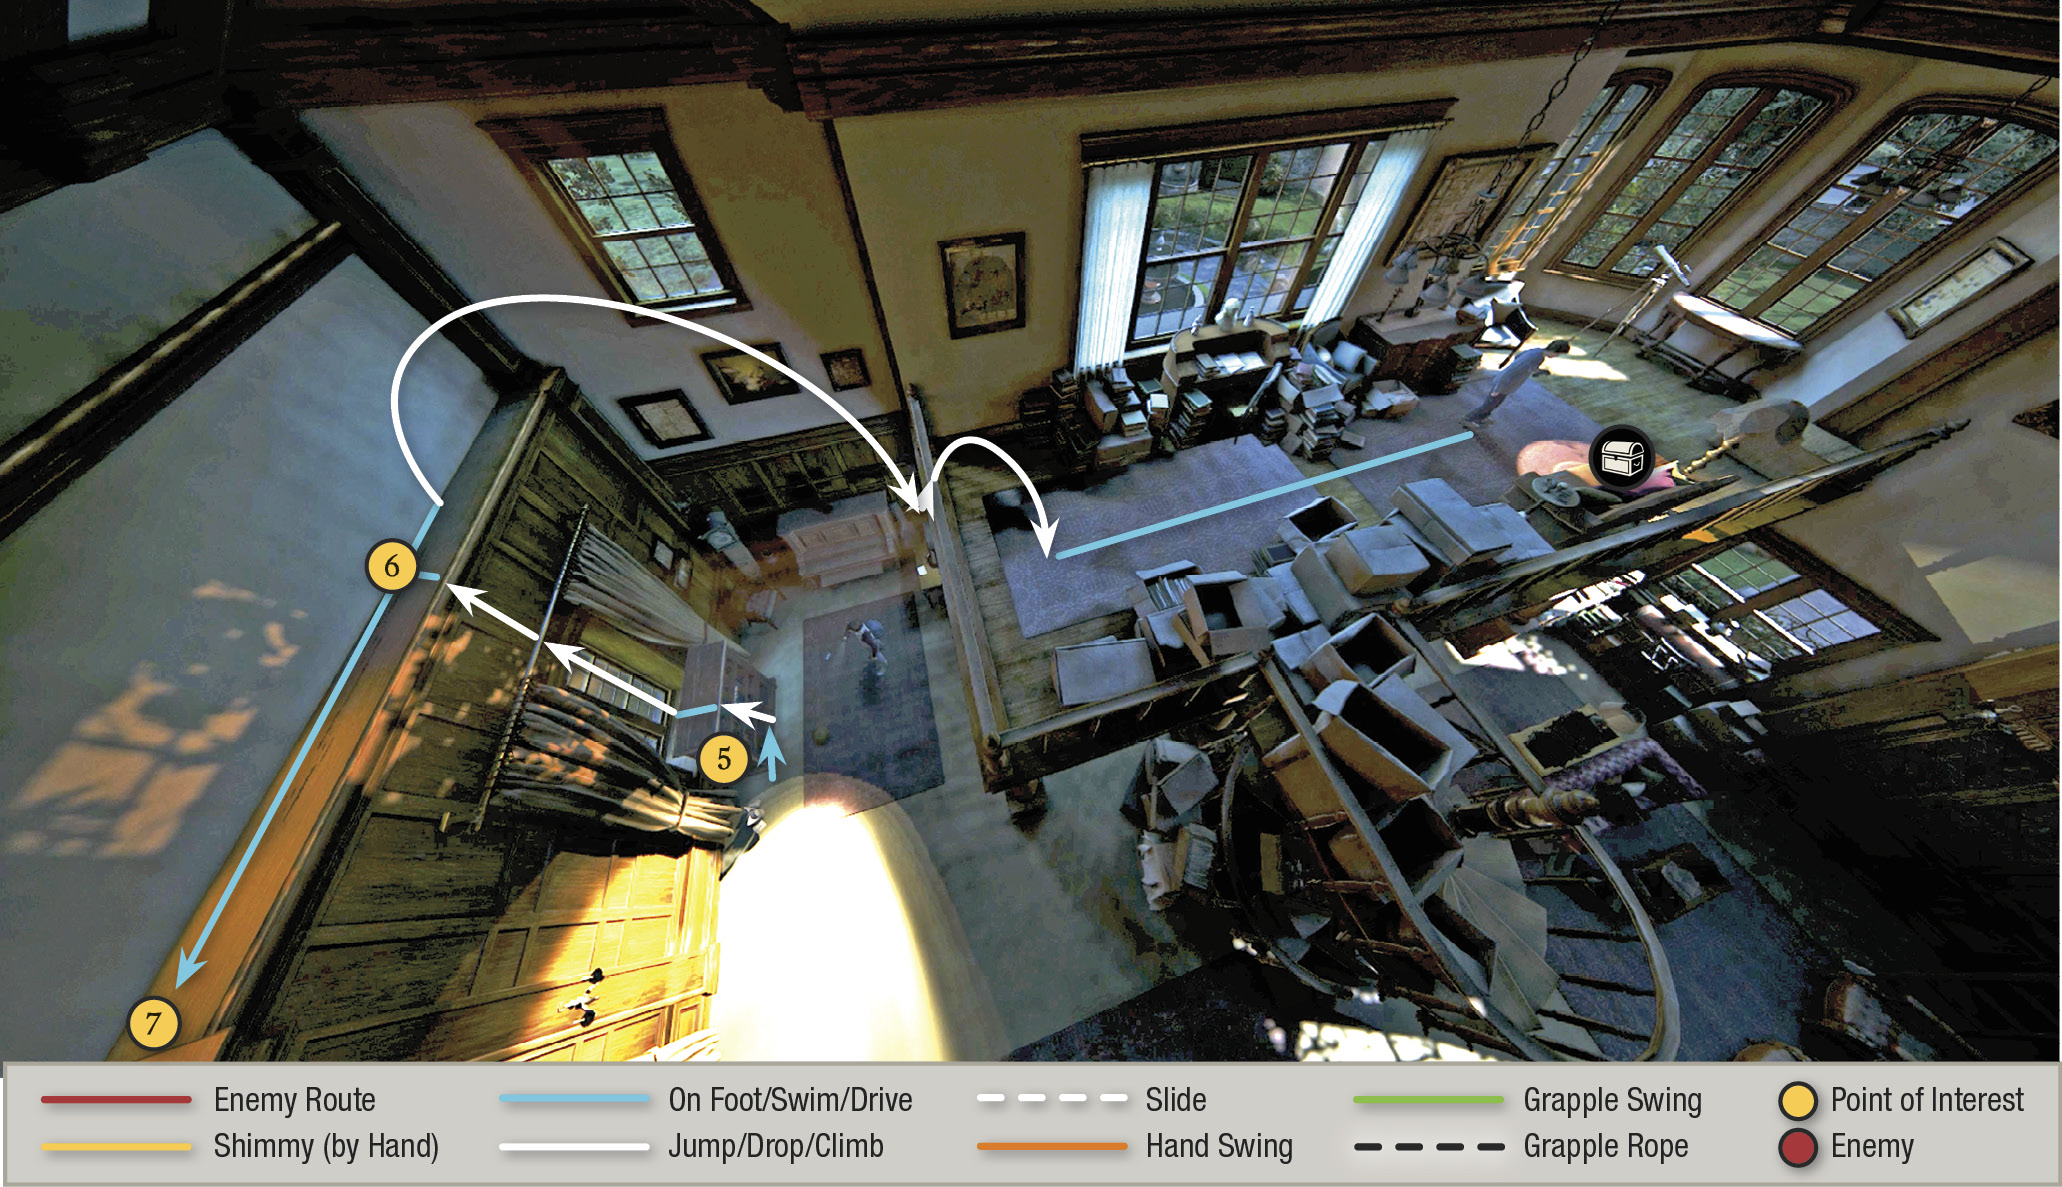
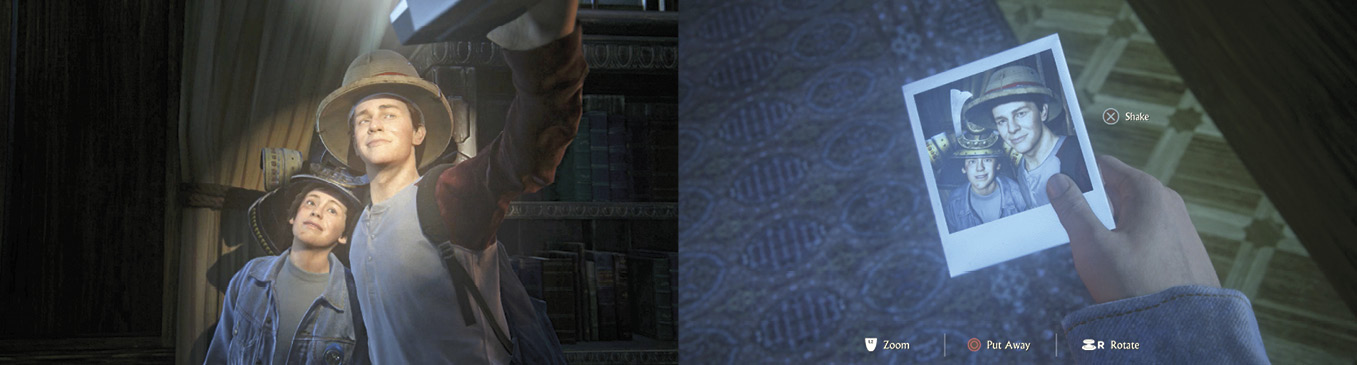
Examine the bookcase (5) just to the right of the fireplace in the living room. When Sam joins you, push the left stick to slide the bookcase to the right. As you push, a Polaroid camera drops to the floor. When you finish pushing, Sam picks up the camera and snaps a photo that you can shake to speed up the color development.

Pirate Snowglobe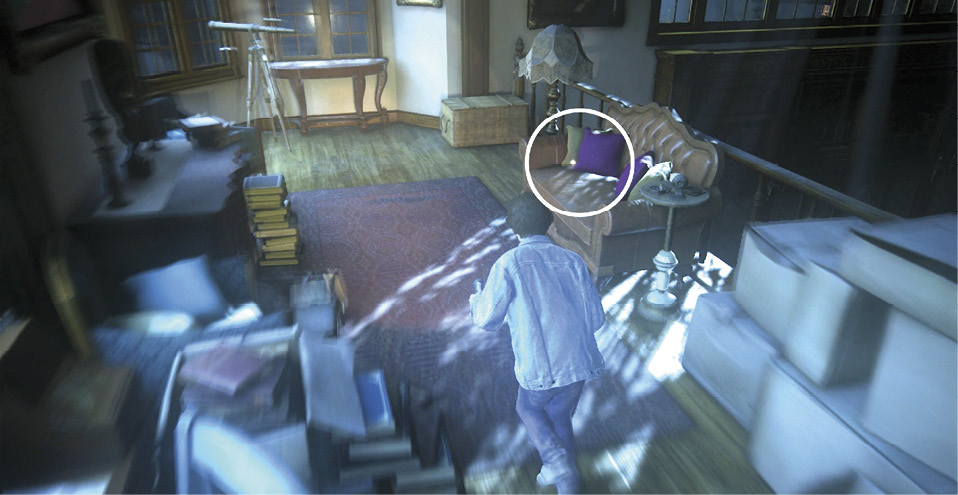
After Nathan and Sam push the bookshelf, use it to climb up and stand on the ledge. From there, jump across to the balcony railing. (This is the balcony that you can’t reach otherwise because of the boxes piled on the spiral staircase.) Find the Pirate Snowglobe tucked behind pillows on the leather sofa. |
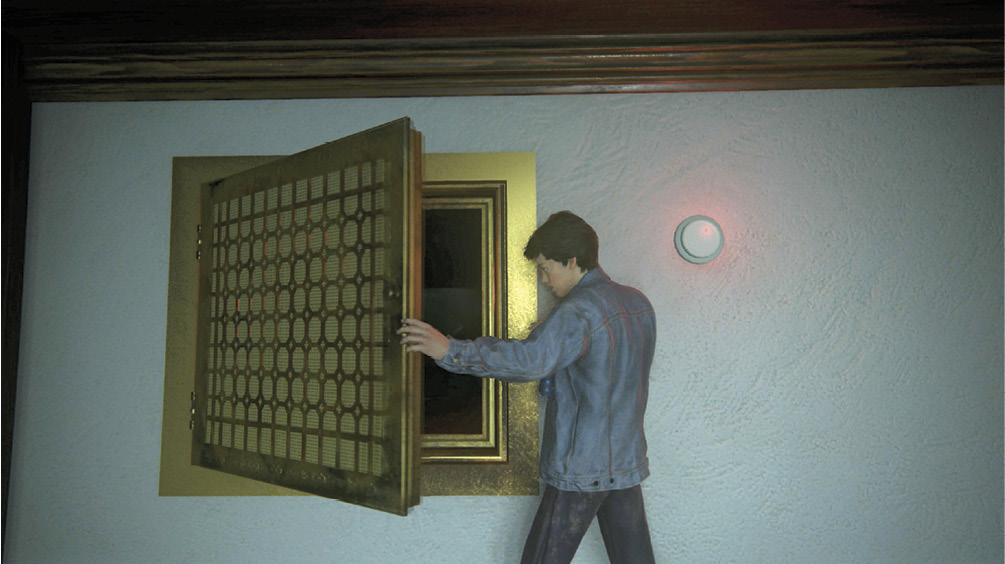
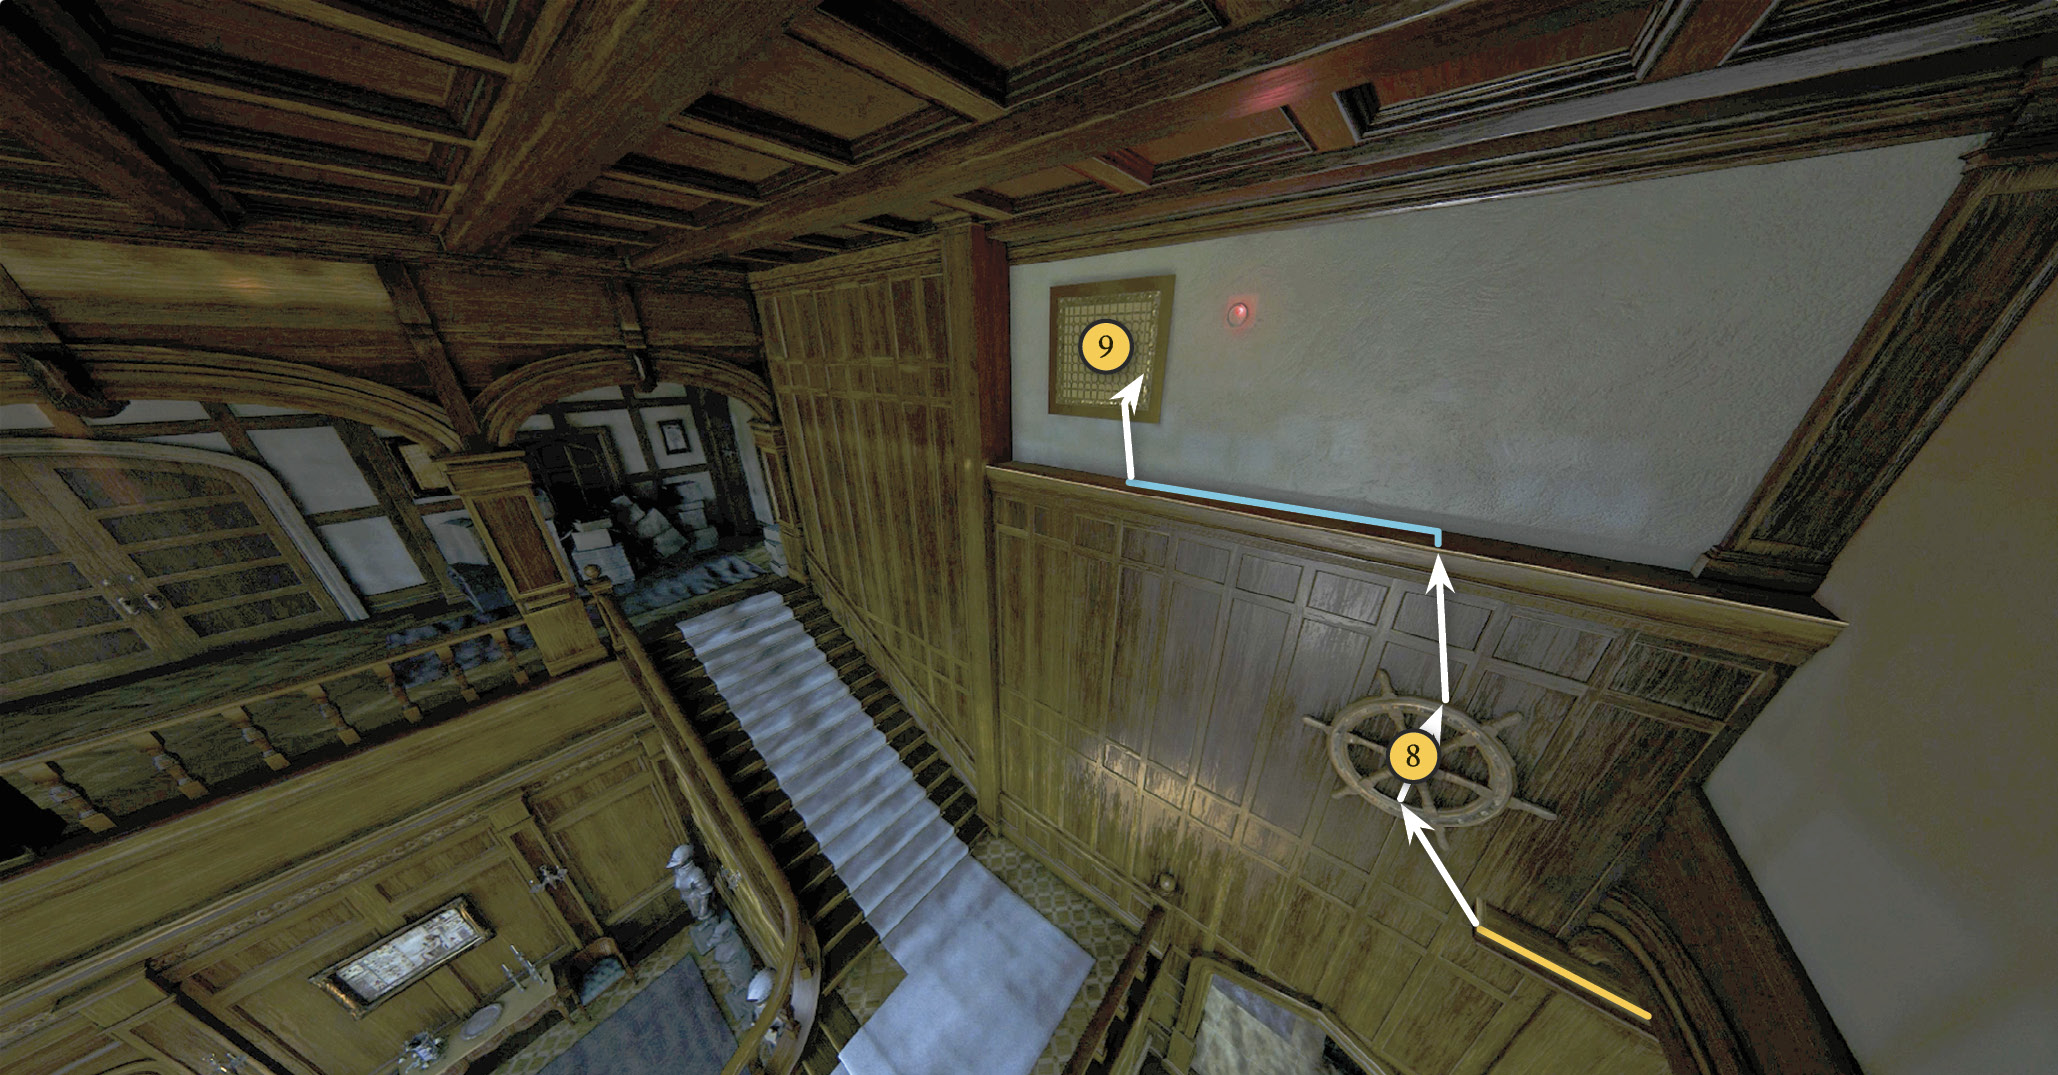
Climb across the hanging battle mace to reach the next ledge. Shimmy around the corner and use the ship’s wheel (8) to climb to the next ledge. Stand on the ledge and traverse leftward to the vent (9). Pull open the grate to climb in. Crawl down the vent until you reach another grate under you. Tap the controller buttons shown onscreen to kick it open, then drop into the room below.
Climb up the bookcase, jump to grab the curtain rod, then jump again to grab the ledge atop the wall paneling and pull yourself up (6). Here you can jump across to the opposite balcony to find a treasure. Then jump right back across to the ledge and traverse to the left (7). When you reach the jaguar statues, jump to grab the wall molding and shimmy past them. Continue to the corner.
Find the Door Key
The room has a hospital bed and lots of medical equipment. Examine a vial of painkillers on the small desk and, on the dresser, a sad, painful letter from Edmund to his mother. Pick up the family photo from the bed table—looks like Evelyn, Ken, and Eddie. Finally, nab the key from the chest of drawers next to the hospital bed. Now you can open the door for Sam.
Explore the Study
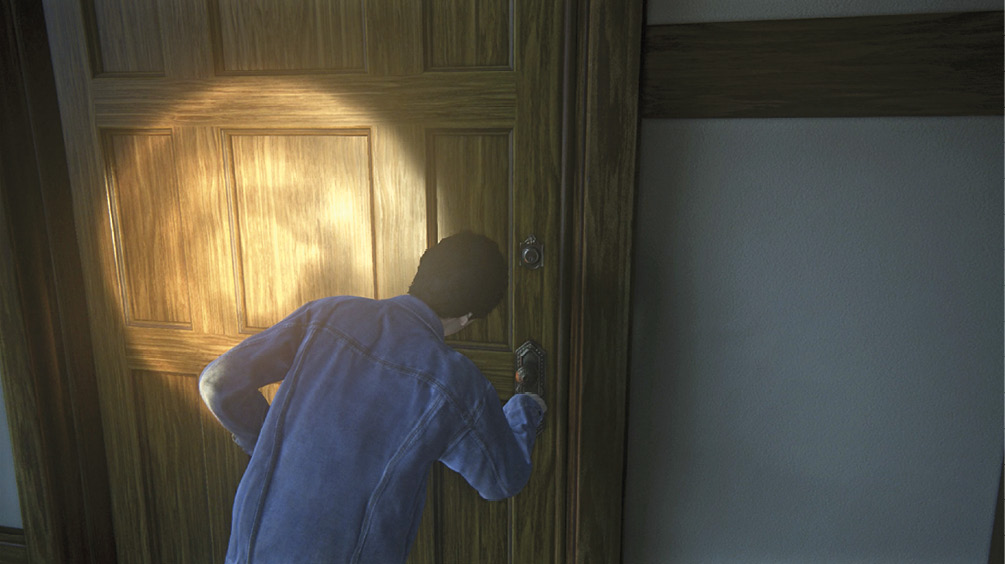
Exit the convalescent bedroom and go to the single door at the end of the upstairs hall. It leads into a study full of books and boxes. Pick up and examine journals—one on the banker’s desk near the door, and one in the box on the floor. Finally, open the box tucked underneath the front of the main desk to trigger the cutscene: Sam and Nathan pull out the journal of their mother, Cassandra Morgan.
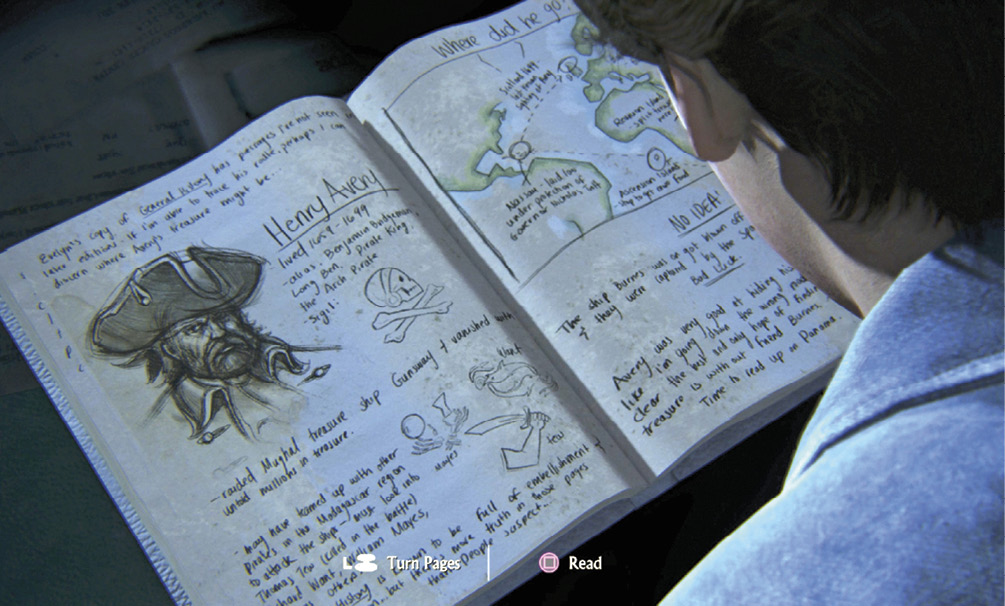
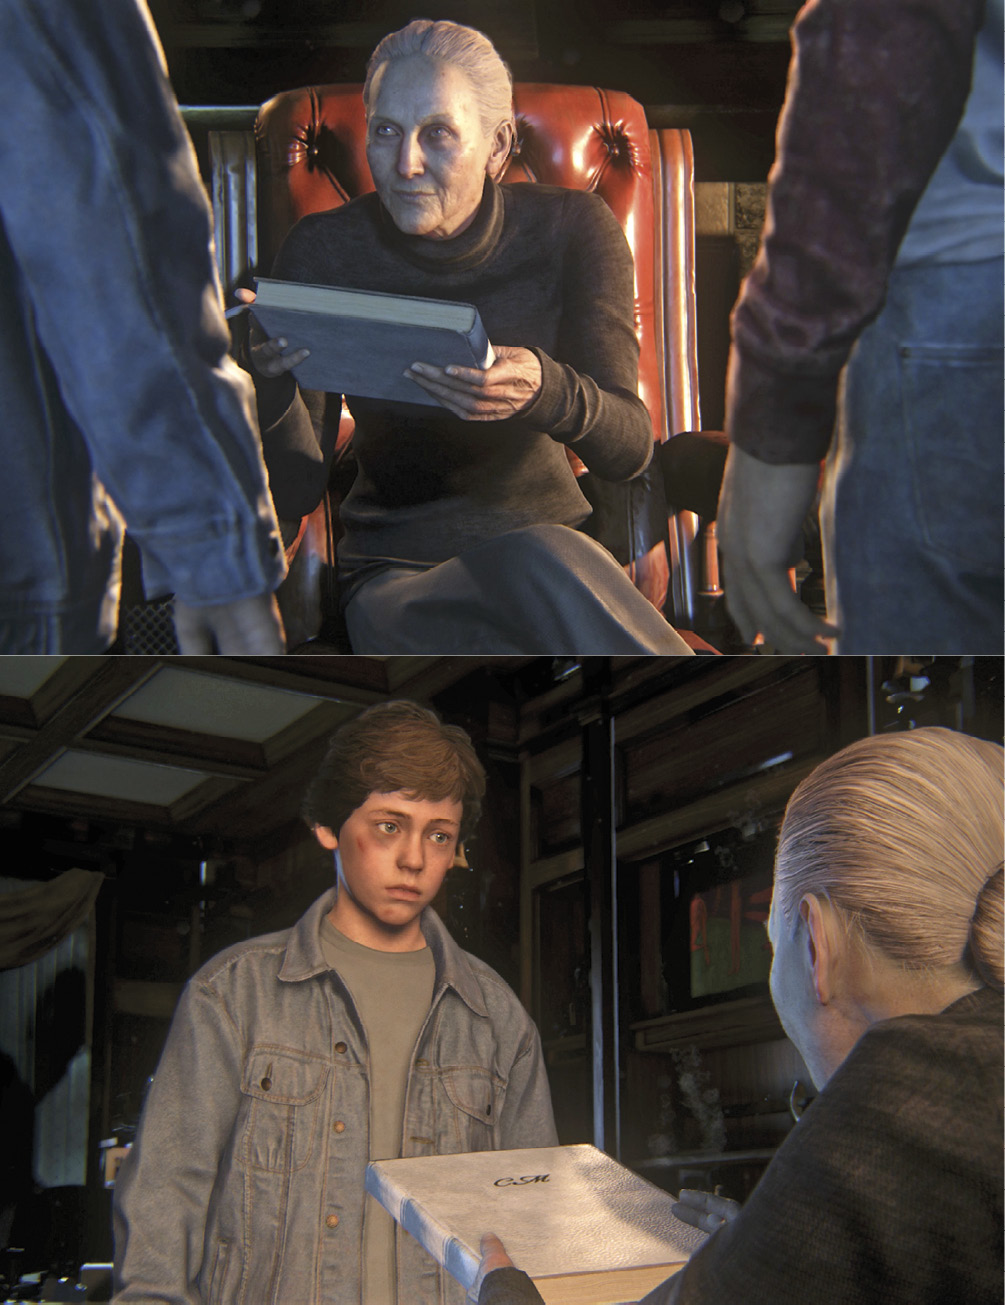
Use the left stick to turn the journal pages. The first thing you find is none other than the letter from Joseph Burnes to his son! More pages include research on Avery’s Gunsway heist. When you get to the end, another cutscene plays: The Drake boys meet the current owner of Cassandra Morgan’s writings and research. When the scene ends, Nathan is hanging outside the window as the police beat down the door inside. Time to run!
Escape the Estate
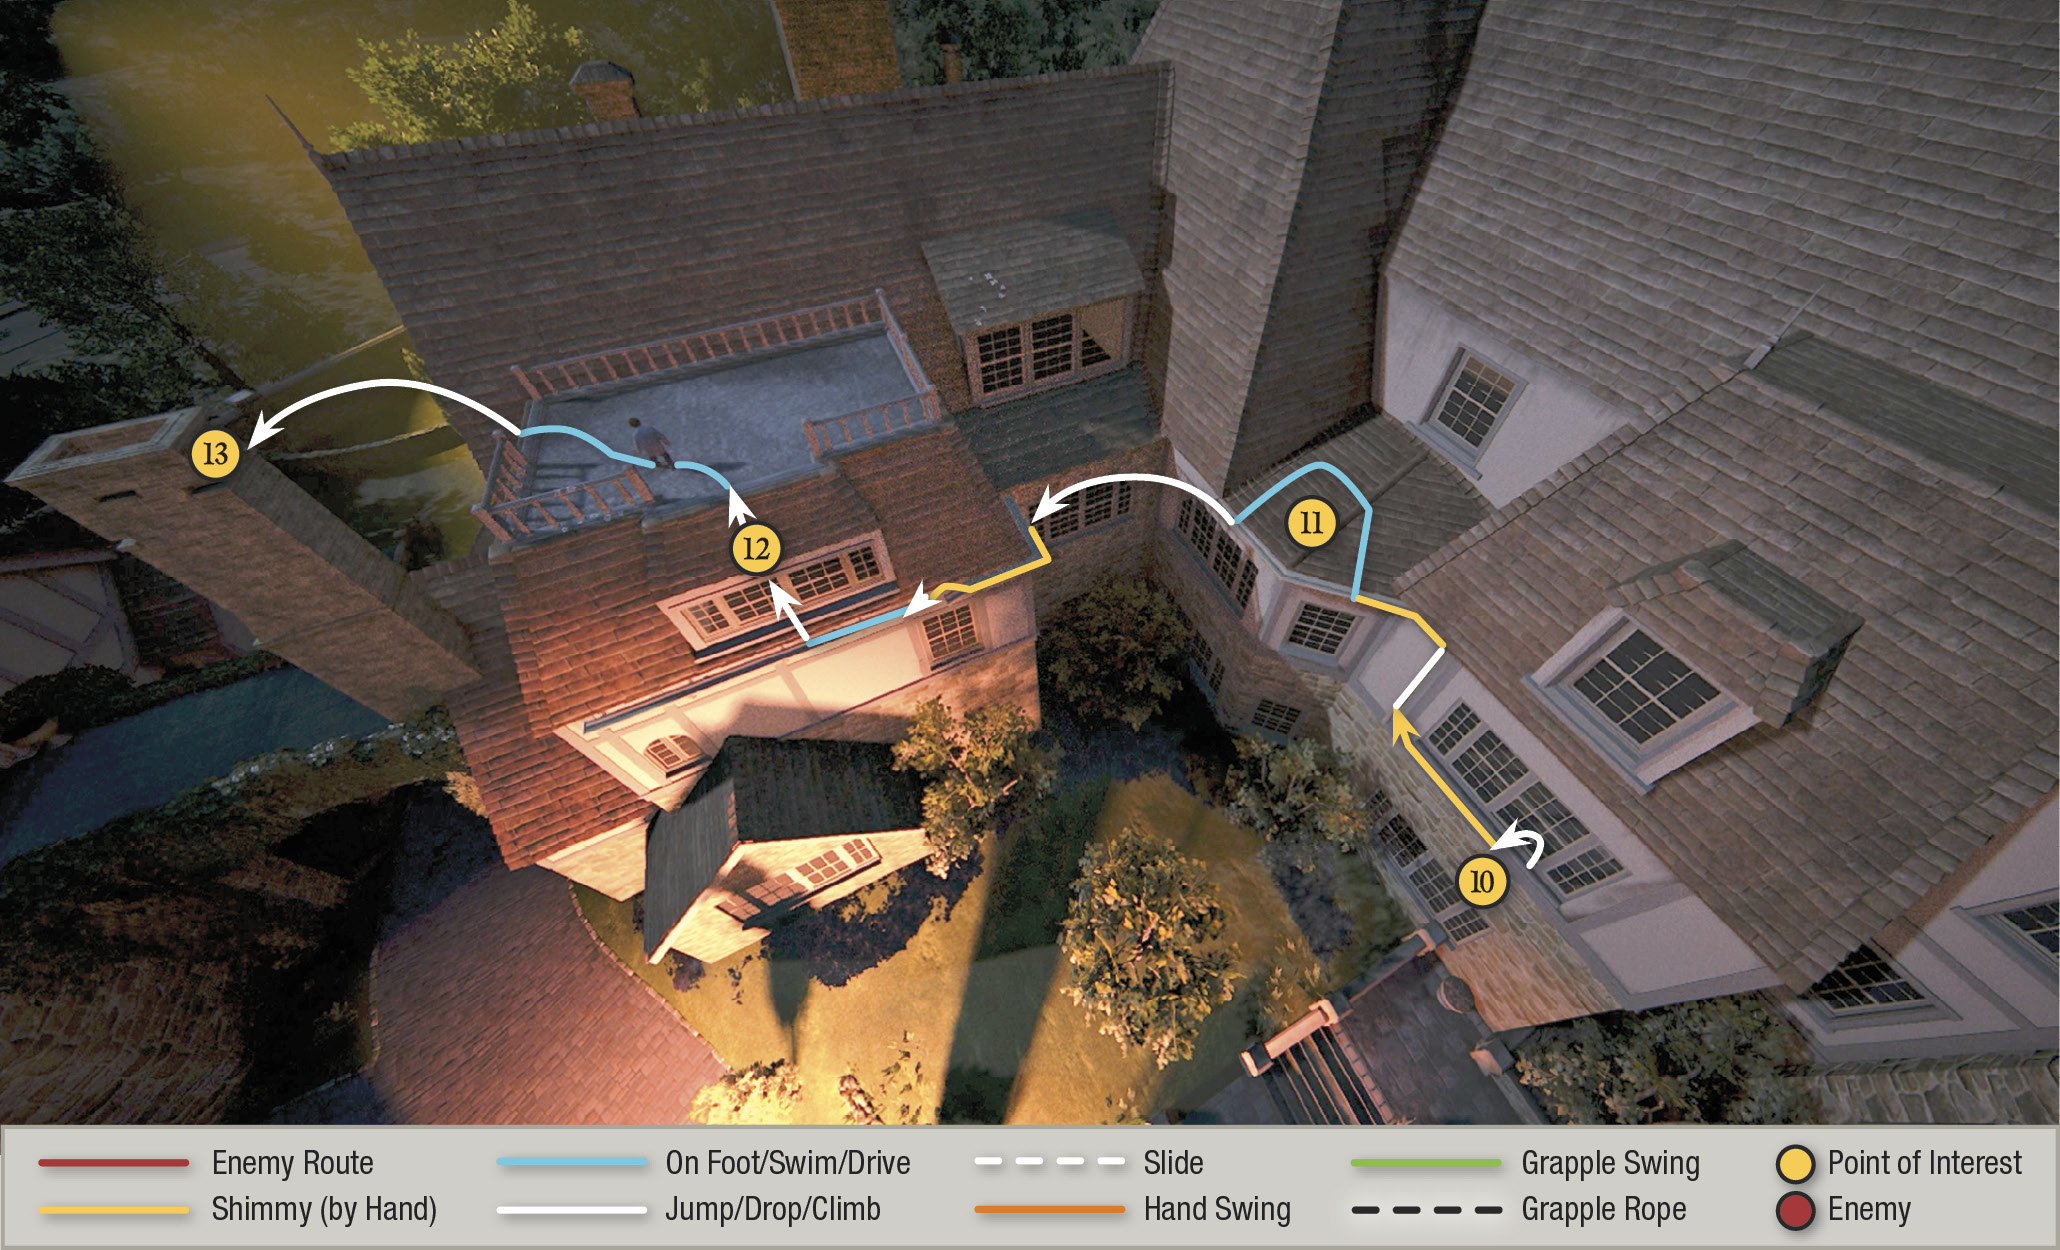
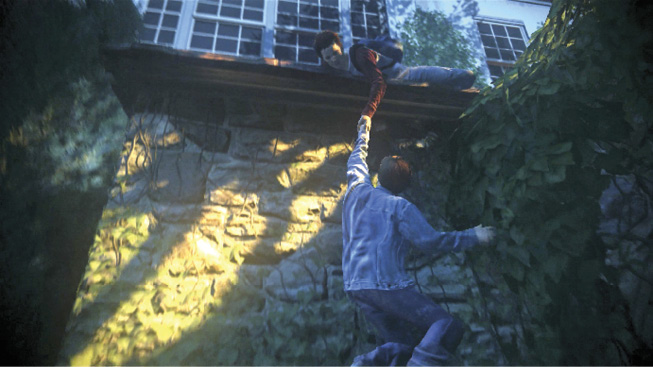
From the window (10), shimmy left to the drainpipe, climb it to the top, and then shimmy left again to climb onto the roof (11). Jump across to grab the next gutter and shimmy left again to the windows. Climb up the window frames and jump to grab Sam’s hand (12); he pulls Nathan onto the roof.
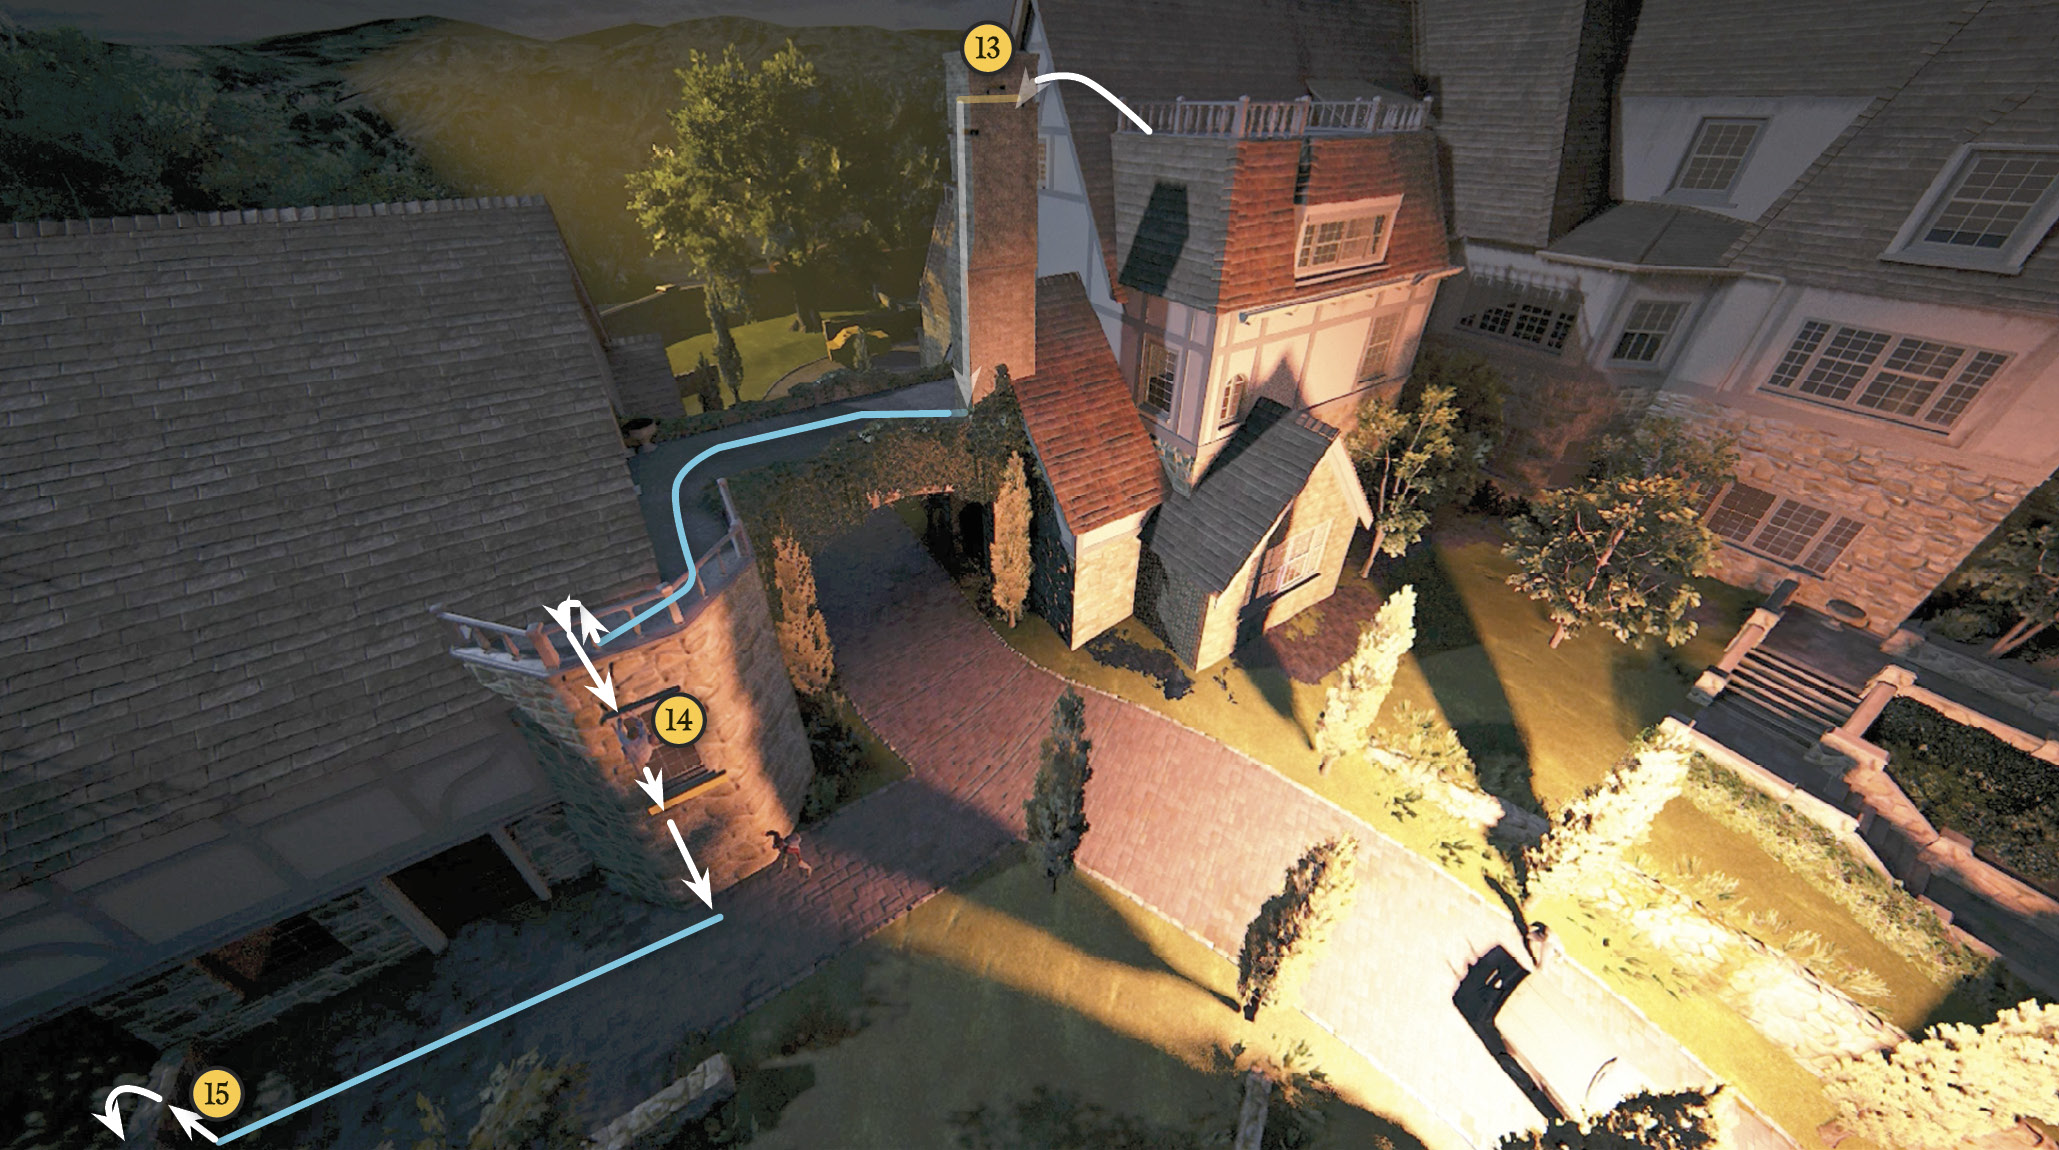
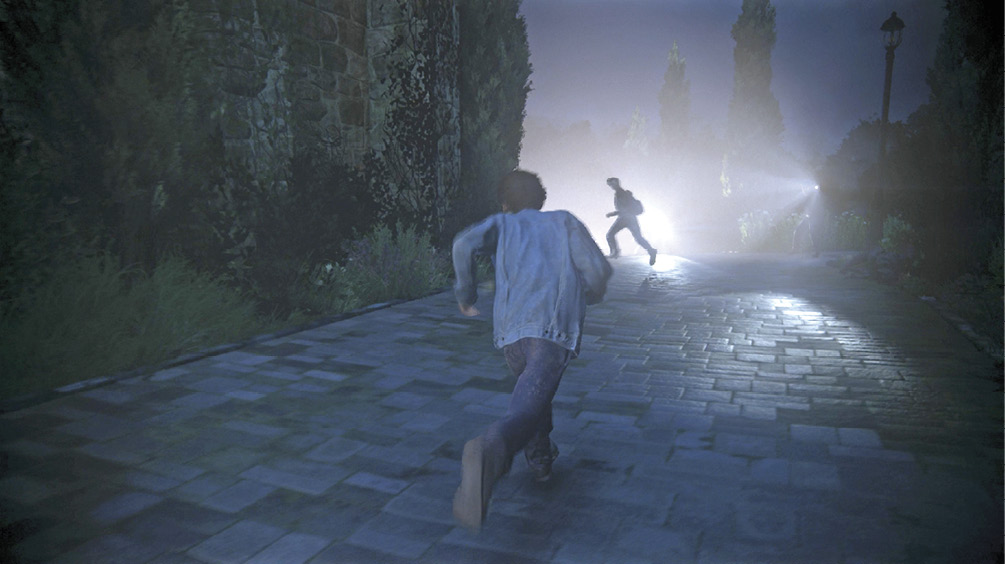
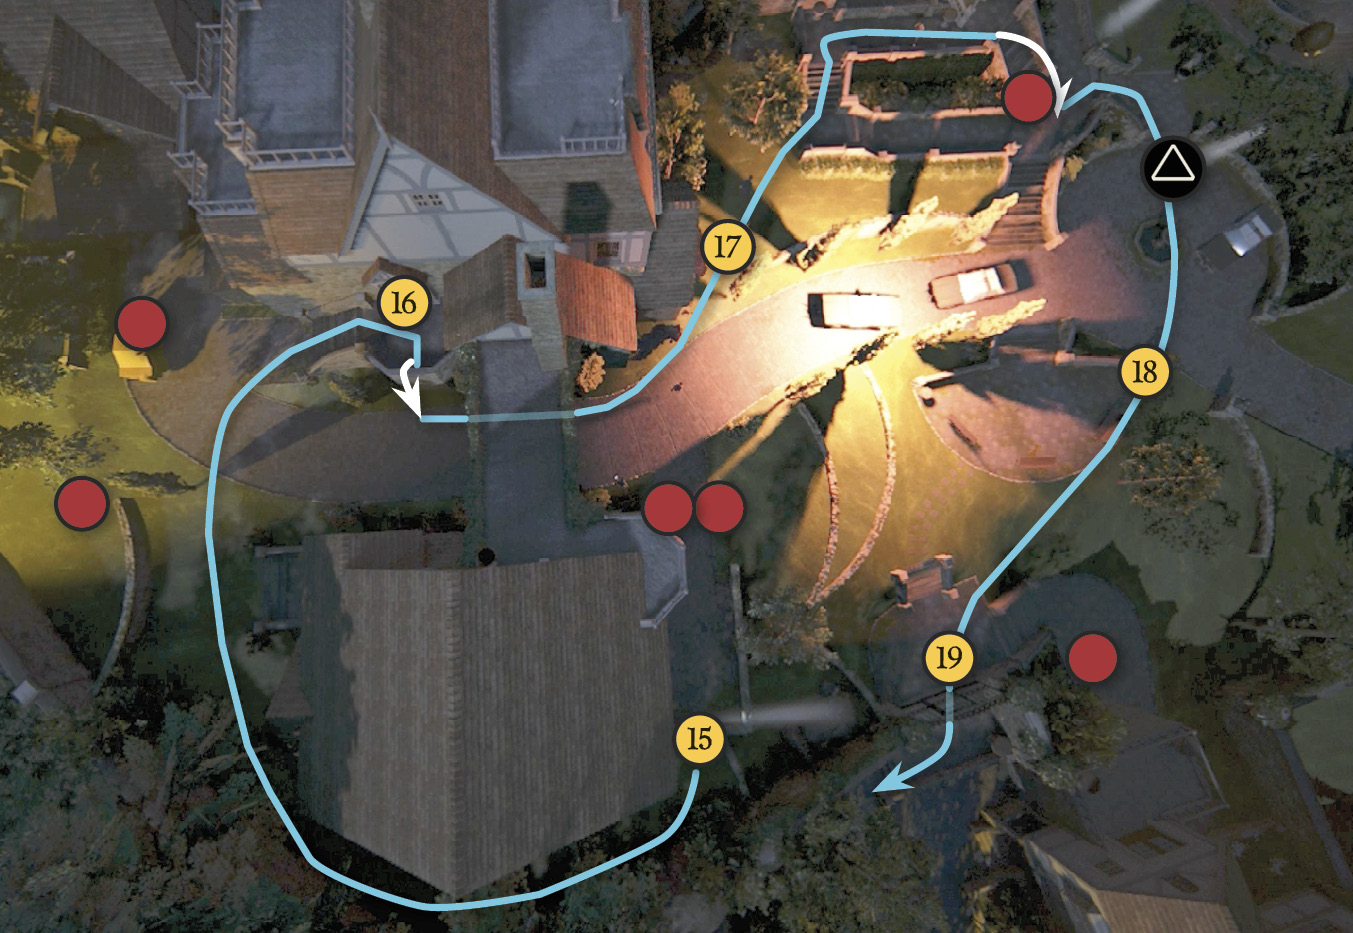
Jump across to grab the handholds on the brick chimney (13), climb rightward around two corners, and then drop to the rooftop below. Follow Sam across the roof and over the balustrade, and then use the windowsills (14) to drop safely, sill by sill, to the ground. The moment you land, police officers spot you and gives chase. Turn left, run past the door, and hop over the low wall (15).
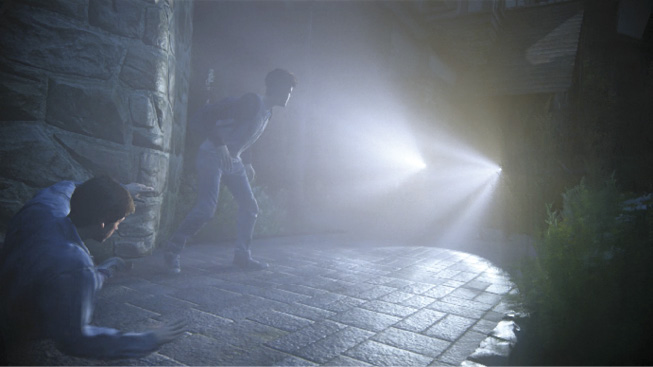
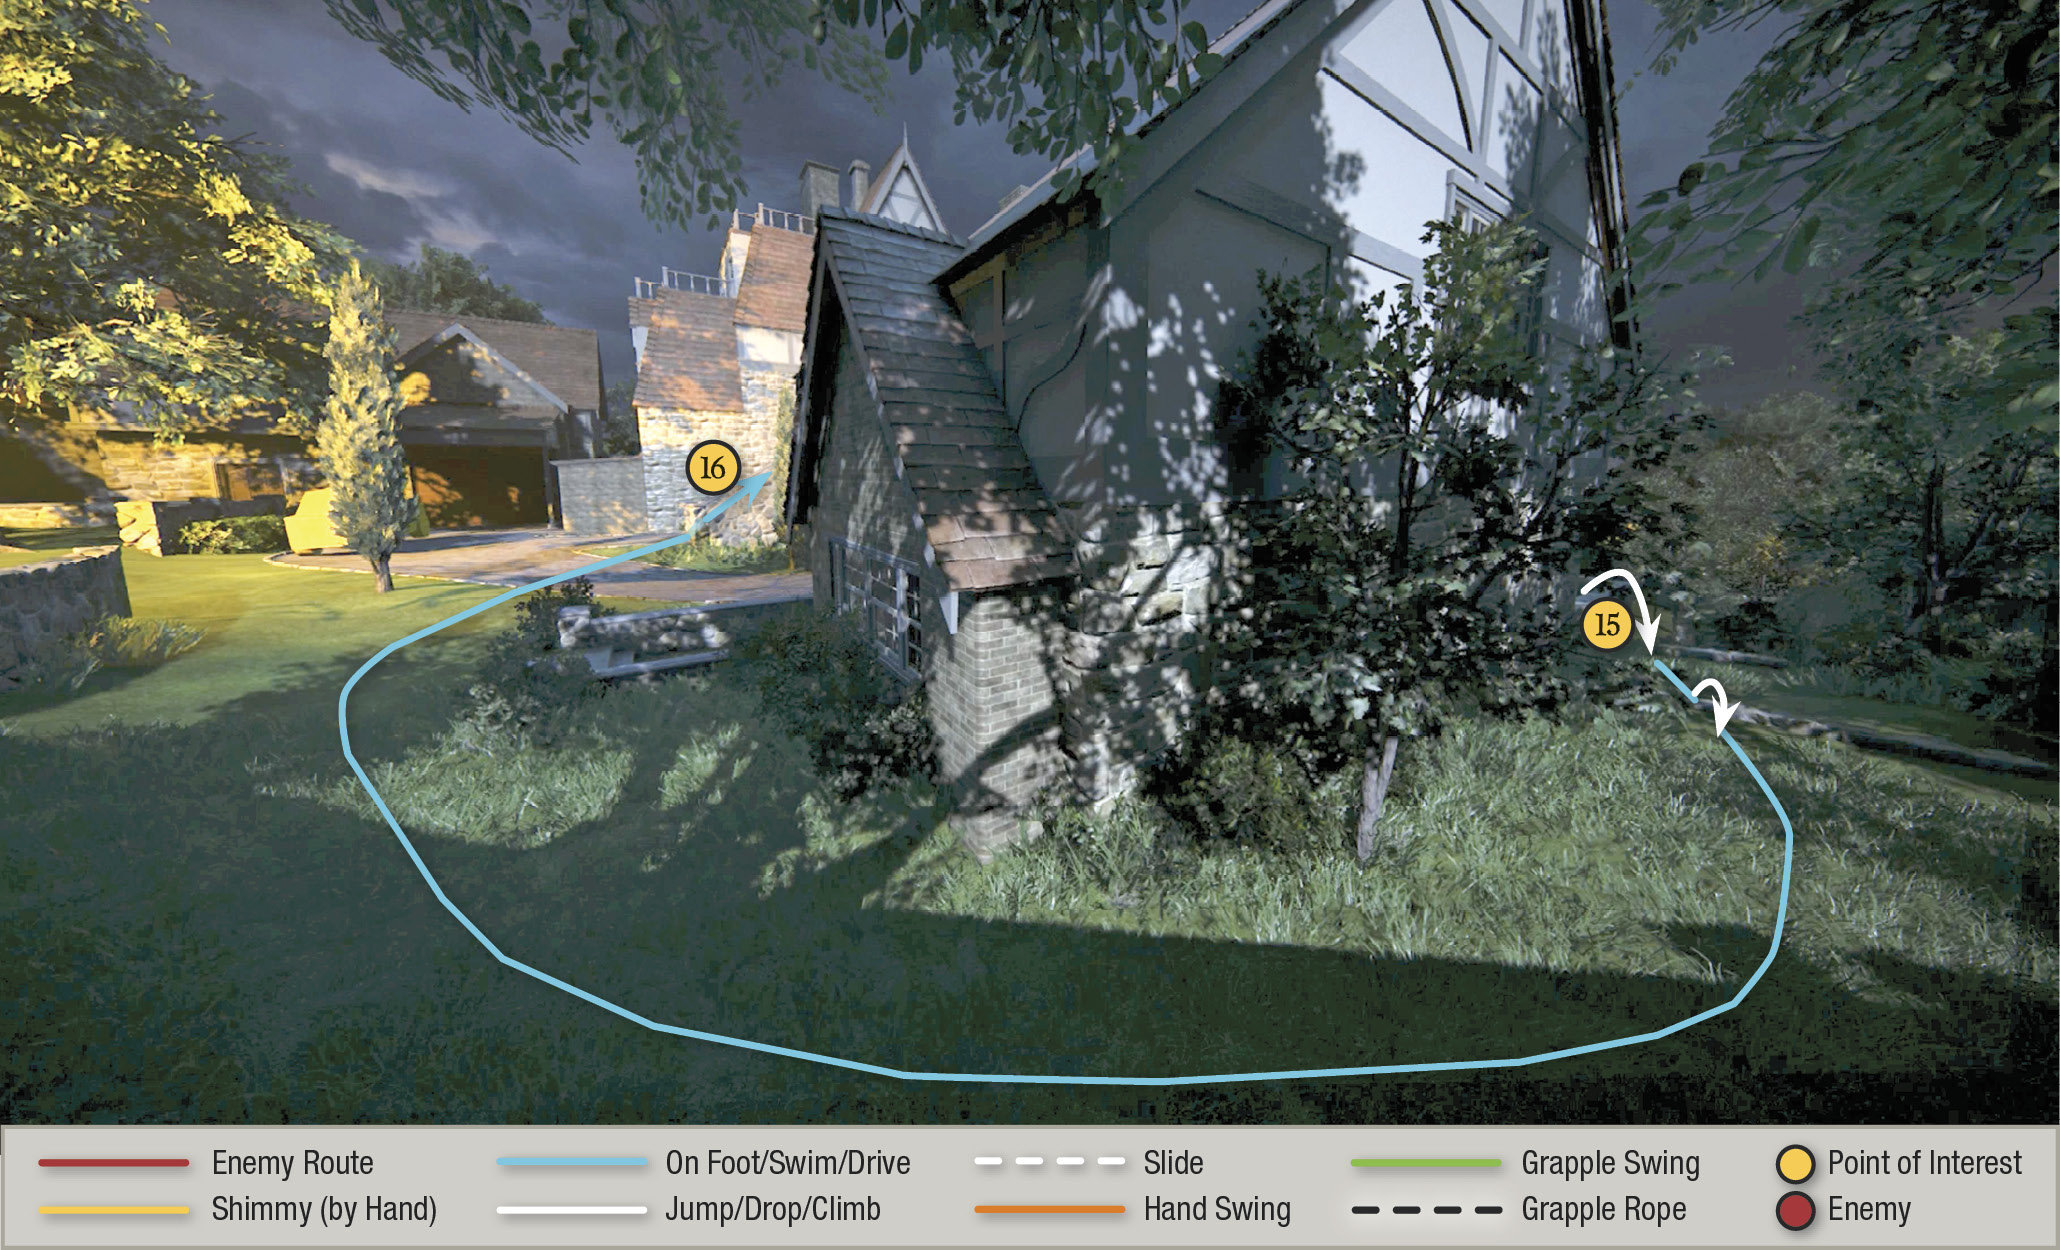
Your escape route takes you in a big circle that ends up near where you started, but shakes off the pursuit. Follow Sam as he runs around the house and then dodges the converging cops to dart up the staircase (16). At the top, follow Sam over the railing then up the driveway. Veer left at the cop car (17) and sprint up the stairs to the front entrance. Then cut downstairs and try to evade the waiting cop.
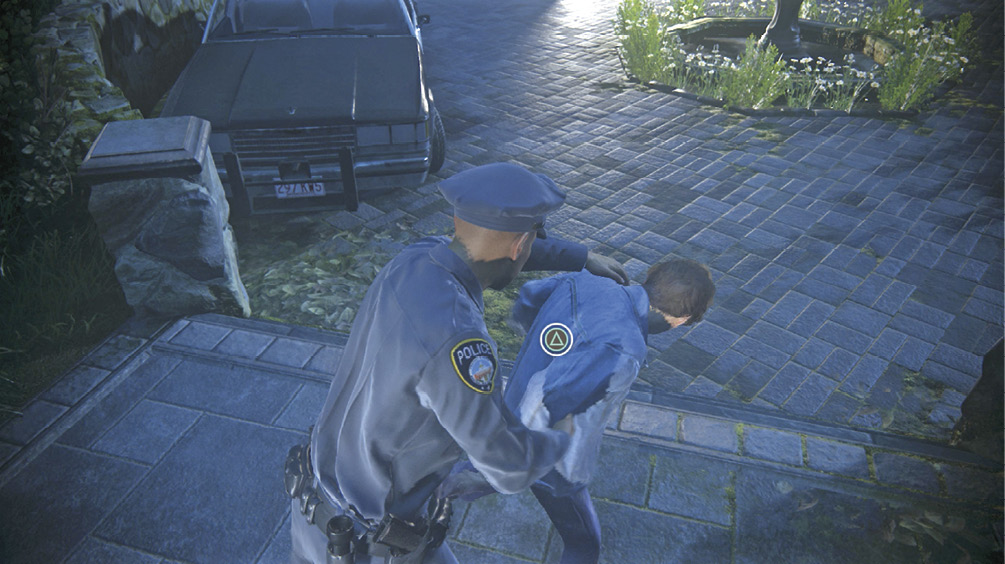
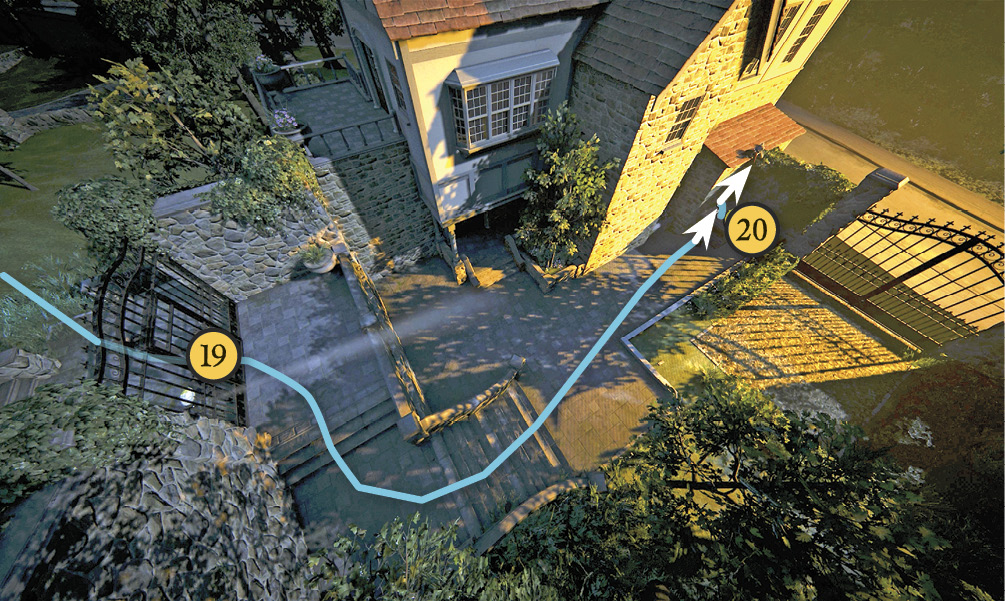
When he grabs Nathan, rapidly tap  to break free, then sprint directly across the cobblestone driveway circle past the fountain in the center to the other side (18) where Sam is fleeing. Follow him through the open side gate (19).
Sprint down the staircase. Up ahead, the exit gate is closed! Head straight for the dumpster (20) tucked into the corner of the stone wall next to the gate. Climb onto the dumpster, turn left, and jump up to grab Sam’s hand. Then follow him as he leaps off the top of the wall to the ground below, near the motorcycle. When Nathan jumps, the chase is over. You made it!
Now watch as Sam and Nathan arrive on Boston’s glittering waterfront with a new sense of purpose. The night’s revelations have changed the game for them. As Sam puts it, “I always felt that we were destined for something great. Until tonight, I didn’t know what that meant.” And so Cassandra Morgan’s sons set out on their long quest to finish what she started.