
Uncharted 4: A Thief's End Guide Basics
Combat
Damage Indicator
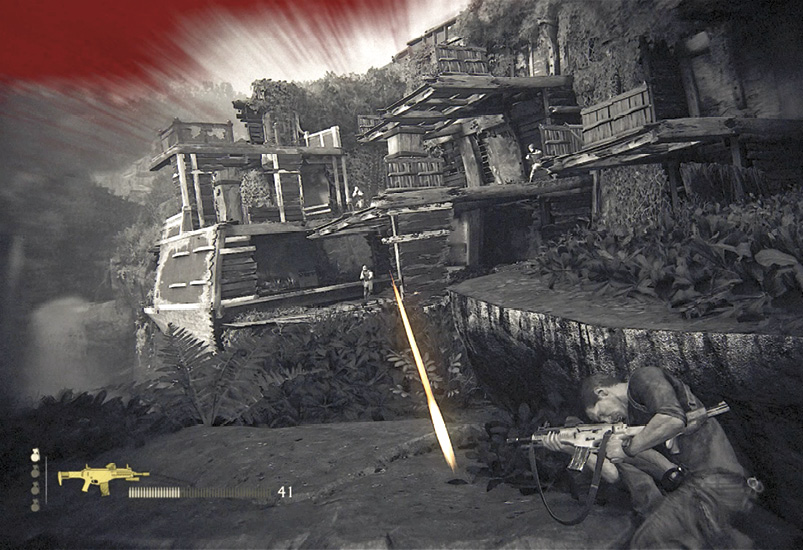
Damage received during battle is displayed with varying amounts of red bloodstains on the screen’s edges. The amount of damage you can withstand before dying (and the speed at which you recover) is completely dependent on the difficulty level setting—the harder the setting the quicker you reach a critical damage level and the longer it takes to recover from that damage. To recover from damage, simply take cover and avoid conflict until the blood clears from the screen. If you’re in a chokehold, free yourself with repeated taps on  .
.
Melee
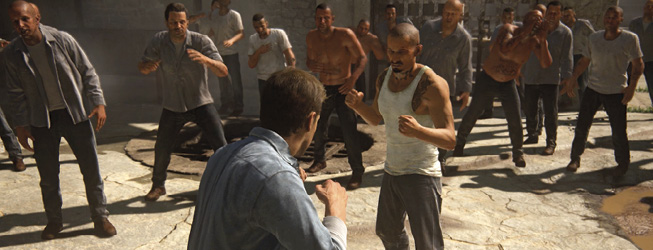
When unarmed, Nate attacks with his fists. If the opponent is armed, Nate disarms the opponent and takes the weapon. If melee is continued with a weapon in hand, the weapon is used as a blunt melee object making your attack even more damaging.
Move List
| Move | Command |
|---|---|
| Attack (Punch) |  (Repeat for combo) (Repeat for combo) |
| Evade (Roll) |  + left stick + left stick |
| Escape Enemy Hold | Tap |
| Vertical Takedown (Drop Attack) |  /L (Land on an enemy from above) /L (Land on an enemy from above) |
| Stealth Take Down | (Must be unseen by enemy you are attacking) |
| Pull Down/Melee From Cover/Kick | (From cover or hanging from a ledge; kick occurs if the enemy is standing next to the edge of a drop) |
Evade
For most typical enemy encounters, you should work this move into your fighting technique. Performing a rolling evade ( + left stick) not only allows you to dodge a blow, but it also allows you to get behind your opponent, which puts you in an instant stance advantage. Follow a roll with an immediate attack. Or use a roll to get clear of an area and seek cover.
Vertical Takedown
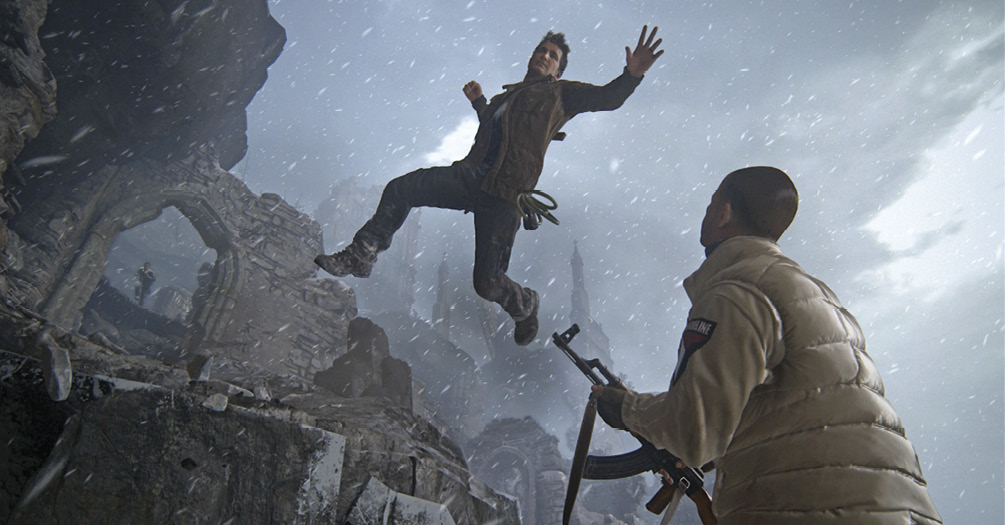
This attack is typically performed while hanging from a higher ledge, jumping out of a window or from a higher platform, swinging from a pole, or even swinging from the grapple rope. Unless the enemy is a helmet-wearing Brute, the vertical takedown is an instant fatality. You do not need to be in stealth mode to perform this attack—the enemy can be well aware of your presence at the time of the vertical takedown.
Stealth
In order to understand and benefit from stealth, it’s important to understand enemy awareness.
Enemy Awareness
Threat Indicator
There are three stages of enemy awareness, each symbolized with a uniquely colored, diamond-shaped, threat indicator above the enemy’s head. If no threat indicator is seen above the enemy, you are either in full stealth mode (the enemy does not know you are in the area) or you are in full combat and your cover is blown and a battle is occurring.
White
Awareness indicators and outlines around enemies glow White. The indicator fills progressively as their perception is increased.
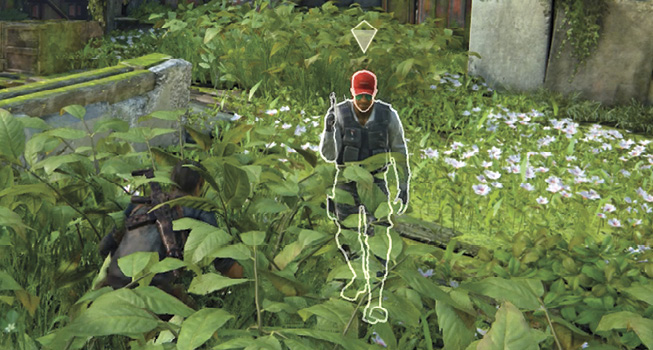
- The enemy outline glow disappears once you’ve panned the camera to get the enemy on-screen. This glow continues as long as the enemy is off-screen.
- A brief period of time exists between enemies being certain they have seen you and them spreading the information to the group. You can prevent this spread of information by taking out the enemy during this brief period.
Enemy Investigation
When enemies begin investigating they enter yellow and then orange alert status. If they think they see you, they leave their route and come toward you. If they see a dead body, they will begin searching the area. The enemy that sees the dead body is the investigator, and if there is another enemy nearby, that enemy becomes the watcher. Depending on the difficulty, these enemies begin an aggressive investigation.
| Threat Indicator Color | Enemy Awareness | Enemy Action Taken If Indicator Fills | Return To Stealth Tip |
|---|---|---|---|
| White | Suspicious | Stops patrolling to watch closely | Stop and get to cover to avoid a full white meter |
| Yellow | Investigating: a dead enemy has been spotted or they think they saw you | Initiates search patrol route and can make vocal warnings to nearby enemies, putting them on a yellow threat level | Stop and get to cover to stay in stealth or quickly and stealthily take out the investigating enemy |
| Orange | Full battle engagement: enemies alert other nearby enemies of your presence | Initiates attacks and alerts all enemies in the vicinity that you have been spotted | Stealth has ended; if spotted, either fight or run |
Yellow
Once the enemy begins to investigate a situation, the indicators and outline glow change to Yellow.
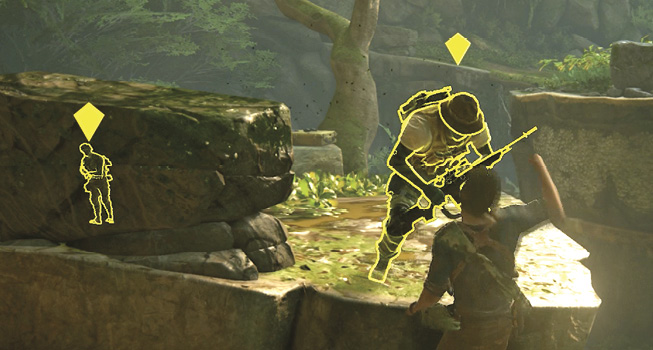
Orange
Once an enemy is certain he has eyes on you, and spreads the knowledge to the rest of the enemy group, the indicators and their outline glow turn Orange.
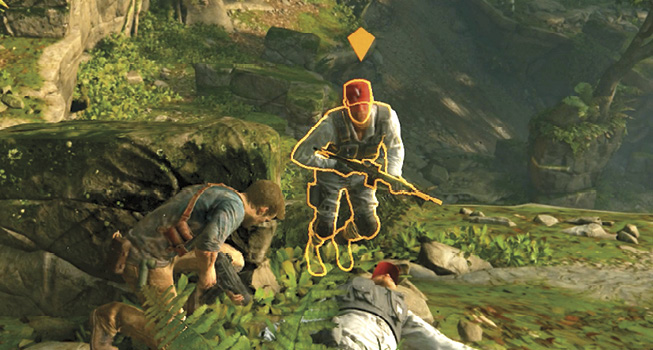
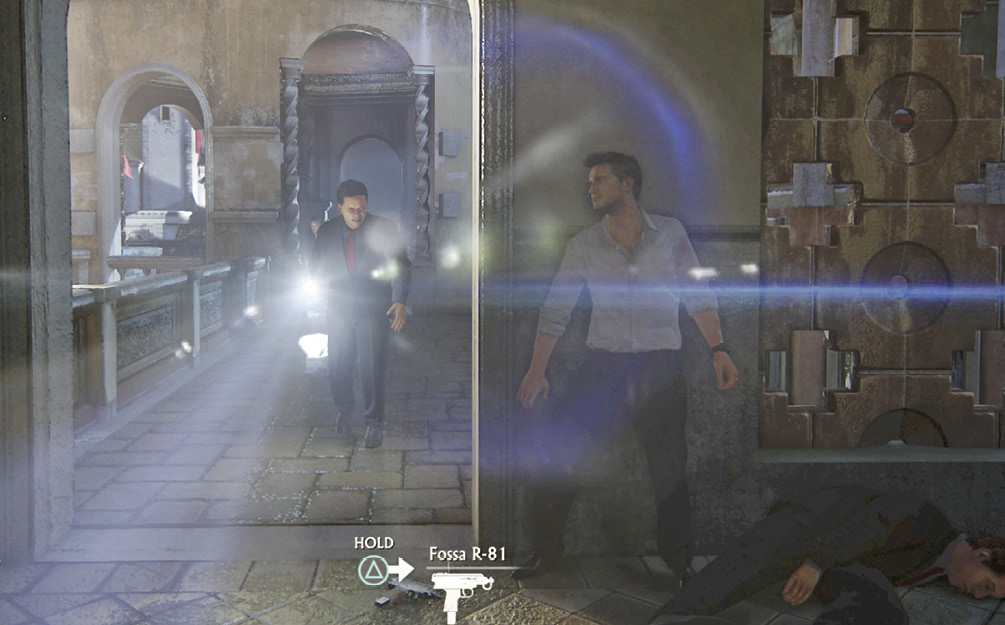
During an investigation, if you stealth-kill any paired investigator or watcher, the surviving enemy partner will come looking for the guy you just killed. Stealth-killing an enemy that is communicating to others will make the nearest enemy come investigate the fallen comrade.
Aggressive Investigation
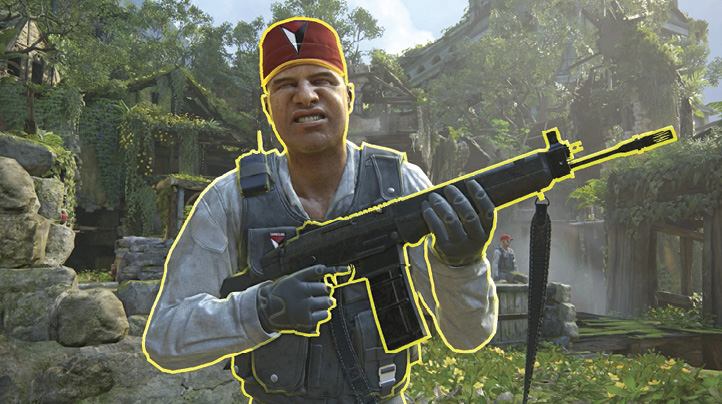
When an enemy is aggressive during an investigation, you can expect him to move faster and get closer to uncover the distraction. The aggressive investigator has enhanced vision. This enemy will see you up to 6 meters away, even if you are hidden in tall grass. And they will also see you behind typical cover up to 18 meters away. To resume stealth in this situation, get far away from the area and into cover. Hanging over a ledge, out of sight at a great distance is typically the best solution.
In Explorer or Light difficulty modes, the enemy never enters an aggressive investigative state. In Hard difficulty, an enemy gets aggressive within 10 seconds after finishing an investigation. In Crushing difficulty, an enemy is always aggressive.
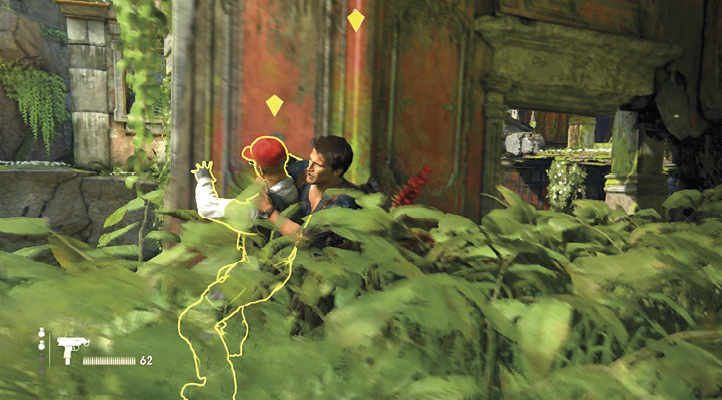
Moving Stealthily
As long as you’re not in any enemy’s line of sight, you can remain in stealth. This means you can walk behind patrolling enemies (if they don’t turn around and see you) and remain in stealth. There is also a height advantage; if you are high above the enemy, they will typically not look up to see you. However, if they are at a certain distance away, your elevation above the enemy may not keep you from being spotted.
Tall Grass
Tall grass and vegetation is the best cover opportunity for stealth tactics. An enemy can walk directly beside you while in tall grass and not see you. Stealth takedowns in tall grass keep you in stealth mode even if there are nearby enemies looking in your direction. However, during an orange threat level, directly entering tall grass will not conceal your presence. You must completely get out of sight, lower the threat level, and then reenter the tall grass to use it as a stealth aid once again.
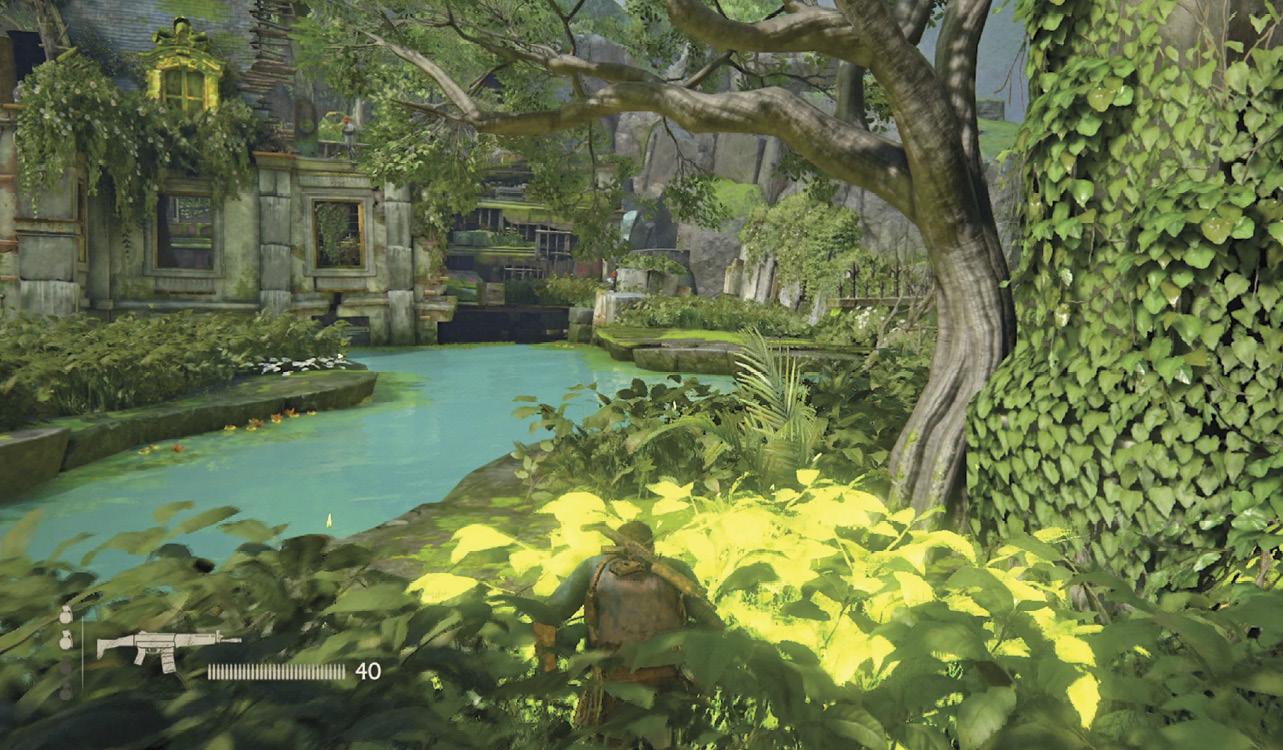
Patrolling soldiers will not discover dead bodies in tall grass. The next best way of disposing of bodies is to throw them in water or into a non-traversable location (such as a ravine). Always look for tall grass stealthy takedown opportunities. Many times one batch of tall grass leads closely to another, and you can work your way through an area using these and other cover opportunities to stealthily takedown everyone or completely avoid conflict altogether.
Always release the left stick when entering tall grass when enemies are nearby. This causes Nate to duck down sooner and use the stealthy cover the vegetation provides.
Take Cover
To move stealthily, or just to protect yourself from flying bullets, move from one cover opportunity to the next. To flatten and lock yourself against an object, walk to it and press . This could be a crate, wall, doorway, etc. At each cover location, look around and watch all the nearby enemies and study their patrol routes to work through the weaknesses in their defense.
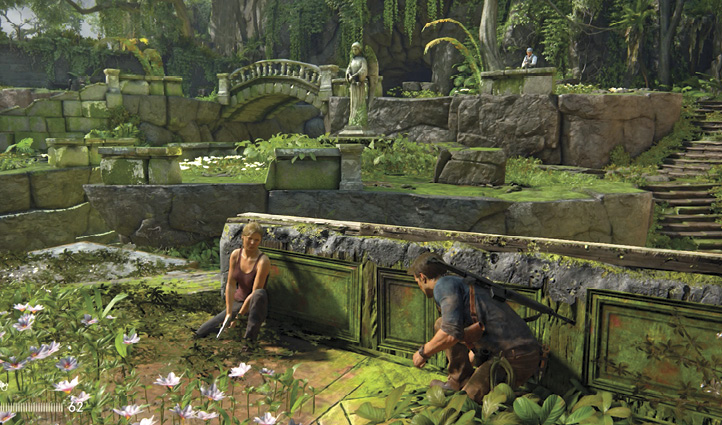
Rolling
When moving, you should run and roll to the next cover opportunity. This is also the best way to avoid sniper lasers while in the open. To roll, press + left stick. Rolling helps you maintain stealth between short distances of non-cover. For example, if you are moving between two crates in close proximity of each other, or if you are traveling between two patches of tall grass.
Stealthy Takedown
A stealthy takedown occurs when you melee an enemy that remains unaware of your presence as he is being defeated. To perform a stealthy takedown, walk or run up behind unsuspecting enemies and take them down by pressing . If you are hiding in tall grass or hanging from the edge of a ledge or rooftop, the enemy could be facing you and still remain unaware of your presence.
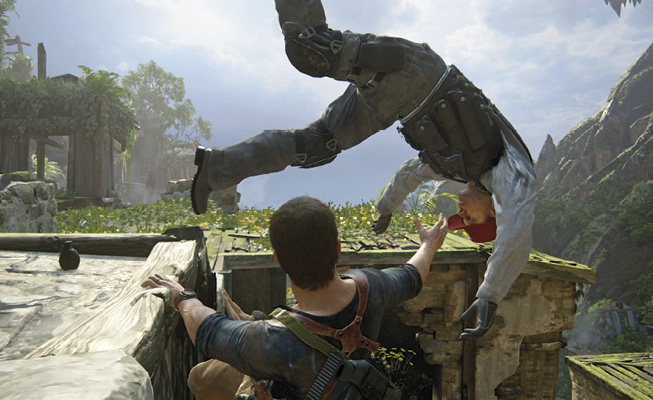
If the enemy is on the edge of a rooftop, ledge, or cliffside during a stealthy takedown that enemy may be kicked over the ledge—but only if there is not a ledge or platform for them to land on (they won’t be kicked off a ledge if there’s a chance the body could be spotted). However, if you are hanging off a ledge under an enemy and perform a takedown, the body dropped could be at risk of being spotted if it drops in an area that can be searched.
Stealth Takedowns on Helmeted Enemies
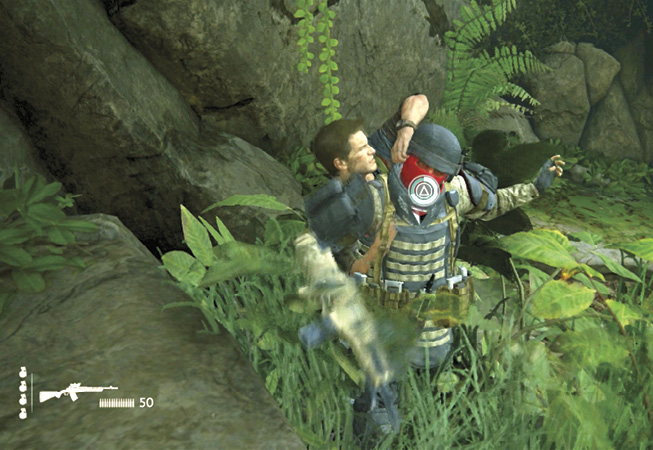
The only enemies that you cannot stealthily takedown with one move are those that wear helmets strapped onto their heads (you will find enemies with lighter helmets that can be taken down with one hit, but if you look closely, their helmets are not strapped to their heads). These enemies are usually carrying a very heavy weapon such as a Condor shotgun, ARX-160 machinegun, or a DShK minigun. Many of these heavy helmets are also equipped with an armored facemask. To takedown one of these heavies with a strapped helmet, you must first attempt the takedown and then enter a helmet-removing challenge where you button mash . Once the helmet is off, you can finish the enemy with another melee attack. Lighter armored, helmet-wearing enemies can be defeated with a pull-down if you’re hanging on an edge below them.
Marking Enemies
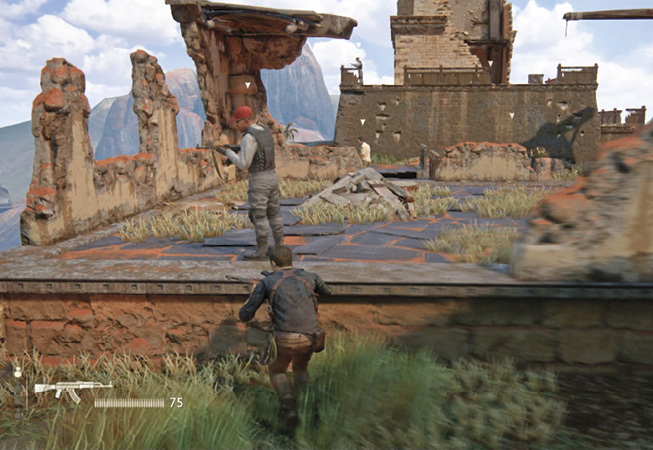
You should take advantage of the enemy-marking feature when moving stealthily through environments. Marking enemies allows you to keep track of enemy movement even when walls and objects separate you. While in stealth, hold L2 + L3 to mark enemies. Do this quickly so you do not get spotted. This places a white directional arrow over the marked enemy’s head. The pointed end of the white arrow indicates the direction the enemy is facing, and it tracks enemy patrol movement. This allows you to time your moves in and out of cover without a direct line of sight on the marked enemy.
Shooting
Burst Fire for Accuracy
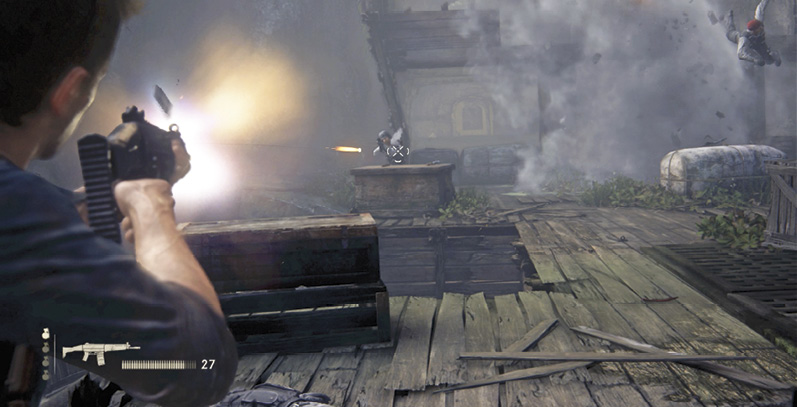
Stealth takedowns are challenging and fun, but sometimes you just want to let the bullets fly. Accuracy is the key to winning a gunfight. To increase your accuracy when firing an automatic weapon, fire in bursts to keep the aim reticle tight and accurate.
Lock-On Aim Assistance
If you love Uncharted 4 but are terrible at shooters, go to the Options menu and turn Aim Assist to 10 and turn on Lock-on Aim. By default, Lock-on Aim is turned off. Lock-on Aim causes your weapon’s reticle to jump on enemy targets like pirates to treasure.
Headshots
The quickest way to defeat someone with a weapon is by achieving a headshot. If you have Lock-on Aim turned on, your aim reticle typically locks on to the enemy’s upper torso and neck area; to achieve headshots with Lock-on Aim, you should tilt your aim up slightly to target the head. Do this as often as possible. There are trophies awarded for 20 and 50 headshots.
Blindfire
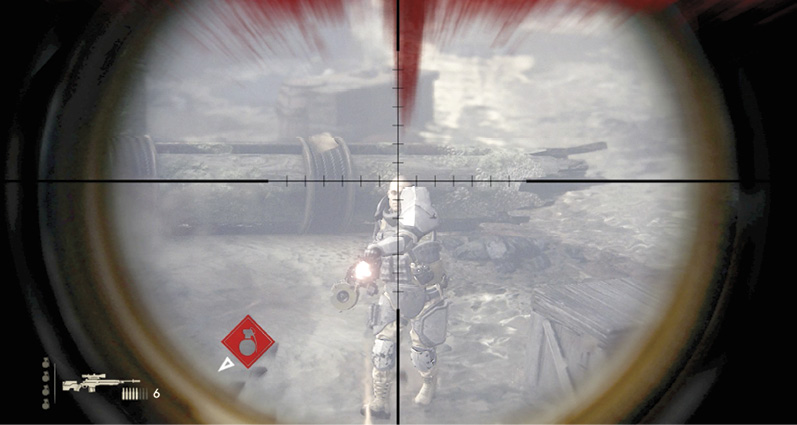
Blindfire becomes a practical option when you’re inundated with bullets from a large group of enemies and you can’t risk exposing yourself from cover. Simply press the fire button R2 while in cover and aim the wide aiming reticle as best you can over a particular target. Sometimes you get lucky and can take down an enemy without wasting too much ammo. But taking down one or two enemies in a large group could be enough to turn the tides and allow you to begin attacking with aimed fire from cover. Blindfire is also a good option when a sniper pins you down.
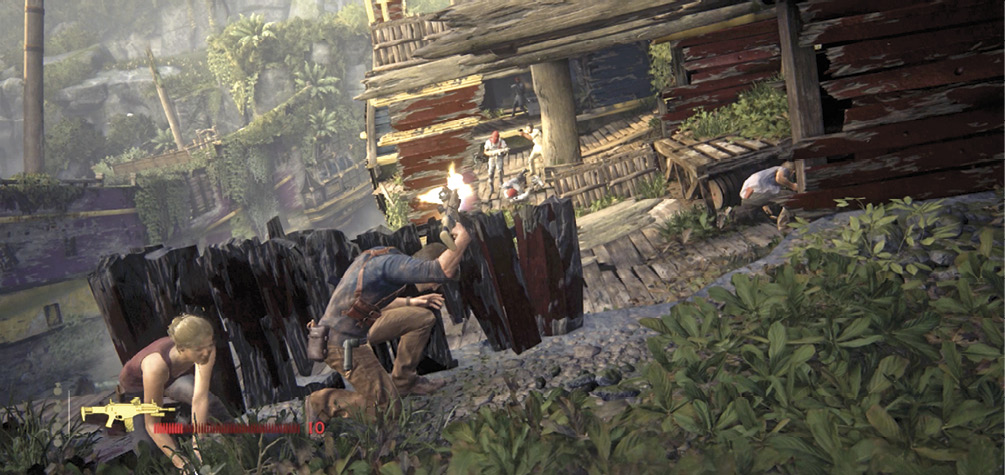
Run-and-Gun
Firing your weapon while running (R2 + left stick) allows you to damage or kill the enemy while moving (you can also walk or strafe and fire using the L2 aim + left stick). Firing while running has about the same accuracy as blindfiring. But keep in mind, the accuracy achieved is totally dependent on your weapon’s accuracy.
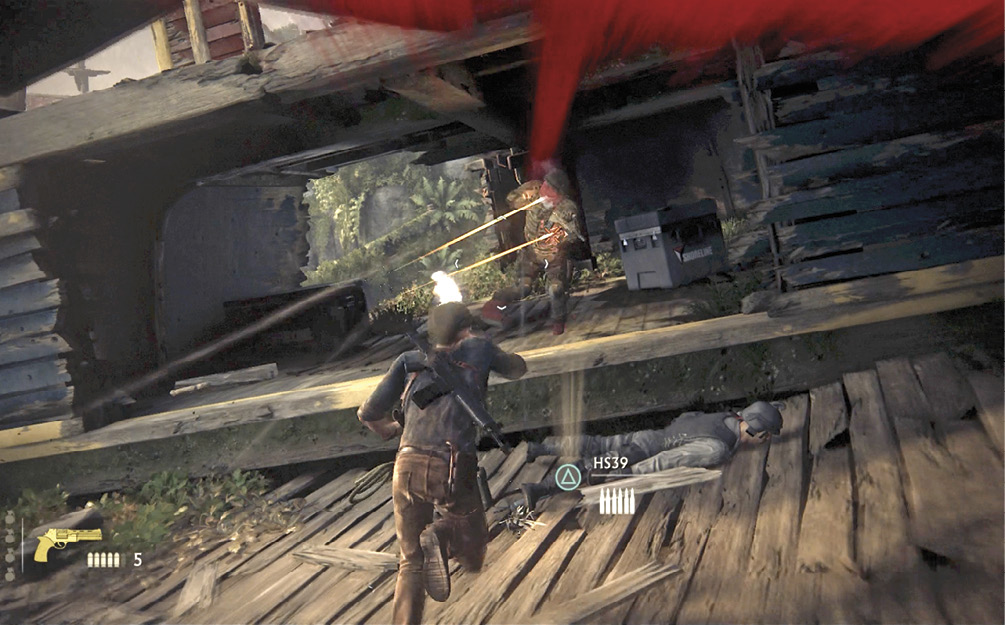
Weapon Shoulder Swap
Shooting from only one side of your body is not recommended. You should allow the environment to determine what side of your body is best to shoot from. If your only shot is from around an opening to your left, then you should shoulder your weapon on the left so you don’t expose your entire body to the enemy. To do a weapon shoulder swap, press while aiming your weapon. If you’re constantly using the shoulder swap button during initial engagements, it’s likely you favor one side. The game includes a Remember Shoulder Swap feature that can be turned on in the Controls options in the Options menu.
Hanging & Shooting
This information is included elsewhere in this section, but it’s worth repeating: You only have access to your side arms (one-handed weapons) and grenades when hanging from the edge of anything. Aiming and blindfire are your firing options.
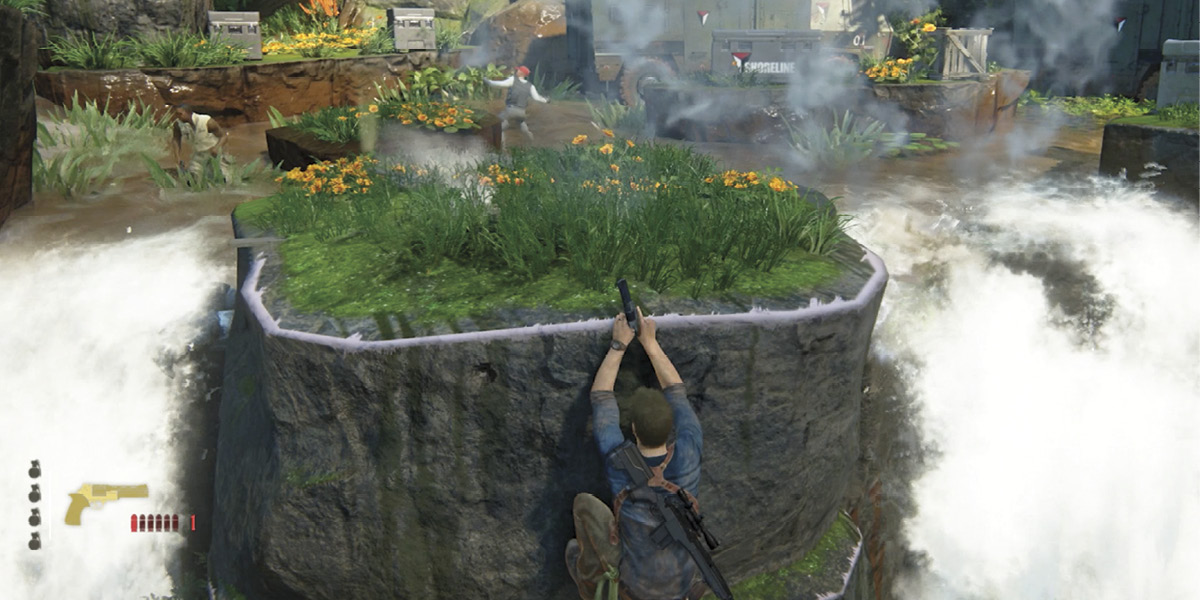
But there are no weapon restrictions when hanging from a grapple rope; all weapons and firing options are accessible (with the exception of holding a DShK). This means you can get those rope-hanging headshots while scoping with a sniper rifle! (See the “Hangman’s Bullet” trophy in our trophy list in the Extras chapter.)