Uncharted 4: A Thief's End Guide Story Walkthrough
Chapter 19: Avery’s Descent
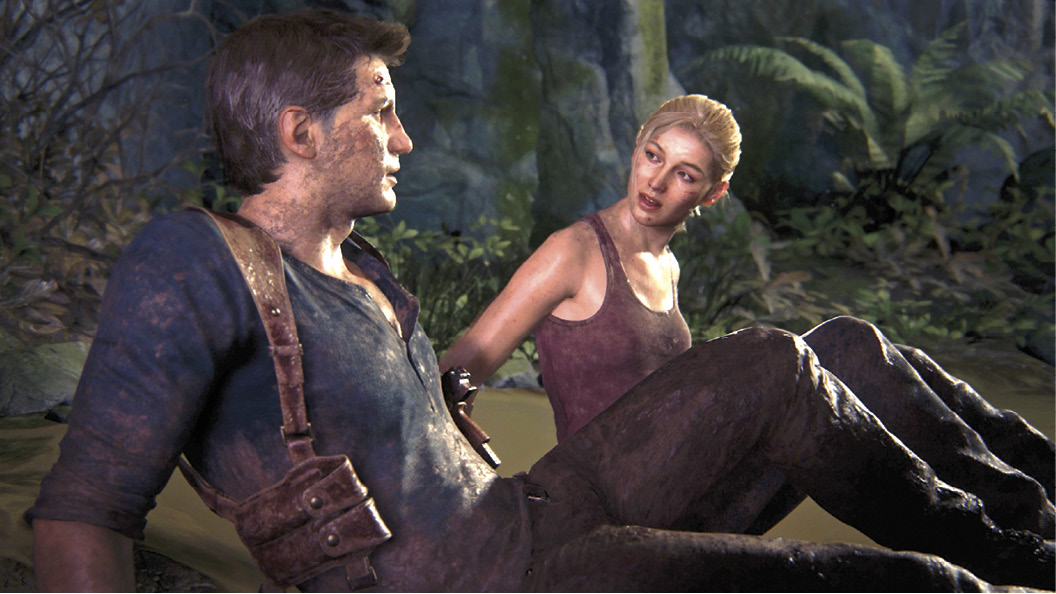
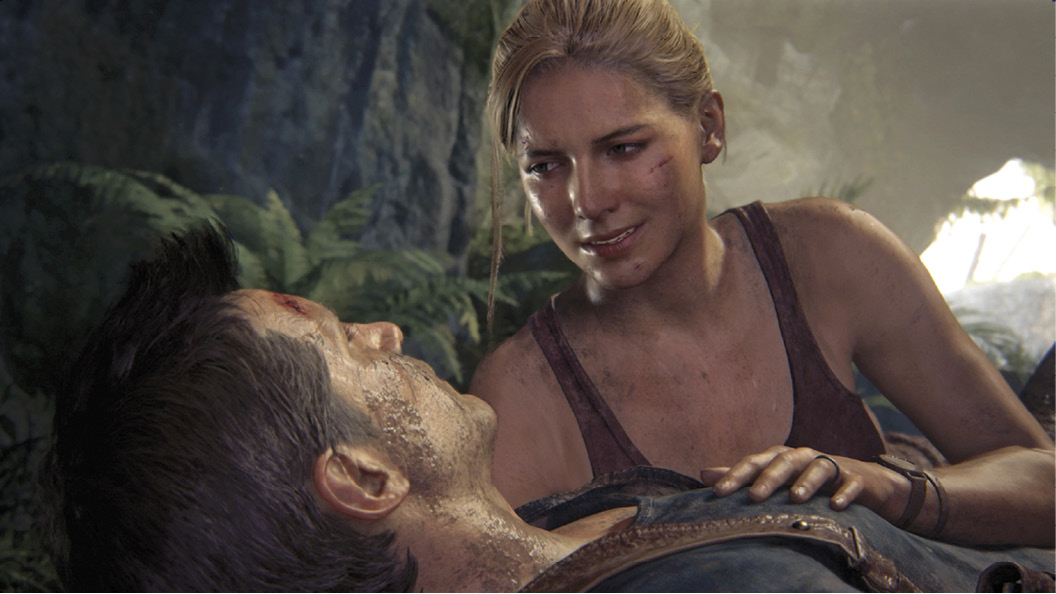
Nathan and Elena have discovered Henry Avery’s secret escape route from his New Devon mansion. It’s a dark, precarious underground passage. Be prepared for booby traps and deadly puzzle chambers.
CollectiblesTreasures: 2 |
Get through the First Puzzle Chamber
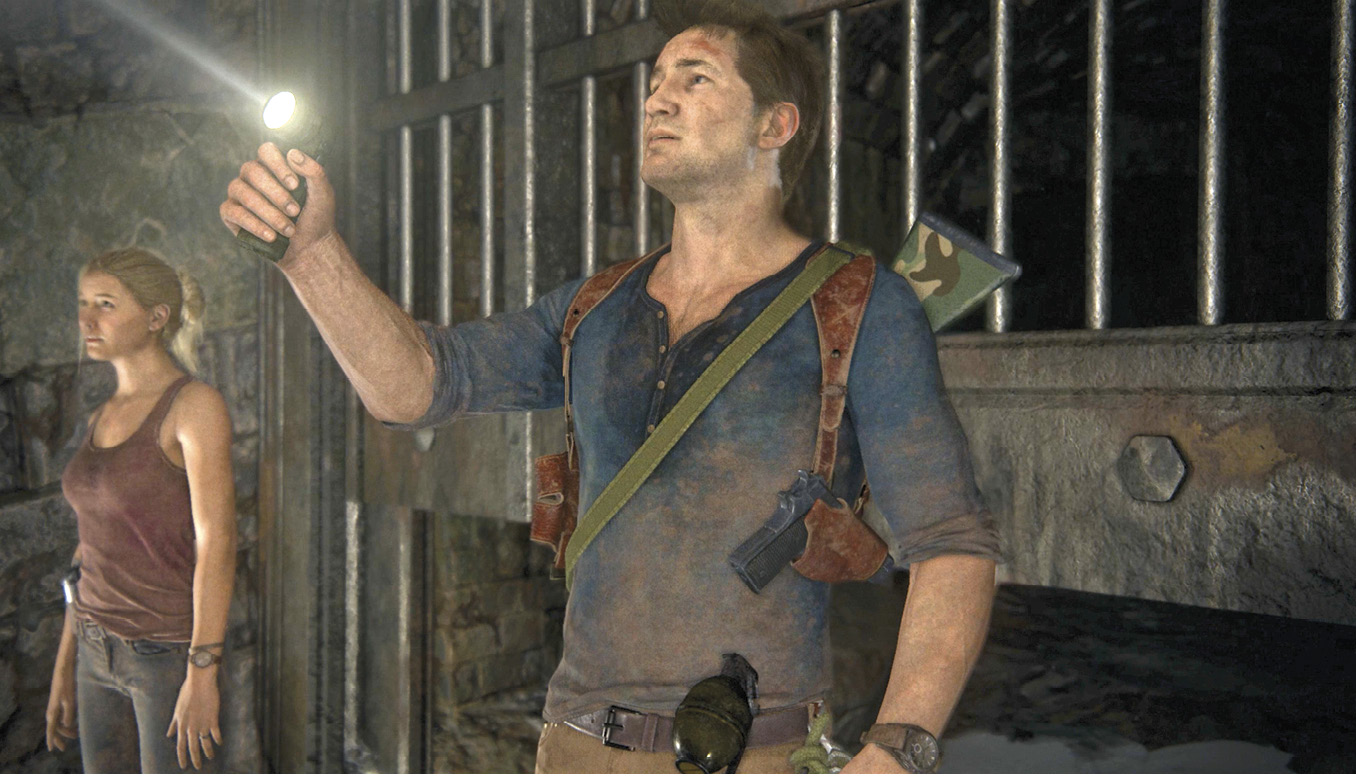
Proceed down the passage to the first chamber. Both side exits from the chamber are blocked by debris, so continue to the opening on the opposite side. After a few steps, examine the fresh footprints. Then continue forward into the second chamber.
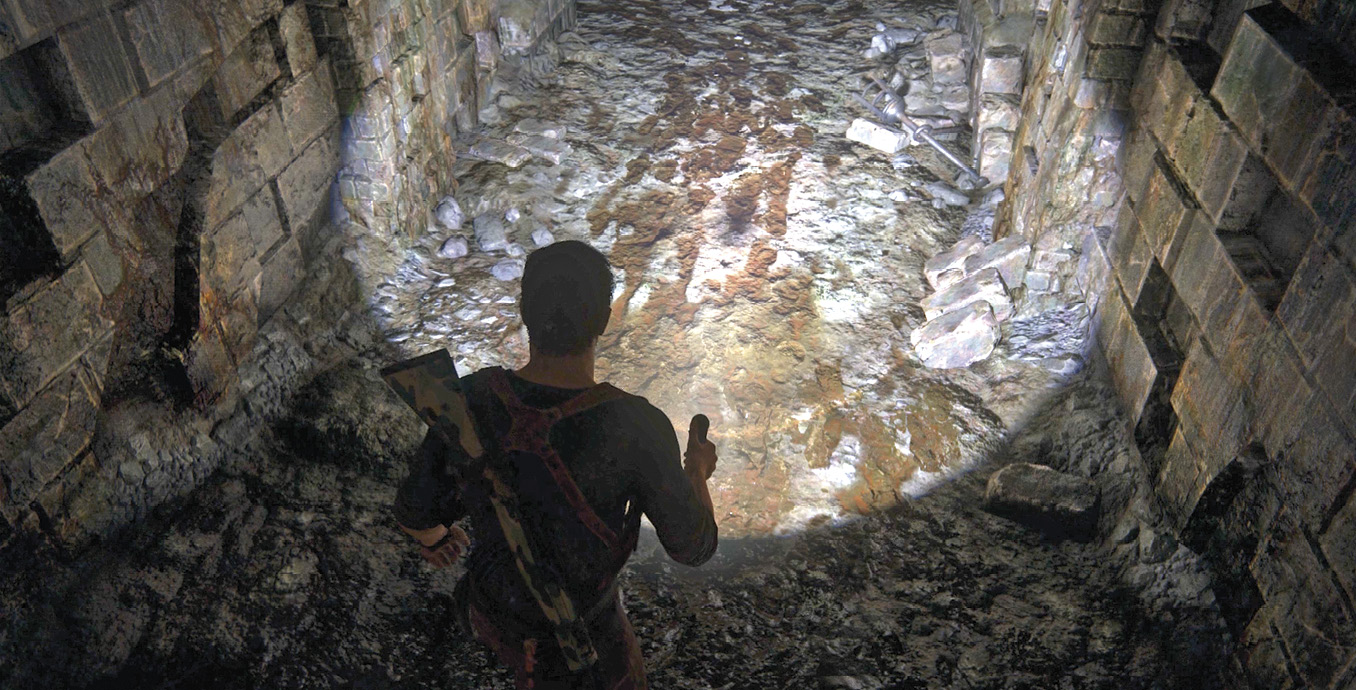
Here, the only way out is via the left passage. Follow that passage until something rocks the tunnel—is that Nadine’s men, using dynamite again? Proceed into a larger chamber with square tiles on the floor to trigger a quick cutscene: The room is revealed as a puzzle with deadly consequences for mistakes.
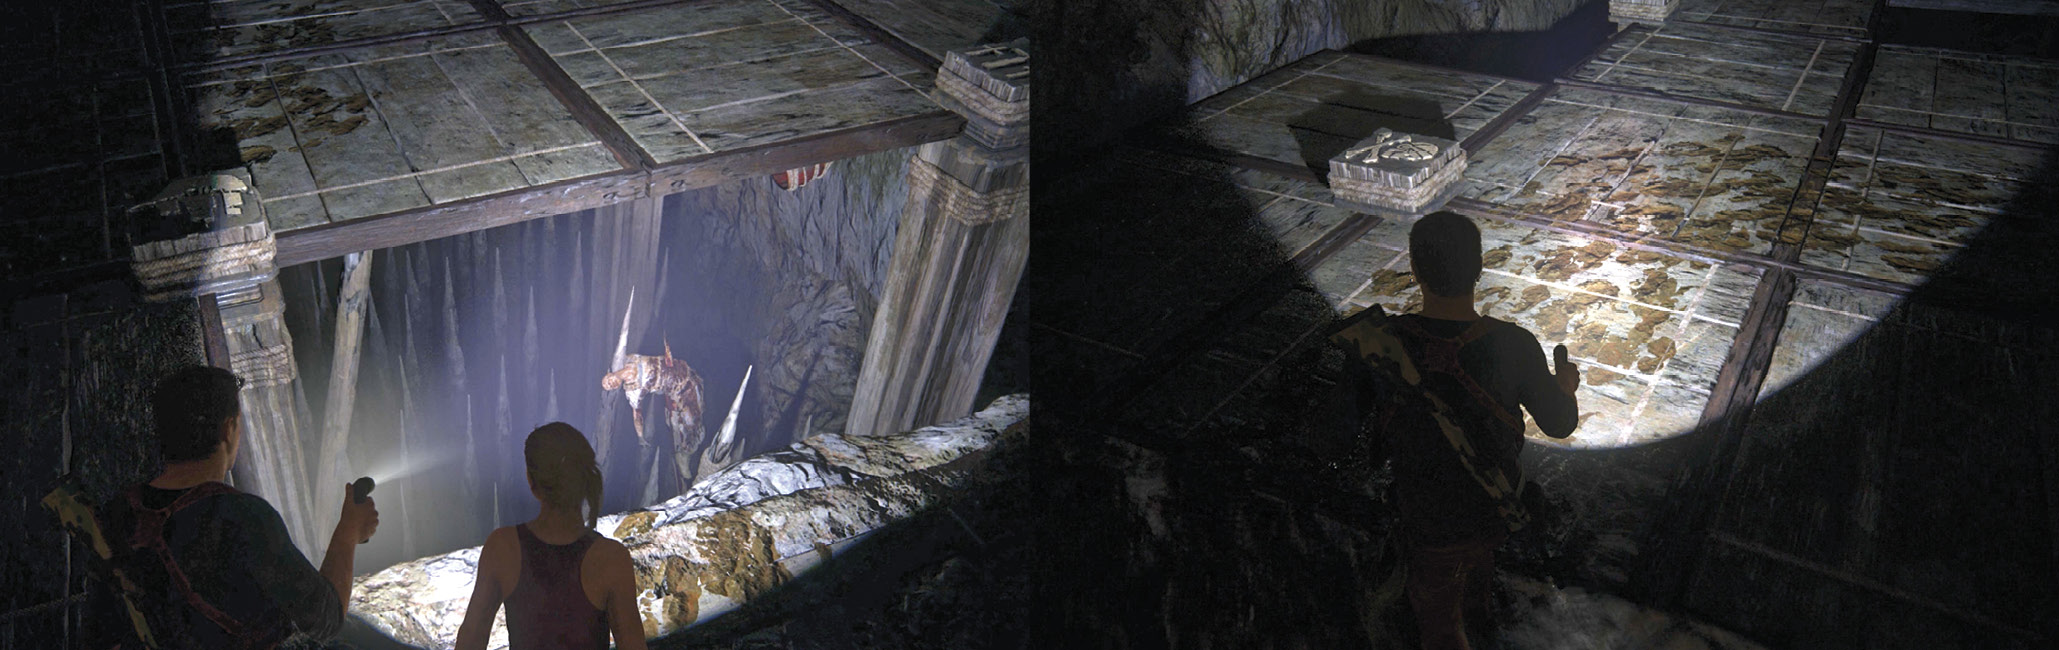
This first room’s solution is simple: Just follow the muddy footprints. When you get safely past the tile floor, find the spot in the next chamber where the footprints end at a tunnel opening blocked by debris. Try to move the debris with Elena—no luck! Then, to make things worse, Nathan’s flashlight batteries fail, and Sam’s lighter doesn’t work either. Fortunately, Elena brought matches. Be patient as you wait in the dark while she makes a couple of torches.
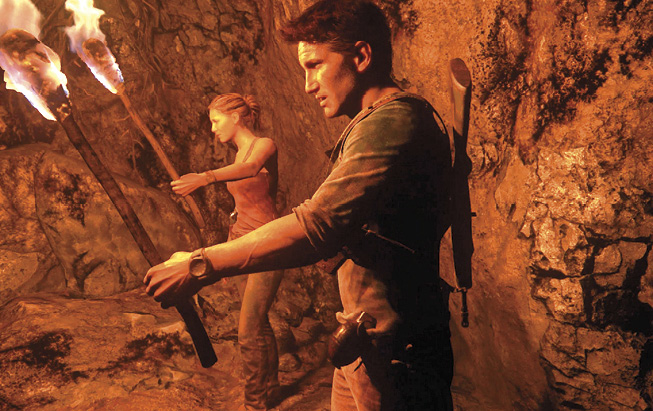
Take the torch she hands to you. Then find the hole in the ceiling and boost her up into it. Jump to grab her hand; Elena pulls up Nate. Proceed down the low tunnel until you drop into a new chamber. Light the area torch across the room. Avery had a unique sense of justice.
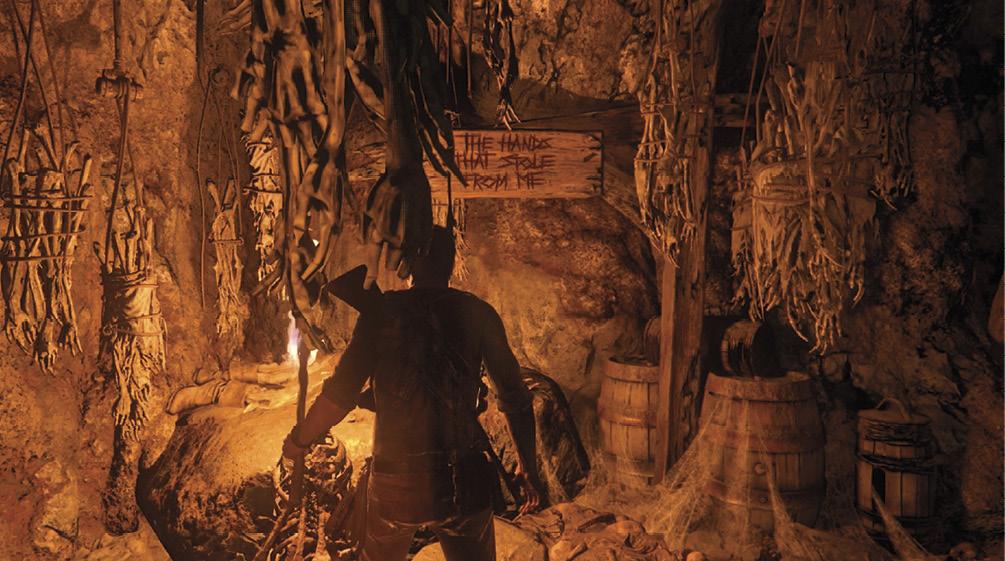
Avoid the Explosive Traps
Head down the exit tunnel (left of the “Hands” sign) to the next chamber and light the area torch there to see more gibbets. After a few steps down the next passage, you see some wrapped corpses. These are Avery’s booby traps. When you approach them, they suddenly burst into flames and explode! This first time, the game switches to slow motion, letting you roll away to safety: Just pull back on the left stick and press  .
.
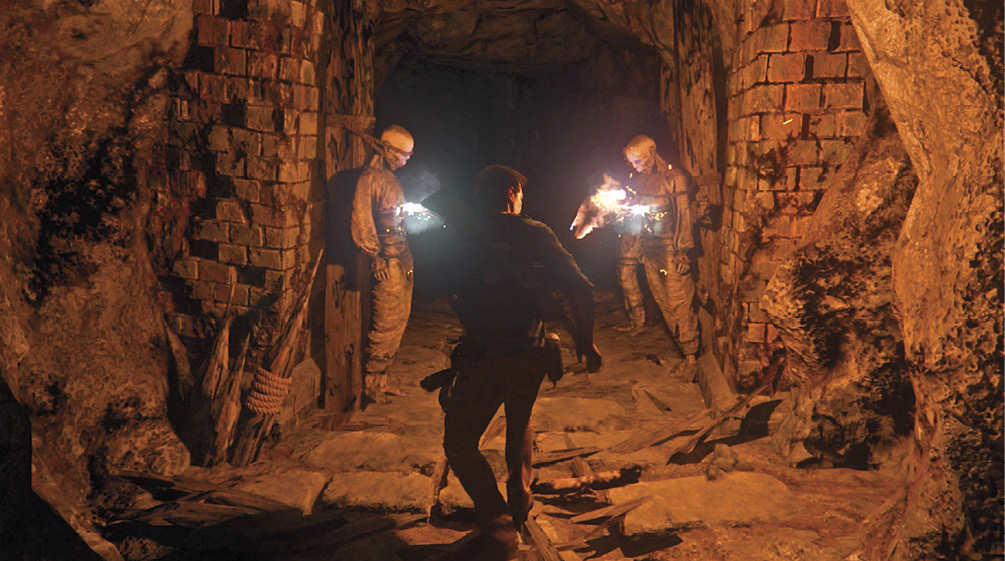
Time to proceed more carefully. Note that each explosive mummy ignites just before detonating, giving you a couple seconds of advanced warning. You also see red “blast” icons onscreen that point to any ignited mummies that are off-screen, out of sight.
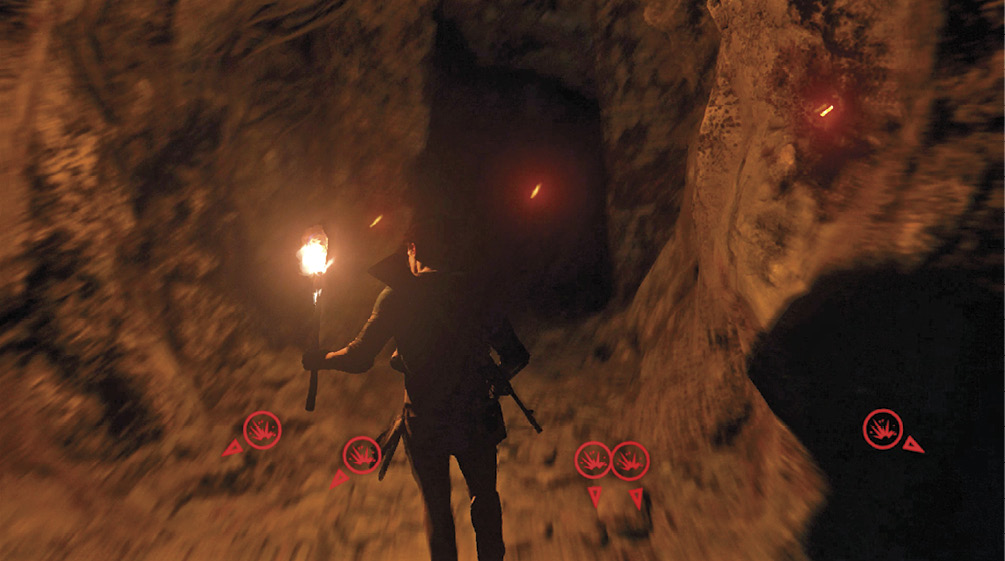
The next two mummies just down the tunnel explode as well, so roll backward fast when they ignite. Keep moving down the passage until you see a low wall ahead. The three mummies before the low wall are explosive, but they don’t ignite until you hop over the wall; two more mummies just on the other side of the wall ignite as well. Avoid this trap by vaulting quickly over the wall and rolling forward past the mummies instead of backward; if you go backward, the wall blocks your roll and traps you in the blast radius.
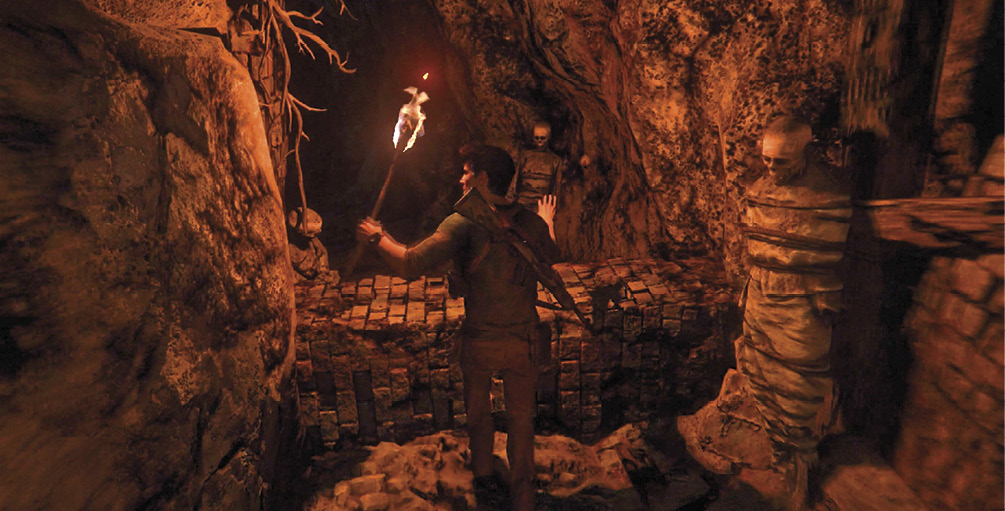
Get Past the “Heart” Room
Turn left into the next passage and slide down the slick rock. At the bottom, turn right and climb up three ledges to an opening high on the wall. Then drop into another grisly chamber hung with ribcage mobiles. Light the area torch to see a heartfelt message from Captain Avery.
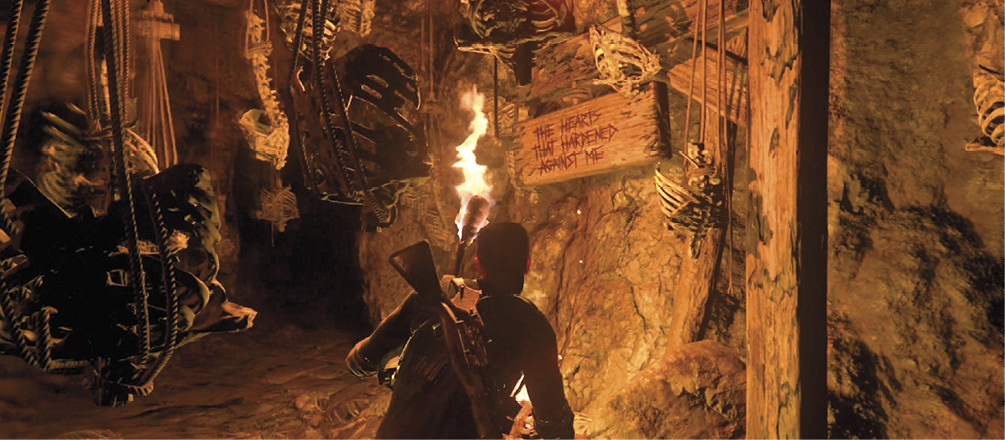
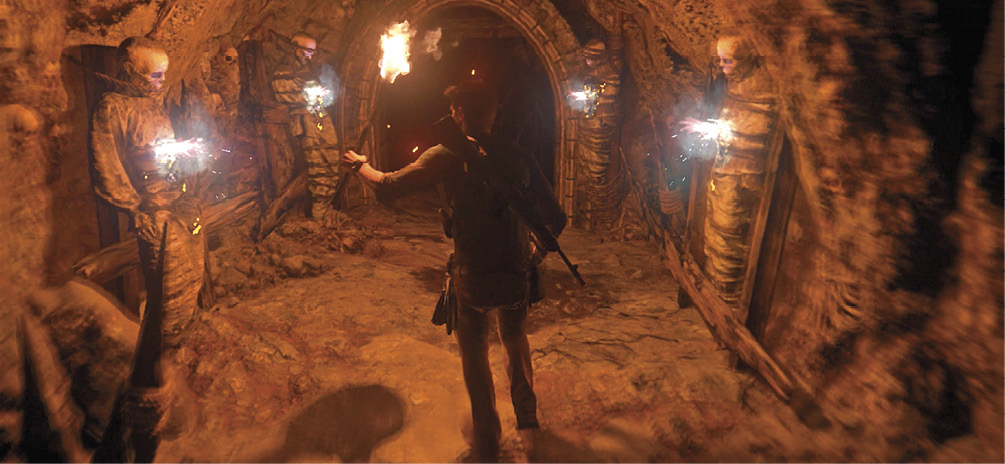
The exit left of the “Heart” sign is booby-trapped to collapse into a dead-end. Instead, follow the passage on the right of the sign; you find more explosive mummies, but you can get past them. It gets tricky: The first couple of corpses don’t ignite as you pass. But after a few more steps the mummies on the right side of the passage light up and blow, then the left side goes, including a couple you’ve already passed. So the moment you see the first sparks, start rolling backward and don’t stop until the mummies on both sides of the tunnel detonate in two big blasts.
Survive the Slide
It’s not over yet. Continue forward to the slippery slope just ahead. Two explosive mummies are at the very bottom, so roll forward fast when your slide ends at the bottom of the slope. But three more deadly corpses ignite by the wall in front of you, so you must roll backward immediately after the first explosion.
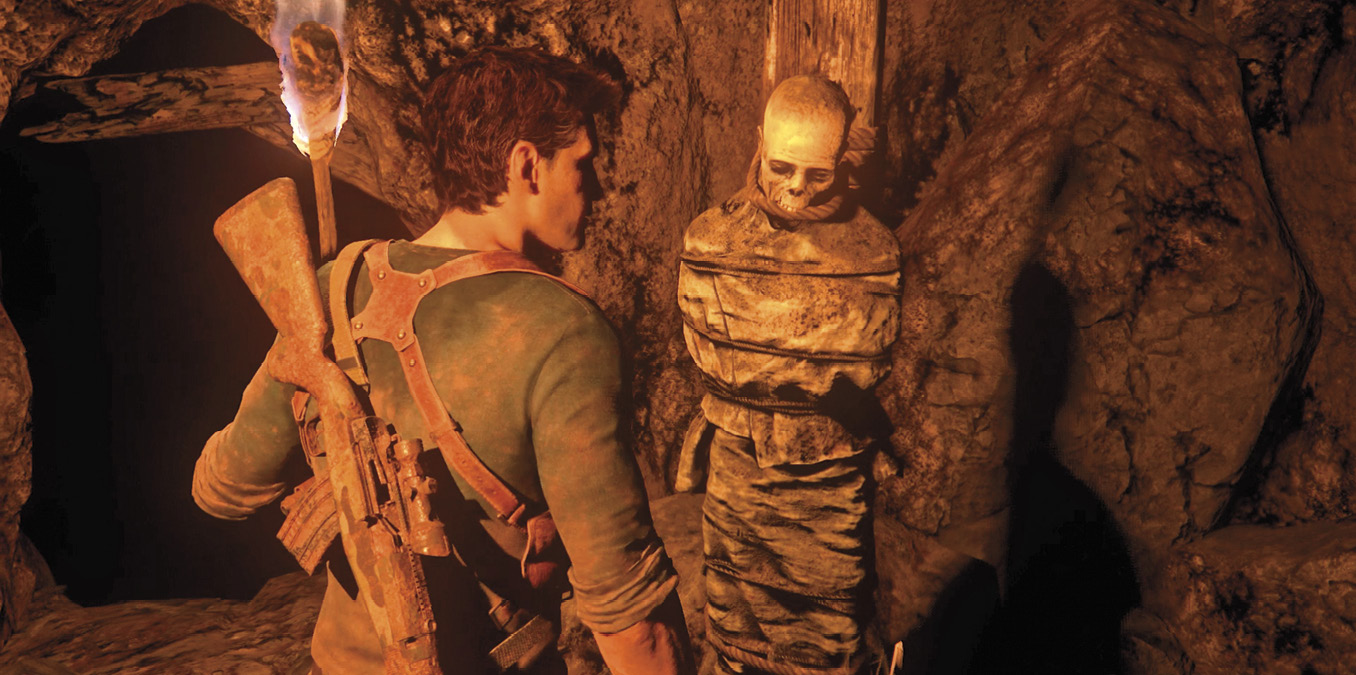
If you survive, turn right to see two cave exits from this chamber, one on either side of a non-explosive mummy marked by an Examine icon. The passage on the left leads to a treasure. Go snag it and then return and take the other passage.

Ancient Stone Vessel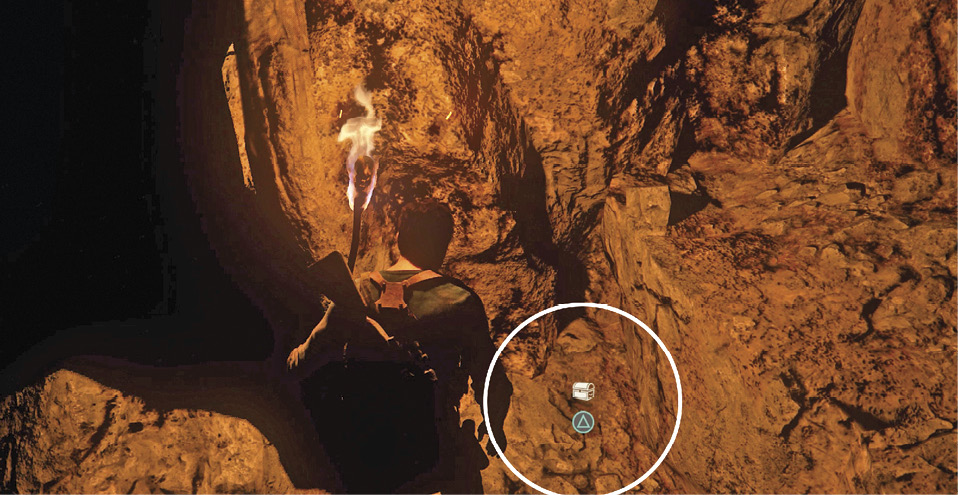
After you ride the rockslide down into the booby-trapped chamber and survive the two explosions, approach the one mummy that isn’t explosive. Enter the dead-end passage to the left of that mummy and drop down a series of ledges to find the Ancient Stone Vessel. |
Go down the stairs; the two mummies at the bottom are not explosive, so walk past them to the end of a broken footbridge. (You can see the bridge’s other end across the cavern.) Drop down into an area lit by a flare. Somebody was just here!
Cleanse the Tunnels of Shoreline Scum
Now you pick up the Shoreline footprint trail again, so proceed warily. Head left to follow the passage to another path split—the two forks meet up just a few feet ahead, so it doesn’t matter which one you take. You find some fallen Shoreline soldiers, lost to Avery’s traps. Continue to the drop-off; hop down and get ready.
Clear the First Chamber
As you approach the pool of water just ahead, a grenade suddenly bounces toward you. Roll backward! (You should be good at rolling away from explosions by now.) A Shoreline squad in the next passage opens fire! Quickly take cover at the brick pillar on the left, just on the other side of the pool; Elena takes a position at the other pillar.
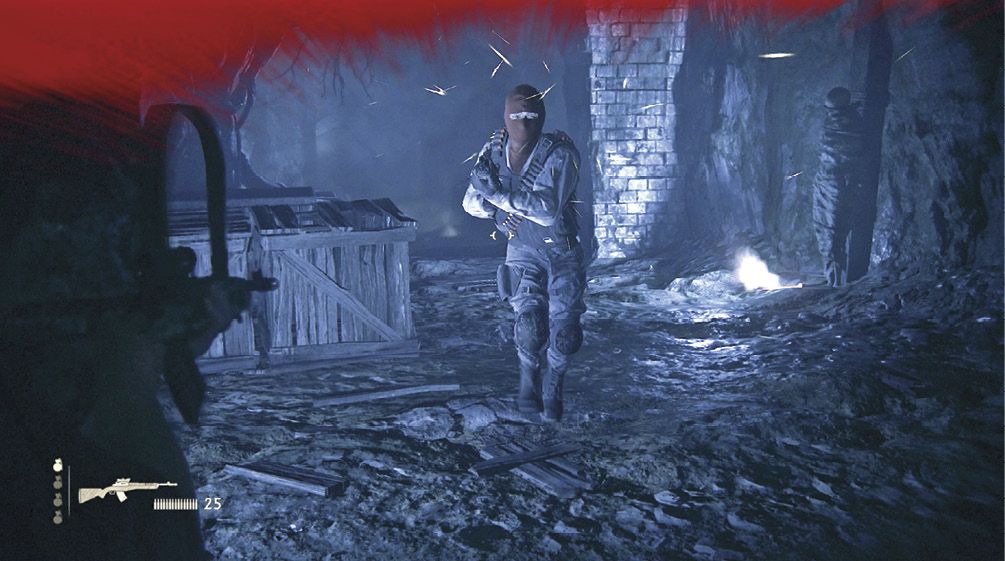
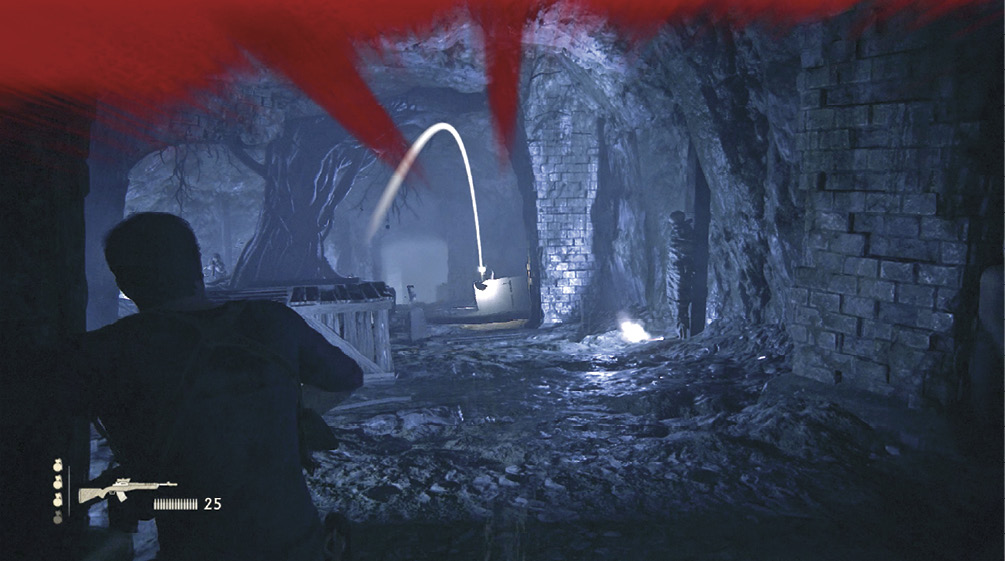
A handful of gunmen open fire from behind crates in an open chamber eerily lit by flares. Soon more shooters arrive from a back passage, including an armored heavy trooper with a shotgun who charges inexorably toward you. Grenades can be very effective in enclosed spaces, so toss a few across the chamber.
Clear the Second Chamber
When the first chamber is cleared, scavenge the dropped weapons/ammo and proceed through the back exit. Watch out for troopers rushing up the stairs ahead. Hustle down the flare-lit steps and target the mummy at the next corner as two Shoreline troopers advance past it. This detonates the mummy, taking out the troopers fast.
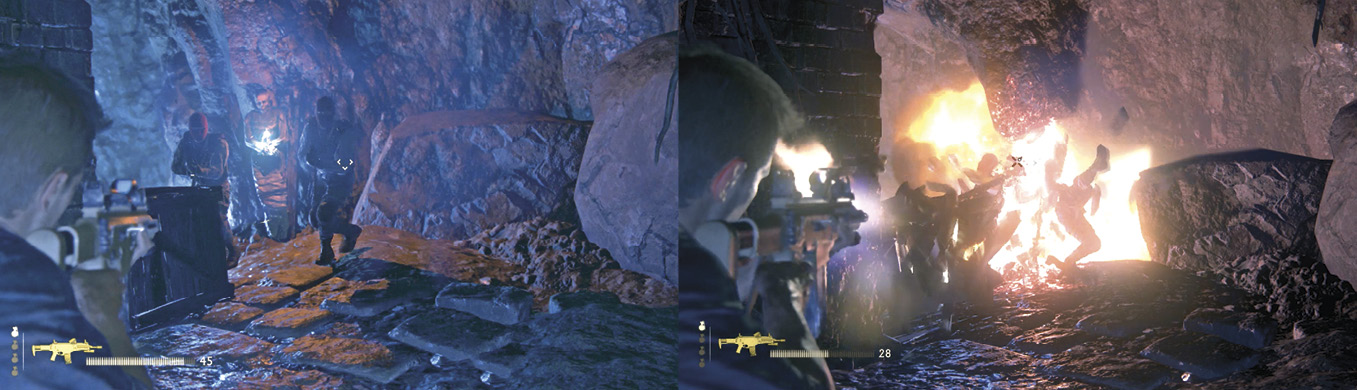
Hustle to cover in the next chamber. The fighting is similar, except you have less sturdy cover—enemy fire rips right through the wooden crates. Push forward from crate to crate, always looking for fresh cover.
When the second room is cleared, mop up ammo and find grenades. Then take the exit tunnel to the big drop-off and jump down. Mercenaries attack the moment you hit ground, so roll immediately forward to the crate just ahead for cover. After you pick off the first pair, a big trooper lugging a DshK minigun lumbers slowly up the passage. The minigun tears your cover crates to shreds, but his approach triggers explosive booby traps that eviscerate him and the wooden floorboards beneath him.
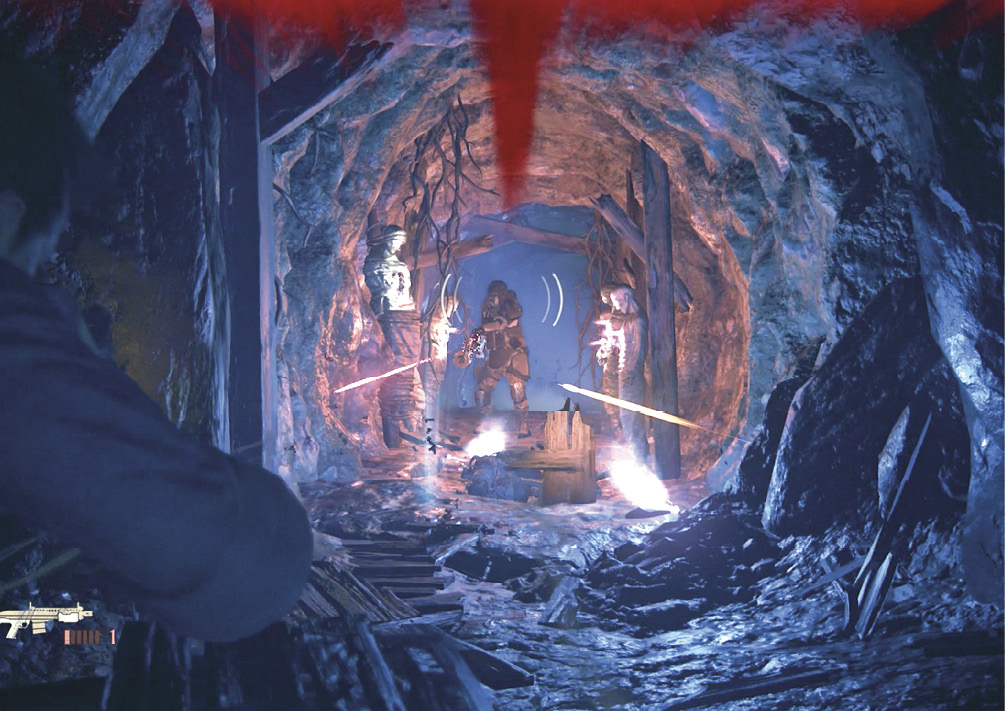
Find the Second Puzzle Room
Drop through the hole to trigger a quick scene: Nathan and Elena pick up flares to light the way, and discover that they’ve landed next to yet another warning sign from Avery. Turn around and push through the hanging vines between the brick pillars and climb the staircase beyond. Continue down the grim passage, past remnants of a deadly fight, to the metal door. Pull open the door.
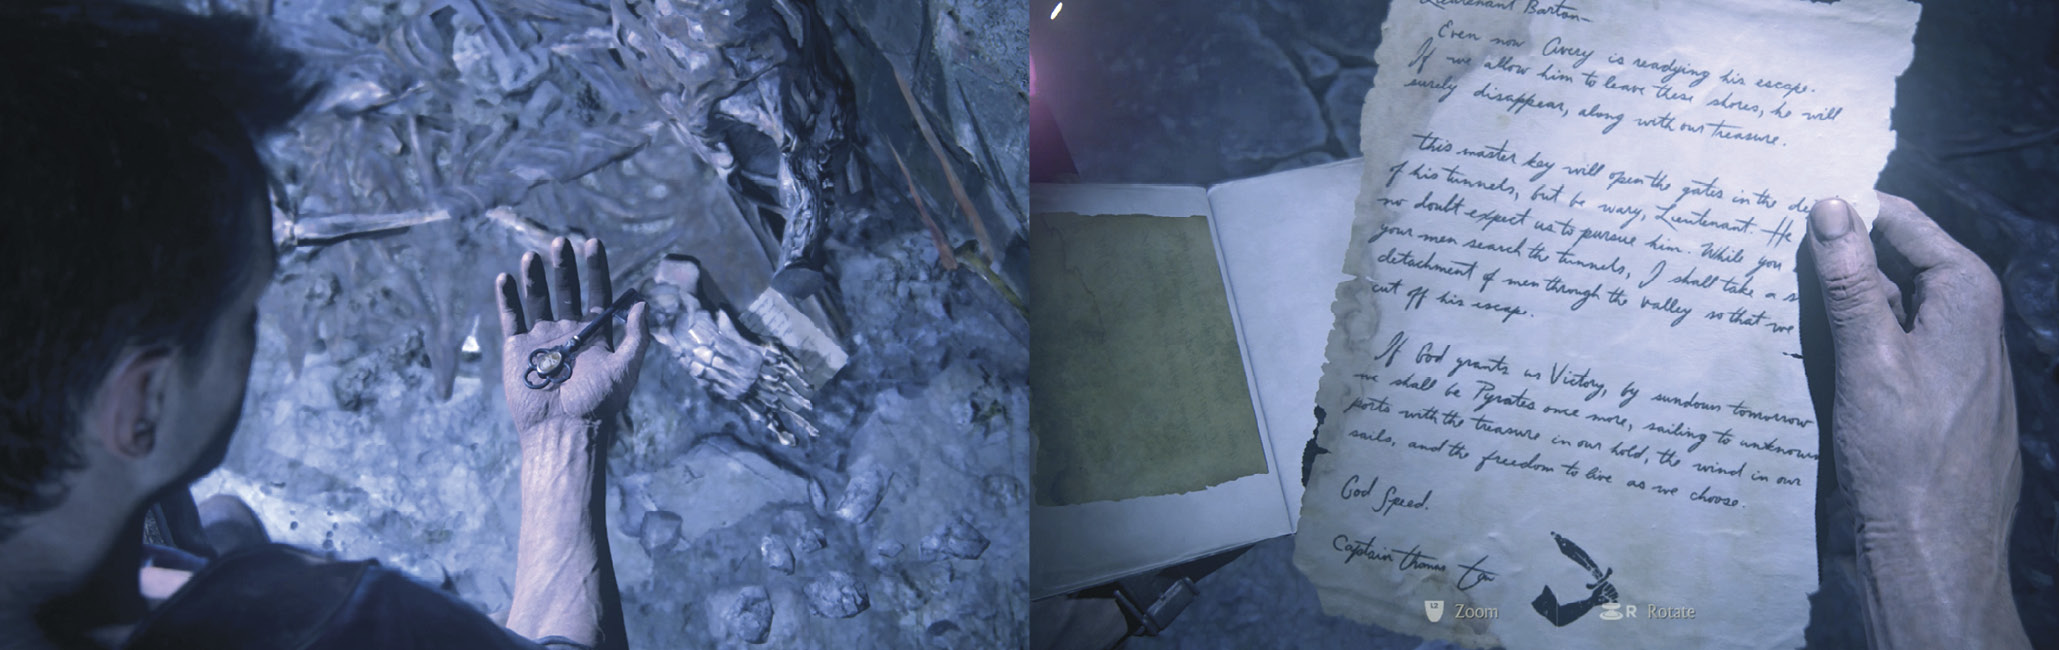
This action knocks over the pirate skeleton sitting at its base and triggers a short scene: Two objects drop from the remains. Nathan picks up a key and a note that reads: “Death to those who stray from the path.” It includes some grid diagrams. Unfold the note to read the message from Thomas Tew to his men. It reveals that the key unlocks the gates at the depths of the tunnel. It also confirms that Avery was trying to slip away with the treasure, with Tew in hot pursuit.
Go through the door and follow the passage to a chamber with a statue in the middle. More explosive corpses are triggered when you walk behind the statue, so make a quick loop around it and then sprint and roll forward down the passage on the other side.
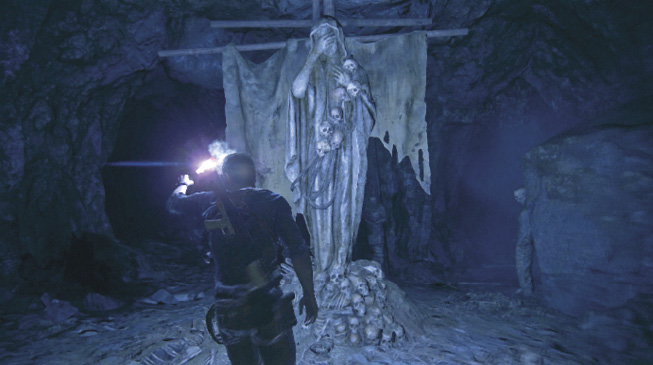
Keep going! You pass a bunch of non-explosive mummies and then reach another drop-off into another cluster of traps. Quickly, hop over the low wall, veer leftward and roll forward! Proceed over another drop-off and continue to one last pair of tunnel openings, marked by a set of creepy mermaid statues. The left fork leads to a dead-end with a treasure. The right fork leads down to the next floor puzzle.
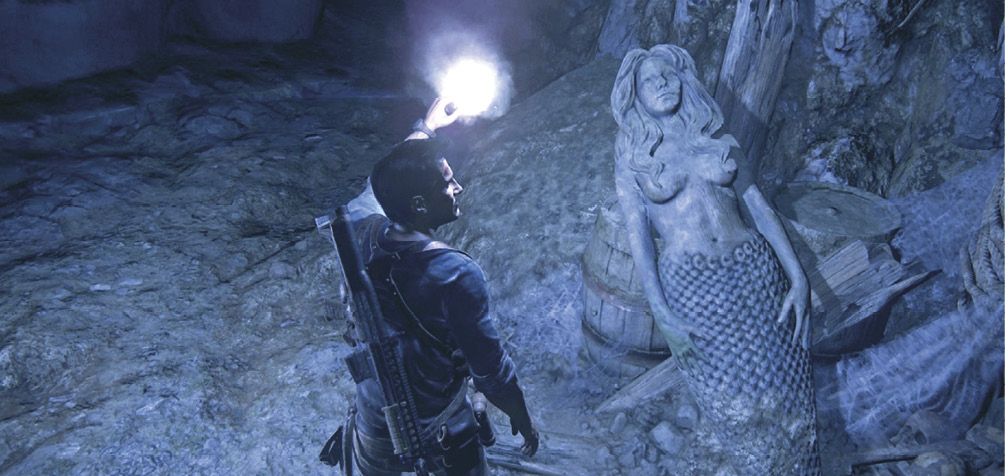

Mughal Decorative Cudgel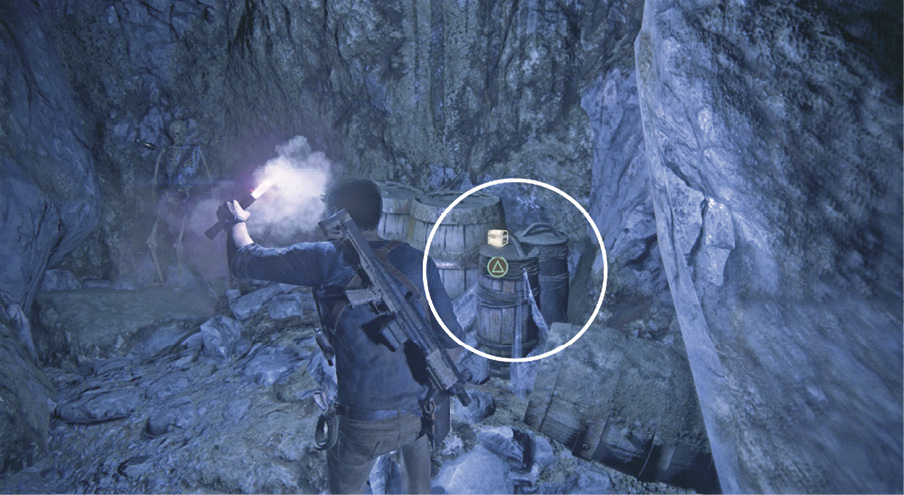
Enter the cave to the left of the mermaid statues. The Mughal Decorative Cudgel is sitting on a barrel. |
Solve the Second Puzzle Room
Note that the floor ahead is a grid of square tiles arranged around blocks etched with symbols. Here’s where that cheat sheet from Tew comes in handy; open it up in your journal. On the sheet, the symbol in the middle of each 2-by-2 grid matches the symbols etched in the blocks out on the floor: skull & crossbones, ship, three crosses. Each square with a black skull & crossbones on the sheet marks a tile that will cause death when you step on it.
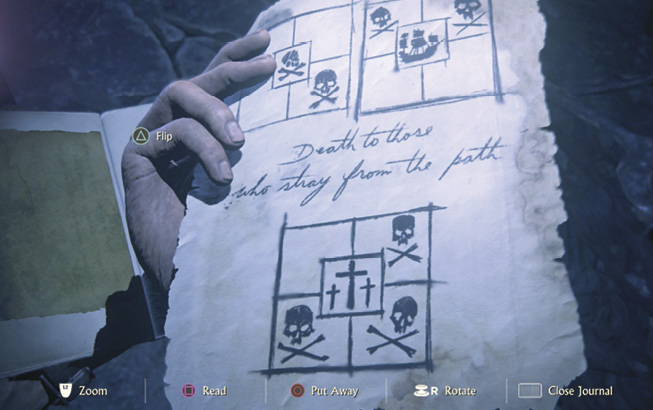
Refer to this sheet before you step onto each tile. Important: Be sure to note the orientation of each block symbol—that is, which way it is facing. The tiles around it match up according to that orientation. Or, you can just follow the path shown in our cheat shot, which is much cheatier than Tew’s cheat sheet.
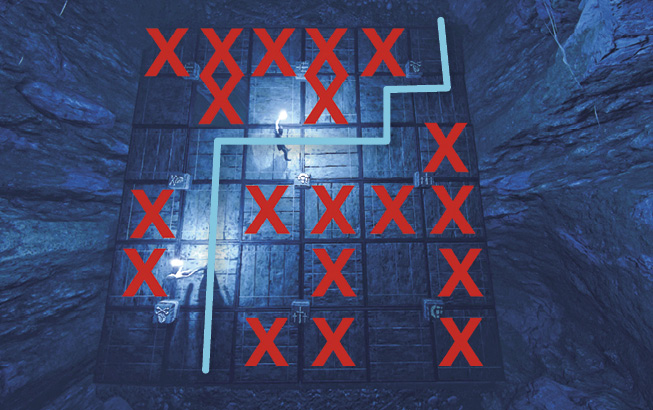
When you safely reach the other side of the tiled floor, proceed through the exit and follow the tunnels beyond. You pass through another grisly room filled with wrapped and hanging skeletons. Open the gate at the room’s far end to trigger a cutscene: Nathan uses Tew’s key to open the gate, but the opening springs a mechanism that scoops up Nate and Elena in a snare trap!
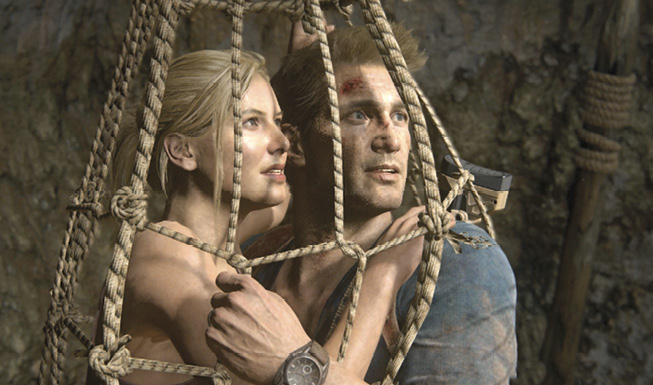
Use the left stick to swing toward the marked skeleton as corpses start exploding across the room. When the  icon appears, press that button to grab the sword stuck in the skeleton. Then quickly tap repeatedly to cut open the snare trap and escape before the string of explosions reaches you.
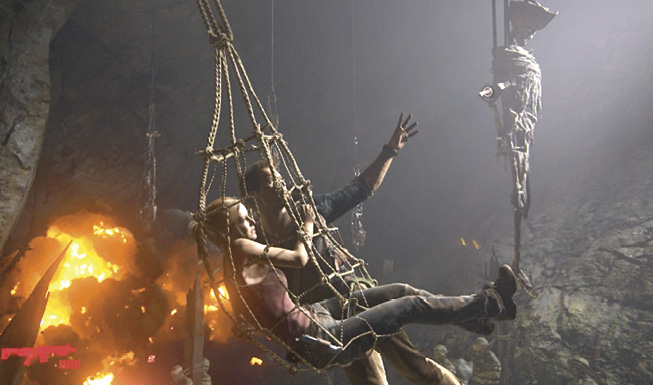
Run!
Now move the left stick in the direction you want Nathan to run as he sprints down the exit passage with mummy-bombs exploding along the route. Hop over the low walls and veer around skeletons until you trigger the chapter-ending cutscene: Nathan and Elena tumble to safety…and a rare quiet moment. There’s just nothing like 60 seconds of peace jammed between long stints of harrowing escapes. But of course, the moment is cut short by the sound of distant gunfire.